Week 5, 3d scanning and printing
For this week I decided to go for something pretty simple. I designed a small chain that could really only be made using additive manufacturing (unless you have a really fancy mill.)
First step was to make the basic design to extrude it. I didnt want the design to be too heavily done or complicated to print so I just used rectangle chain links (I also liked the style).
This is the only sketch in the entire project, despite that, it's still one of my favorite prints i've done.
Next I extruded it and used a linear pattern to make 4 more links like this

After that I used another linear pattern to make 4 more links below those 5 links
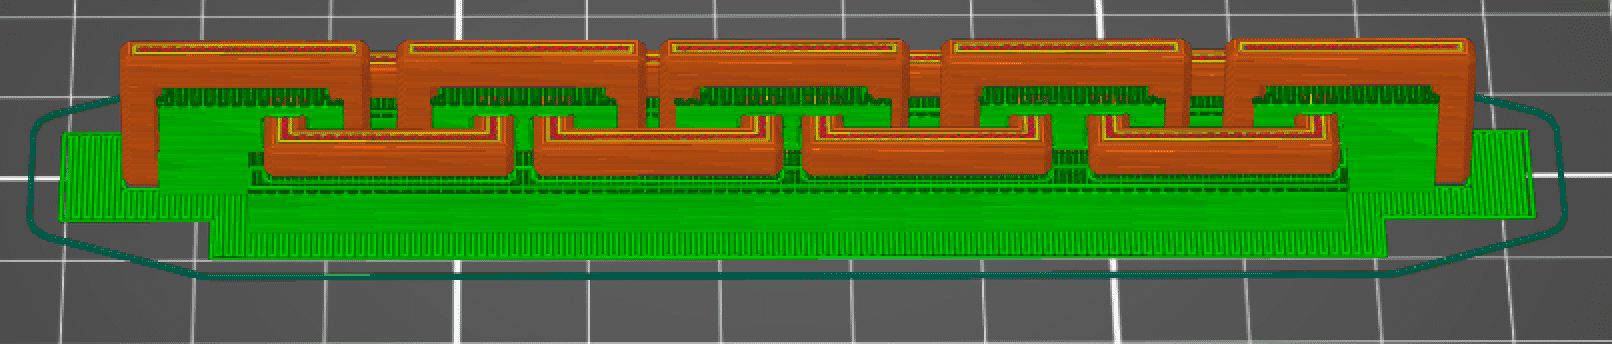
Than transformed those links to fit into the other links like so

Next I imported the model into Prusa Slicer, the slicer software that the printers that we have in the Fablab like and ended up with this, I probably could of make the supports better but i didn't want to deal with too much overhang so it was better to be safe than sorry
And after some other shenanigans, (seeing how much of them I could fit on a single plate)
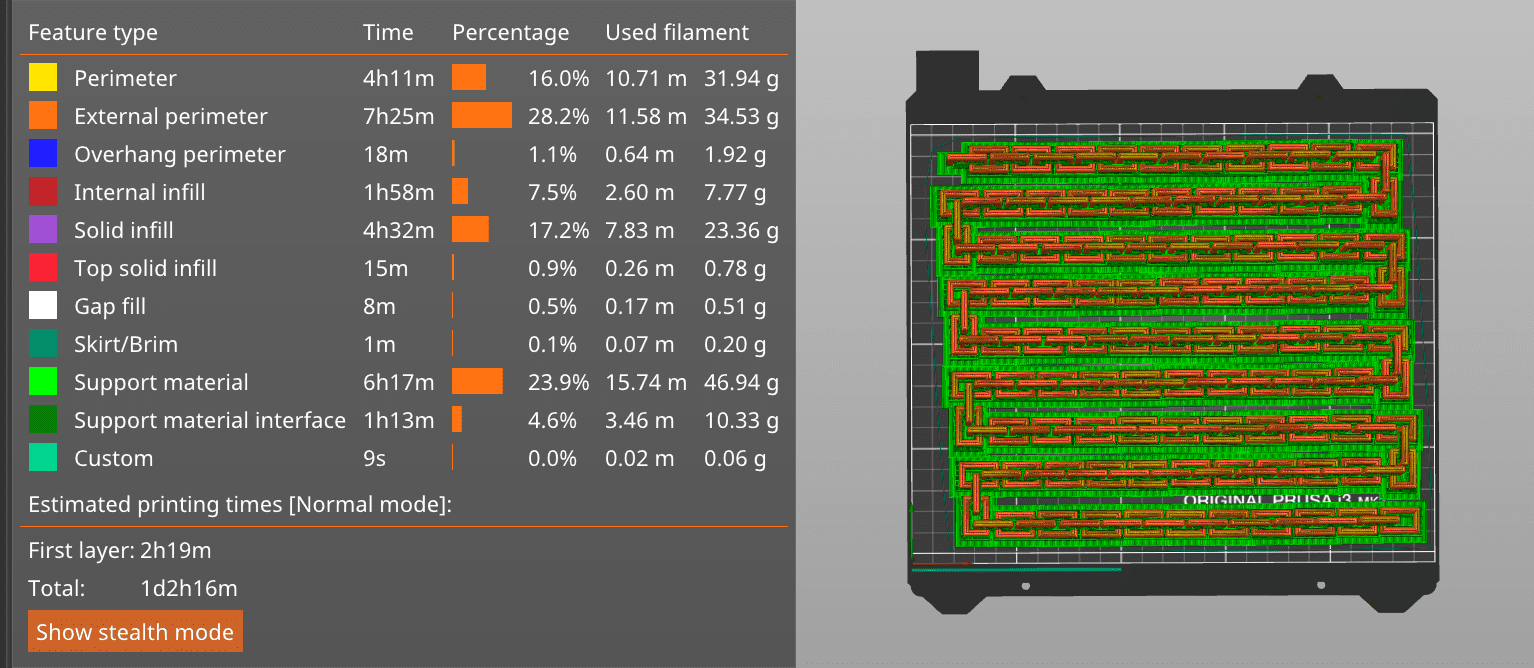
I printed the chain!

Now the scanning part
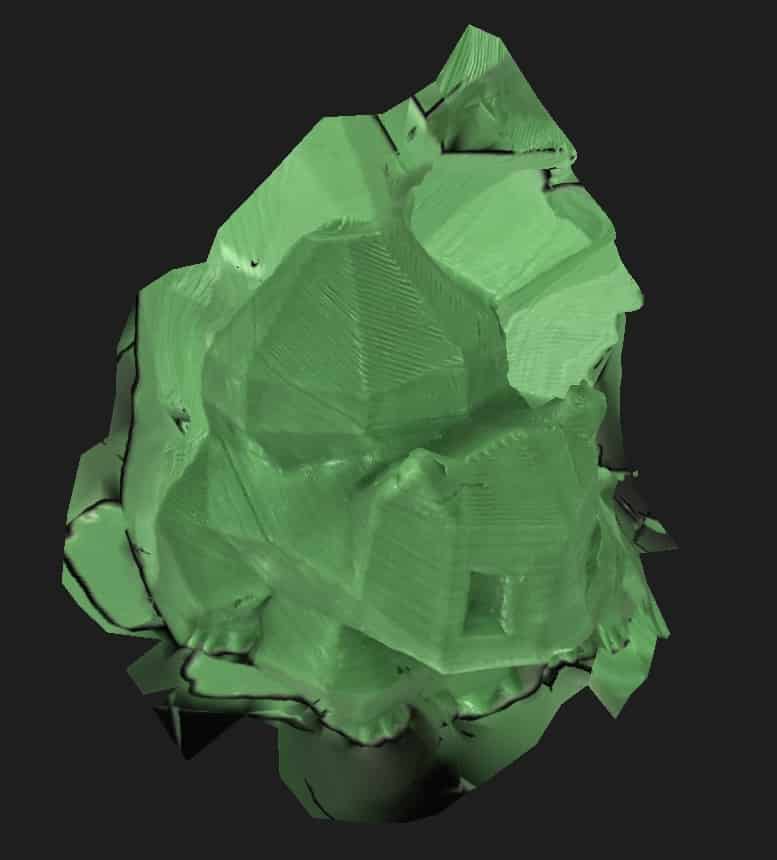
For the scanning part of this, I decided to scan a little bulbasaur print that i did before. (side note, this did not go quite as well as the printing)
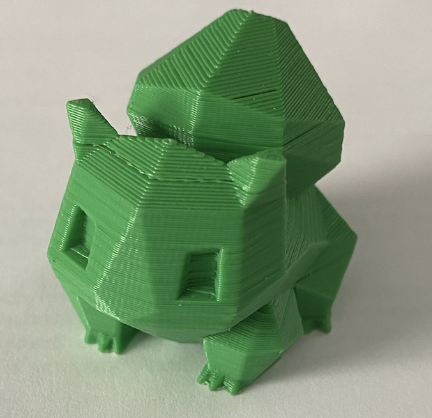
(^heres the print^)
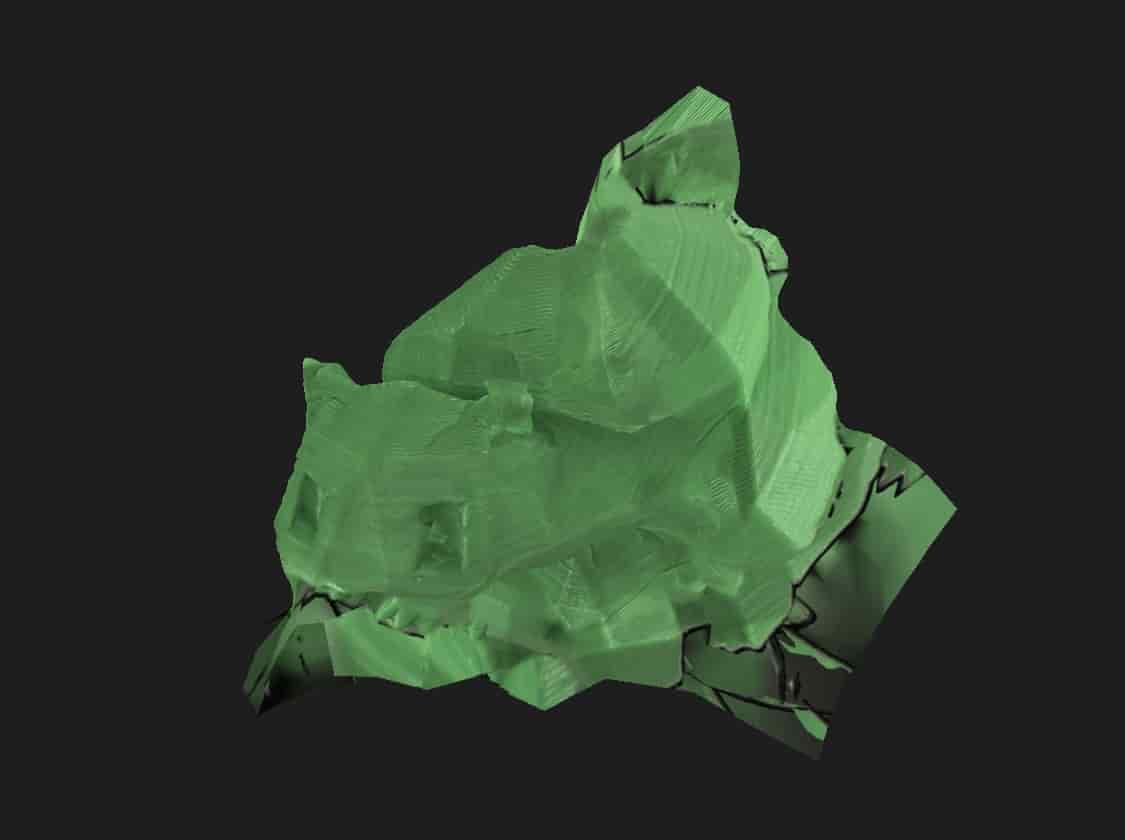
Using a software on my phone called KIRI engine (that I don't particularly like because for you to get good results you have to pay)
I was hoping that this would work because I used this program before but it didn't quite give any good results, just a goofy flatish mesh.
The best result that I got after multiple attempts wasn't great but at least you could kind of see the original model so I will count that as a win. Here it is.