This week I learned how to use a variety of tools, including an SLA printer, a plasma cutter, a MIG welder, a Shaper Origin router, and a digital embroidery machine. I used Hero Forge and Illustrator as CAD software.
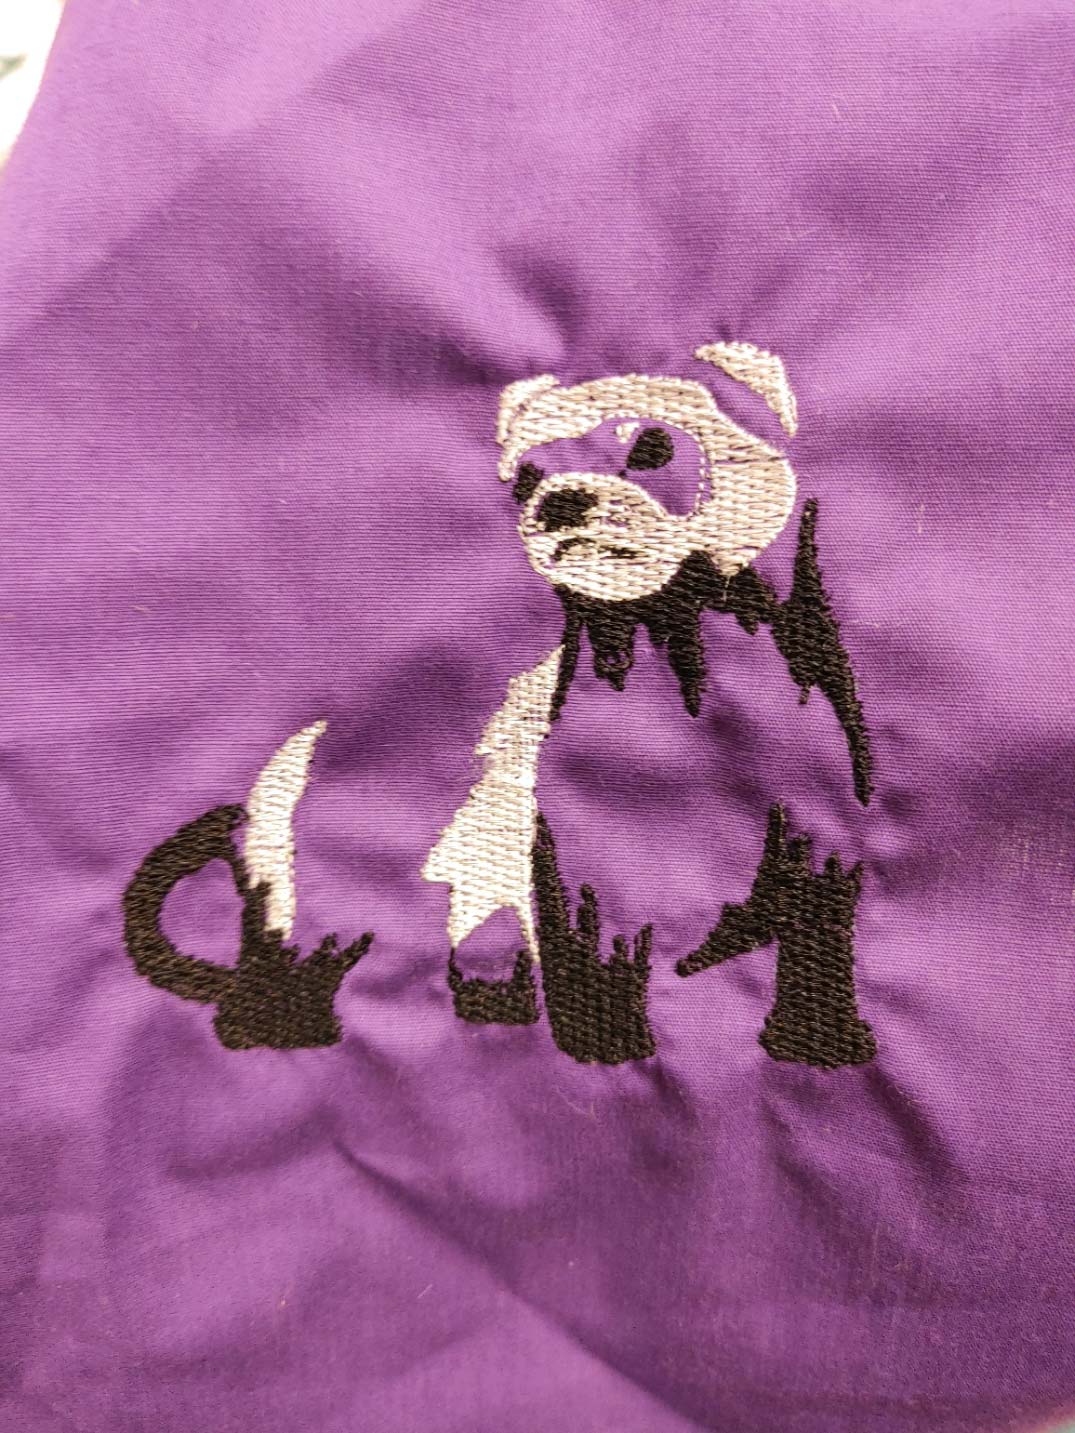
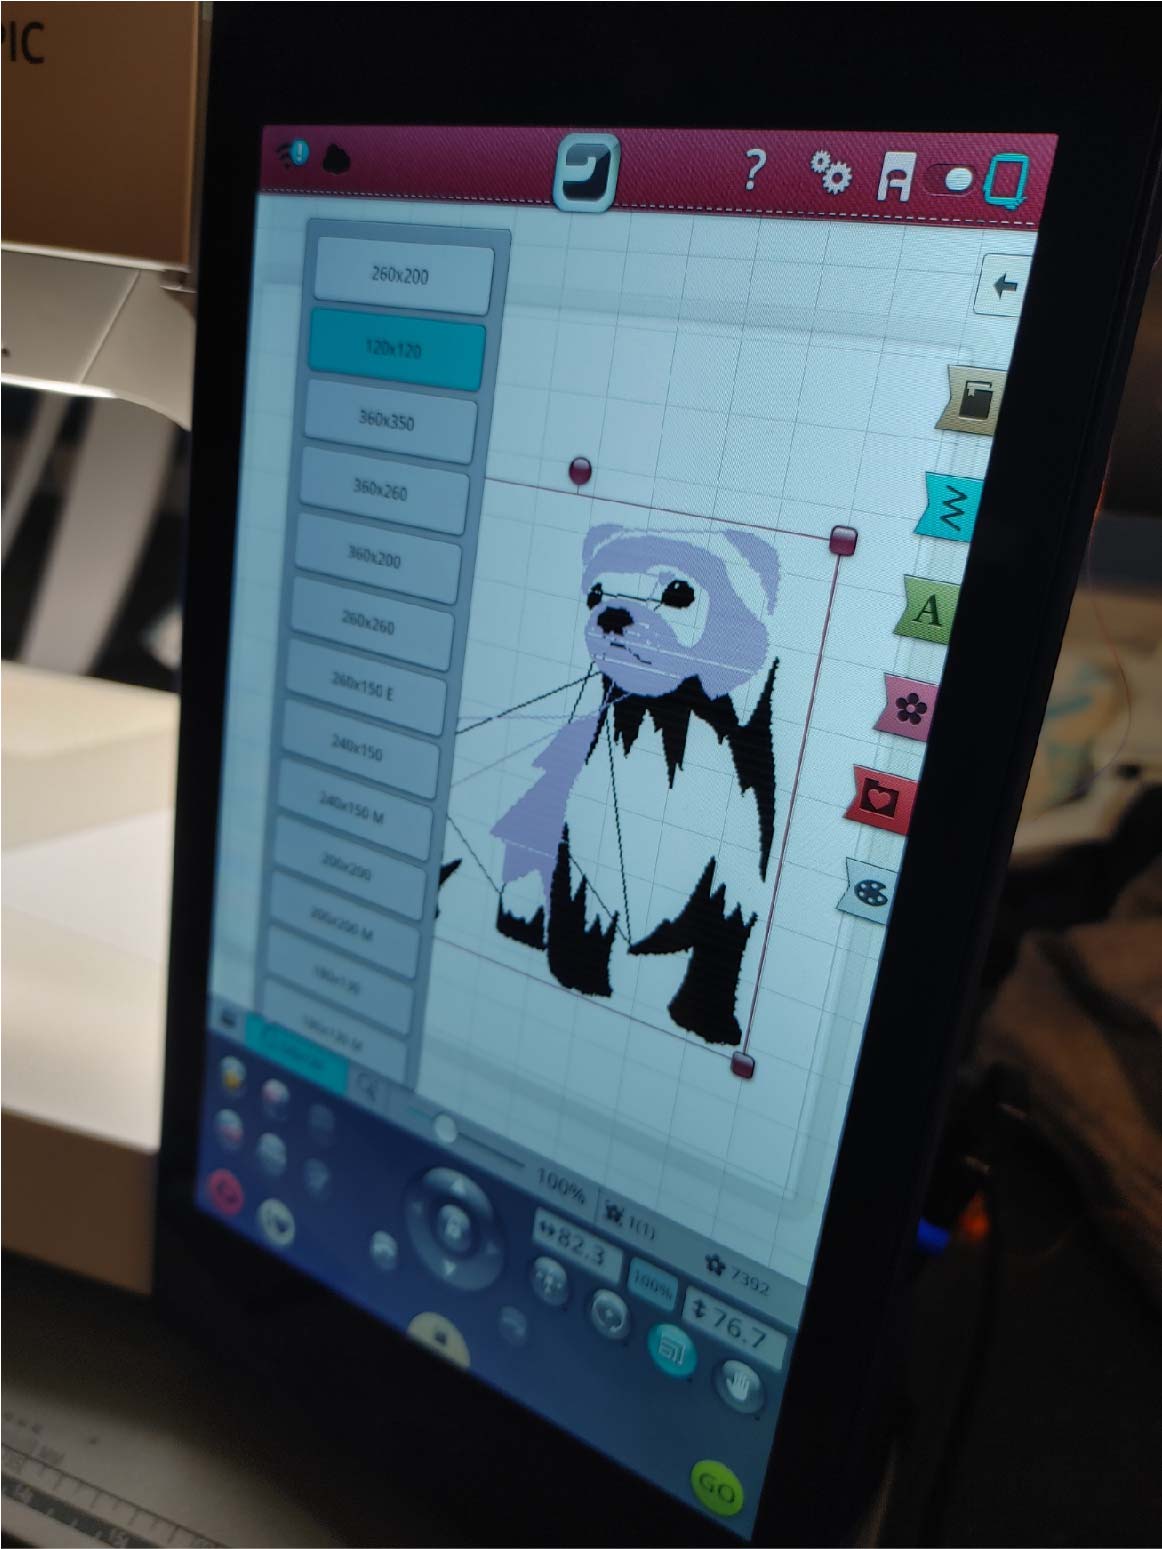
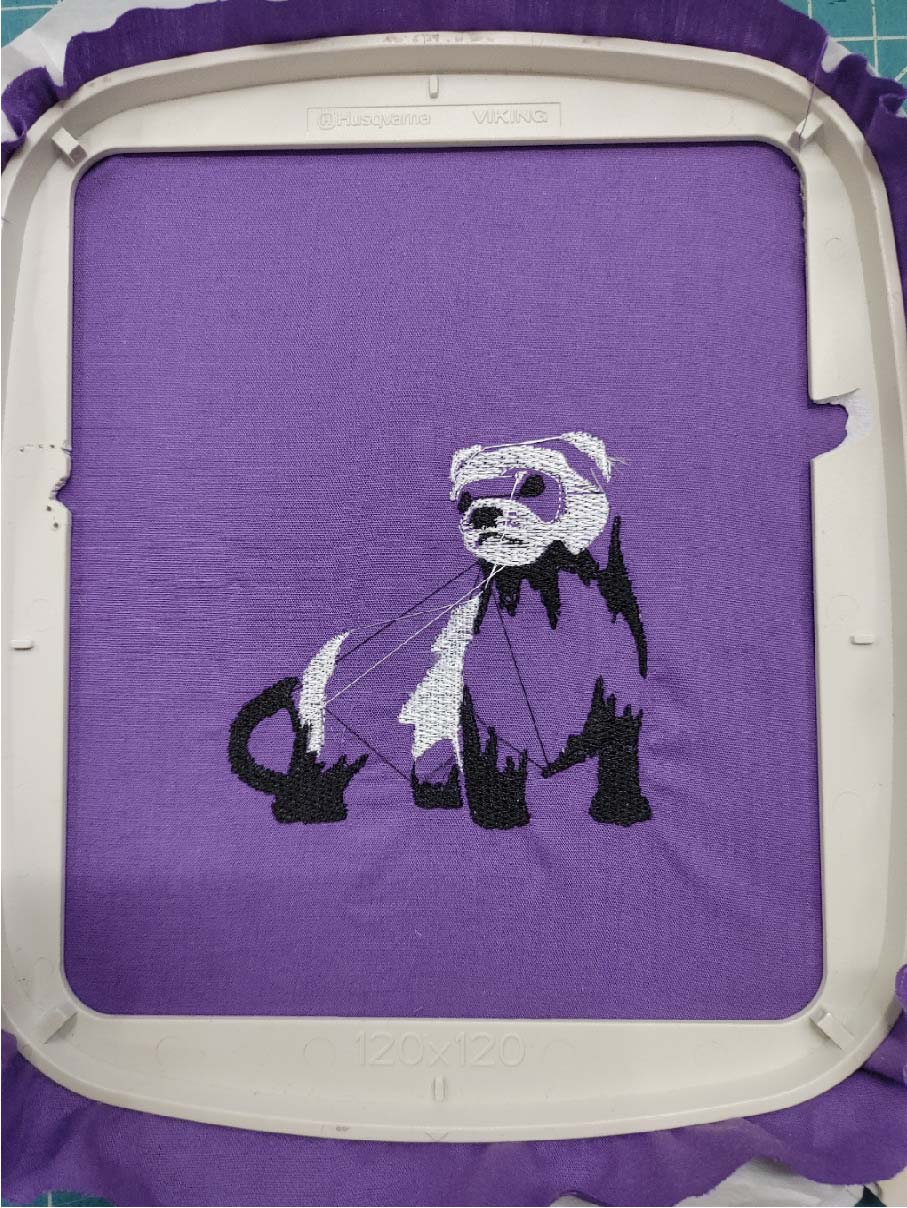
Black footed ferret patch
I used a digital embroidery machine to sow a ferret design onto a piece of cloth.
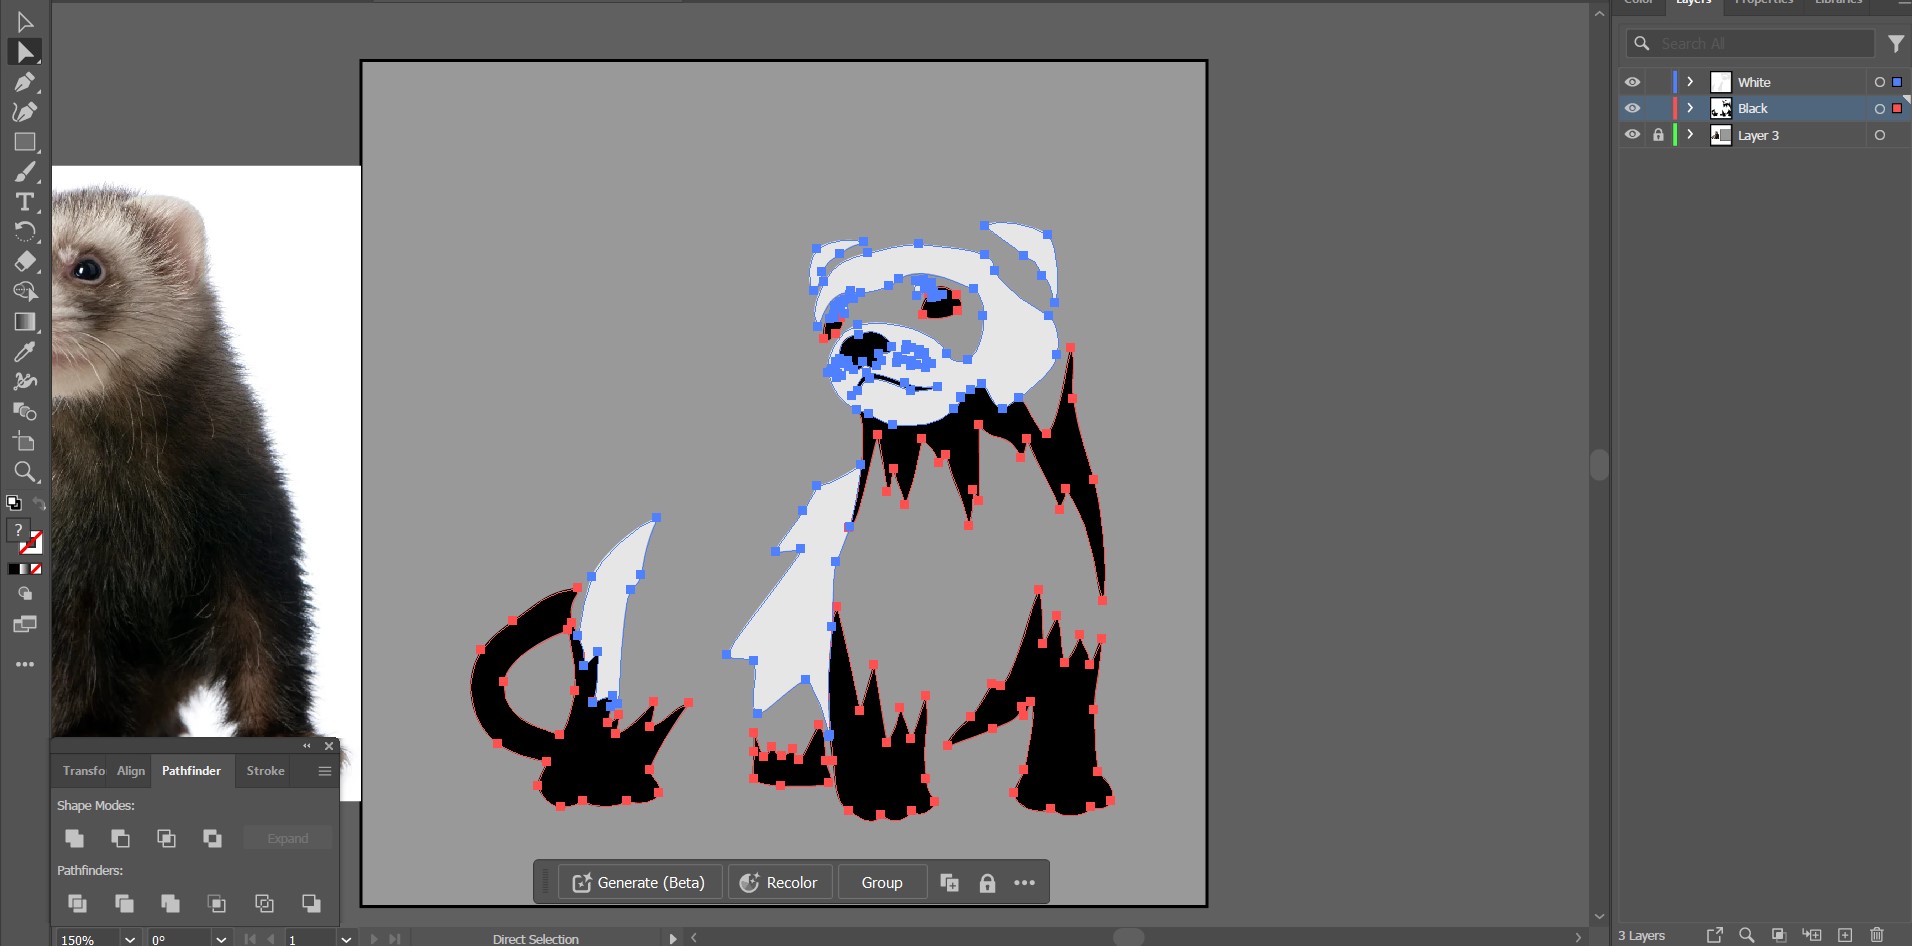
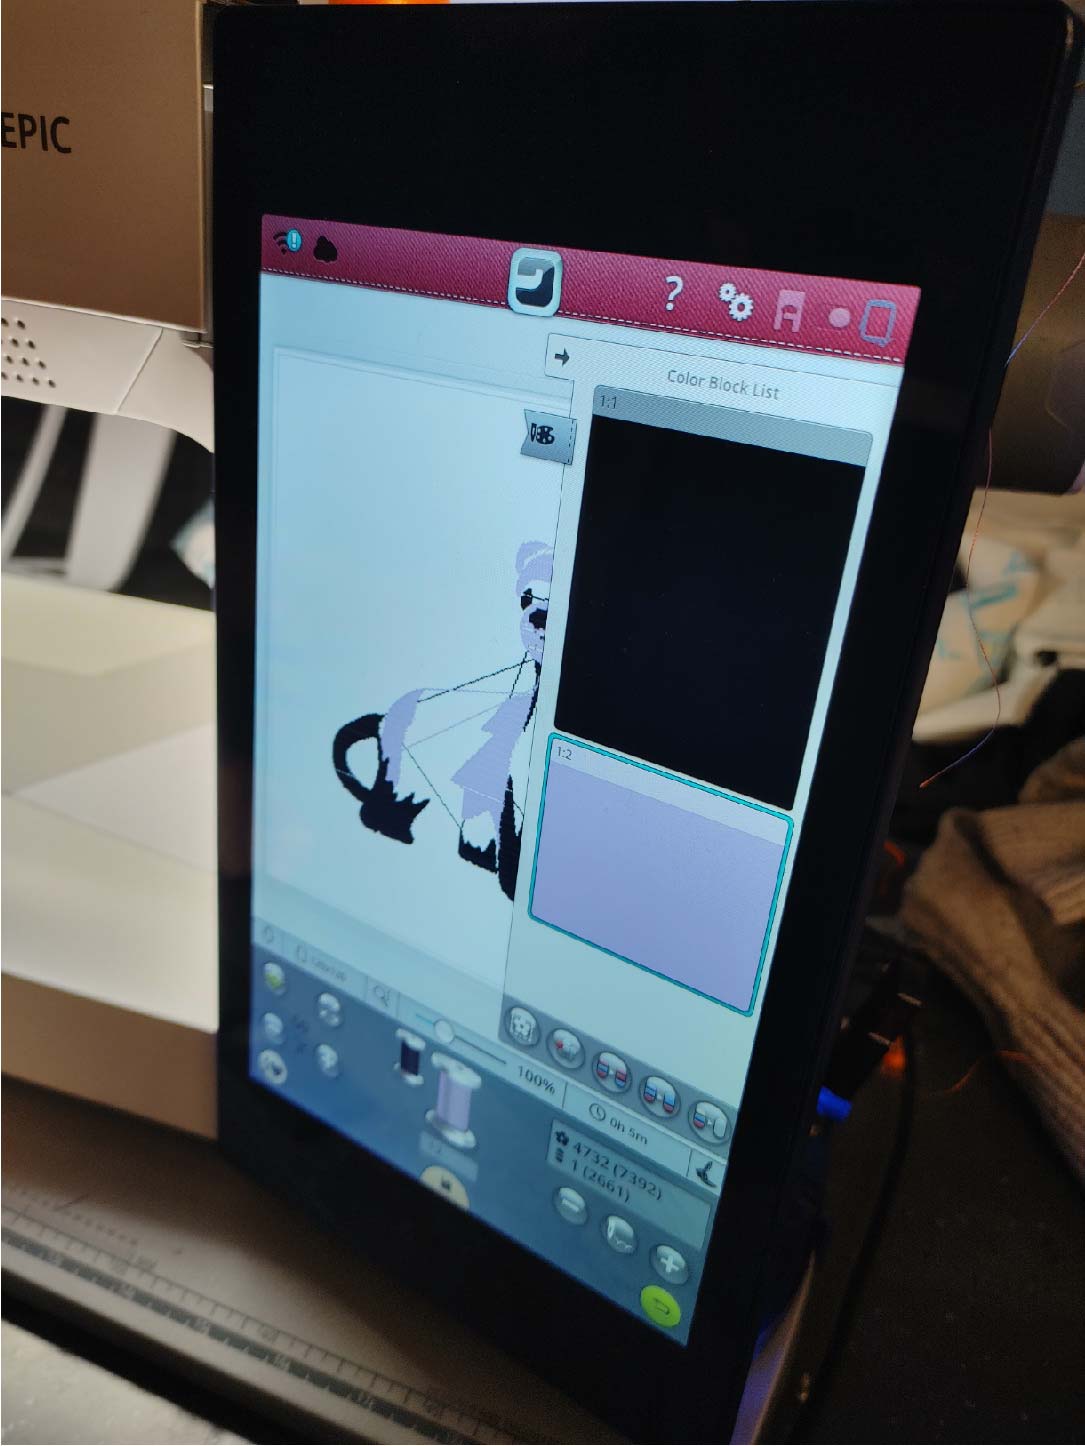
I used a design I made a while ago using the pen tool, the direct selection tool and the pathfinder tool. The digital embroidery machine needs a file with all of the vectors in the design. If you have multiple colors, it will make separate toolpaths for each of them.
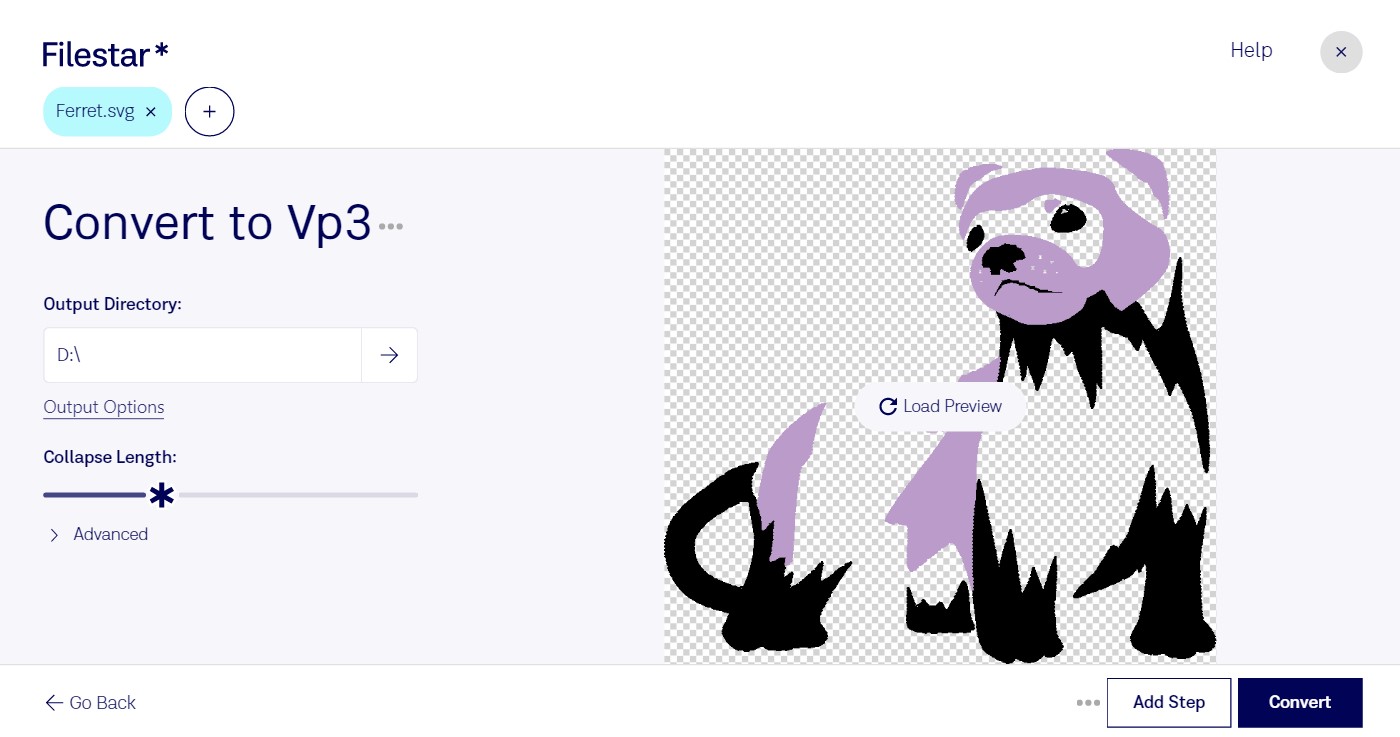
The digital embroidery machine only accepts vp3 files. To convert an SVG file to a vp3 file, I used Filestar, which is a free file converter application.
Setup
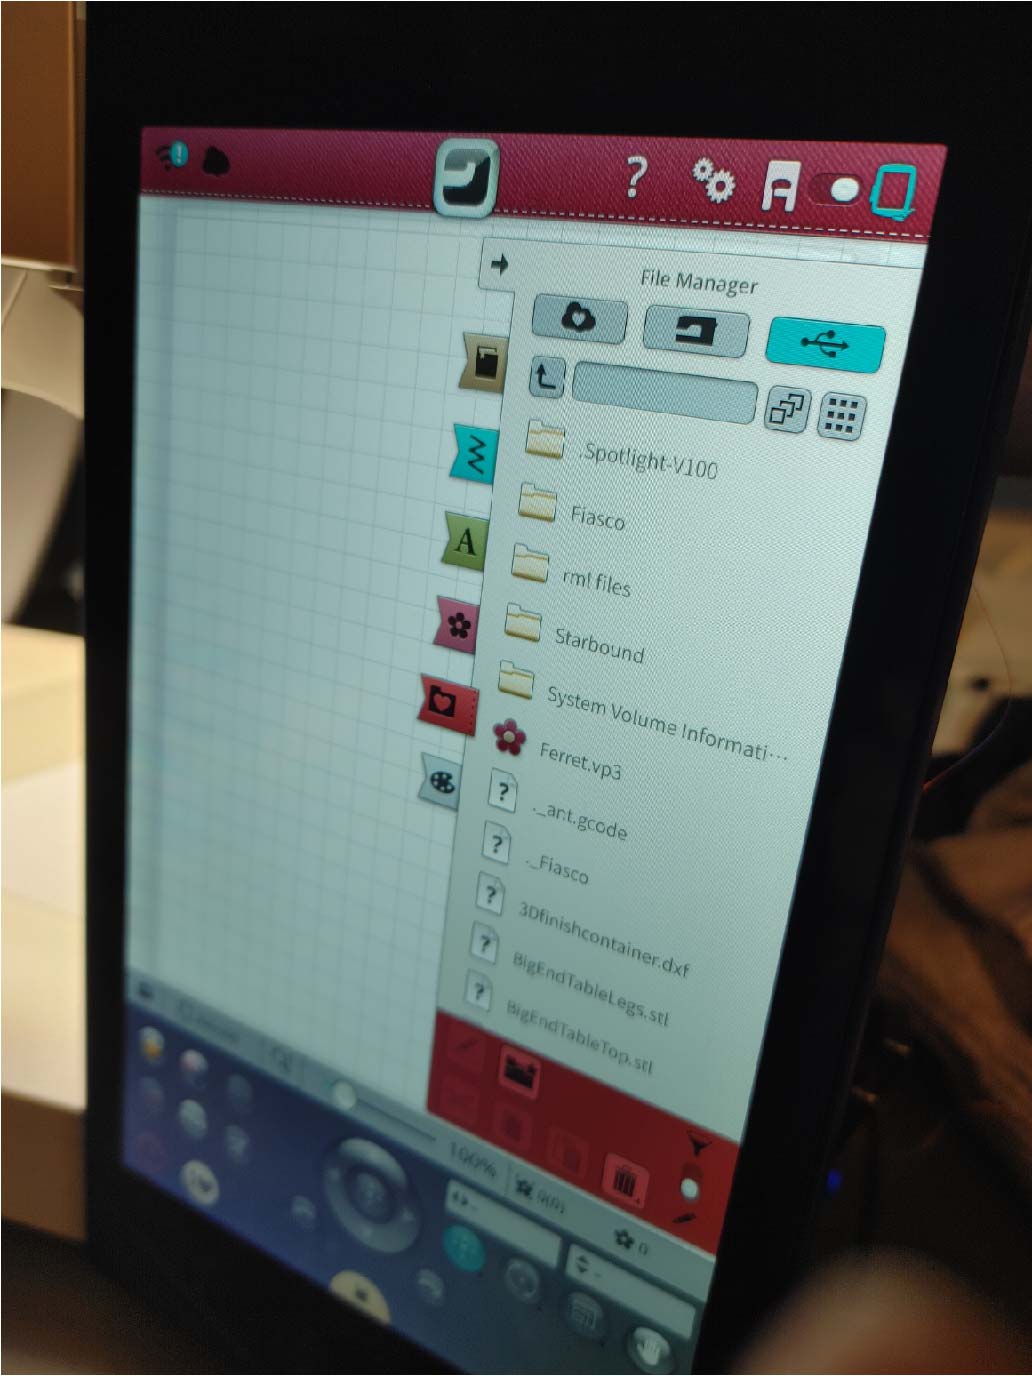
I used a usb stick to transfer the file to the embroidery machine. When you turn the machine on, it zeros the x and y axes automatically. The machine has a screen where you can select files and settings for the job. I navigated to the USB section of the file manager and found the .vp3 file I created. Next I set the frame size to the one that I planned to use.
Once the pattern is centered correctly hit go, then confirm that the right needle plate and foot are in place, and hit confirm. This should bring you the job screen.
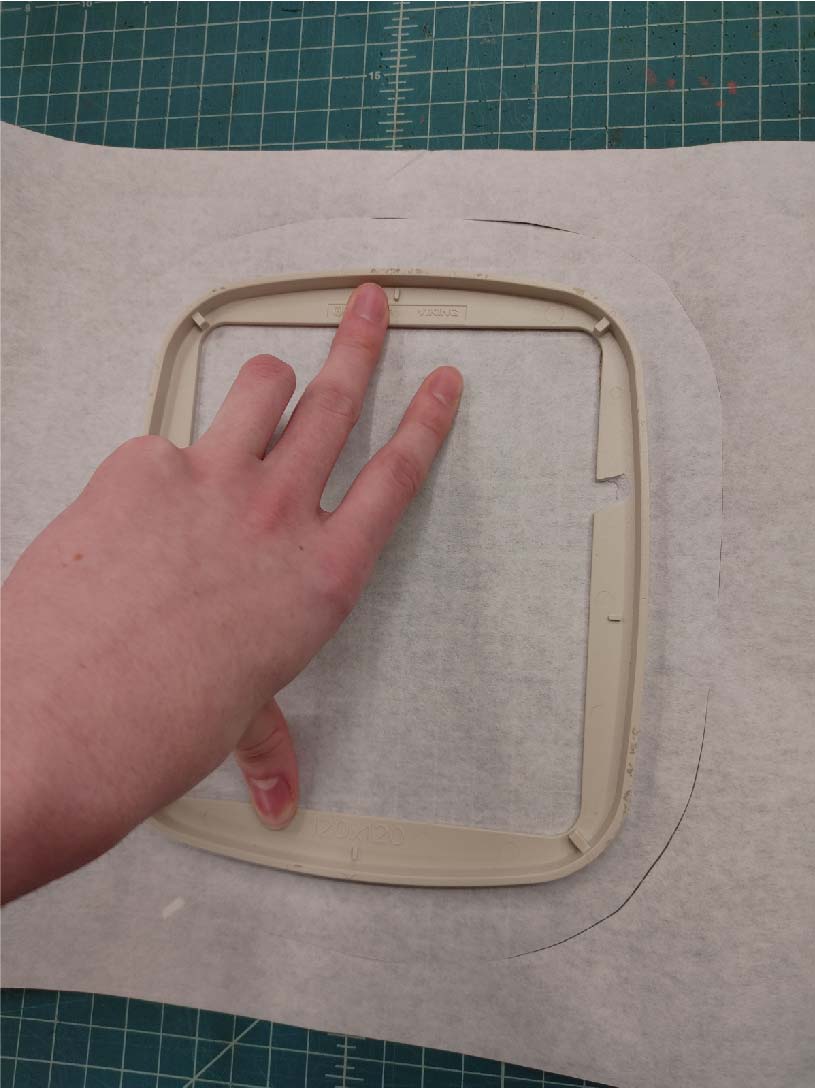
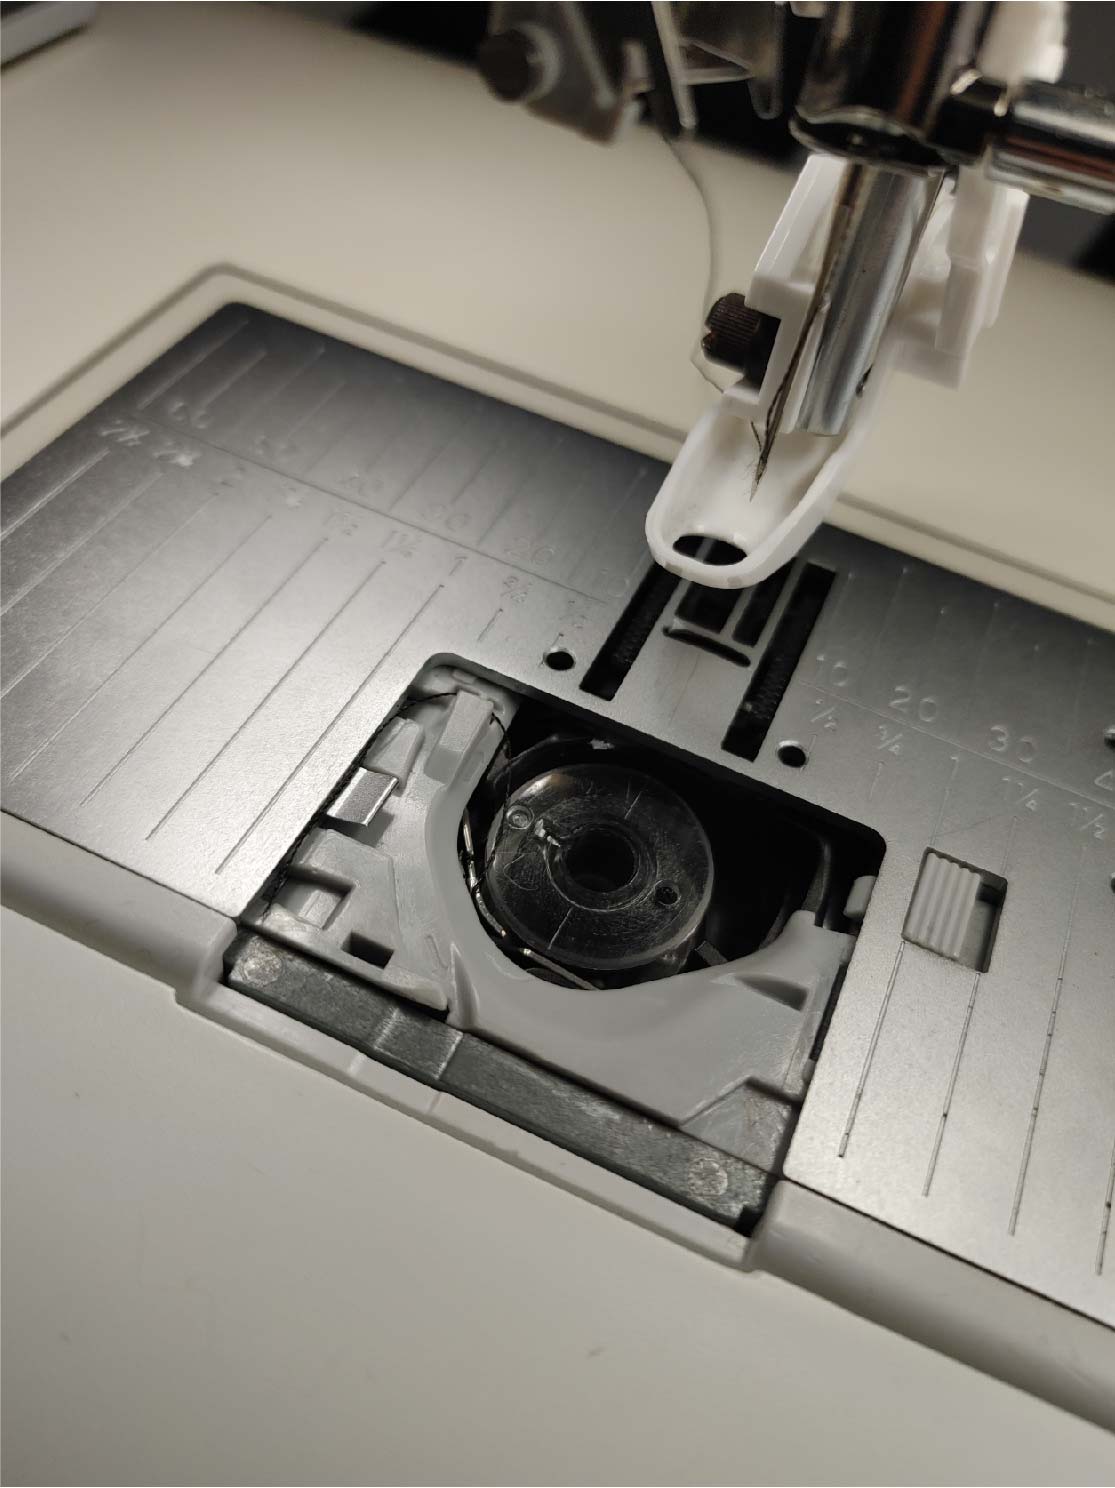
Frame and backing
The cloth needs a stiff backing material, so I cut a piece of papery backing material around the frame I planned to use with an Exacto blade, then cut a piece of fabric using fabric scissors to be approximately the same size. I then fit the cloth and backing material between the inner and outer frame pieces and pulled them taught. You can secure the frame tightly using the knob on the side. You can slot the frame into the machine once the machine has moved to the right location and the frame is set up.
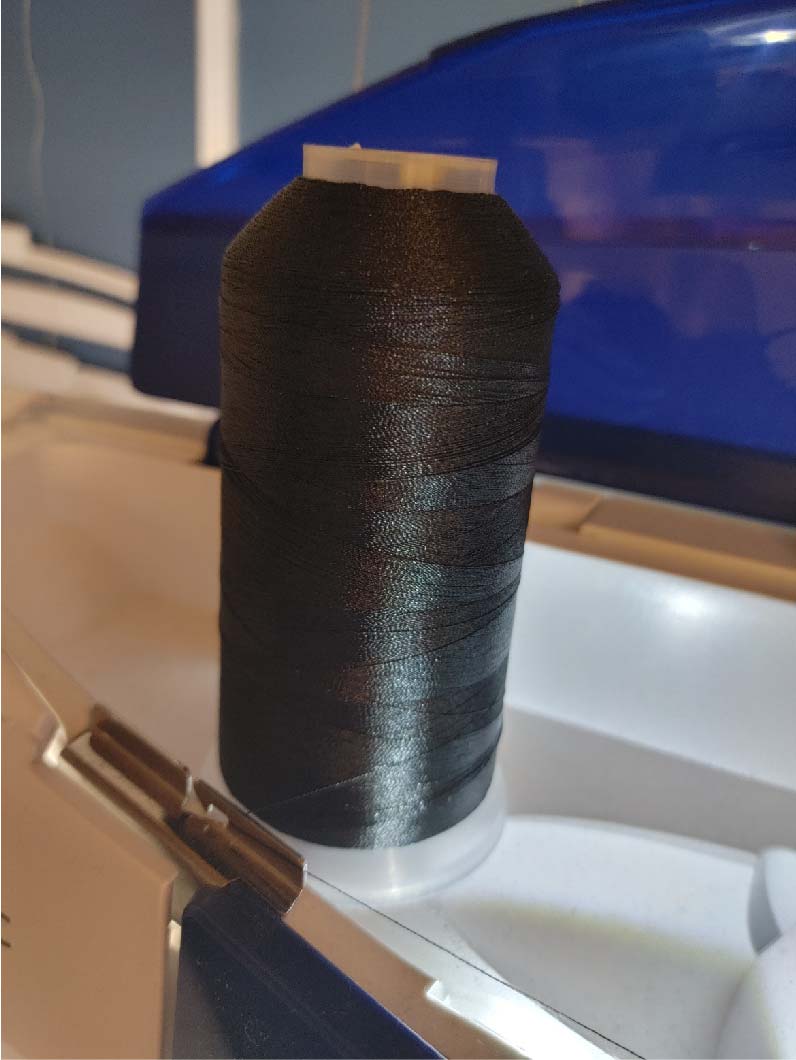
Thread
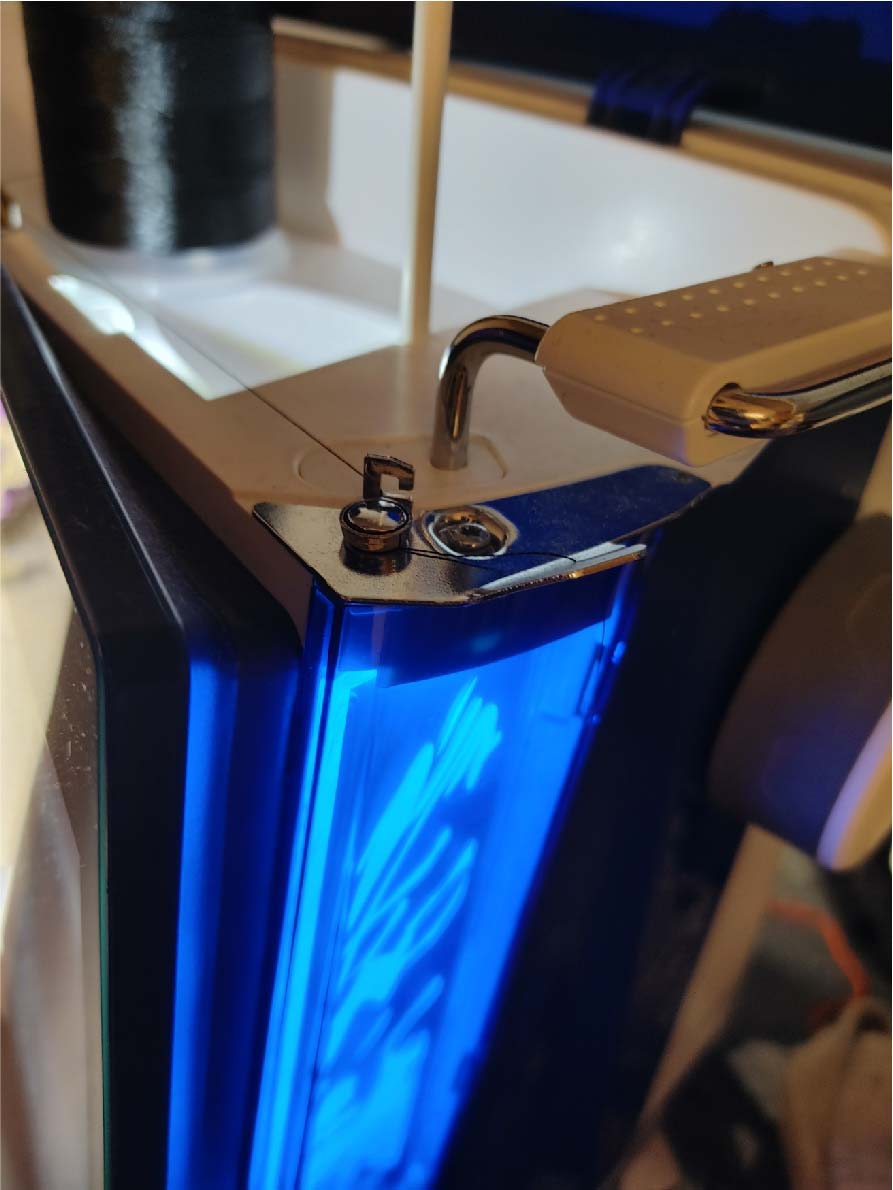
You need a spool of thread on top of the machine to be the color of the pattern, and you need a bobbin under the plate to secure the top thread to the fabric. To put the bobbin in place, you just need to put it in the slot and move the thread following the arrows on the machine until it cuts it off.
If you don’t have a wound bobbin, you can use your main thread to wind around an empty bobbin by feeding the thread around the tensioning hooks and placing the bobbin on the side of the machine.
To secure the main thread and start the machine running, feed the thread as shown in the video below. This video was taken while restarting the machine after the thread broke, but the process is the same if you’re starting it up the first time. If you are using multiple colors, the machine will stop between each color to allow you to switch the thread before continuing.
Normally the thread should get cut between each separate piece, but for some reason that failed to occur for me. I suspect this might be an issue with the file converter, but I don’t know for sure. This can be cleaned up with scissors or a knife.
Finally you can remove the cloth from the frame and rip the paper backing off.
Hero forge is a website for creating custom miniatures. You can make a character by selecting options from menus. You can customize the species, proportions, clothing, and equipment among other things.
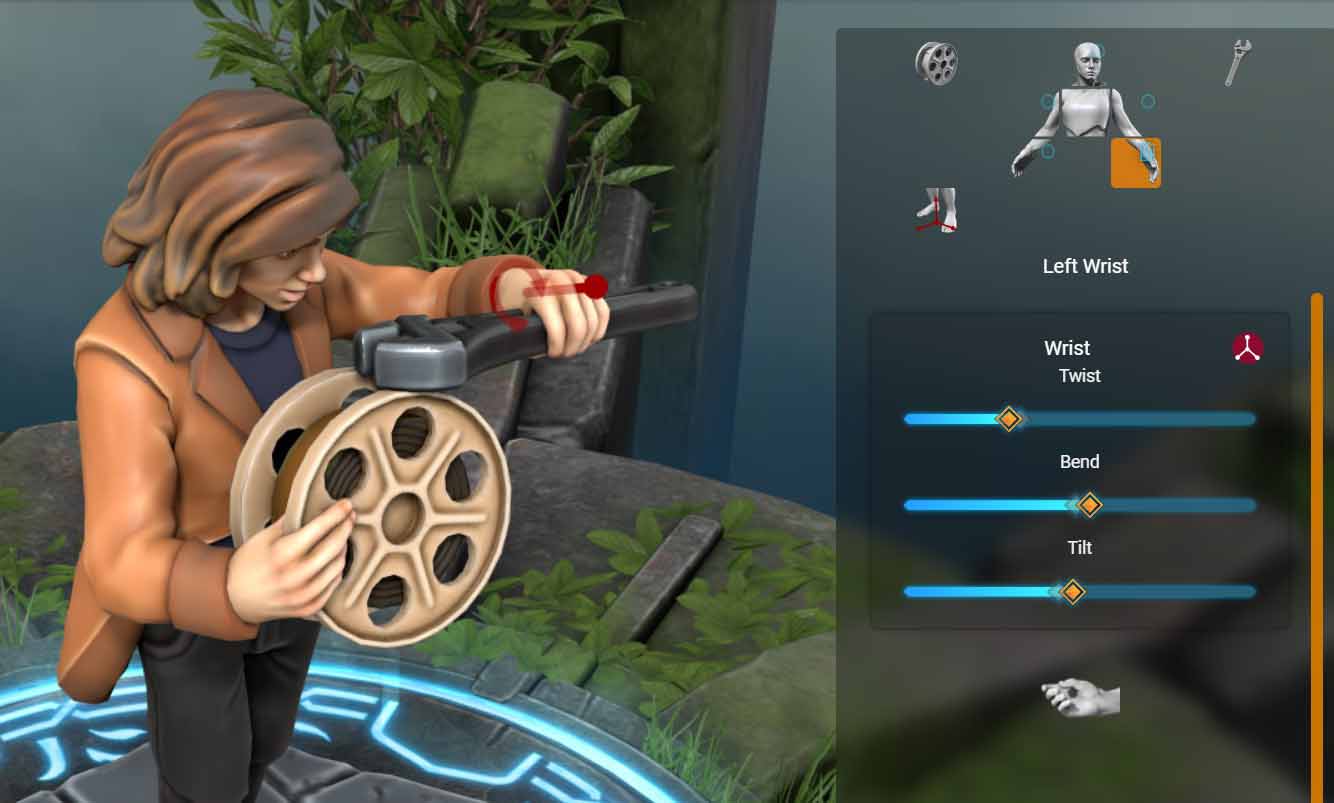
I used the advanced posing options to make everything line up in the way that I wanted.
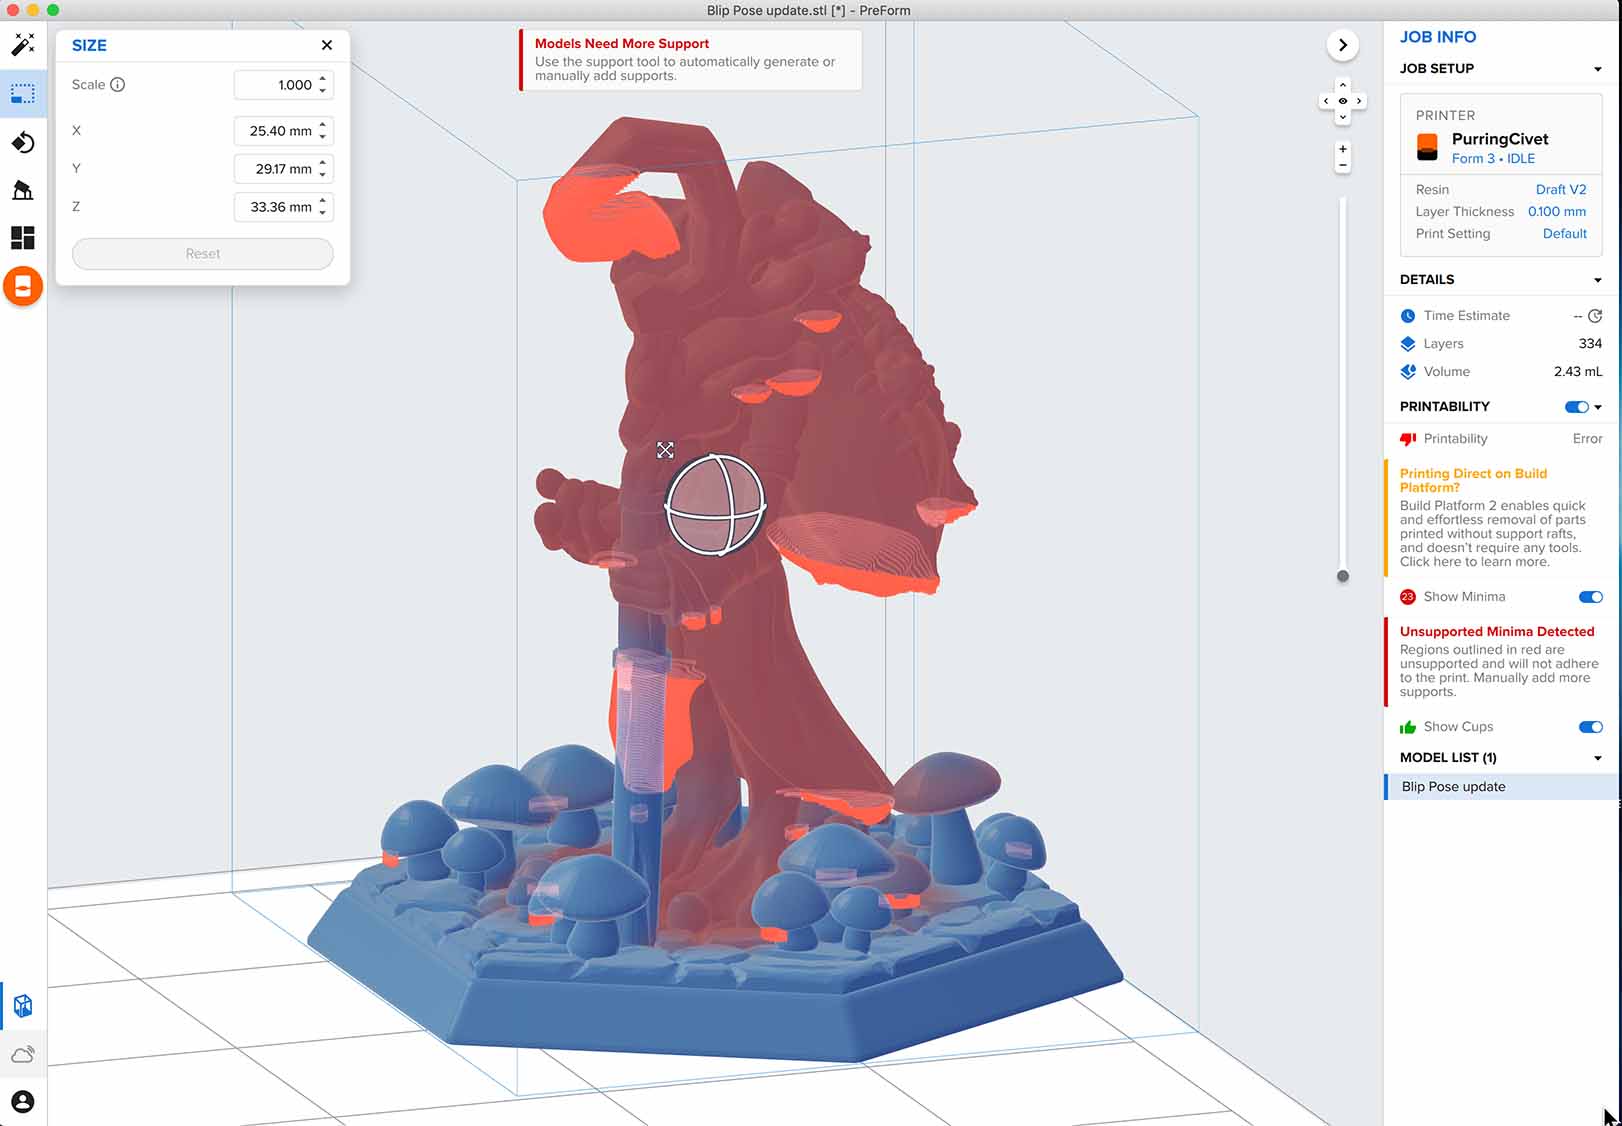
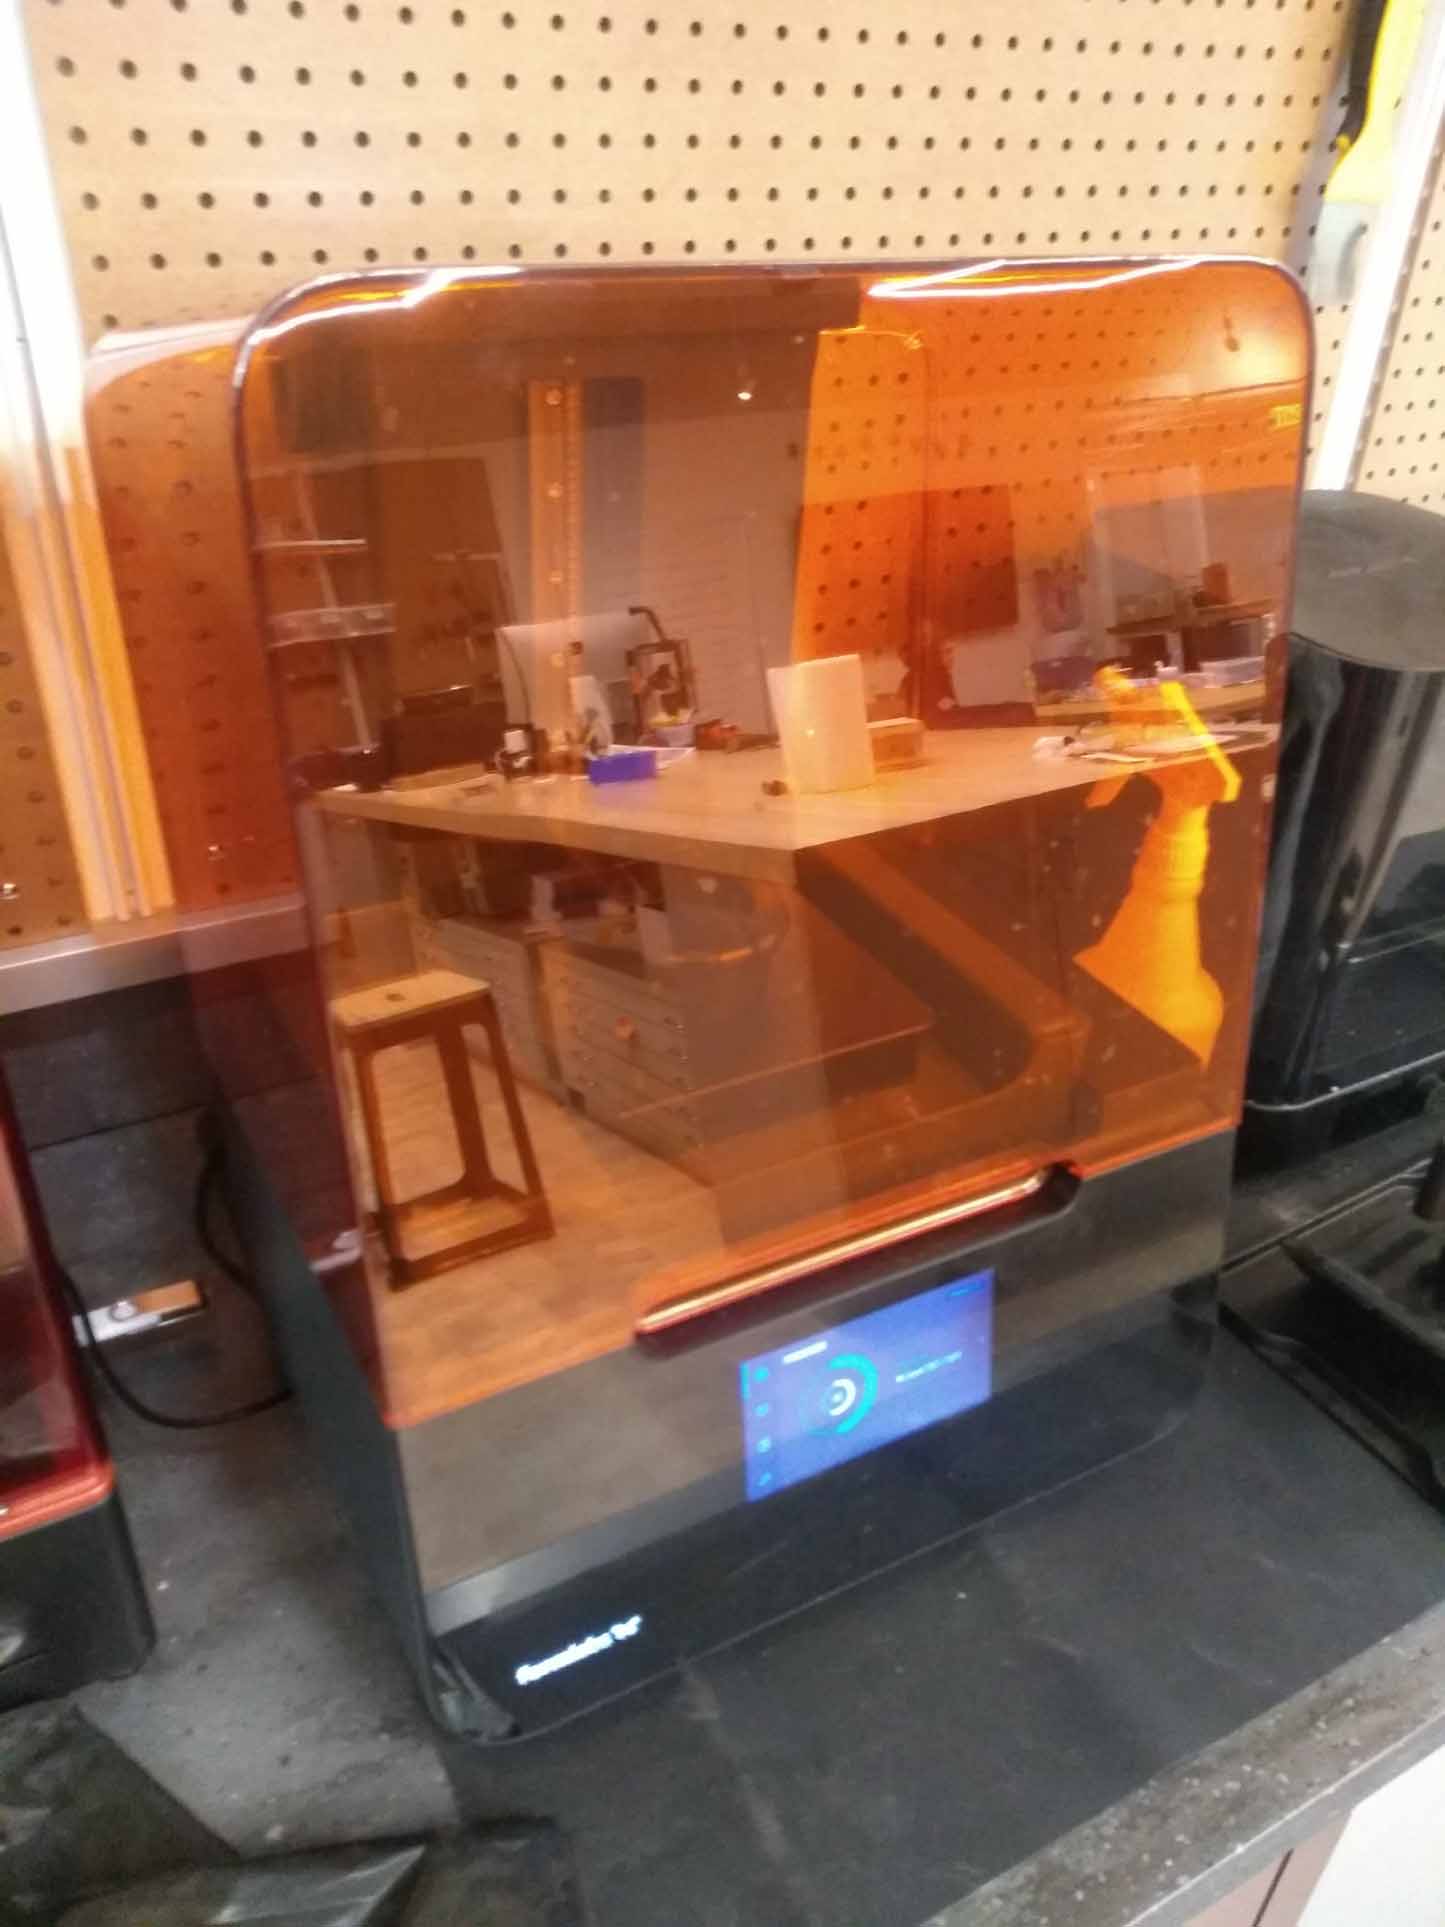
Hero Forge is free, but exporting the models isn’t. I bought an STL download of one of the characters I had designed and moved it to the computer connected to the SLA printer in my lab. My lab has a Formlabs SLA printer. The slicing and preparation for an SLA print is simpler than with extrusion printers. After you import the model, you can set the scale of it, and it will color the model based on how well supported everything is.
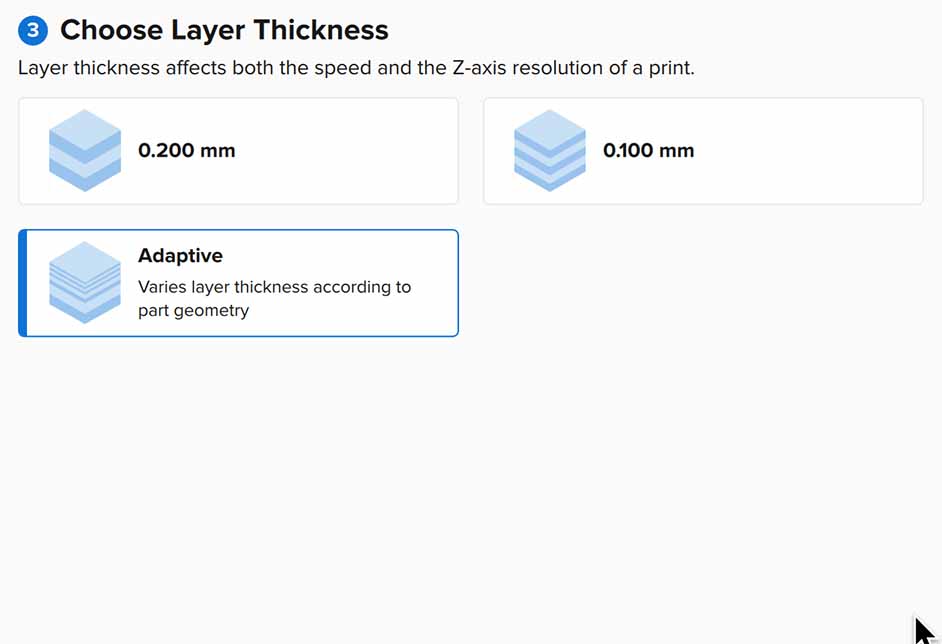
You can change the layer height between three different settings. I put it on adaptive so that it would change the layer height depending on the level of difference between each layer.
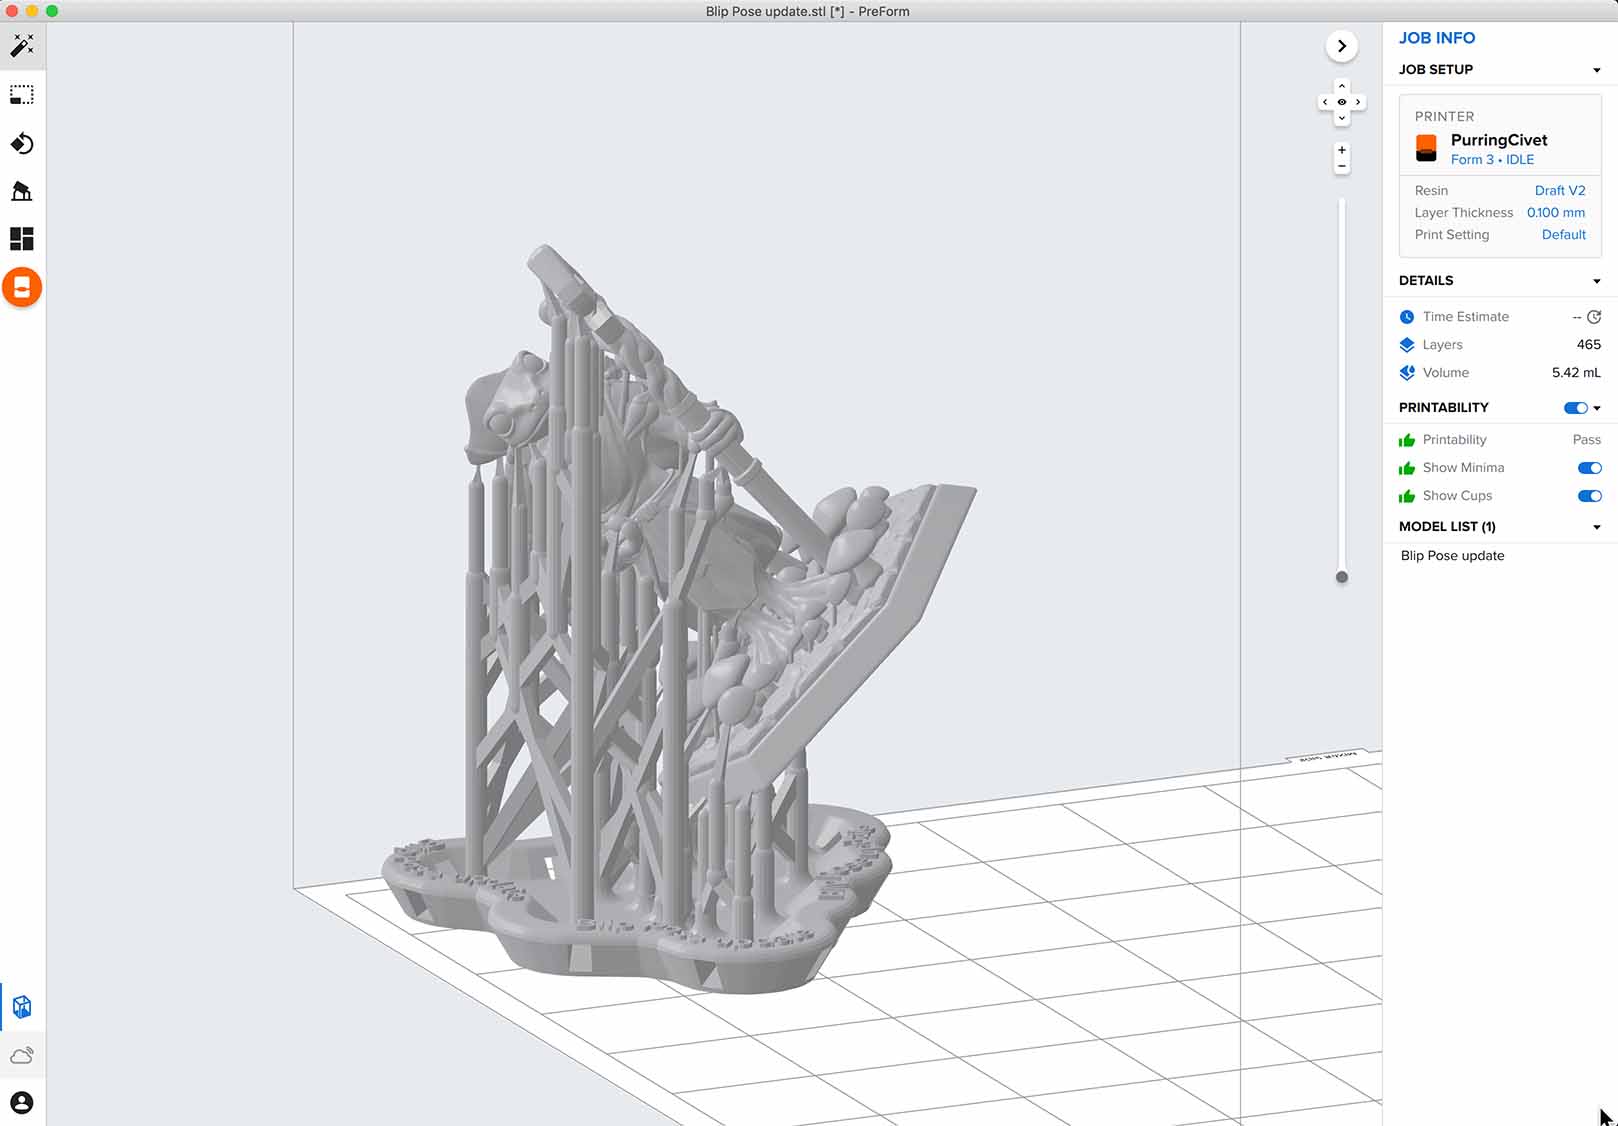
Once the settings are to your liking you can hit the wand button in the upper left corner of the screen to orient and slice it.
Once the print is done, you should put on disposable gloves to open the printer and take the build plate out. The print will likely be well adhered to the bed, so it might take some leverage to get it off the plate. Make sure not to send the print flying when you detach it.
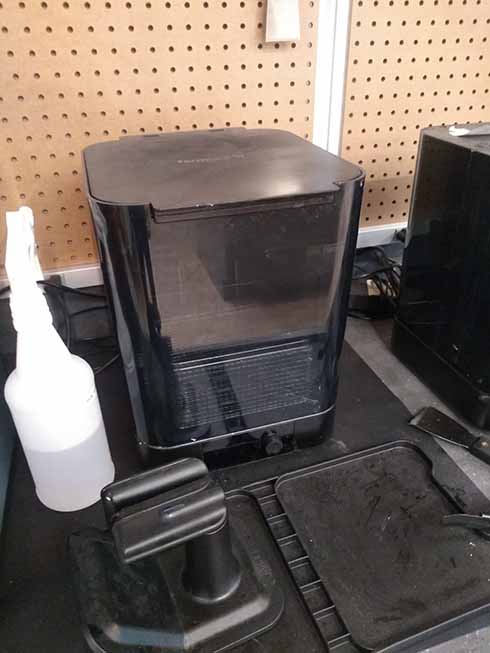
Once you have the print off you should leave it in an alcohol bath and stir it. I used an automated machine to do this. The amount of time you should leave it in the bath depends on the resin.
Once it’s done being cleaned you put it in a UV curing machine to harden all of the resin that might not be fully cured yet. After that you can take off the supports. I would recommend wearing safety glasses while doing this, because the supports have a tendency to fly off when they detach.
MIG welding
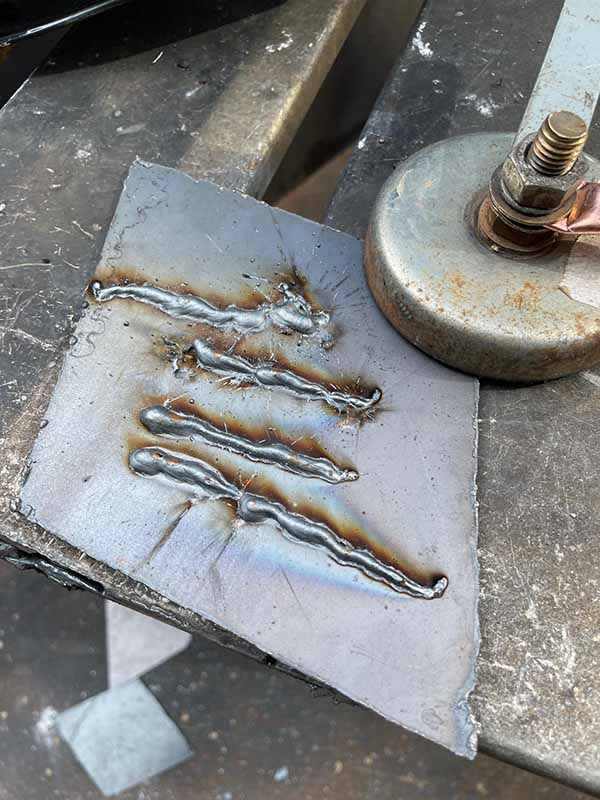
MIG stands for Metal inert gas. It melts a steel wire with high voltage and prevents it from combusting by surrounding it with a mix of argon and carbon dioxide. Before you start welding, you need to clamp the pieces that you want to attach together, and attach the ground wire of the welder to the work you are welding to. You also need to wear eye protection. The brightness of the welder will blind you if you aren’t wearing a welding mask. I used an auto dimming welding mask so that I could see my hands and line up for the weld before it went dark. There are three major things to concentrate on when doing a weld:
1 Hand position. Hold the welder firmly while resting your hand on the work, so that you can feel your way along the path you plan to weld. Hold the welder as close as you can to the work without touching, or getting caught on the weld as you move along.
2 Angle. You want to hold the welder mostly perpendicular to the work, and angled about 30 degrees towards the direction you’re moving. If you are welding two pieces of different thicknesses, or thermal mass, you should angle the welder more towards the thicker piece because it needs more heat for the weld to adhere properly.
3 Speed. If you want an even weld, you should try to move your hand at aconstant rate. The weld will start piling up as soon as you pull the trigger, so you should time the start of your movement with when you first pull the trigger, and release the trigger at the same time you pull away from the work.
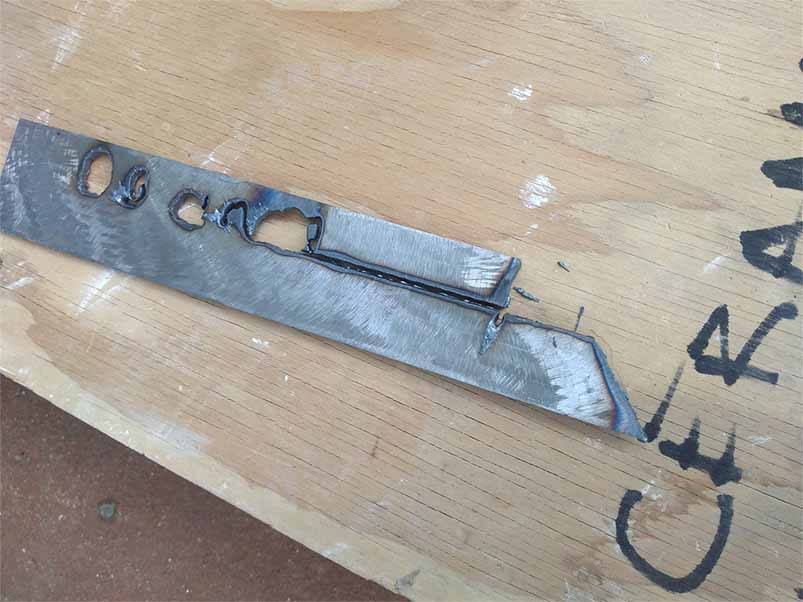
Plasma cutting
A plasma cutter focuses compressed gass down an electrified nozzle, where electricity arcs to the material you are cutting. Plasma cutting can only cut through conductive material that is connected to the ground of the plasma cutter. Cutting with a plasma cutter offers no resistance for your hand, so it is easy to accidentally cut something you don’t want to. If you want a straight cut, you should set up a guide for you to trace along as you cut.