Week 1: Project management
This week I Set up my git repository worked and started to getting used to the documentation process. I also drew up an idea for a final project
Git
I roughly followed this tutorial. to set up my git repository.
I downloaded git from this website.
Then I got to work making syntax errors and learning about the console.
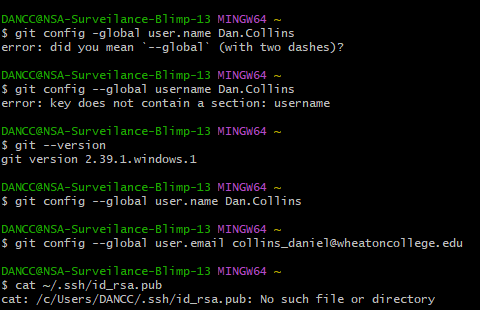
I set my username using
git config --global user.name Dan.Collins
Then set my email using
git config --global user.email collins_daniel@wheatoncollege.edu
I checked to see if I already had an SSH key:
cat ~/.ssh/id_rsa.pub
It returned “no such file or directory” meaning it couldn’t find one
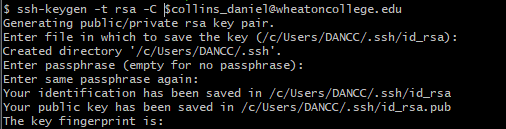
I then generated an RSA encryption key for my repository
ssh-keygen -t rsa -C $collins_daniel@wheatoncollege.edu
I didn’t give it a passphrase, as this layer of security seems redundant for my purposes.
I then ran the same command as before to see the generated key
cat ~/.ssh/id_rsa.pub
This outputted a long string of characters which I copied using:
clip < ~/.ssh/id_rsa.pub
I pasted this into my gitlab profile under ssh key
.
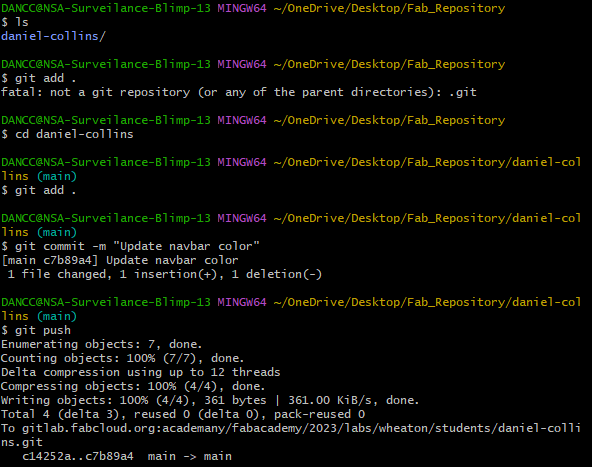
Next I created a file on my desktop and navigated to it in the console using the ls
command to determine my location in the file directory and the cd [fileName]
to navigate to the proper file.
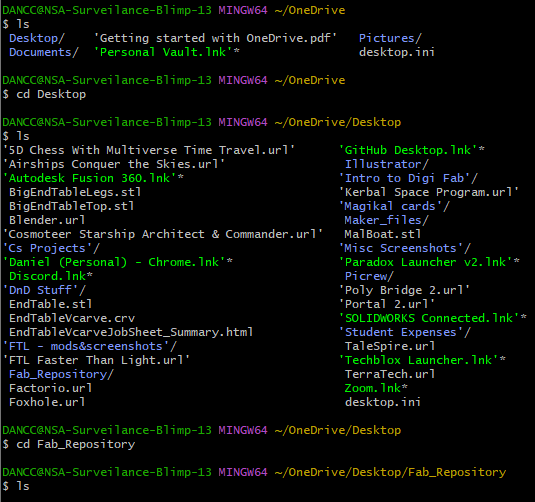
I cloned the repository so that I could edit the website files on my computer and submit the changes to the server.

To test if everything was working correctly I opened the style.css file and changed the navbar background color to a shade of orange.
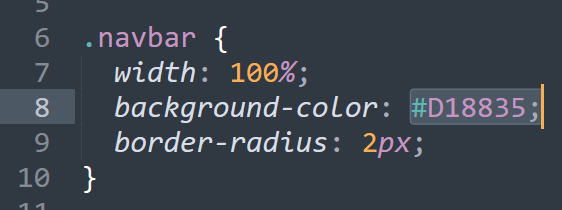
I then saved it and used git add .
to add the new version to git,
then git commit -m
to add a comment explaining the nature of the change.
Finally I used [comment]
git push
to send the changes to the server.
I used html and css to make my website. Since I had very little experience with html prior to making my website, I started by editing the default website that was already there. I changed up some of the color values in the style.css document, and looked online for ways of arranging the images and text in a more pleasing way.
One of the attributes I found most useful was creating a flex box div. This allows you to display features next to each other instead of vertically.
I also used this site to learn how to put images next to text in my website.
Here is an example div that you can use to display items next to each other:
.container {
  display: flex;
  align-items: center;
  justify-content: center
  padding: 10px;
  max-width: 100%;
  margin:5%;
}