This week, I worked with my group to review the safety datasheets for our molding and casting materials and made and compared test casts for each of them. For my individual assignment, I designed a mold, milled it, and casted airplane wings. My plan was to make a Boeing 377 fuselage, but I did not have time to mill the other parts although I had them designed.
12. Molding and Casting
Design
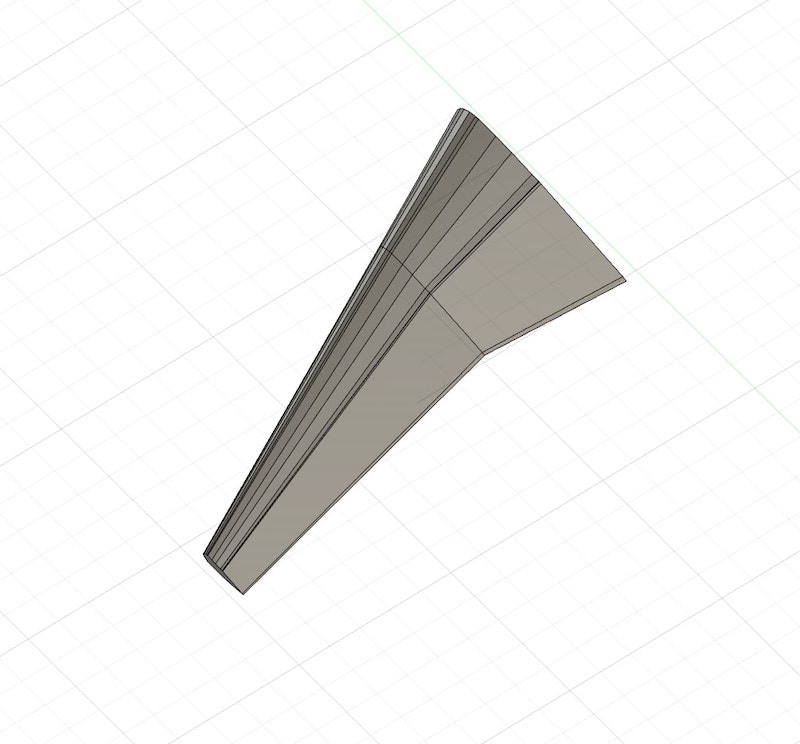
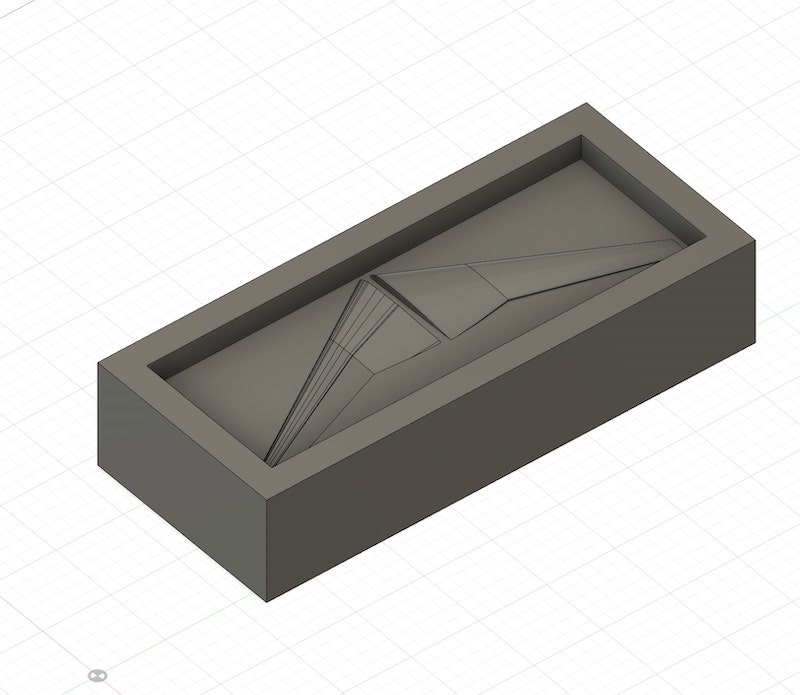
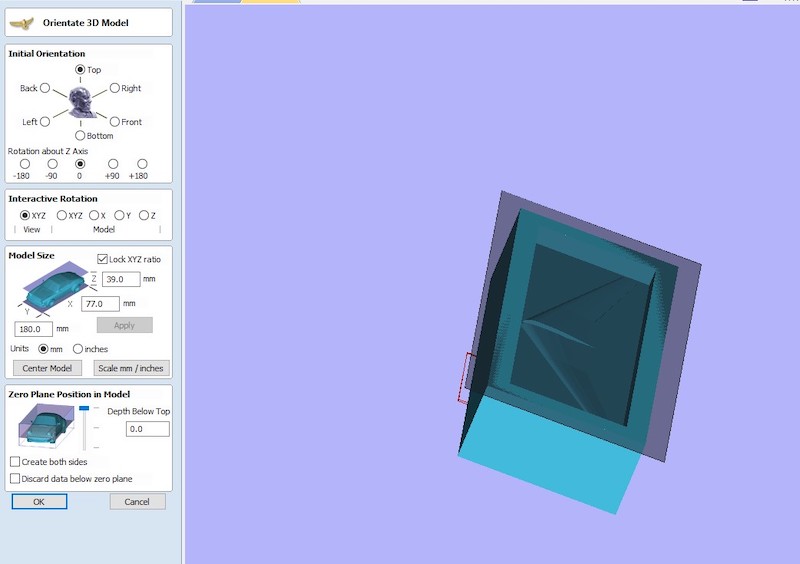
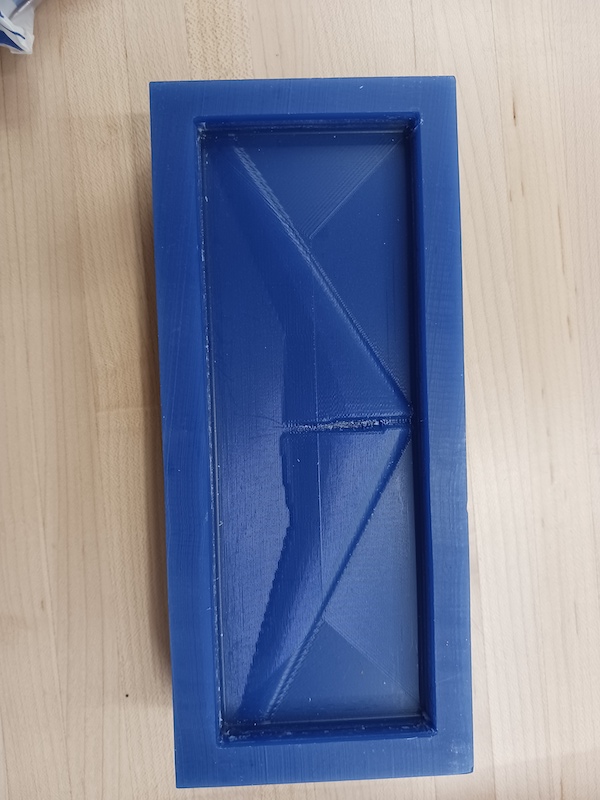
I used a design of Boeing 377 I had designed following this tutorial. To start, I copied the wing and pasted it into a new file. In that file, I designed a 180*39*77 mm block to simulate the wax block I milled. I cut a 9 mm pocket inside the bigger surface of the block. To place the wing on the block, I had to slice it horizontally so that each pat has a flat surface.
Milling
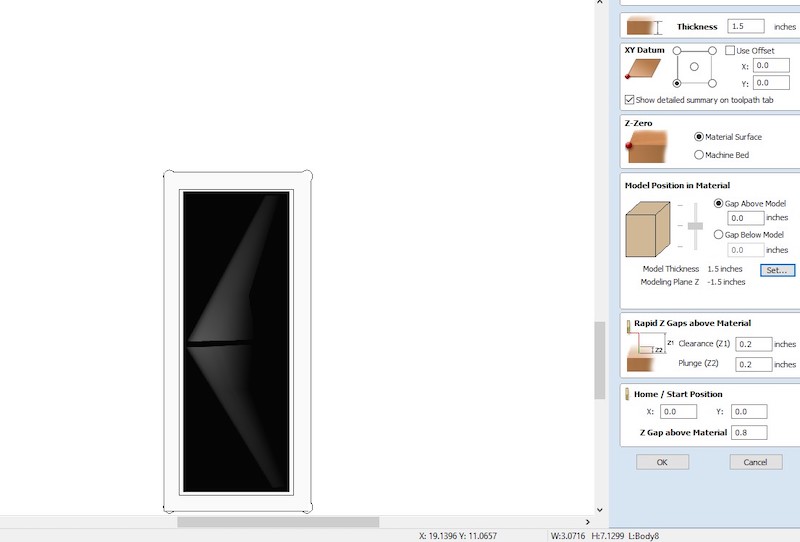
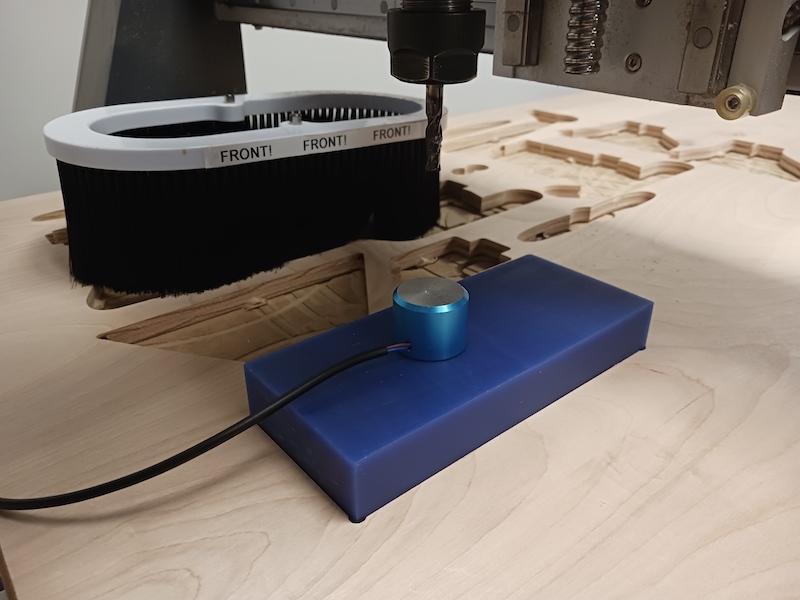
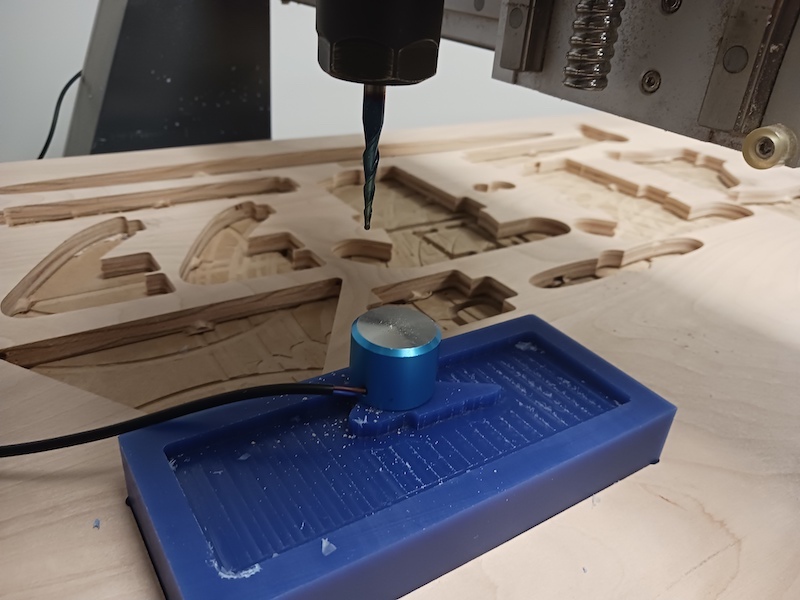
Our Axiom machine uses Vcarve Pro software to the define the sttings of the cut. To position the wax block tightly, Brandon created a toolpath to mill out a hole in a piece of plywood. Before putting the block in the hole, I stuck two pieces of double-sided tape at the bottom of the block to make sure the cutting bit does not take it out. I imported the obj file in VCarve and positioned the block on the profile to align the 3d geometry with the physical setup. I set the material thickness to 1.5 inches, which is the thickness of my wax block, and created the toolpath. For the 3D roughing toolpath, I selected the 1/4" cutting bit and for the 3d smoothing toolpath, I selected the 1/8" ball nose cutting bit. I exported the two files to the USB disk.
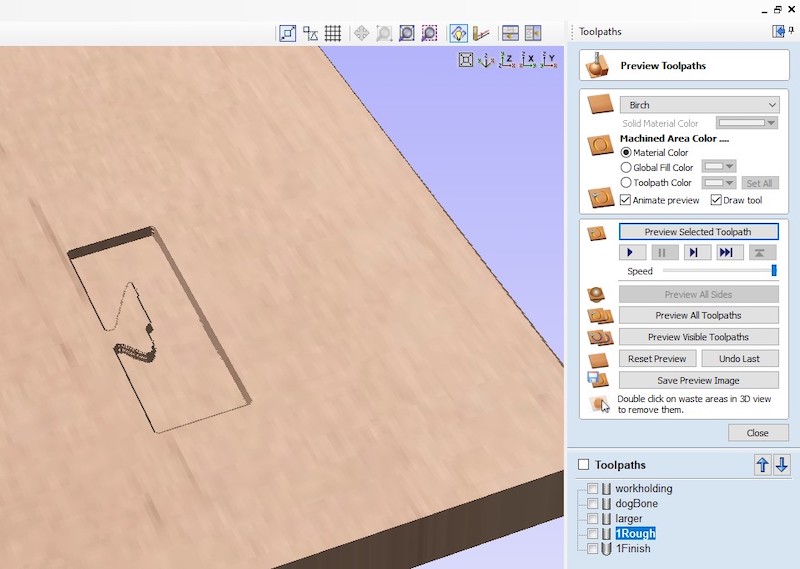
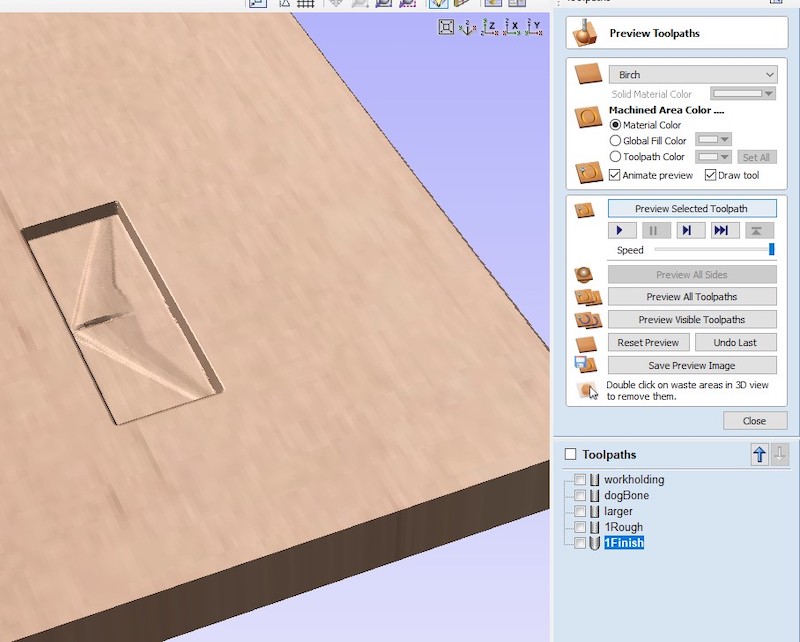
I had the 1/4" bit already in the machine so did not need to change anything. I z-leveled the machine by placing the metal puck on the wax block under the cutting bit and hitting toolset. As it touches the metal puck, the cutting bit bounces up, realizing how high it is over the wax block now. I turned on the the vacuum cleaner of the machine, selected my roughing file and started the cut. Once done, I vacuumed any dust left, changed the cutting bit using two wrenches to the 1/8" cutting bit, zleveled the machine again, and started the second cut. It took longer for the second cut since the bit was half the size and more precision was involved.
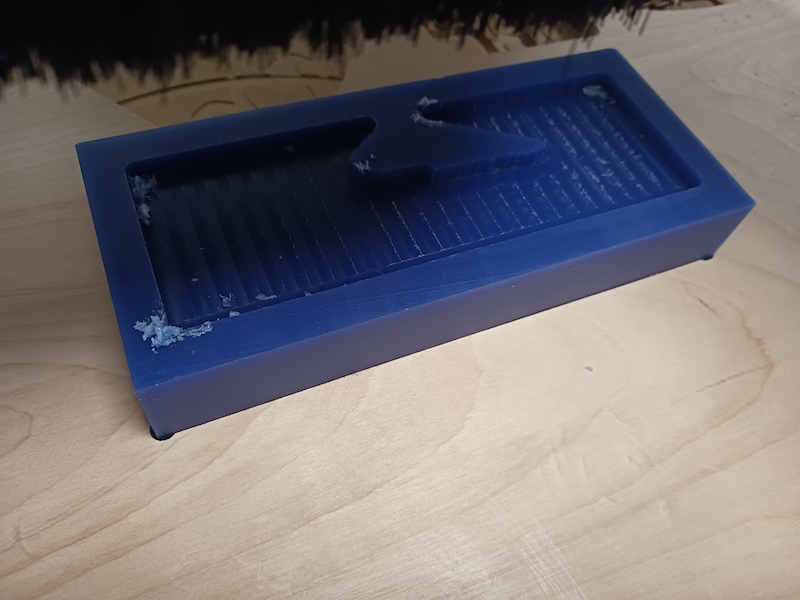
Molding

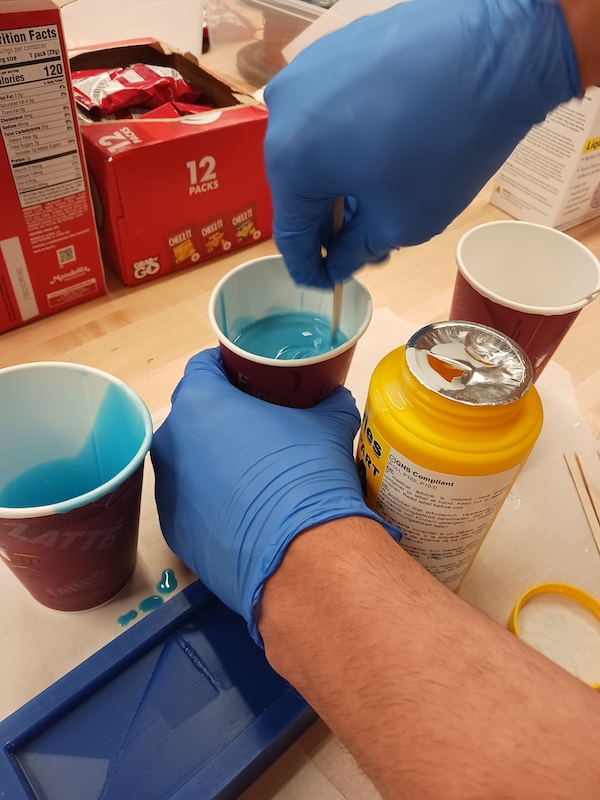
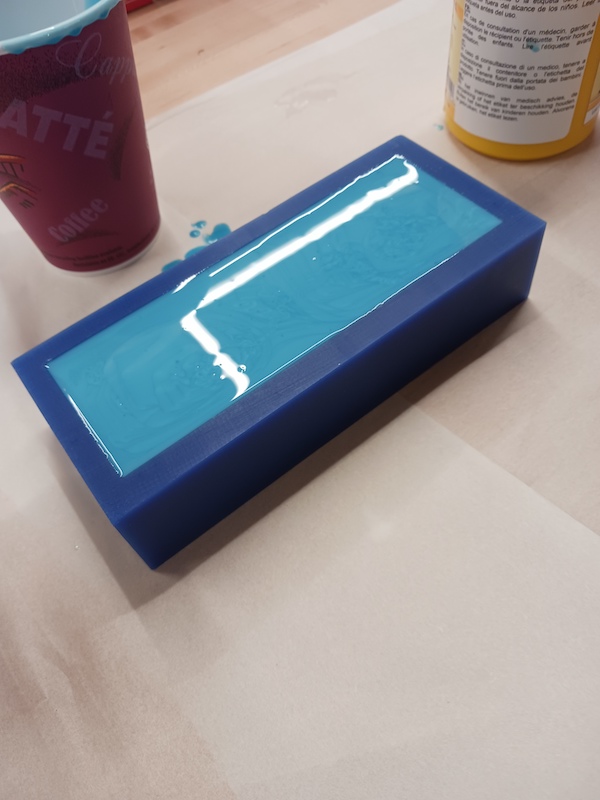
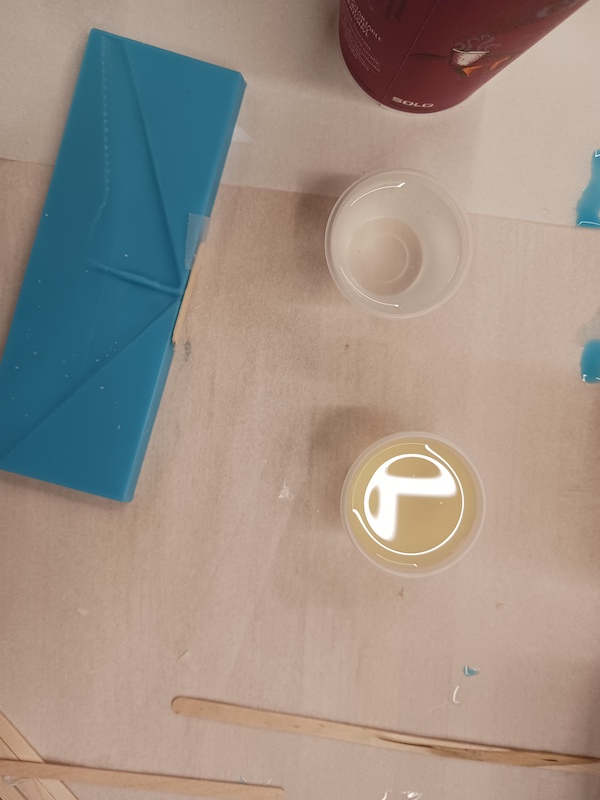
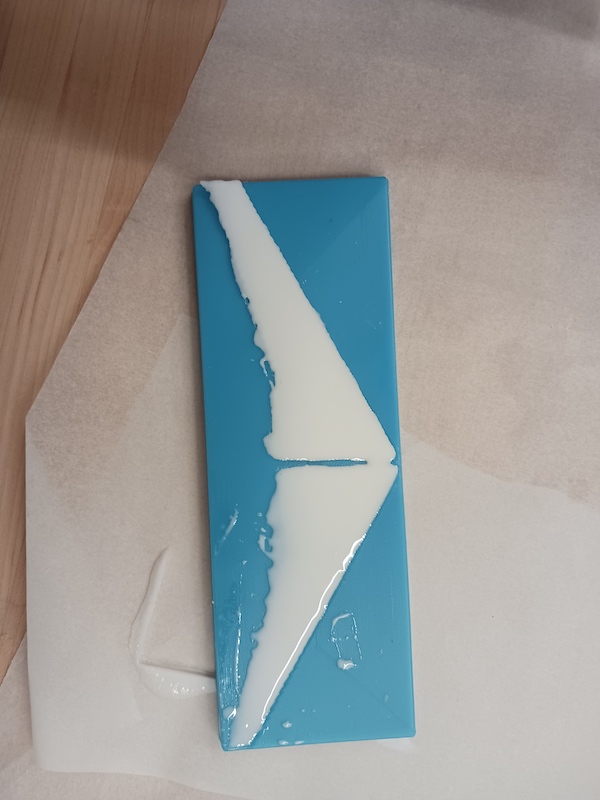
The reason we do not cast plastic directly on wax is because it would stick and be hard to take out. So first, we need to create a mold using silicon and than cast plastic into silicon. I used two part silicon with 1:1 volume mix ration. Waering gloves and eye protection, I poured the same amount of each part in a cup and then poured the two cups in one cup. It is not recommened to pour one cup over the other directly because some of the material would stick to the cup, compromising the accuracy of the ratio. The cure time of the silicon I used was 30 minutes. Once cured, the mold is to easy to take out since it is silicon!
Casting
The casting process is quite similar to the molding process. I used 2 part liquid plastic casting resin with 1:1 volume mix ratio, 6 minute work life, and 30 minutes cure time. I mixed the resin and poured it in the silicon mold. I did not wait till it was completely cure because I wanted to take advantage of the viscosity of the surface to stick the two parts of the wings together. I repeated the process to get two wings and am planning to cast the whole fuselage once I have time.