3. Computer Controlled Cutting
This week I worked on several projects using the vinyl and laser cutter. Our lab worked to optimize the settings for both machines.
Group Assignment
Laser Cutting Tutorial
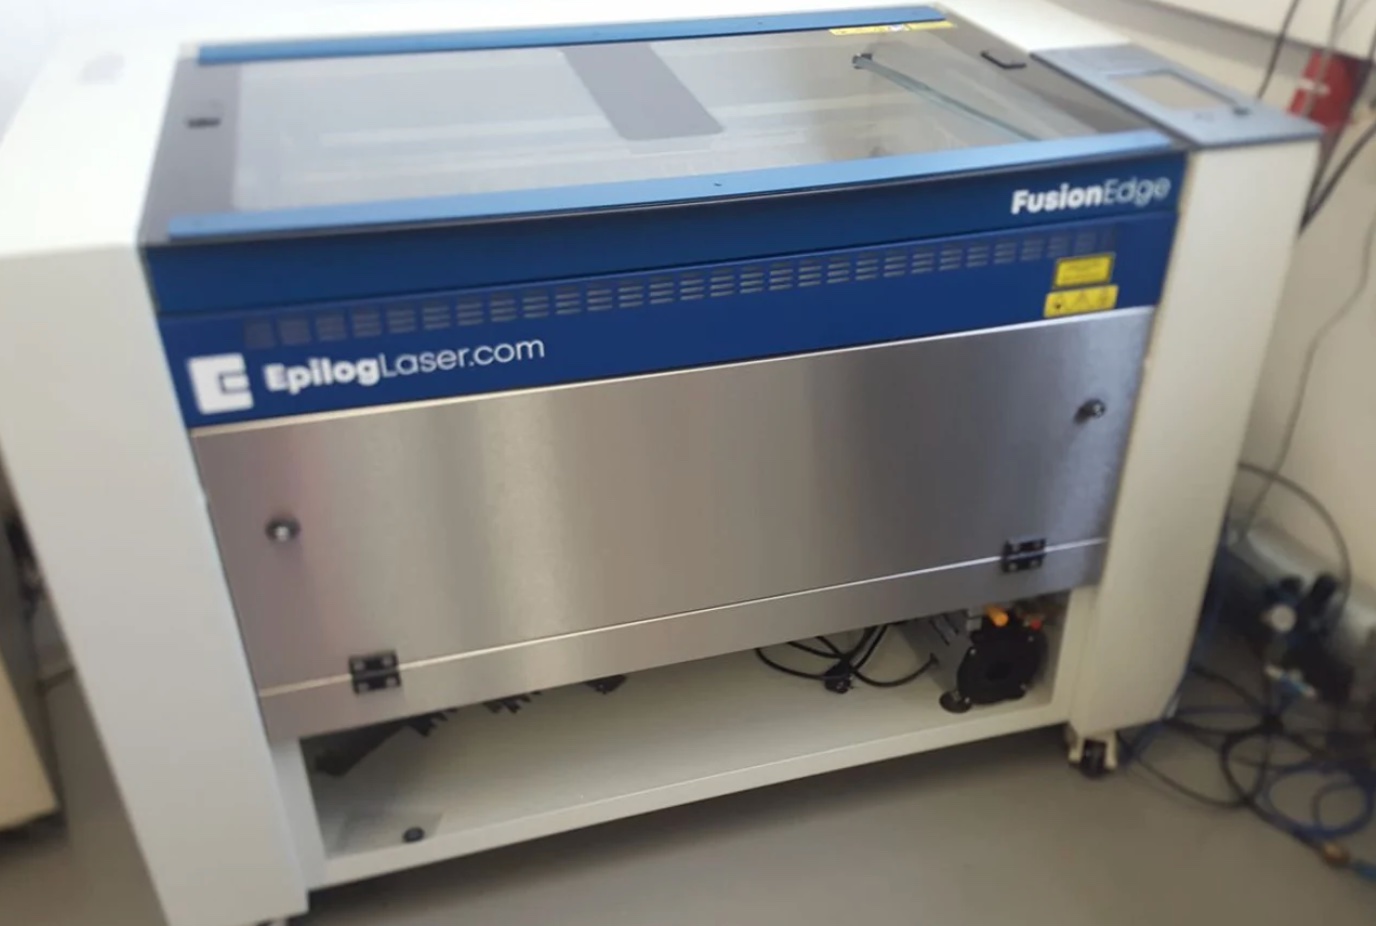
We have the Fusion Edge laser cutter by Epilog pictured below.
Materials
Before using the Fusion Edge Epilog Laser, it's crucial to ensure the materials you intend to cut or engrave are safe for the machine and its users. Common materials compatible with the laser cutter include wood, acrylic, leather, paper, and certain plastics. We are using 1/8 and 1/4 inch Baltic Birch Plywood which can be purchased on Amazon.
Safety Procedures
Air Extraction: Depending on the material being processed, you may need to switch on the air extraction system. This is crucial for removing fumes and preventing the accumulation of smoke, especially when working with materials like wood or acrylic. Always follow safety guidelines and use appropriate ventilation.
Protective Gear: Wear appropriate safety gear, such as safety glasses, to protect your eyes from laser radiation. Ensure that the laser cutter is operated in a well-ventilated area to minimize exposure to fumes.
You need these programs:
Using the Laser Cutter:
Preparing Your Design for Print and Cut:
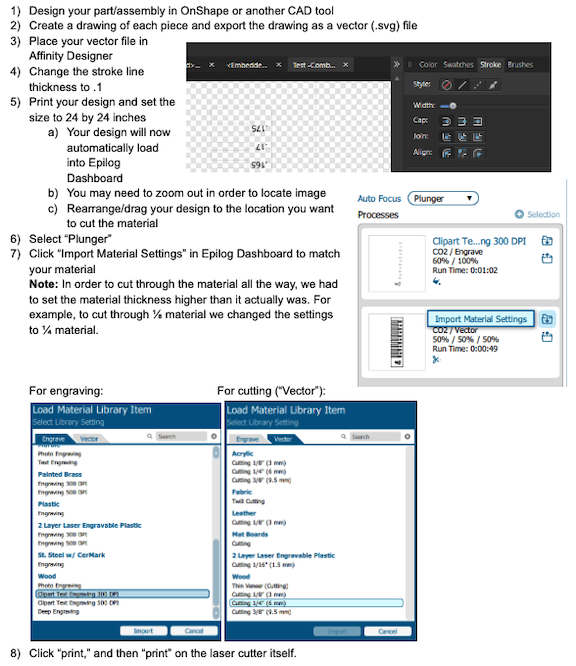
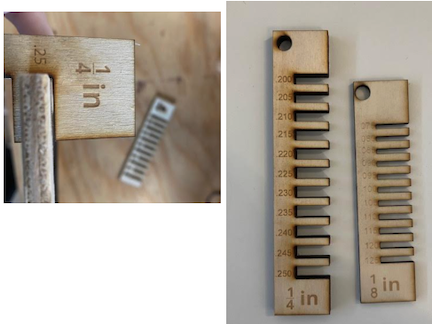
In order to determine the proper design dimensions for a good “press fit” accounting for the kerf (the laser burns away a portion of material when it cuts through) we used the following designs to find the proper fitting depending on the thickness of the material.
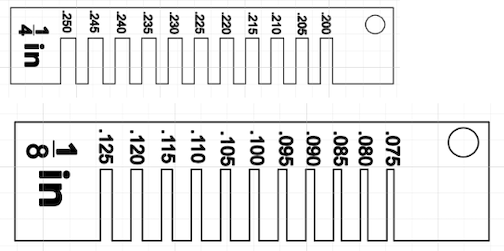
Example: While the material is ¼ (.25) inches thick, a slot that is .25 leaves too much wiggle room for a proper fit.
Vinyl Cutting Tutorial
I have personally spent many hours learning and optimizing the settings of this printer long before the start of this course, so while we have the machine in good operating condition it was a long journey to get here. While it's not all documented, I have tried to think back on some of the issues we experienced in the beginning that might come up when setting up a new printer. I have also documented the process for preparing your design for printing and cutting below. For the most part, most of our issues have been resolved using the YouTube channel linked below.
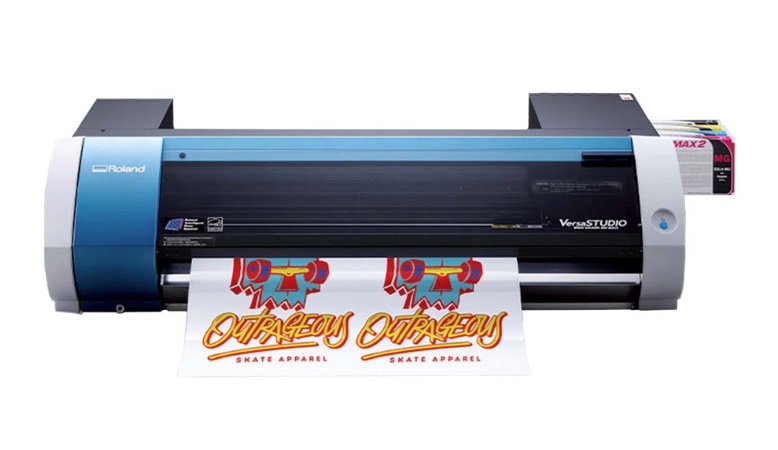
We have the Roland Versa STUDIO B-12 Machine pictured below.
Materials
The Roland VersaStudio BN-20 is a versatile machine designed for printing and contour cutting. It supports a variety of materials, making it suitable for a wide range of applications. Common materials compatible with this machine include vinyl, heat transfer material, poster board, and adhesive-backed sheets. We buy most of our material from Heat Press Nation, and have found the best luck with the "Siser S-Print Digital Media 20 inch Width" roll for vinyl heat transfers onto fabric.
Loading Material into the Vinyl Cutter
Material Preparation: Ensure the material you are using is flat and free from wrinkles or creases. Trim the material to the appropriate size, leaving some margin for the cutting area.
Loading Material: Open the front cover of the BN-20 and locate the material holders. Adjust them to match the width of your material. Load the material into the machine, aligning it with the grit rollers to ensure proper tracking.
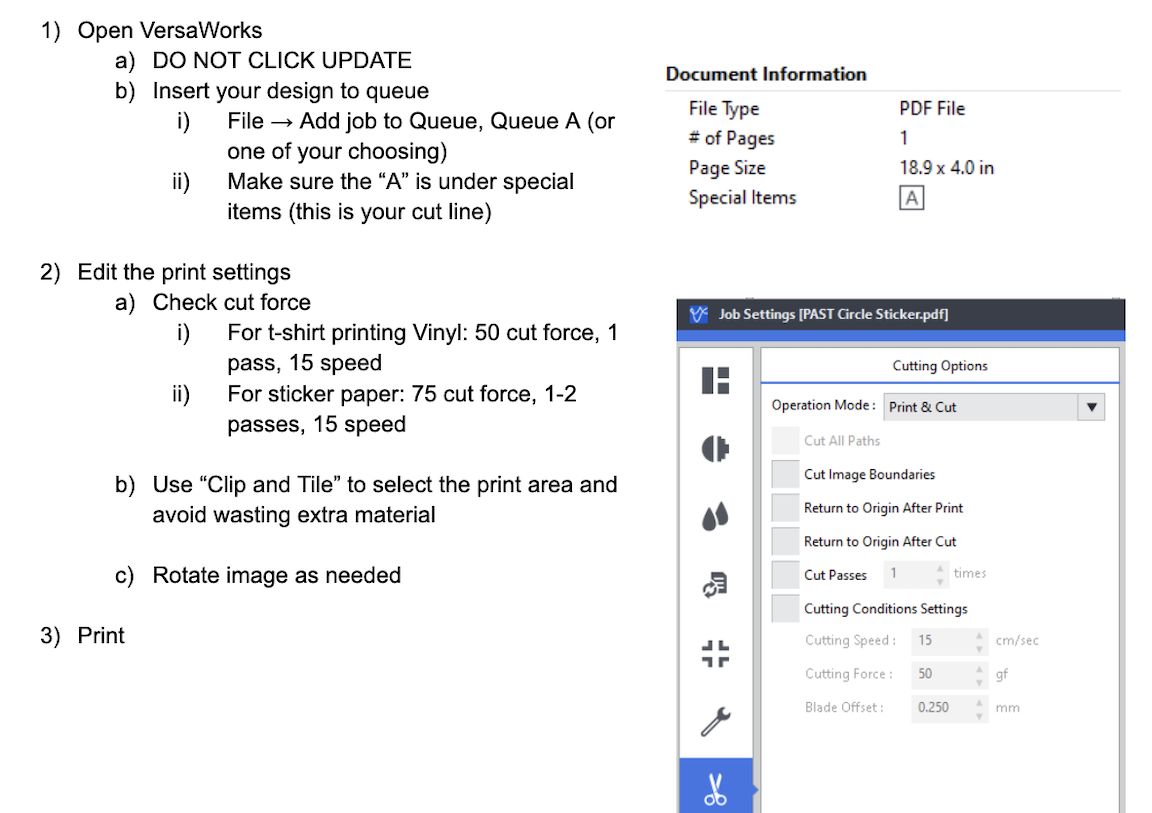
Setting Up the Machine and Configurations:
Power On: Ensure the Roland VersaStudio BN-20 is properly connected to power and switched on. Allow the machine to initialize.
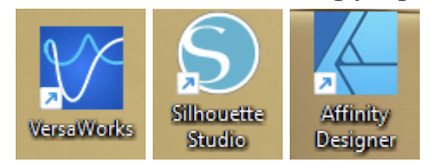
Connect to Computer: Connect the BN-20 to your computer using the appropriate interface, typically USB. Install and open the Roland VersaWorks software, which is specifically designed for this machine.
Test Cut: Before initiating a full print or cut job, perform a test cut. This involves setting up a small test pattern to check the blade length, cutting force, and speed. The Roland VersaWorks software allows you to send a test cut to ensure accurate and clean results.
Blade Length Adjustment: Depending on the material thickness, you may need to adjust the blade length. The blade should only cut through the material without damaging the backing. Consult the user manual for guidance on adjusting the blade length.
Maintenance: Regularly clean the cutting blade, replace it as needed, and perform routine maintenance tasks to ensure optimal performance.
You need these programs:
Getting Started/Design:
Using the Vinyl Cutter:
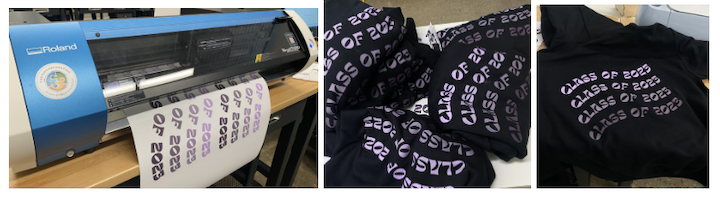
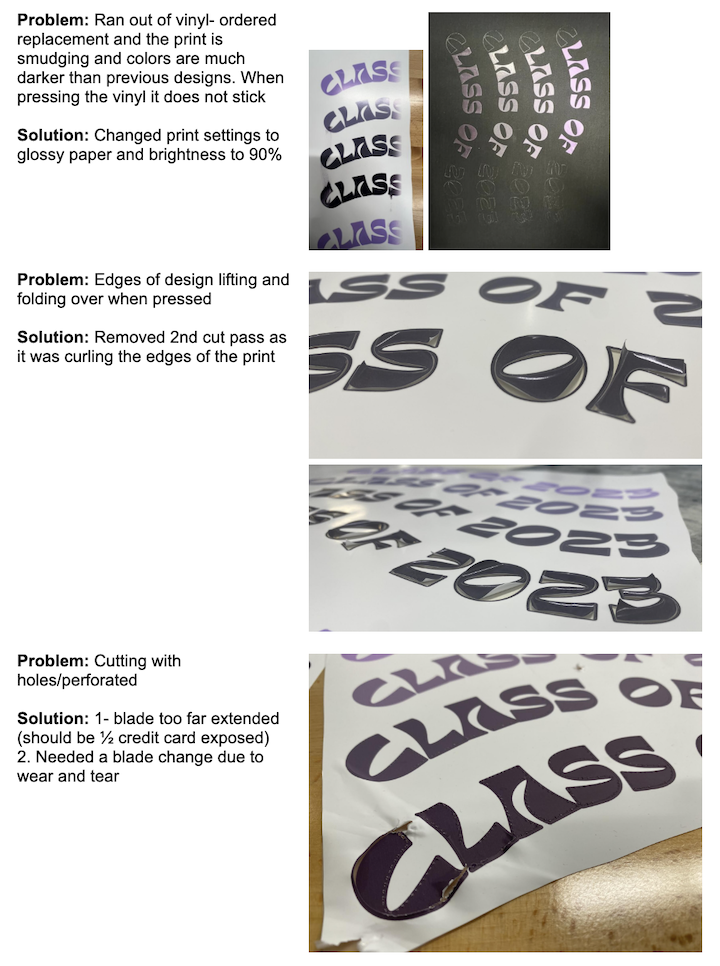
Project: We have been helping the senior class design and press 133 sweatshirts using the vinyl cutter and heat transfer press. Through this process, we have run into many issues that required trouble shooting and have been able to determine the best settings to use for various materials and designs.
Here are photos of the finished design:
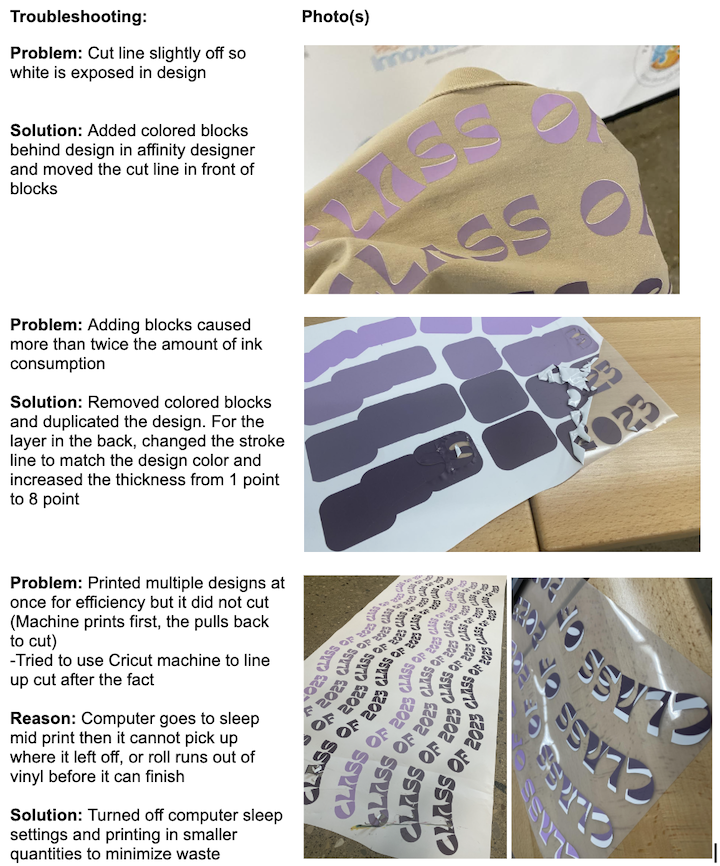
Here are photos of some of the problems we have experienced and the solutions:
Individual Assignment
Laser Cutting
My Project: Create a utensil holder using parametric modeling
I designed the utensil holder using 3 separate parts, then assembled them together in Onshape. Using parametric modeling, all dimensions are based off of the width dimension so that if I needed to increase or decrease the overall size, I could simply change the width dimension and all others would update accordingly. I am also able to edit the “NotchHeight” depending on the thickness of the material I am cutting. In the first image below, the overall width of my Utensil holder is 8 inches, and in the second image you can see the dimensions when the width has been changed to 12 inches. The image on the right shows the assembled design.

The video below demonstrates the simplicity of changing the overall product using parametric modeling.
Here is a video showing part of the laser cutting process:
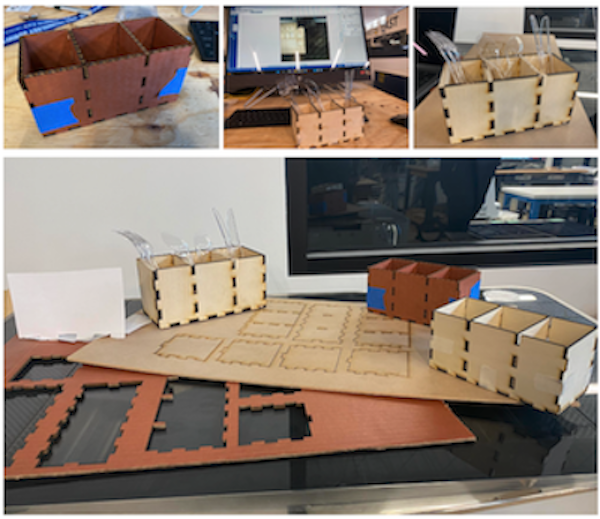
Below are several iterations of the design until I was able to optimize the settings for the material thickness. Some are held together by tape while I worked on redesigning the notches for an appropriate “press fit."
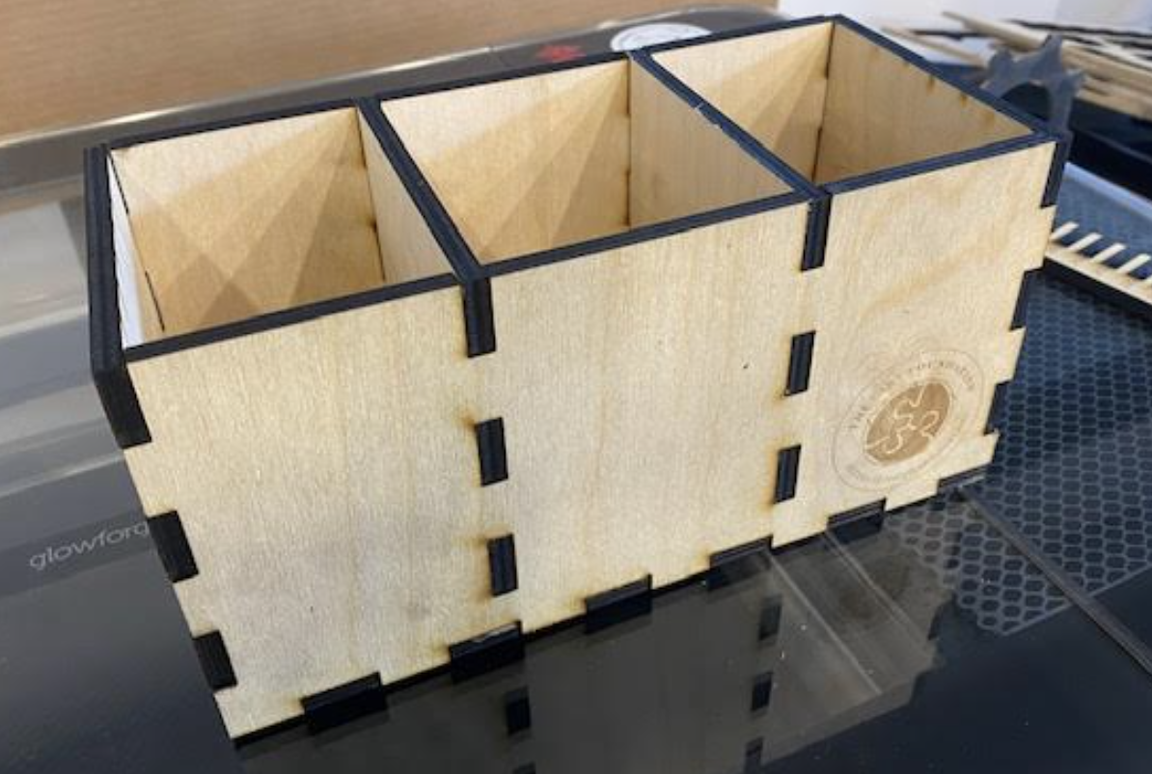
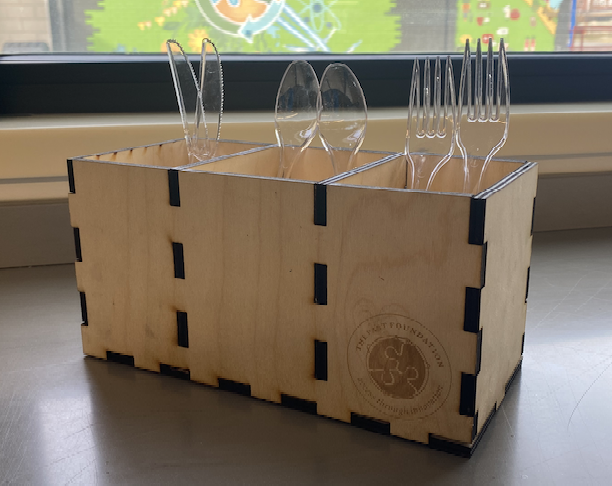
Below is the final product.
Files
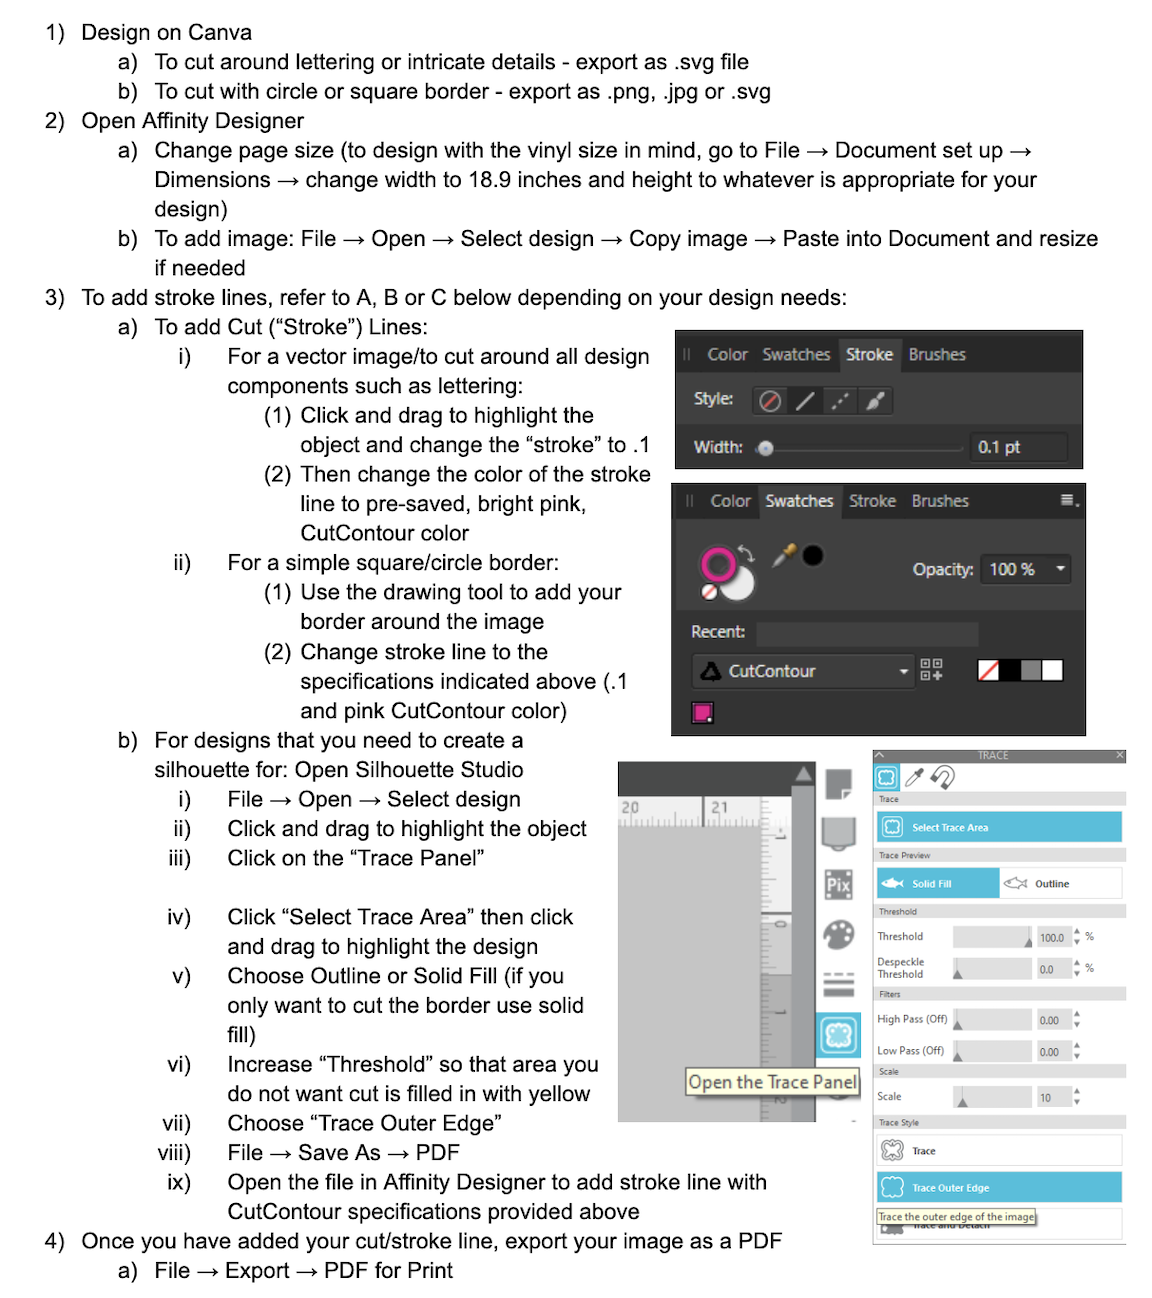
Vinyl Cutting
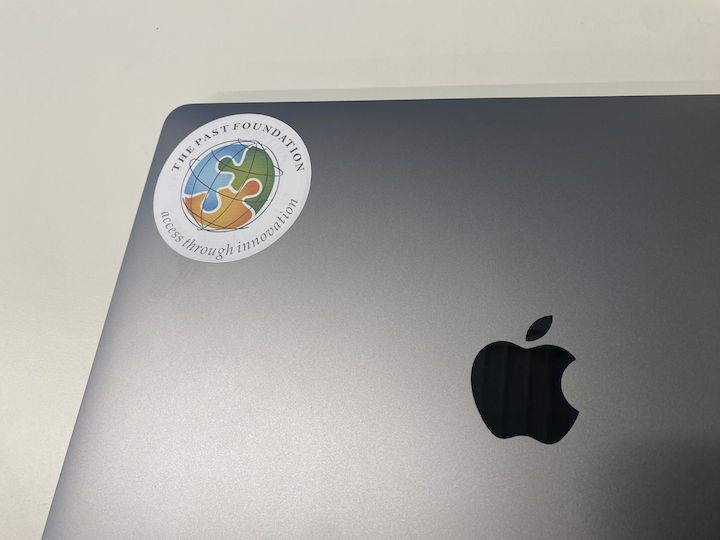
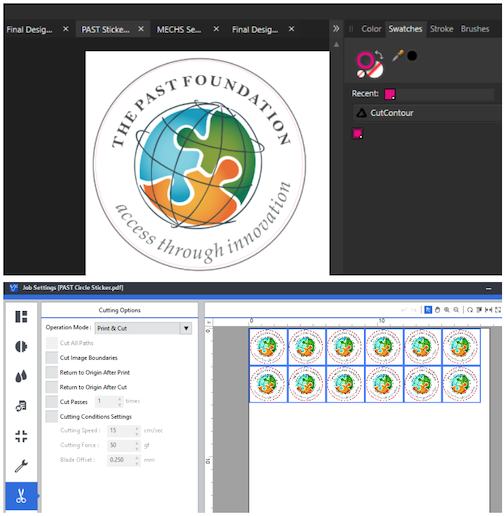
My Project: Create a PAST Foundation logo sticker for my laptop
I used Affinity Designer to edit our logo and apply the appropriate "CutContour" line color. The first cut did not cut deep enough with 50 cut force, so I reprinted and changed the settings to a cut force of 60 which worked perfectly.
Below is the final product.