Week 2: Computer-aided design
Week 2: Computer-aided design
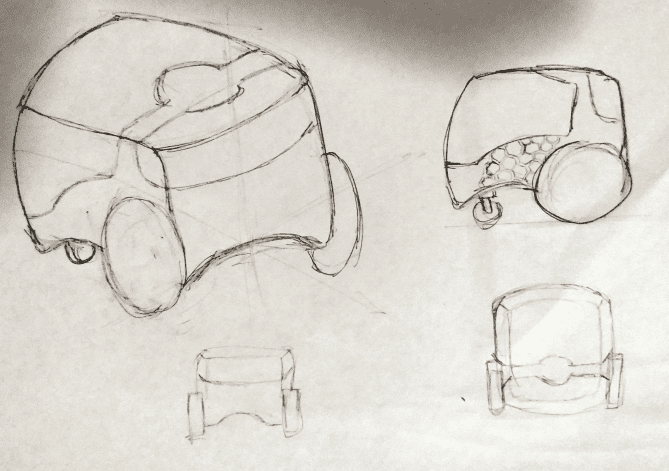
This week's assignment is to model the final project using raster, vector, and 3D design software. This time I decided to use 3 software: GIMP, Inkscape, Fushion 360. Final project sketch:
The term raster is used when referring to a digital image represented in pixels, it divides a space into a certain number of cells where each one represents a pixel, this means that if we enlarge the image it loses quality and the pixels can be seen. I made a quick drawing of my final project with the pencil tool in GIMP, i choose GIMP becasuse its an open source sofware and offers a comprehensive set of tools and features for image editing. I used the zoom tool and I was able to appreciate the pixels of the image, also when modifying its dimension the loss of quality is clearly appreciated.
In my opinion GIMP was a bit confusing to use, its interface was not very intuitive.
Unlike the raster, the vector drawing is not made of pixels but of a mathematical expression, this allows us to scale the image without worrying that it loses its original shape. I chose the Inkscape software, since it was a software with very good recommendations in forums for vector drawing and, unlike Adobe Illustrator, it is free and has a more intuitive interface. Next, I show the process of converting an image to pixels, which I previously carried out in GIMP, to vectors.
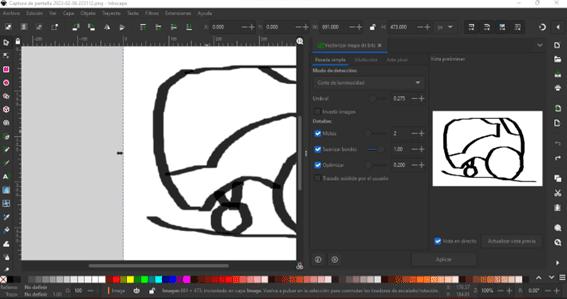
This is the result, apparently a significant change is not appreciated besides that the vector does not preserve the background.

But if we zoom in on the image we can see that the original image loses its shape and the pixels are appreciated, while the vector remains the same. Now we can scale the image without worry.


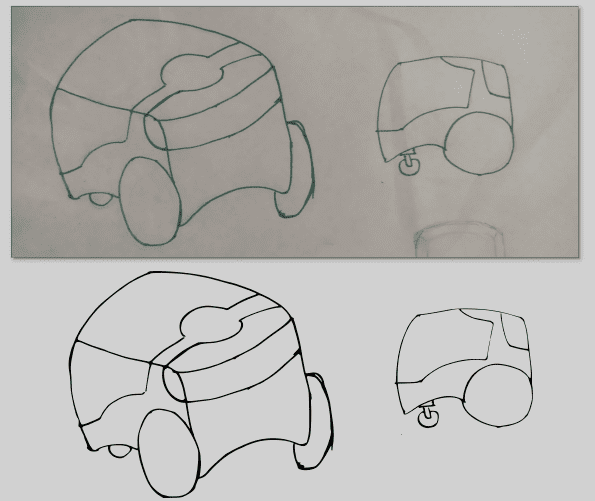
I did a couple more vectorizations and these were the results:

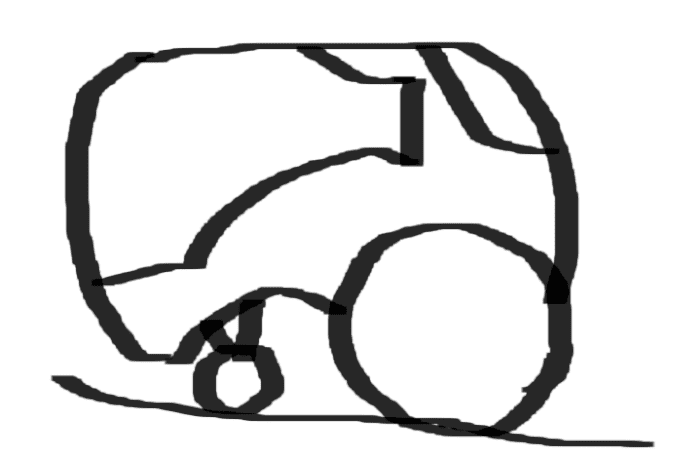
I also tried to vectorize the photograph of my first sketch and this was the result:
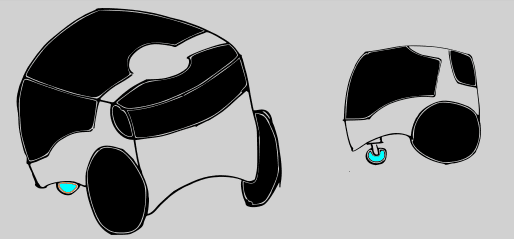
Once vectorized I can easily add colors to it.
here is the tutorial that i used to learn how to vectorize an image in inkscape.
For the 3D design first use the Fusion 360 software,The software offers cloud-based storage, ensuring that design files are easily accessible from anywhere and are not lost in case of hardware failure and integrate simulation and rendering tools, making it easier to test and visualize designs before they are produced. With the idea clearer thanks to the sketches. I used the "Create Shape Tool > Rectangular Prism" then proceeded to free mold the shape to resemble my sketches.
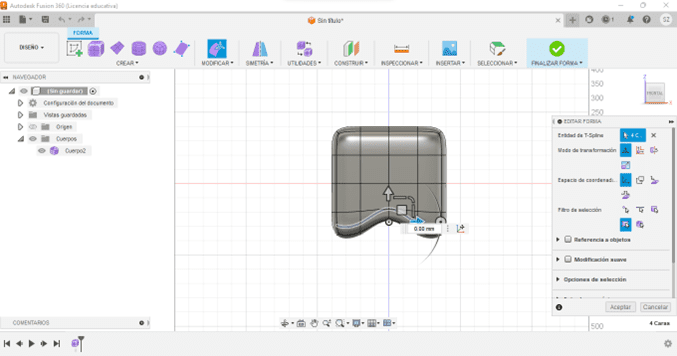
Once I had obtained the shape I wanted, I proceeded to add the wheels, for this use the tool "build > offset plane" to locate myself on the surface where I will put the wheel and create a sketch with create sketch, make a circle with the tool "create > circle of center diameter" And then cut my part based on that shape "solid > extrude > cut".
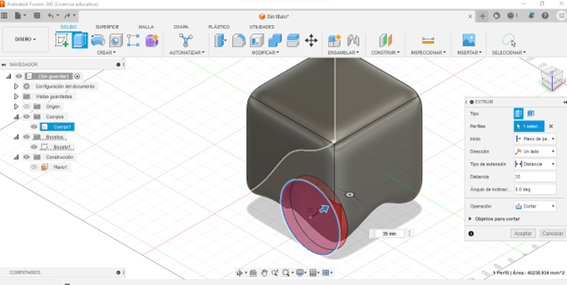
Then make another sketch on the previously created plane and draw a circle with a smaller diameter than the previous one, then I repeated the previous process but with a "solid change > extrude > new body". This allows us to create a new solid to which we can add its own characteristics such as type of material or appearance.
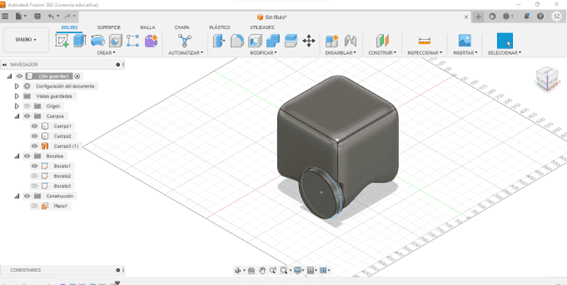
Then use the "solid > create > symmetry" tool to replicate the changes made on the other side of the solid. then i made a sketch like the one shown below
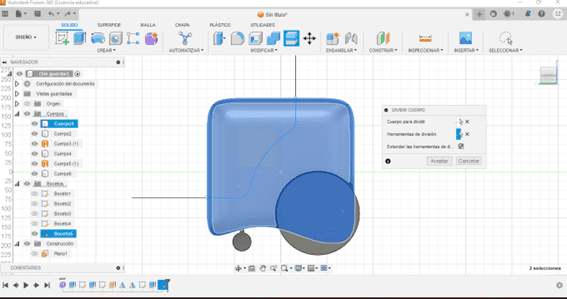
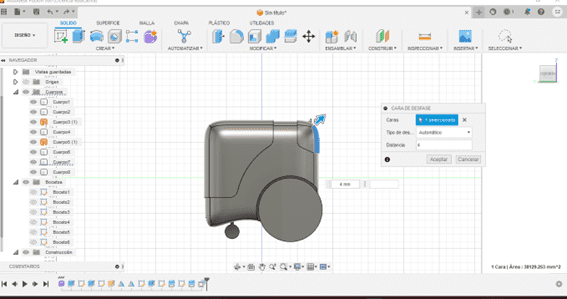
With the "solid > modify > split solid" tool I separated the part using the sketch as a cutting tool.
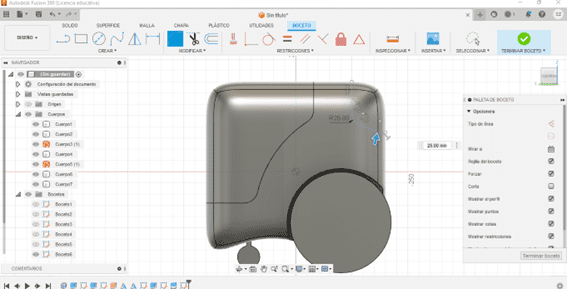
With the tool "solid tool > modify > press/pull" I gave some relief to the 2 separated parts.
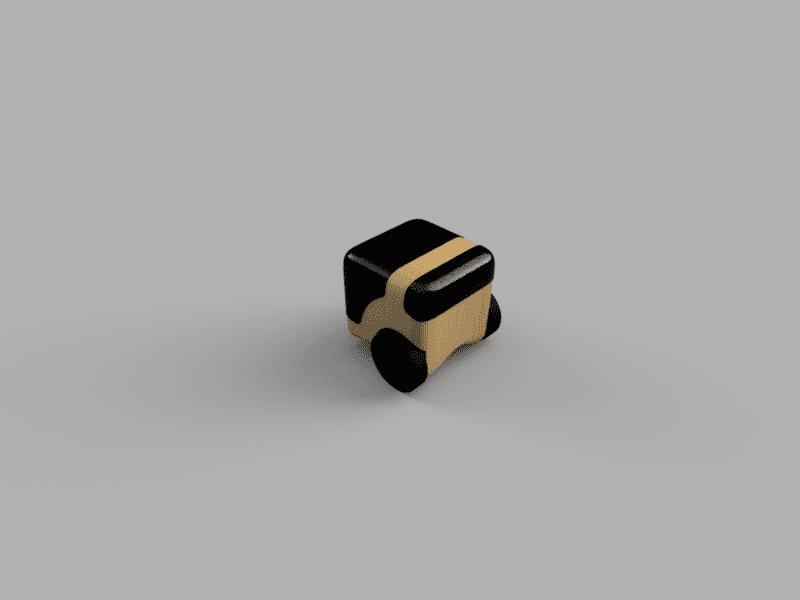
Finally I added material type and appearance to the part.
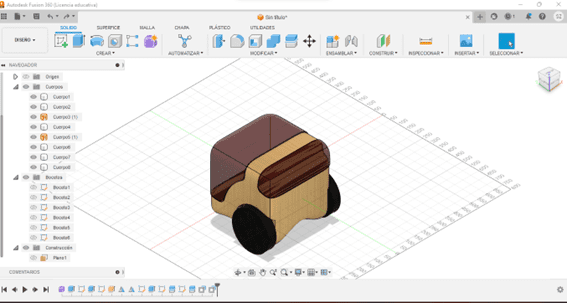
The Fusion 360 tool also offers a rendering tool, here is the result:
