Week 15: Interface and Application Programming
Week 15: Interface and Application Programming
For the assignment of the 16th week: Interface and Application, it will be divided into 6 parts: Communication, Board, Programming,Troubleshooting,Group and Download.
the primary goal for this week is to develop a graphical user interface (GUI) that facilitates communication between our controller and a computer. To make the process easier, I will implement the Serial communication protocol that we learned in week 14.
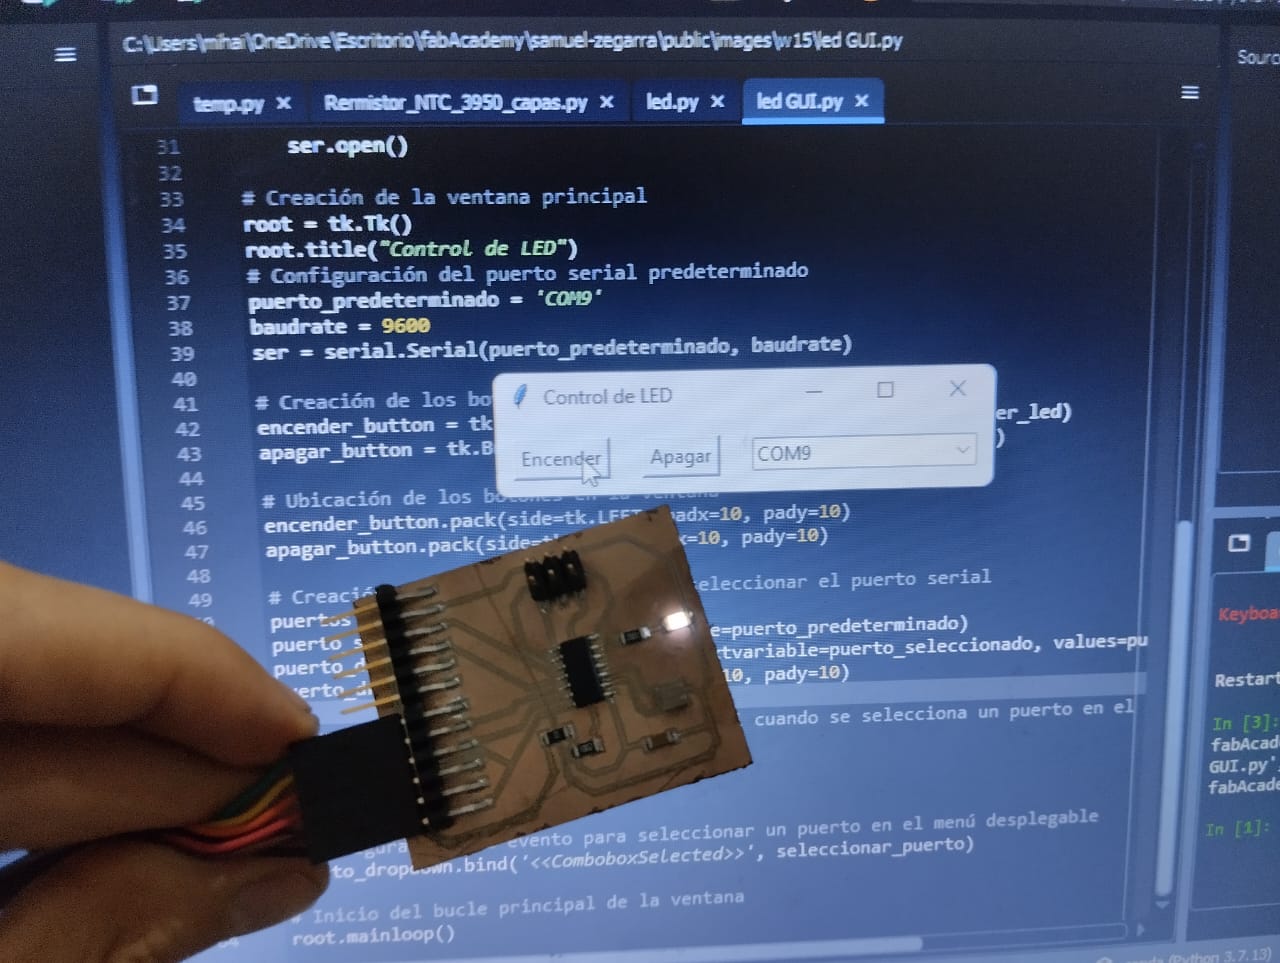
For this week's assignment, I will be using the board I made during the input devices week, as it has the serial communication pins enabled and an LED as output, Here is the board:

For this assignment, I decided to use the Python language as Neil recommended, as it is easy and quick to learn. Additionally, I used ChatGPT to speed up the process. It's truly amazing how it can create lines of code based on the specifications you input. However, it's important to review the code as it may make some mistakes, but the overall structure remains mostly the same.
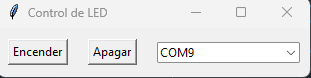
I decided to create an interface that allows selecting the communication port and has two buttons to turn on and off the LED on the board.
First, we programmed the instructions on the board as we have been doing throughout these weeks. Then, we added serial communication as we did in the networking and communication week. Here is the code for the board:
                #include <SoftwareSerial.h>
                    SoftwareSerial monserial(0, 1);//rx and tx

                const int ledPin = 7;
                char command;

                void setup() {
                  pinMode(ledPin, OUTPUT);
                  monserial.begin(9600);
                }

                void loop() {
                  if (monserial.available() > 0) {
                    command = monserial.read();
                    if (command == 'H') {
                      digitalWrite(ledPin, HIGH);
                      monserial.write("LED encendido\r\n");
                    }
                    else if (command == 'L') {
                      digitalWrite(ledPin, LOW);
                      monserial.write("LED apagado\r\n");
                    }
                  }
                }
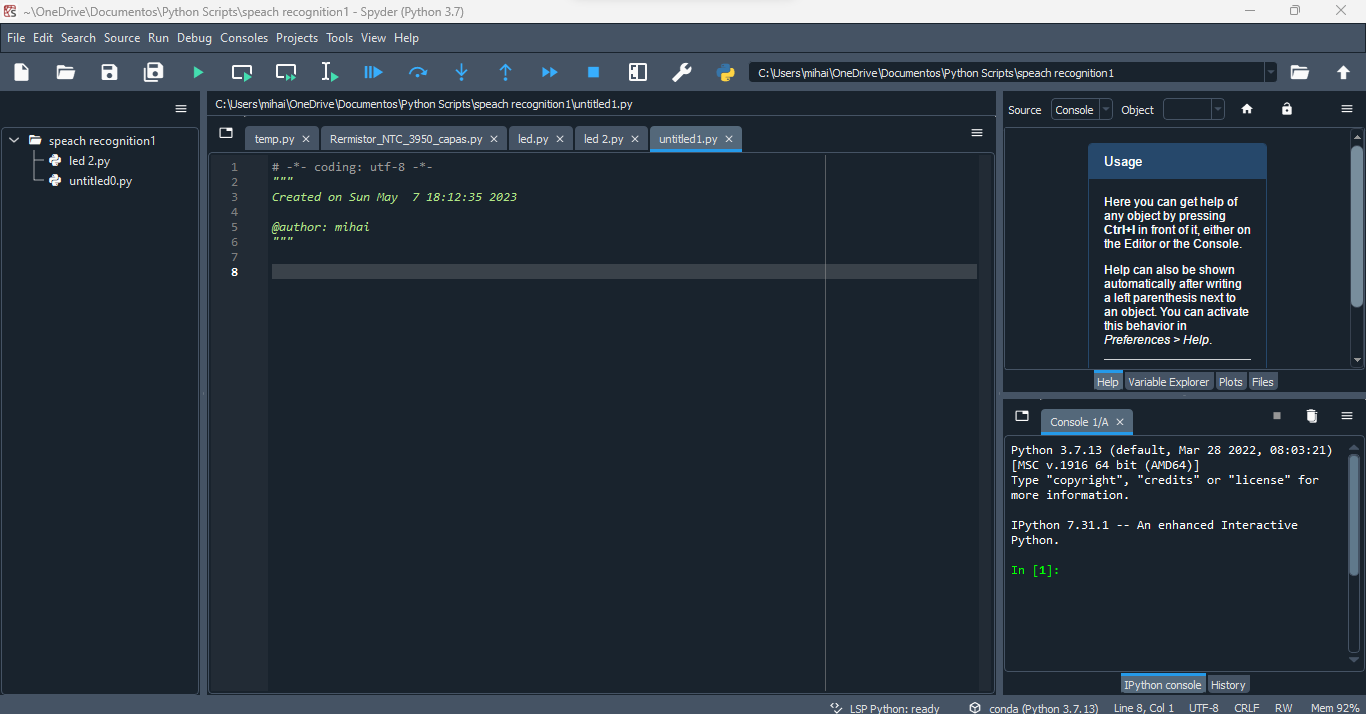
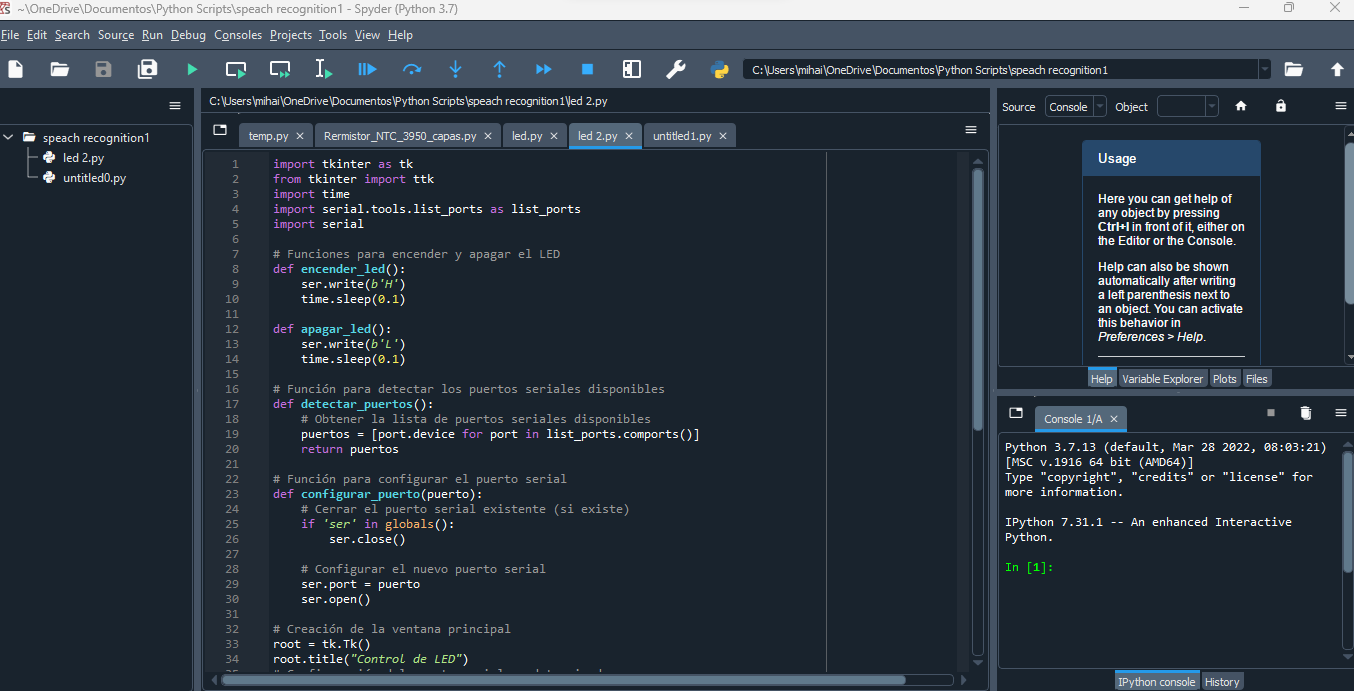
To program in Python, I used Spyder.(Scientific Python Integrated Development Environment) is an open-source integrated development environment (IDE) for the Python programming language. Here is the process to install Spider in your computer:
This is how the Spider environment looks like:
                    import tkinter as tk
                    from tkinter import ttk
                    import time
                    import serial.tools.list_ports as list_ports
                    import serial


                    # Functions to turn on and off the LED
                    def encender_led():
                        ser.write(b'H')
                        time.sleep(0.1)

                    def apagar_led():
                        ser.write(b'L')
                        time.sleep(0.1)

                    # Function to detect available serial ports
                    def detectar_puertos():
                        # Get the list of available serial ports
                        puertos = [port.device for port in list_ports.comports()]
                        return puertos

                    # Function to configure the serial port
                    def configurar_puerto(puerto):
                        # Close the existing serial port (if it exists).
                        if 'ser' in globals():
                            ser.close()

                        # Configure the new serial port.
                        ser.port = puerto
                        ser.open()

                    # Creating main window
                    root = tk.Tk()
                    root.title("Control de LED")
                    # Configuring default serial port
                    puerto_predeterminado = 'COM9'
                    baudrate = 9600
                    ser = serial.Serial(puerto_predeterminado, baudrate)

                    # Creating buttons
                    encender_button = tk.Button(root, text='Encender', command=encender_led)
                    apagar_button = tk.Button(root, text='Apagar', command=apagar_led)

                    # Location of the buttons in the window.
                    encender_button.pack(side=tk.LEFT, padx=10, pady=10)
                    apagar_button.pack(side=tk.LEFT, padx=10, pady=10)

                    # Creation of the drop-down menu to select the serial port.
                    puertos = detectar_puertos()
                    puerto_seleccionado = tk.StringVar(value=puerto_predeterminado)
                    puerto_dropdown = ttk.Combobox(root, textvariable=puerto_seleccionado, values=puertos, state='readonly')
                    puerto_dropdown.pack(side=tk.LEFT, padx=10, pady=10)

                    # Function to configure the serial port when a port is selected in the dropdown menu.
                    def seleccionar_puerto(event):
                        puerto = puerto_seleccionado.get()
                        configurar_puerto(puerto)

                    # Configuring the event to select a port in the dropdown menu.
                    puerto_dropdown.bind('<>', seleccionar_puerto)

                    # Starting main loop of the window.
                    root.mainloop()
This code imports the necessary libraries and defines several functions to control an LED using a serial port. The functions encender_led() and apagar_led() are used to turn the LED on and off, respectively, by sending "H" or "L" to the serial port using the ser.write() method. The detectar_puertos() function detects the available serial ports using the list_ports.comports() method from the serial.tools library and returns a list of the port names. The configurar_puerto() function configures the serial port to use a specified port name and baud rate, and closes any previously opened serial port.
The main part of the code creates a GUI window using the tkinter library. Two buttons are created to turn the LED on and off, respectively, and are placed on the left side of the window using the pack() method. A drop-down menu is created to select the serial port, using the ttk.Combobox() method. The available serial ports are detected using the detectar_puertos() function and displayed in the drop-down menu. The seleccionar_puerto() function is called when a port is selected in the drop-down menu, and it sets the serial port to the selected port using the configurar_puerto() function.
This is how it looks, it doesn't look very nice but it has the basics to work:
The main loop of the GUI window is started using the mainloop() method. When the user clicks the "Encender" or "Apagar" button, the corresponding function is called, which sends the appropriate command to the serial port. The selected serial port is automatically configured when the user selects a port from the drop-down menu.
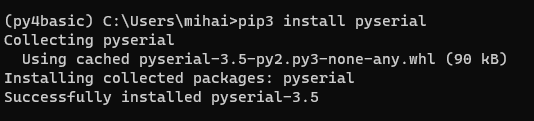
If the code does not work, you may need to install the libraries that are used. To do this, you only need to type "pip install
Finally, the Serial connection is made with the computer and the Python code is executed. It is important to emphasize that if you have the serial port open in the Arduino IDE, it will interfere with the Python script.
Here is a video of the GUI working:
The first problem i had was the interference of the Arduino IDE serial monitor, it's important to close it before running the python script.
The second one took me more time to fix: Python AttributeError: 'module' object has no attribute 'Serial'. This happen because i Installed 2 libraries that have conflicts between them. ”pyserial” and “serial”. what you needed to do is unistall both of them and then install pyserial again using the anaconda prompt console. just type the problem in google, there a lot of people who had the same problem.
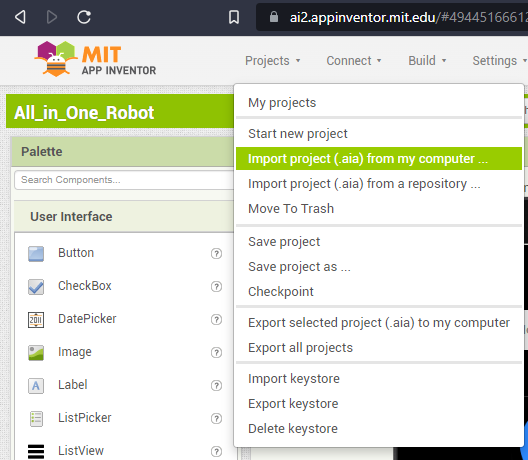
For the group assignment, I decided to try the MIT App Inventor application. This tool allows me to program cell phone applications using blocks, and it's the one I will use to develop the user interface for my final project.
I selected a free template i found in gitHub. Here is the link of the repository.
Then i import the ".aia" file from my computer.
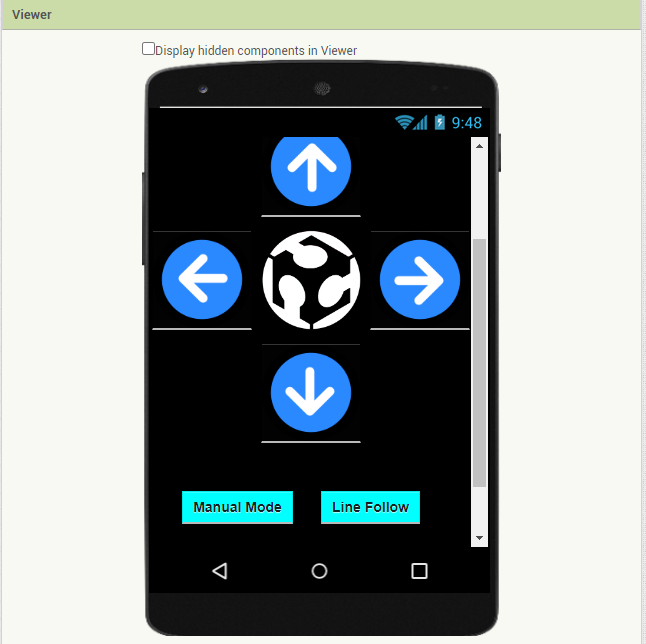
Then i add some image for the interface:
arrow:

logo:
this is how the app looks:
The programming is in blocks:
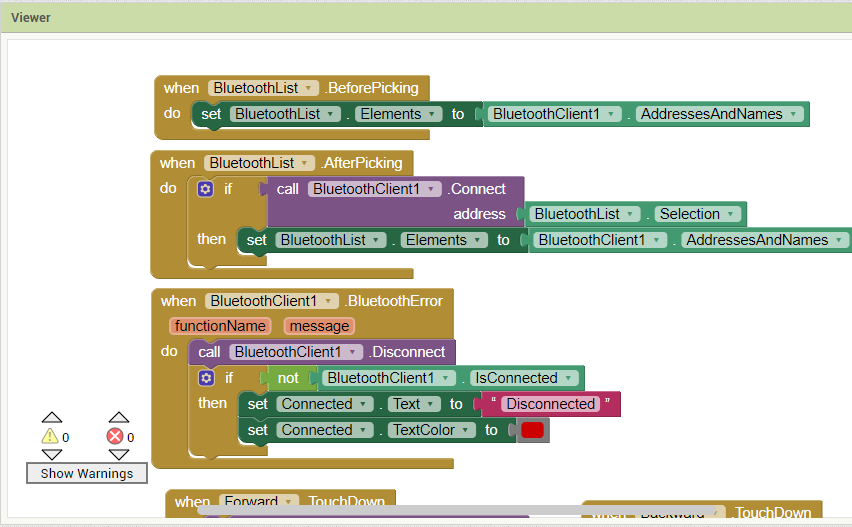
In the previous image, we are assigning commands to the buttons for connecting and disconnecting. We are configuring the Bluetooth connections.
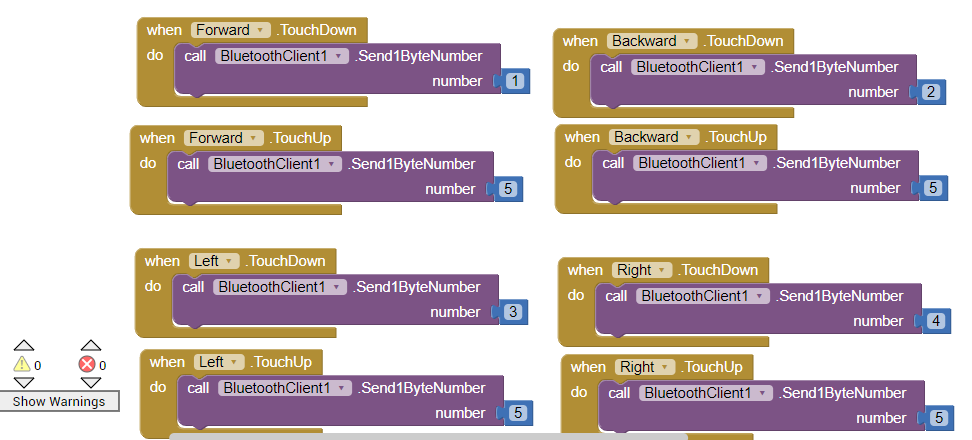
Next, we assign the values we want to send to the microcontroller when the arrows are touched.
Here is a video of the interface working:
Advantages:
Disadvantages:
Advantages:
Disadvantages:
In conclusion, MIT App Inventor is suitable for those who want to quickly develop mobile applications with basic graphical user interfaces without the need for in-depth programming knowledge. It is ideal for prototyping and simpler projects. On the other hand, Python with Tkinter offers greater flexibility and control over the design and functionality of the interface, making it more suitable for complex and customized projects, but it may require more time and programming knowledge.