Week 5: 3D Scanning and Printing
Week 5: 3D Scanning and Printing
To carry out the tests I chose the makerBot + printer, PLA material, 10% infill, 0.2-layer height.
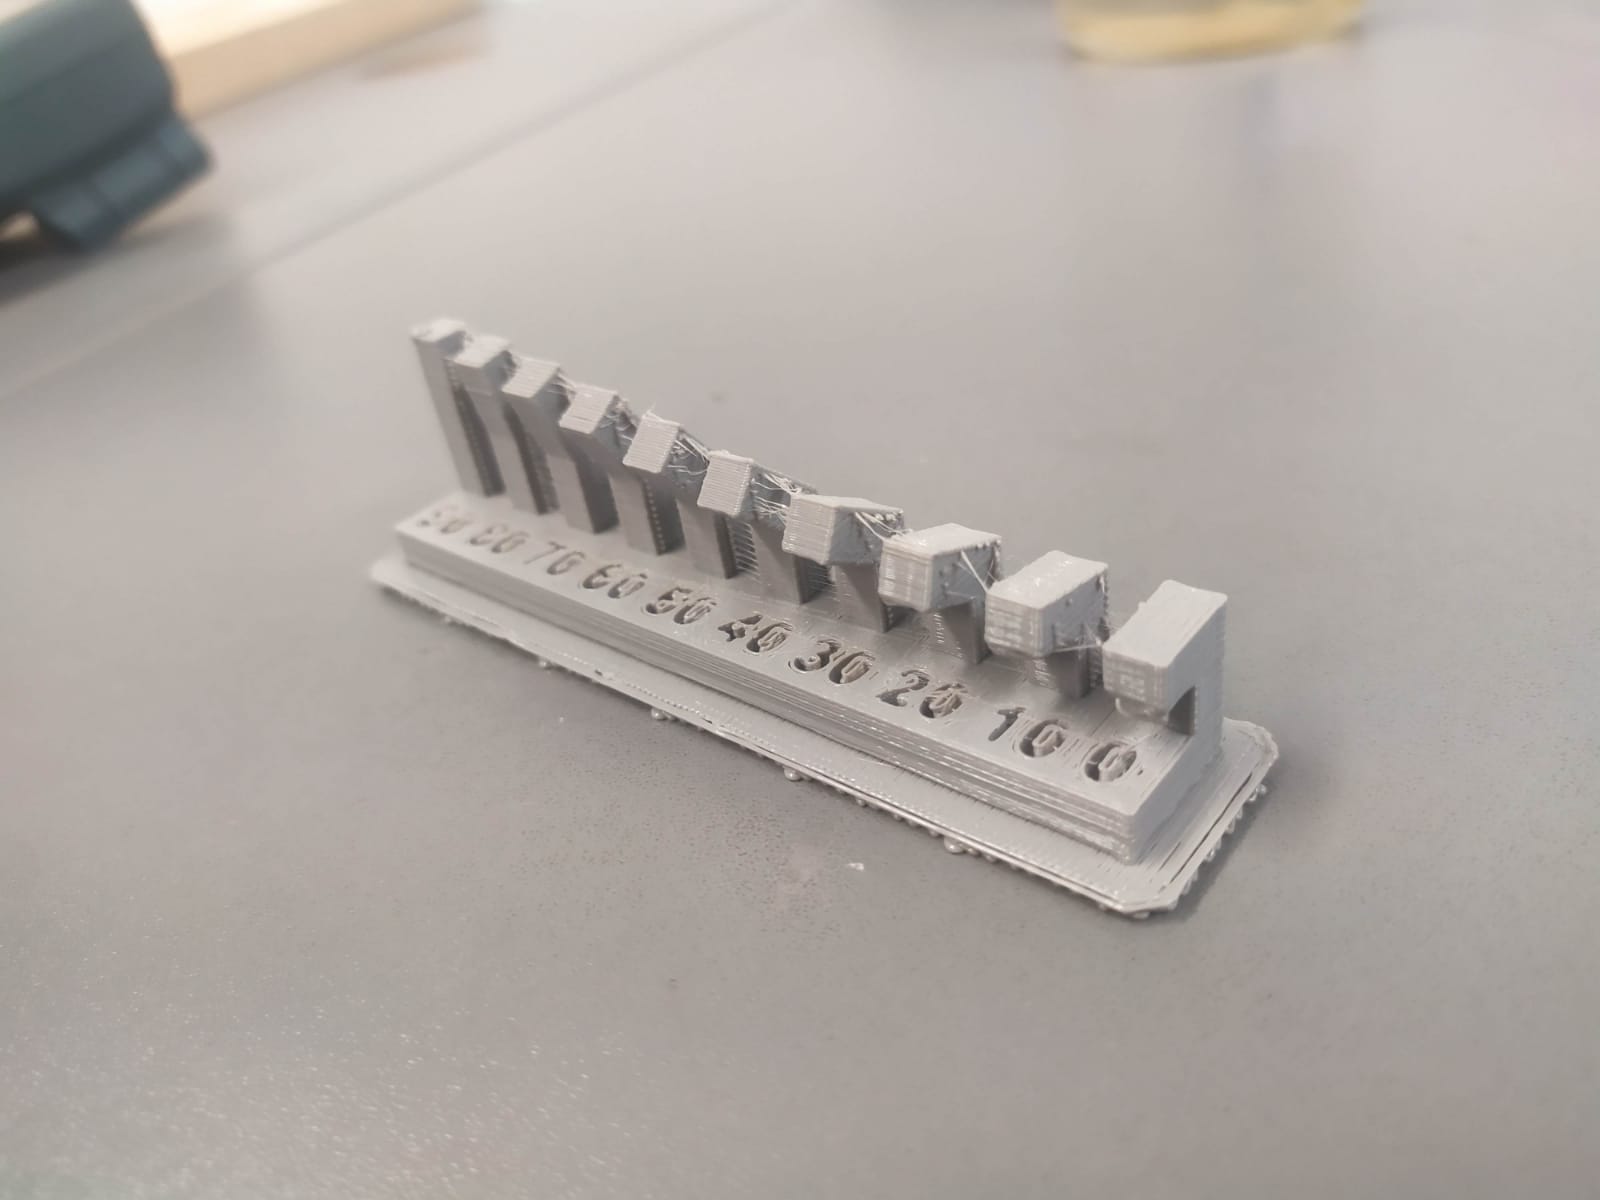
Angle: It was determined that less than 30 degrees the piece begins to lose its shape.
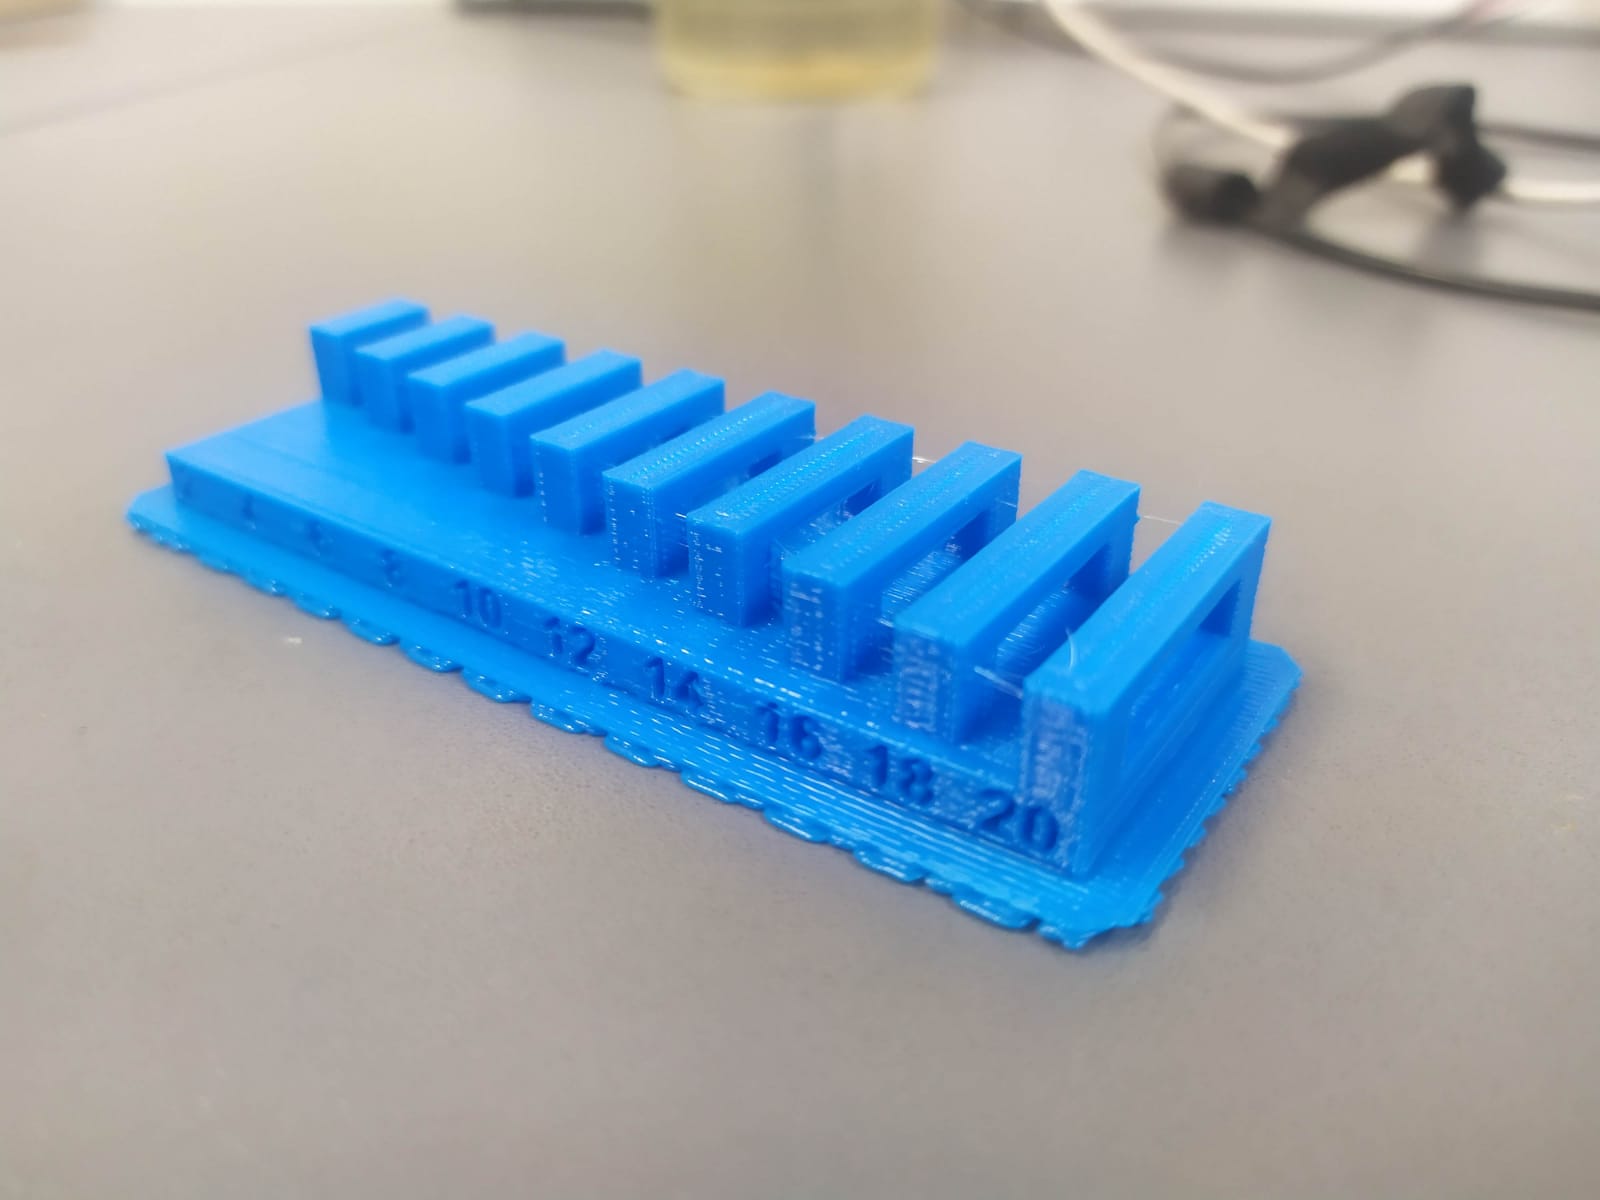
Brinding: You can see that when you have a bridle, the print does not deform.
Wall thickness: You can see the print finish for different thicknesses.
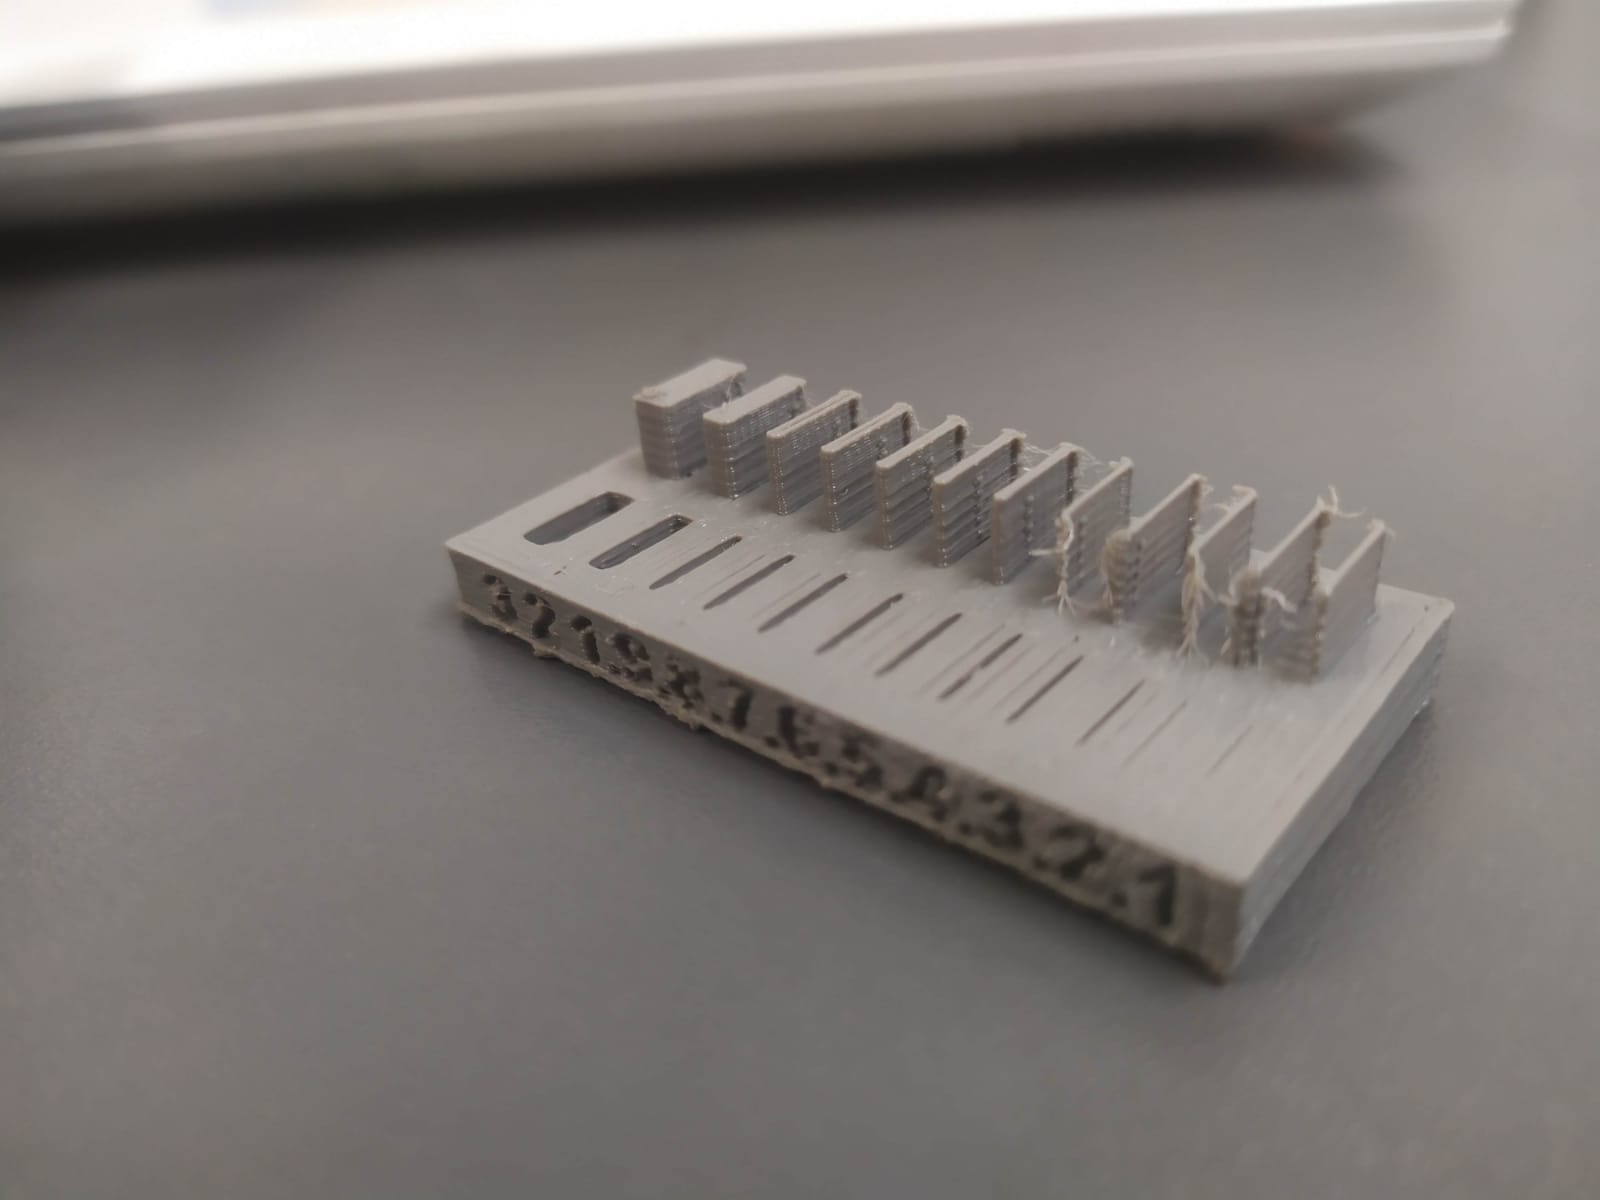
Surface finish: The layers of the print can be clearly seen. Since this technology is FMD.
I also use the different printers that Fablab had.
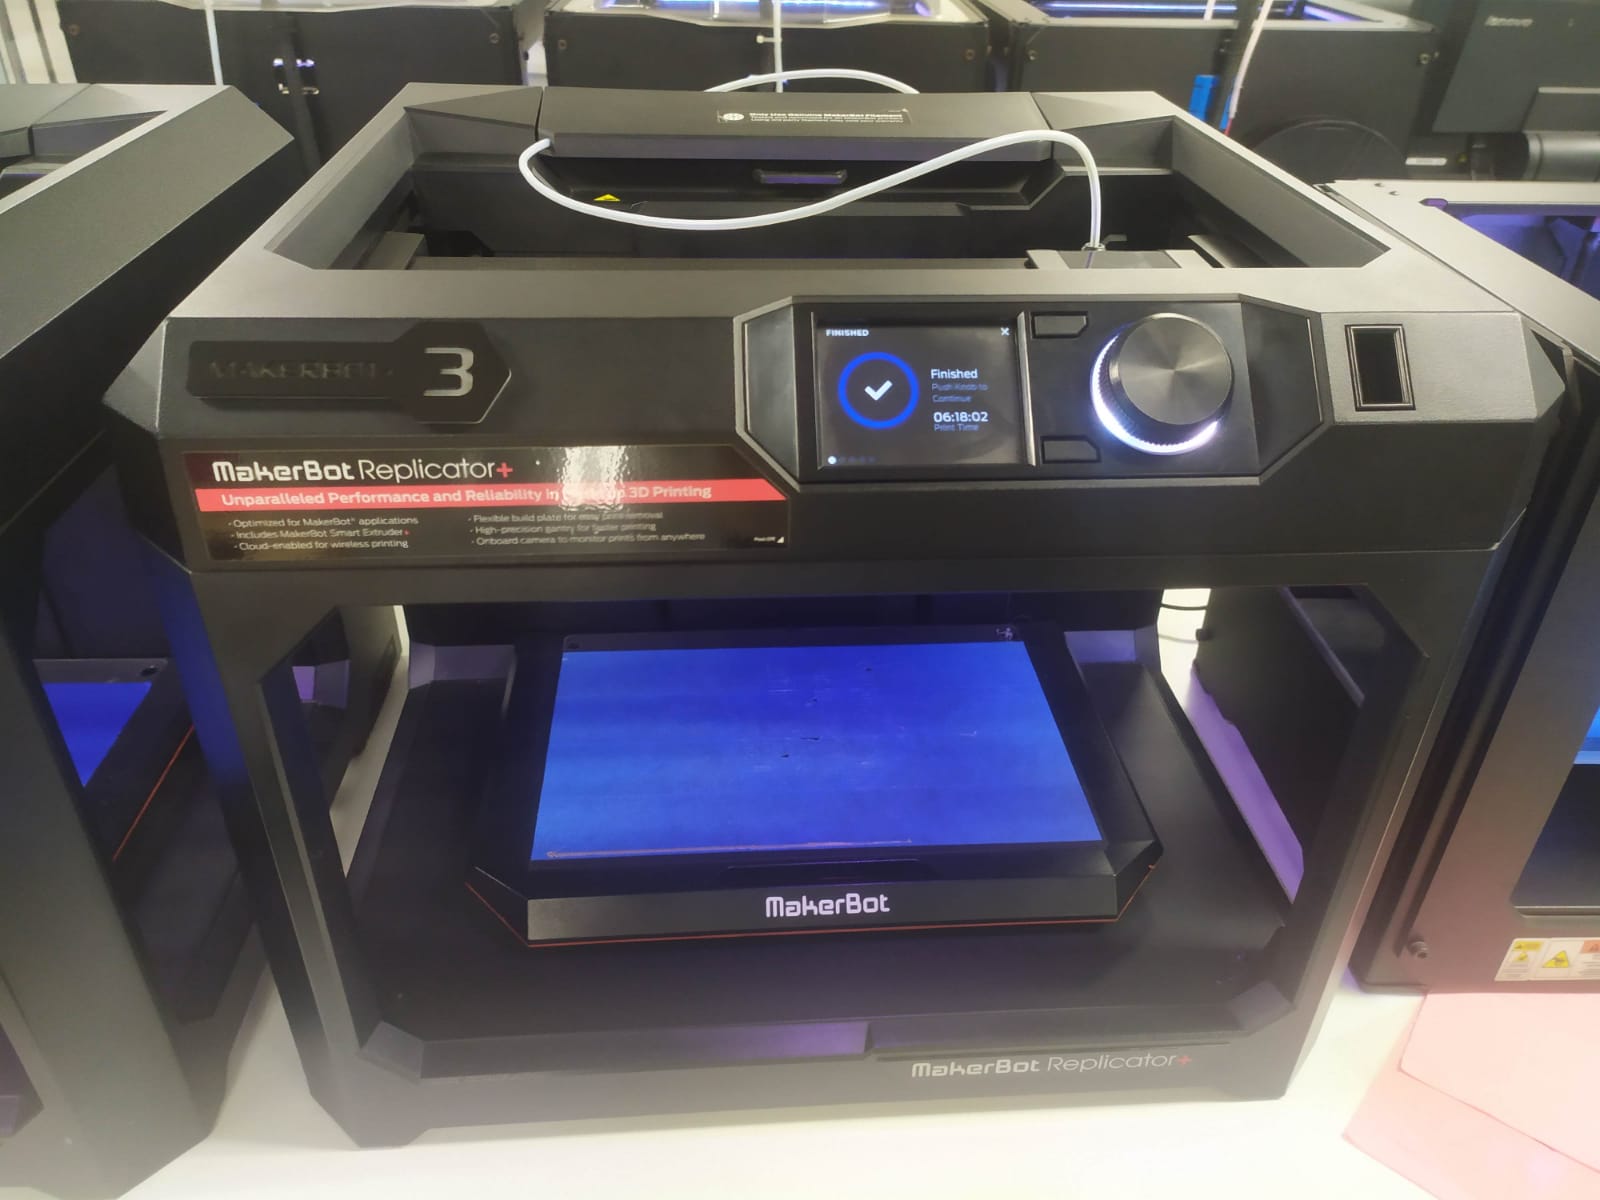

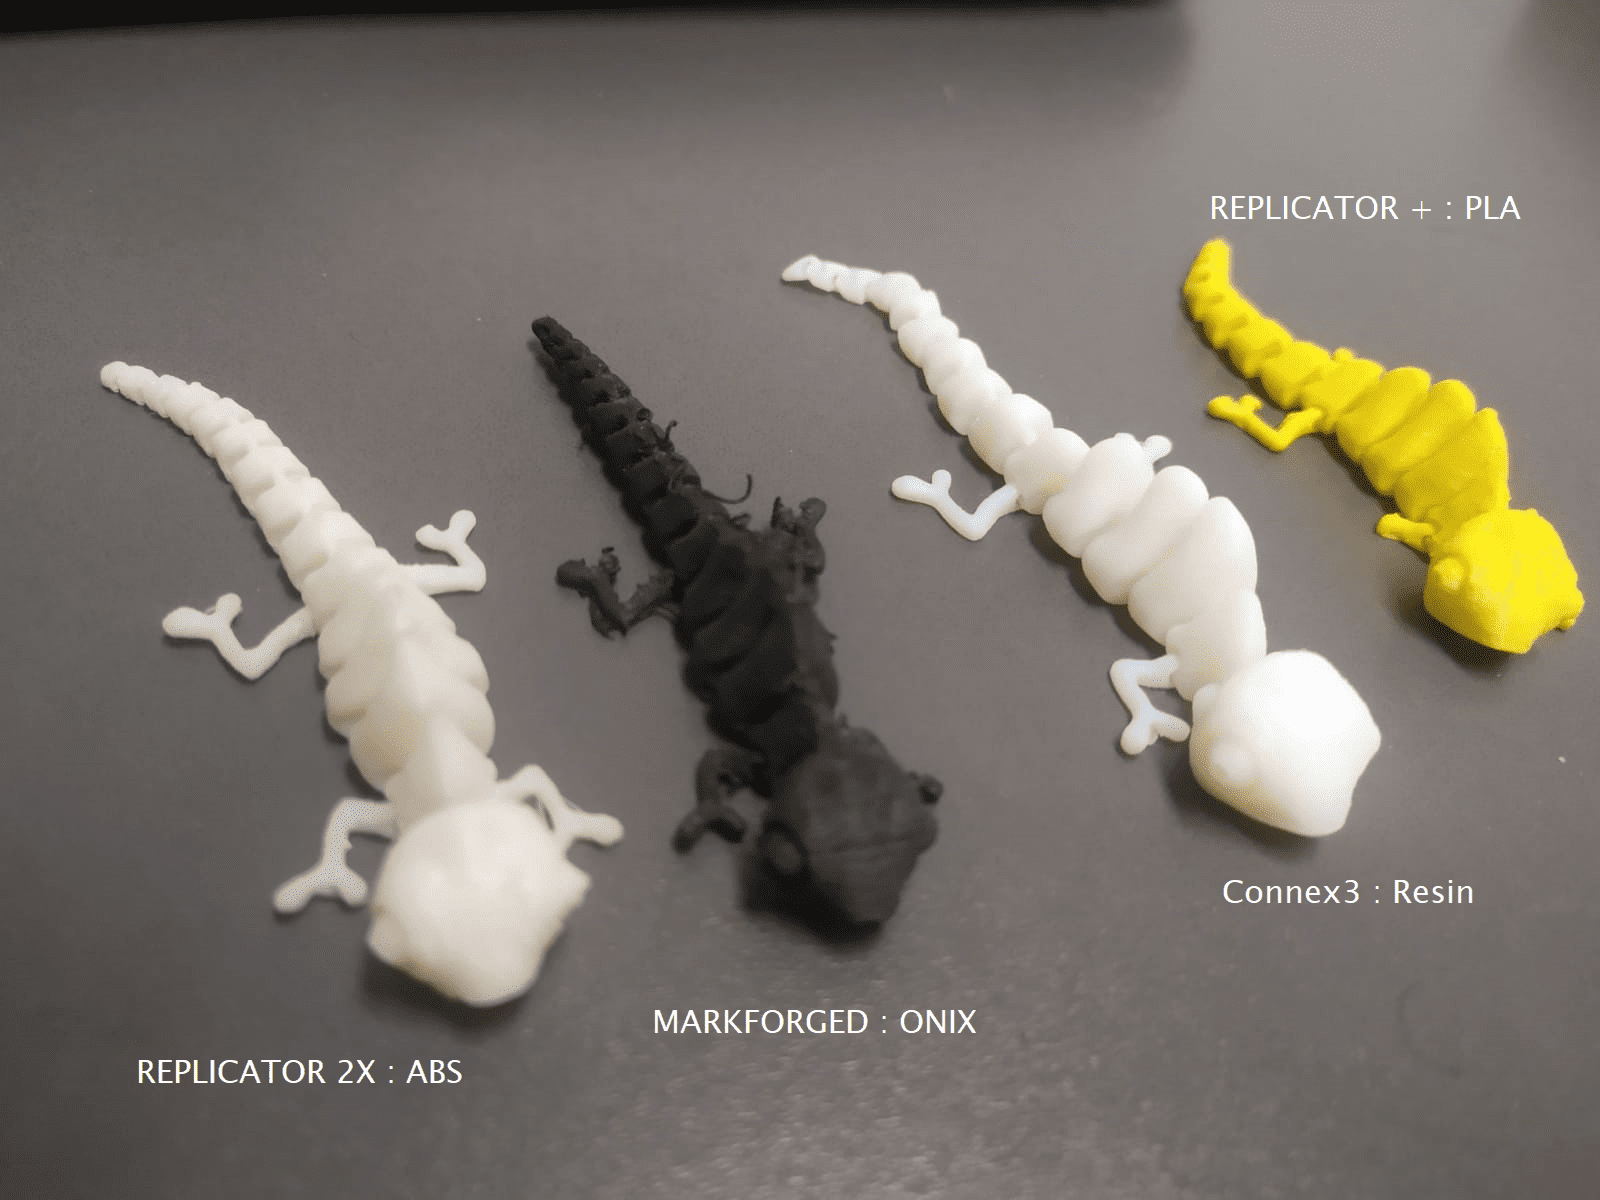
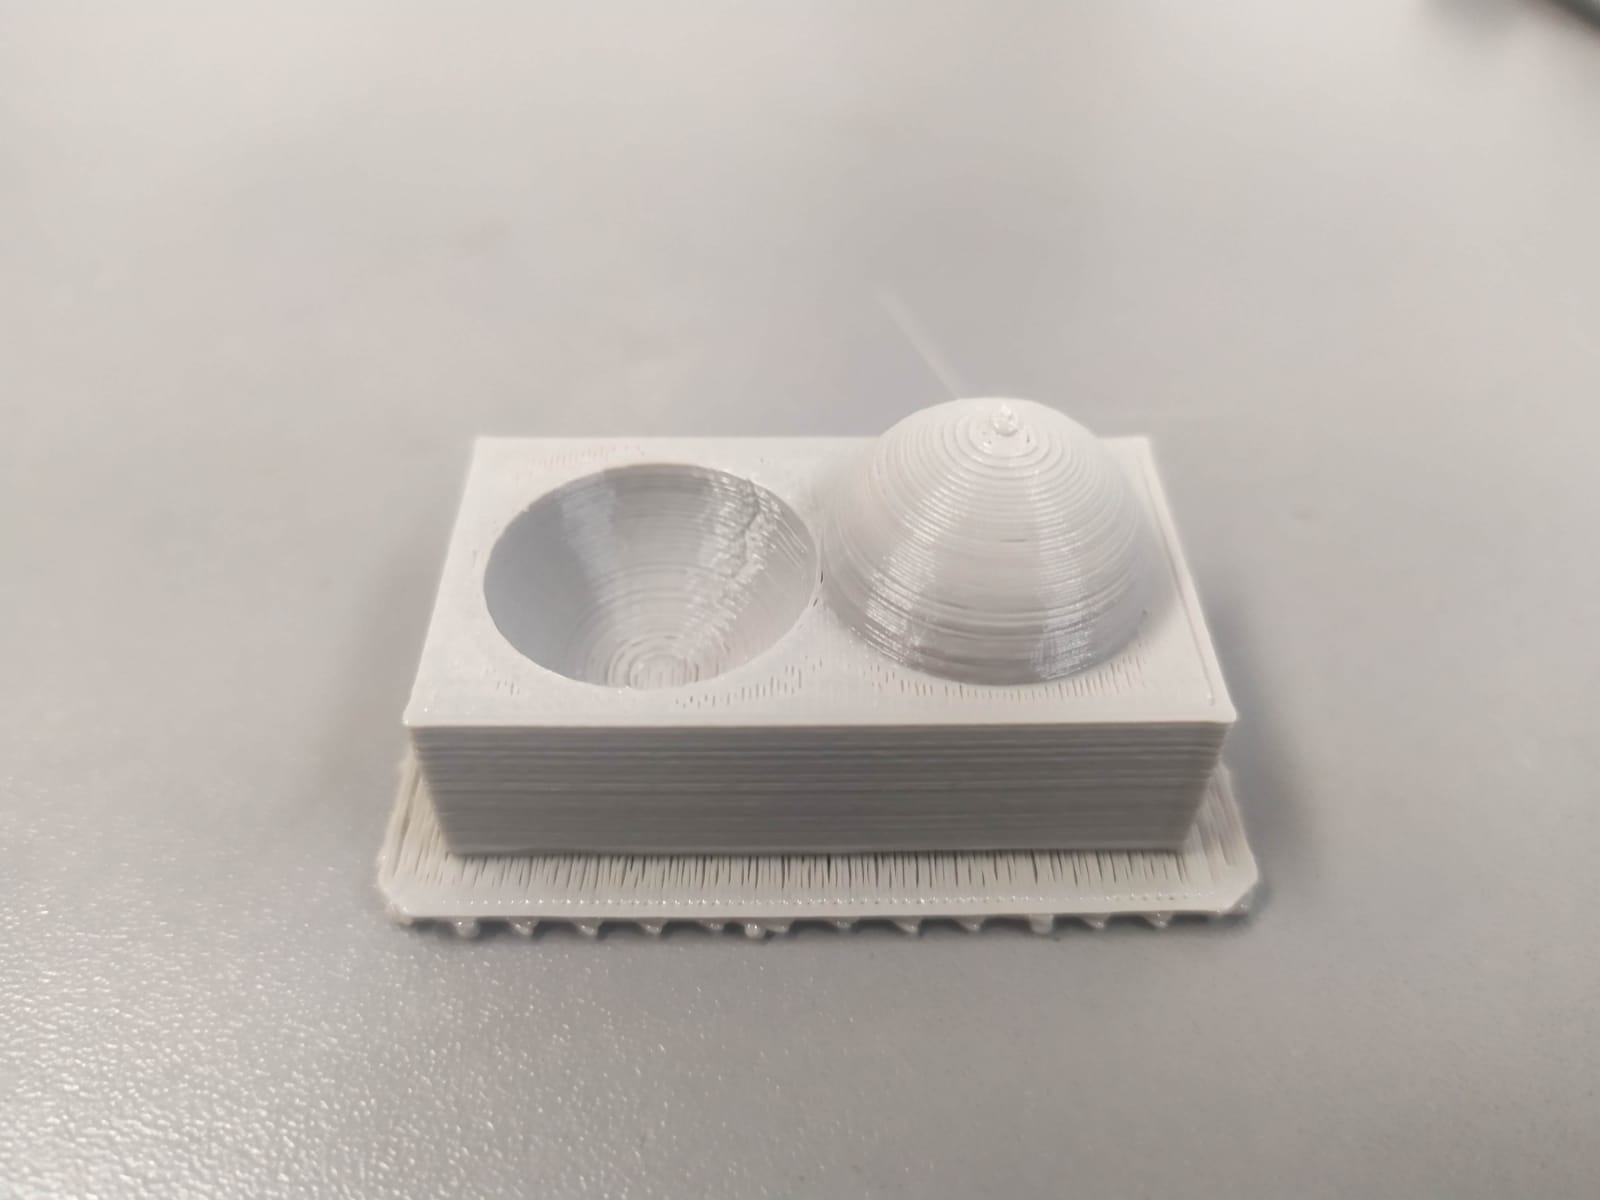
I printed on all 4 printers the same model obtained from thingiverse: chameleon. The material I use in each printer is shown below:
Here is the quality of each 3D printer:
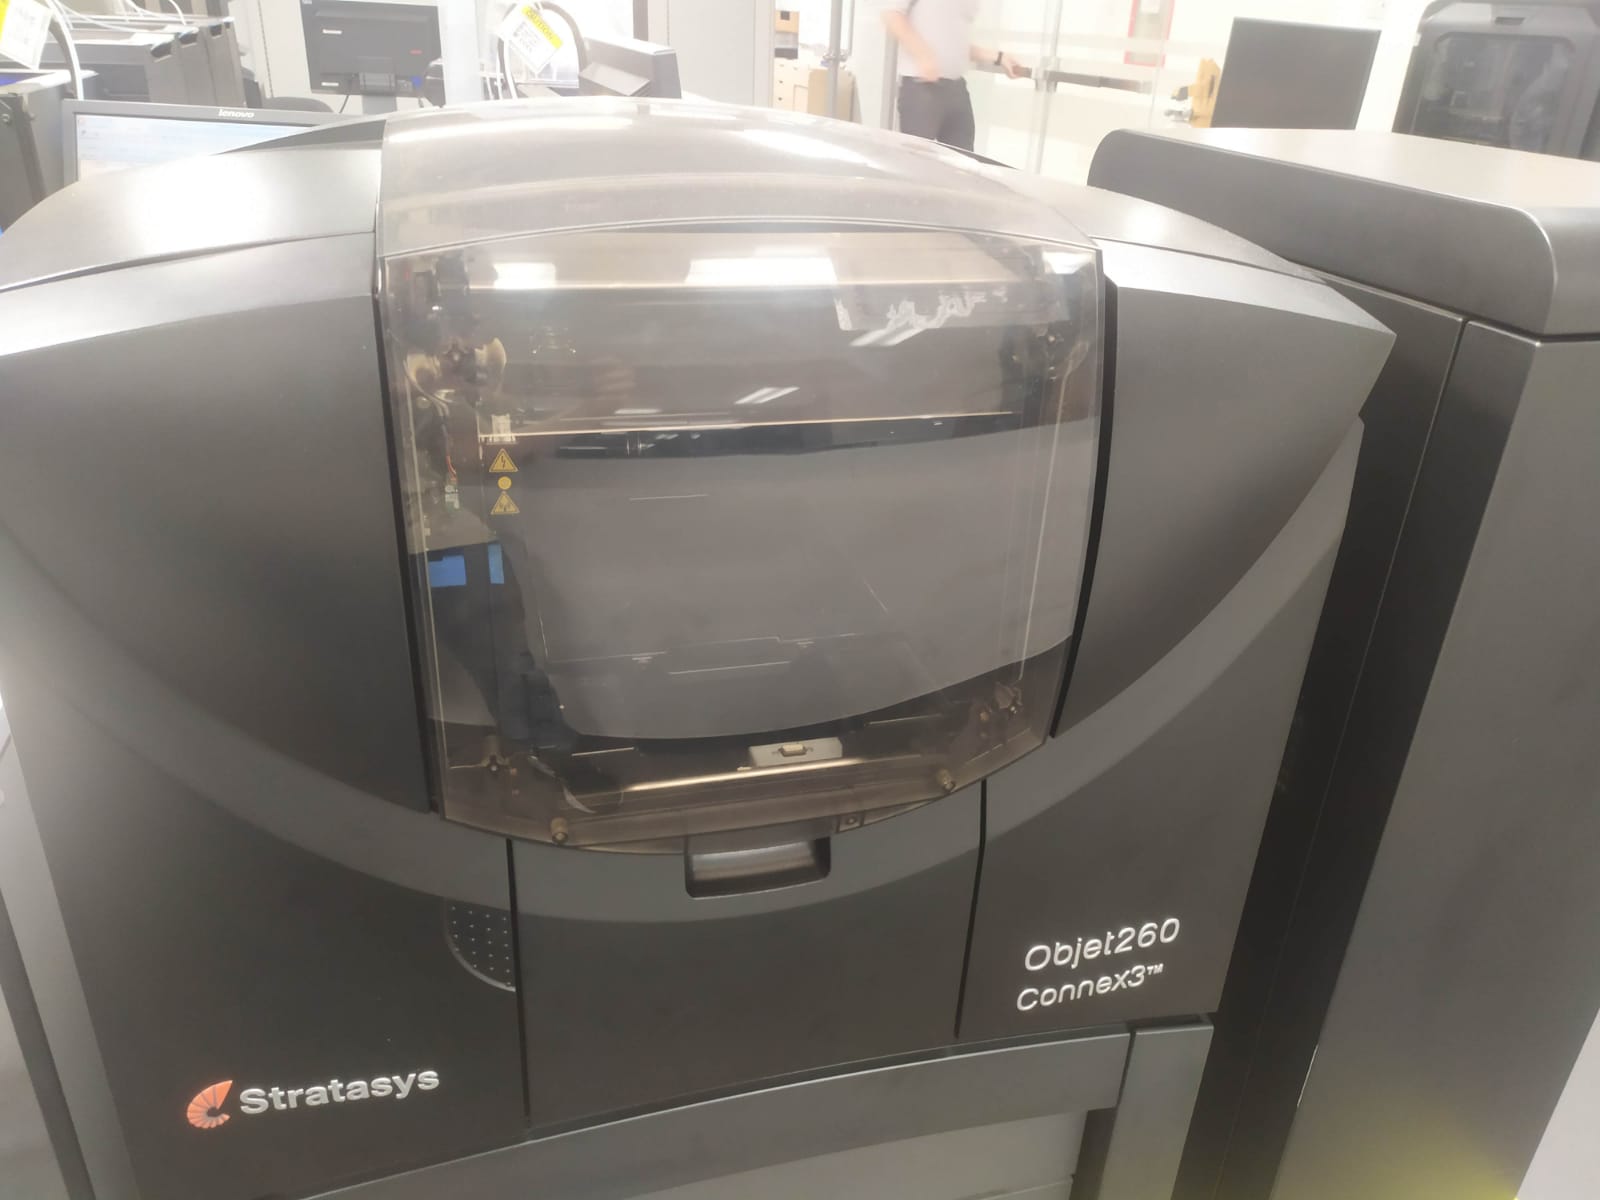
The best finish was obtained by the connex3, this 3D printer, unlike the other 3, does not use FDM technology, but PolyJet, this allows you to print precise models with ultrafine precision. In addition, it has the ability to print on different materials, providing different colors and/or properties to the part. Here is the 3d printing process of the Polyjet technology in the connex3:
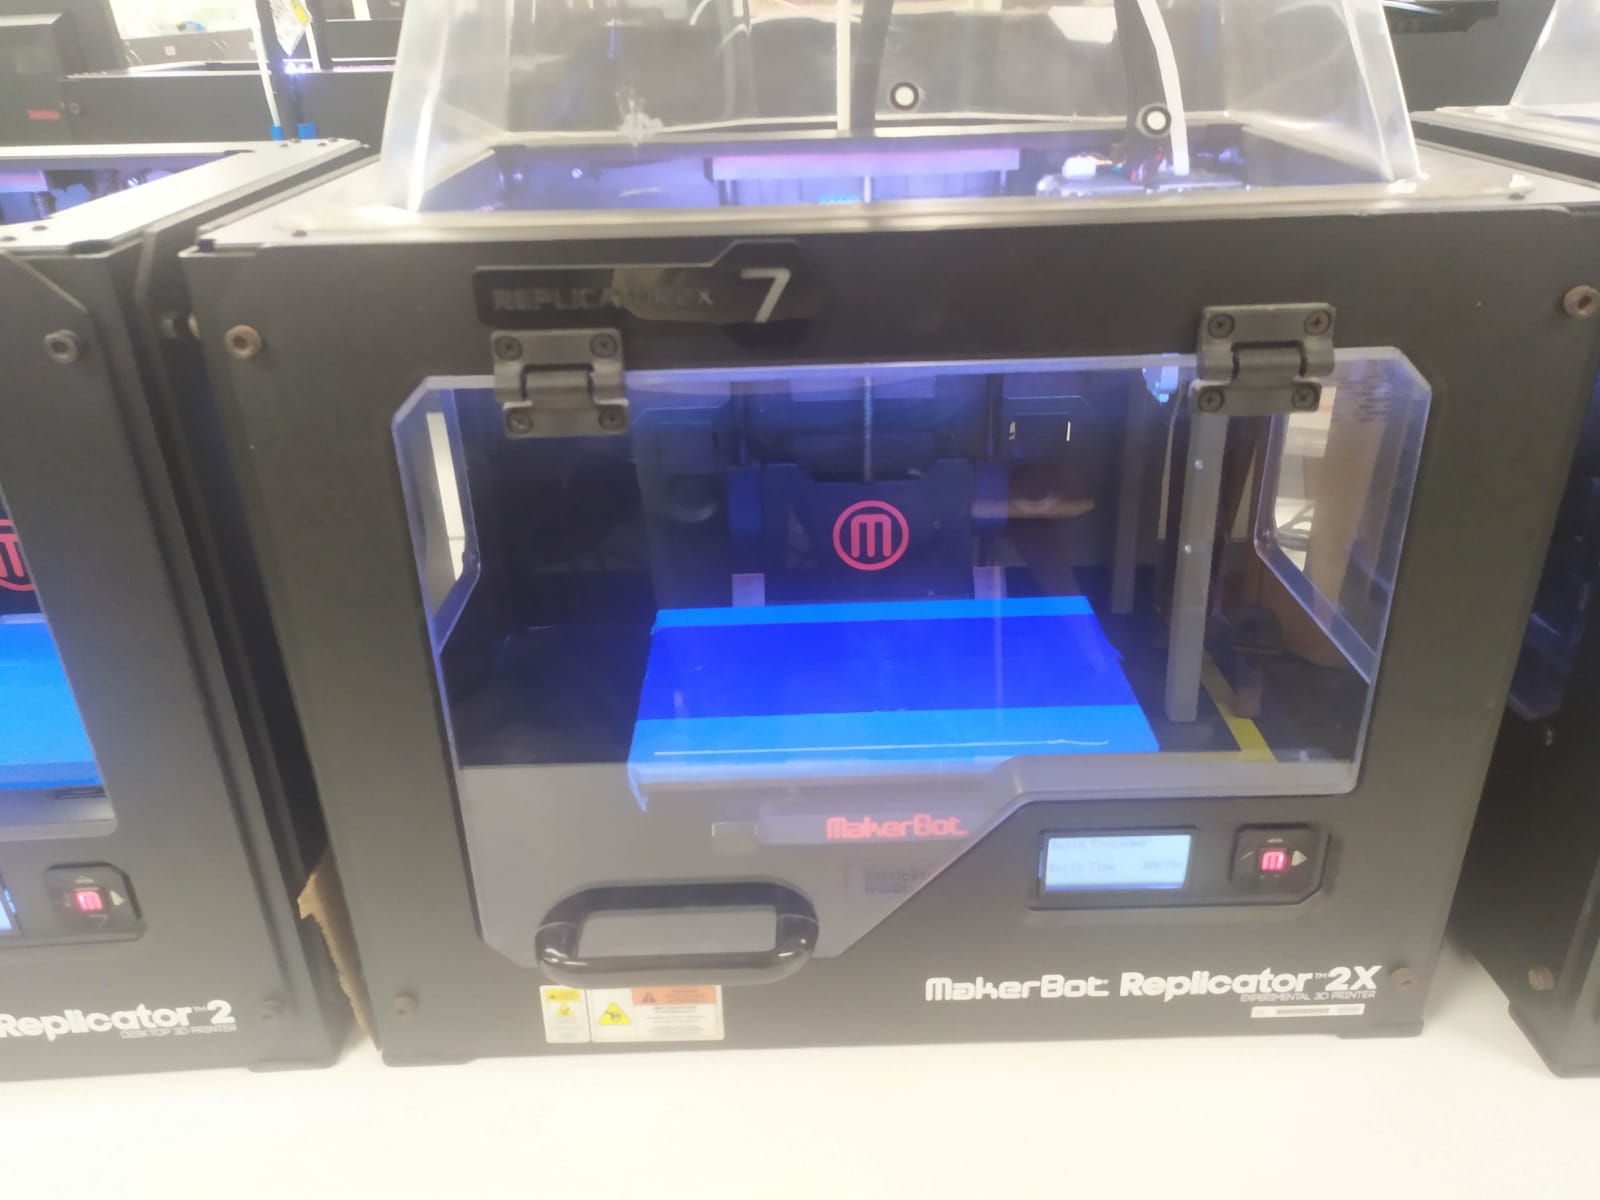
Here you can see the 3D printing process of FDM technology on the REPLICATOR 2X.
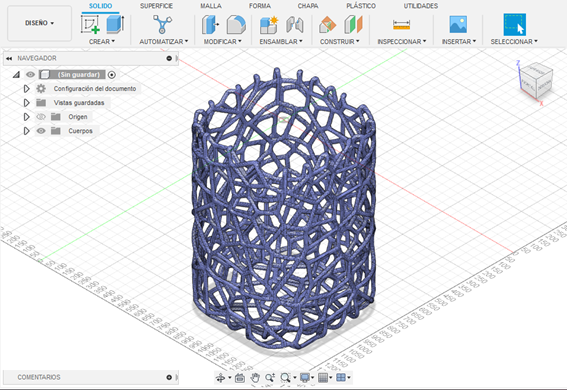
For the individual assignment, i design a pencil holder and apply a voronoid pattern.
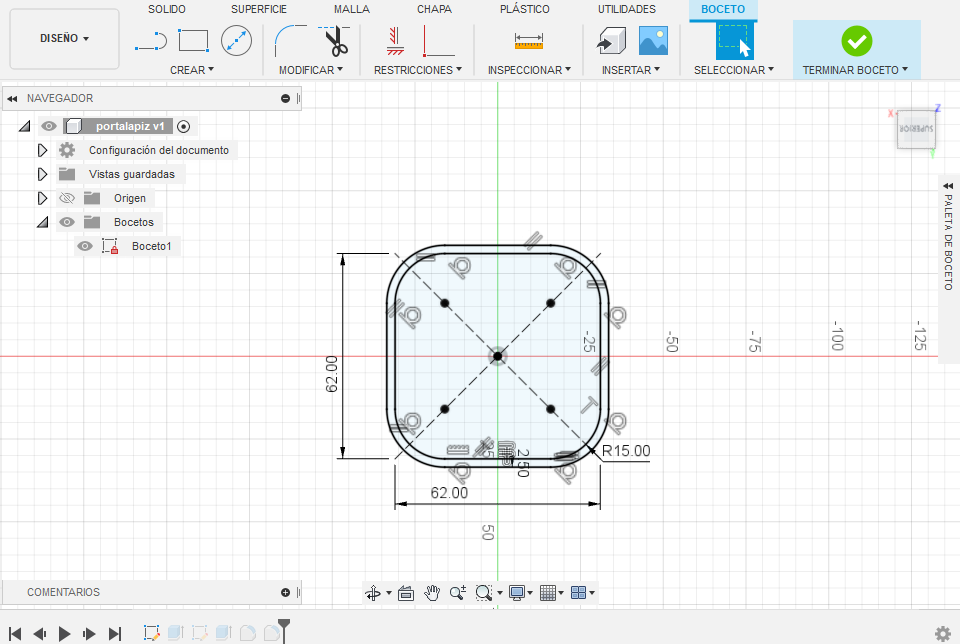
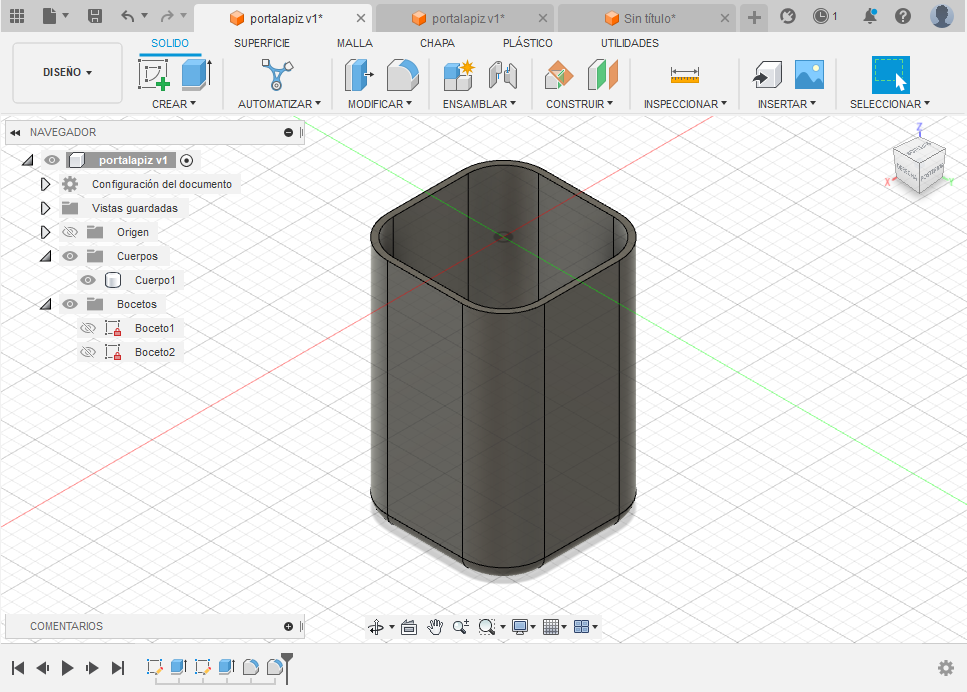
Extrude:
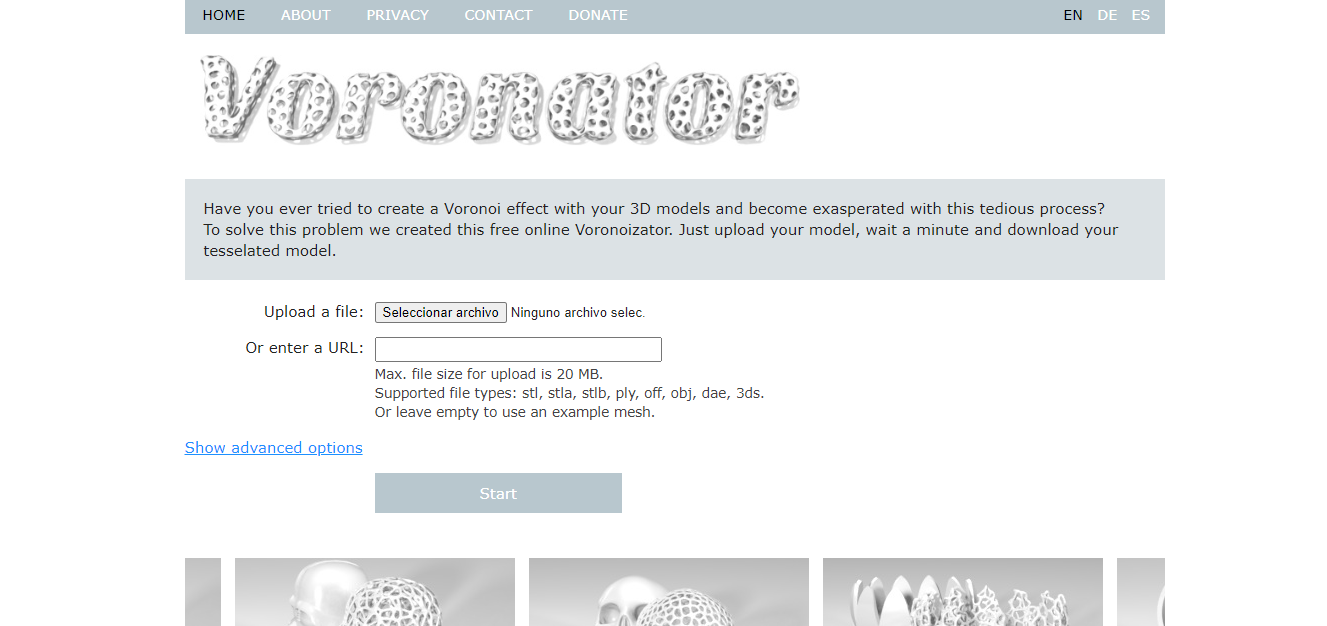
Voronoid Pattern: The voronator tool is a website where you apply the voronoid pattern to your design. Here is the link
You just need to upload your stl filed:
Here is the result:
The part is finally exported to STL and inserted into the printing software
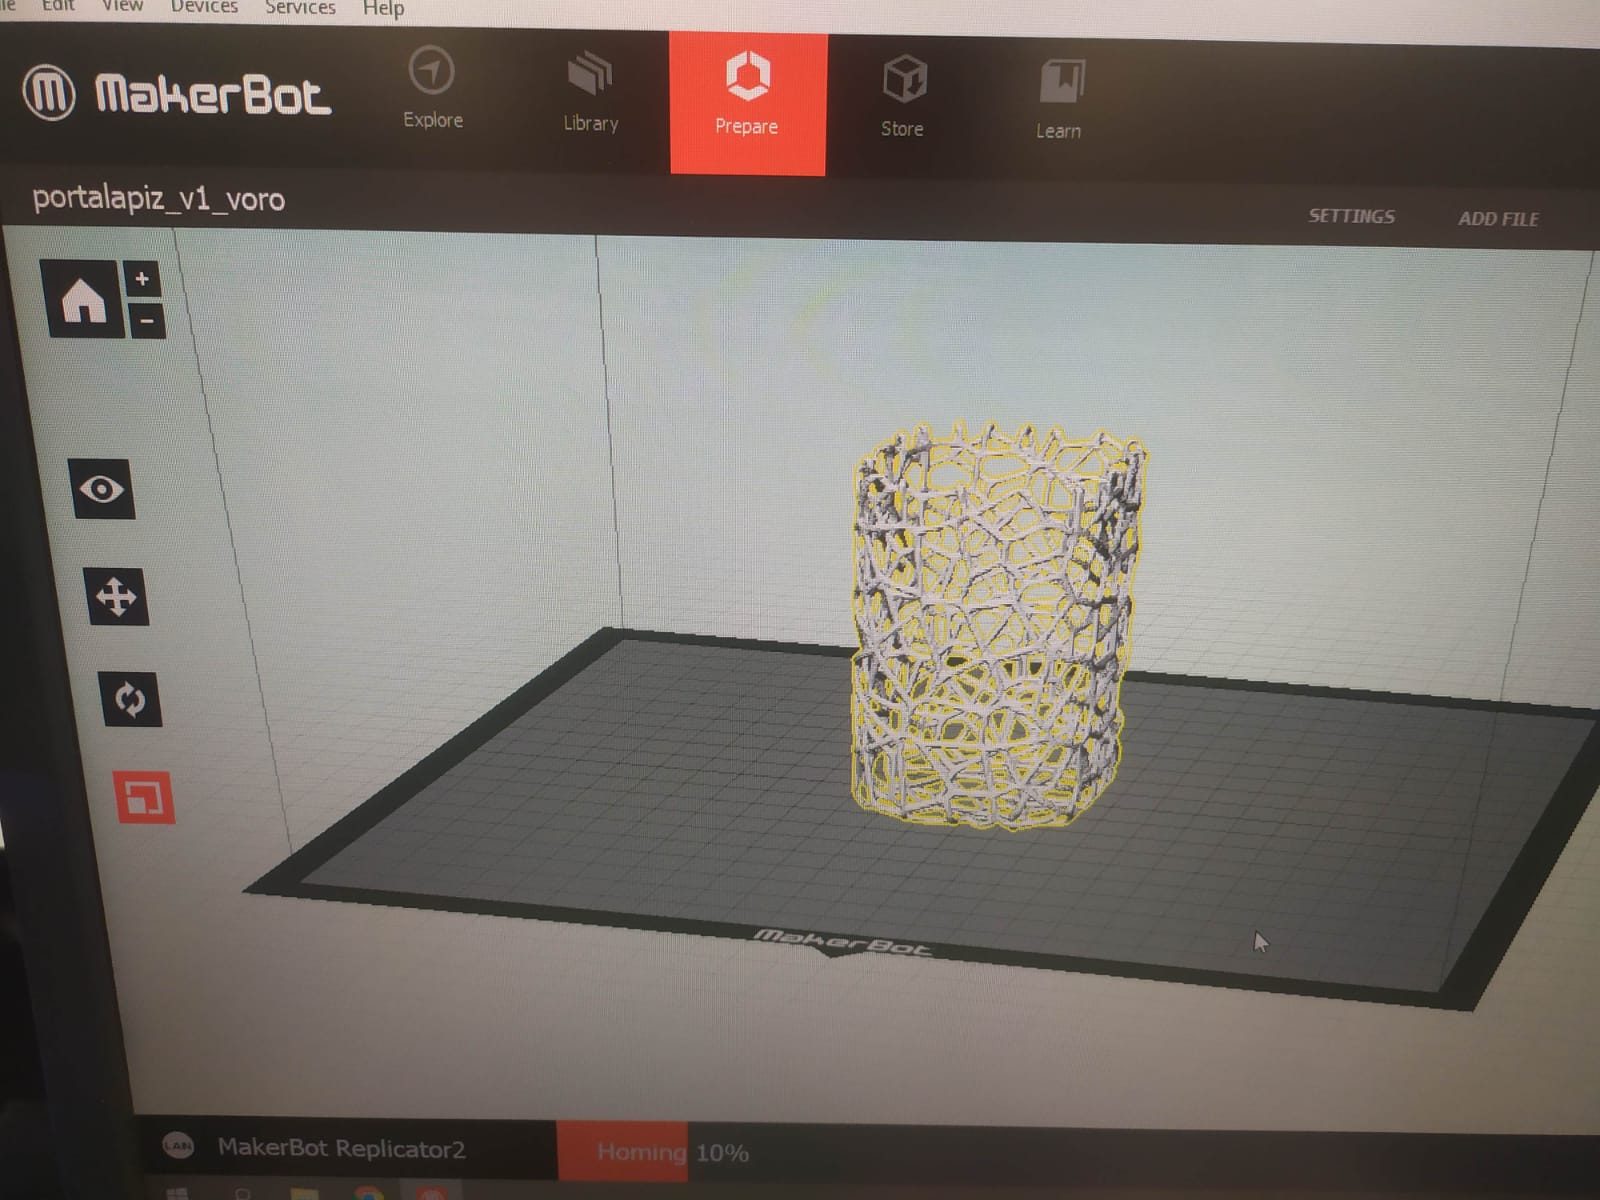
Finally the result of the printing:

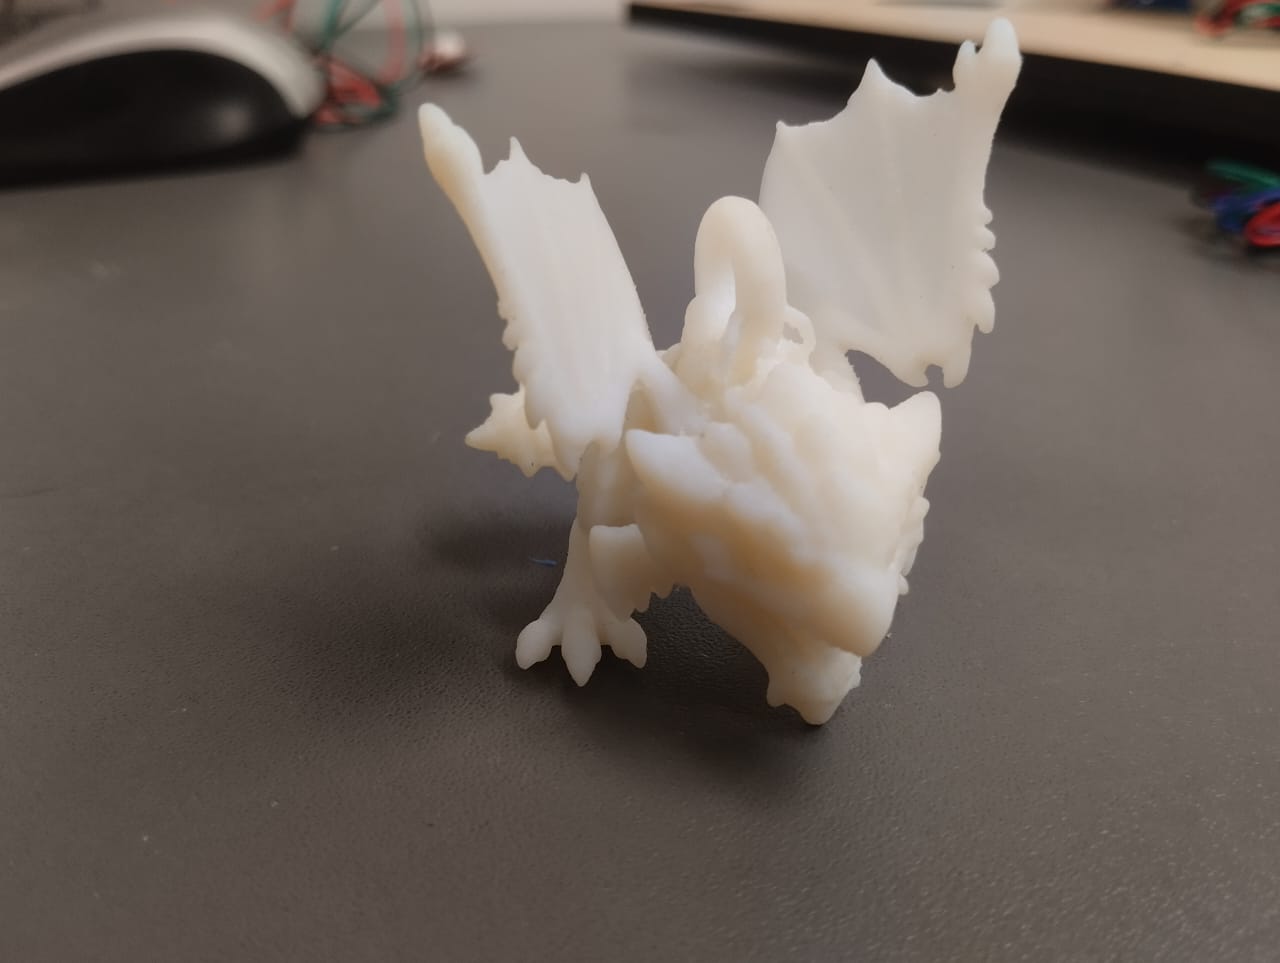
As you can see, the object has a very complex shape and design, it can be difficult or impossible to manufacture it using subtractive processes. 3D printing allows for the creation of complex shapes and designs in a single piece without the need for assembling multiple parts. It has also a complex or hollow internal geometry.
I identify the following limitations in 3d printing:
The laboratory has the 3D scanner handySCAN700, which I used to scan a piece as shown in this video:
I learned that the 3D scanner works using triangulation, it captures the points in space and then they are transferred to the software where I process the mesh of points, eliminating the unwanted parts. Here you can see the model after cleaning the unnecessary parts.
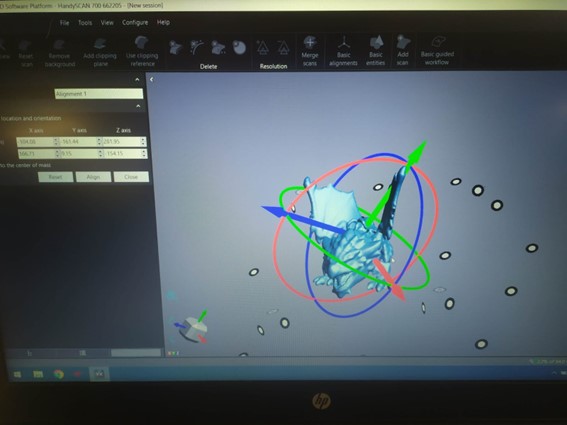
The black circles with a white center are the targets, these are stickers that are placed to help the scanner locate itself in space. At least 3 targets are required at the time of scanning.
Here, you can visualize the scanning:
Finally i printed it