Embedded programming
This week I was introduced to lazier cutting. I started looking to the shapes and ideas that I might need to try before start doing my final project.
Tasks
Described the process of milling, stuffing, de-bugging and programming
Demonstrate correct workflows and identify areas for improvement if required

We attended a workshop during the week in Dubai. The workshop started at 10 AM and ended at 3 PM. It was a bit intense for me. Especially since I have no experience whatsoever with this week’s topic. It was fun though. I’m impressed how I could cover so much in such a short time. However, I managed to finish the workshop following the instructor’s instructions.
we started by being introduced to the materials, tools, and equipment we are going to use in the workshop including:
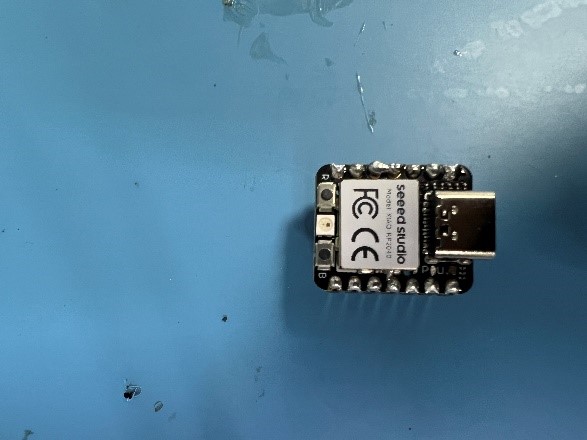
1- Seeed Studio RP2040 Board
2- LED 5mm Any Color
3- Resistor 200-ohm
4- DHT11 Sensor
5- 0.96" I2C OLED Display
6- Jumper Wires
7- Breadboard
At the end of the workshop, we were provided with a sincere measure of flexibility. I will be talking about it at the end.
In addition to the tools, we introduced to some concepts including inputs and outputs. The instructor asked us to share examples of inputs and output devices in a car.
According to my knowledge, an input in a system is mostly a device that requires an action from the user and the outputs are the results we get at the end. For example, the control monitor in a car is the touch screen and the output device in a car is the speakers.
Going back to the chip
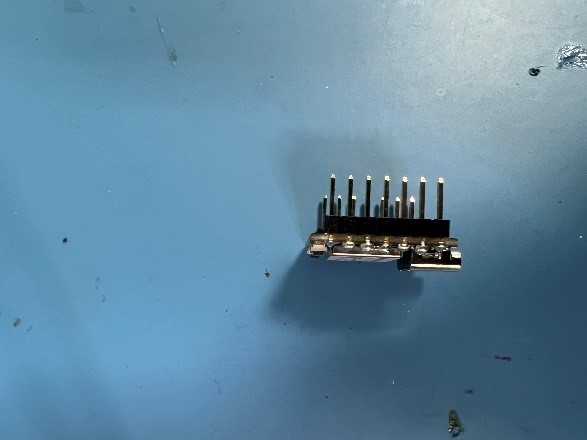
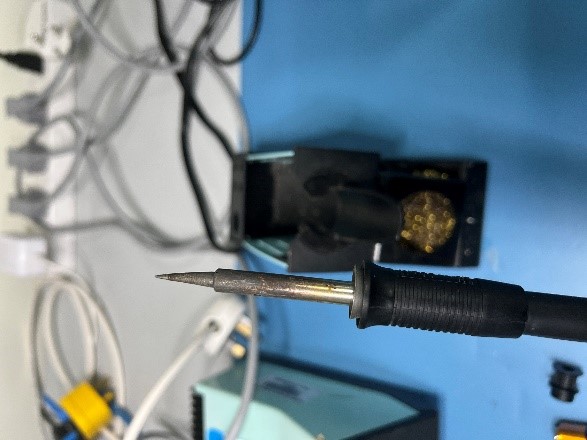
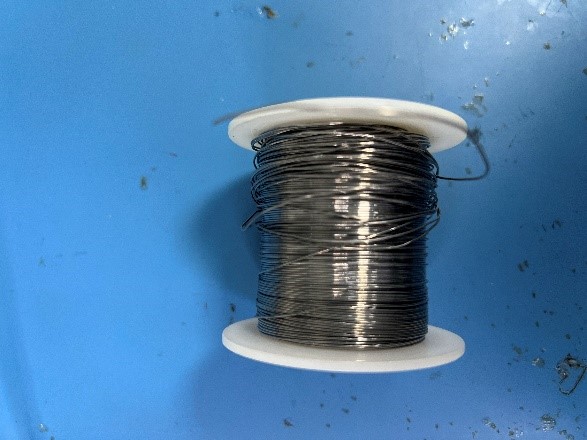
It is an Arduino-compatible microcontroller. First, we need to attach the chip with metal columns that help connect the chip to the board. Using these tools:
To do that we used Arduino. At first, the program looked complicated but it is actually not. Since I’m that experienced in programming I tried to look for examples and explanations of the meaning of the codes we have to use then I started creating my own.