Week 1: Principles and Practices, Project management
Assignment activities
GIT Tutorial
Creating a website.
Creating a repository and upload a website on gitlab/fabcloud.
1. GIT Tutorial (Work through GIT)
GIT is a free and open source distributed code management and version control system the is distributed under the GNU(General public license) version2. In addition to software version control, it is used for other applications including configuration management and content management. here
In work through GIT we are going to see how I downloaded and installed GIT in my PC.
I downloaded GIT through Google search”GIT Download” and I followed the protocols for window version.
I used windows 10, 64-bit operating system, x64-based processor because it’s my computer version, I got this from window explorer – this pc and right click to properties.

Or you can use this link to download it, here
And after downloading the setup , next step was the installation of GIT , I normally used to install some Software and this GIT also was the same to them means this step was easy to follow the prompt,
below are the steps I followed while installing GIT on local host ;
- clicked on the setup with extension .exe
- select the folder where it will be its location for storage ( I selected local disc:C).
- on adjusting the names of initial branch (select Let GIT decides).
- Adjusting the path environment (select GIT from the command line and also 3rd party software.
- choosing the SSH executable (select use bundled openSSH).
- Configuring the line ending conversions (select check window style, commit Unix-style line endings)
- continue to install with next button by default and enable experimental support.for video Tutorial
2)Creating my website
Website is basically collection of publicly accessible , interlinked web pages that share a single domain name, it can created and maintained by an individual ,group ,business for variety purposes.here
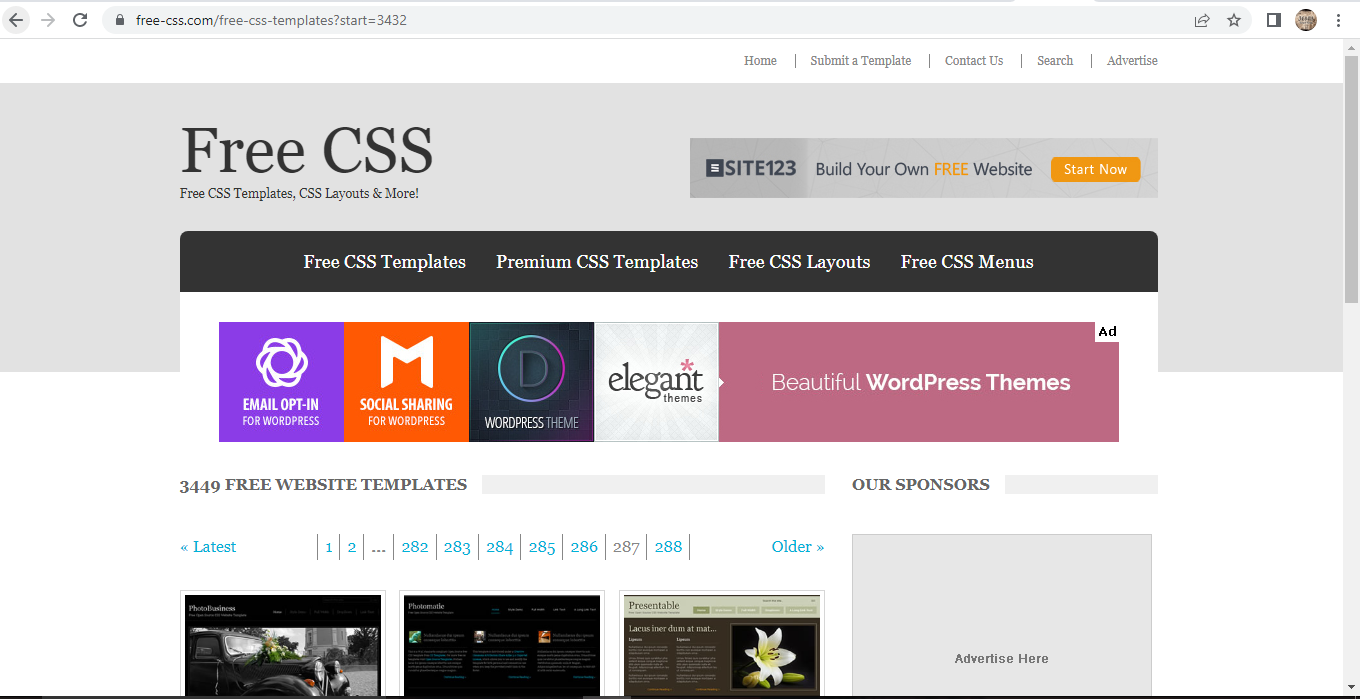
It was too long without coding HTML and CSS, and it required me to sit and recap some of the tags and the new one, and because it was small period of time for an assignment I used the web template to create my own website though it also take me long and some time I got stack at a certain point but I continued to make a research and I really learn more in HTML and CSS.here's link for web template
Visual studio Code Text Editor
Visual Studio Code is basically a source-code editor made by Microsoft with the electron framework, for Windows, Linux and Mac OS.here
In order to download the VS code editor in my pc since because I use windows OS, I used Google search "Get into pc" and I downloaded setup, Download VS code
Once i done with download , i used tutorial to install Vs code ,here
When it comes to the text editor, IDE coding I was with C++ was Dev C++ or turbo but for web design meaning HTML and CSS I use Visual Studio Code though there are other many editors like sublime text, and I prefer because I use live preview for accessing codes and their effects simultaneously also its the one that I’m quite familiar with, it's simple editor than others to modify the templates in the way you want to your own website, below is the picture while I was editing template in index page.
 I started when I was not aware of GIT, and not knowing how I can make some of the tags in HTML, it was really difficult week but it accumulates my interest in Programming and coding also to explore more in new tech advancement, because I know our world technology are dynamic so I have to work hard to be on the same pace with the work.
3)Creating Repository and uploading my website to Fabcloud/GIT lab
GIT (Global Information Tracker) Lab is basically means an open source code repository and collaborative software development platform for large Development operations and development security operations projects, and is free for individuals, its more efficient ,reliable and secure form of global network that can be accessed through multi cloud sources.
- Firstly I downloaded GIT and install because you can’t start cloning without GIT mainly in Windows OS, after installation of GIT as it is stated above the whole process, I continue with repository creating.here
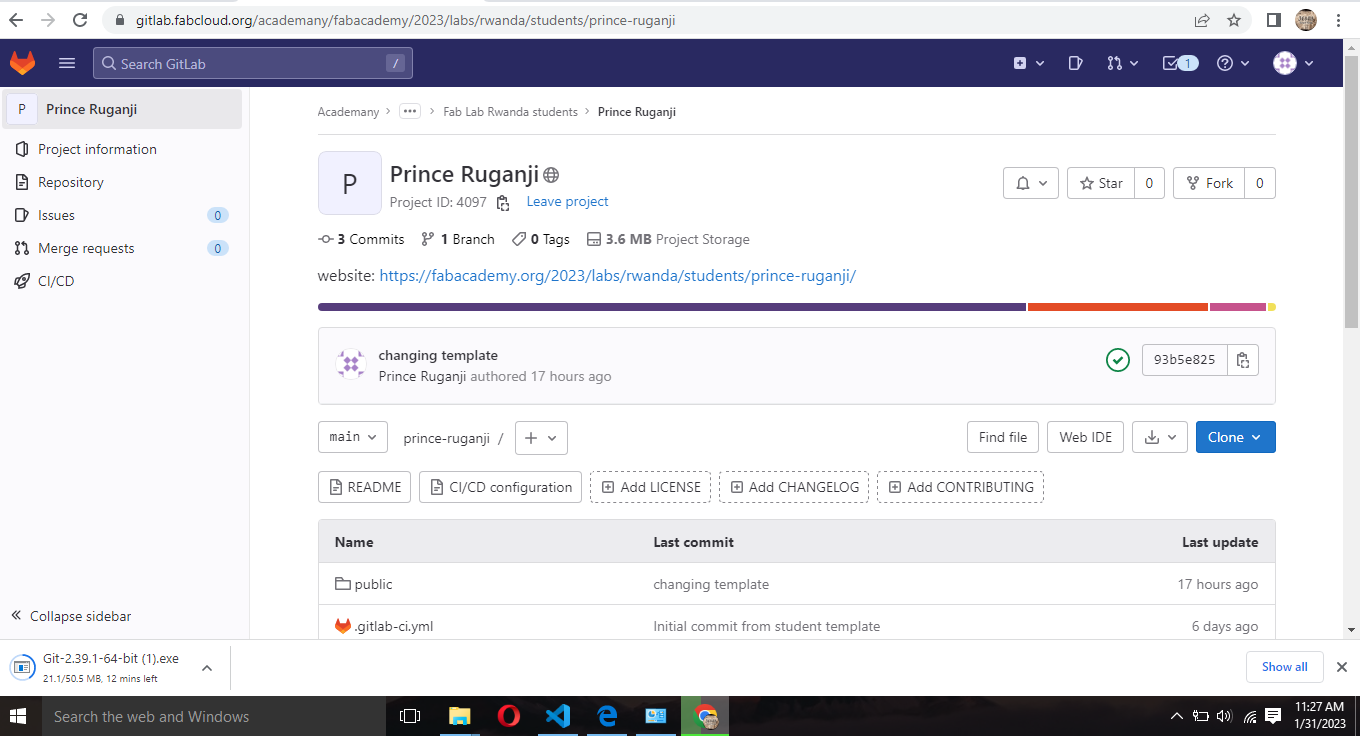
- a.Search in tab “gitlab.fabcloud.org” (the site where I created my user name and password) here's link
- b)Go to button fablabs and reach to sign up option where I inputed my credentials , and the repository was done , which looks like this.
- Authorizing the Fabcloud Gitlab app in order to get access in created account, there’s green button for authorizing, and unfortunately I didn’t remember to take screenshot but here is my colleague who authorized his account
- Another step to link fabcloud to the local host , and this will need the private network and public network , the private network are useful because they prevent any access of repository from anyone else , and the public network is the one we share as the community, and to this I followed the commands in the power shell as below
- Open the power shell and navigate to local directory where you want to initialize the GIT repository.
- Open terminal located in applications and set up the user name and email which will be used in security shell key mainly will be private account.in the GUI Bash interface
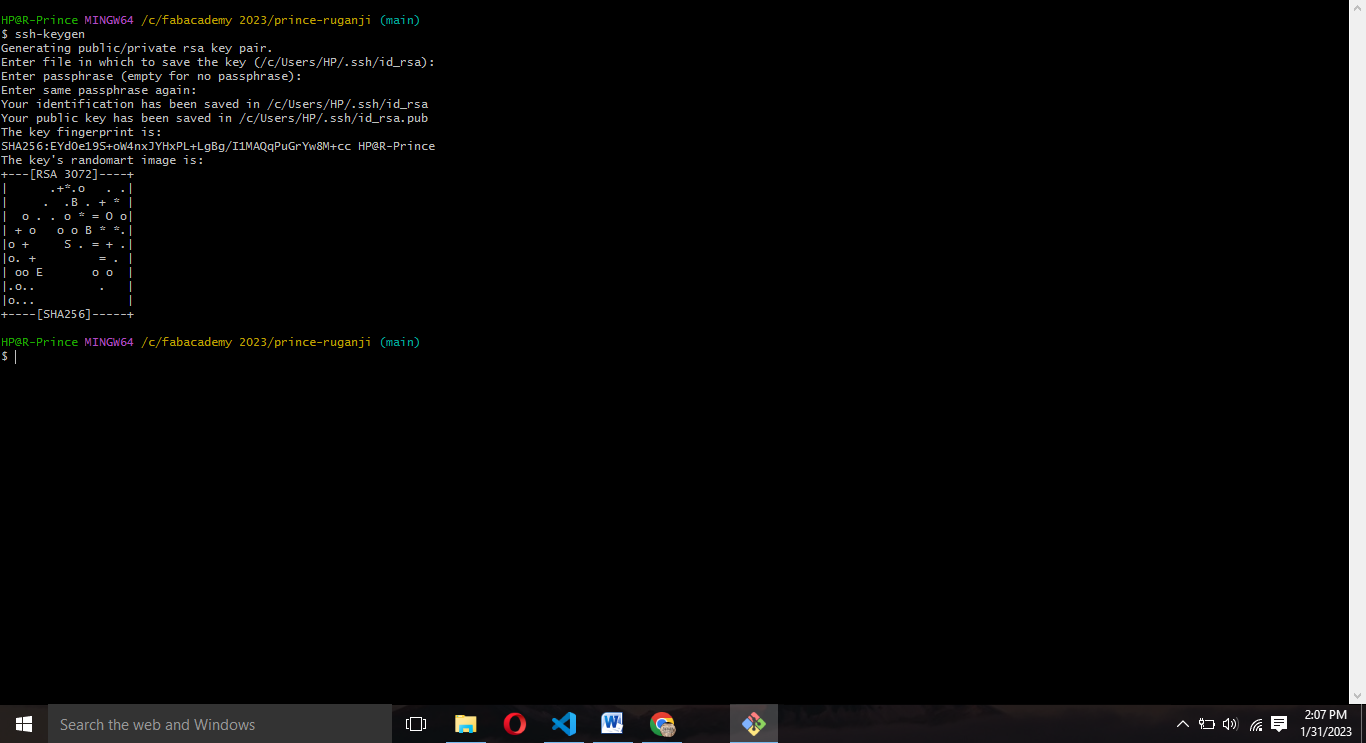
- Generating the SSH key using the public and private account, adding the passphrase to secure your private account by using inputing code
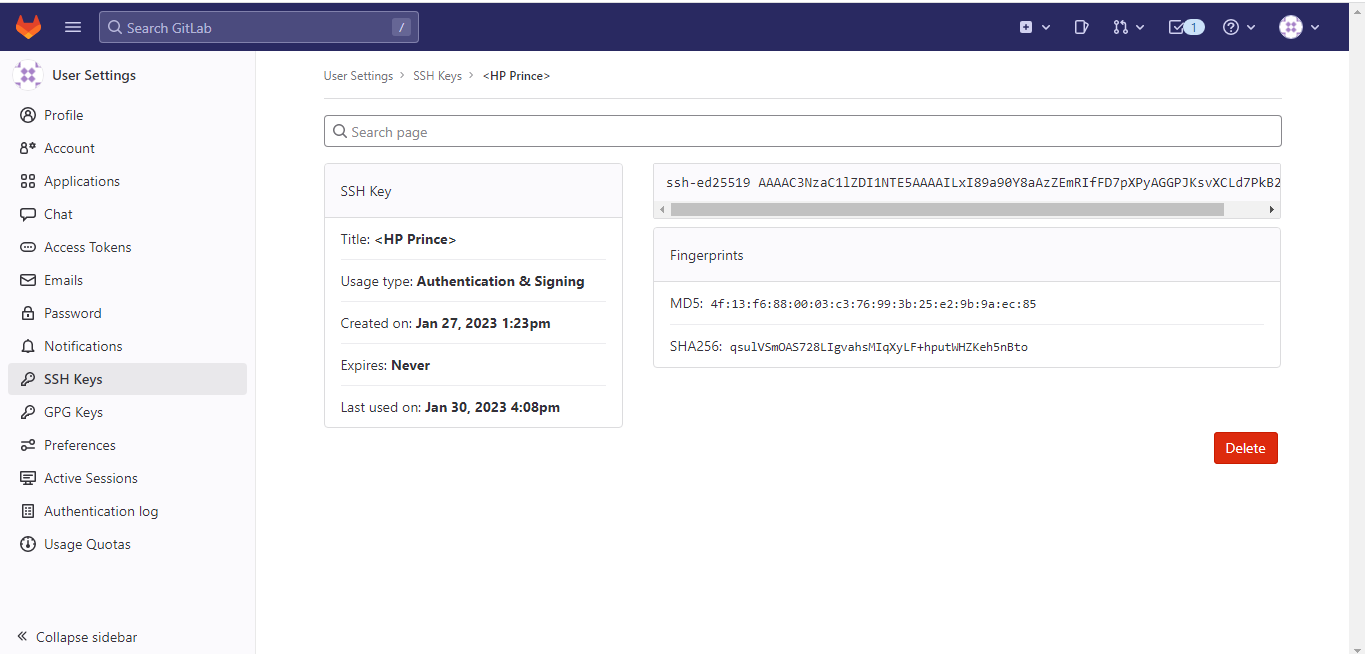
- next step was adding the Public account key to GIT Lab, the are some few steps to I did in adding a key;next step was adding the Public account key to GIT Lab, the are some few steps to I did in adding a key;
- Log in to your GitLab account on gitlab.fabcloud.org
- Go to your profile settings and edit profile
- Select the "SSH Keys" section
- Add a new SSH key and paste the contents of your public key (usually located at ~/.ssh/id_rsa.pub) into the "Key" field
- Save the changes
- Checking if the connection has been created to Gitlab by using the SSH protocol,by typing this command (GUI Bash)
- Set the remote URL for your Git repository to use the SSH protocol
- once the process of linking GIT Lab with Local Host is done , I knew that I can send the files from local host to fabcloud and all that I shared are secured with my passphrase/password , no one can access my Repository. This how it looks when you have linked both.
- Uploading the website and its content to fabcloud through GIT Lab.
Steps to create a repository;

git config --global user.name "user name"
in the GUI Bash.
git config --global user.email "user email"
in the GUI Bash.
$ ssh-keygen -t rsa -b 4096
in the GUI Bash.
ssh -T git@gitlab.fabcloud.org
git remote set-url origin git@gitlab.fabcloud.org:/.git
These are continuous codes that I will always use when we are pushing and pulling the files , and it’s what challenged me longtime because I was seeing the codes without knowing their meaning but I’m now aware of what I’m doing ,so below are the codes usually use and their meaning.
git init
Means the initialization of local GIT Repository In your directory
git add .
Means adding all files to the GIT Lab repository as remote source to your repository
git commit –m”Reason to commit"
Means in Git to save changes to a local repository. The "-m" option is used to specify a commit message, which is a brief description of the changes being committed. This message helps keep track of the changes made to the code over time and makes it easier to understand what was done in each commit.
git push
means push my repository to remote gitlab repository

Also there are other useful codes
git pull
Means pull my GIT Lab repository to my Local host Repository
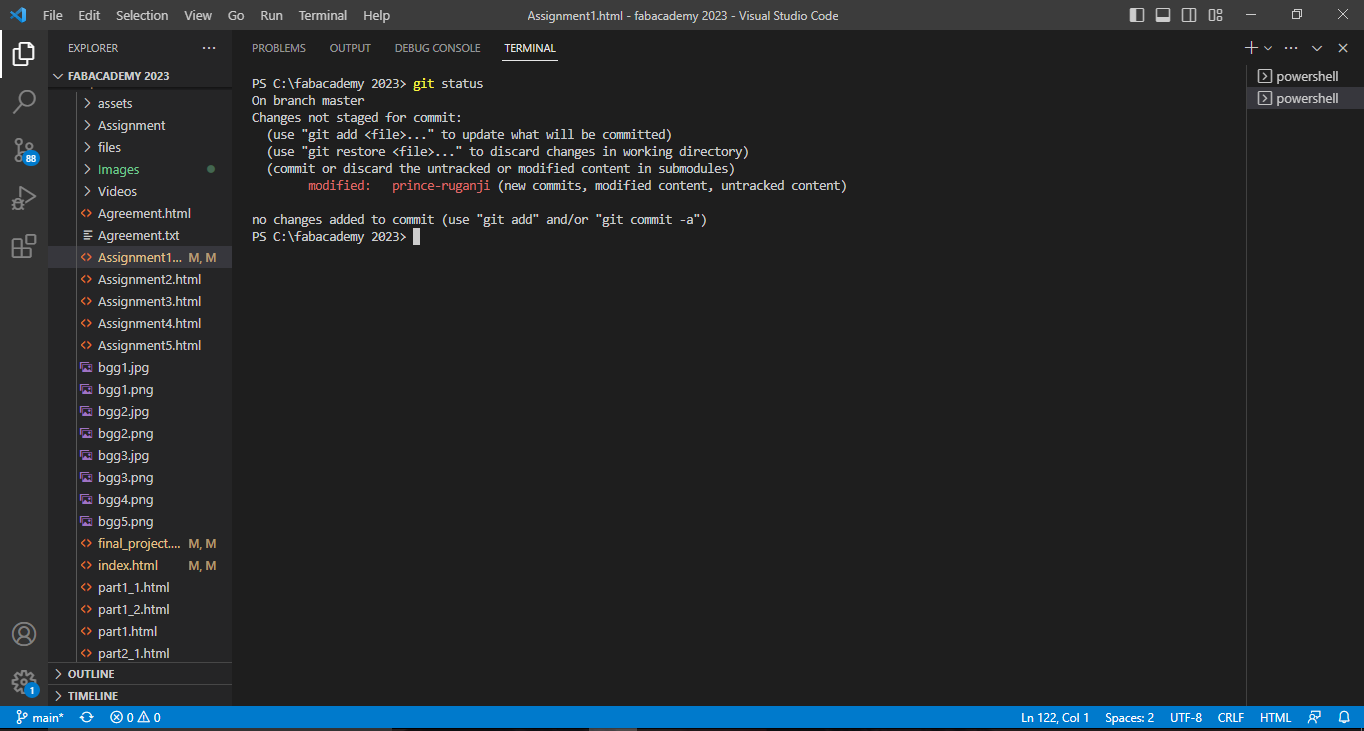
git status
means displays the state of the working directory and the staging area. It lets you see which changes have been staged, which haven't, and which files aren't being tracked by Git.