It was really an interesting time to know more about Vector though i usually see some raster designs i didn't recognize it , I was considering the pictures as the same without grouping them in the models , however by now i have got the difference between raster models and vector models.
Raster Models basically is a form of computer graphics in which visual images are created directly from geometric shapes defined on a Cartesian plane, such as points, lines, curves and polygons in simple word are 2D objects.here
When I was exercising the Vector graphics, I used two softwares which are Inkscape and Coreldraw
Inkscape Graphics software
On my side it was really hard to get familiar with this program because it was my first time to get to know it and use it, but I took time and exercise some things to get to know it more.
This software is basically an open source vector graphics editor used to create a vector Images with scalable vector graphics.here
There some designs, I did for more understanding and getting familiar with inkscape
I used the prerequisites videos to know it is tools and workings via this link.
And starting part is to download setup on google through get into pc.
After I got the setup from my colleague, I continued with the installation of the software, Tutorial to download and install inkscape
,and at end I tried to do some exercises , there some steps I listed below.
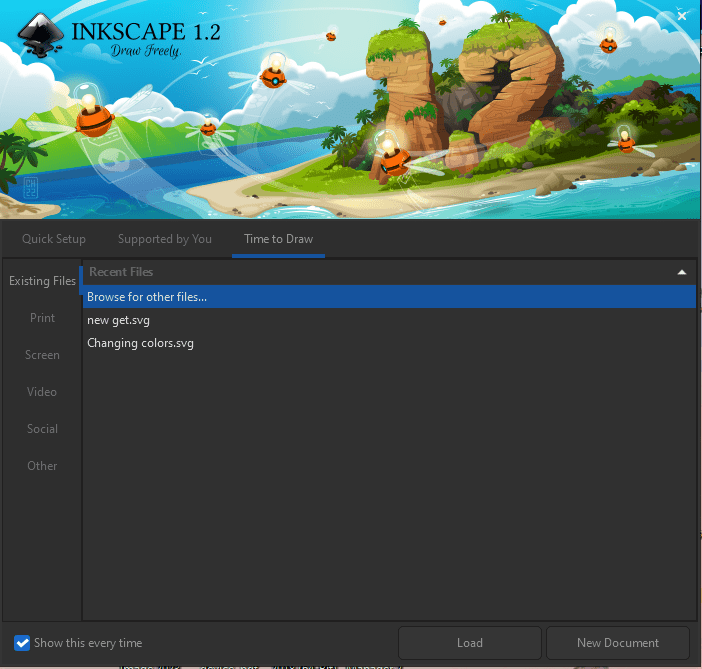
The first interface of inkscape for creating new document.
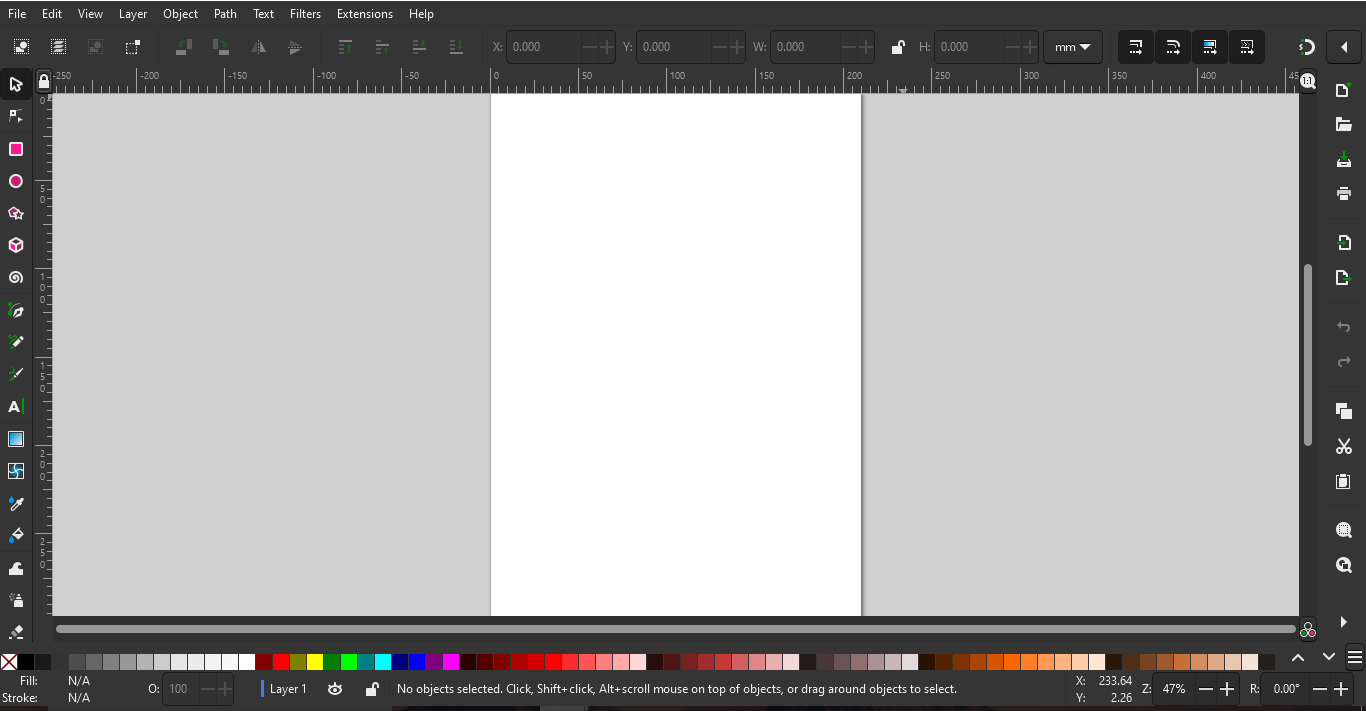
The next step I clicked “new document” which directs me to the work-tools interface of the inkscape , it combines all necessary tools to create the desired vector form image.
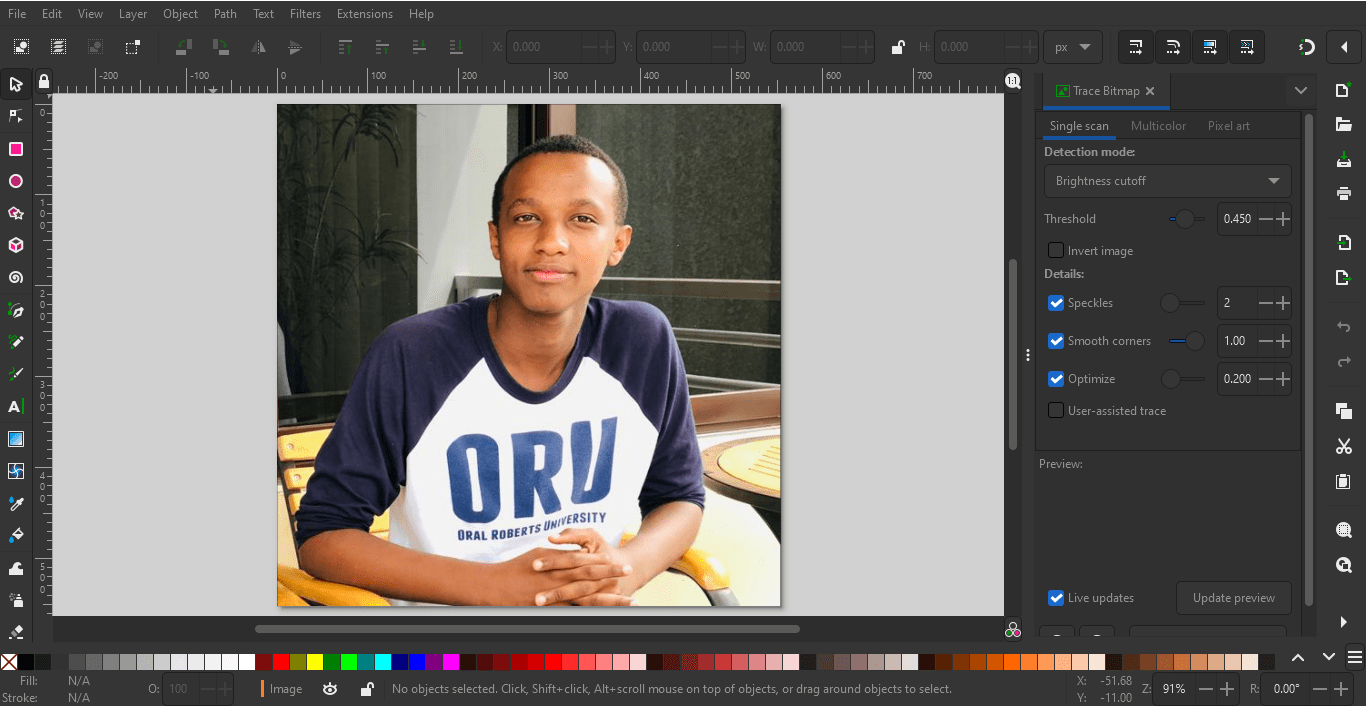
For the first very thing that I wanted was to convert my image into vector form , so the next step , I went on menu bar clicked file ,open document and I inserted my image to be edited.
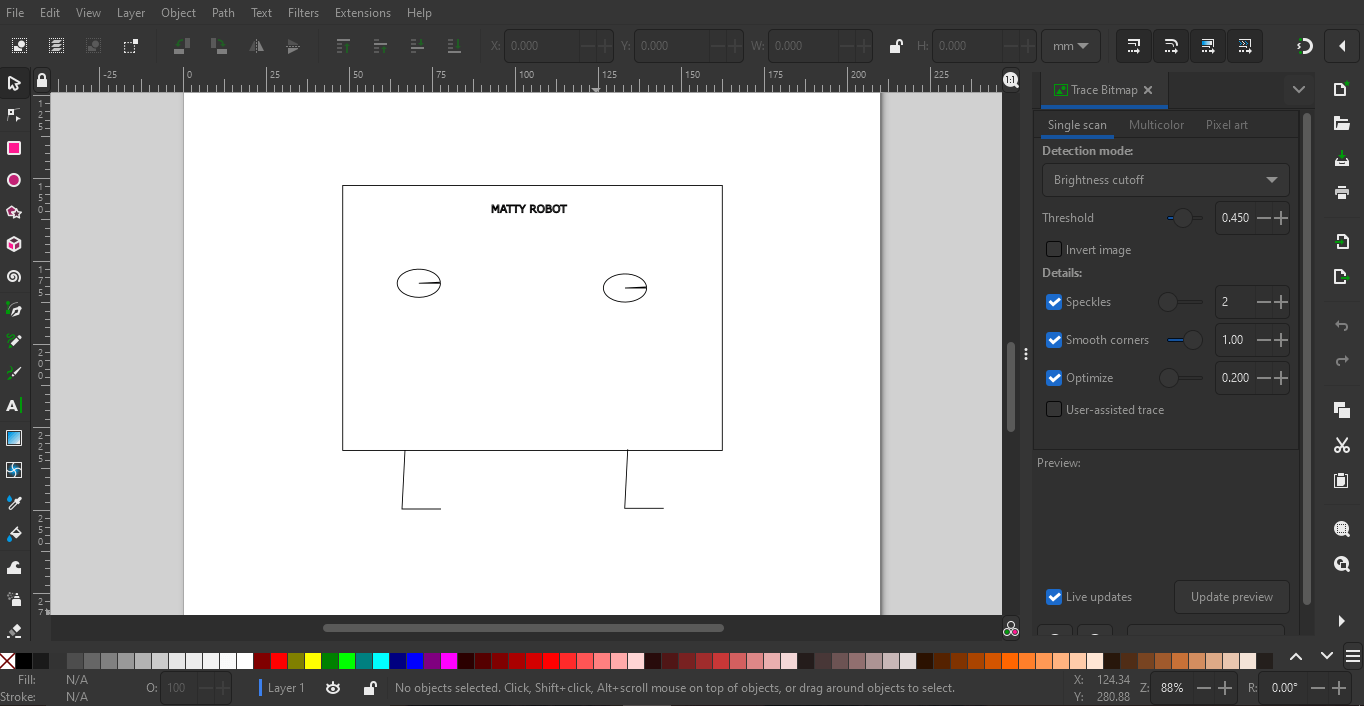
It was not simple to get it is vector form but as I get familiar with app , I got to know it , it ends to the image vectors by going to menu bar , clicking the path and trace bitmap to change the properties of the image.
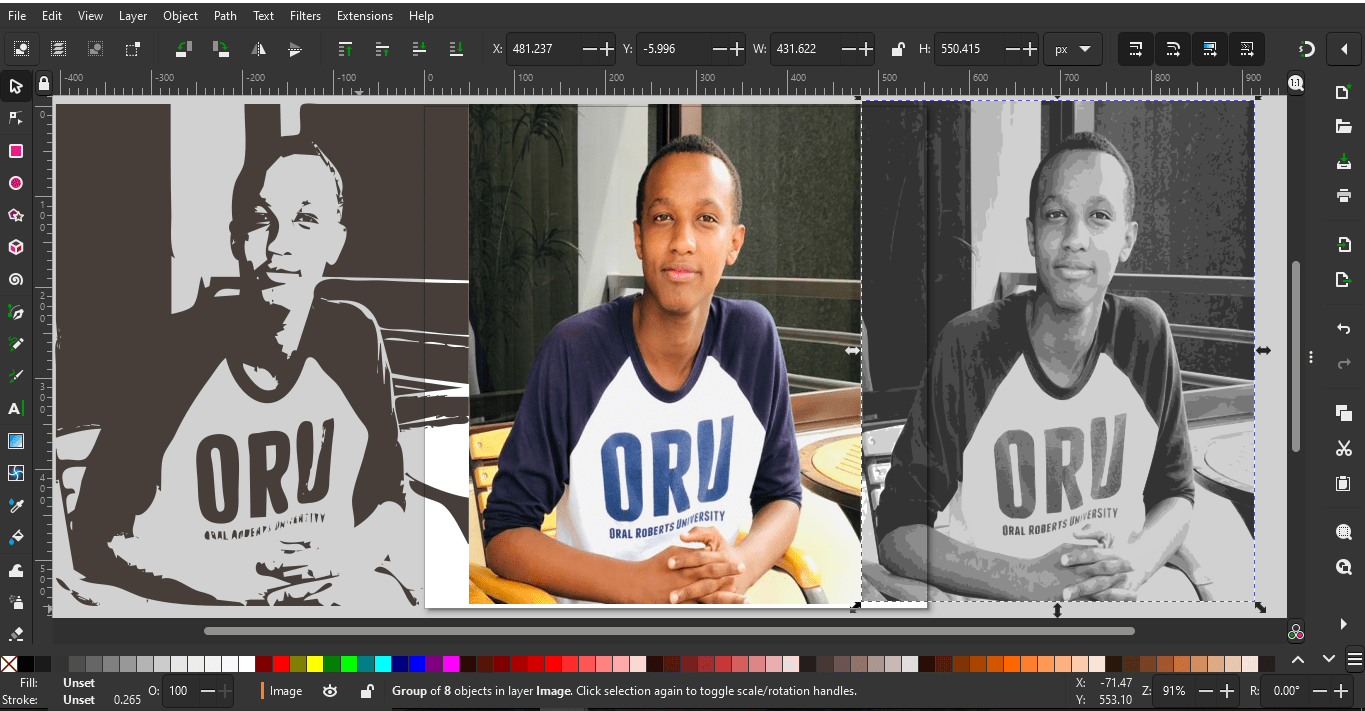
The final output after editing some properties and changing into vector form.
It is not only the image editing but also it can design thing like fliers or anything else.
I made small 2D robot design(“Matty Robot”)
By applying the colors, the robot will be obtained in understandable format.
CorelDRAW Graphics software
CorelDRAW is a graphic design and illustration tool that enables users to develop and edit various vector designs using different operating systems and devices.here
I used the prerequisites videos to know it is tools and workings via this link.
And starting part is to download setup on google through get into pc.
After the installation I proceeded with some exercises , there some steps I listed below.
On the new step I created new document of the Corel draw , to start working on it , though it has few features on the interface but its difficult to differentiate their functionality.
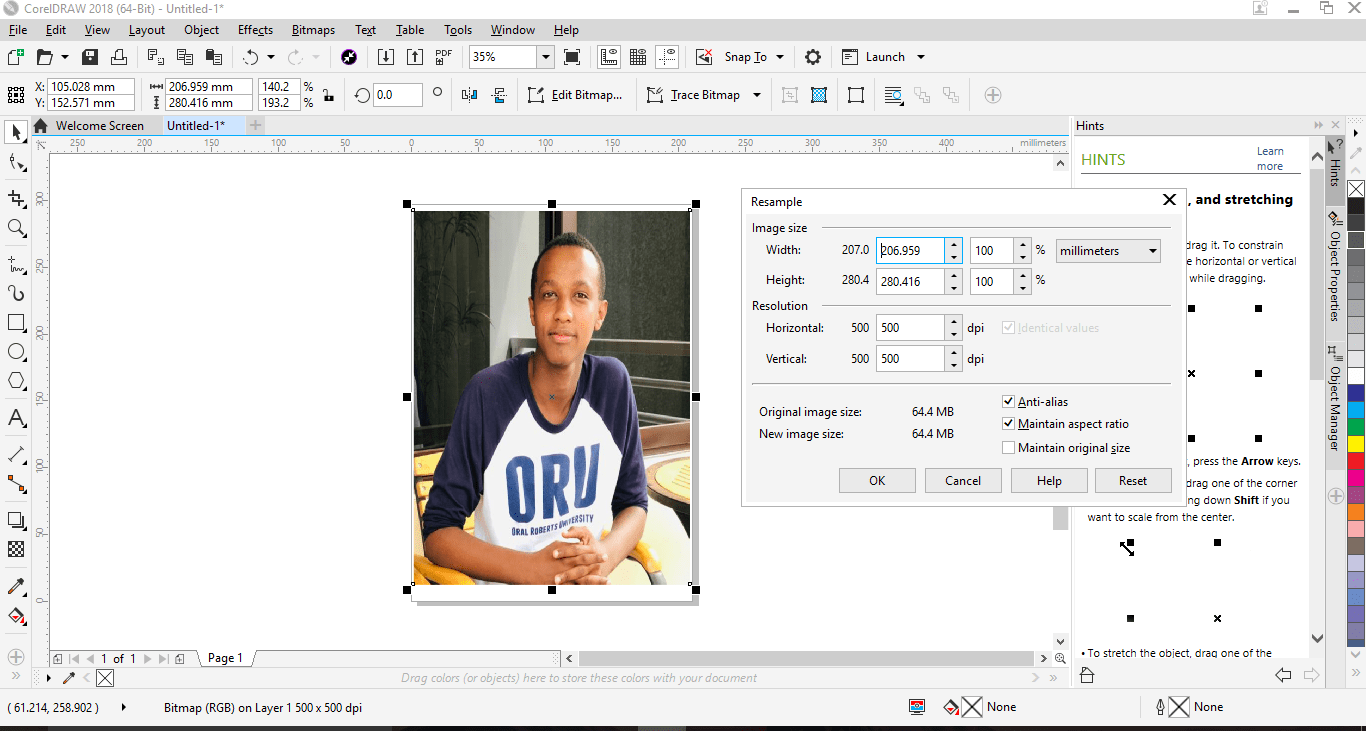
the second step is to insert the picture to be edited into desired format for laser printing machine..
The next step was to click bitmaps on Menu bar, and proceed by clicking on Resample in order to modify the resolutions of inserted picture.
The next step was to use the Gamma feature by clicking effects on the Menu bar for it picks up detail in a low contrast image without significantly affecting the shadows.
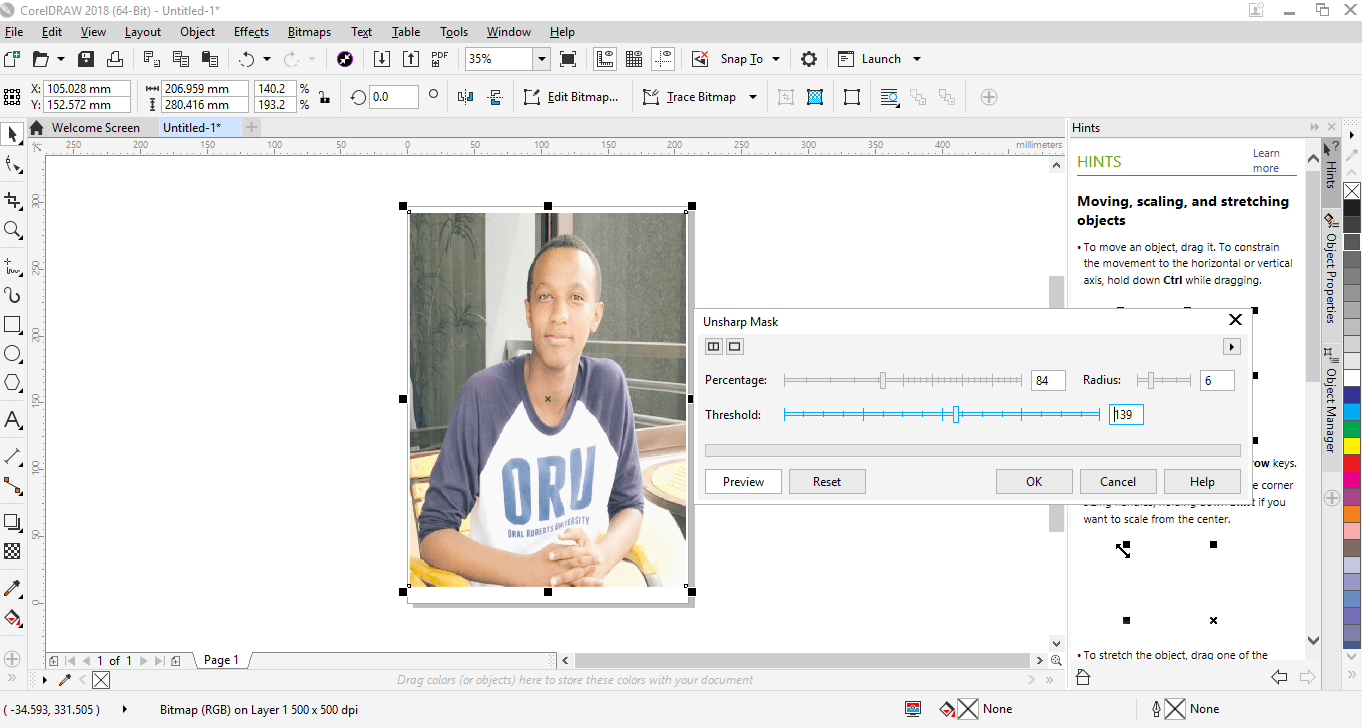
Coming back to bitmaps on the menu bar for sharpen feature in order to regulate to the best level of contrast between adjacent pixels.
Coming back to bitmaps on the menu bar for sharpen feature in order to regulate to the best level of colors between pixels.
Continue to mode in bitmaps also for changing or giving the effects to the picture in some symmetrical range , and click ok for your selection.
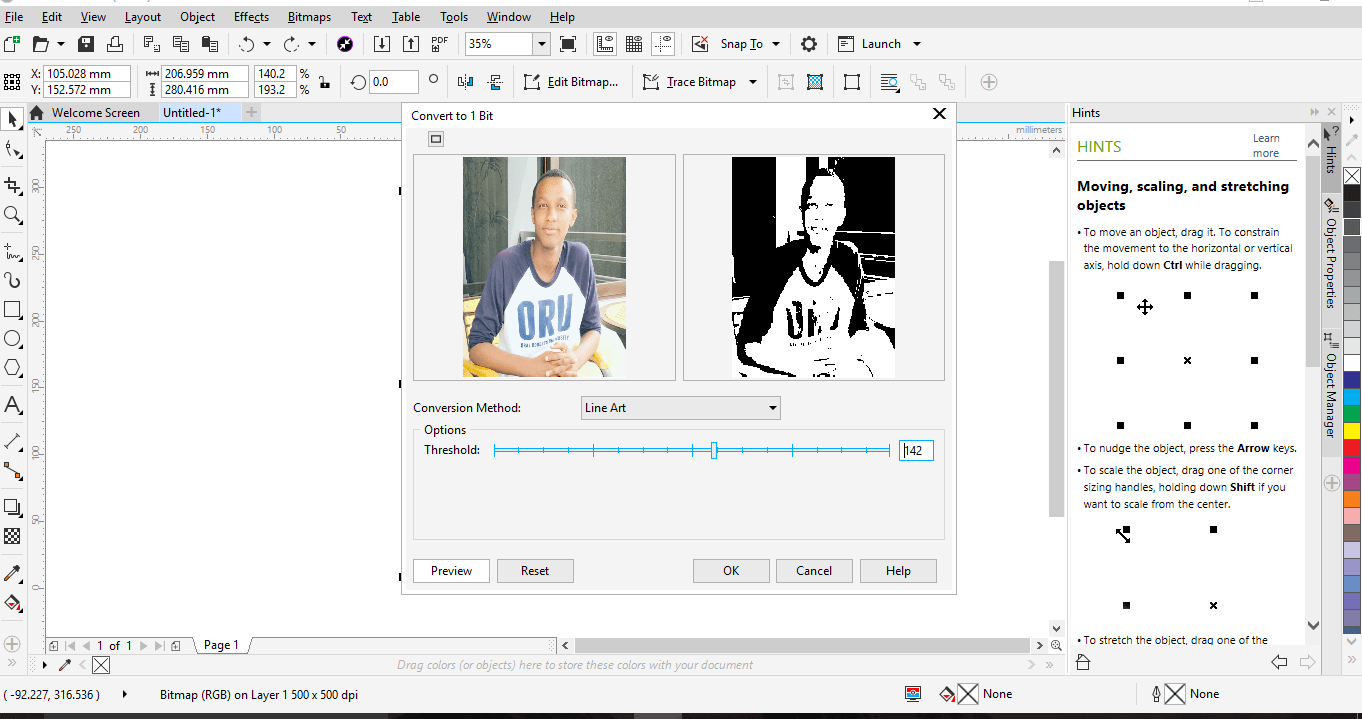
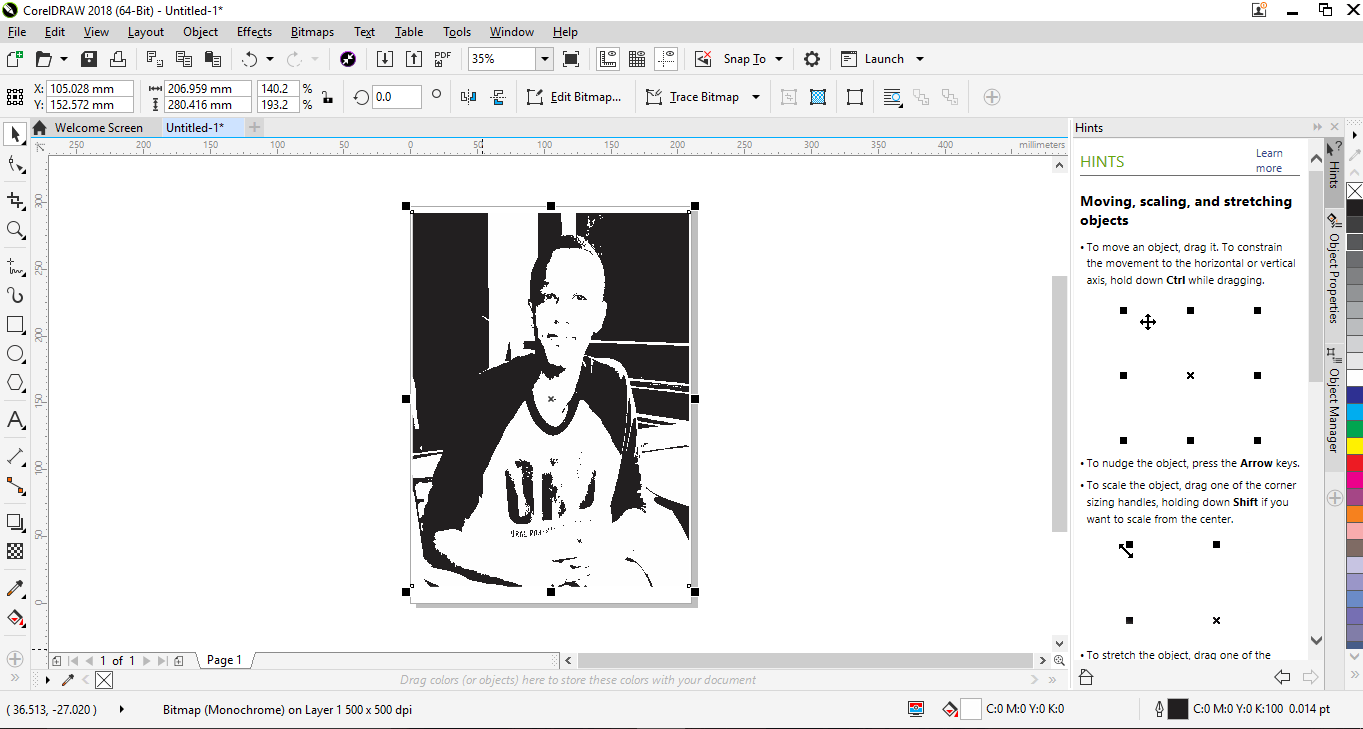
and at the last stage is to change the brightness of the picture by using threshold feature in the Corel draw.
The final output picture with black and white and which is appropriate for laser cutter machine.
Comparison between Inkscape and Corel draw
The User Interface of CorelDraw is more attractive and detailed as compared to the User Interface of Inkscape,which is plain and simple for a vector editing program. But, Inkscape has a specific arrangement of toolbars and color palettes, while in CorelDraw, everything sometimes seems to be confusing and difficult.
CorelDraw has a comprehensive color management function. This helps the user view separate colors in the print and web view, which helps them modify and evaluate the color schemes. Whereas Inkscape uses the LilttleCMS Library and Cairo Library for printing the vector graphics. This library somehow does not support the CMYK or print color separation views.
Inkscape is a free and open-source program that designers can easily download and install,while CorelDraw is Proprietary software.For more differences
2D design with Raster Models
It was really an interesting time to know more about Raster though i usually see some raster designs i didn't recognize it , I was considering the pictures as the same without grouping them in the models , however by now i have got the difference between raster models and vector models.
Raster Models basically means the is a form of computer graphics in which visual images are created directly from geometric shapes defined on a Cartesian plane, such as points, lines, curves and polygons.
When I was exercising the raster graphics, I used two softwares which are Adobe photoshop and pixlr
Below the design softwares I used for their makings.
Photoshop editor
I was excited to use Adobe Photoshop on my own for the very first time because many times i see others using it in editing photos , I was really eager to see what I will design and unfortunately I learnt the basics of it then at the certain stage I started to work on my designs.
Firstly photoshop is an photo editing software used in image creation, graphic design and it has many editing features of pixels ,changing in raster format.
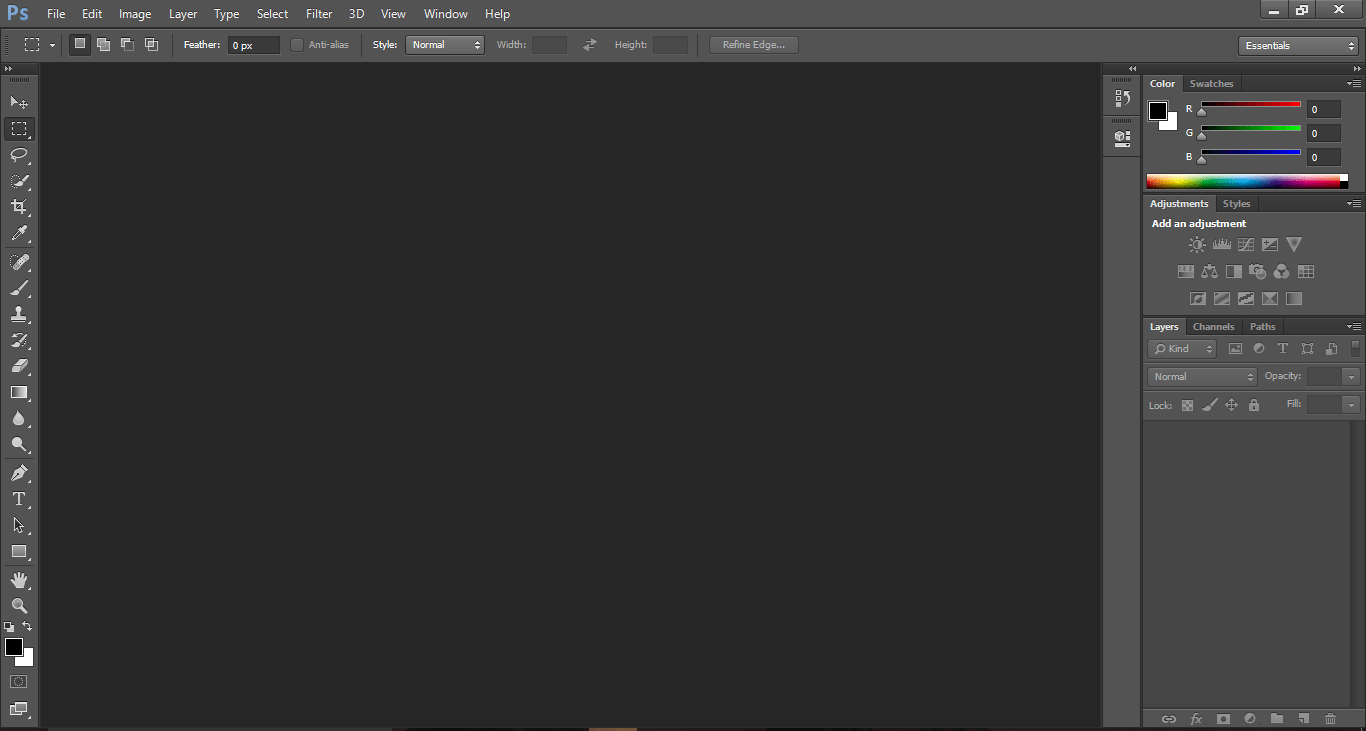
The work-tool interface of Adobe Photoshop , as I get in I started exercising all tools of the software.
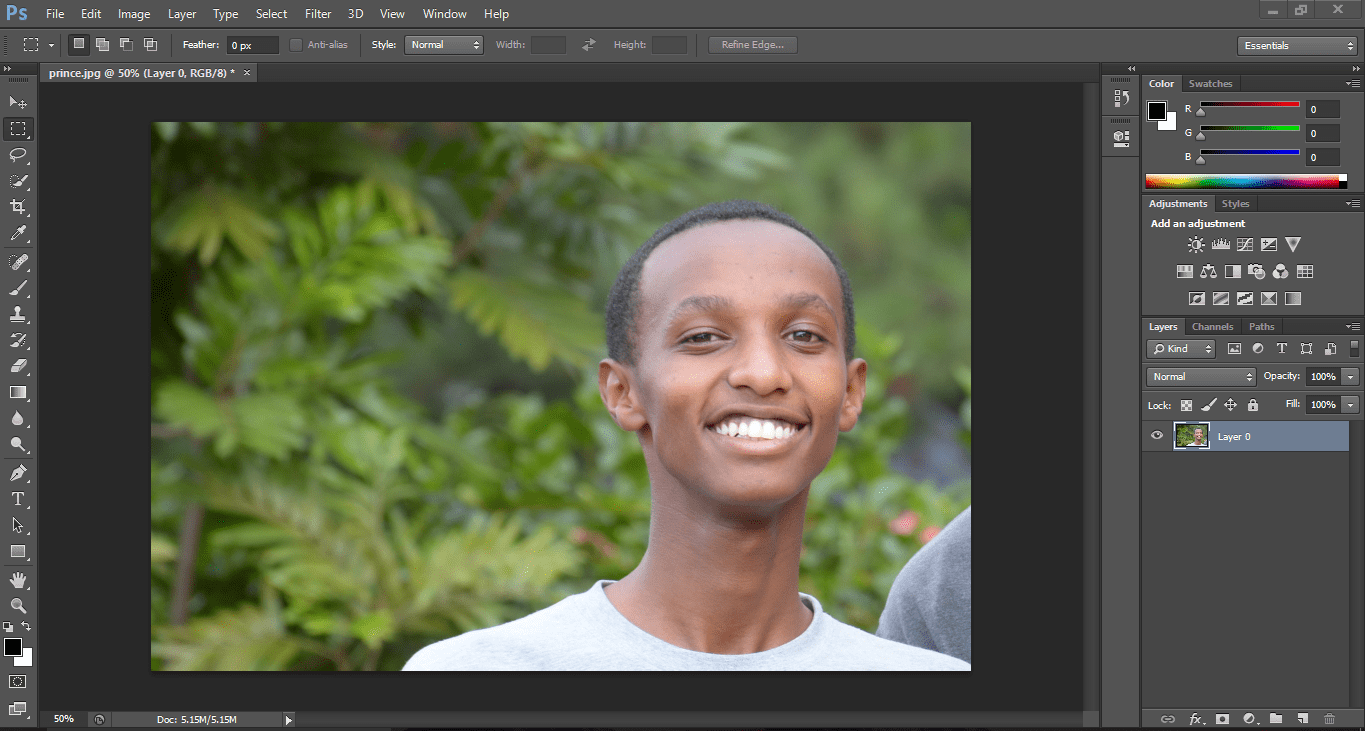
After exercising some basic tools in the software, I inserted my picture by clicking file on the menu bar, pressing ctrl+O.
The next step, I first unlock the layer to make modifications on image,I cropped the image to remove the part of arm of someone besides me .
Another step was to the properties , Background colors was changed to black displays.
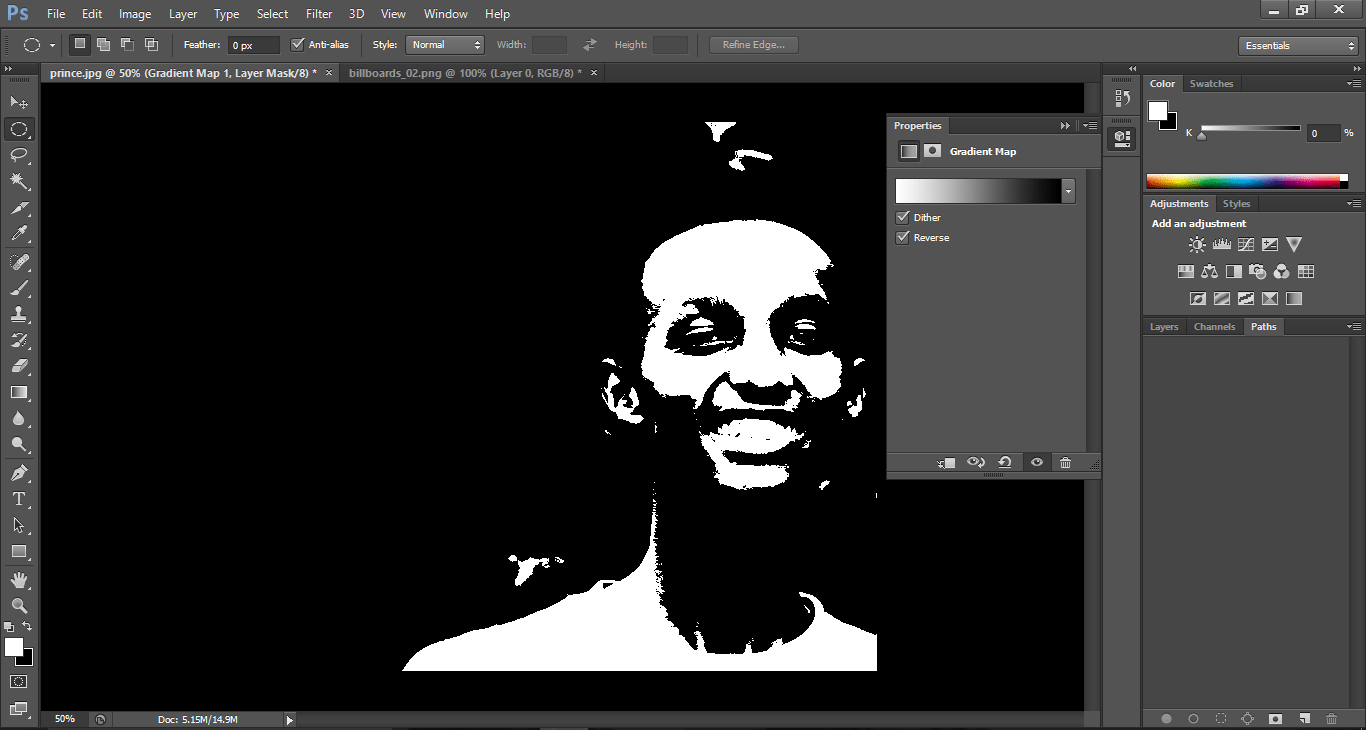
When I continued to change the contrast of the image, it changed in the laser printed format of black and white.
Further, I tried to change the backgrounds, for my image I used quick selection tool for separating the image and the background.
After the separation I put it in the other background , and according to the image resolutions are different , it requires the feature called “show transform” on menu bar , which enables the layers to be enlarged or contract and also I putted the text upside of the photo.
Pixlr Editor
Firstly pixlr editor Pixlr is a cloud-based set of image editing tools and utilities, including a number of photo editors and a photo sharing service. here
Pixlr editor for 2D raster format was my first to hear it but I was encouraged by its interface because it is composed of few understable features compared to other editors .
After the installation of the software,Download and install tutorial,there are some designs that I made in Pixlr editor
After the installation is done, I created a new document
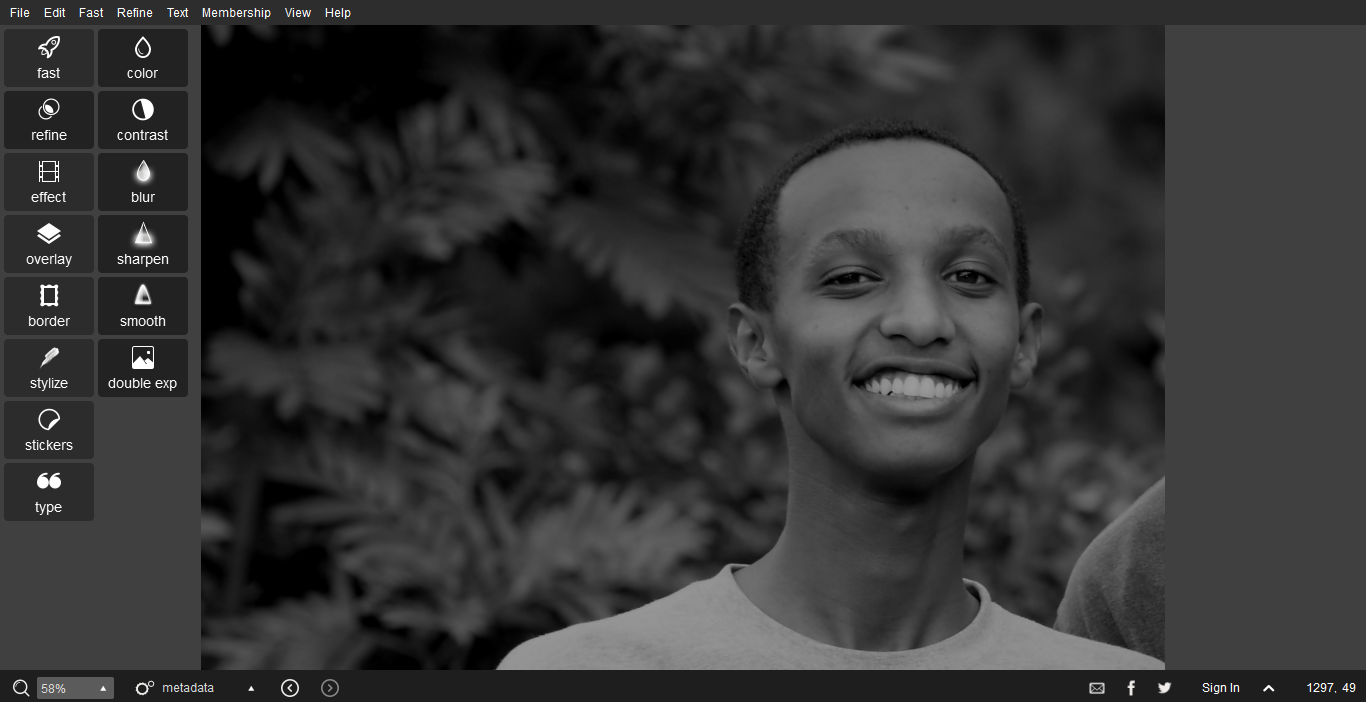
On the menu bar there are some features , and I first insert my picture in the work space by clicking file and open to its location.
I used refine on menu bar , which is composed of several features sharpness, contrast, blur and others for the modification of the picture , I used each of them to reach desired level.
Next step was adding the background by using double exposure in refine (menu bar) , It can also change the contrast.
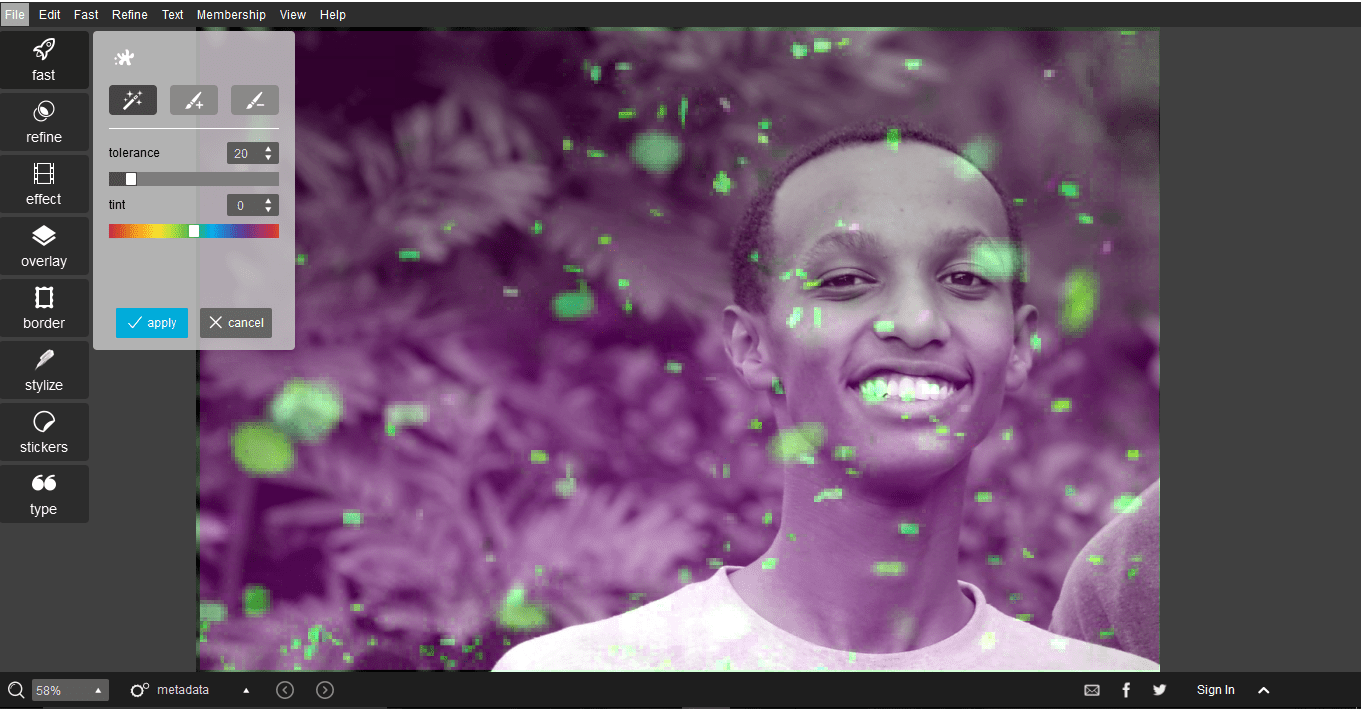
I used other features for better appearance of background ,the features are splash in fast (menu bar, with tolerance and tint modifications.
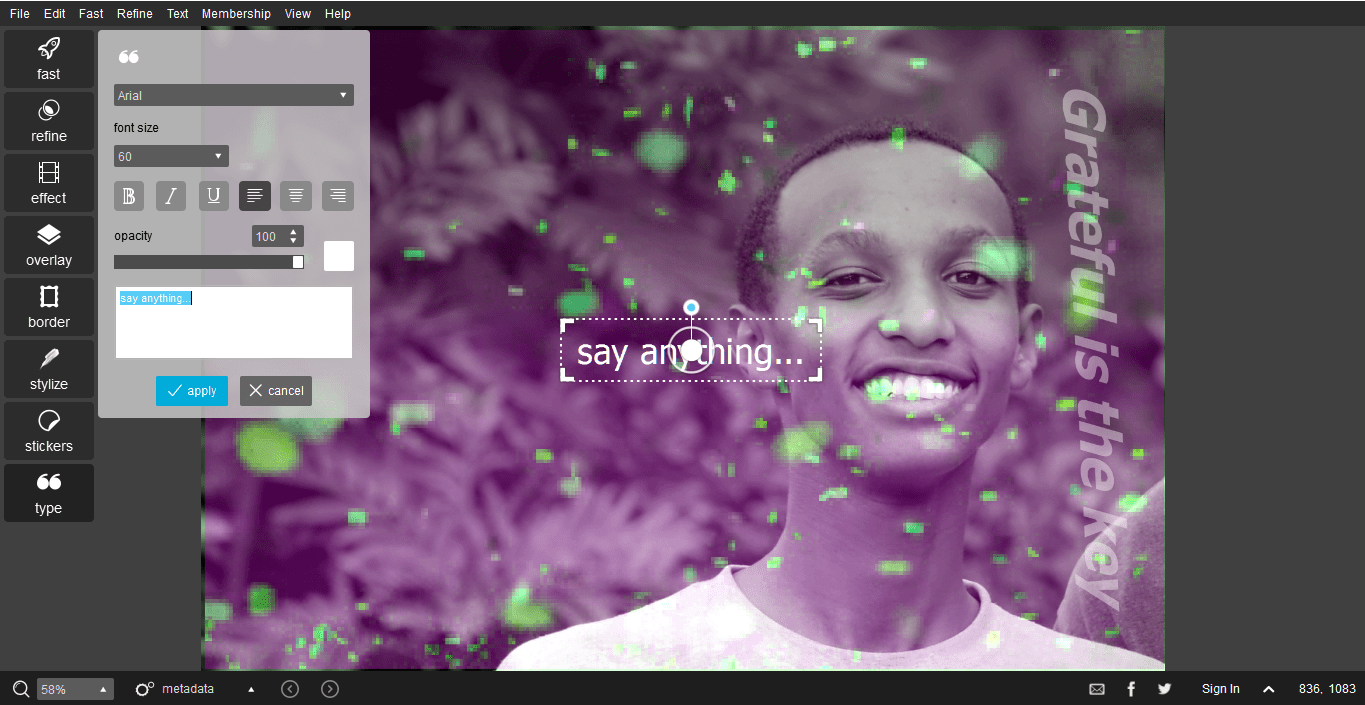
The last feature was Text adding by changing its fonts, sizes and other text properties.
Comparison between Photoshop and Pixlr
Pixlr is a free online photo editor that offers web, iOS and Android app editions, while Adobe Photoshop is an image editing and graphic designing software that helps businesses streamline photo editing and compositing processes and create digital paintings and animations.
Pixlr is a cloud-based photo editor that offers a wide range of image tools and utilities for editing purposes, while Photoshop is desktop applicationcan edit and compose images in multiple layers with the ability to adjust color levels, alpha channels and masks, artistic filters.for more comparisons
3D design Models
I had time for exercising both softwares to know more and having knowledge about them.
I started with the solidworks models
Solidworks editor
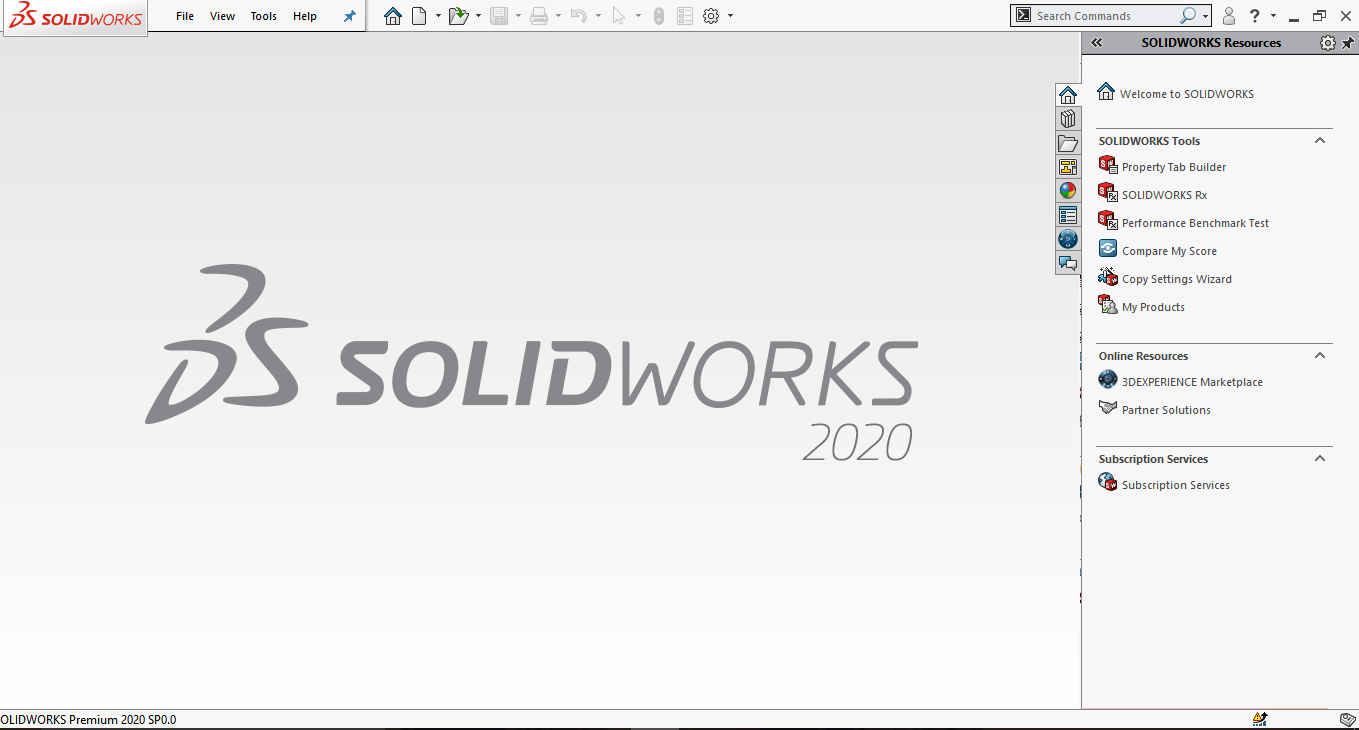
Firstly Solidworks is solid modelling software that allows you to design products in 3 dimensions Models, I was already having in my pc but if you want to install it, click here
The interface of the solidworks to see options for new document.
The work-tool interface of Solidworks,as I get in I started exercising all tools of the software.
The next step is to create new document,and before the sketch we need the plane where we will sketch in.
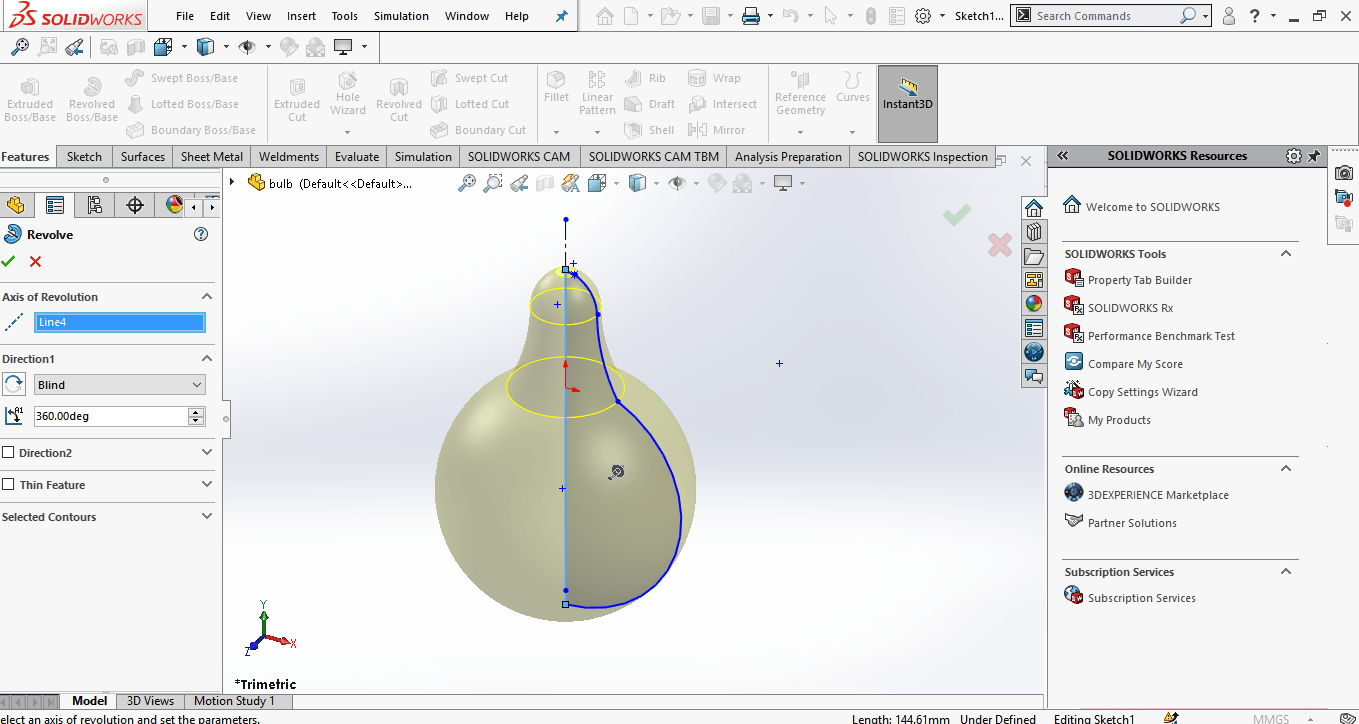
The next step, is to click features on menu bar, and click on revolve , which means that the sketch will revolve around the center-line.
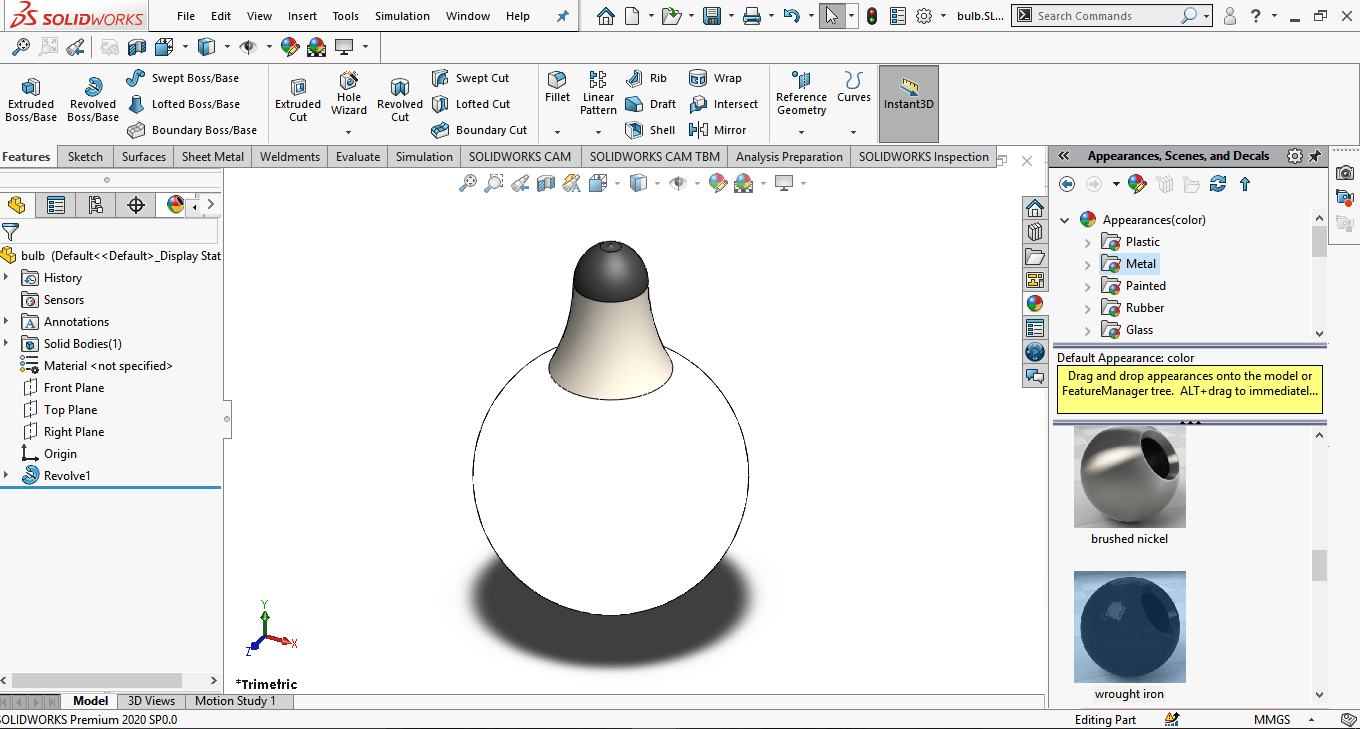
Another step is after revolving there will be production of solid cylindrical bulb with it's shape.
The last step is to paint the bulb in the appropriate color ,I made my bulb lighting with changing the appearance on the faces on the body.
FreeCAD editor
Firstly this is is a free open-source 3D computer-aided design (CAD) modeling program. It is a parametric modeling program meaning that the parts or objects you are modeling are defined using specific parameters.
here
As it was my first time to use new 3D design software , there some difficulties I came across but because of the knowledge of solidworks I had before helped me to navigate and be familiar to new interface of FreeCad.
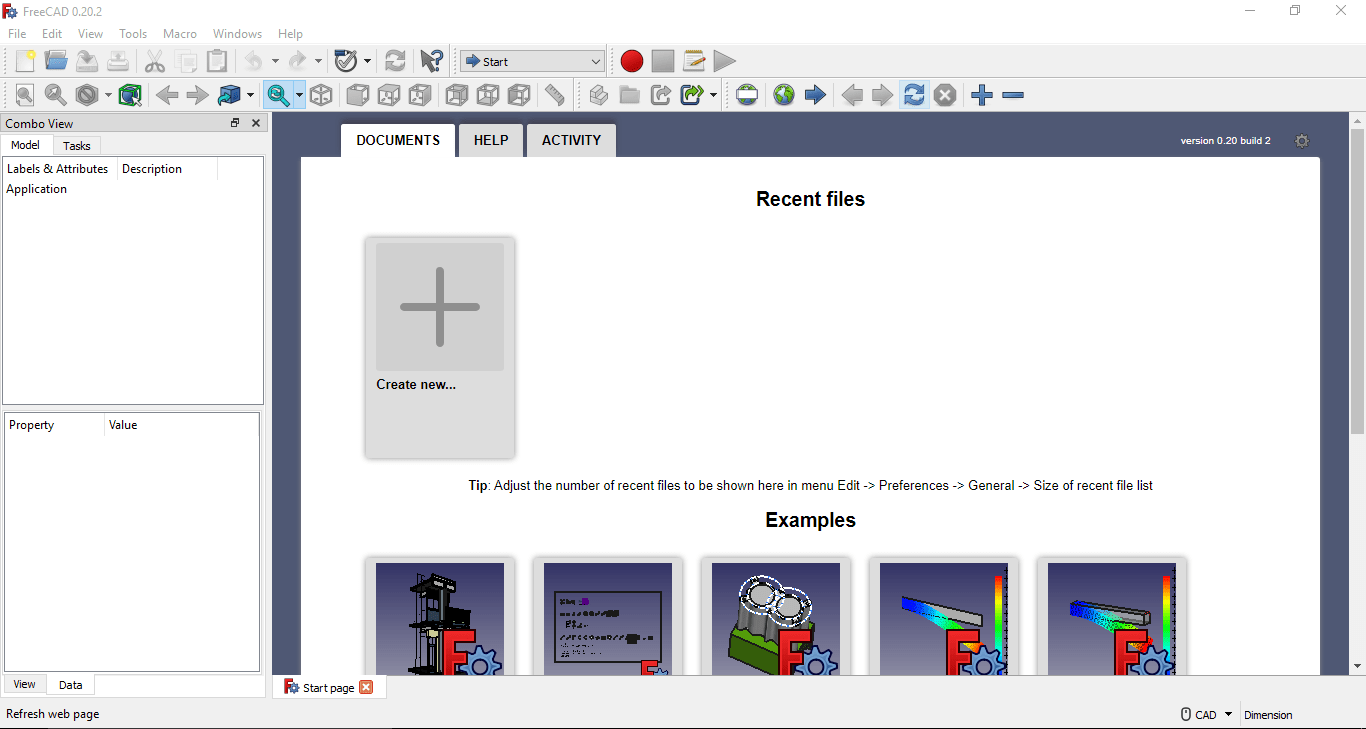
After the installation of FreeCad software, I first created a new document.
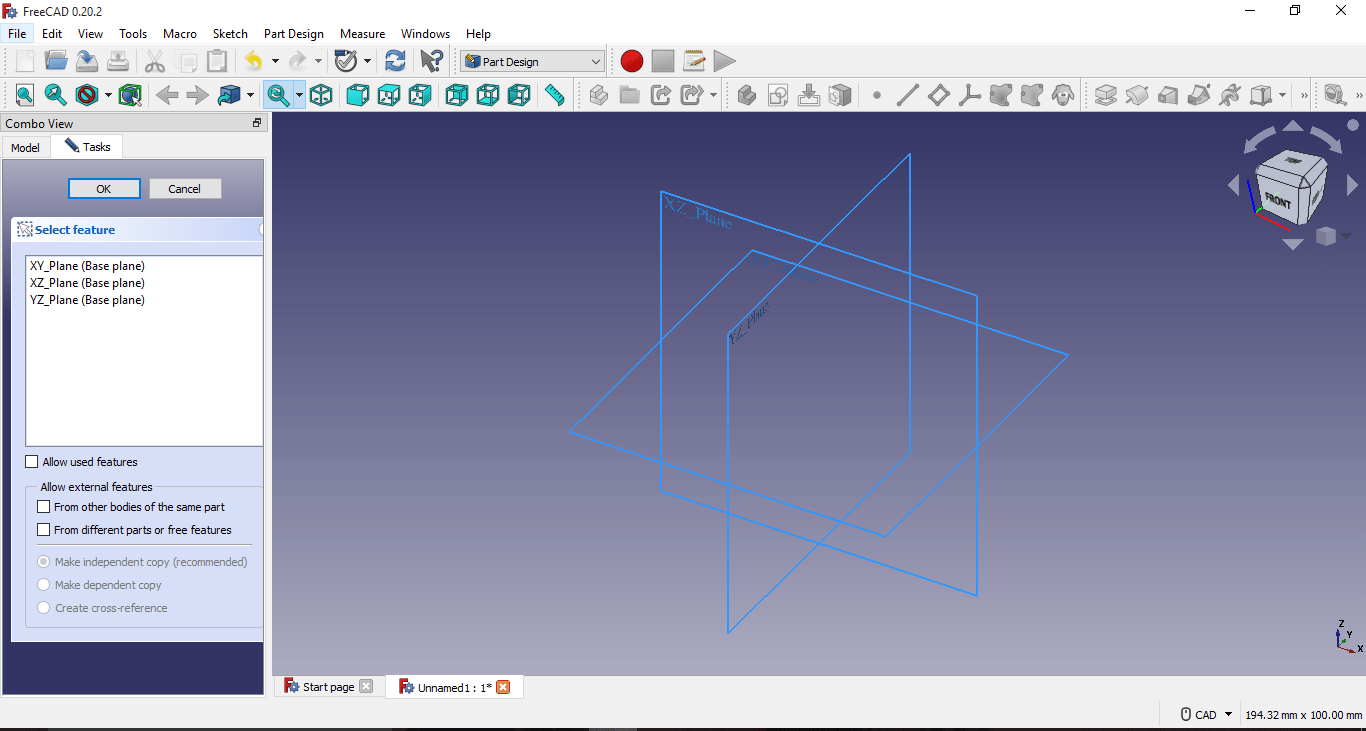
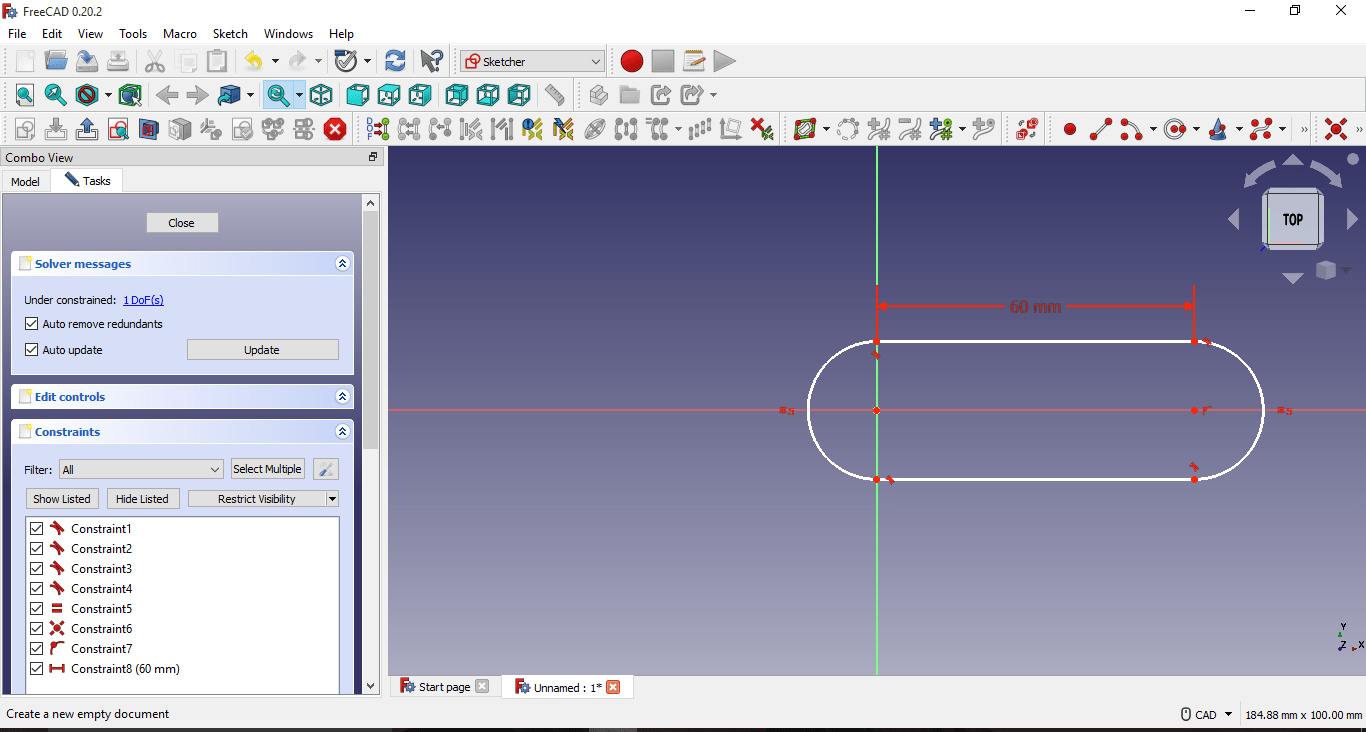
Second step is to click on the sketch and select the plane where I will draw my sketch.
Then by using the tools I drew my sketch in XY plane for the orintation of the sketch.
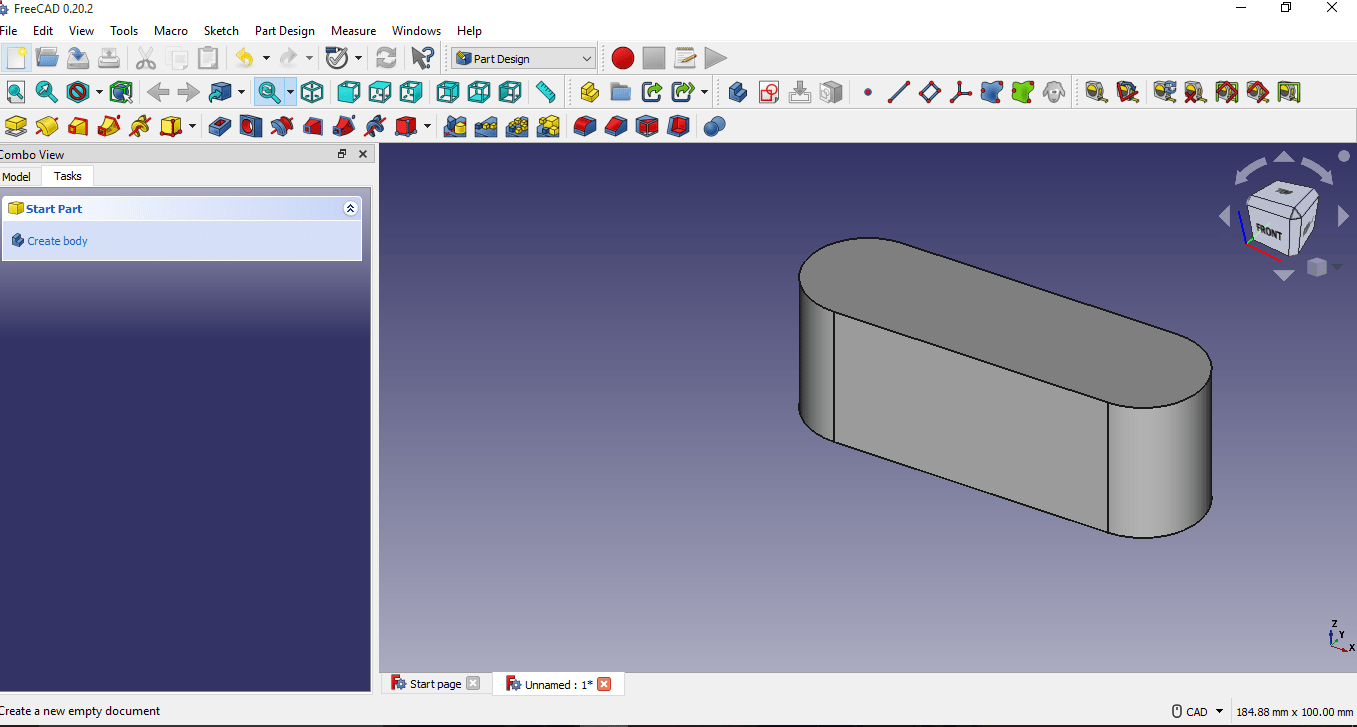
Another step is to extrude to create 3D model ,using the feature called Pad to extrude increasing the thickness of the sketch.
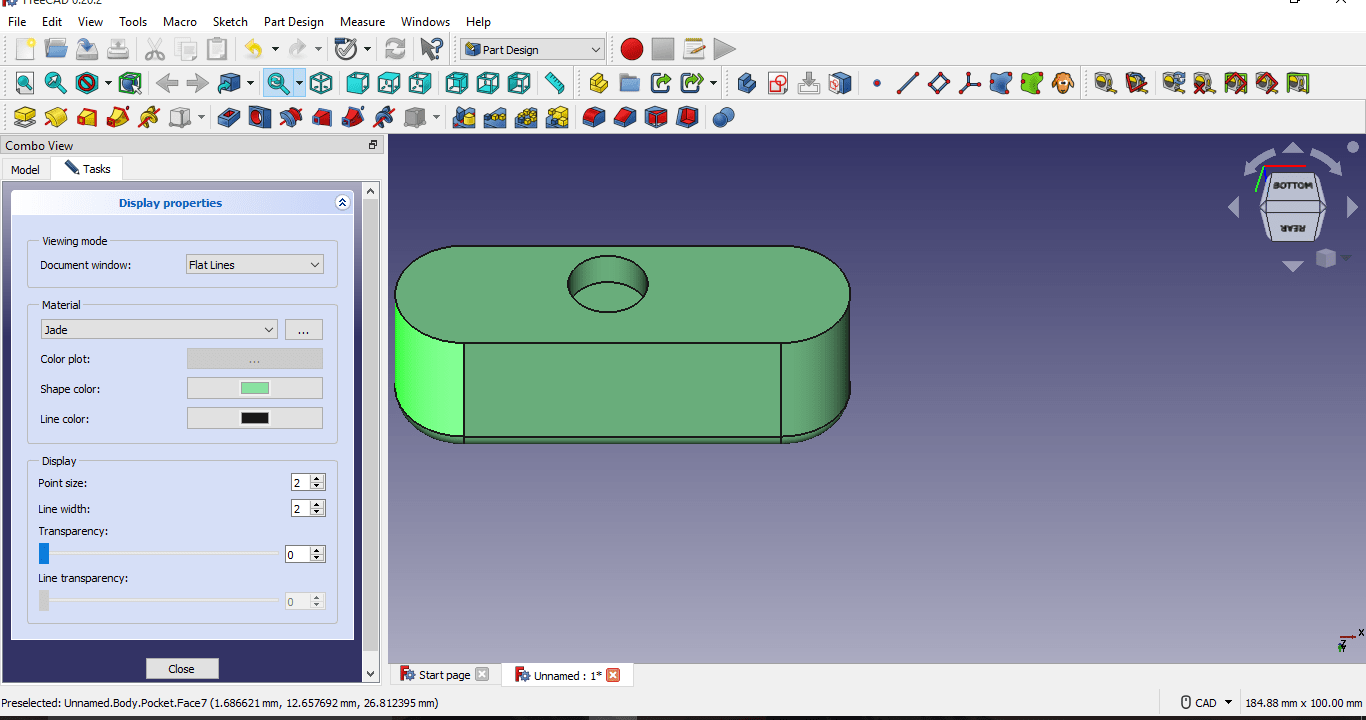
Adding some fillets and create small angle draft with coloring the solid body.
Comparison between FreeCad and Solidworks
FreeCAD supports Linux along with Windows and Mac Operating systems while Solidworks supports Windows but does not support Mac and Linux operating systems.
FreeCad has various features like 3D Imaging, Project management, Annotations, collaboration tools,while Solidworks has features like faster iterations, reference management, version control.
FreeCad has a small number of integrations like BoltsEtAl and MeshCAM, while It has a large number of integrations like Kenesto, Fishbowl, KBMax.click here for more differences