Week 2: Computer Aided Design
Week 2 : Computer Aided Design
Assignment activities:
- 1. Model (Raster,vector, 2D, 3D, render, animate, simulate)
- 2. Compress your images and videos,
and post a description with your design files on your class page
B. 2D Disign using GIMP Software (Raster)
The GIMP is Free & Open Source Image Editor, GIMP is a cross-platform image editor available for GNU/Linux, macOS, Windows and more operating systems. It is free software, you can change its source code and distribute your changes. Whether you are a graphic designer, photographer, illustrator, or scientist, GIMP provides you with sophisticated tools to get your job done. You can further enhance your productivity with GIMP thanks to many customization options and 3rd party plugins. Reference: GIMP Website and Gimp tutorial
1 st step Open GIMP Software and import the image
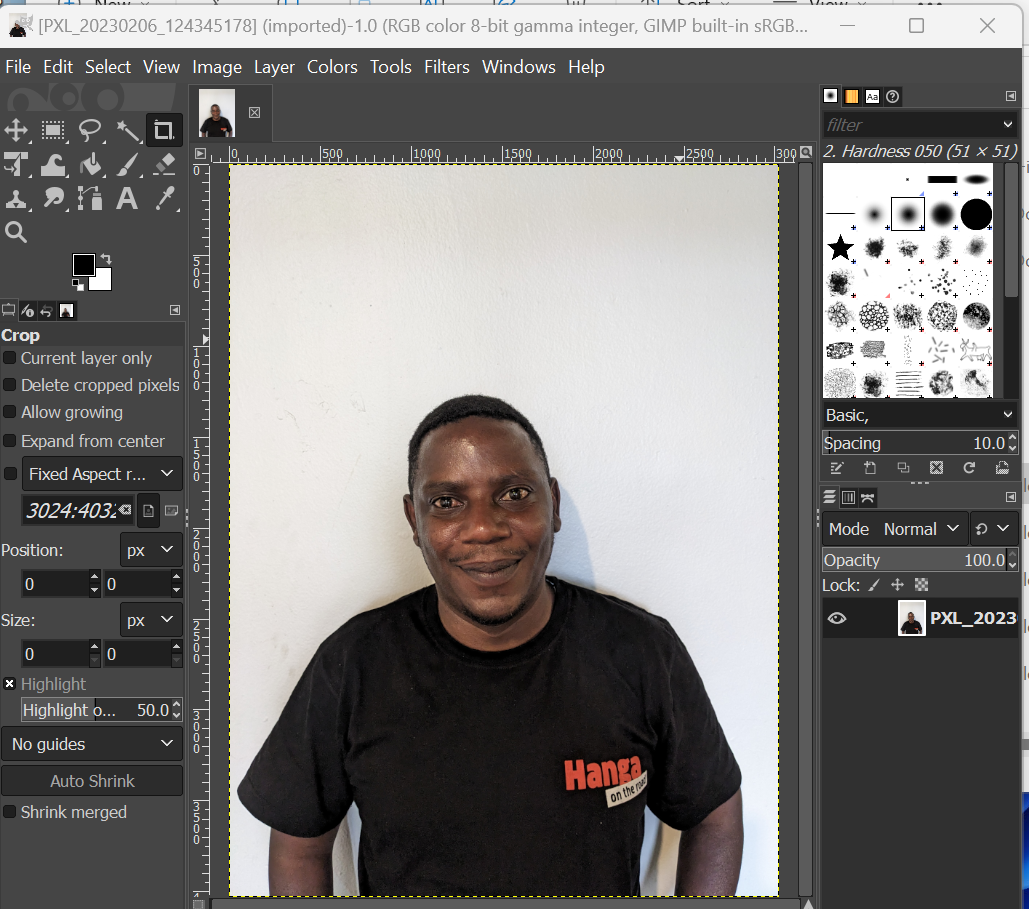
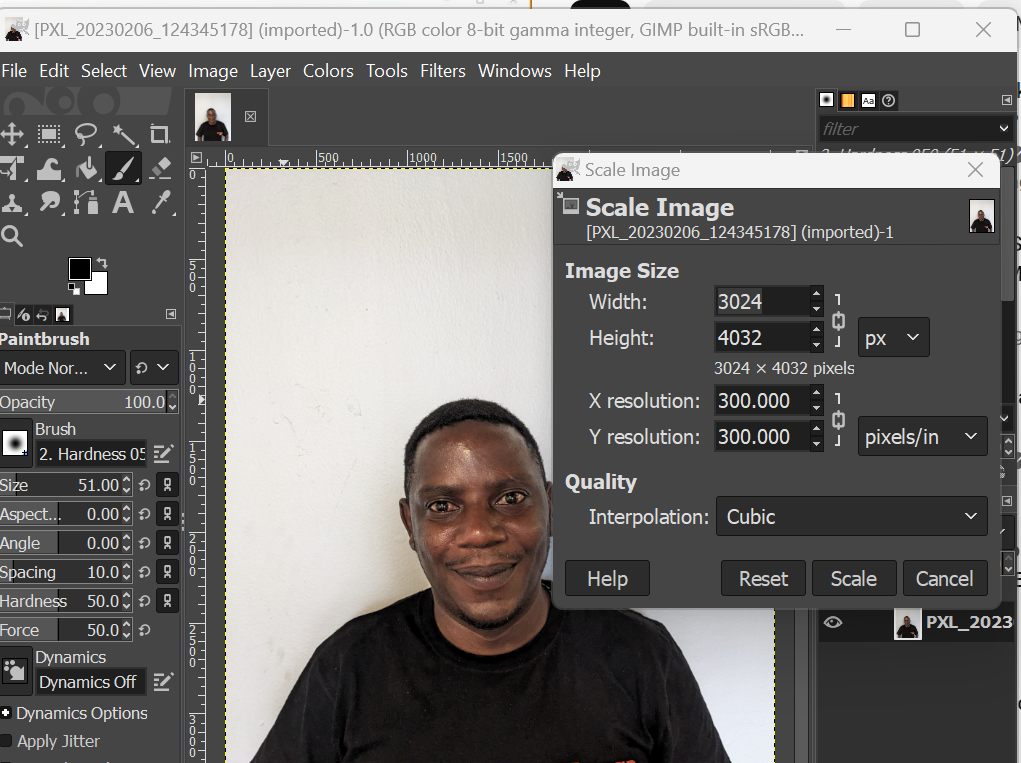
2nd Step Crop and scale the image
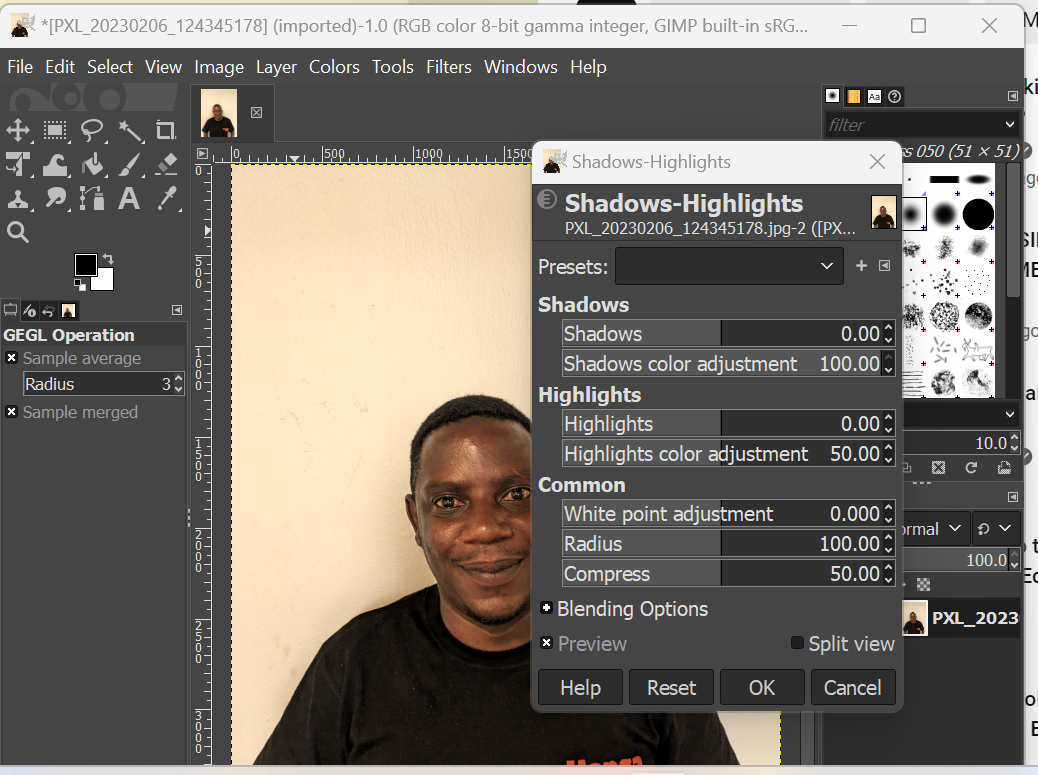
3rd Step highliting the shadows of the image
The shadows-highlights command in GIMP can restore detail to the darkest and lightest parts of an image. Choose colors, shadows-highlights. To lighten the darkest parts of the image, increase the shadows value. If the image didn't change much, lower the radius value.
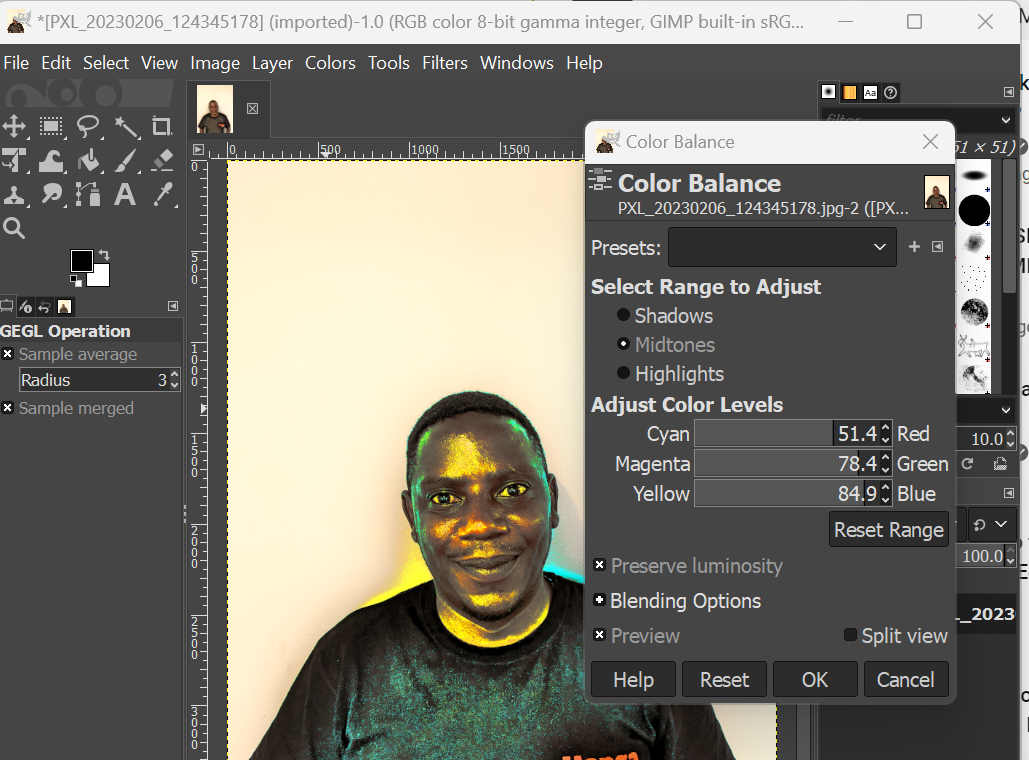
4th Step the image Color blancing
The color balance tool modifies the color balance of the active selection or layer. Changes are not drastic. This tool is suitable to correct predominant colors in digital photos. This command does not work on Grayscale images.
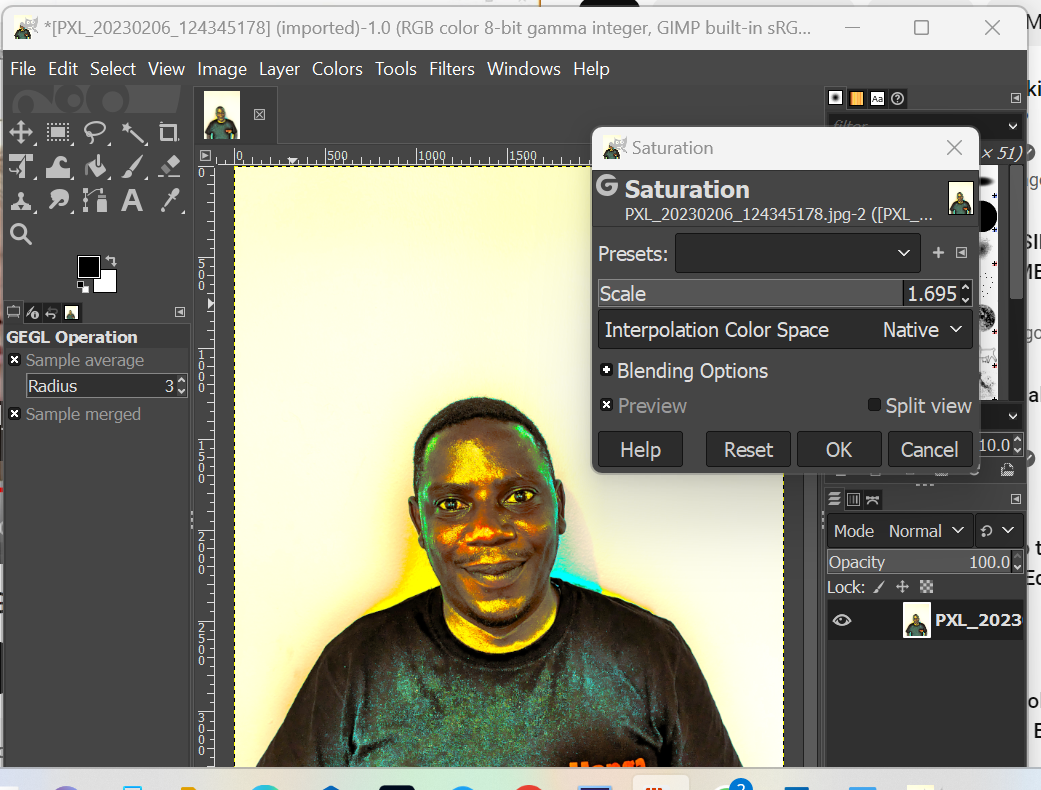
5th Step Saturation of the image
Saturation determines the intensity of the colors. As saturation increases, all the colors of the image come to life, light up and increase their brilliance.
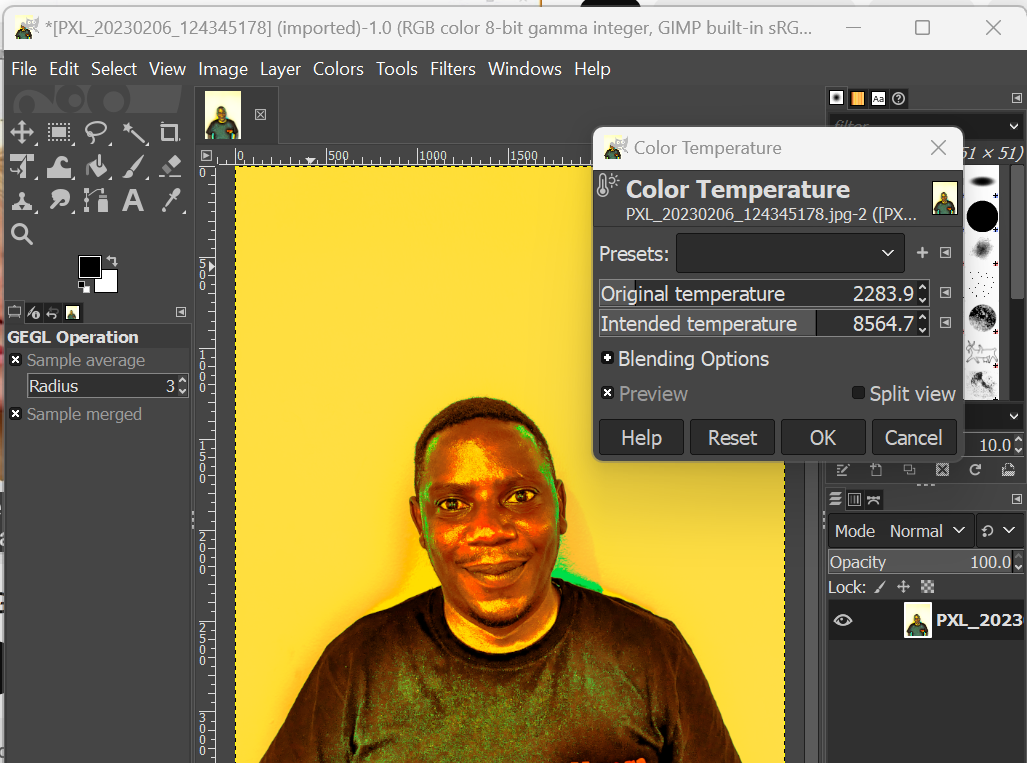
6th Step color temperature of the image
The Color Temperature filter allows adjusting color temperature of the light source in an image in Kelvin. It can be used to correct the bluish cast in overcast photos, or even (to some extent) the red cast in photos taken under incandescent light with the camera set to daylight.
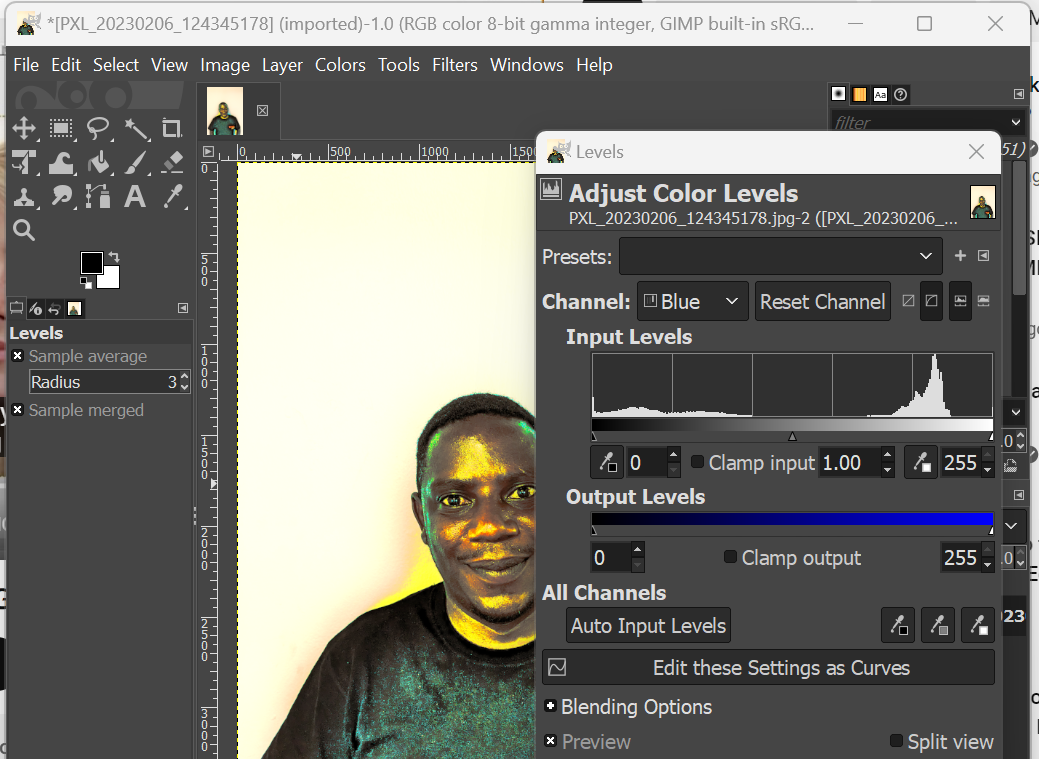
7th Step modifing the image level
The Level tool provides features similar to the Histogram dialog but can also change the intensity range of the active layer or selection in every channel.
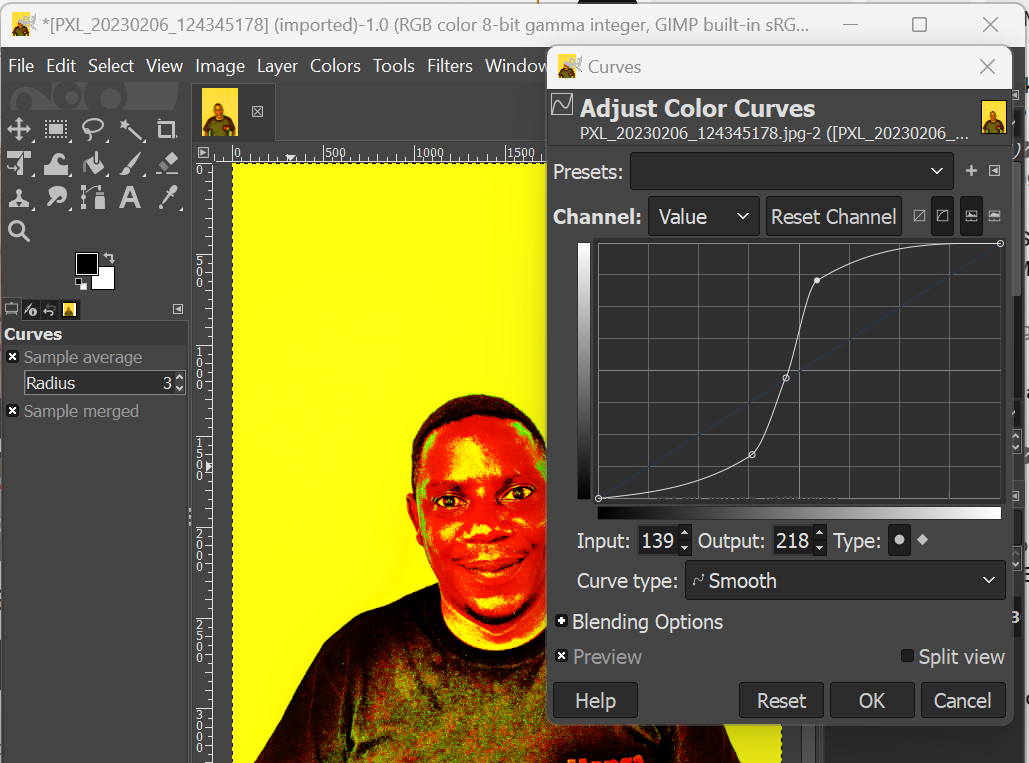
8th Step finaly adjusting color curves of the image
The Curves tool is the most sophisticated tool for changing the color, brightness, contrast or transparency of the active layer or a selection. While the Levels tool allows you to work on Shadows and Highlights, the Curves tool allows you to work on any tonal range. It works on RGB images.
B. 2 D Disign using CorelDraw Software (Vector) Graphic Design (also 2D Design) is the art of digitally creating graphic contents and layouts. It can be sorted mainly into the categories of Pixel-based Graphic Design and Vector-based Graphic Design, although very often both techniques are used to create a graphic. Reference: WIKIVERSITY and for modeling image in 2D we used CorelDraw
By using CorelDraw we modeling our photo and highlity its vectors and prepare for engraving. The following steps was used to do that task.
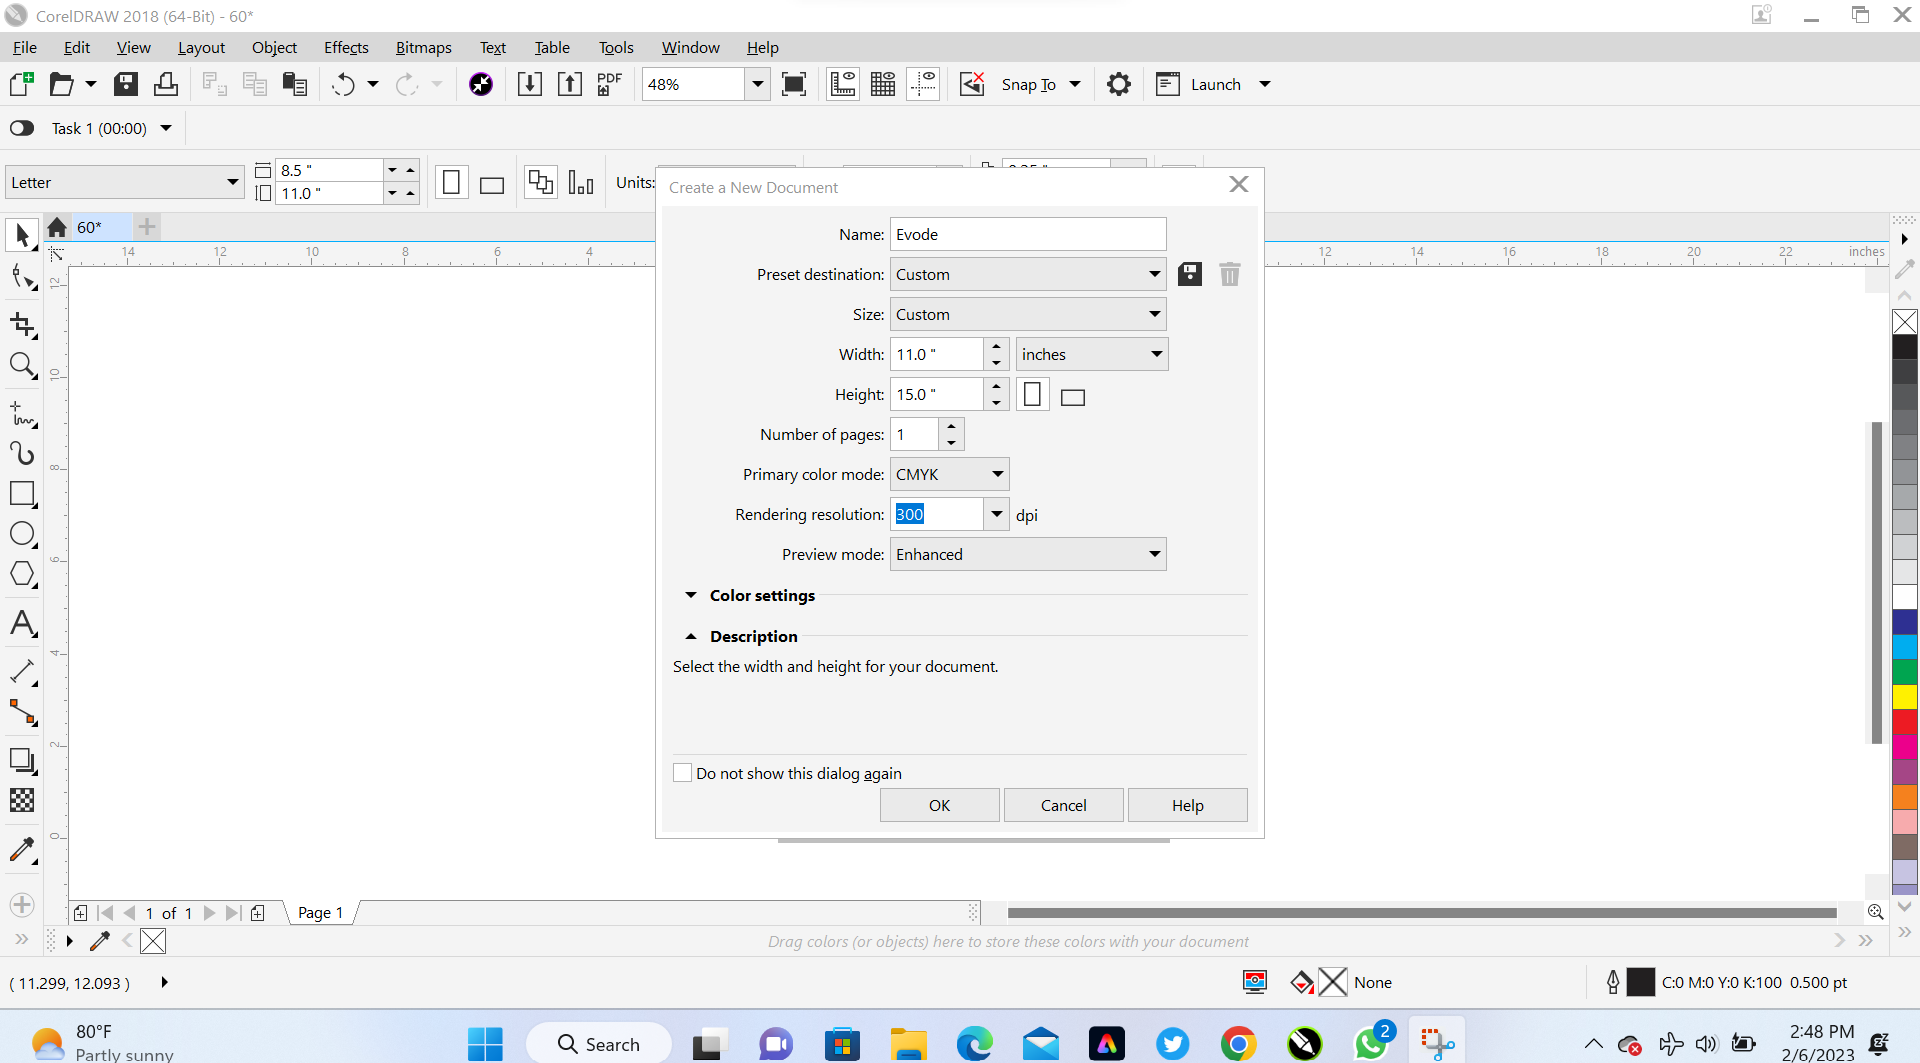
1st step Open working space in CorelDraw with Width = 11,Height = 15 and rendering resolution = 300 dpi.
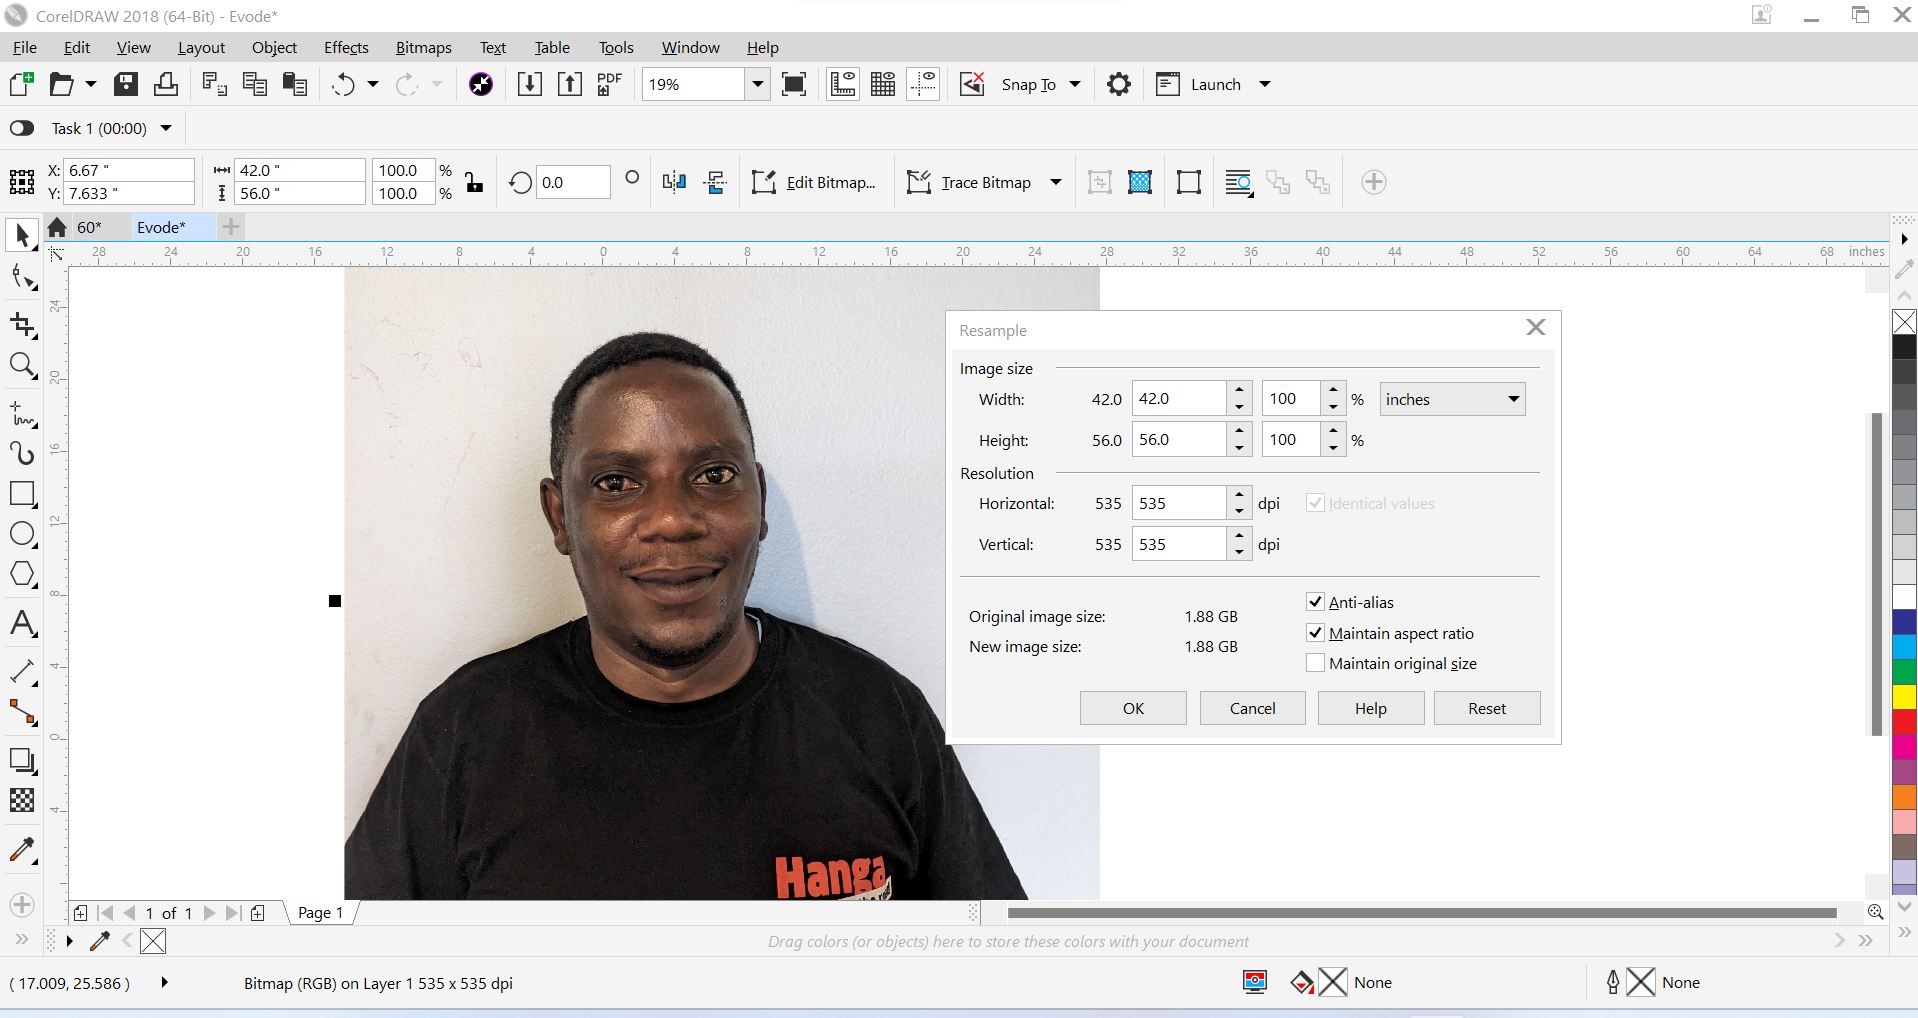
 2nd step Import a photo in coreldraw and resampling a photo:To prepare photos for engraving, we need to increase the pixels so that all the details of the image are visible for the laser engraver to identify them. To resample, select the photo and then click on Bitmap. In the dropdown list, choose Resample to open the Resample Palette. And setting image size as width =42 and Height =56 and also setting resolution as Horizontal and vertical =535 dpi
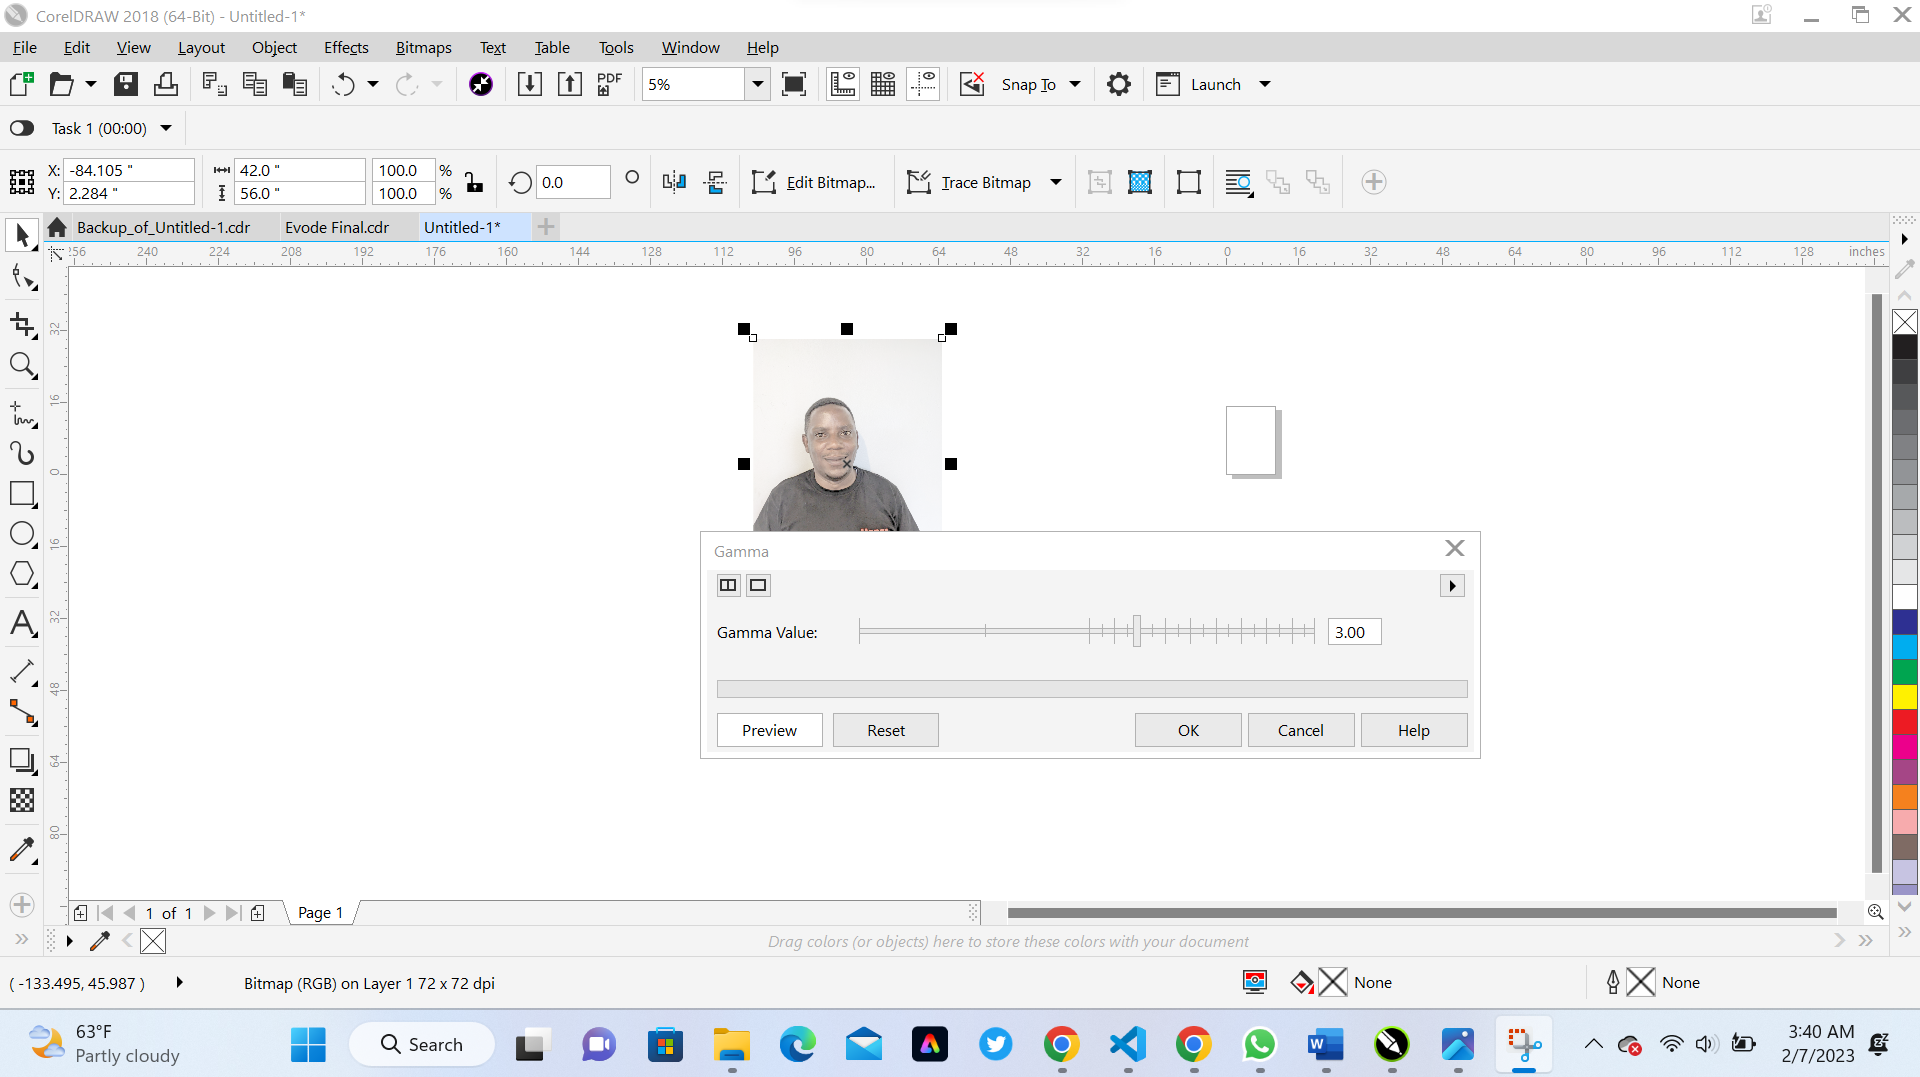
3rd step Gamma Adjustment The third important step as you manually prepare photos for engraving is gamma adjustment. The Gamma effect enables you to reveal all the details of the picture without compromising its quality. by using the following process Effects, Adjust and then selct Gamma and a choose to use gamma value of 3
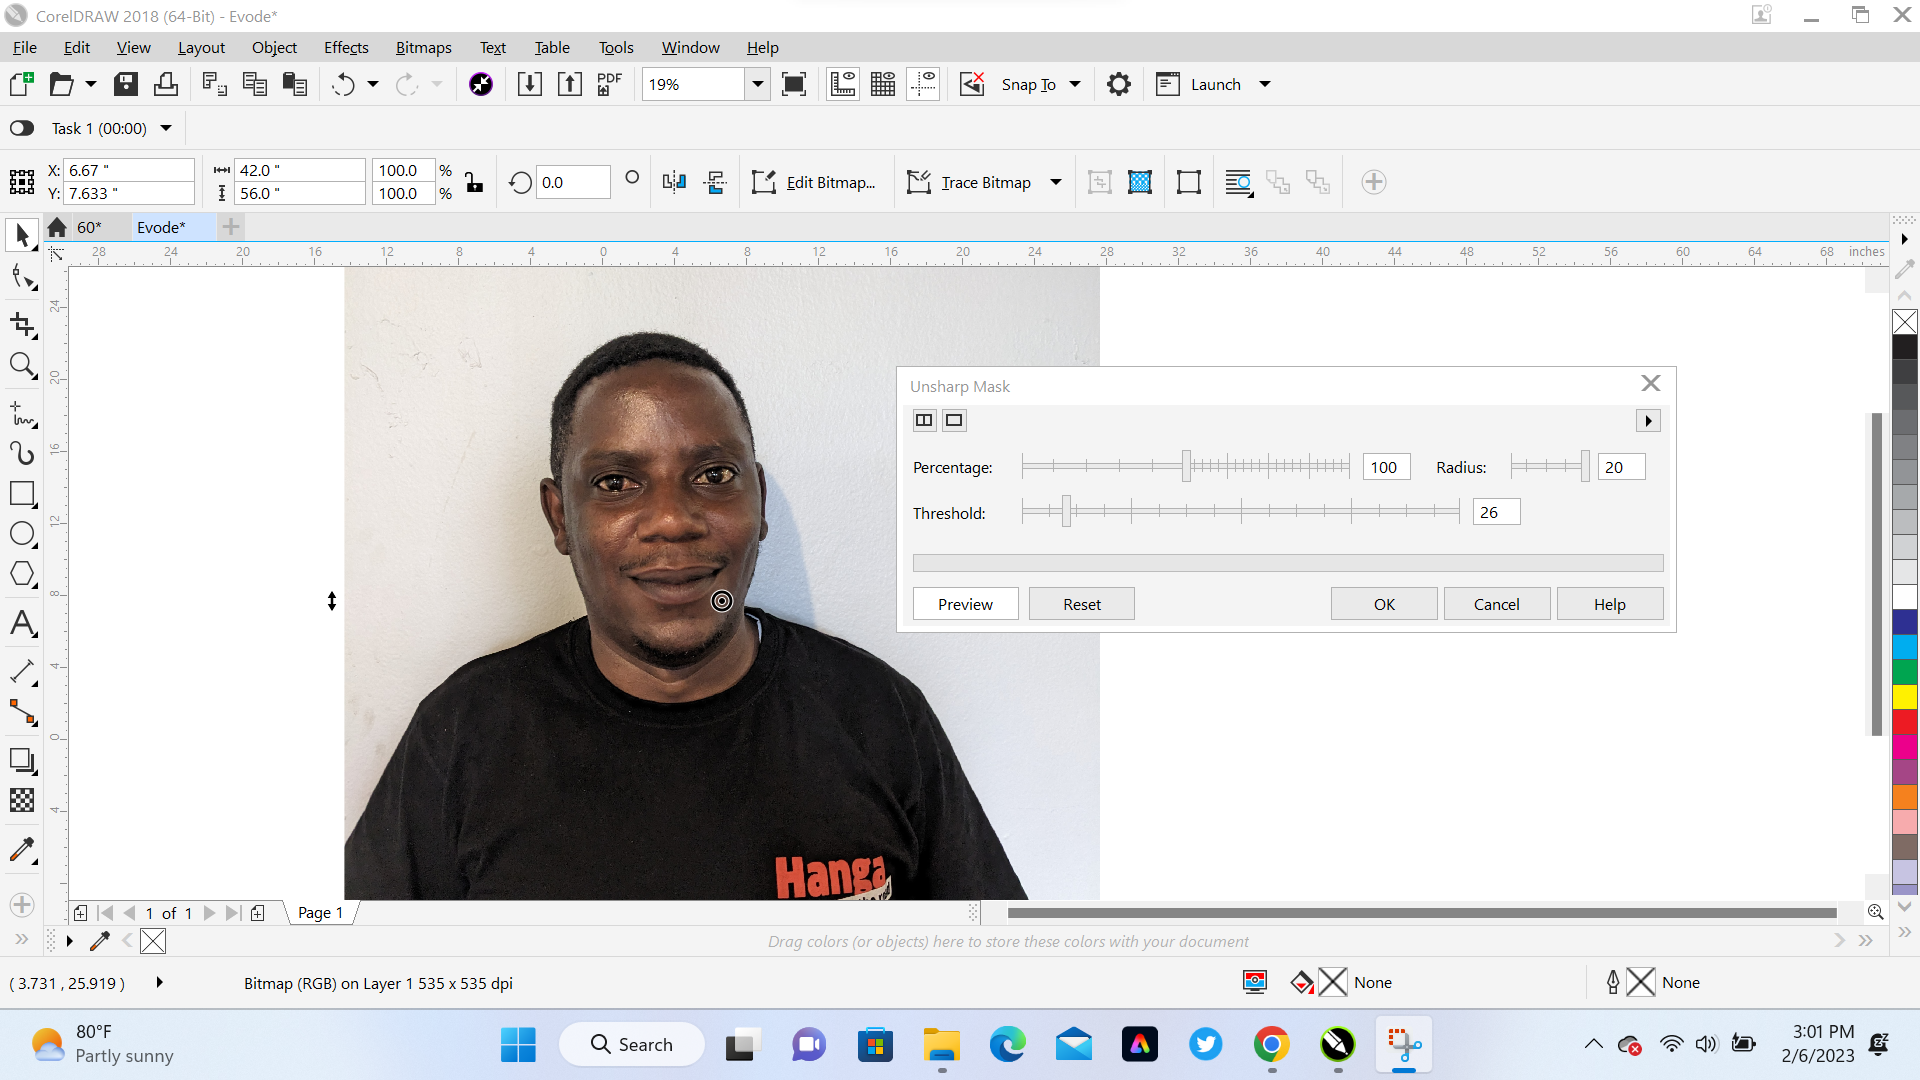
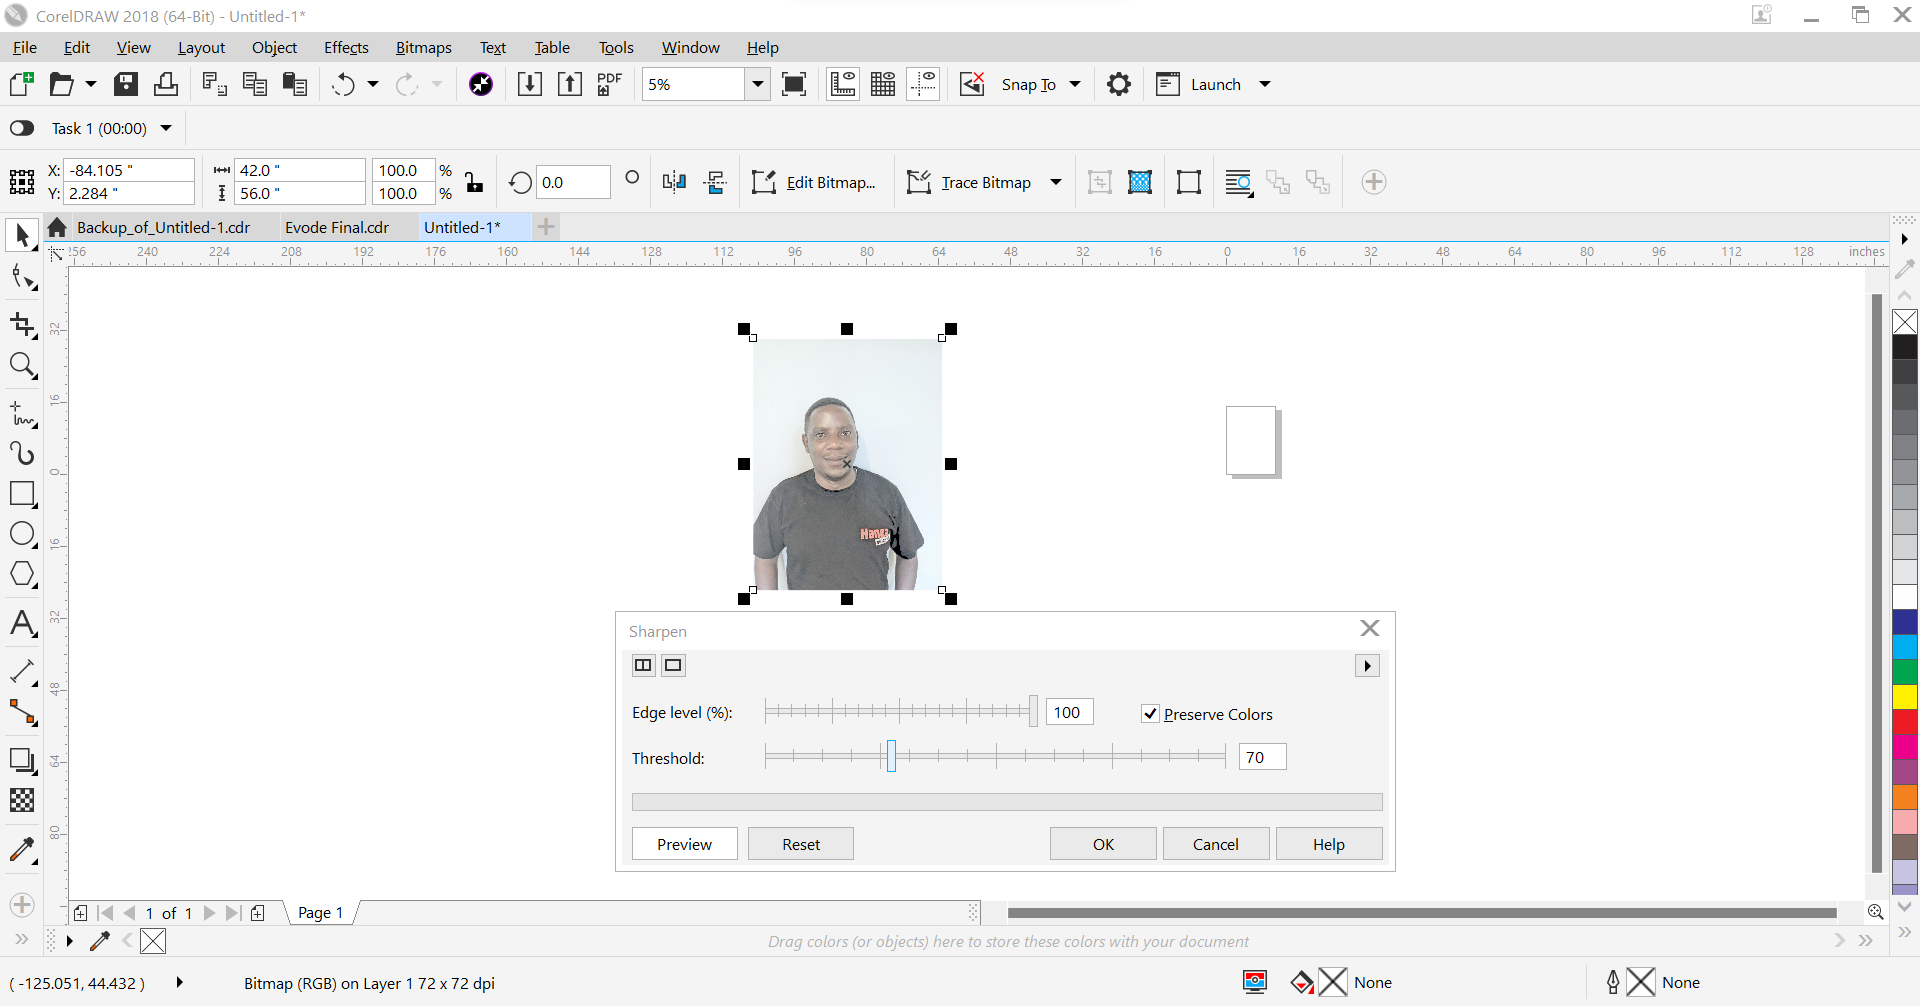
4th step Unsharp Mask Filter To prepare photos for engraving, the Unsharp Mask filter is a key element you must not skip. Unsharp Masking is an image sharpening technique that brings out the edge detail of the photo. To unsharp mask, the image, select the photo. With your photo selected, click on In the dropdown list, select Sharpen and then Unsharp Mask and select percentage of 100, Radius is 20 and thresholder is 26.

 Conclusion:
Learning to prepare photos manually is good because it allows you to do photo engraving jobs even if you don’t have photo processing software solutions. With the CorelDraw designing program, you can easily do it so that you don’t miss making money from offering photoengraving services.
Conclusion:
Learning to prepare photos manually is good because it allows you to do photo engraving jobs even if you don’t have photo processing software solutions. With the CorelDraw designing program, you can easily do it so that you don’t miss making money from offering photoengraving services.
To do this task I refer to the tutorial found on Gozera Disign Ltd Blogue
C. 2 D Disign using Inkscape Software (Vector)
Inkscape is professional quality vector graphics software which runs on Linux, Mac OS X and Windows desktop computers and is a free and open-source vector graphics editor; it can be used to create or edit vector graphics such as illustrations, diagrams, line arts, Ref: Inkscape Website By using Inkscape we modeling our photo and highlity its vectors and prepare for engraving. The following steps was used to do that task.
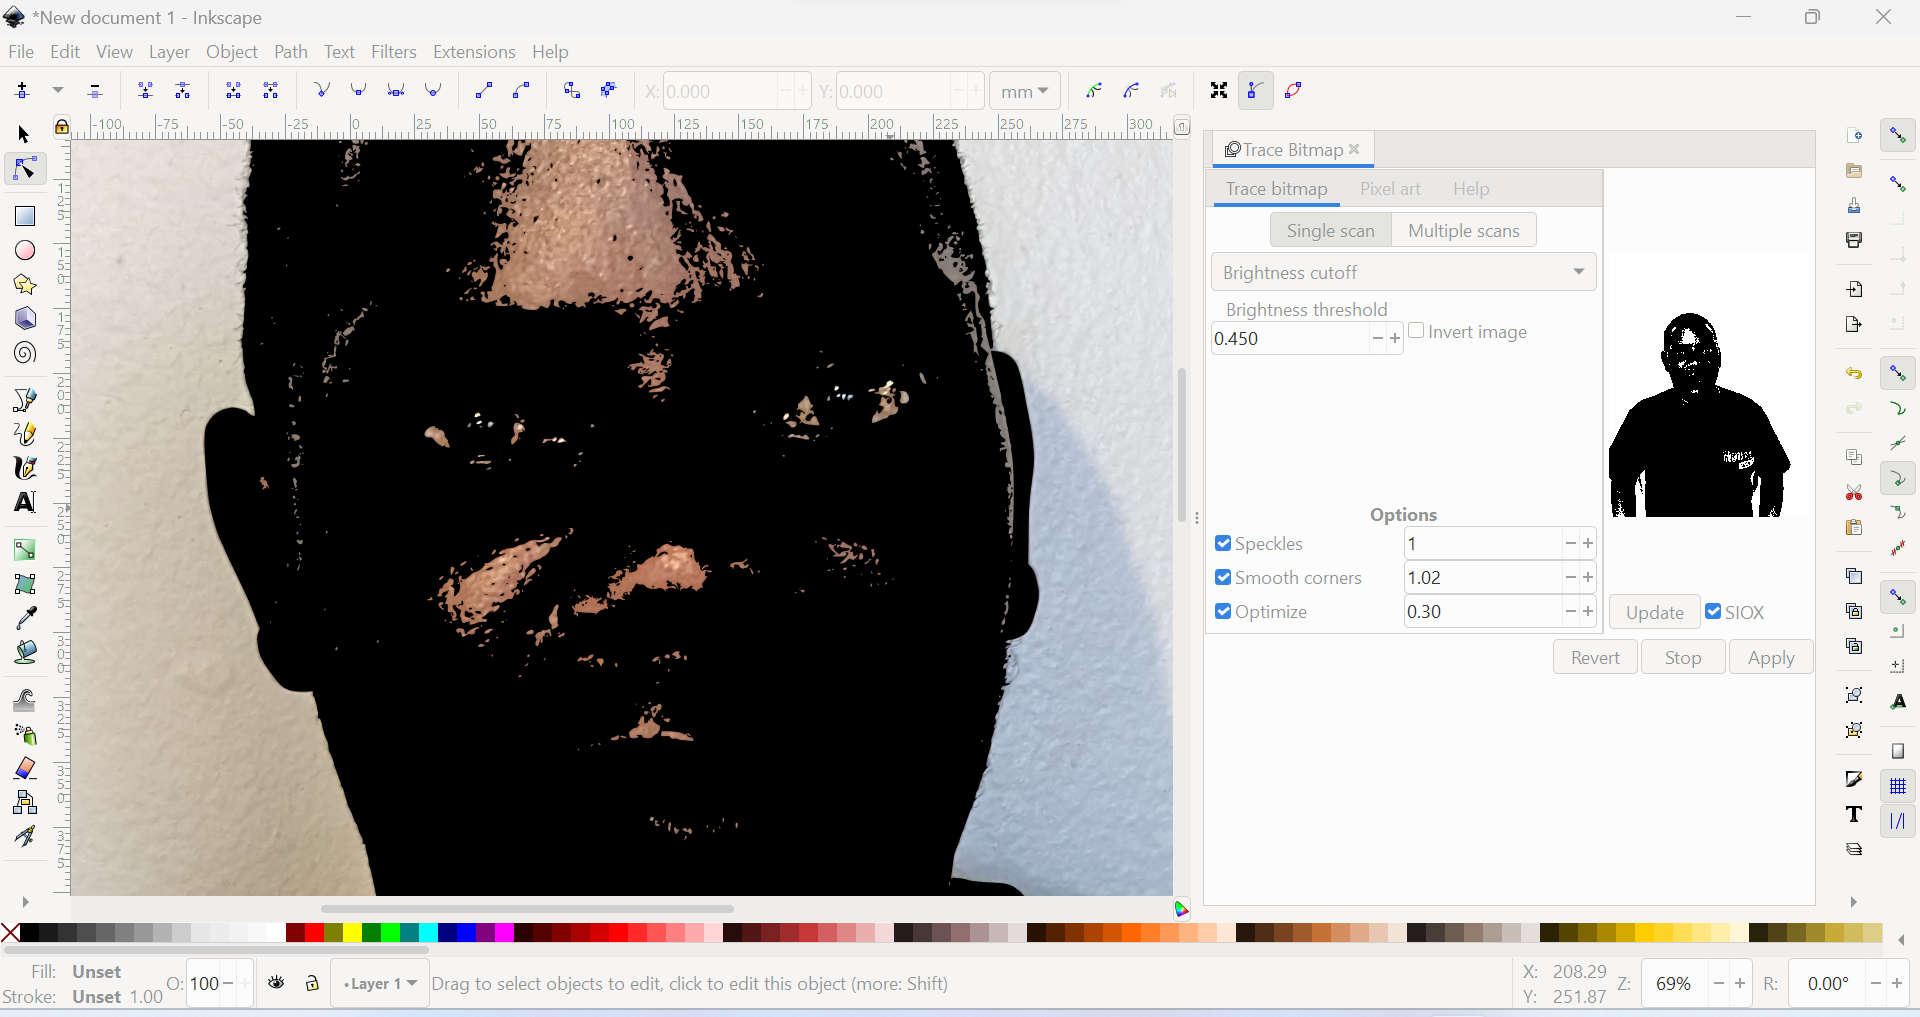
1 st Step Openning working area and import a photo
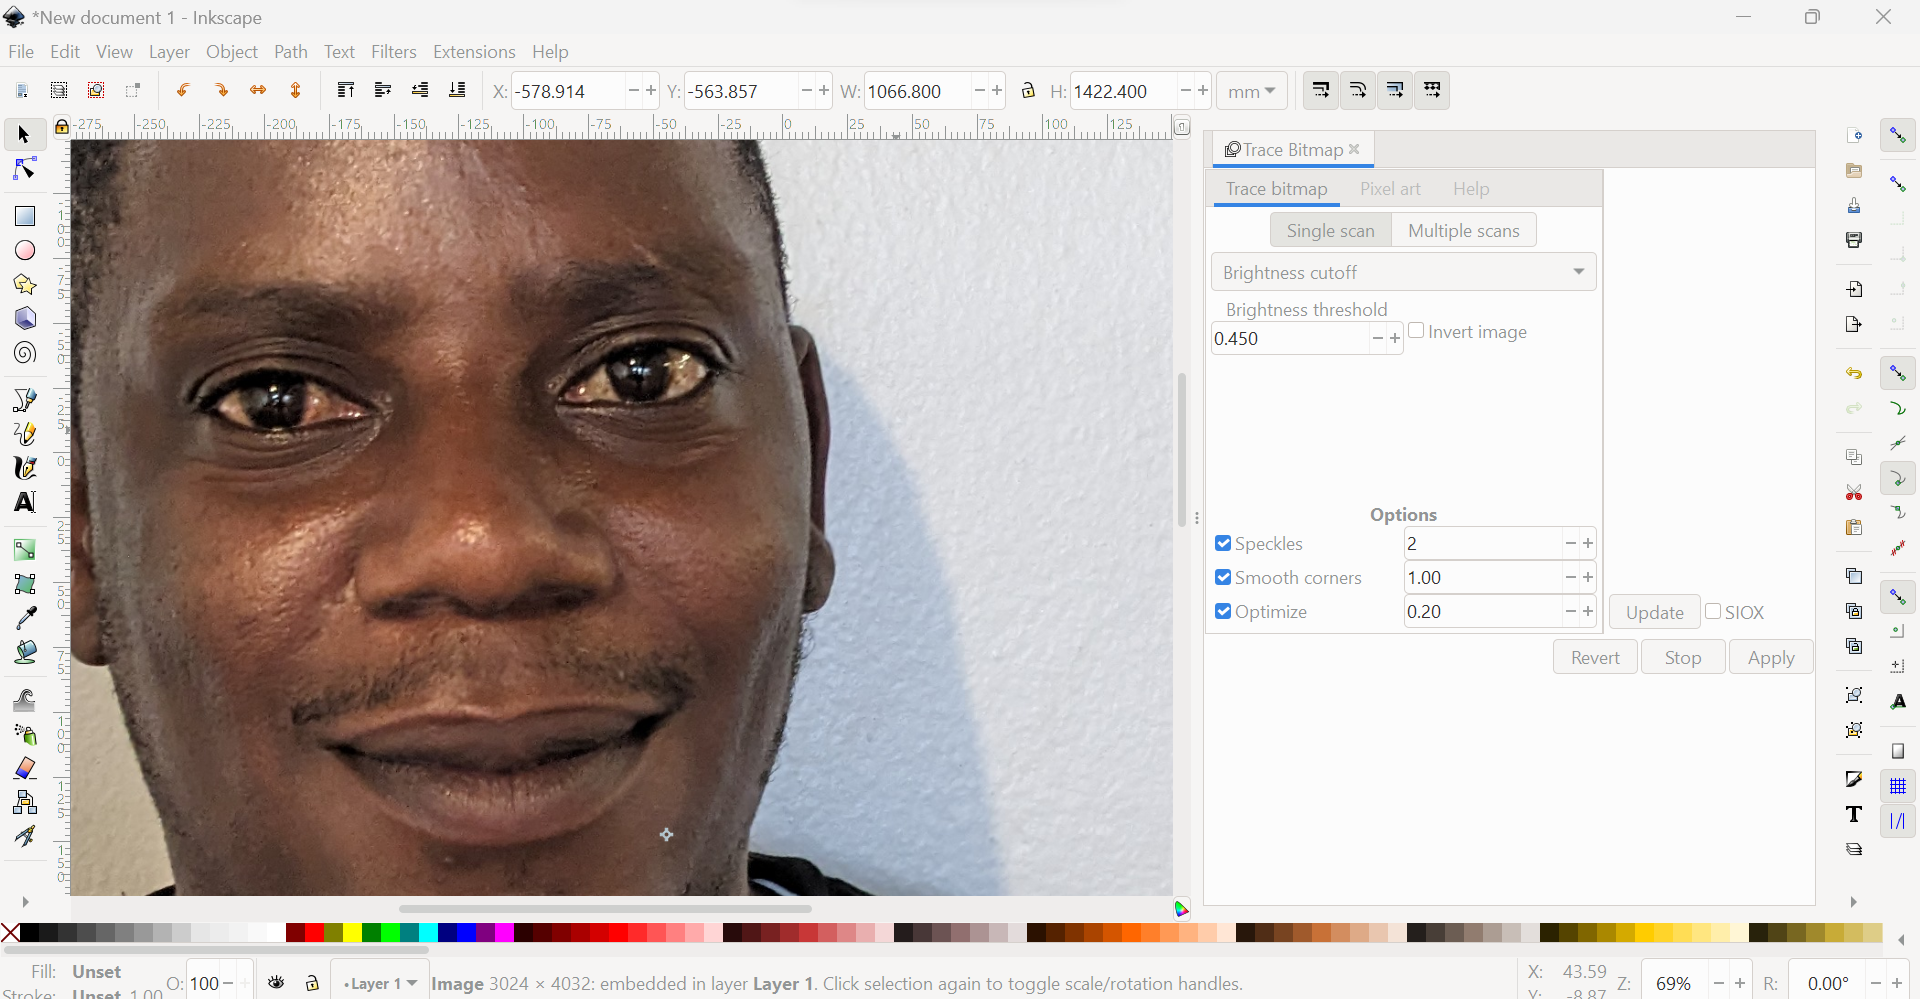
2nd Step adjusting brightness cuttoff to 0.450,speckles to 1, Smooth corners to 1.02 and optimaze 0.30.
Comparison between Inkscape and CorelDraw Ref: Open this link
- 1. The interface of Inkscape is basic and minimal. It has the basic color palette at the bottom with the status bar. The large area is the canvas part. Rest it has toolbar and menu bar respectively. while The interface of CorelDraw is specific and elaborated. It is user-friendly, with all the necessary toolbars; menu bar, status bar, property bar, color Palette, and the standard toolbar is available.
- 2. Inkscape is a free and open-source program that designers can easily download and install. while CorelDraw is Proprietary software. The creative suite of CorelDraw costs $198.00 per year. The suite also comes with a Photo-Paint program and other useful applications used for vector image editing.
- 3. The layers panel within Inkscape is elementary but adequate to support vector editing. while CorelDraw has qualified Layers functions. The user can edit layers with the help of the Objects Manager.
2. 3D Disign
What is 3D Design:
3D modeling is successfully bridging the gap between reality and the artificial world. It has integrated seamlessly into the fields of entertainment, gaming, health, fashion, and more. This astute performance of this technique makes it a remarkable technology to behold. 3D designing might seem like a mammoth task to carry out, however, the end results surely make the effort worth it. Definition from chudovo
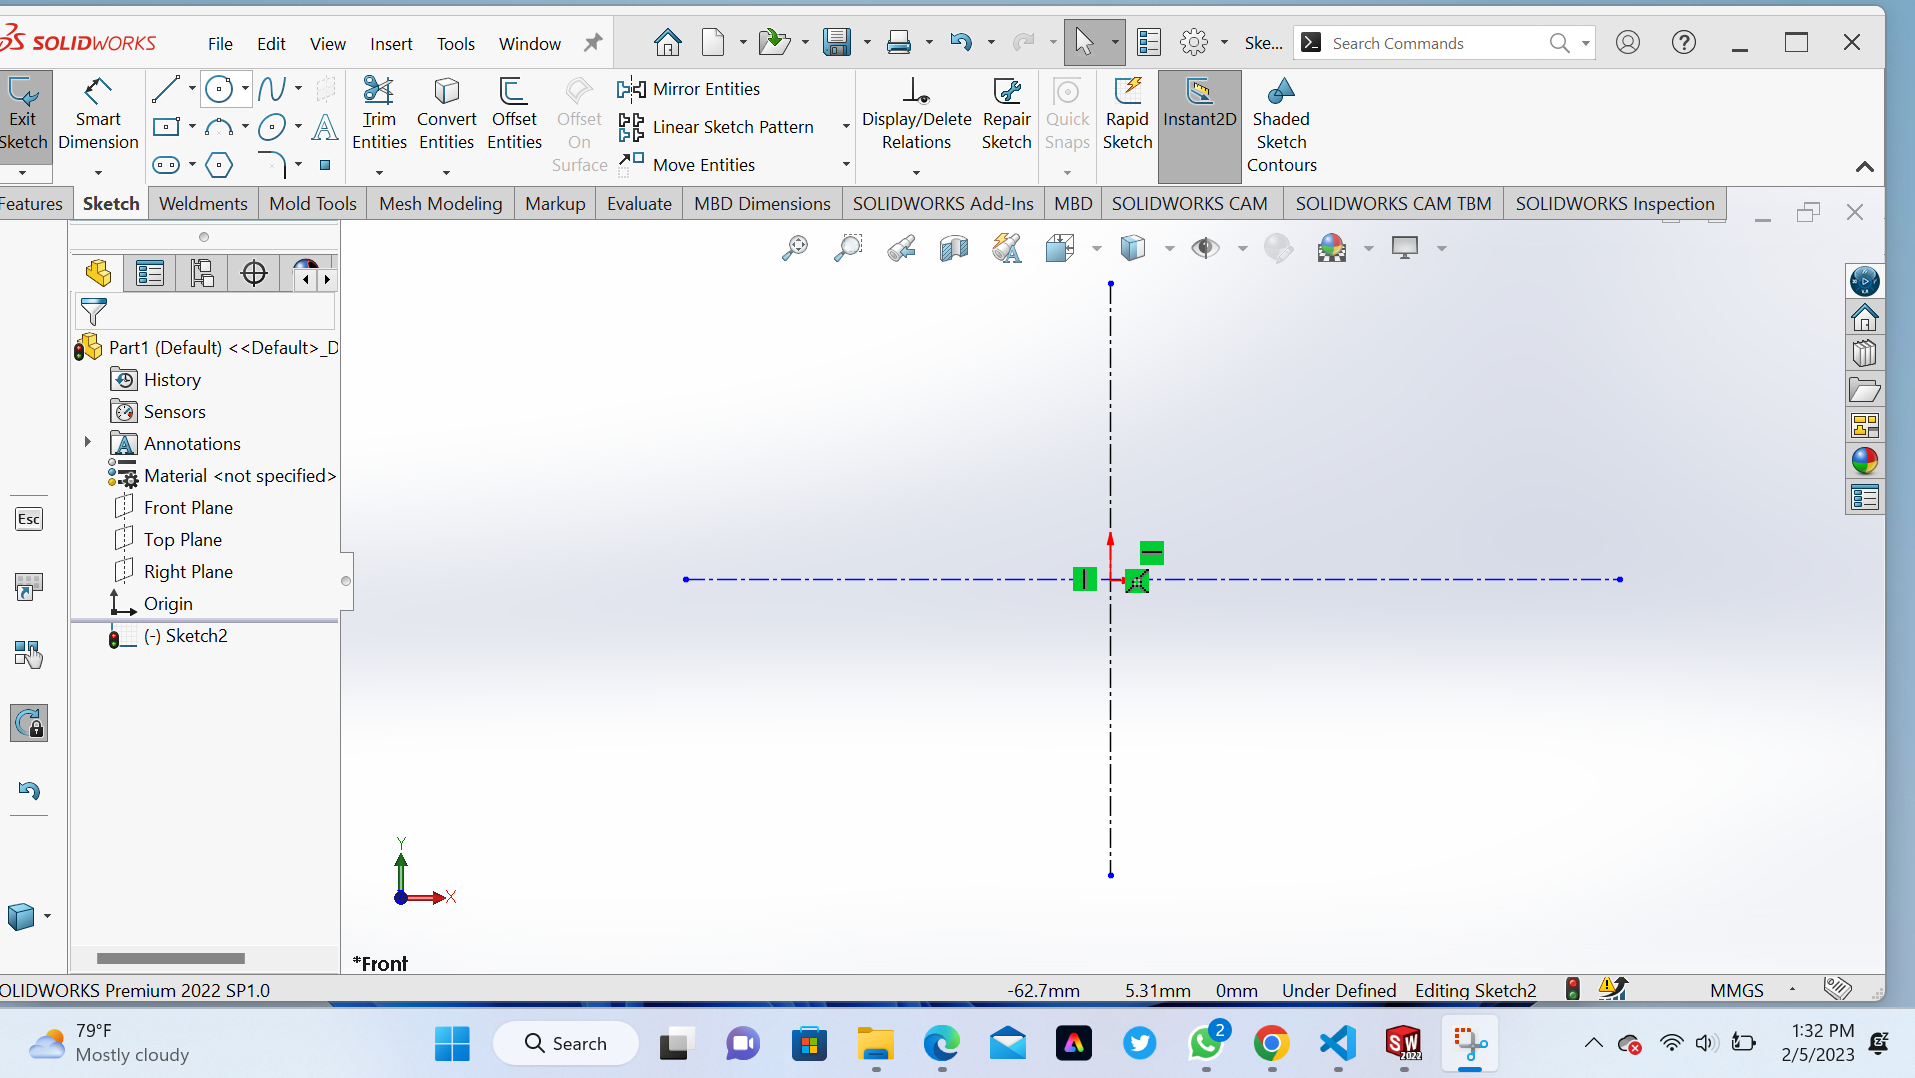
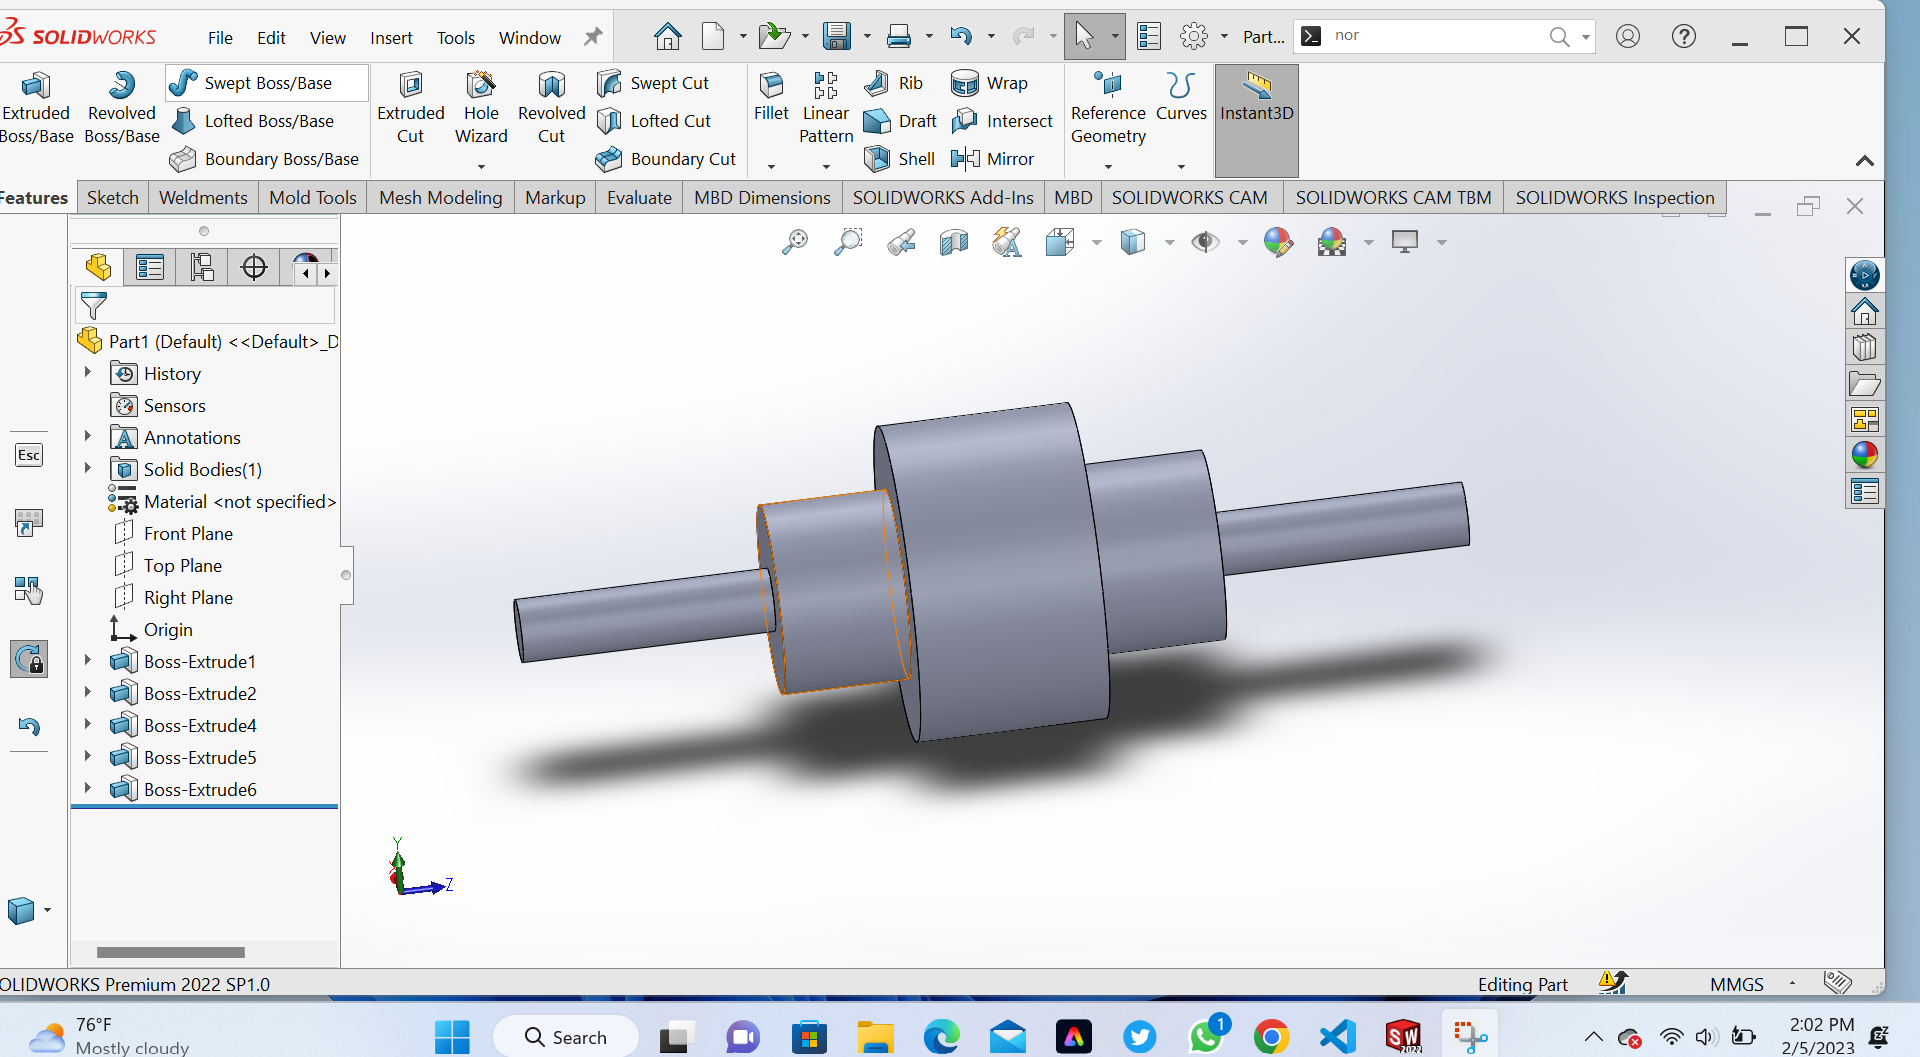
For the 3D design assignment I choose to disign an object by using Solidworks and FreeCard a. Disigning an Object in 3D by using Solidworks:1 st Step Openning working area and choose front plane
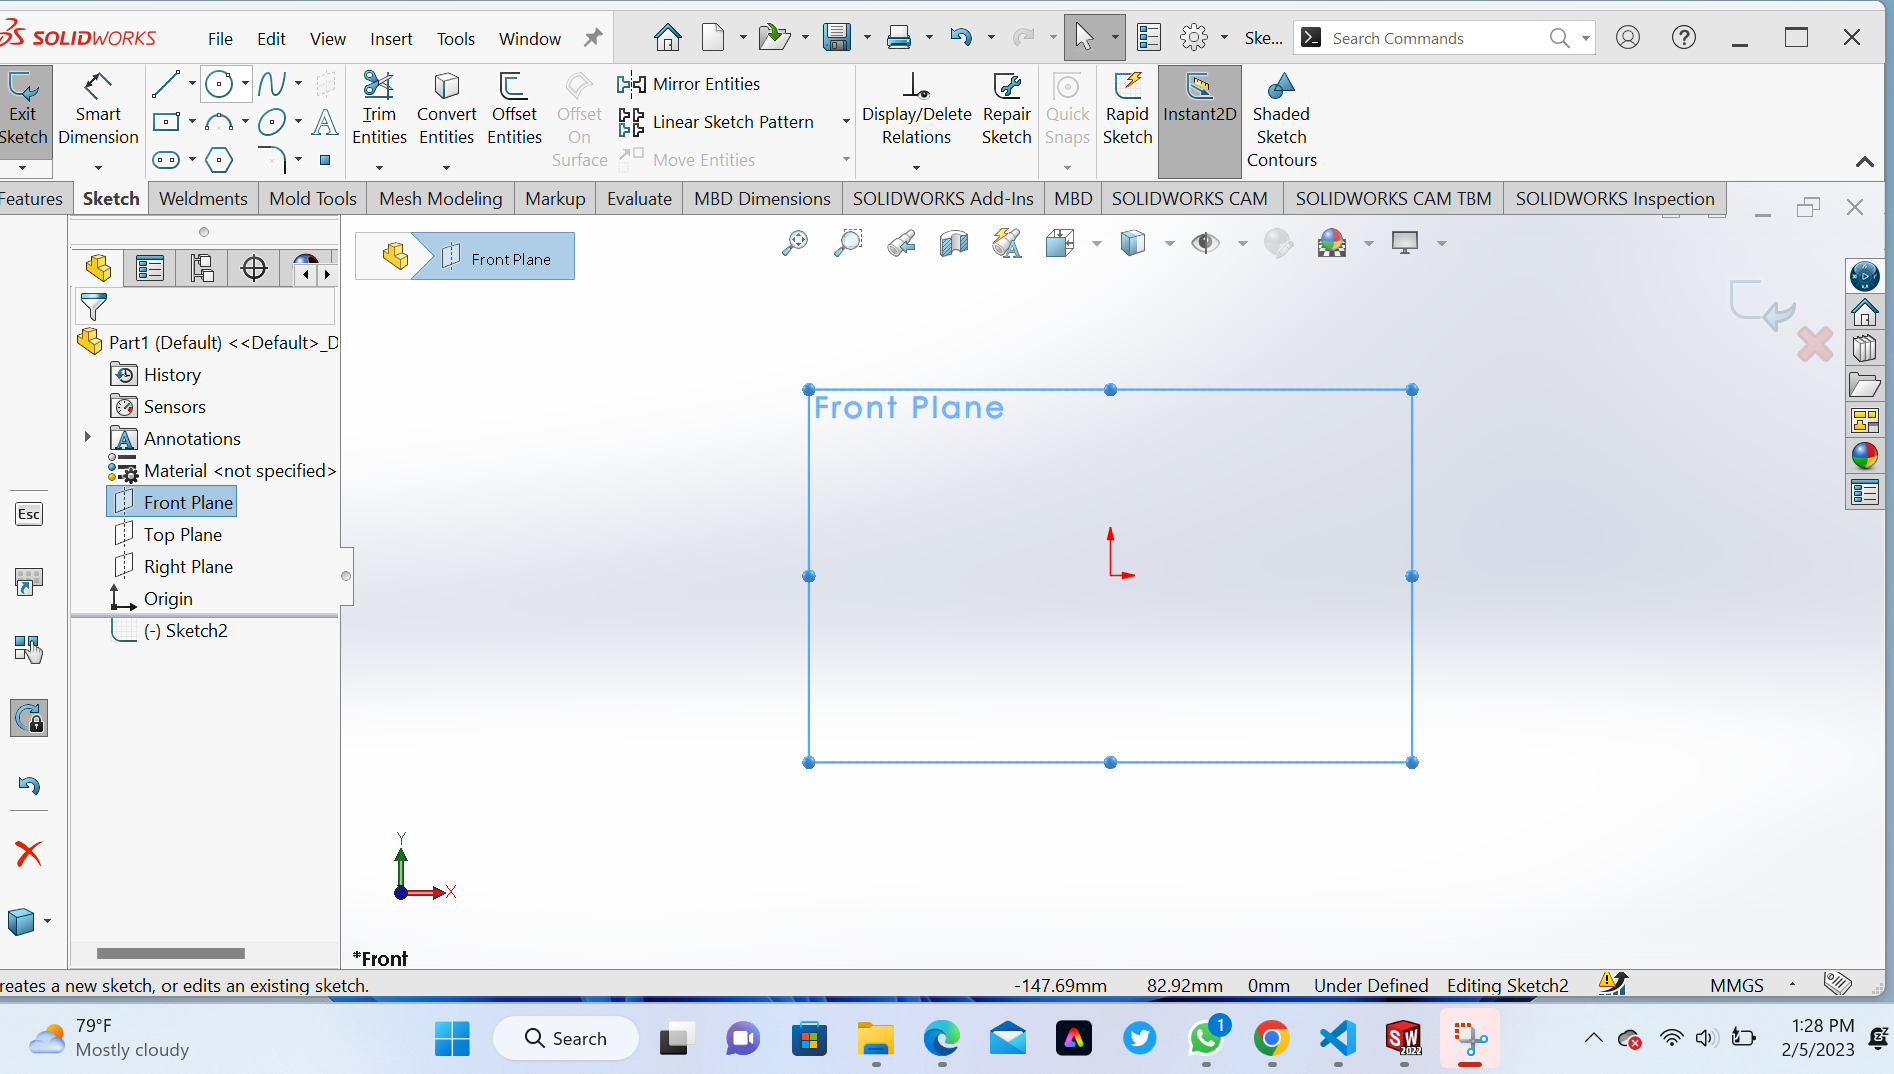
2 nd Step To create a central point by using constructive lines (centre lines)
3rd Step Create three circles within the same centre one of 100 mm, 60 mm and 20 mm of Radius
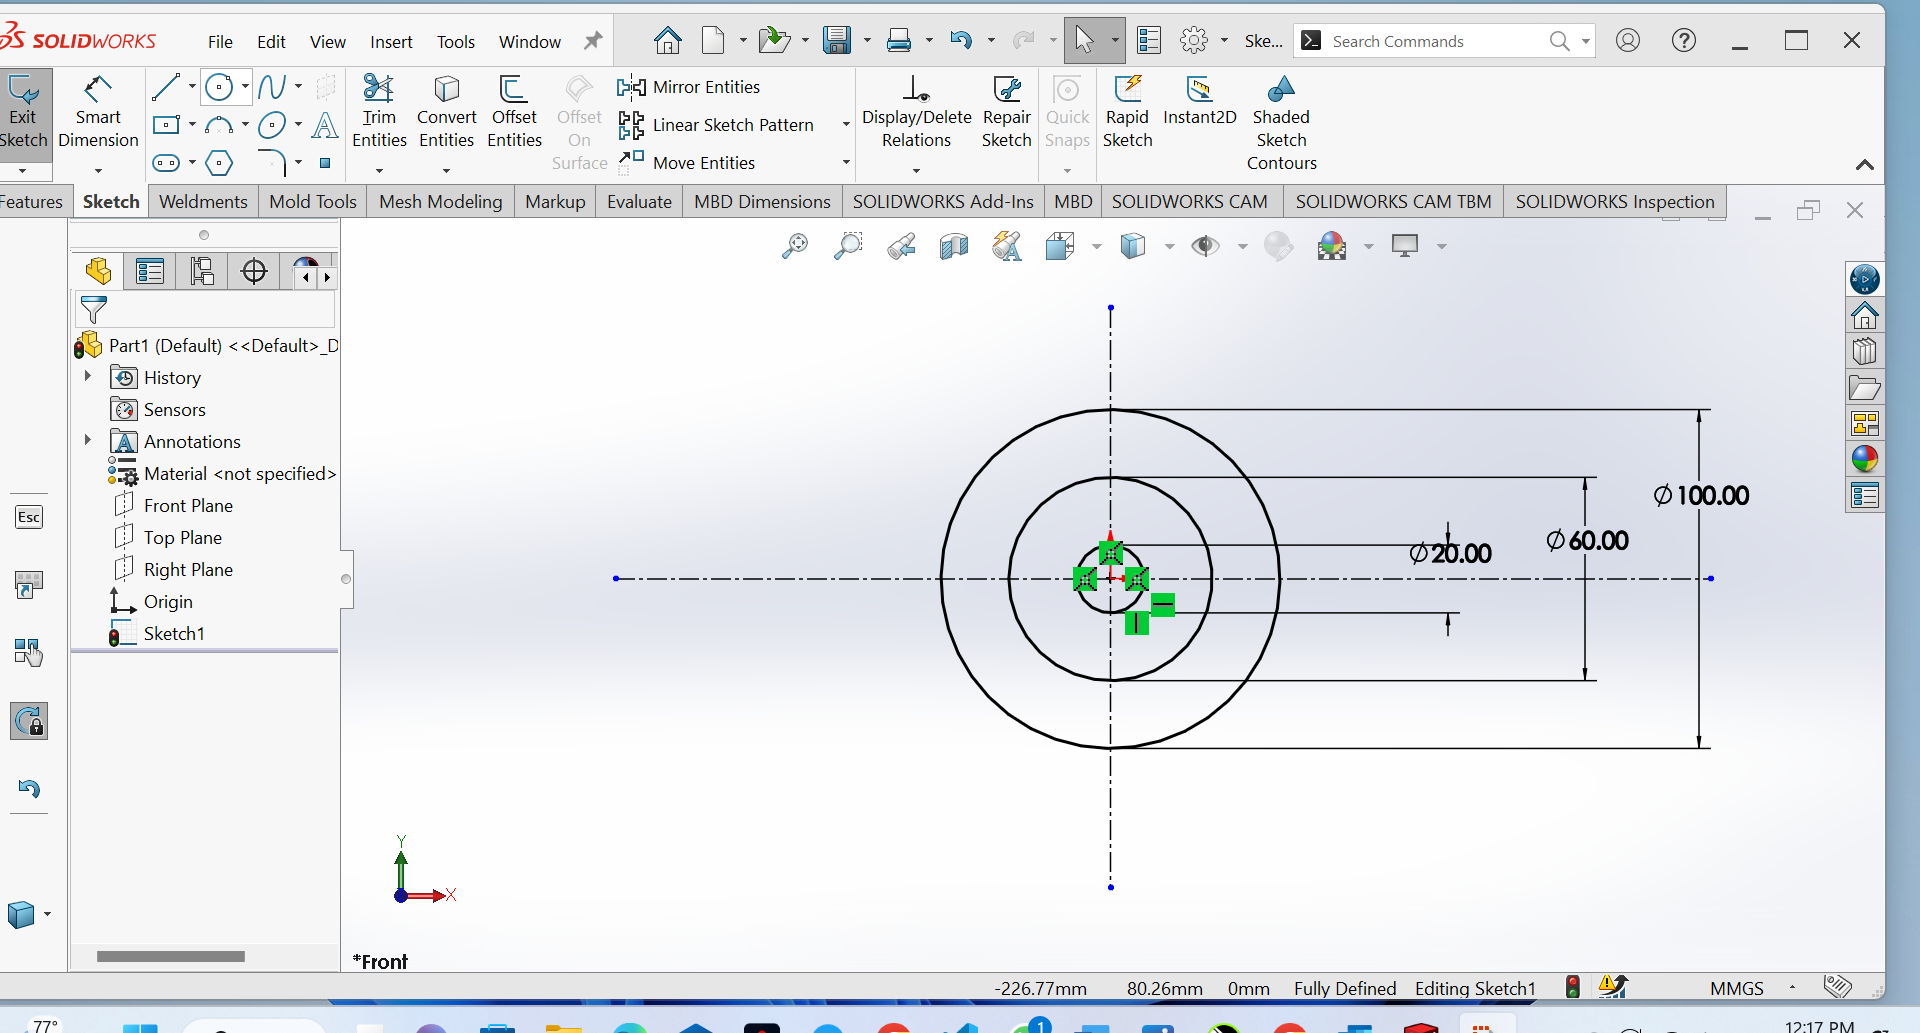
4th Step Extruded boss/base for the first circle of 100 mm of radius and extruded 60 mm
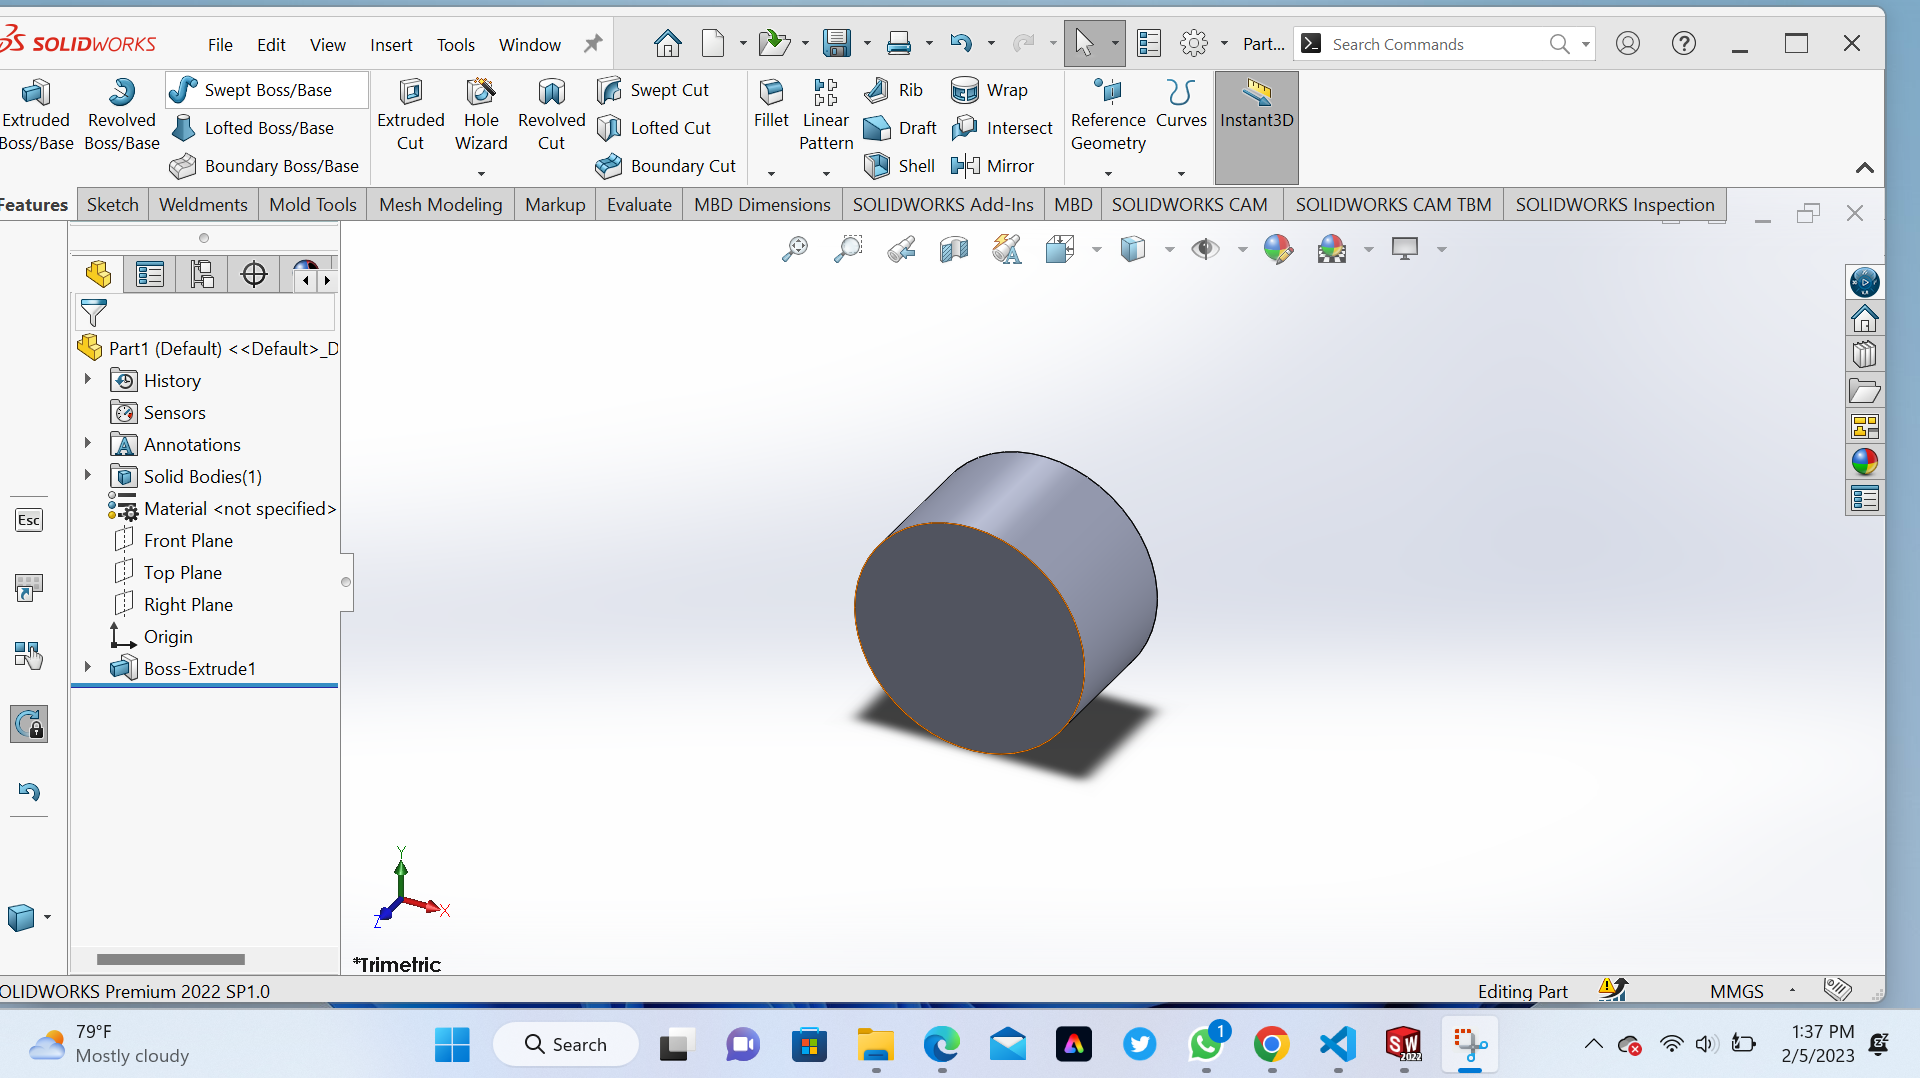
 6th Step Extruded boss/base for the third circle of 20 mm of radius and extruded 80 mm
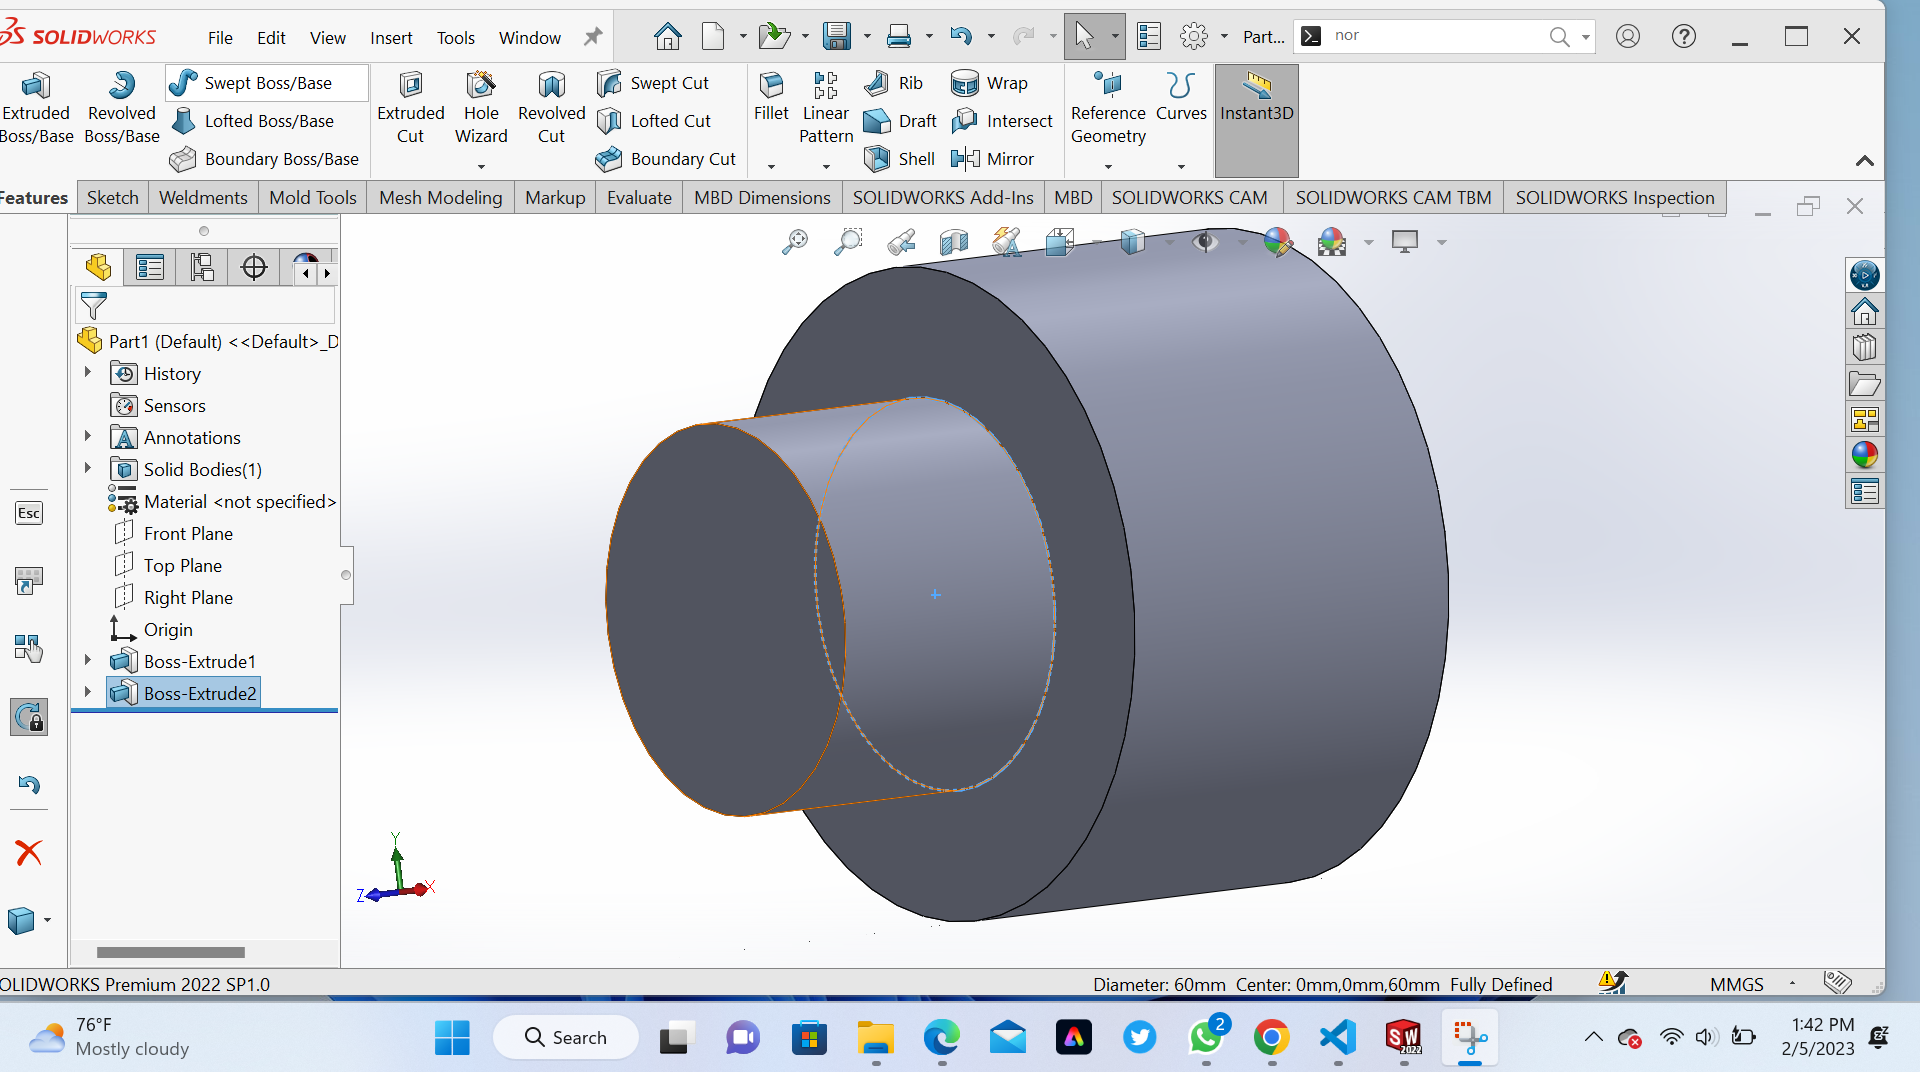
 7th Step on this step we do the same process to the back of front plane.

8th Step on the back side we Extruded boss/base also for the third circle of 60 mm of radius and extruded 40 mm and cirle of 20 mm of radius extrudede 80 mm and we get final object look like the following picture.
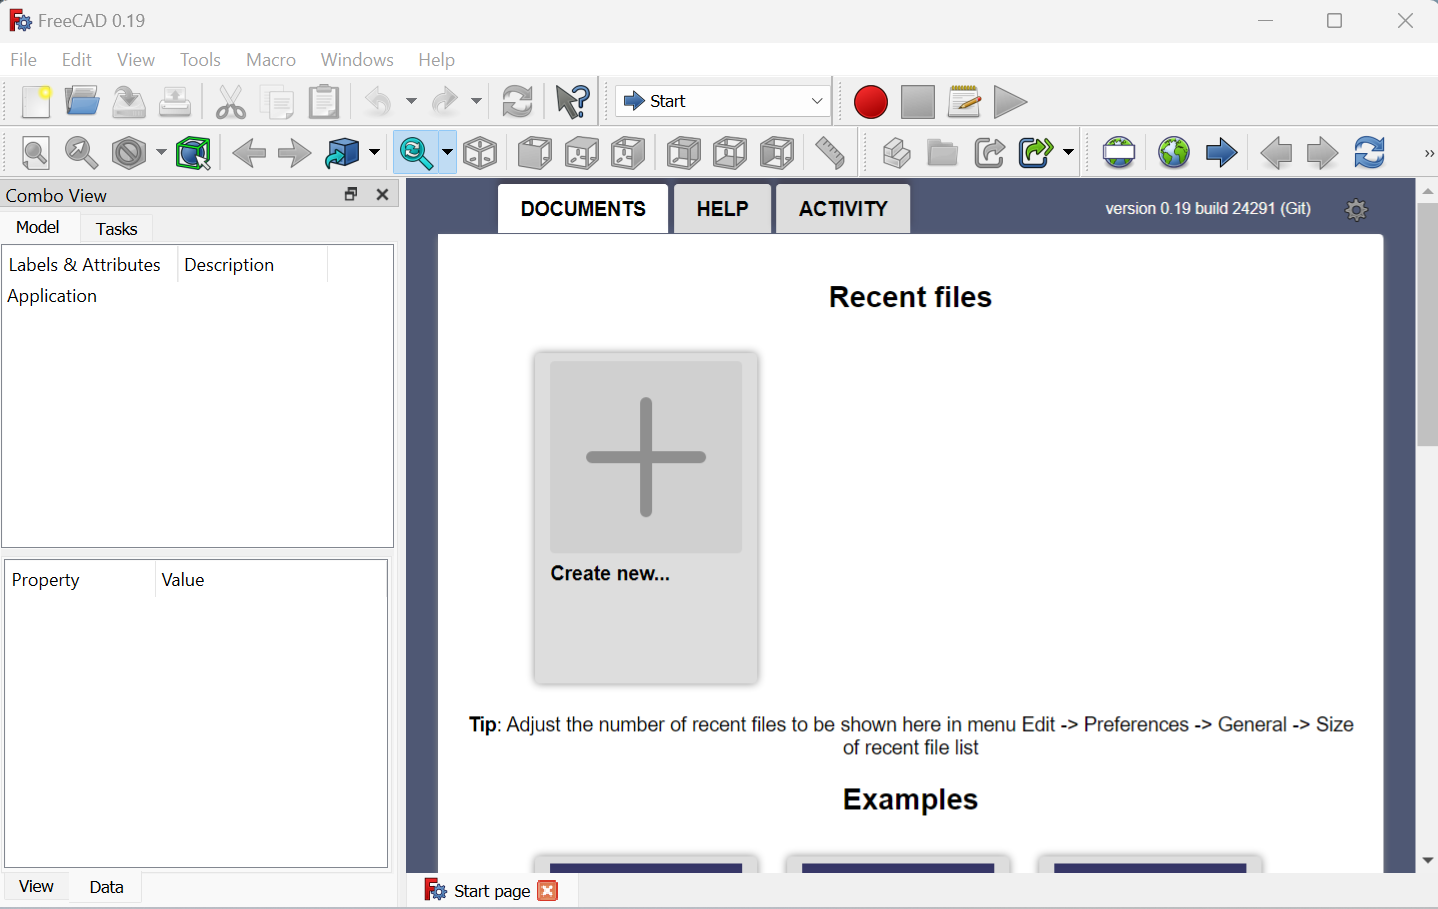
b. Disigning an Object in 3D by using FreeCard:
1st Step Openning working area (new document)
2nd Step Create working plane and choose xy principles-and-practices-icon
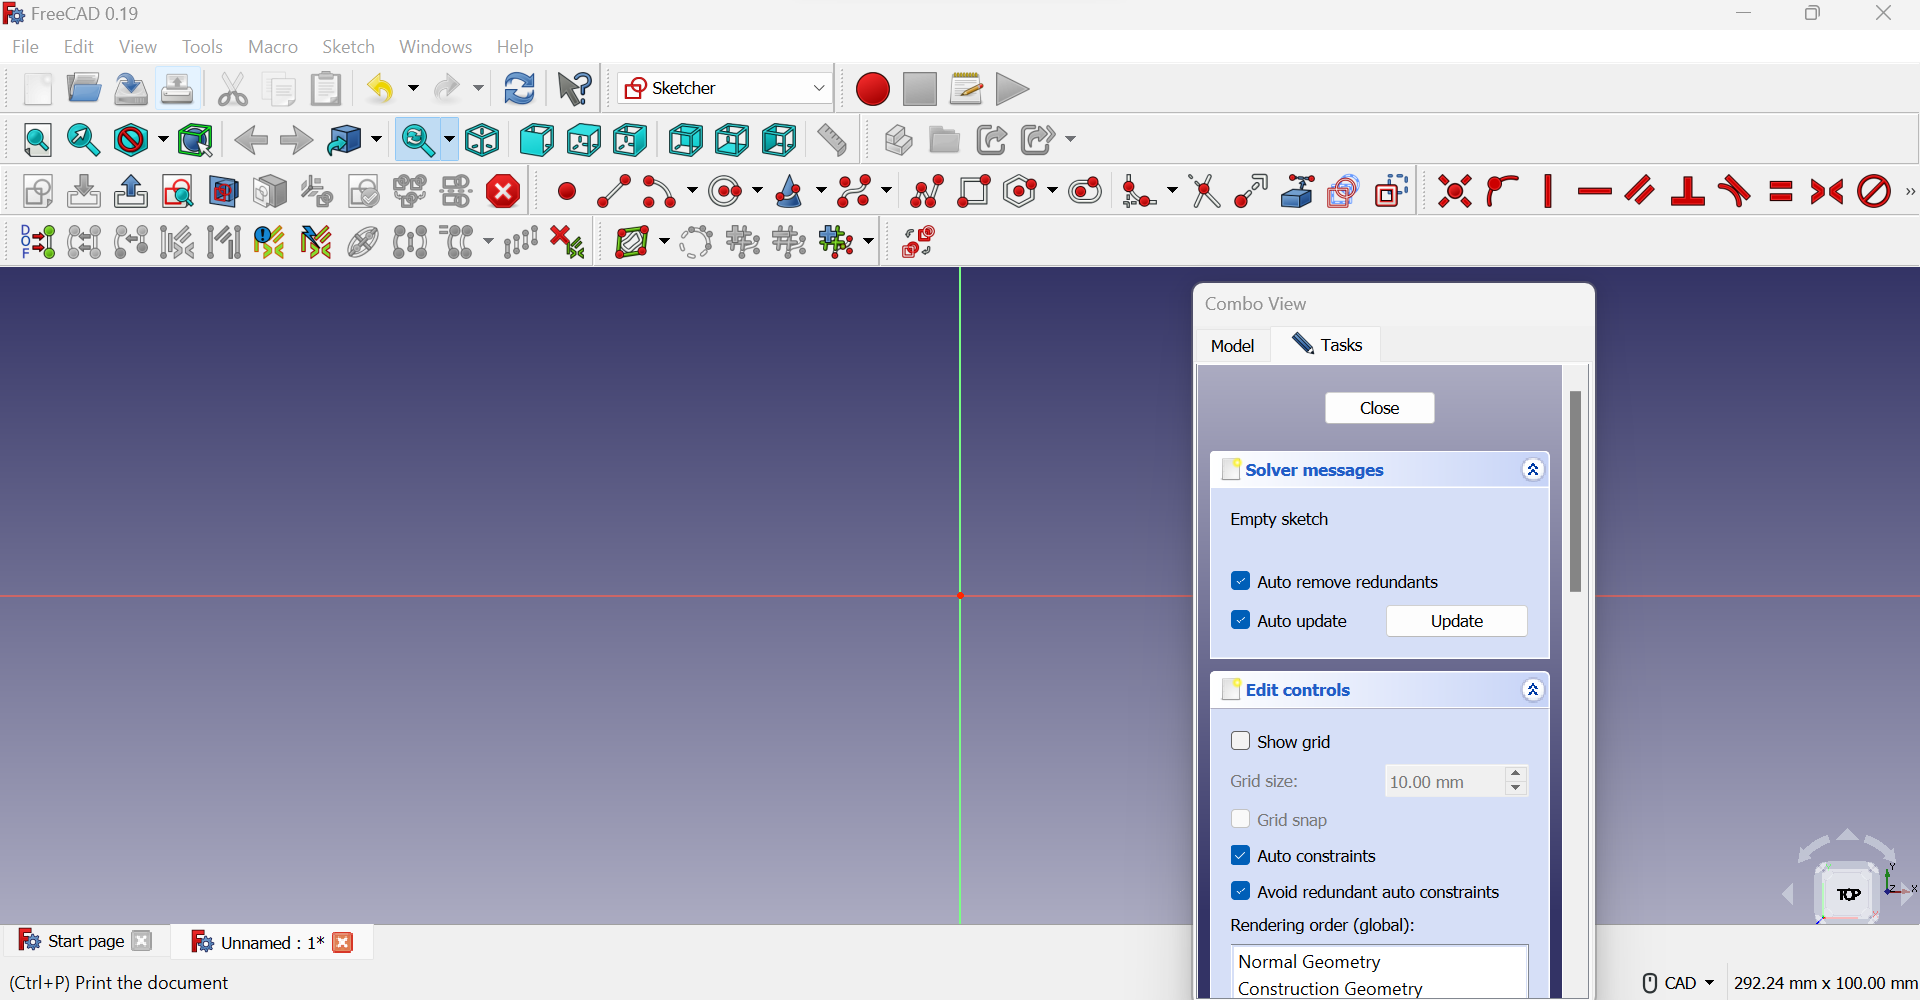
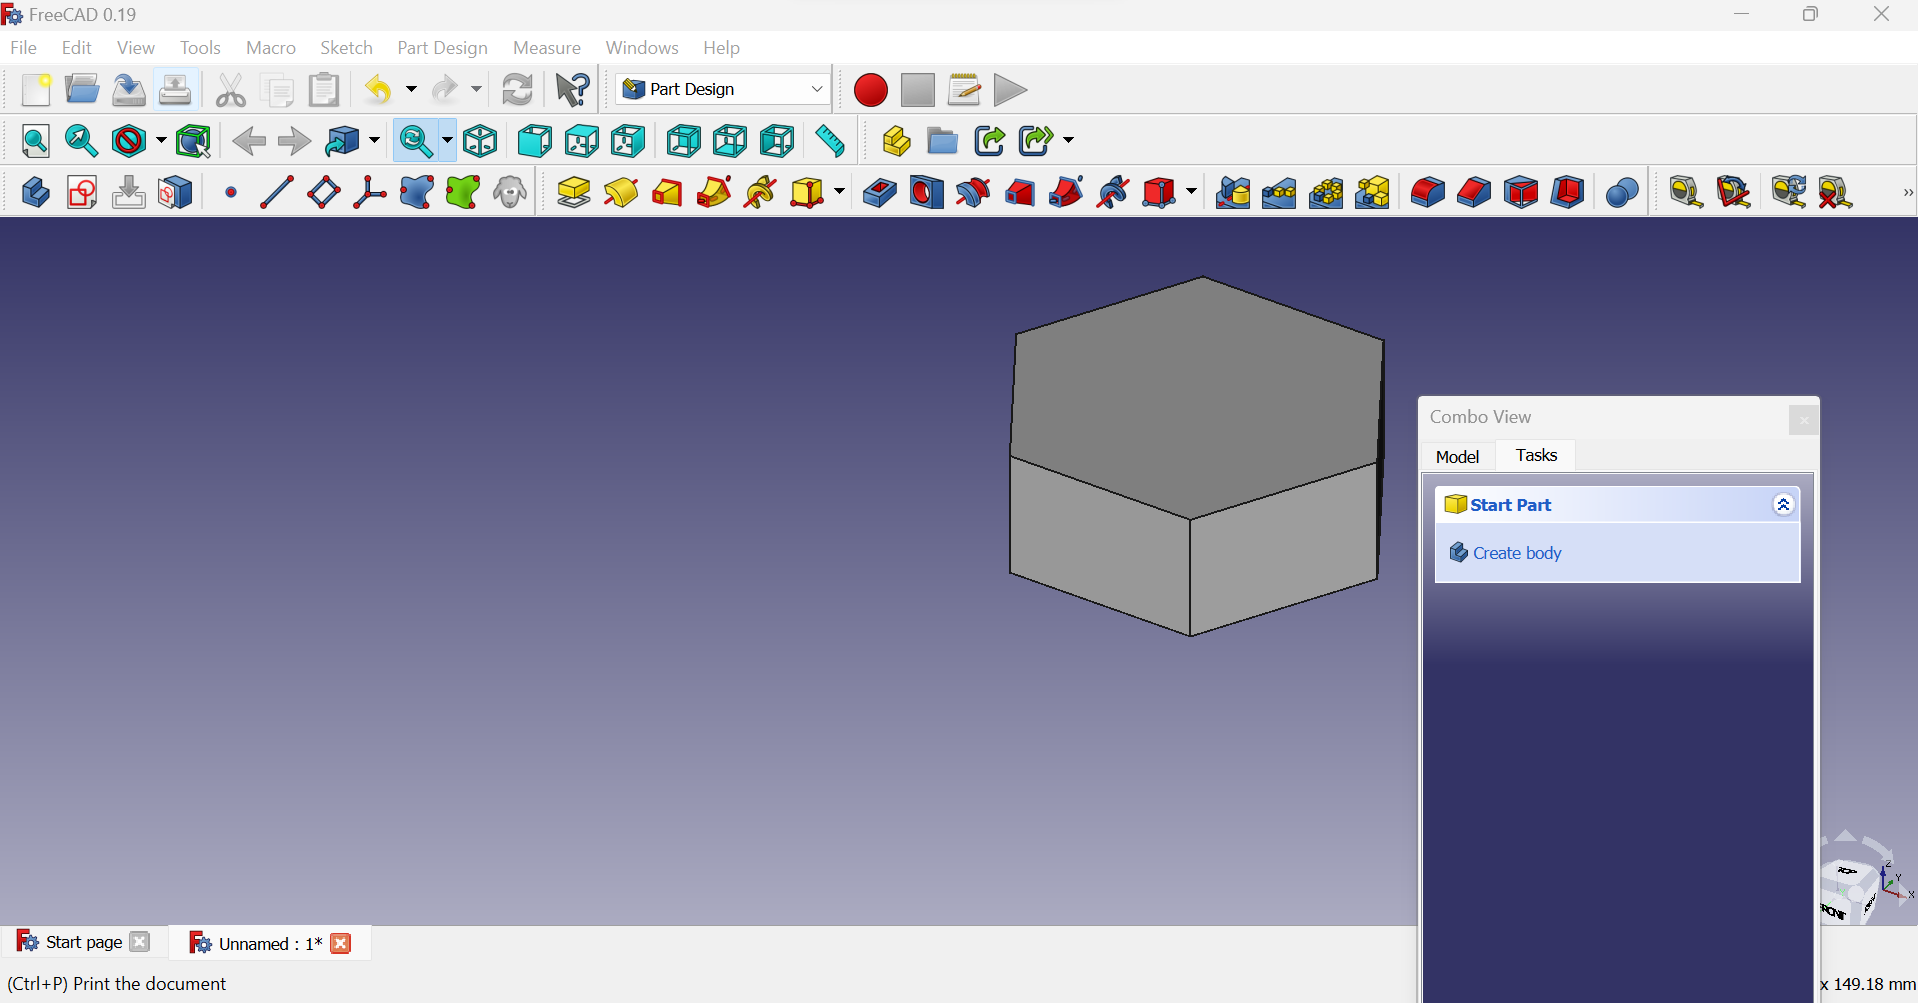
3rd Step on this step I select hexegone shirp
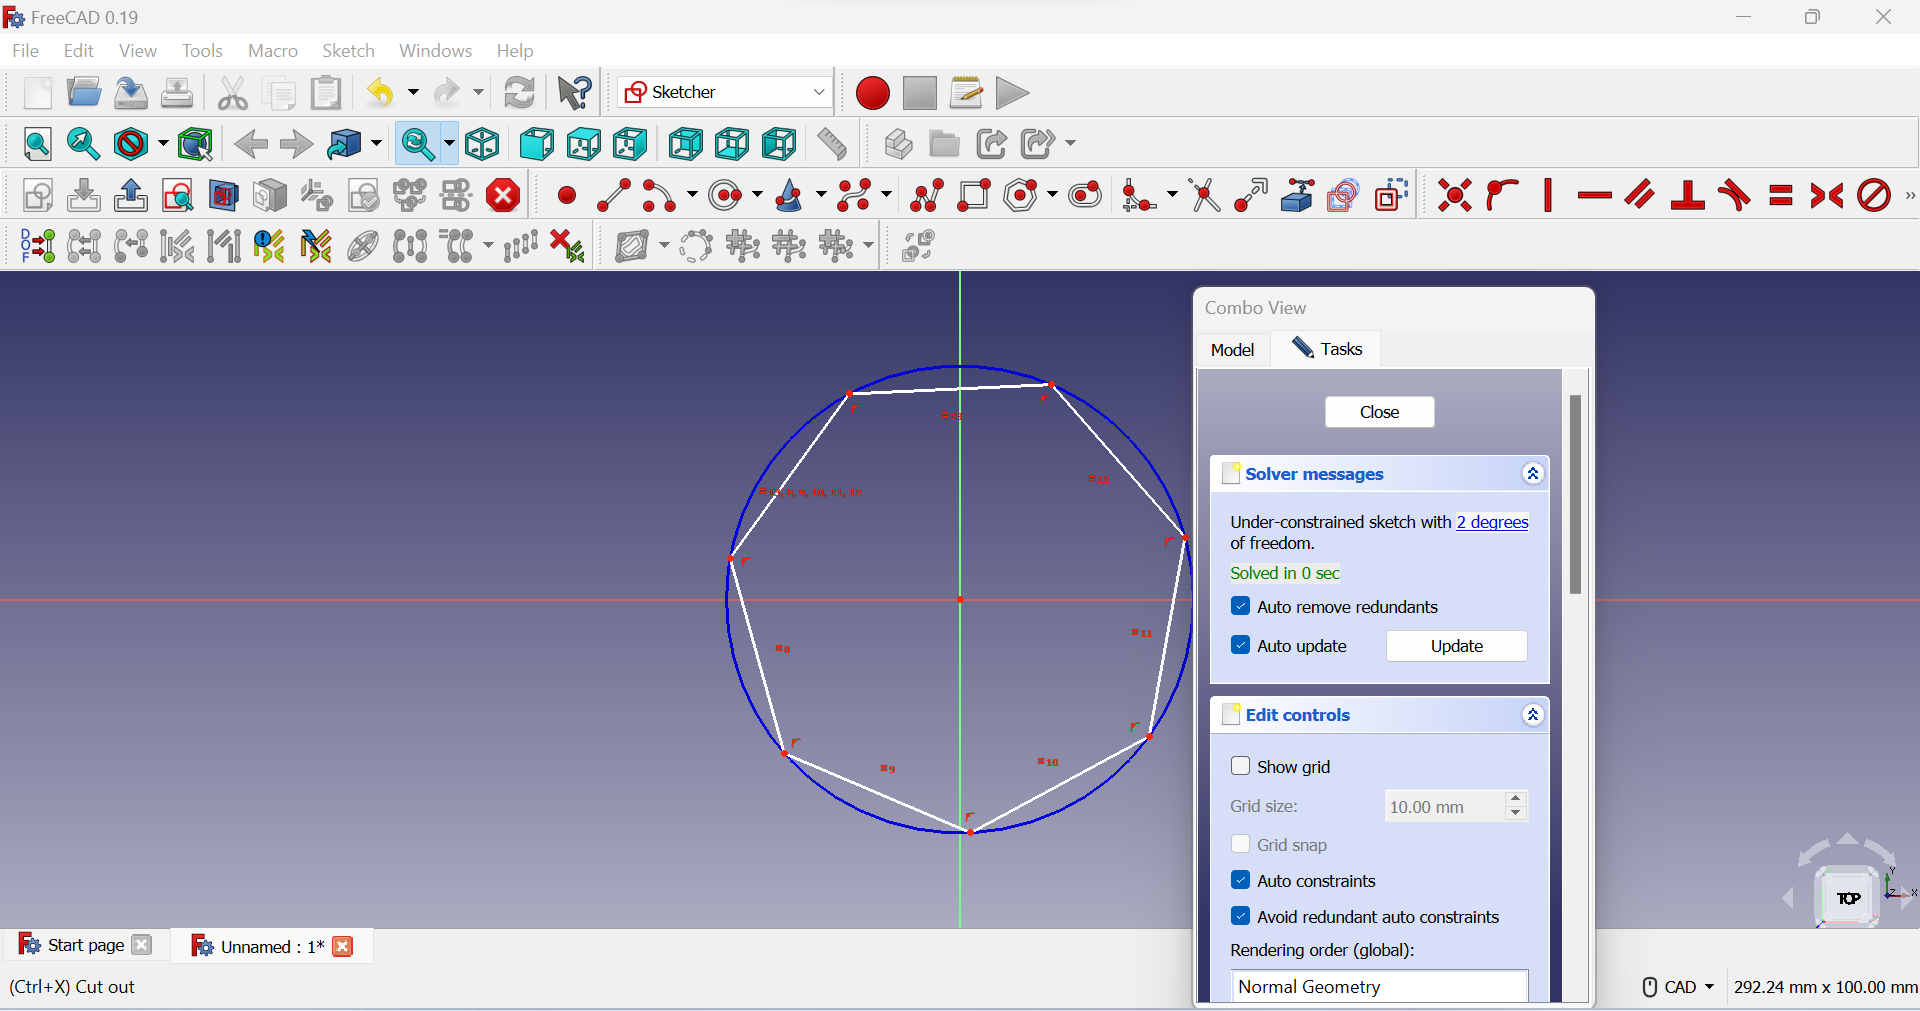
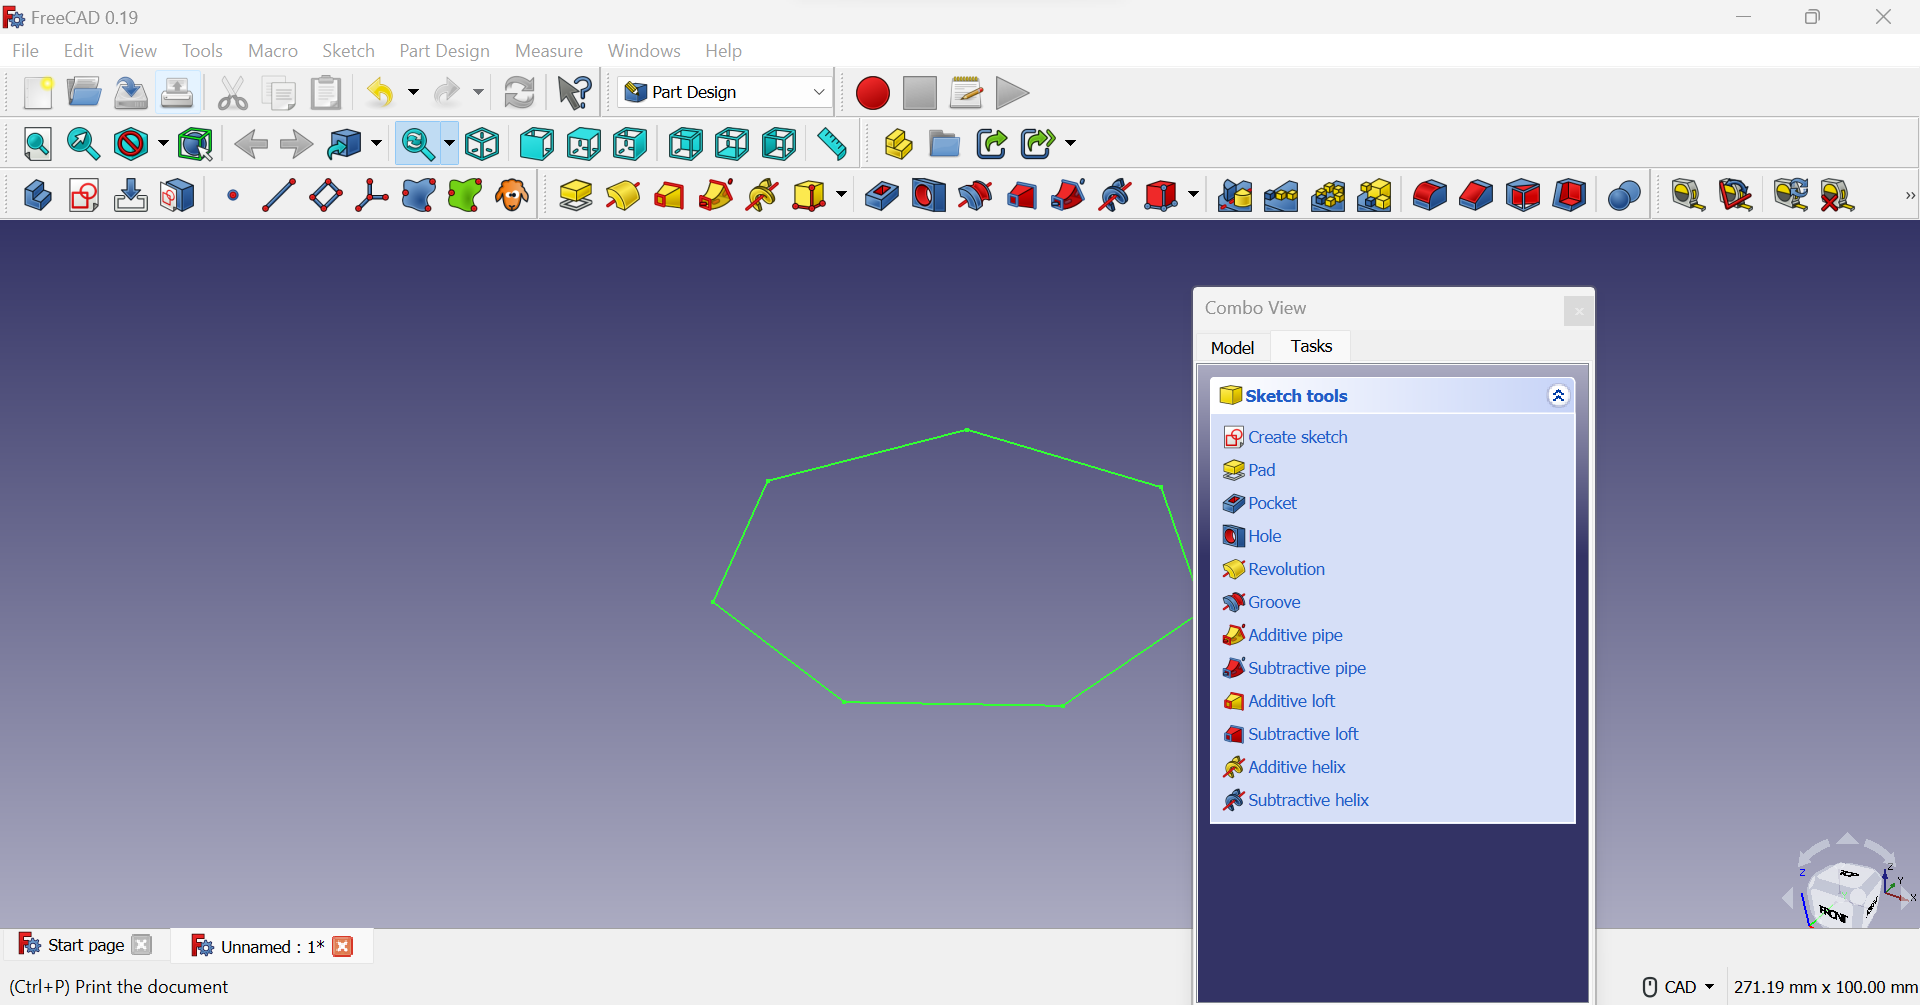
5th Step after closing Combo view I select Pad and ajuste the height of the object and we get final object as following
Comparison between SolidWorks and FreeCard Ref: Open this link
- 1. FreeCAD supports Linux along with Windows and Mac Operating systems. while SolidWorks supports Windows but does not support Mac and Linux operating systems.
- 2. FreeCard is free-to-use software while SolidWorks price starts at $5490 per year.
- 3. FreeCard It has various features like 3D Imaging, Project management, Annotations, collaboration tools, etc. while SolidWorks has features like faster iterations, reference management, version control, etc.
If you want to learn about my designs kindly click here