Week 2: Computer-Aided Design
AssignmentModel (raster, vector, 2D, 3D, render, animate, simulate, ...) a possible final project, compress your images and videos, and post a description with your design files on your class page.
2D SOFTWARE:
1.PhotoshopPhotoshop is primarily a 2D image editing software, and therefore it is not typically used for 3D modeling. However, you can create 2D models by using Photoshop's drawing and painting tools to create shapes and textures, and then arranging and layering those elements to create a composite image that resembles a 2D model. This can be useful for creating illustrations or mockups of 2D designs, but it is not suitable for creating complex 3D models. For that, you would need to use specialized 3D modeling software.
In Photoshop, raster modeling is the process of working with images that are composed of pixels. A raster image is a grid of individual pixels, with each pixel containing a specific color and brightness value. Raster modeling in Photoshop involves editing these individual pixels to create or modify an image.
Photoshop is a powerful image editing tool that offers a range of tools and features for working with raster images. These tools can be used to adjust colors, contrast, brightness, and other aspects of the image. Photoshop also provides a range of tools for working with individual pixels, such as the Brush tool, which can be used to paint individual pixels with different colors and opacities.
One of the key benefits of raster modeling in Photoshop is its flexibility. Because raster images are
composed of individual pixels, they can be edited and manipulated in a variety of ways, making it
possible to create complex and detailed images. However, because raster images are made up of a fixed
number of pixels, they can become pixelated or blurry if they are enlarged too much or if they are
printed at a low resolution.
Raster modeling in Photoshop is widely used for a variety of tasks, including photo retouching,
digital painting, and graphic design. Because of its flexibility and power, Photoshop is a popular
choice for many professional designers and photographers. However, because it is a complex and powerful
tool, it can take some time to learn how to use it effectively.
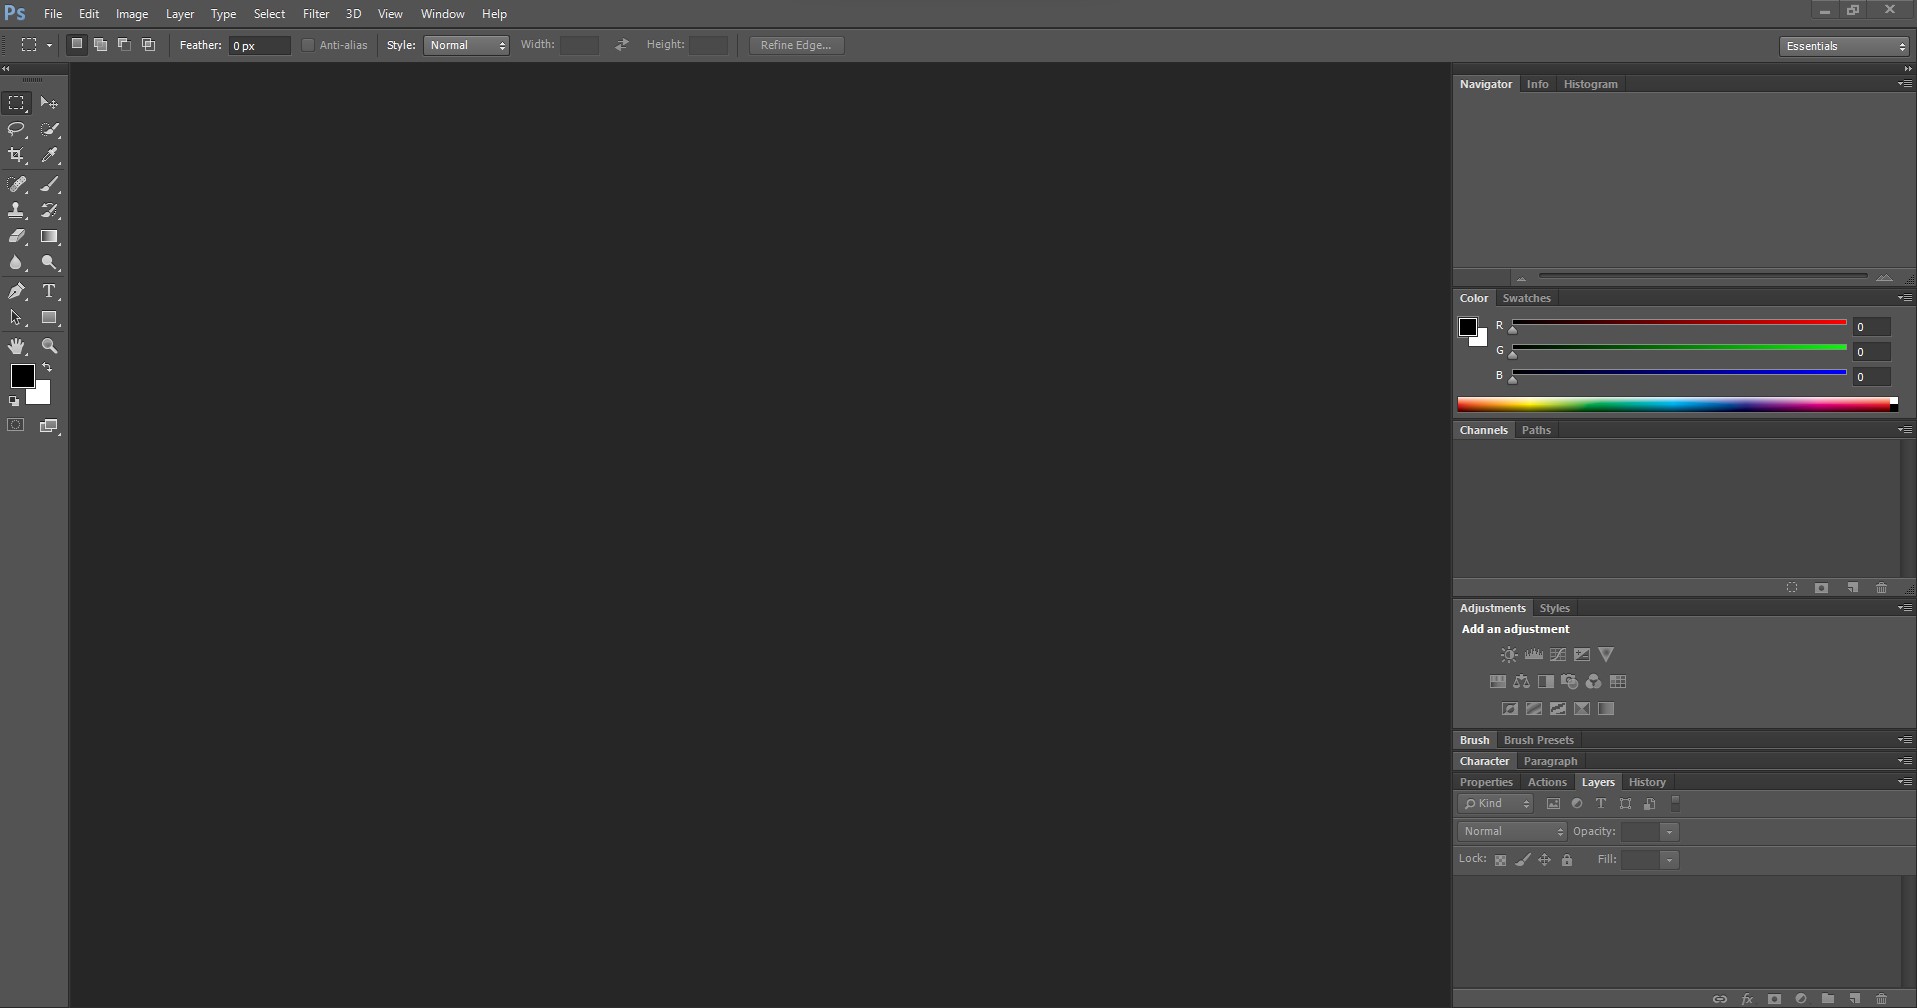
I started by opening a new file
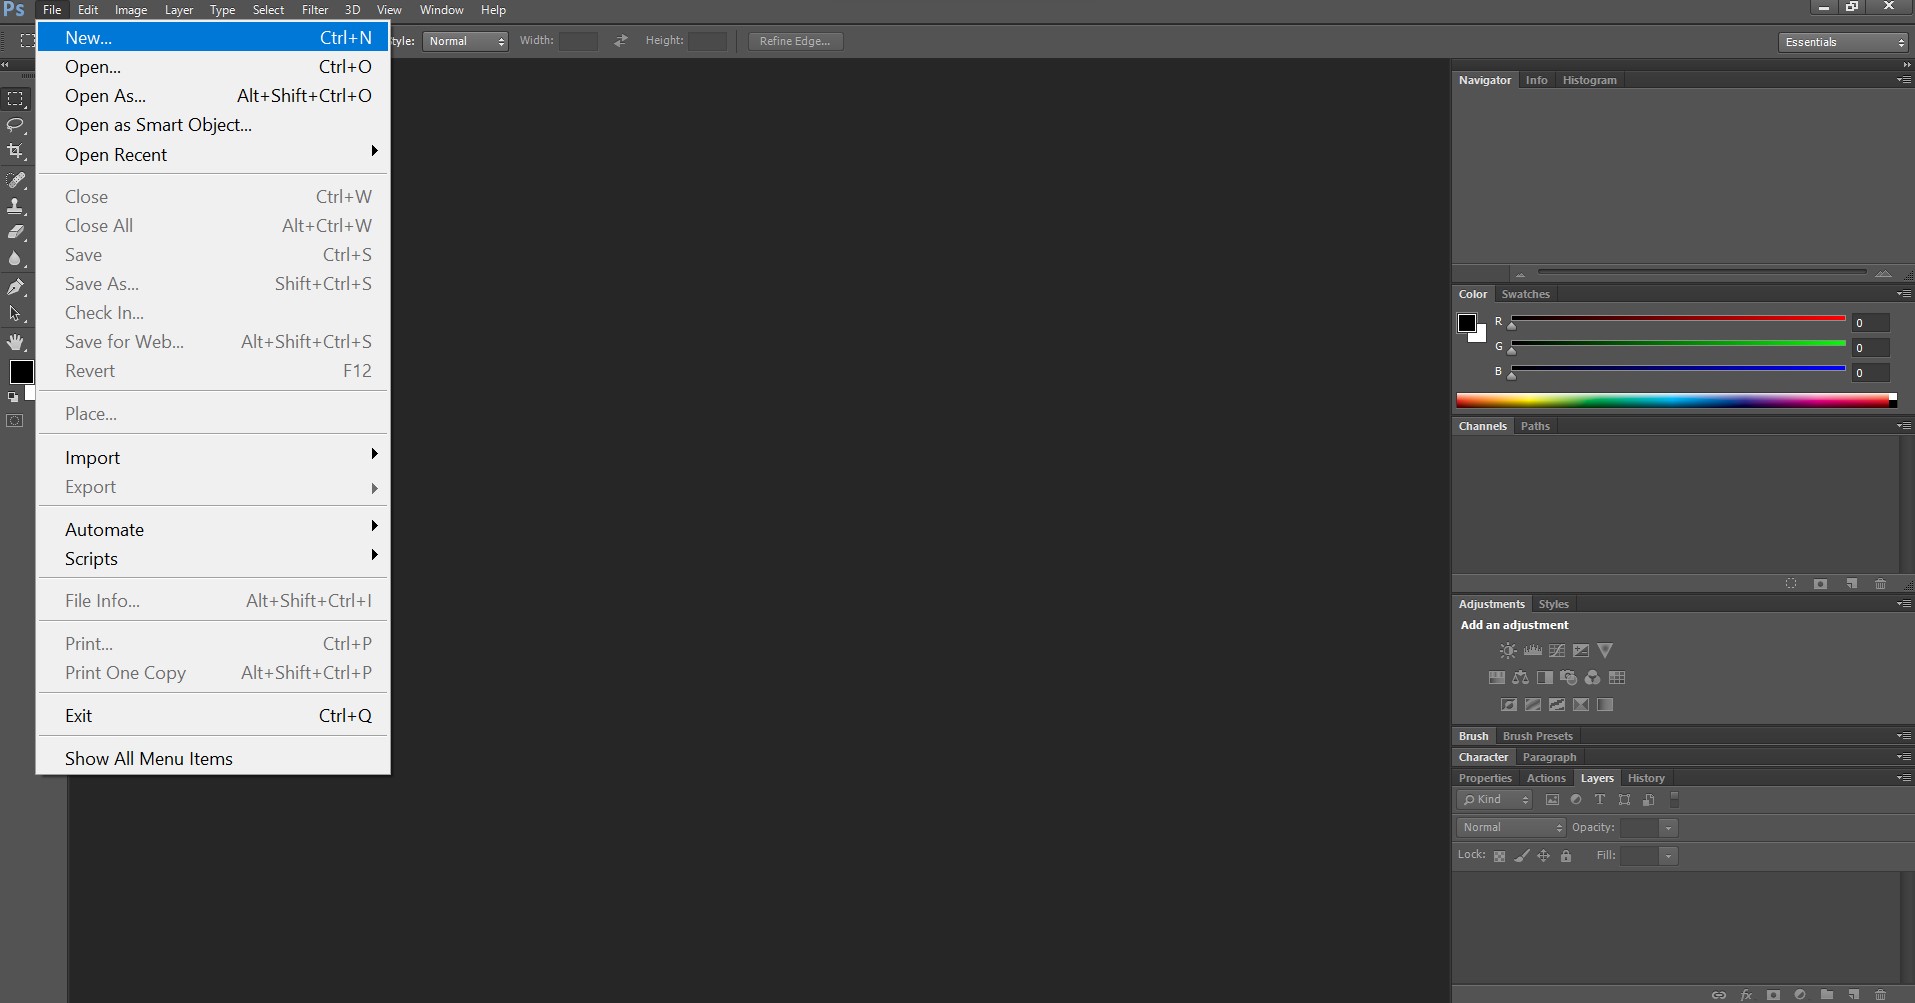
Click on FILE, then NEW to get a new document
Set the file name, your customized weight and height numbers

Importing a photo in the flesh openned document

Imported photo in the document

There are many different tools on the left bar, but if you are looking for anything that is not there, you can always just go to WINDOW Tab and then toggle ON and OFF any of tools under WINDOW Tab, as shown here below:

Photoshop Image with 2D Raster Model

2. CorelDraw
CorelDRAW is used for vector graph images. CorelDraw is a family of software programs used for editing vector graphics, illustration and design. Vector graphics are created in graphics packages and consist of objects.
Vector modeling is a type of graphic design and illustration technique used in CorelDRAW, a popular vector-based graphics editor. In vector modeling, graphics are created and manipulated using mathematical equations that define lines, curves, shapes, and other geometric forms.
Vector graphics are different from raster graphics (which are used in programs like Adobe Photoshop) because they are not based on pixels, but rather on mathematical equations that define the position, shape, and color of individual objects. Because of this, vector graphics can be scaled up or down without losing quality or resolution, making them ideal for creating designs and graphics that need to be used in a variety of sizes, such as logos, illustrations, and diagrams.
In CorelDRAW, vector modeling involves creating and manipulating shapes and lines using tools such as the Pen tool, Bézier tool, and Shape tool. Users can also apply colors, gradients, and other effects to these shapes and lines, as well as add text and other design elements to create complex and detailed designs.
One of the main advantages of vector modeling in CorelDRAW is that it allows for precise and detailed designs that can be easily scaled and edited without losing quality or resolution. Additionally, vector graphics tend to be smaller in file size than raster graphics, which can be useful for web-based or digital designs that need to load quickly.
Below here I am going to do vector modeling using CorelDraw 2021:I started by opening CorelDraw 2021
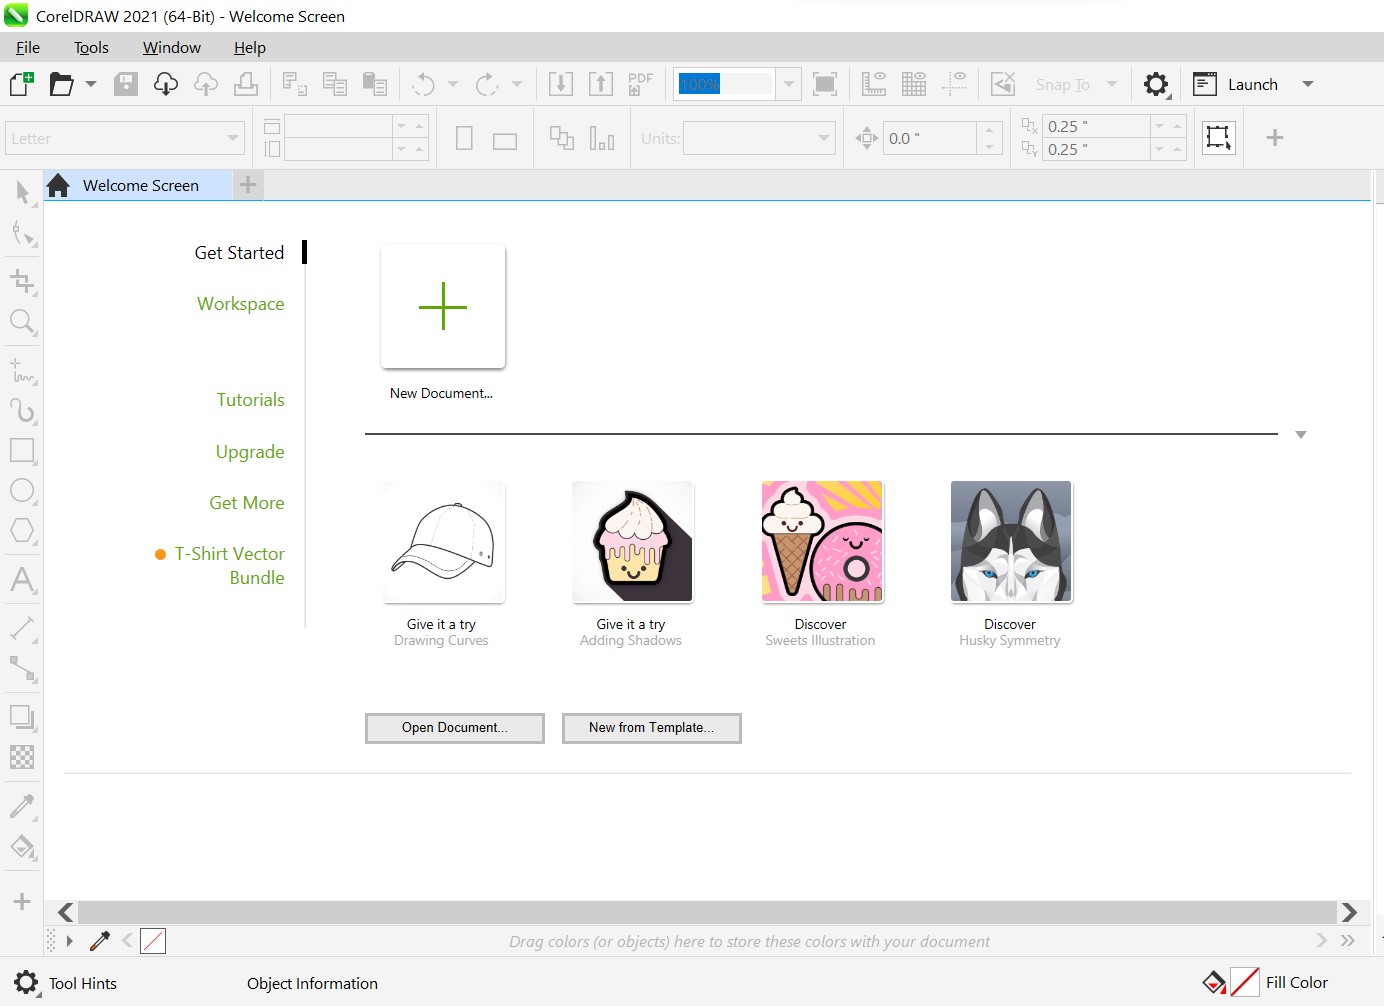
On Get Started, choose New Document, and then define Name, Number of Pages, and the Colour Mode between CMYK and RGB, then select Page Size among several standards available, and Customize it in Width and Height, set the Orientation, and the Resolution , then CLICK OK
A new document is openned, CLICK on File, and then choose IMPORT option
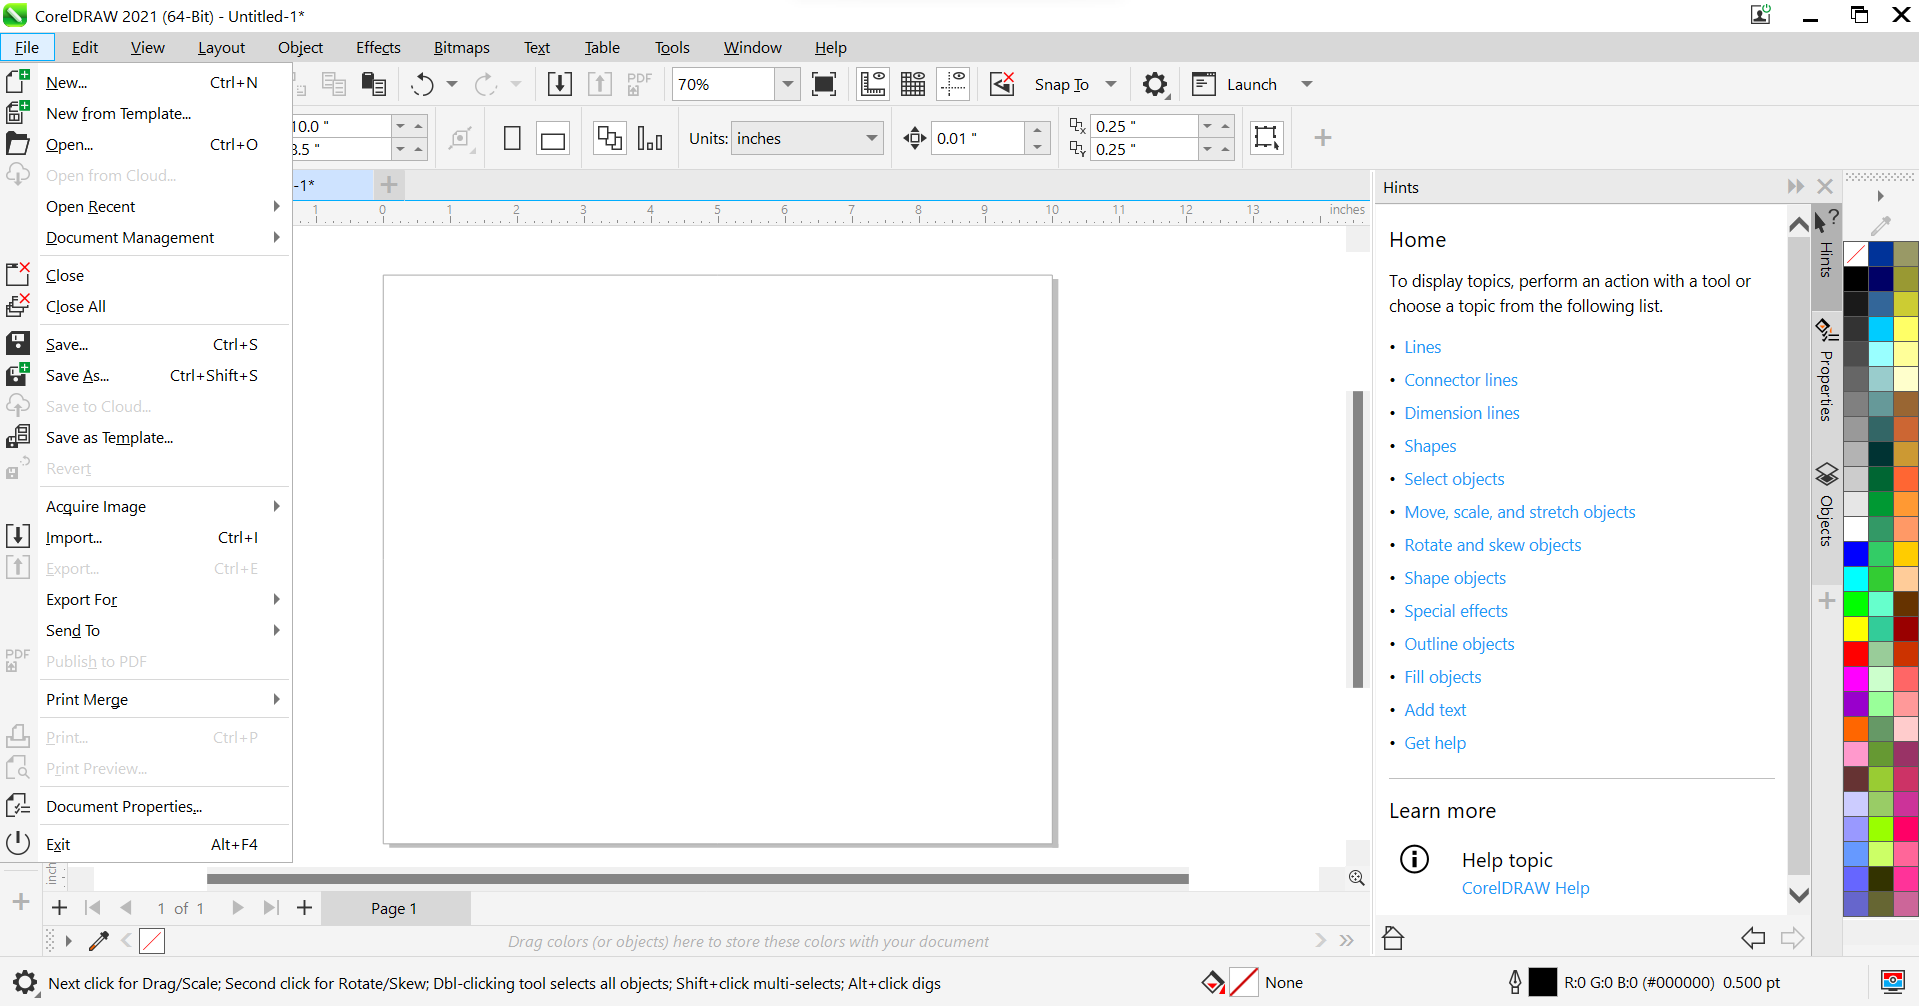
The photo is imported
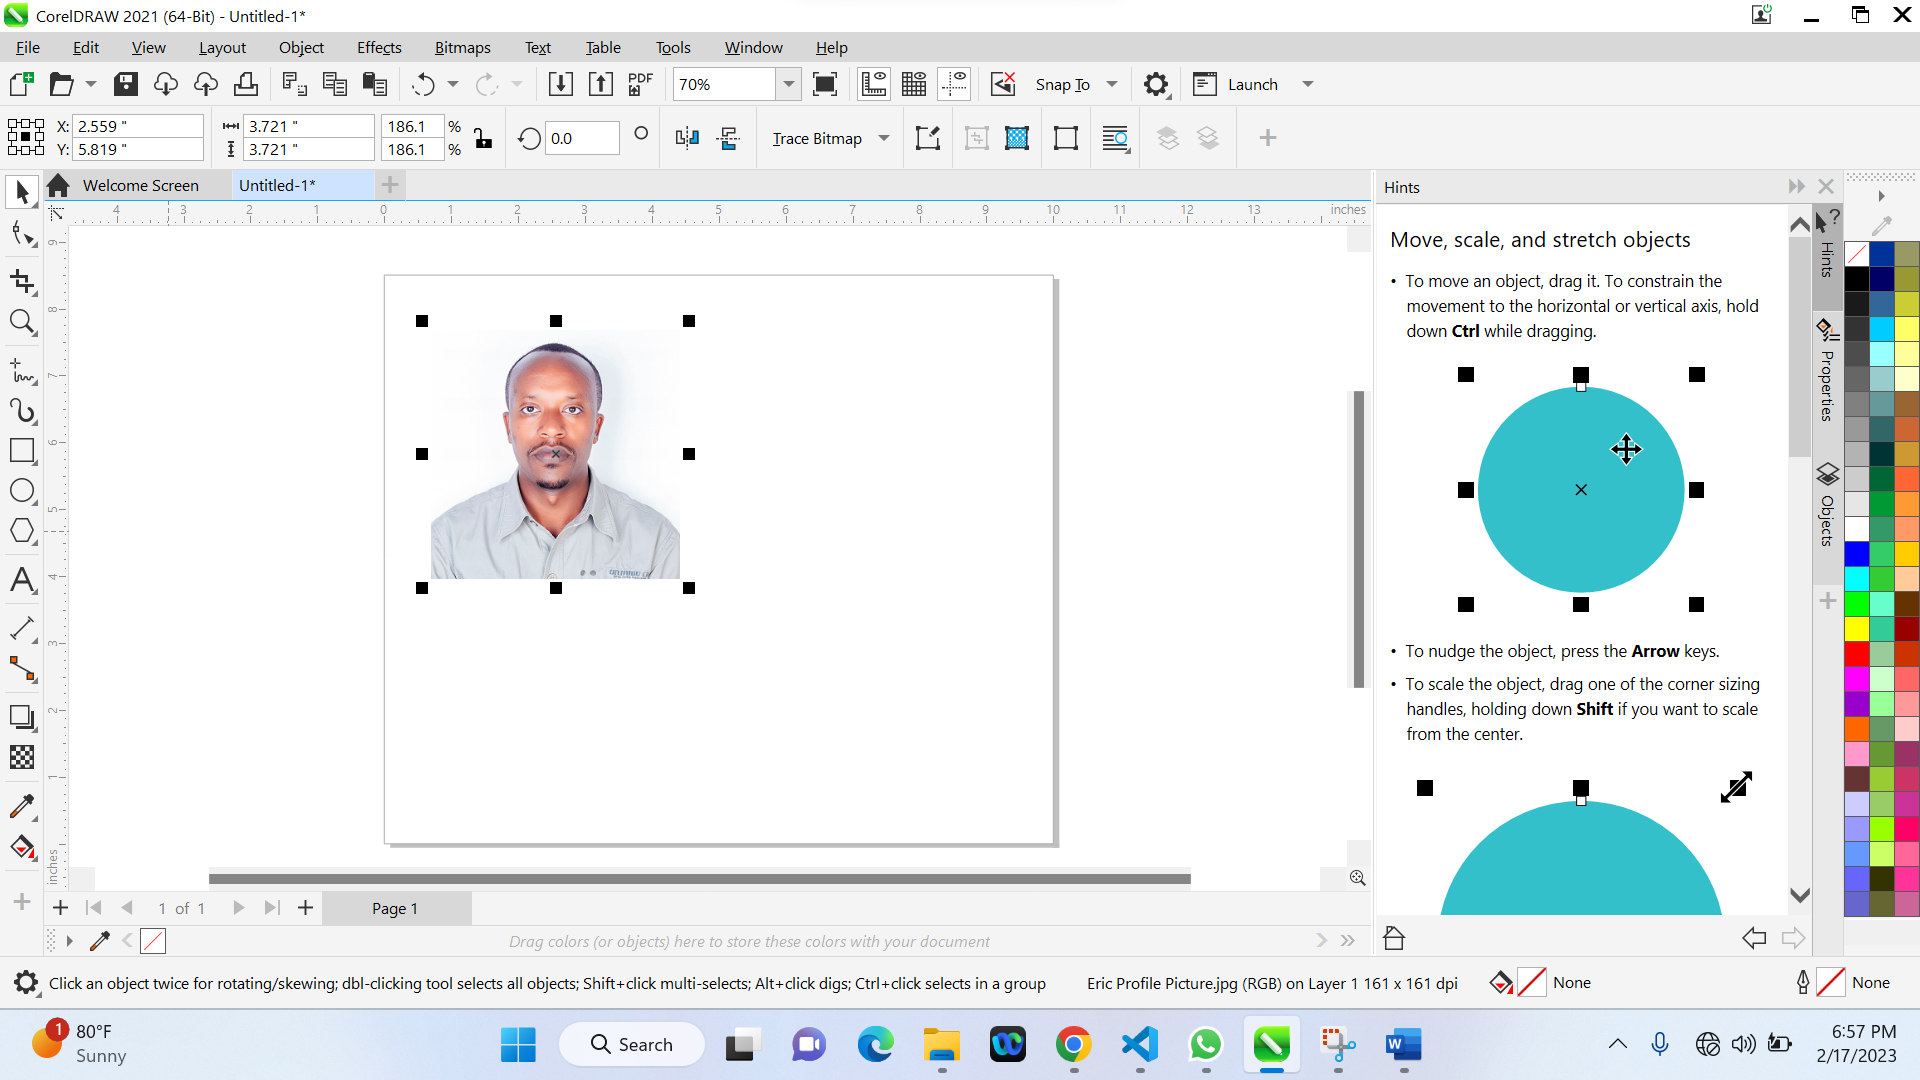
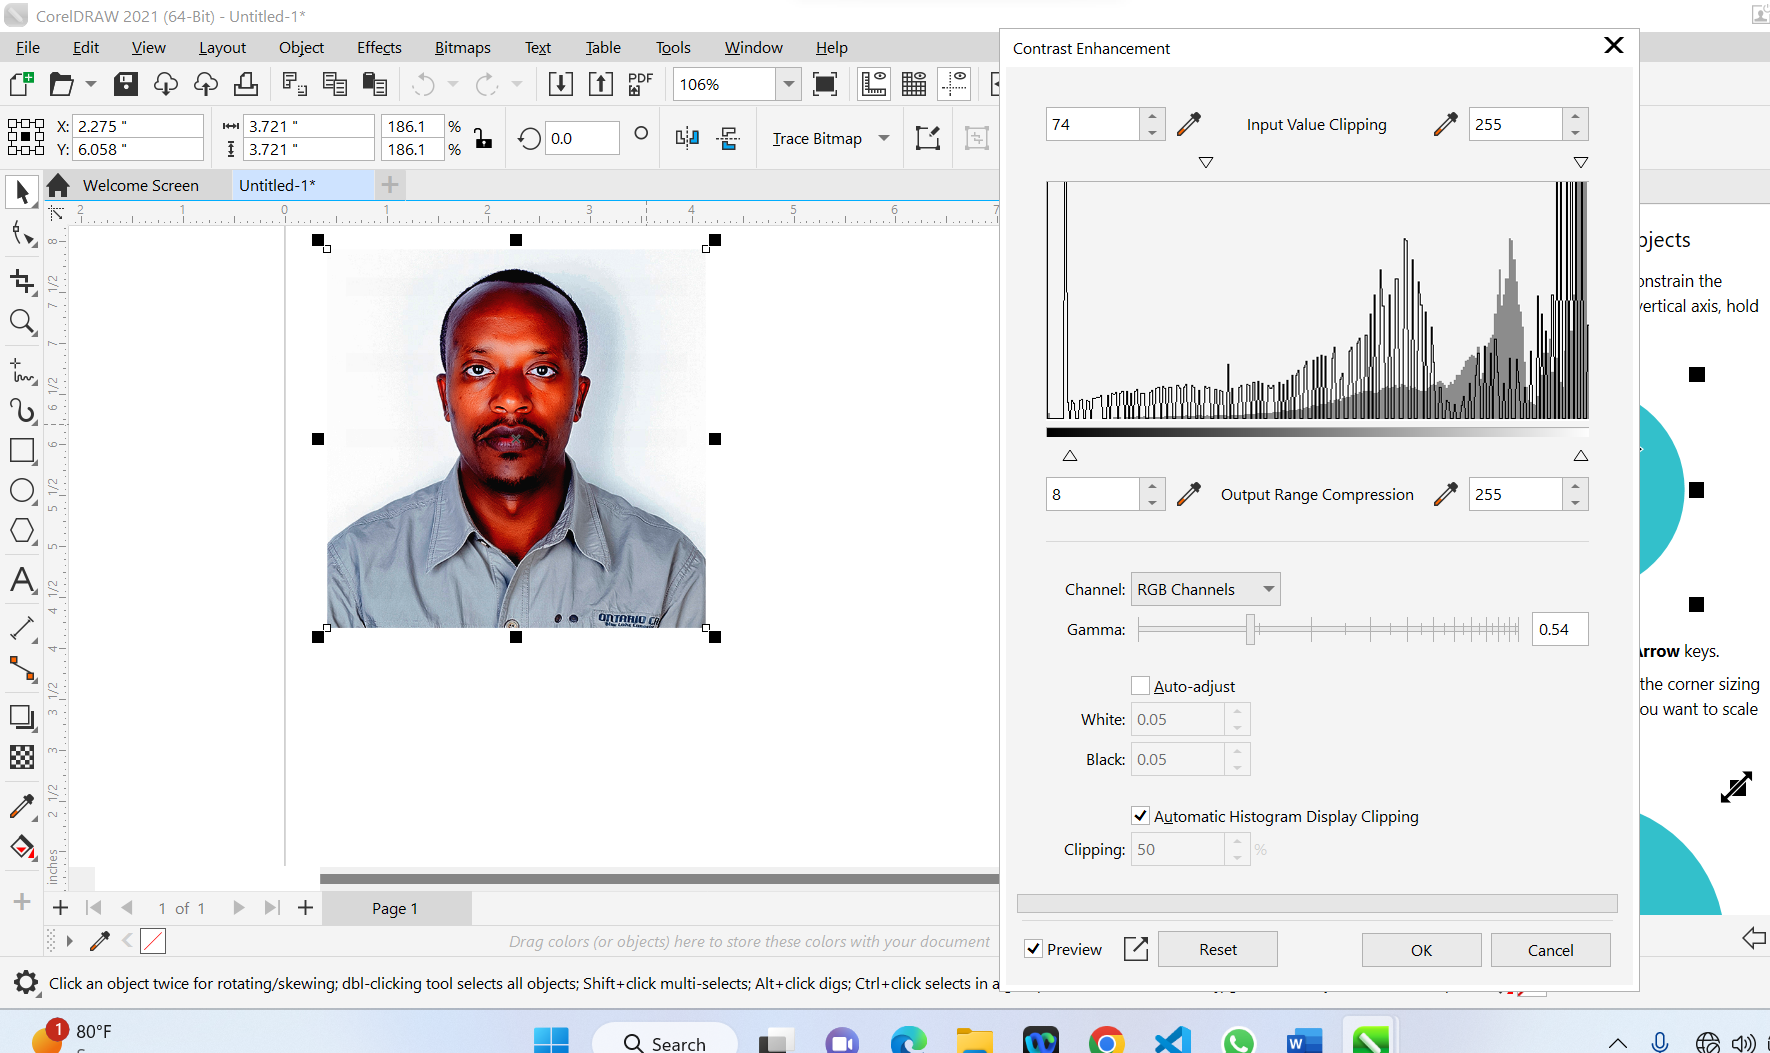
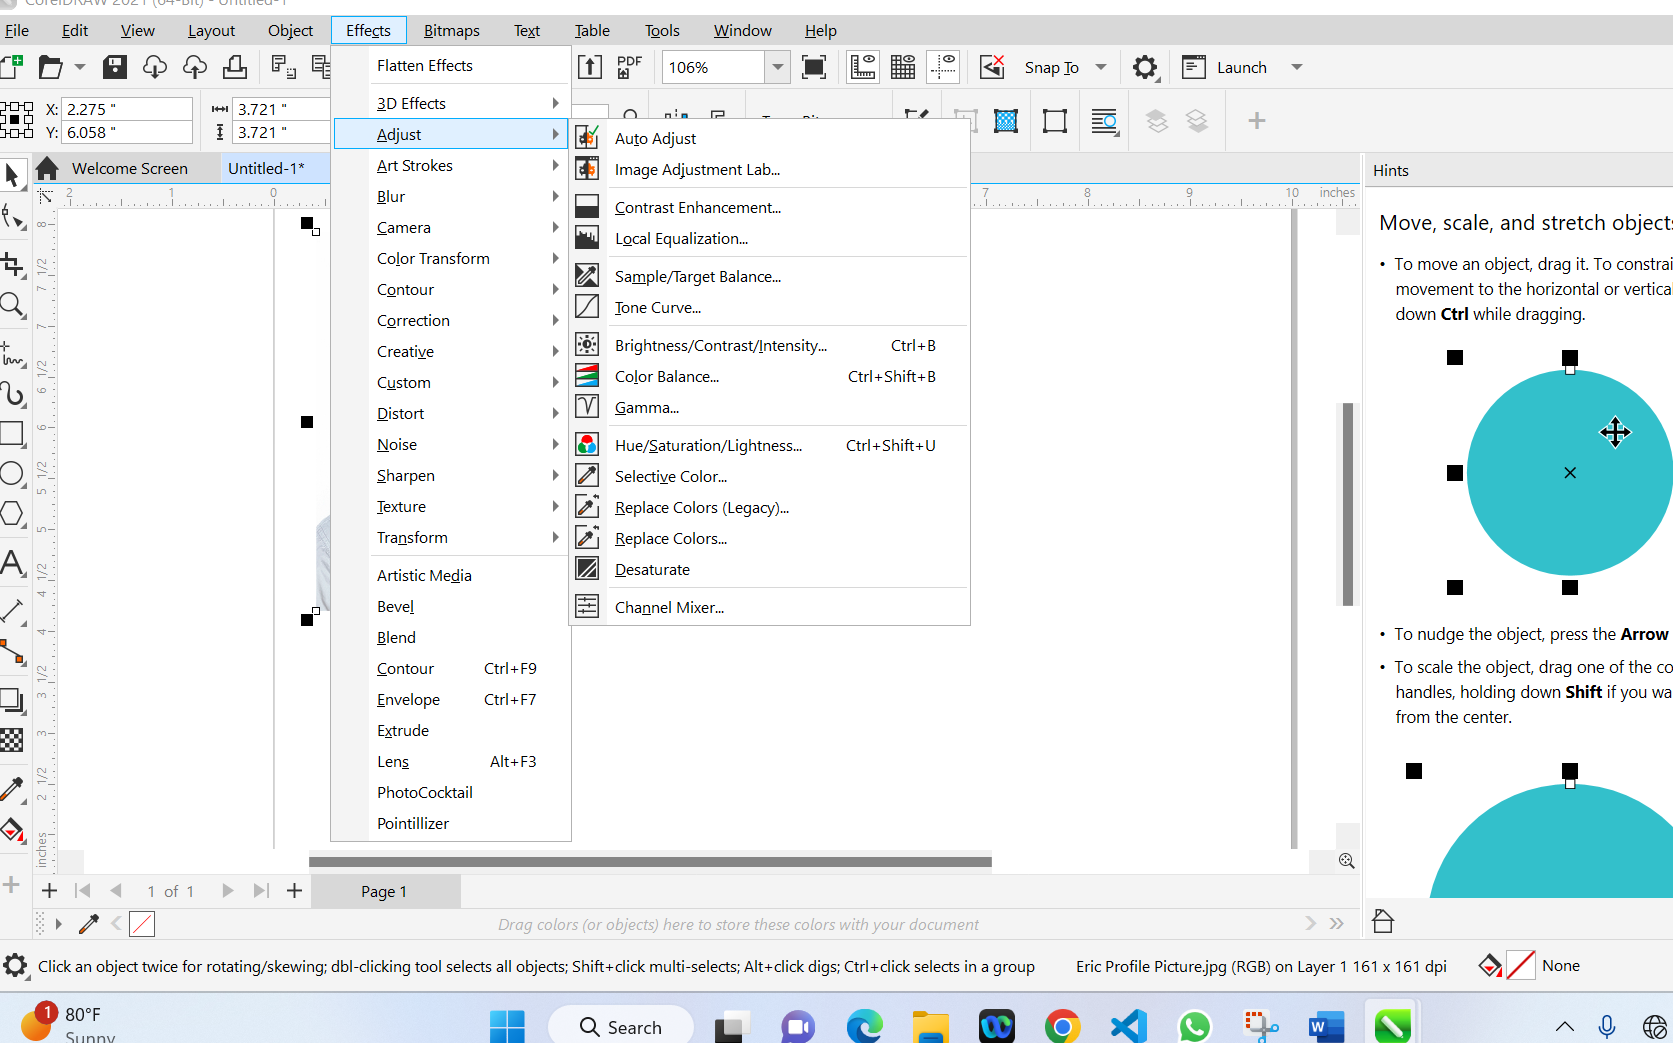
To change the photo's brightness/contrast/intensity
- - Click on EFFECTS Tab
- - Choose ADJUST
- - Choose CONTRAST ENHANCEMENT
-
See here below the resulting image
-
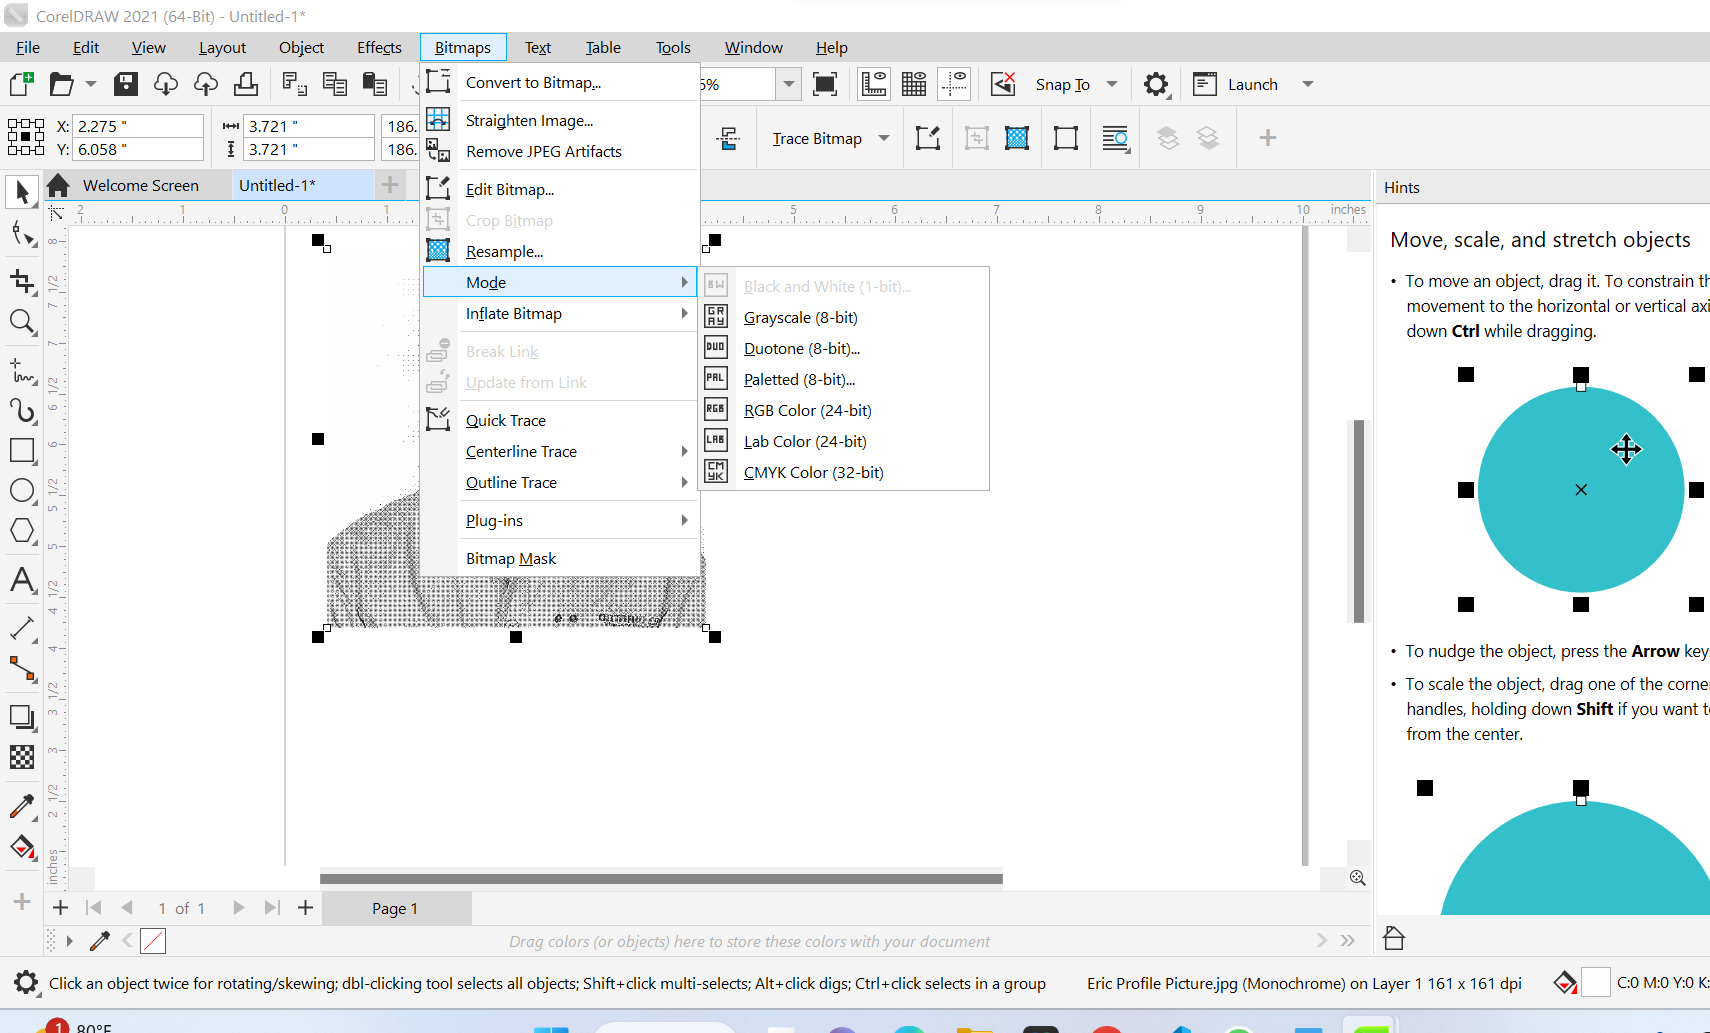
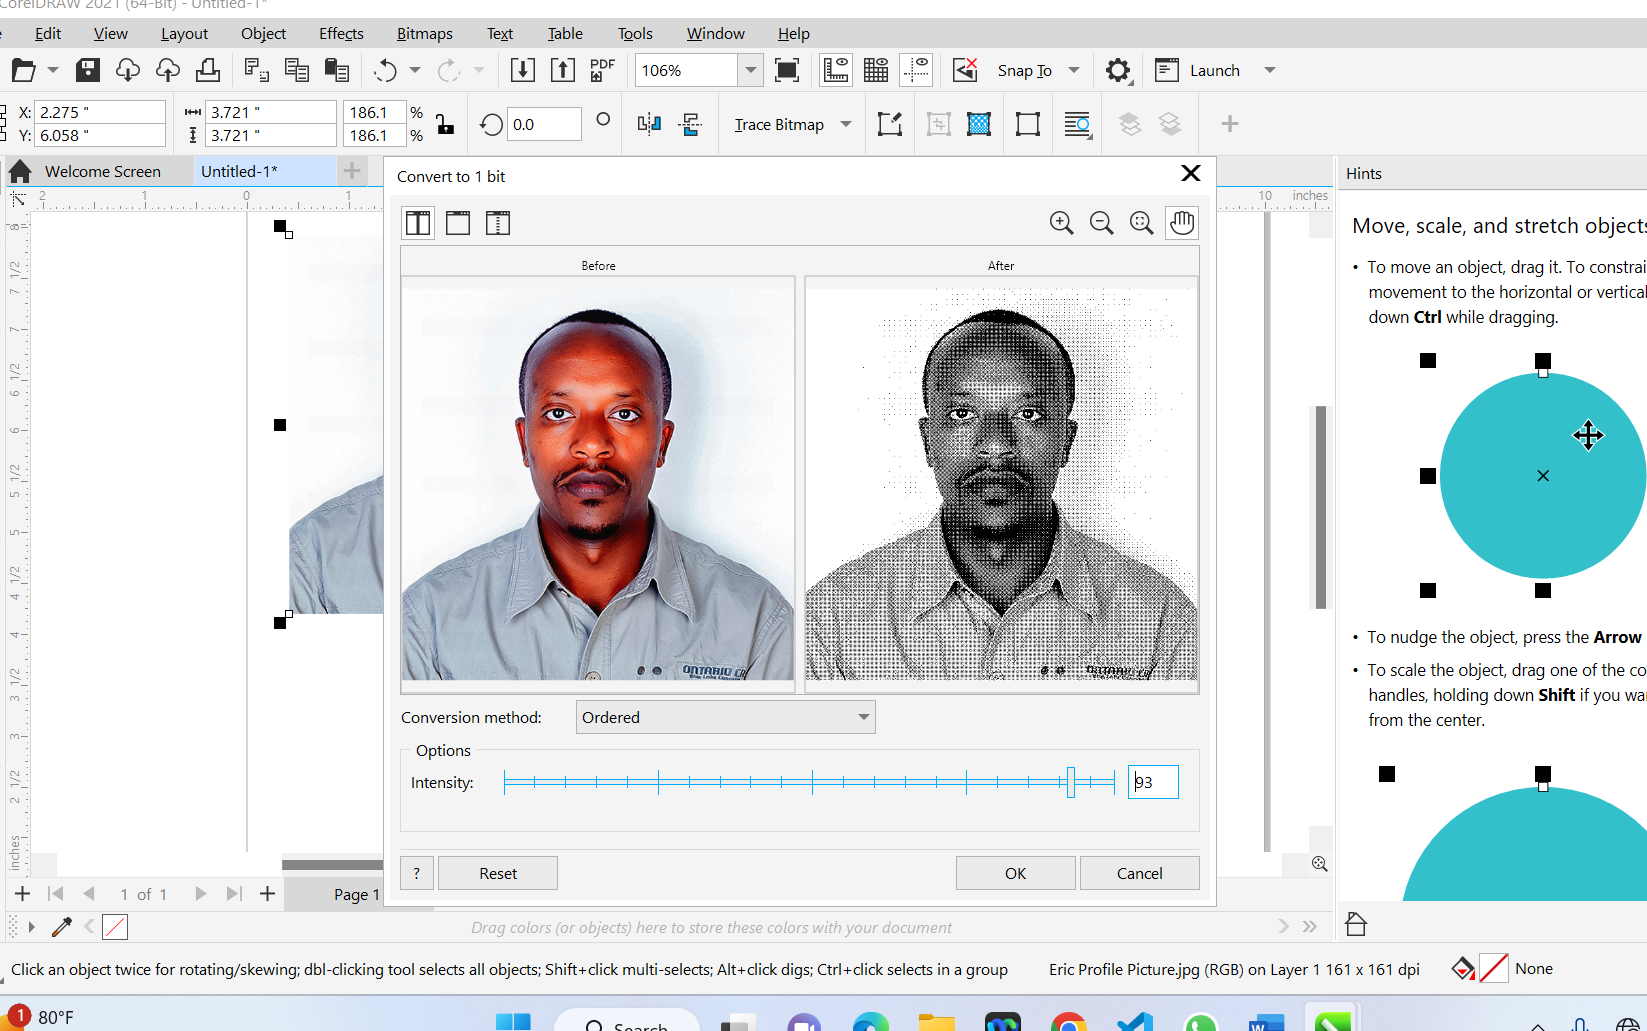
- To apply Black and White:
Click on BITMAPS Tab, choose MODE, then select Black and White
-
See here below the resulting image
3D SOFTWARE:
3D design, also known as three-dimensional design, is a type of CAD modeling that allows designers to create and manipulate objects in a three-dimensional space.
Here for the 3D design, I am going to create a virtual model of my 4G Pocket Wifi, and view it from any angle. And the model will be able to rotated, zoomed in or out, and even animated to show how it would move or function in the real world.
For the 3D design assignment I decided to draw a nut because in my project I will need to print some container connectors and it's a good idea to practice. I have almost never used a 3D software before, and I decided to try on Solidworks first because I already have it installed in my computer, and I have some experience, I had to practice and learn.
1. FreeCADFreeCAD is a free and open-source parametric 3D modeling software. It is primarily used for creating 3D designs of mechanical and engineering parts, architecture, and other objects. FreeCAD allows users to create designs from scratch or modify existing designs using a wide variety of tools and functions.
FreeCAD is designed to be customizable and extensible, so users can add new features and functionality through third-party plugins and modules. It is available for Windows, Linux, and macOS, and its user interface is available in multiple languages. FreeCAD supports various file formats for importing and exporting, including STL, STEP, IGES, and OBJ, among others.
Overall, FreeCAD is a powerful tool for creating 3D models and is a popular choice among engineers, designers, architects, and other professionals who require 3D modeling software.
Below here I am going to useFree CAD
I started by opening document
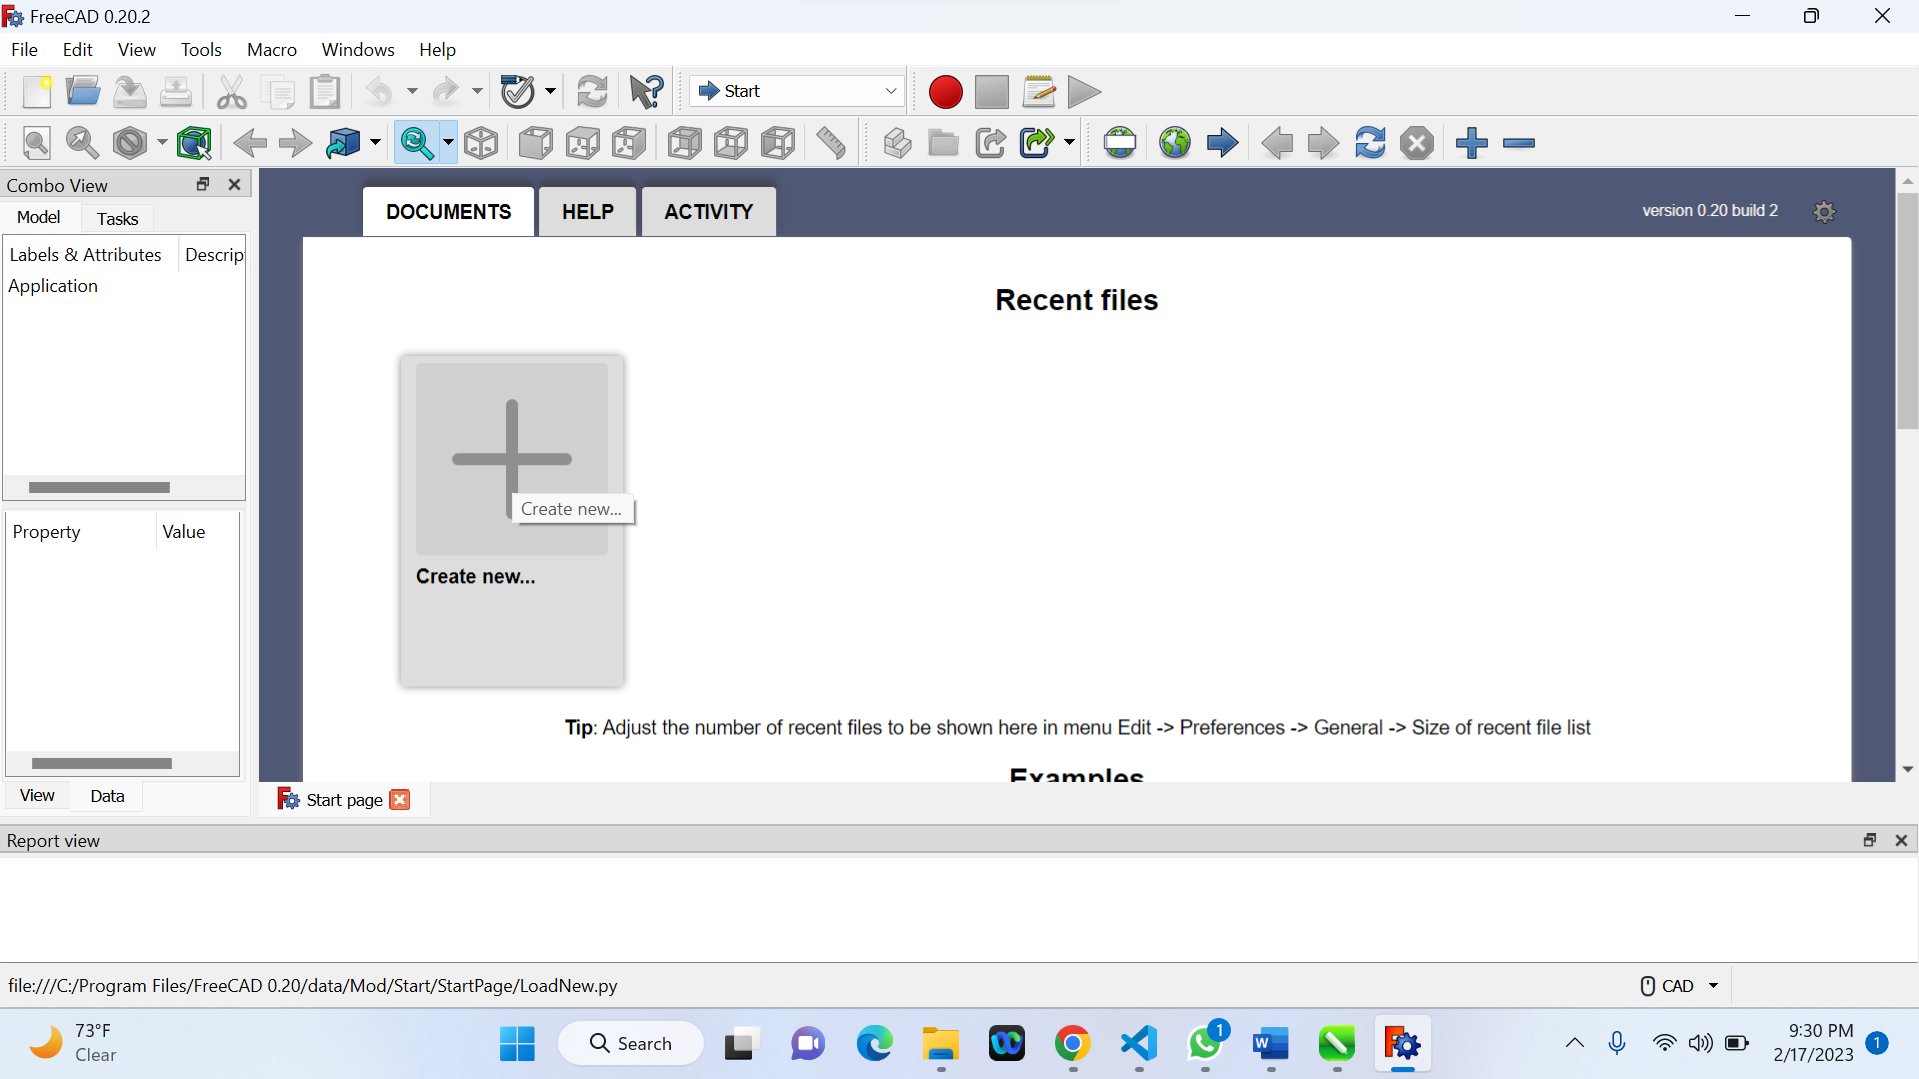
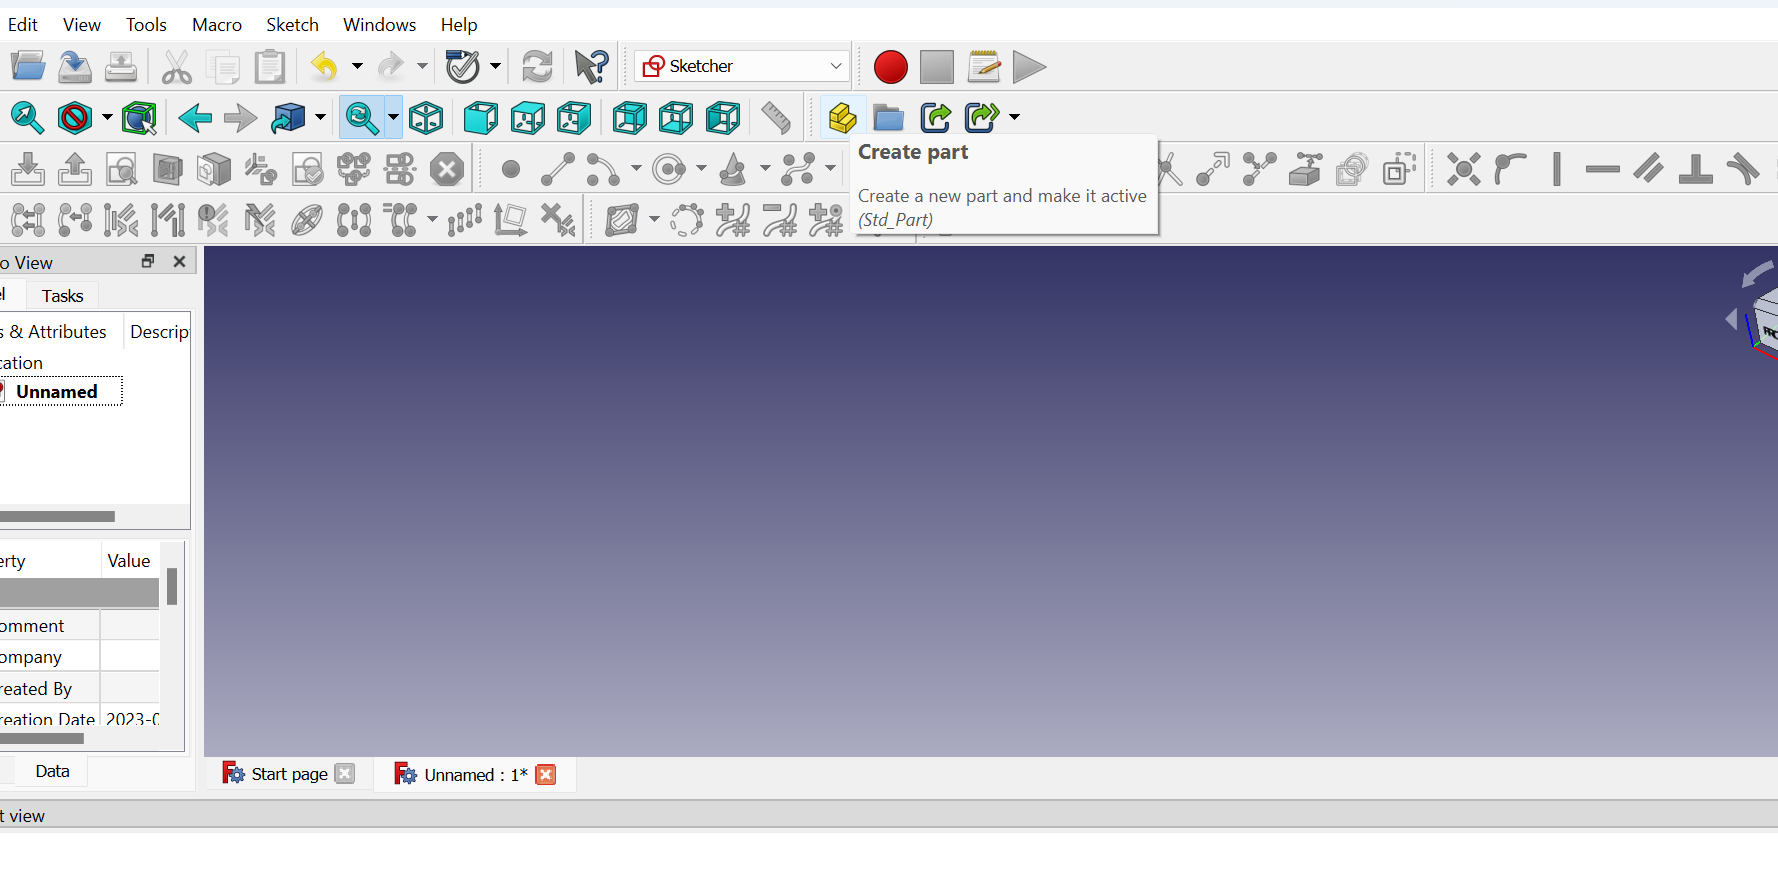
Choosing parts
Chosing plan (X )
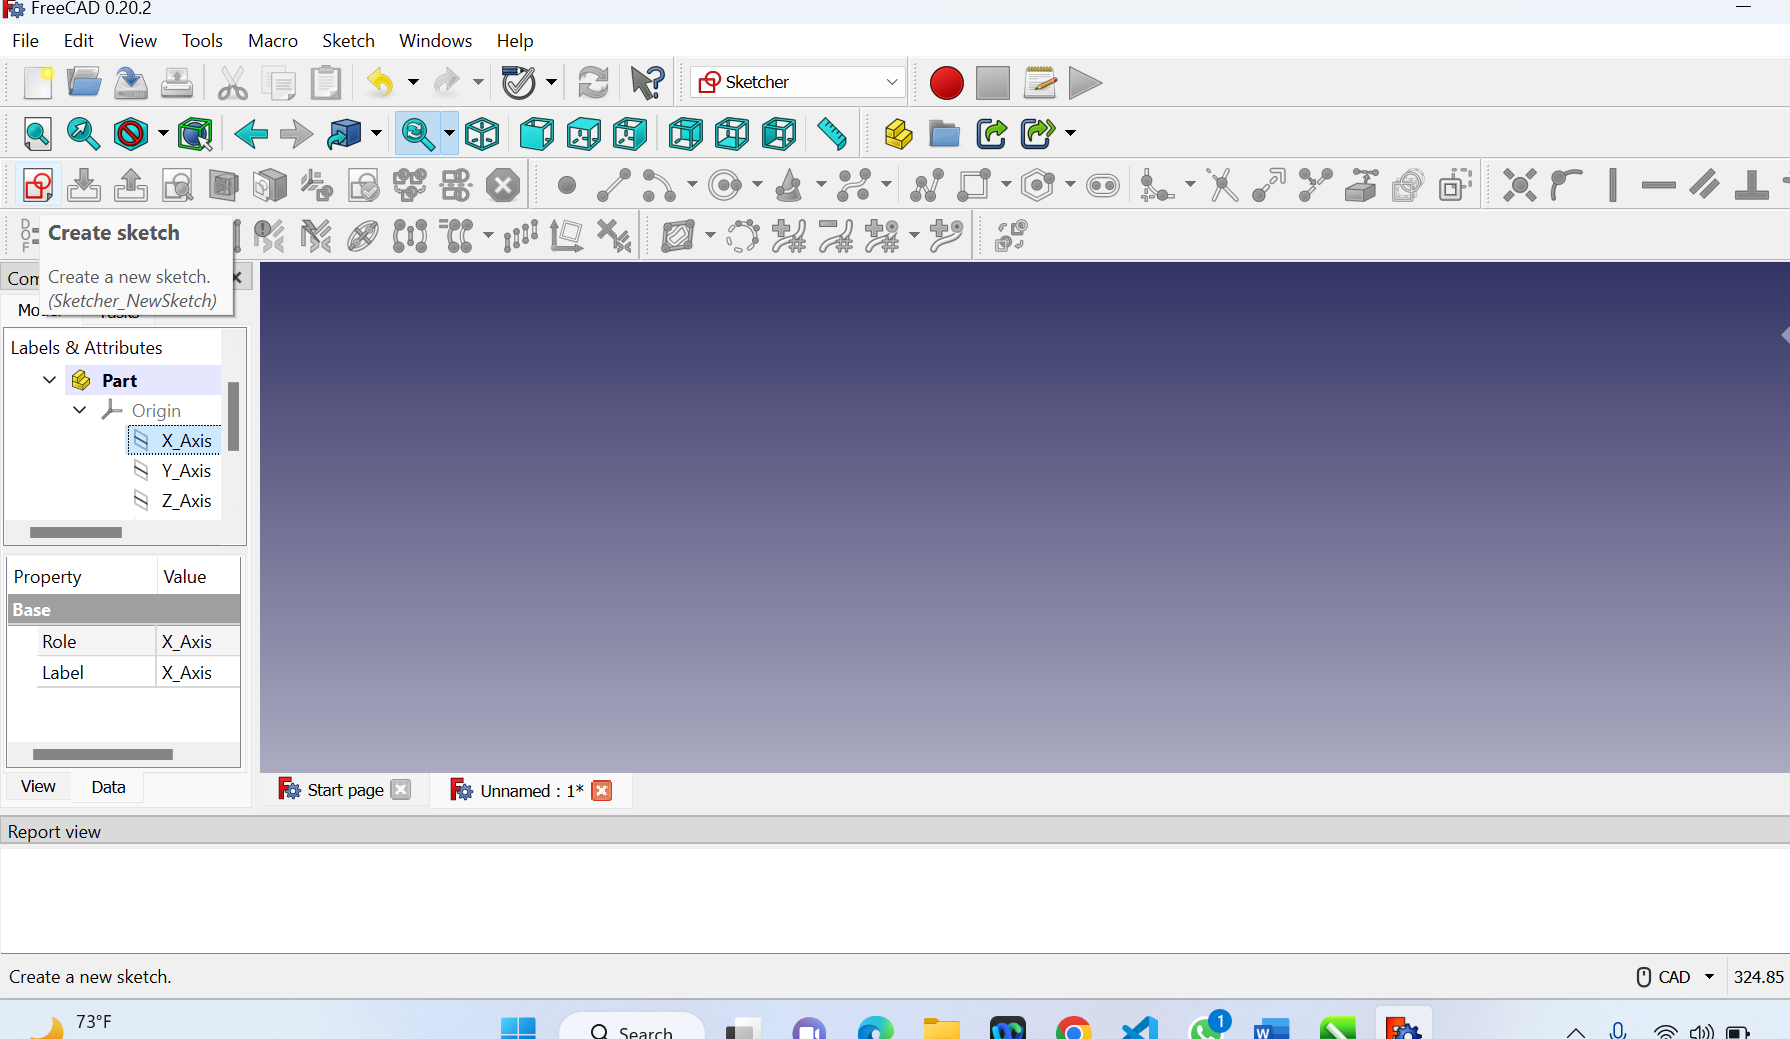
Creating sketch (2D)
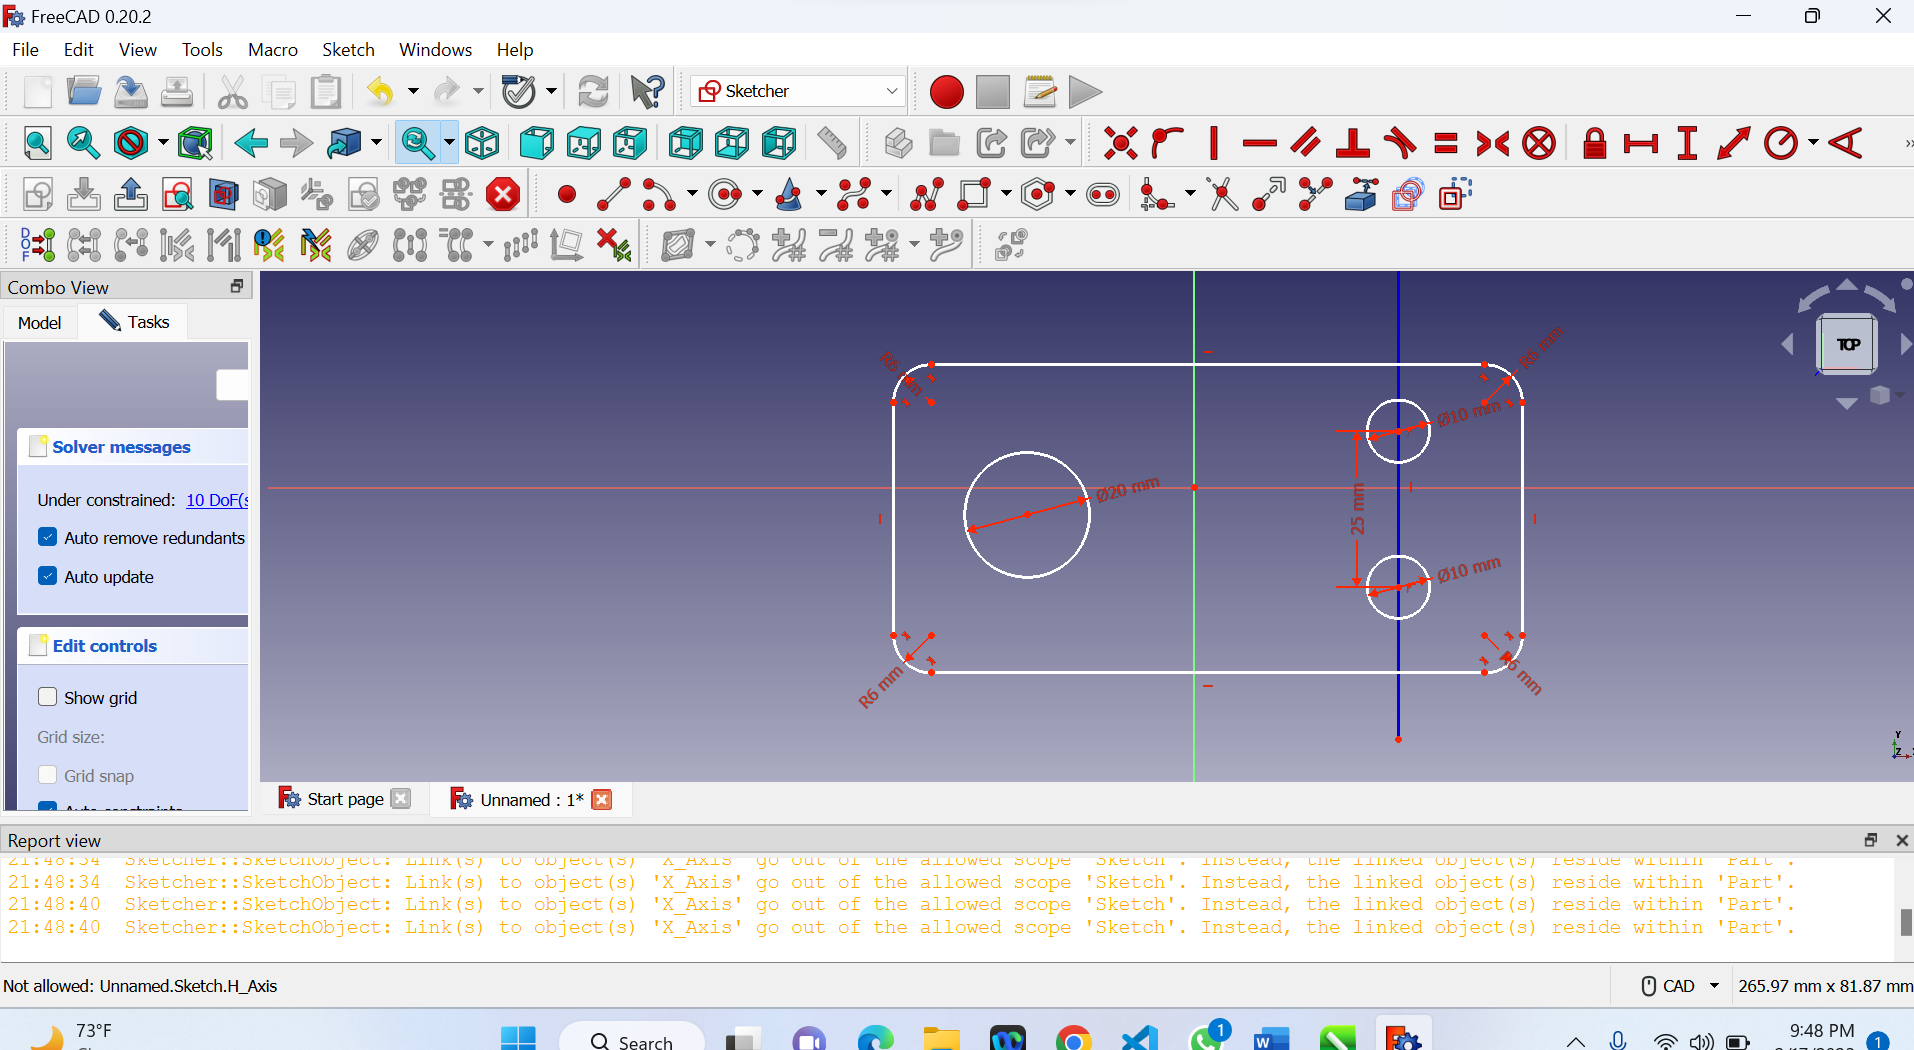
Parts
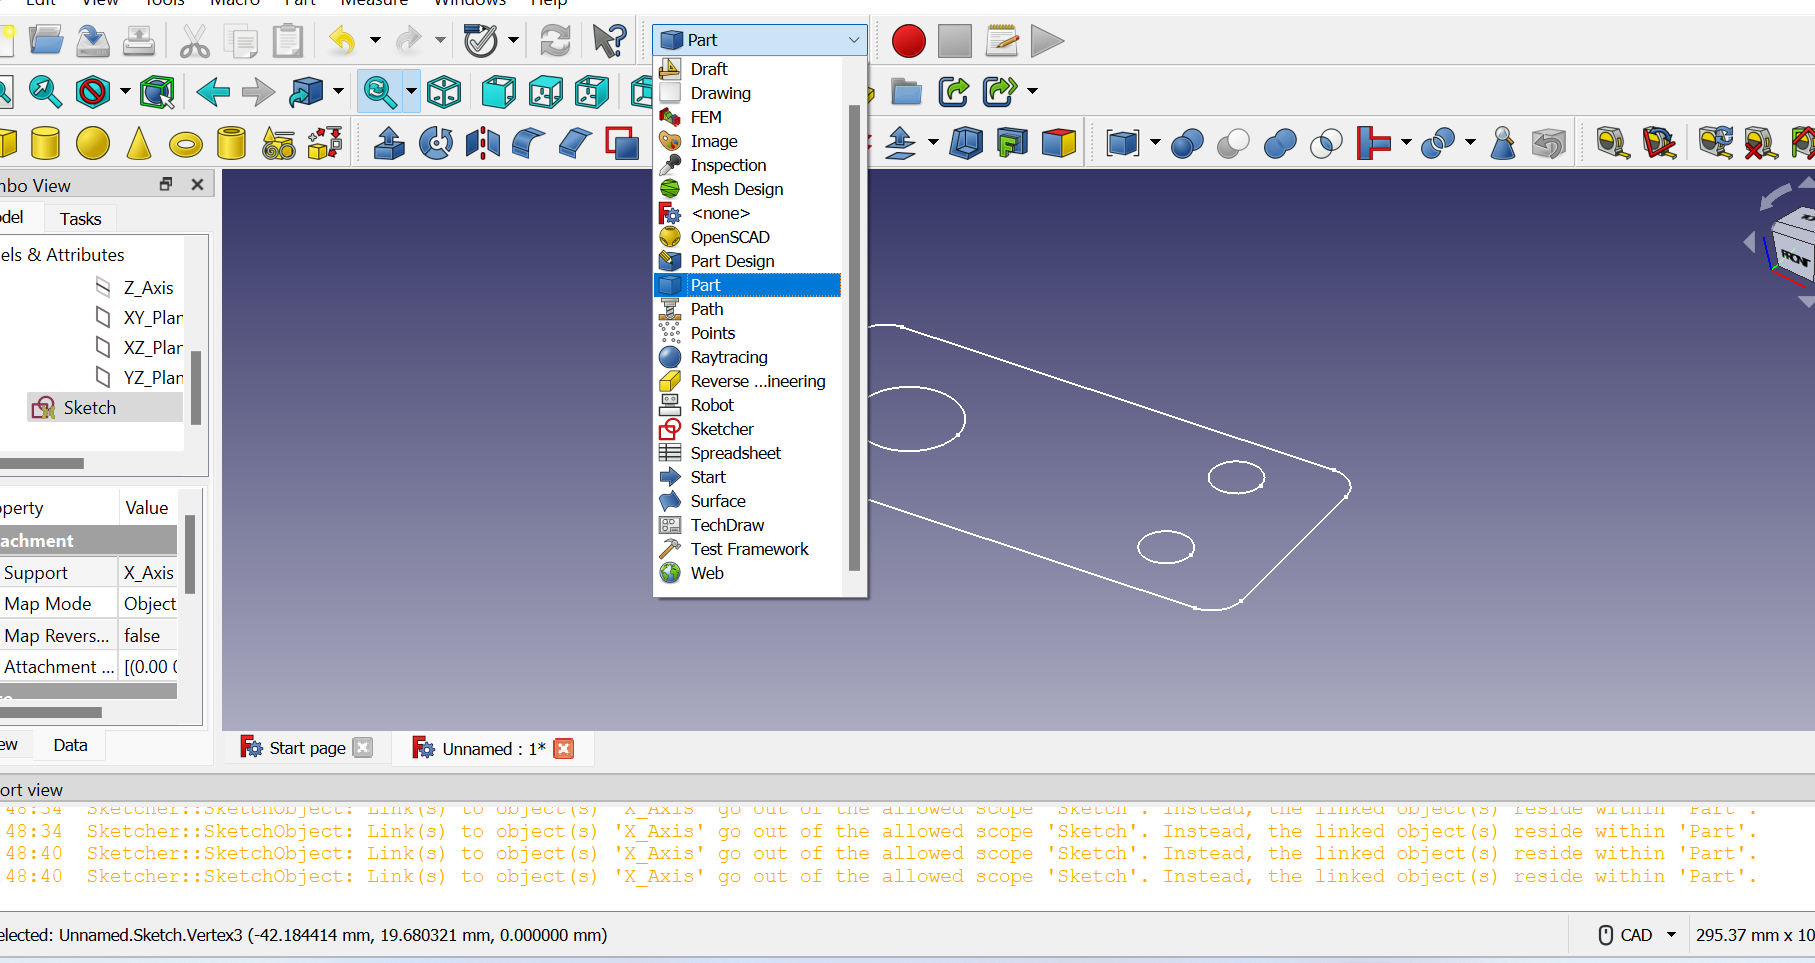
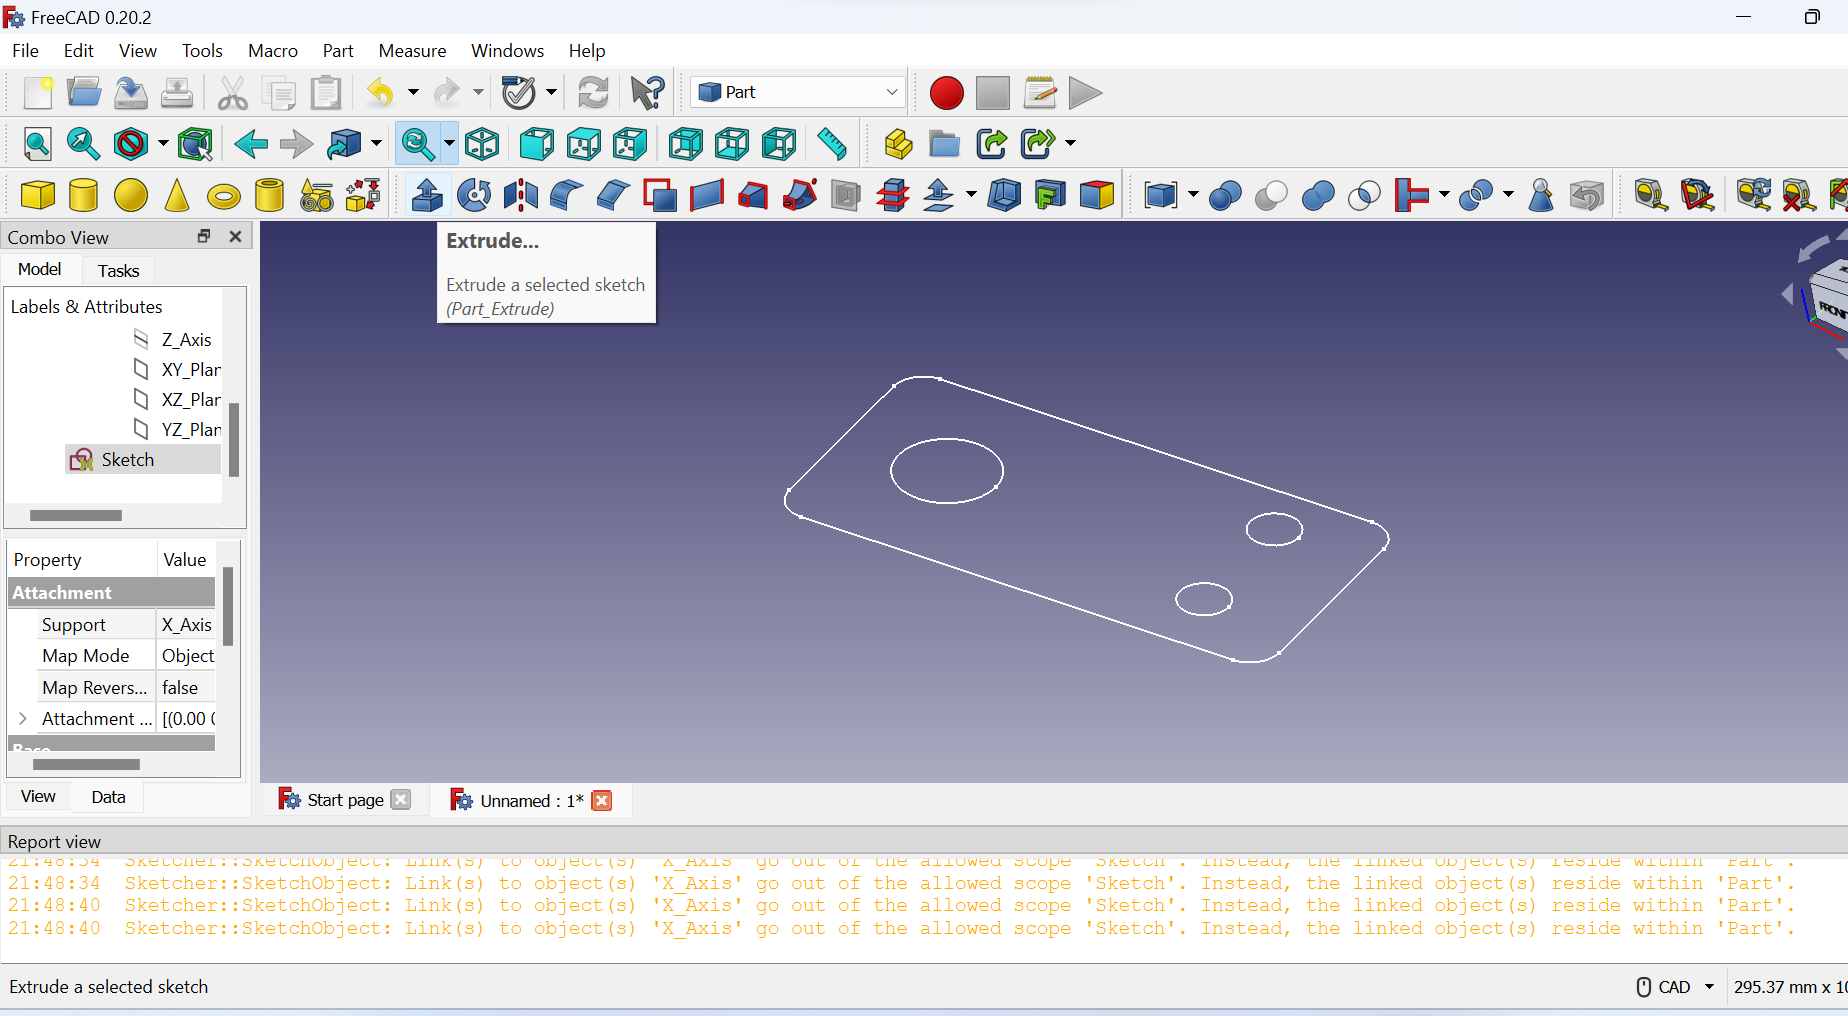
Extruding from 2D into 3D
3D Model after extrude
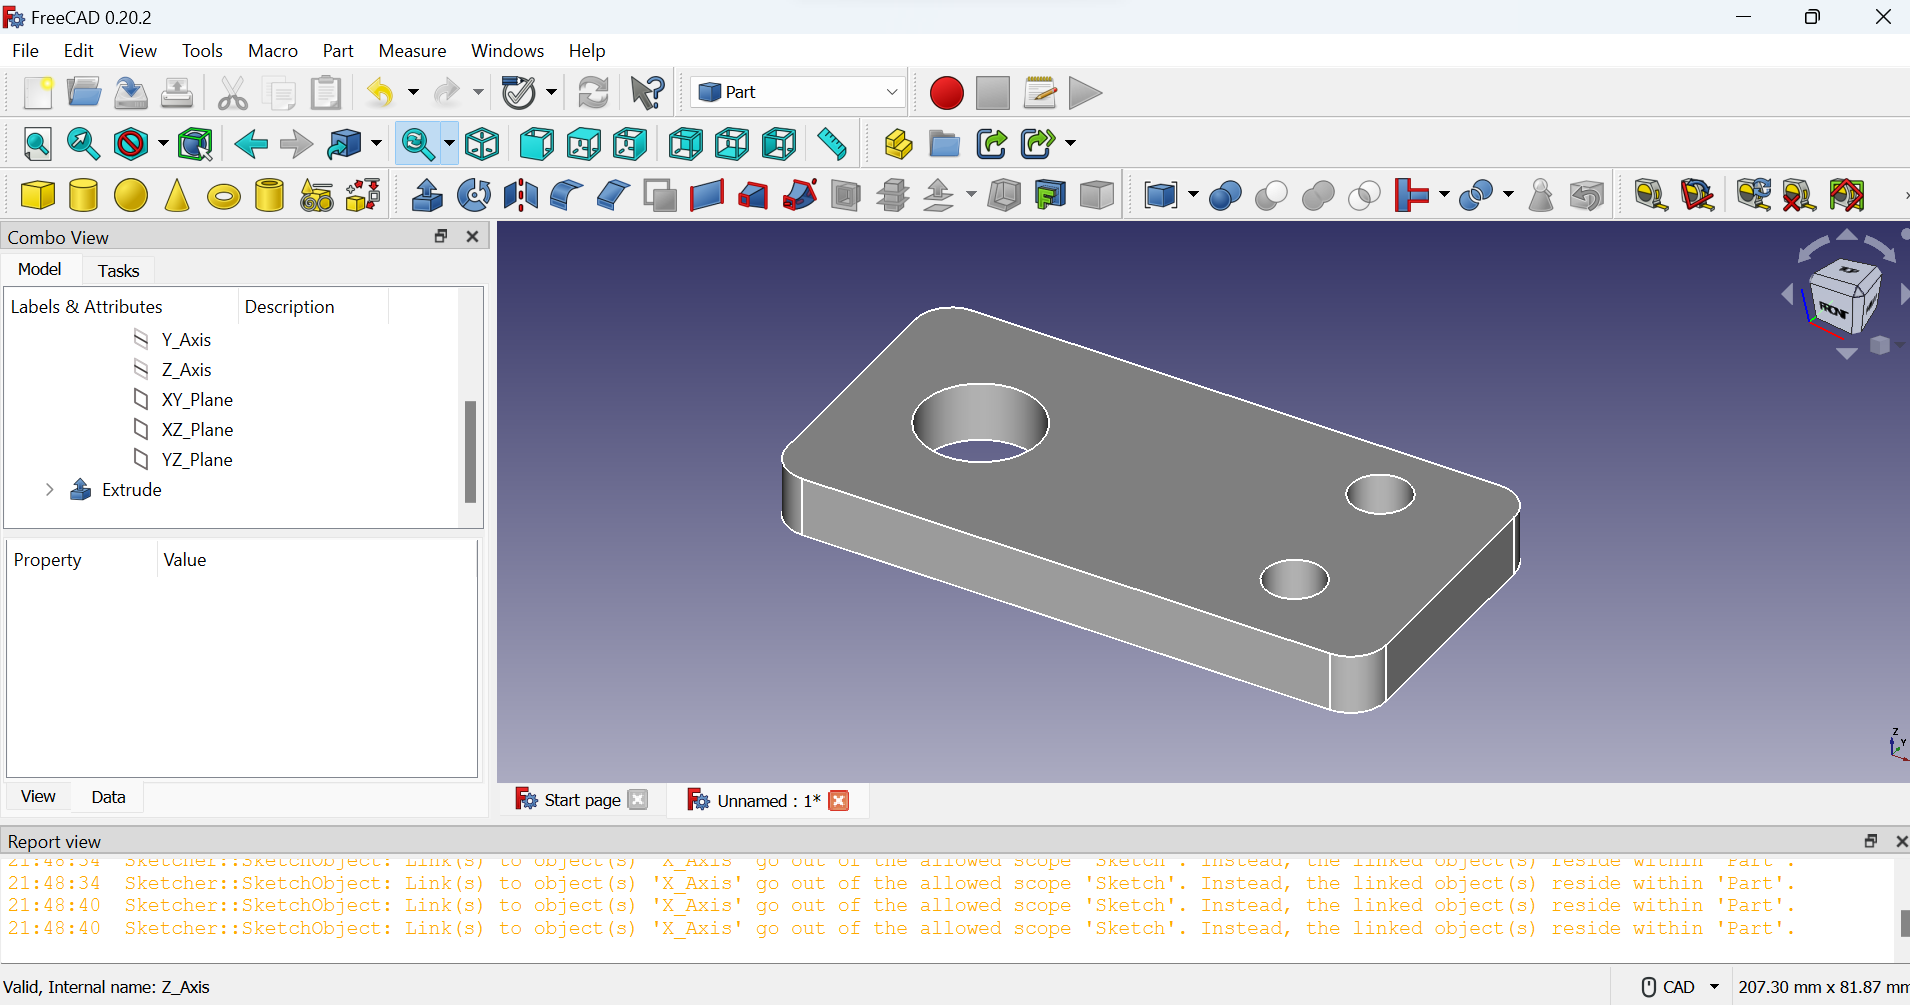
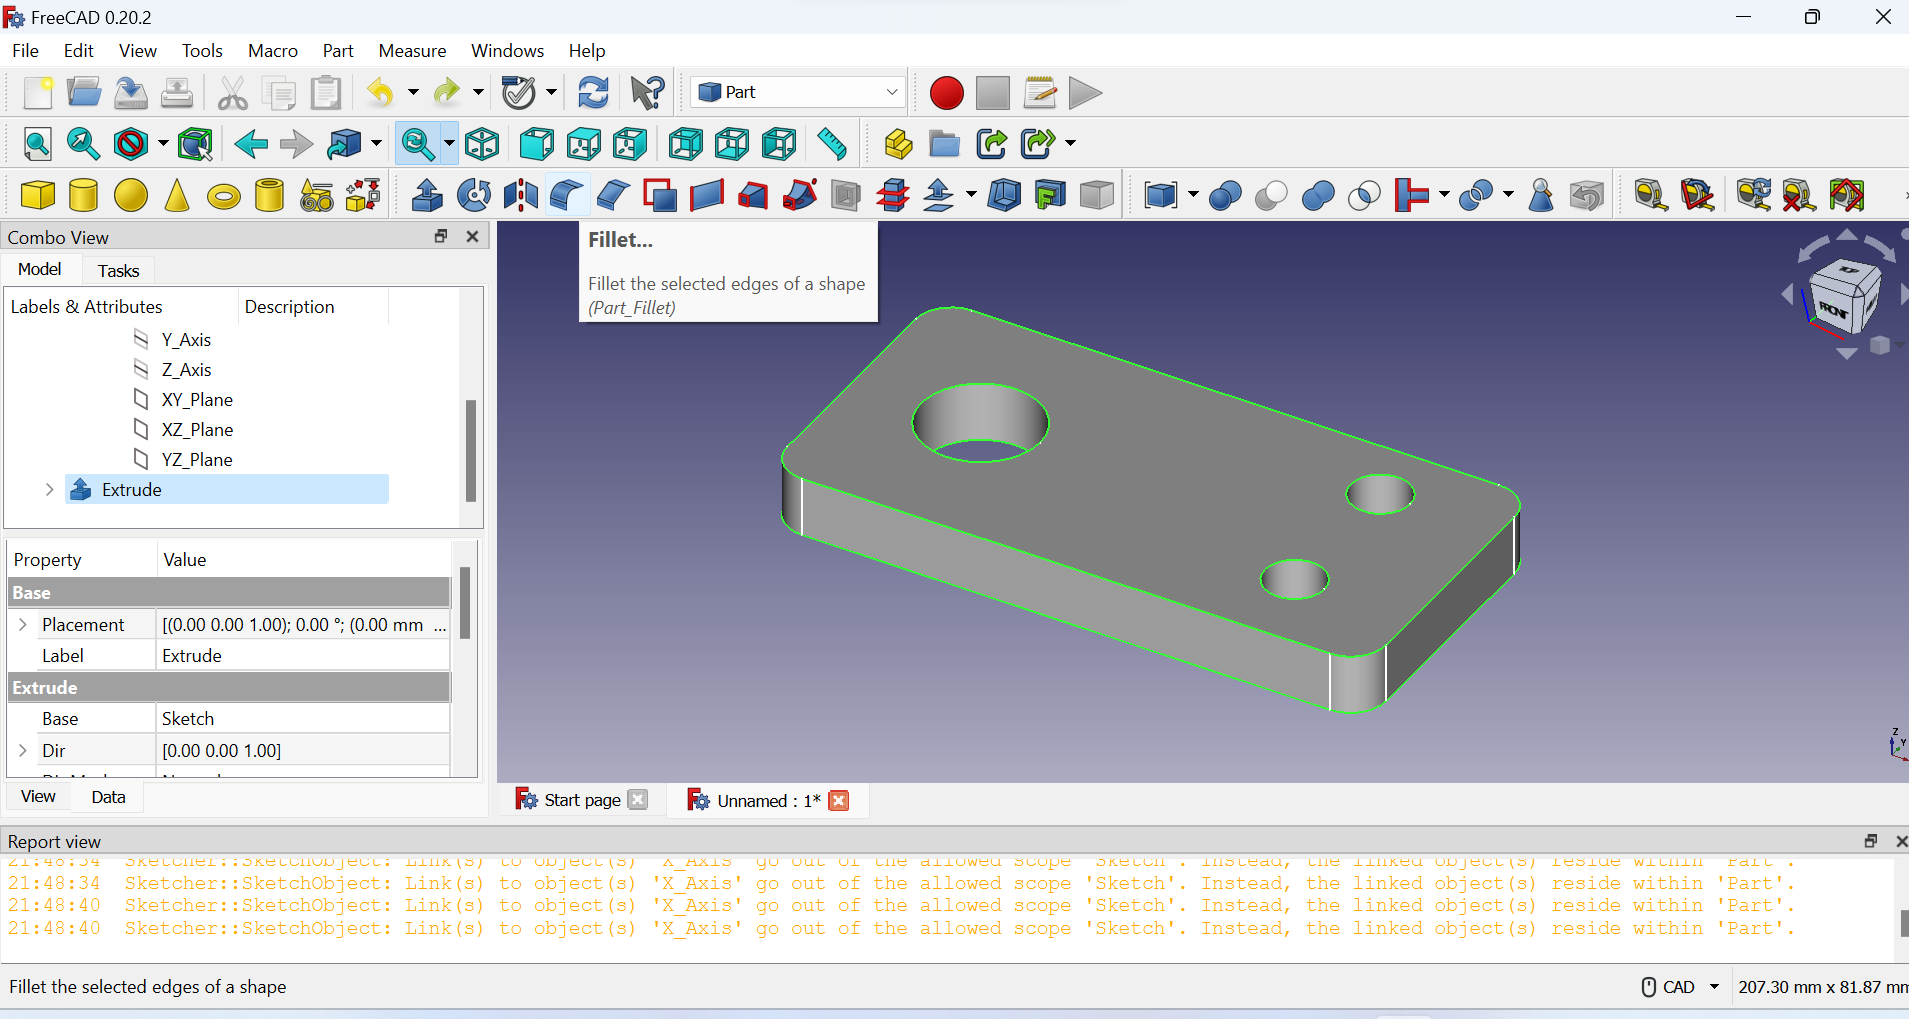
Fillet in 3D
 2. Solidworks
Solidworks is a 3D computer-aided design (CAD) software used to create, model, and analyze mechanical designs. It is used in a variety of industries such as aerospace, automotive, consumer products, and medical devices to develop and design components and assemblies.
With Solidworks, users can create 3D models of parts and assemblies using various tools, including sketching, extruding, lofting, and sweeping. These models can be used to test the fit and function of designs before they are manufactured, and the software provides tools to analyze the performance of the designs, such as stress analysis, motion simulation, and fluid flow simulation.
Solidworks is known for its user-friendly interface and intuitive tools. It includes a wide range of features, including parametric modeling, which allows users to easily modify and update designs, as well as tools for creating detailed engineering drawings with options for specifying tolerances, surface finishes, and other manufacturing requirements.
Overall, Solidworks is a powerful 3D software used for designing and modeling mechanical parts and assemblies, and for performing advanced engineering analysis on these designs.
Below here I am going to use Solidworks
I started by opening document
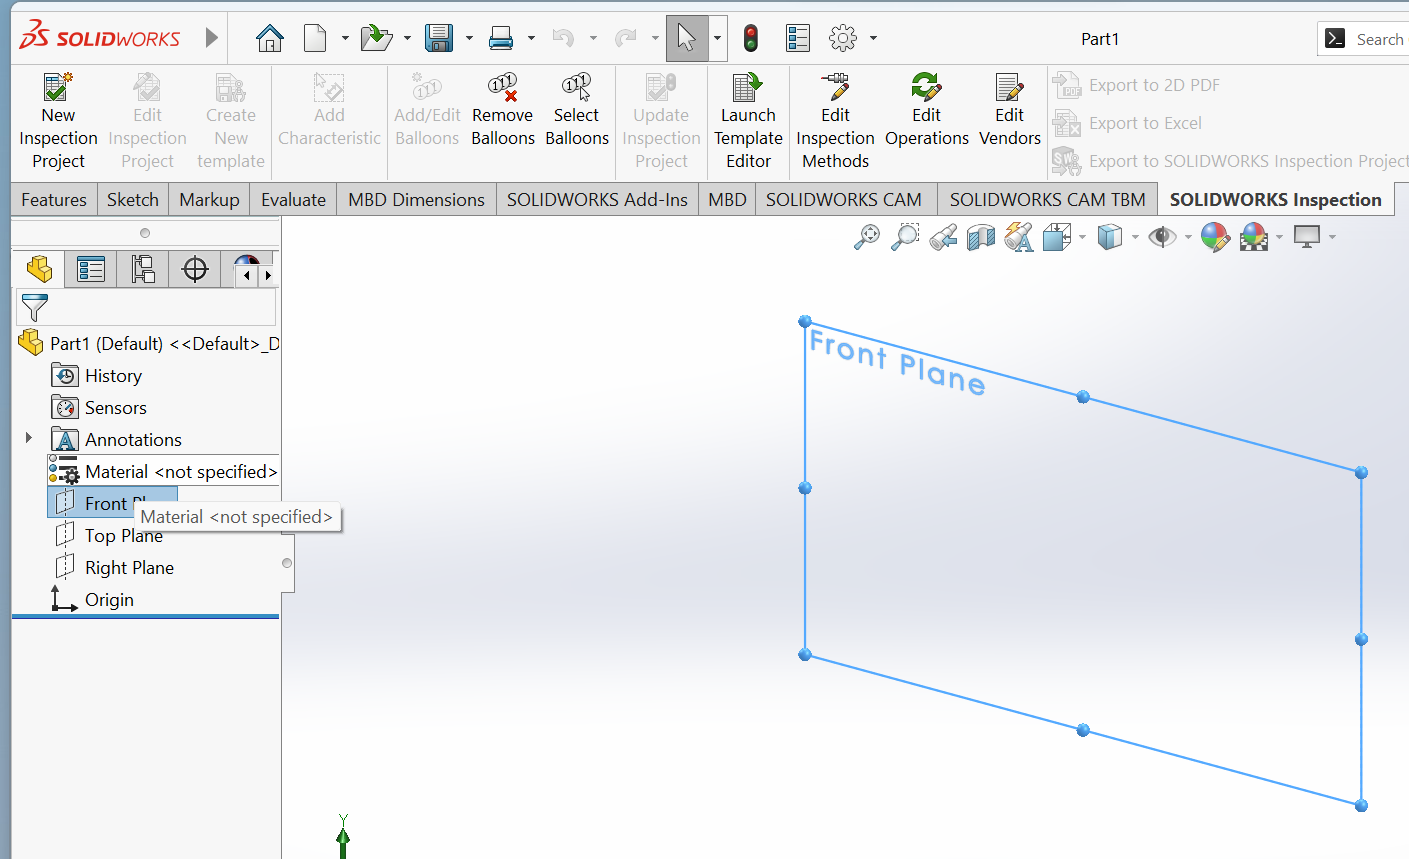
Right-click Plane, and open New Sketch
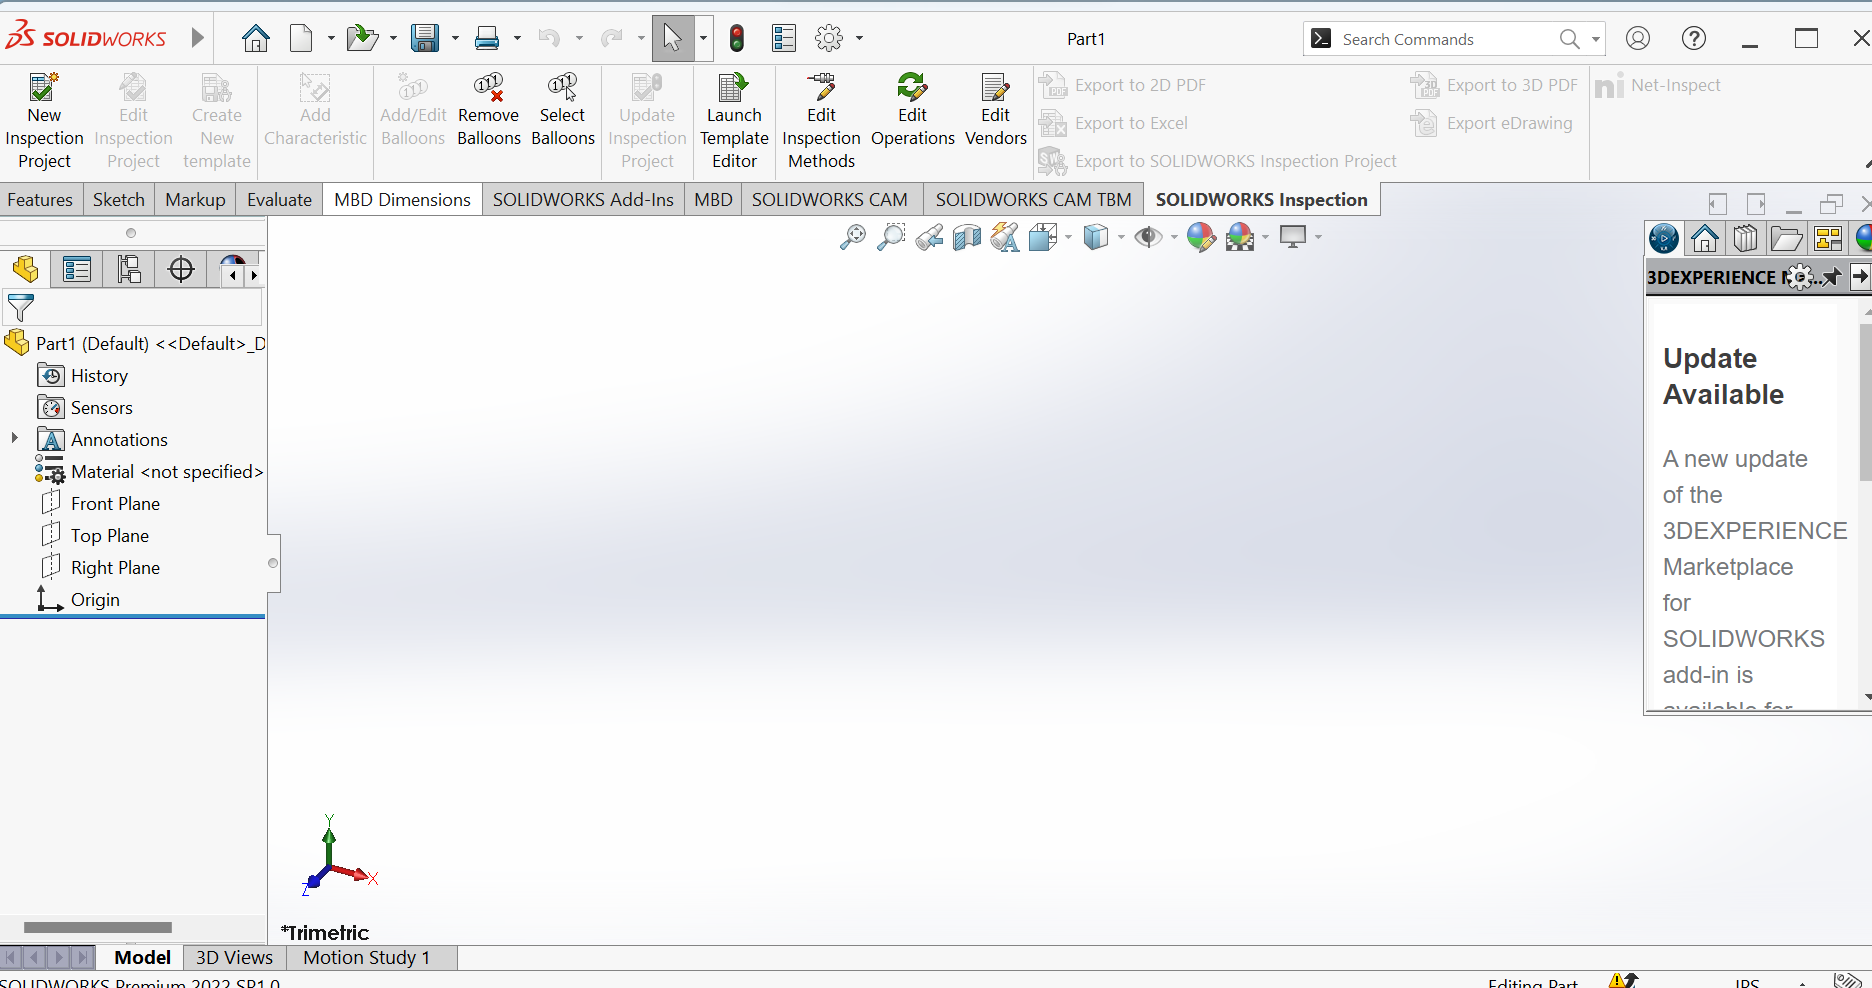
Opened Sketch
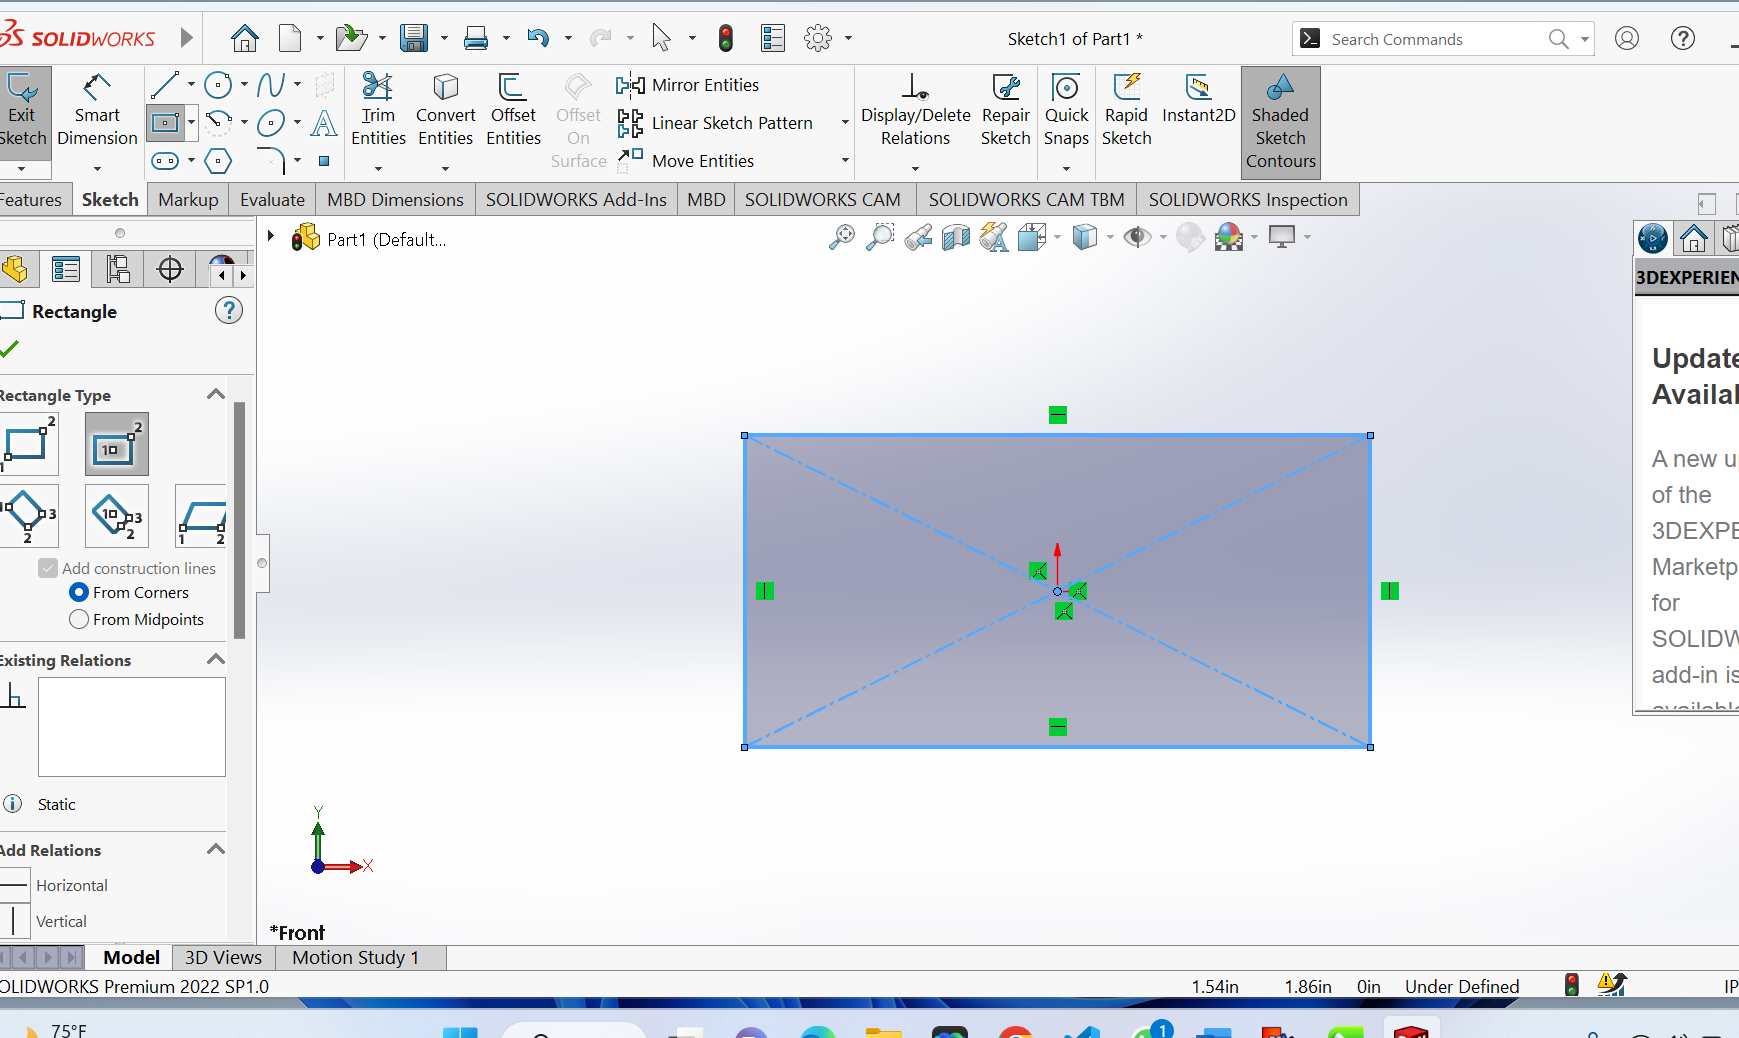
Editing sketch after applying setting dimensions
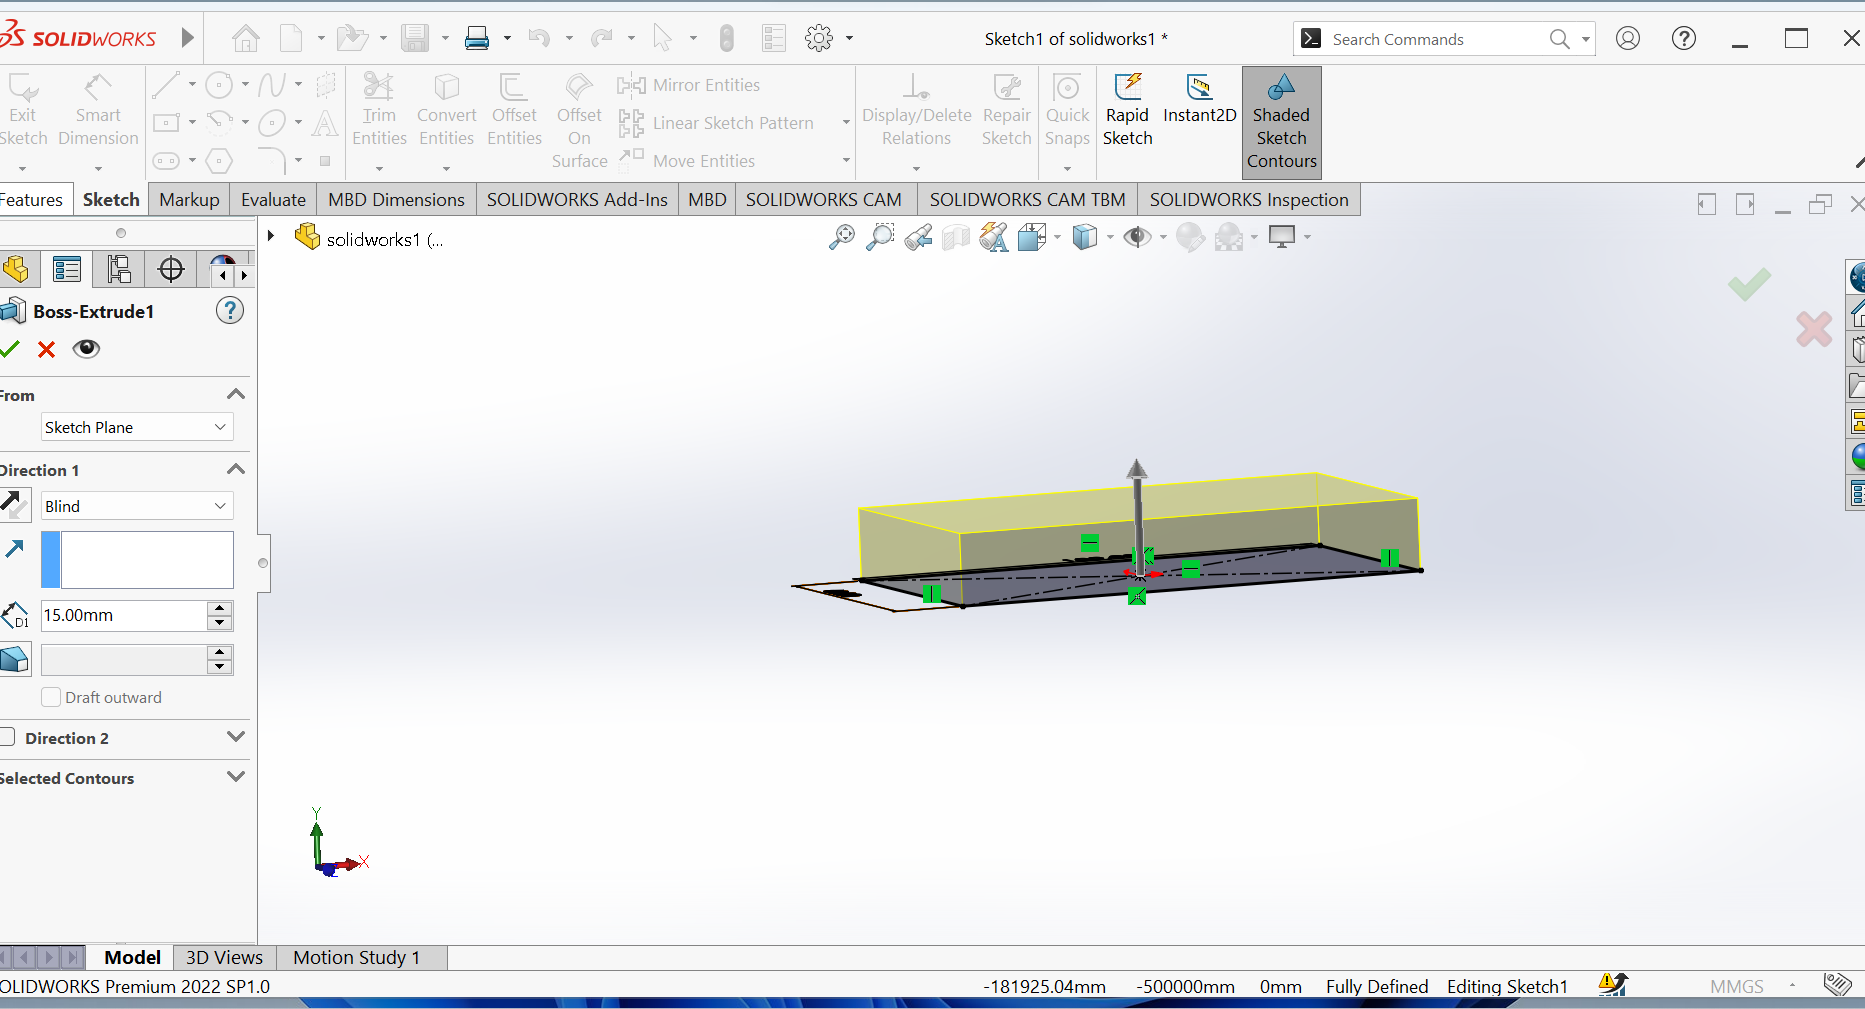
Extruding

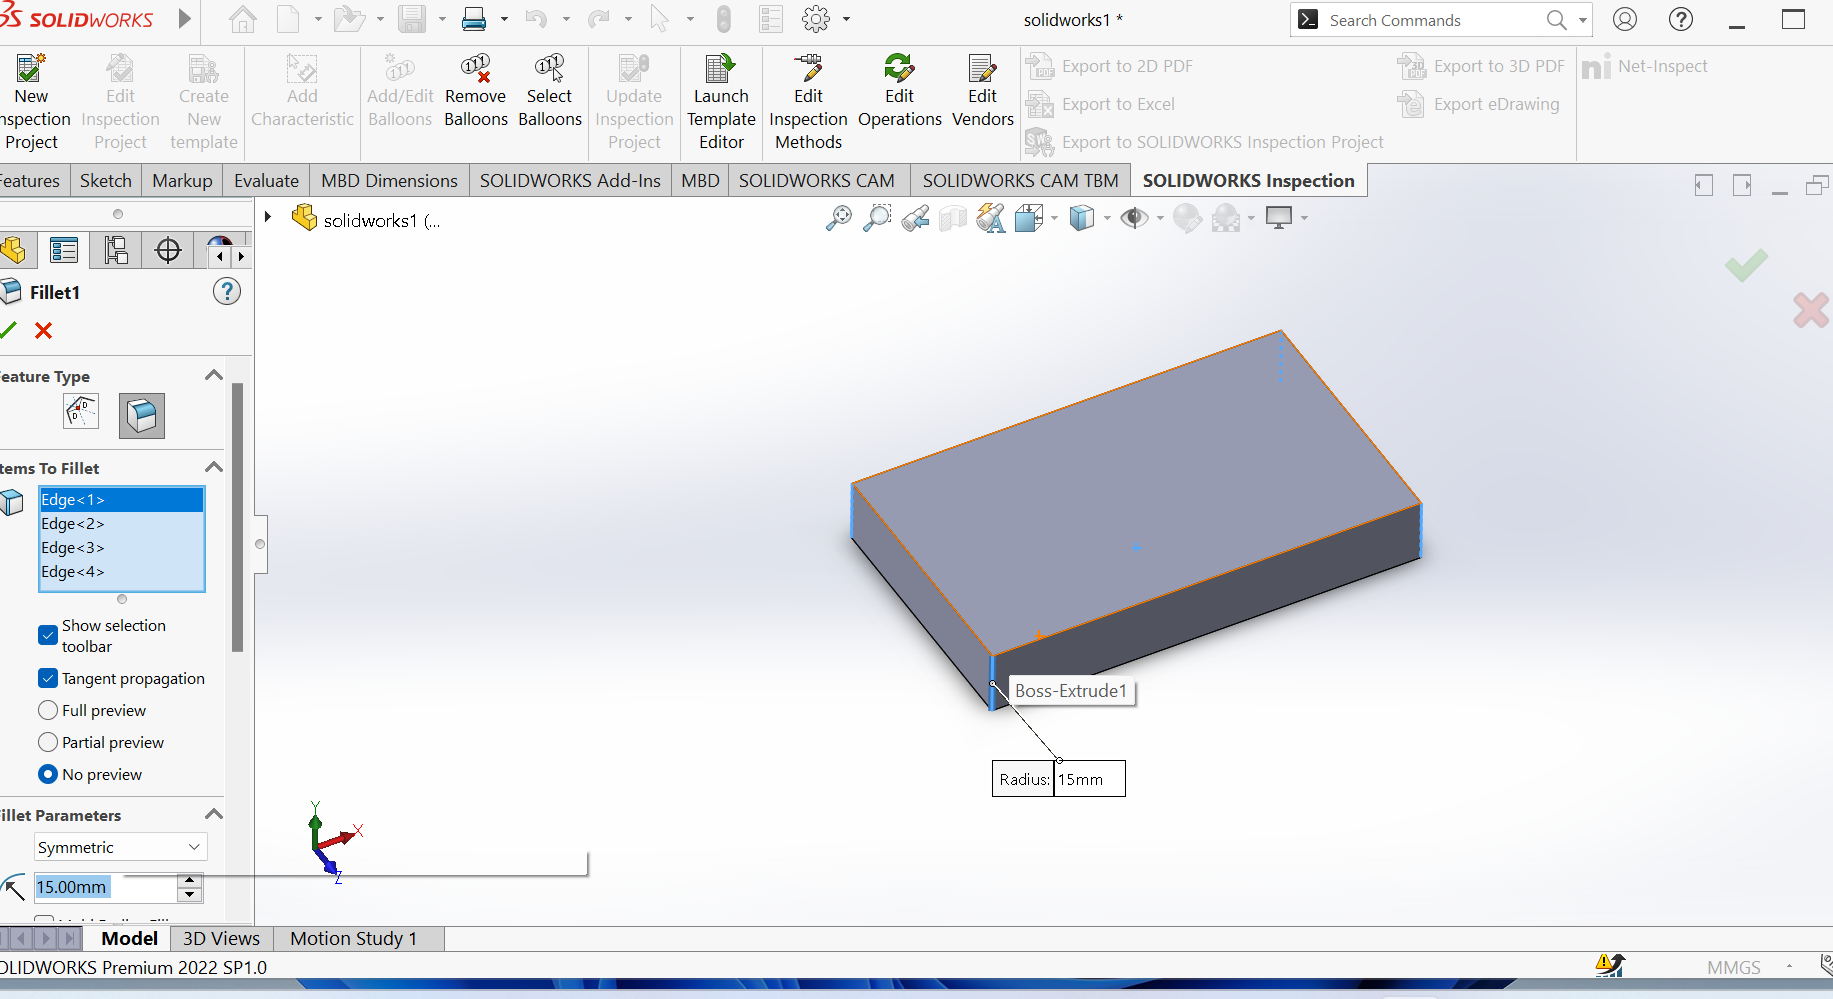
Applying Fillet
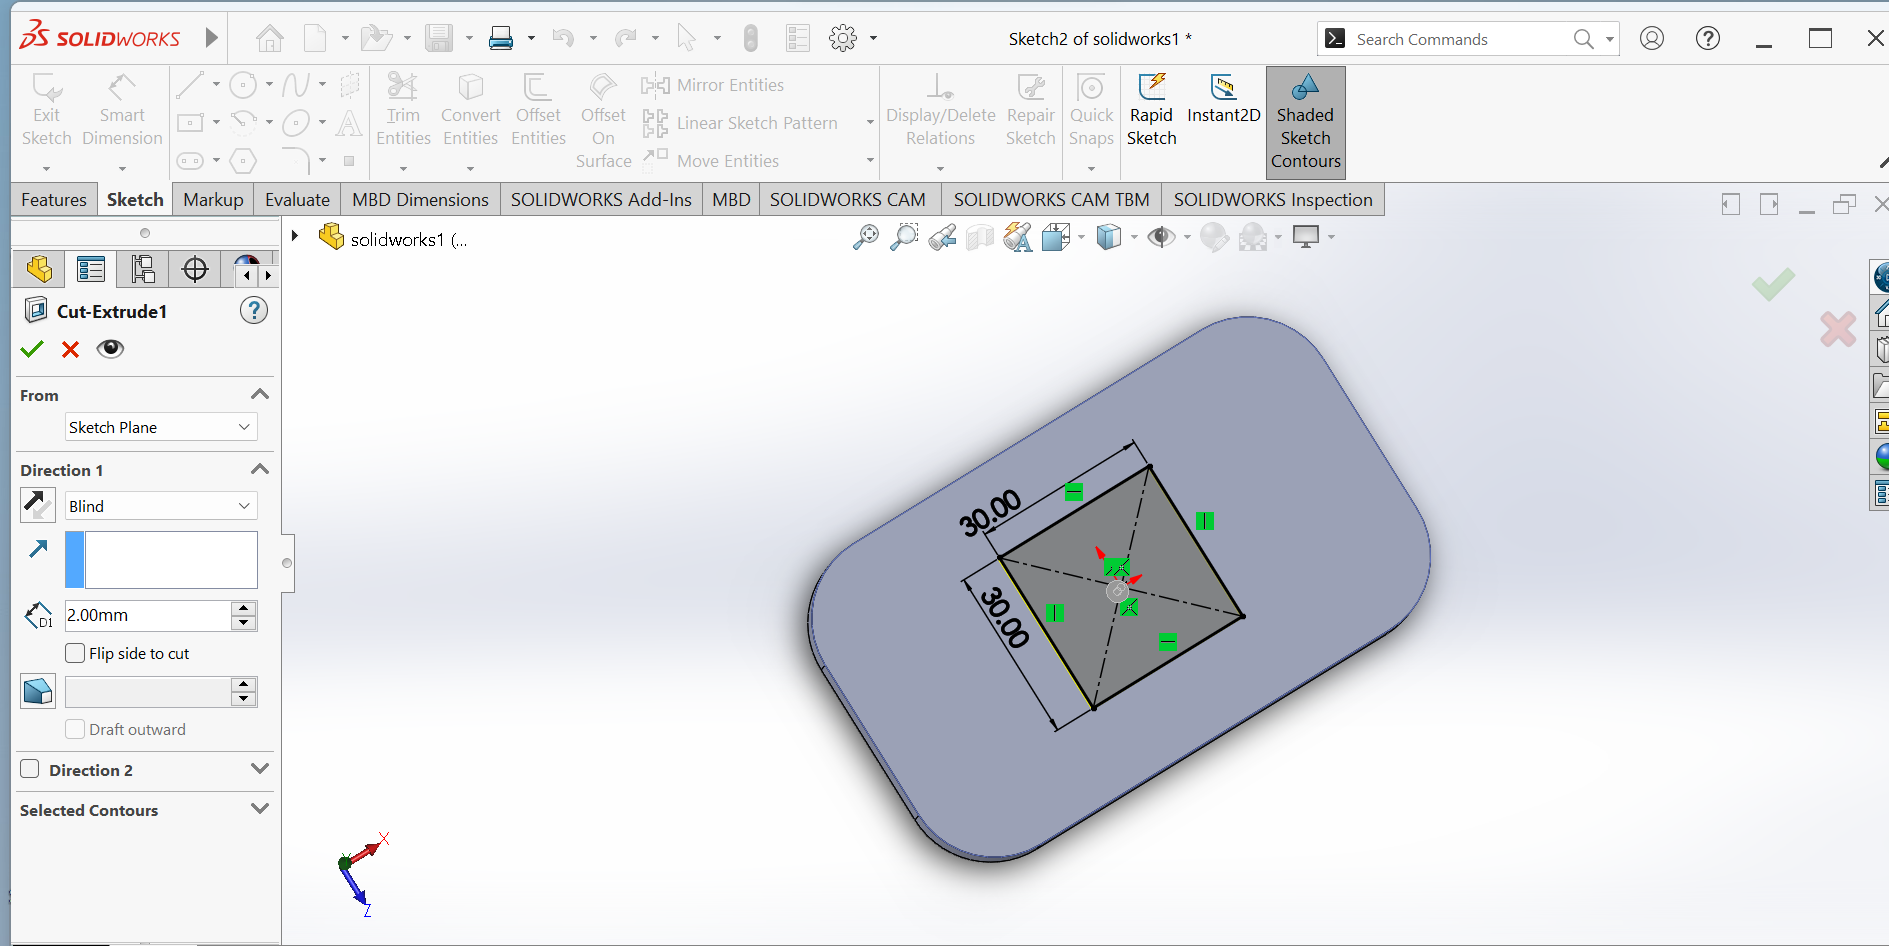
Cutting of the screen
Designs used can be found here.
© 2023 | Eric NDAYISHIMIYE | All Rights Reserved