3D SCANNING AND PRINTING
Work to be done:
# Design and 3D print an object (small, few cm3, limited by printer time) that could not be made subtractively.
# 3D scan an object (and optionally print it)
# group assignment: Test the design rules for your 3D printer(s)
Here is the link to the Group_Assignment
INTRODUTION ON 3D SCANNING AND PRINTING:
INTRODUTION ON 3D SCANNING:
3D scanning involves using a device to capture the shape and dimensions of an object in three dimensions. This can be done using a variety of methods, such as laser scanning, structured light scanning, or photogrammetry. Once the object has been scanned, the resulting data can be used to create a 3D digital model of the object. This digital model can then be edited, refined, or used as a basis for further design work.
INTRODUTION ON 3D PRINTING:
3D printing, on the other hand, involves using a 3D printer to create a physical object based on a digital model. This process involves laying down layer after layer of material, typically plastic or metal, until the object is complete. 3D printing has become increasingly accessible in recent years, with consumer-grade 3D printers becoming more affordable and widely available. This has opened up a world of possibilities for hobbyists, artists, and designers who want to create their own custom objects.
STEPS OF HOW TO DO 3D SCANNING AND PRINTING:
# 3D SCANNING :
1.Choose a 3D scanning method: There are several methods of 3D scanning, such as laser scanning, structured light scanning, and photogrammetry. Choose the method that suits your needs and equipment availability.
2.Set up the scanning equipment: Follow the manufacturer's instructions to set up the scanning equipment, including any necessary calibration steps.
3.Prepare the object: Ensure that the object is clean and free from any reflective surfaces or features that could interfere with the scanning process. Depending on the object, you may need to use a spray to make it more visible to the scanner.
4.Scan the object: Use the 3D scanning equipment to capture the shape and dimensions of the object. Depending on the scanning method, you may need to move the scanner around the object or take multiple scans from different angles.
5.Create a 3D model: Once the scanning is complete, use software to stitch together the individual scans and create a 3D model of the object.
# 3D PRINTING :
1.Choose a 3D printing method: There are several methods of 3D printing, such as Fused Deposition Modeling (FDM), Stereolithography (SLA), and Selective Laser Sintering (SLS). Choose the method that suits your needs and equipment availability.
2.Prepare the 3D model: Import the 3D model into your 3D printing software and prepare it for printing. This may include scaling the model, adding supports, and slicing it into layers.
3.Set up the 3D printer: Follow the manufacturer's instructions to set up the 3D printer and any necessary software.
4.Load the material: Load the material, typically plastic or metal, into the 3D printer.
5.Print the object: Start the printing process and wait for the 3D printer to complete the object layer by layer.
6.Post-processing: Once the object is printed, you may need to remove any supports or clean up any rough edges or imperfections.
There are several factors to consider when it comes to 3D scanning and 3D printing. Here are a few major factors to keep in mind::
1.Purpose: The first factor to consider is the purpose for which you need the 3D scan or 3D print. Are you creating a prototype, making a replica of an existing object, or creating a custom design? Understanding the purpose will help you determine the level of detail and accuracy required.
2.Cost: Both 3D scanning and 3D printing can be expensive, so it's important to consider your budget. 3D scanners can vary in price, and the cost of 3D printing will depend on the size, complexity, and material used for the print.
3.Materials: The materials used for 3D scanning and 3D printing can vary widely. Consider the properties of the materials you need for your project, such as strength, flexibility, durability, and heat resistance.
4.Resolution: When it comes to 3D scanning and 3D printing, resolution is a key factor to consider. A higher resolution will result in a more accurate 3D model or print. However, higher resolution also means a longer scanning or printing time and may require more expensive equipment.
5.Software and Hardware: Another factor to consider is the software and hardware required for 3D scanning and 3D printing. Different scanners and printers may require specific software, and the complexity of the software can vary widely. Similarly, the hardware required to support the scanning and printing process can be a significant consideration.
Group Assignment:
Work to do:
Test the design rules for your 3D printer(s)
What i learned from Testing 3D printers in group
The process of testing my design in a software program and then sending the file to the printer seems so straightforward and easy to do. I can't wait to start experimenting with different design ideas and watching them come to life before my very eyes. The bed calibration process on the Ultimaker 2+ sounds incredibly precise, ensuring that my designs will come out perfectly every time. And with support for a wide range of filaments, I can choose the perfect material for each project, whether it's ABS, PLA, Nylon, or something else entirely. What really blows me away is the speed at which the Ultimaker 2+ is able to print complex designs. With its high-quality print head and advanced technology, I can have a physical object in my hands in just a matter of hours, making it easy to iterate on my designs and bring my ideas to life. am incredibly excited about the possibilities that the Ultimaker 2+ 3D printer offers. From rapid prototyping and experimentation to creating customized and personalized objects, this technology is truly revolutionizing the way we think about design and manufacturing. I can't wait to start exploring all of the amazing things I can create with this incredible machine!
Individual Assignment
3D scan an object (and optionally print it)
As technology continues to advance, it's only natural to wonder about the possibilities of what can be achieved. Lately, I've been curious about the existence of 3D scanners that can scan the human body or objects. I can't help but imagine the incredible level of detail that would be captured with such a device, and the potential applications it could have in various fields such as medicine, fashion, and art. It's amazing to think that we now have the capability to capture objects and even people in three dimensions, allowing us to explore them in ways we never thought possible. I'm eager to learn more about the technology behind 3D scanners and how they could potentially revolutionize the way we interact with our world.
In our Fab lab , we have used Sense 3D Scanner and it is only type available in Fablab Rwanda as it shown in image below

I have used a software called 3d system sence to scan any object and my face to gat it's 3d object in my computer software and so that it can be easy for me to print
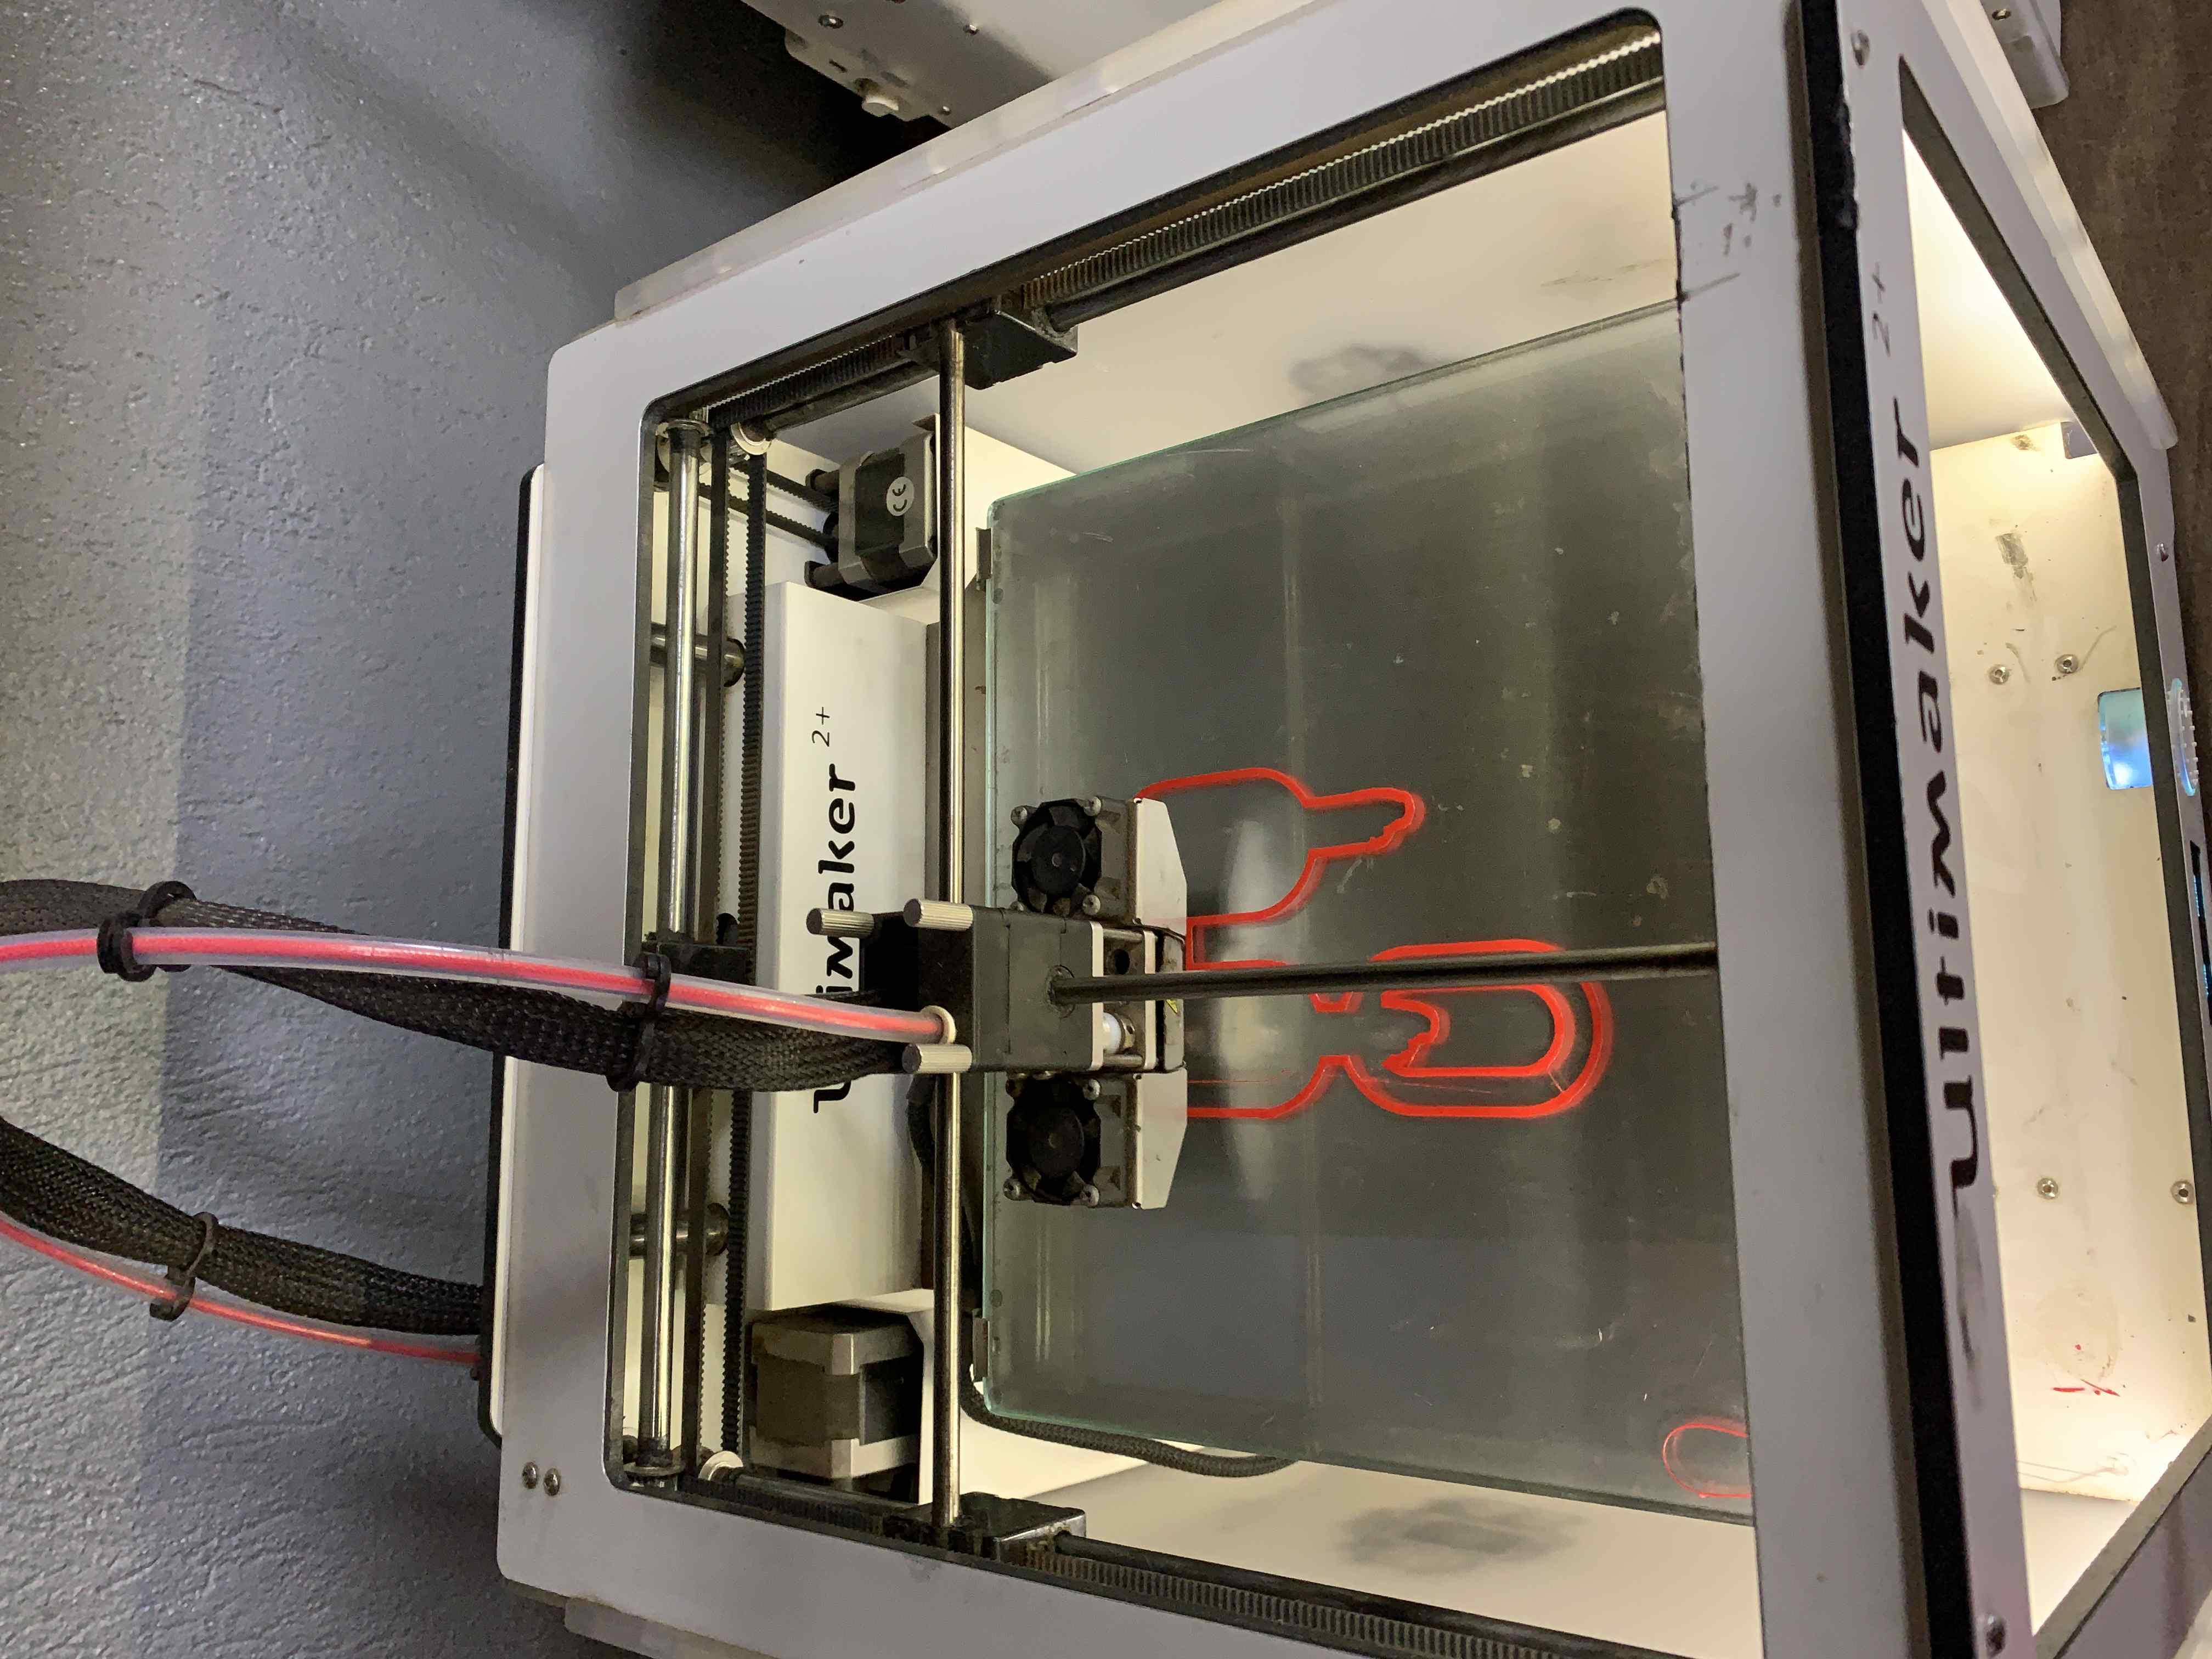
The Lab's 3D printer to be used is: Ultimaker 2+
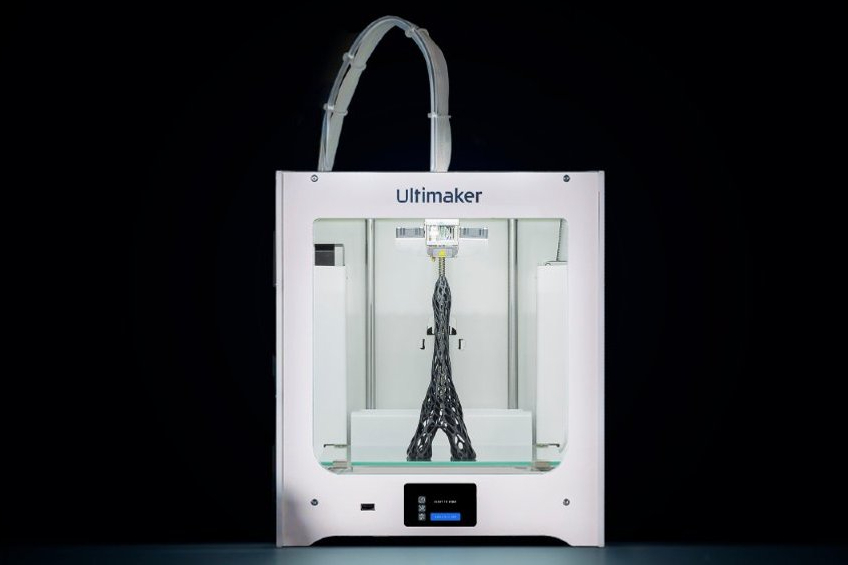
I went through it's manual, especially on the Maintenance and safety section. You can access the full manual due to this
General Safety Rules:
1.Keep Hands clear from moving parts.
2.Don't touch, Hot surface.
3.Don't touch the nozzle.
4.Wear mask to avoid the fumes.
Here is what i learned on my 3D printer
1.File Preparation: Ensure that you have a 3D model file prepared in a compatible format, such as .STL or .OBJ. These files contain the necessary information for the 3D printer to create the object.
2.Slicing Software: You'll need slicing software to convert the 3D model file into a format that the 3D printer can understand. Slicing software divides the model into layers and generates the corresponding toolpaths. You can adjust settings like layer height, print speed, and infill density in this software.
3.Connect to the 3D Printer: Establish a connection between your computer and the 3D printer. This can be done via USB, Wi-Fi, or an SD card, depending on the printer's capabilities. Ensure that the printer is properly connected and recognized by your computer.
4.Choose Print Settings: Select the desired print settings in the slicing software, such as the print quality, infill density, support structures, and printing temperature. These settings can vary depending on the type of filament material you're using (e.g., PLA, ABS, PETG).
5.Generate G-code: Once you've adjusted the settings and sliced the model, the slicing software will generate G-code instructions. G-code is a programming language that tells the 3D printer how to move, extrude filament, and build the object layer by layer. The G-code file contains these instructions.
6.Send G-code to the Printer: Transfer the G-code file to the 3D printer using the appropriate method. If you're connected via USB, you can often use software specific to your printer to send the file. If you're using an SD card, copy the G-code file to the card and insert it into the printer.
7.Start the Print: On the 3D printer's interface or control panel, navigate to the file you transferred and start the print job. The printer will read the G-code instructions and begin printing the object layer by layer according to the specified settings.
Advantages and limitations for 3D printing
The greatest advantage of 3d printing is that it is available for everybody. 3D printers are becoming more and more available and cheaper, therefore anybody who can affort it, can buy one and produce parts for their own needs. It allows creating real parts with ease, which was not possible before without a lot of work. It also allows the creation of complex shapes, easy to custom and allows more chances for creativity. Now anybody can adjust and produce any 3D design for their own needs. Limiting on traditional 3d printers is that you can't print things with overhang without support material. Moreover, speed and quality are the greatest limitations. Because 3d printers are still quite slow in printing, especially for higher quality prints. This can be a limiting factor for huge prints which could then take several days. The quality is depending on the printer is also a problem because there are variations on how accurate the printers are. So the more experienced you are and the better you prepare your model and set up your printer the better your prints get.
Advantages and limitations for 3D Scanning
The main advantage of 3D scanning is that you can create a 3D model of anything in an easy and fast way. With 3D scanning you can also create more creative 3D design shapes like the shape of the human body. The 3D scanning limitations I can name are: limitation on the size of the object you can scan, the quality of the 3D model produced (matching with the original).
Design the object with Solidworks
Open a new project in solidwork software and i start my design
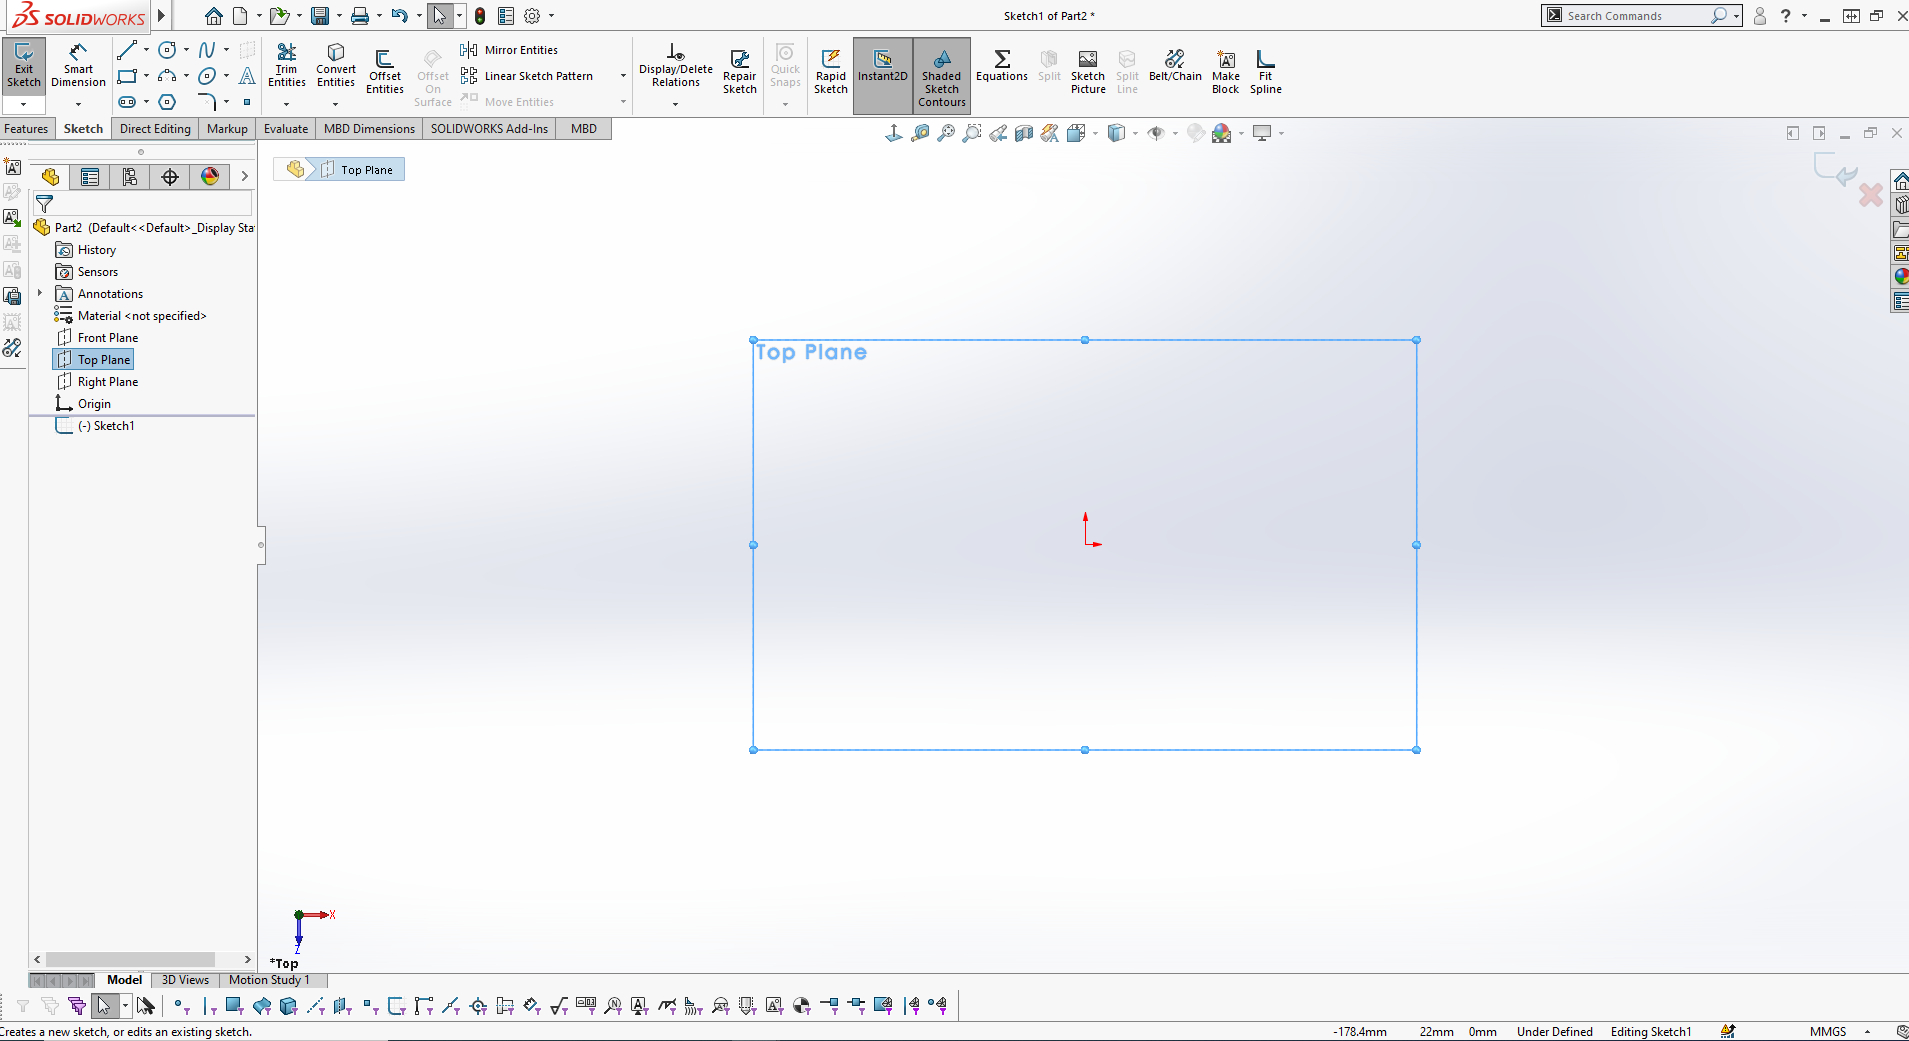
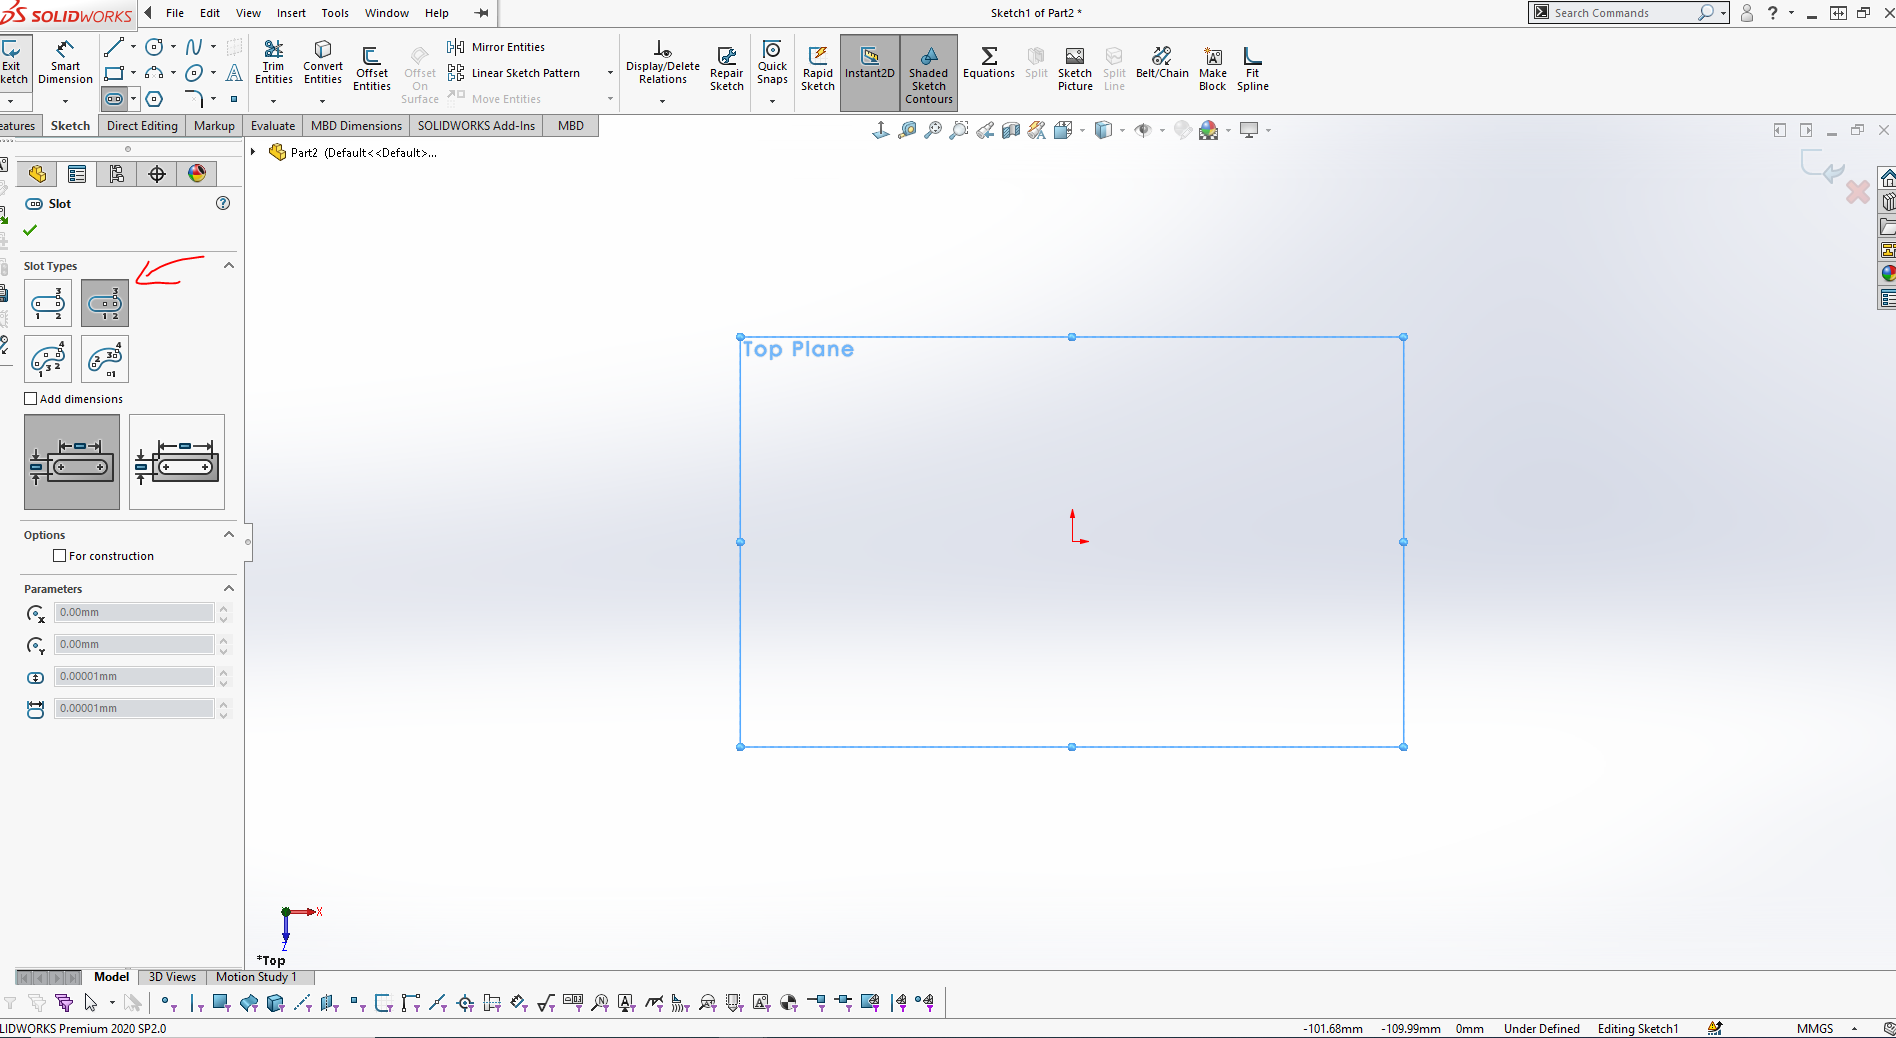
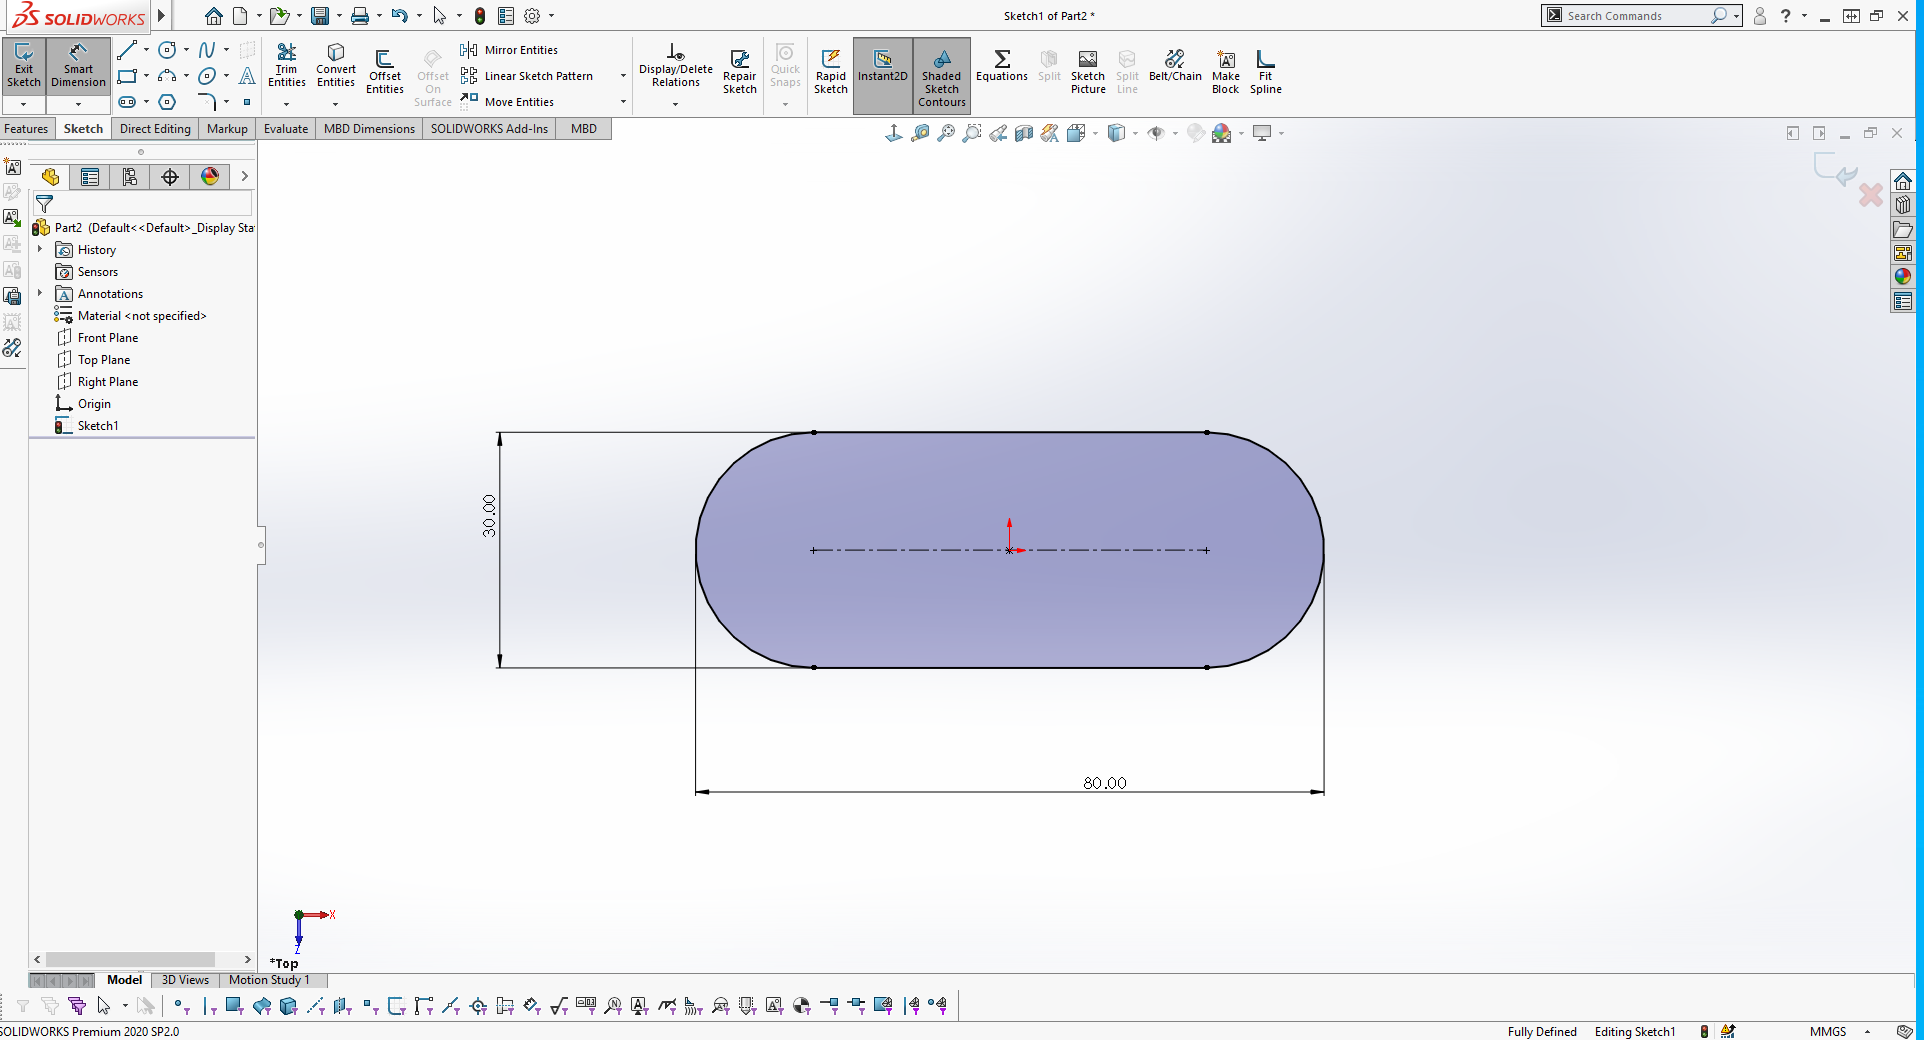
The next step was to Sketch slot (center point straight slot) as shown in the image below:
Here in this image i was setting the dimensions
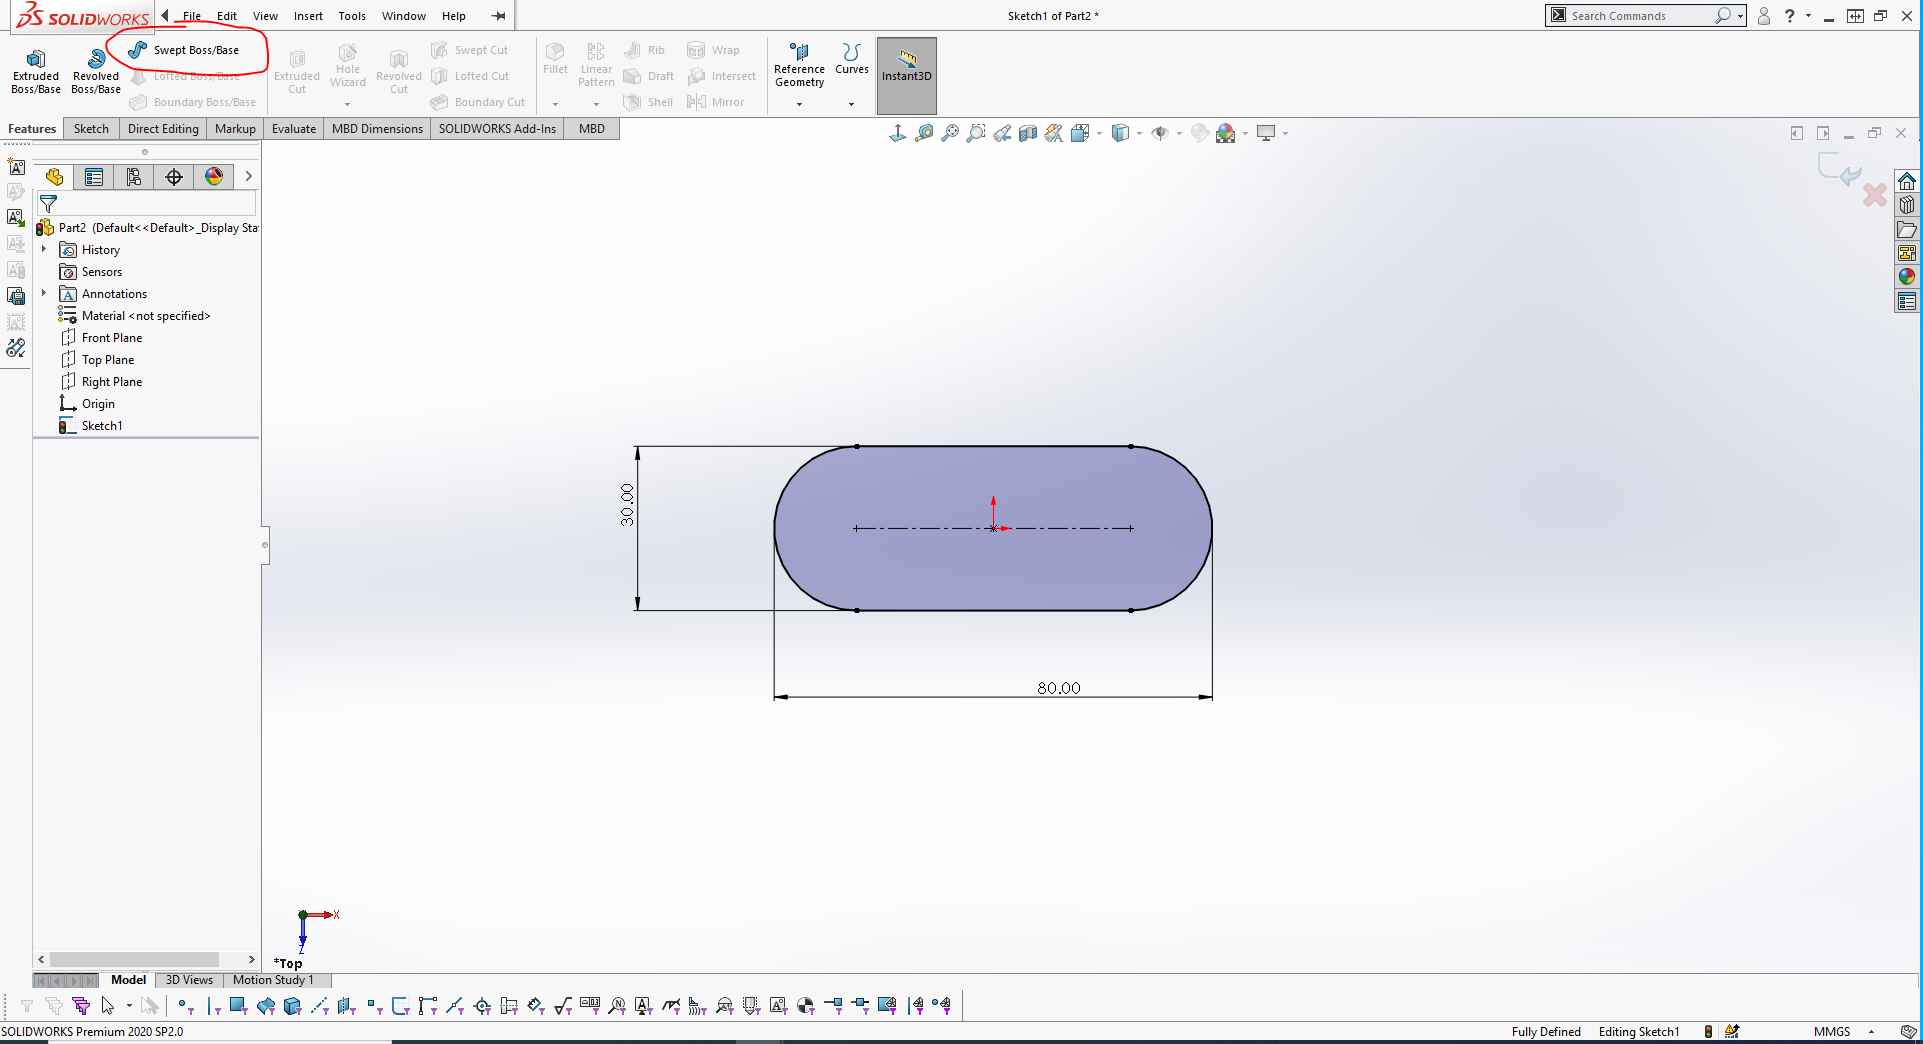
After editing the profile and setting dimensions the sketch are defined, select the Swept Boss/Base command on the features tab as shown in the screenshot below to create a closed profile
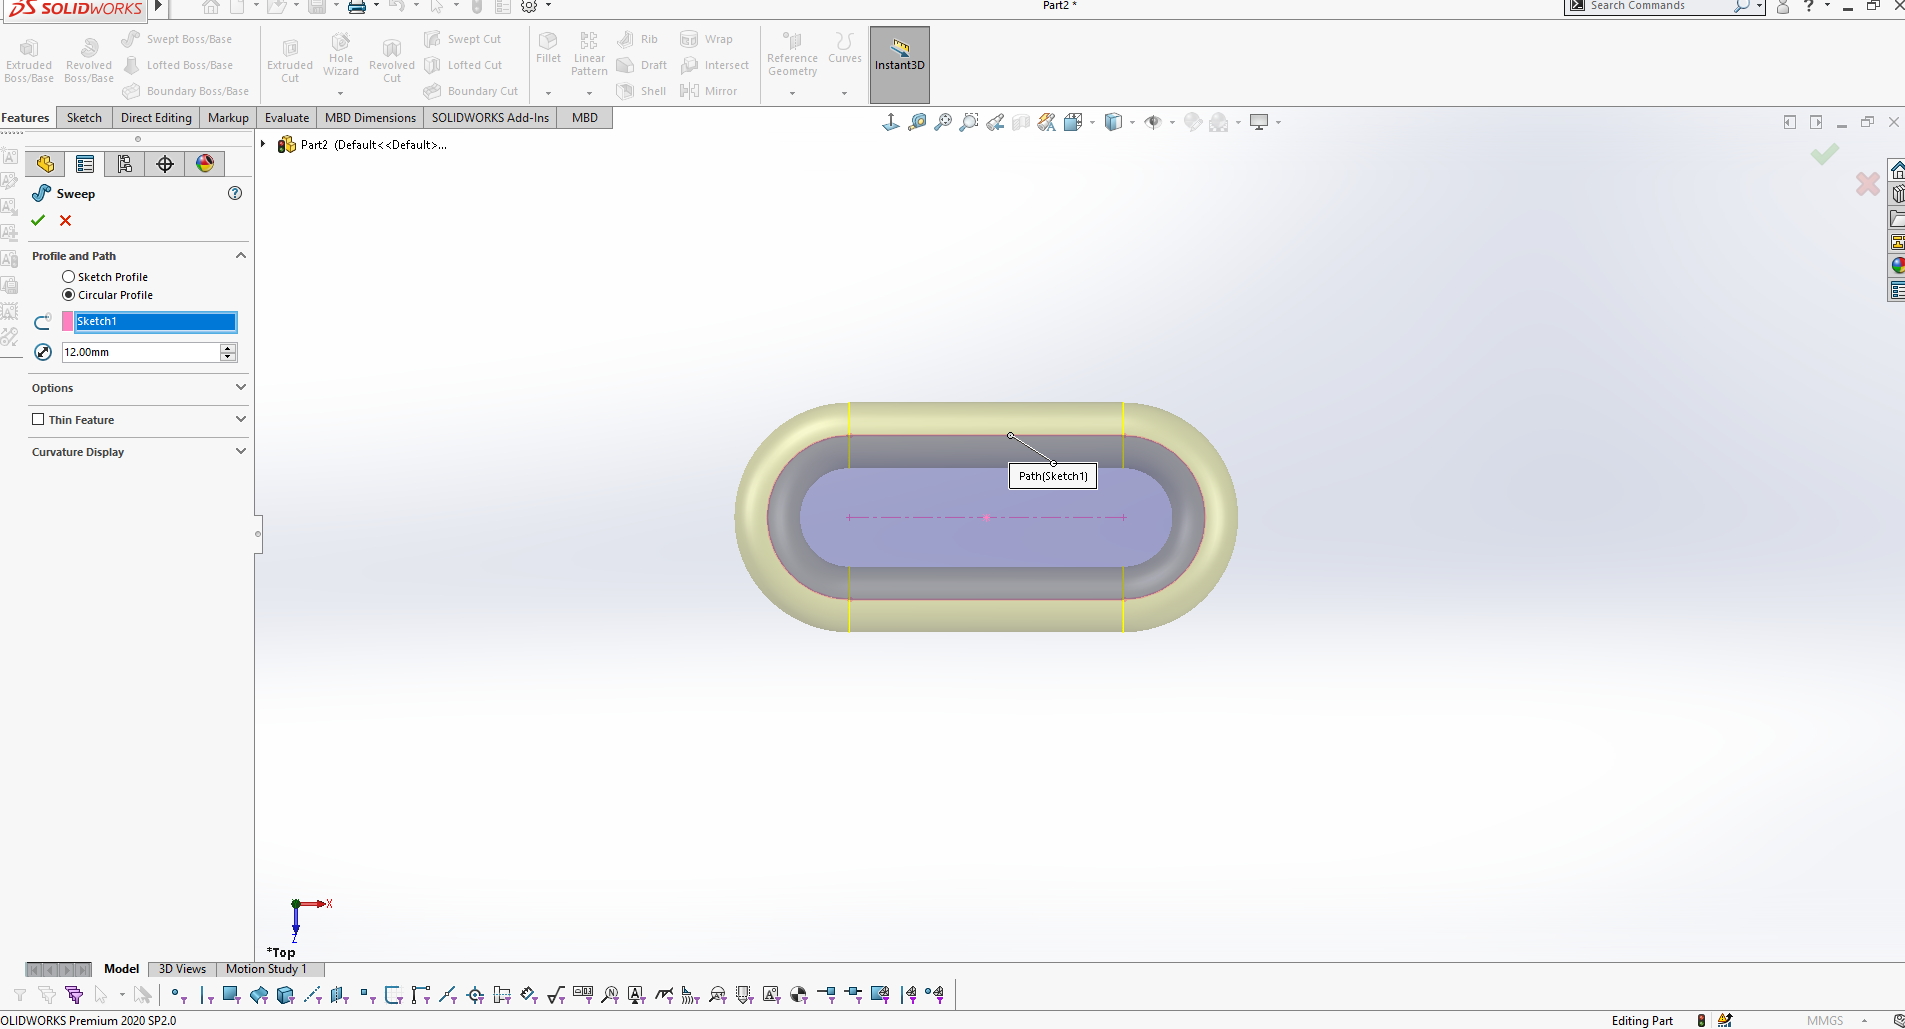
The step was to Choose the circular profile and insert the diamete
On this step Create assembly from the created part (Select File + make Assembly from Assembly)
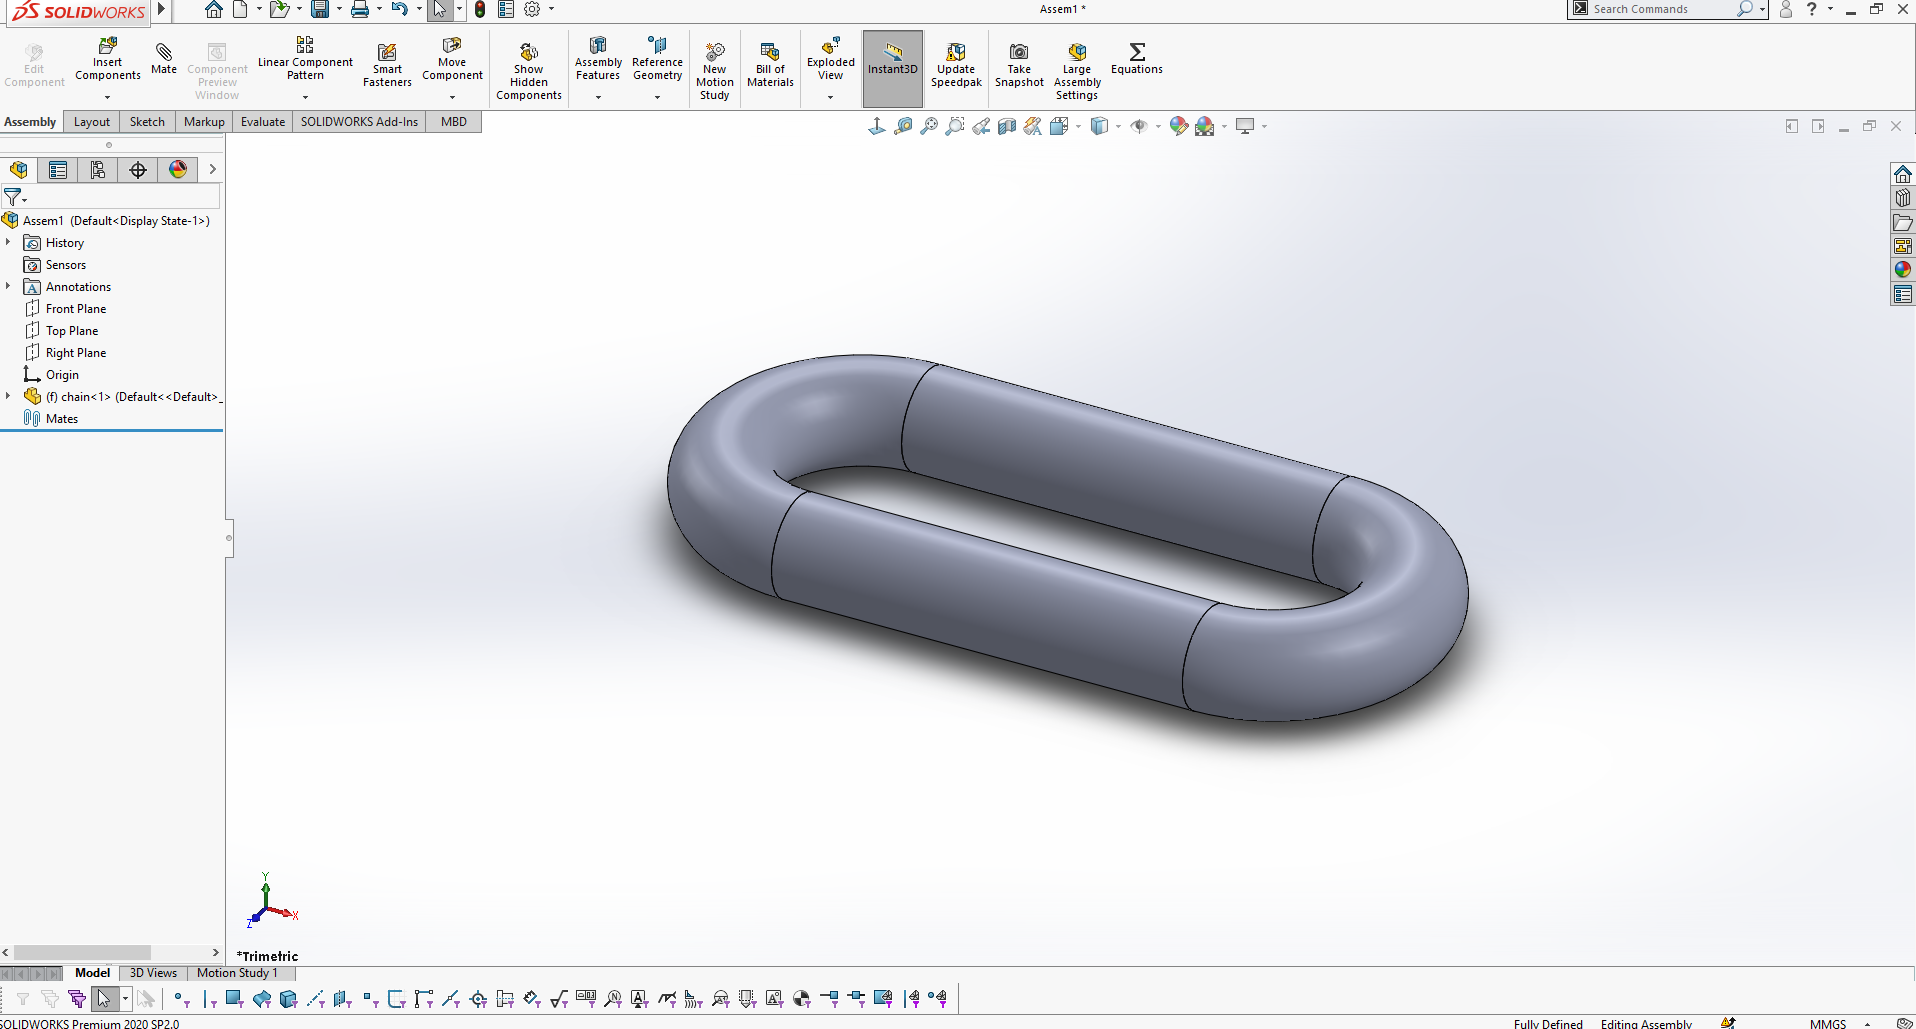
I Duplicate the part (Ctrl + Select the part + Drag) into 6 times as shown in the image below
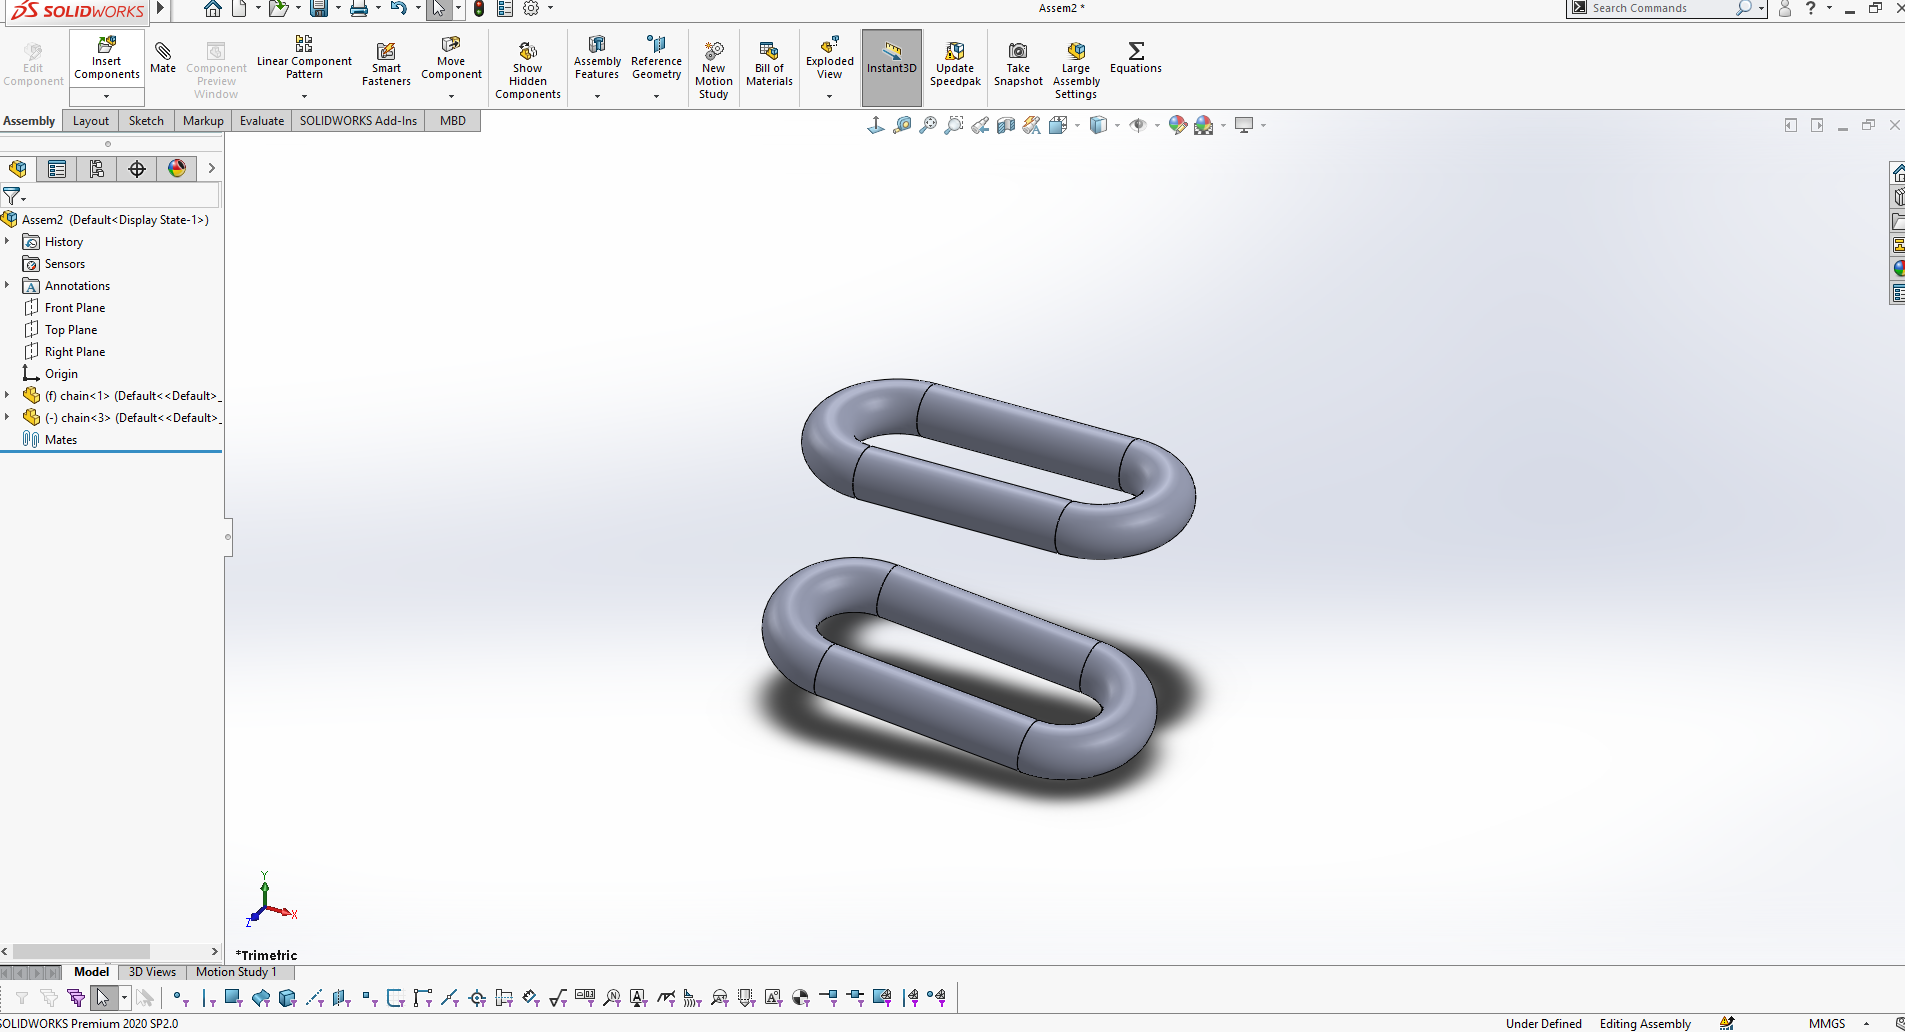
On this step the task wos to Arrange the duplicated parts (by mating) in such way that no part will be in contact with one another

Save the assembly as STL file, to import it in 3d printer

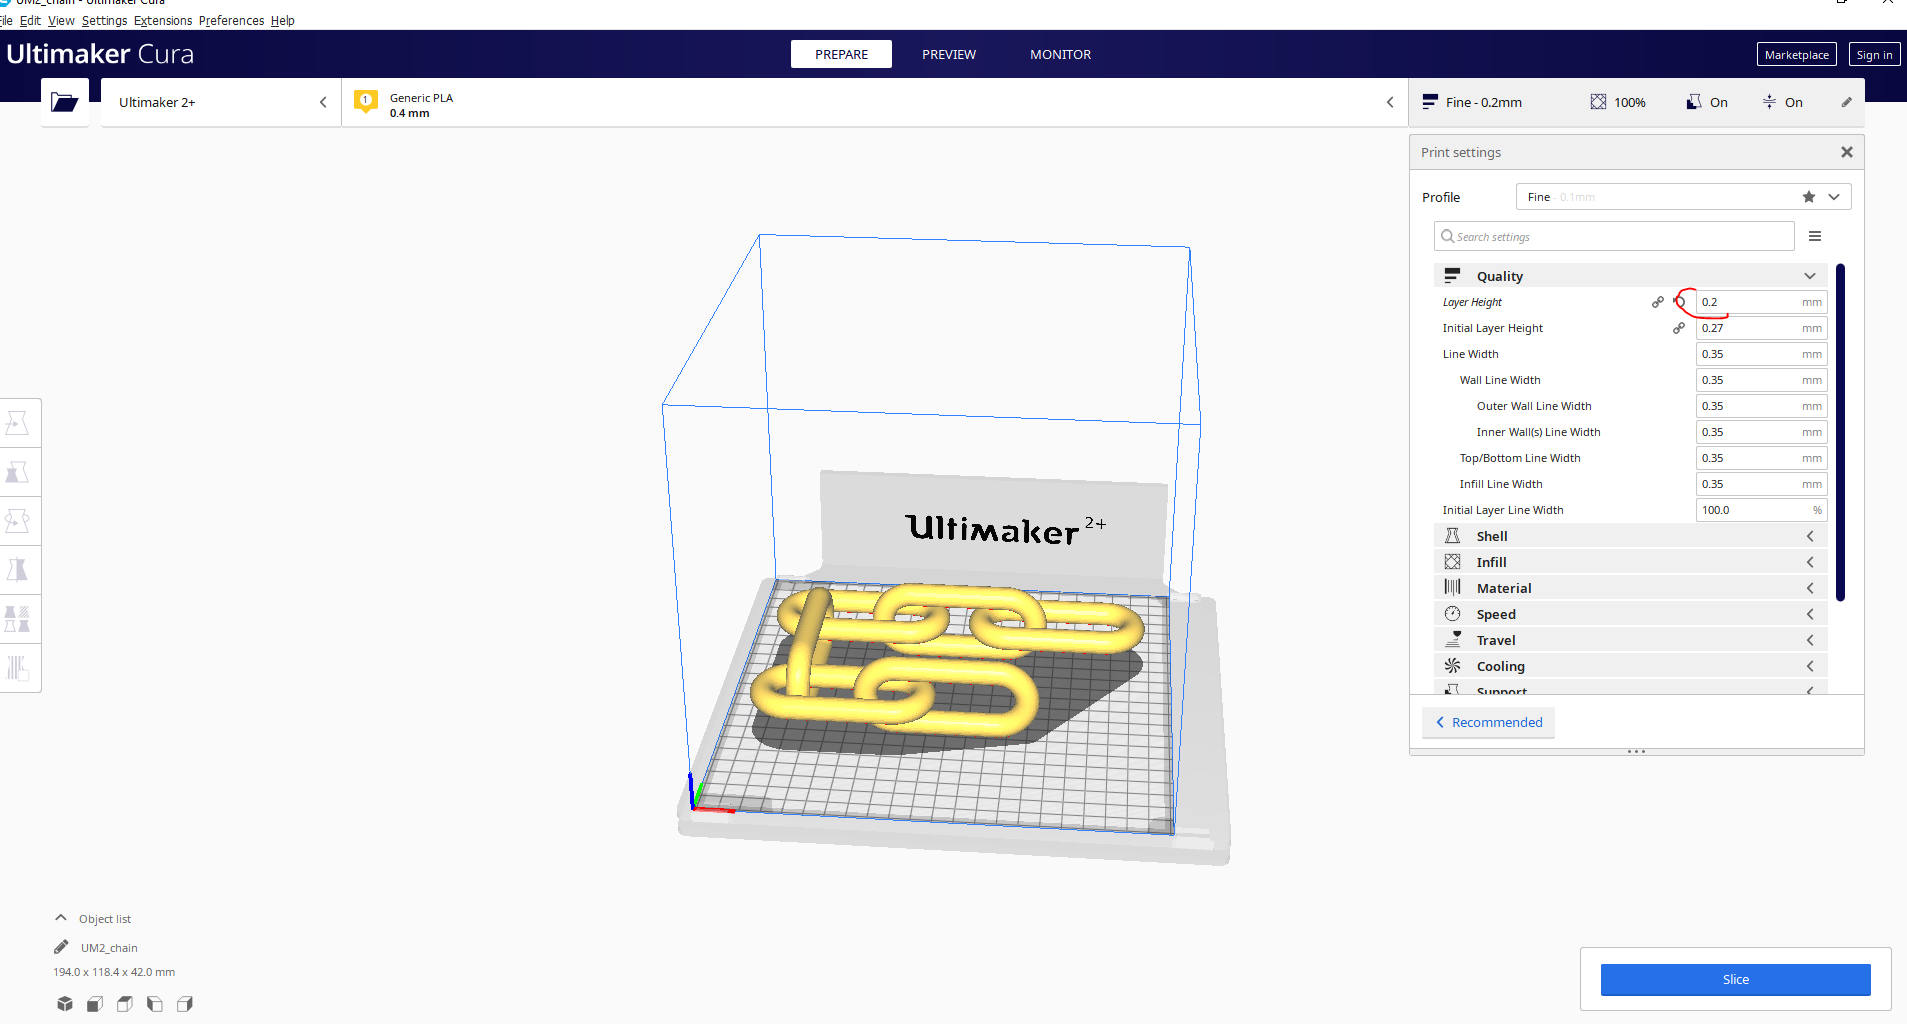
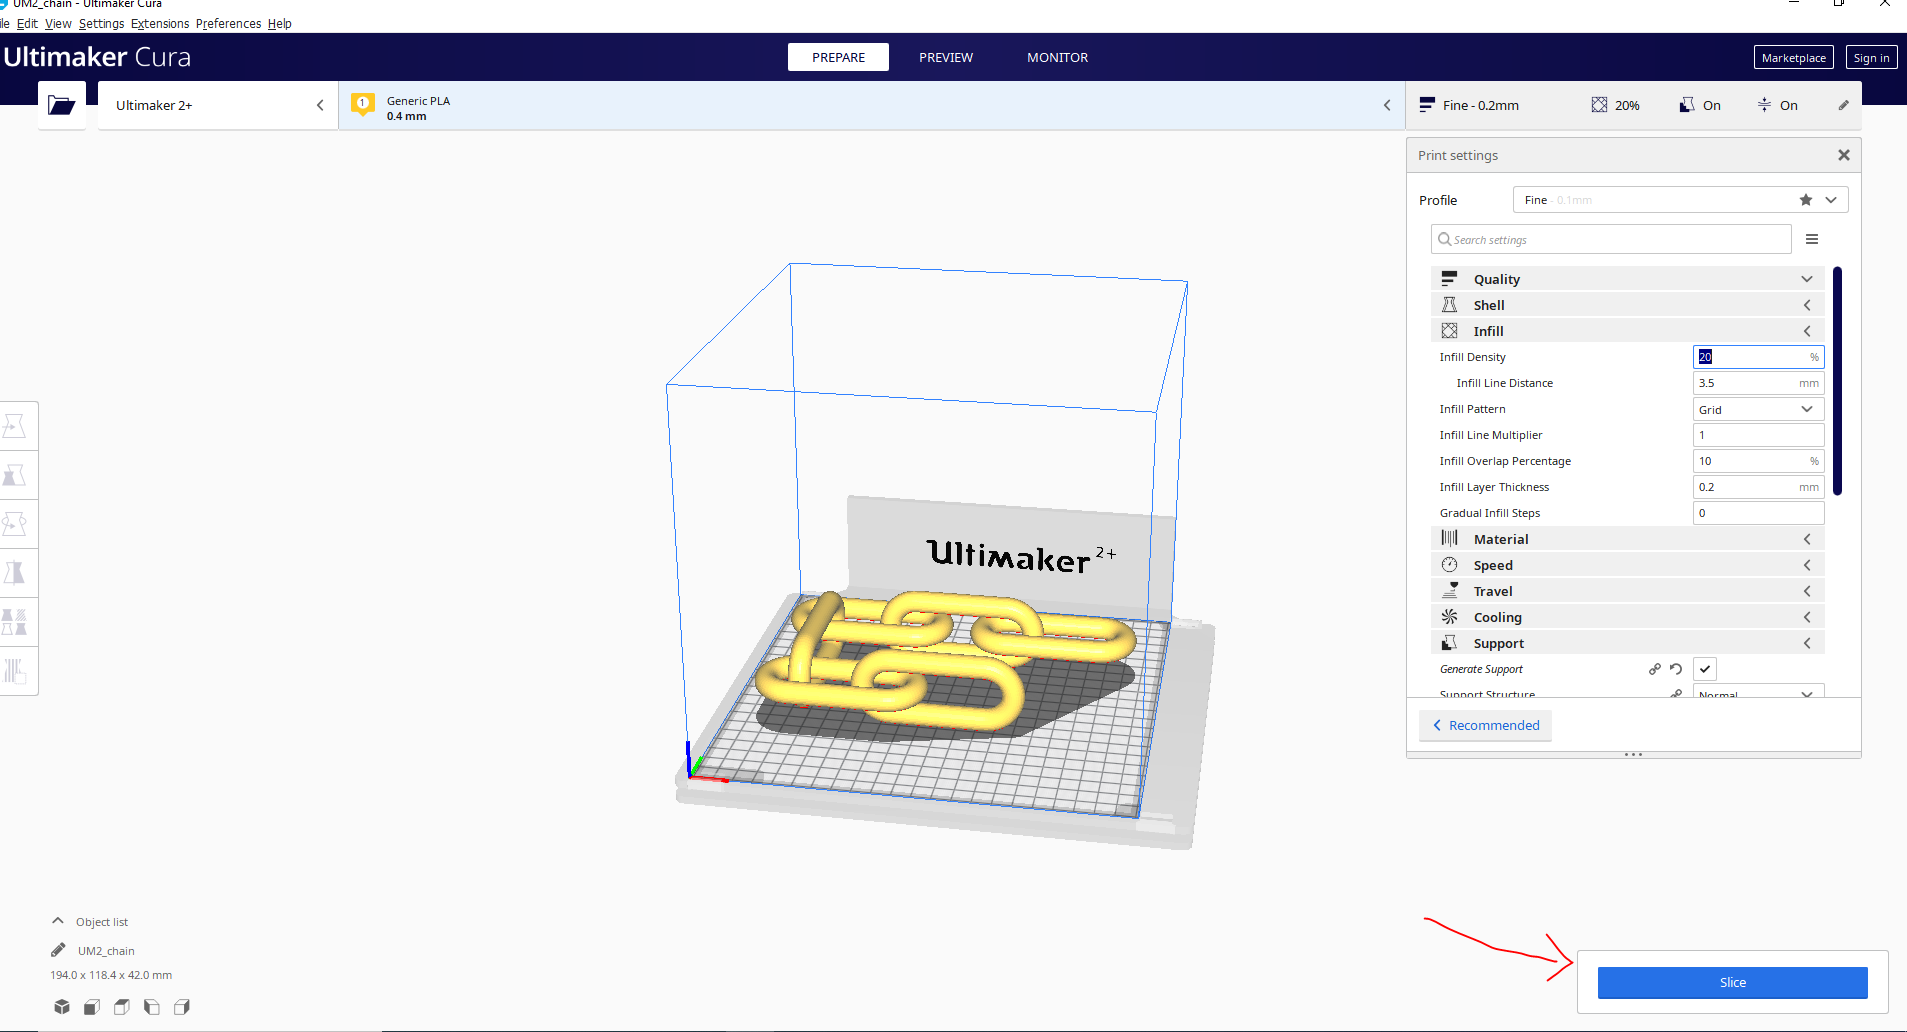
Next, we need to generate the Gcode for the 3D printer by importing the STL file in Ultimaker Cura Software. For the quality parameter, set the layer height
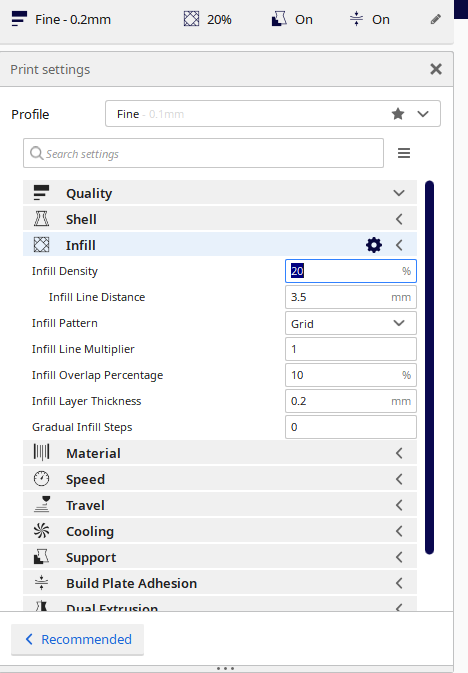
Here on this step is to set the thickness and set the infill
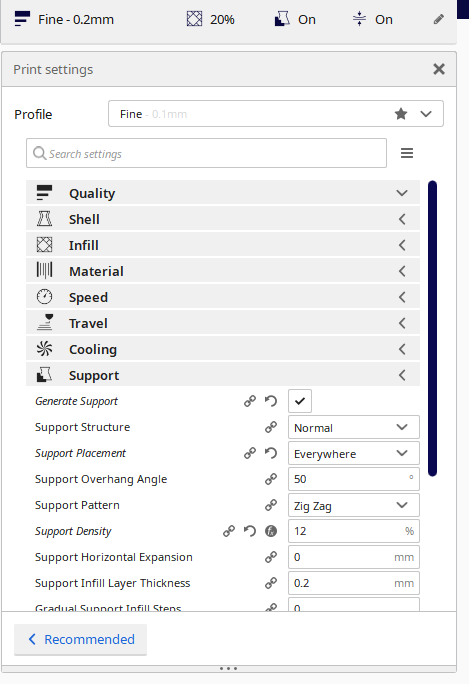
Here on this step the step is to create the support
The final step is to slice to generate thr gcode and export file as gcode
The next step is to import the project in the 3d printer
After inserting the 3D printer memory card, select your design and print
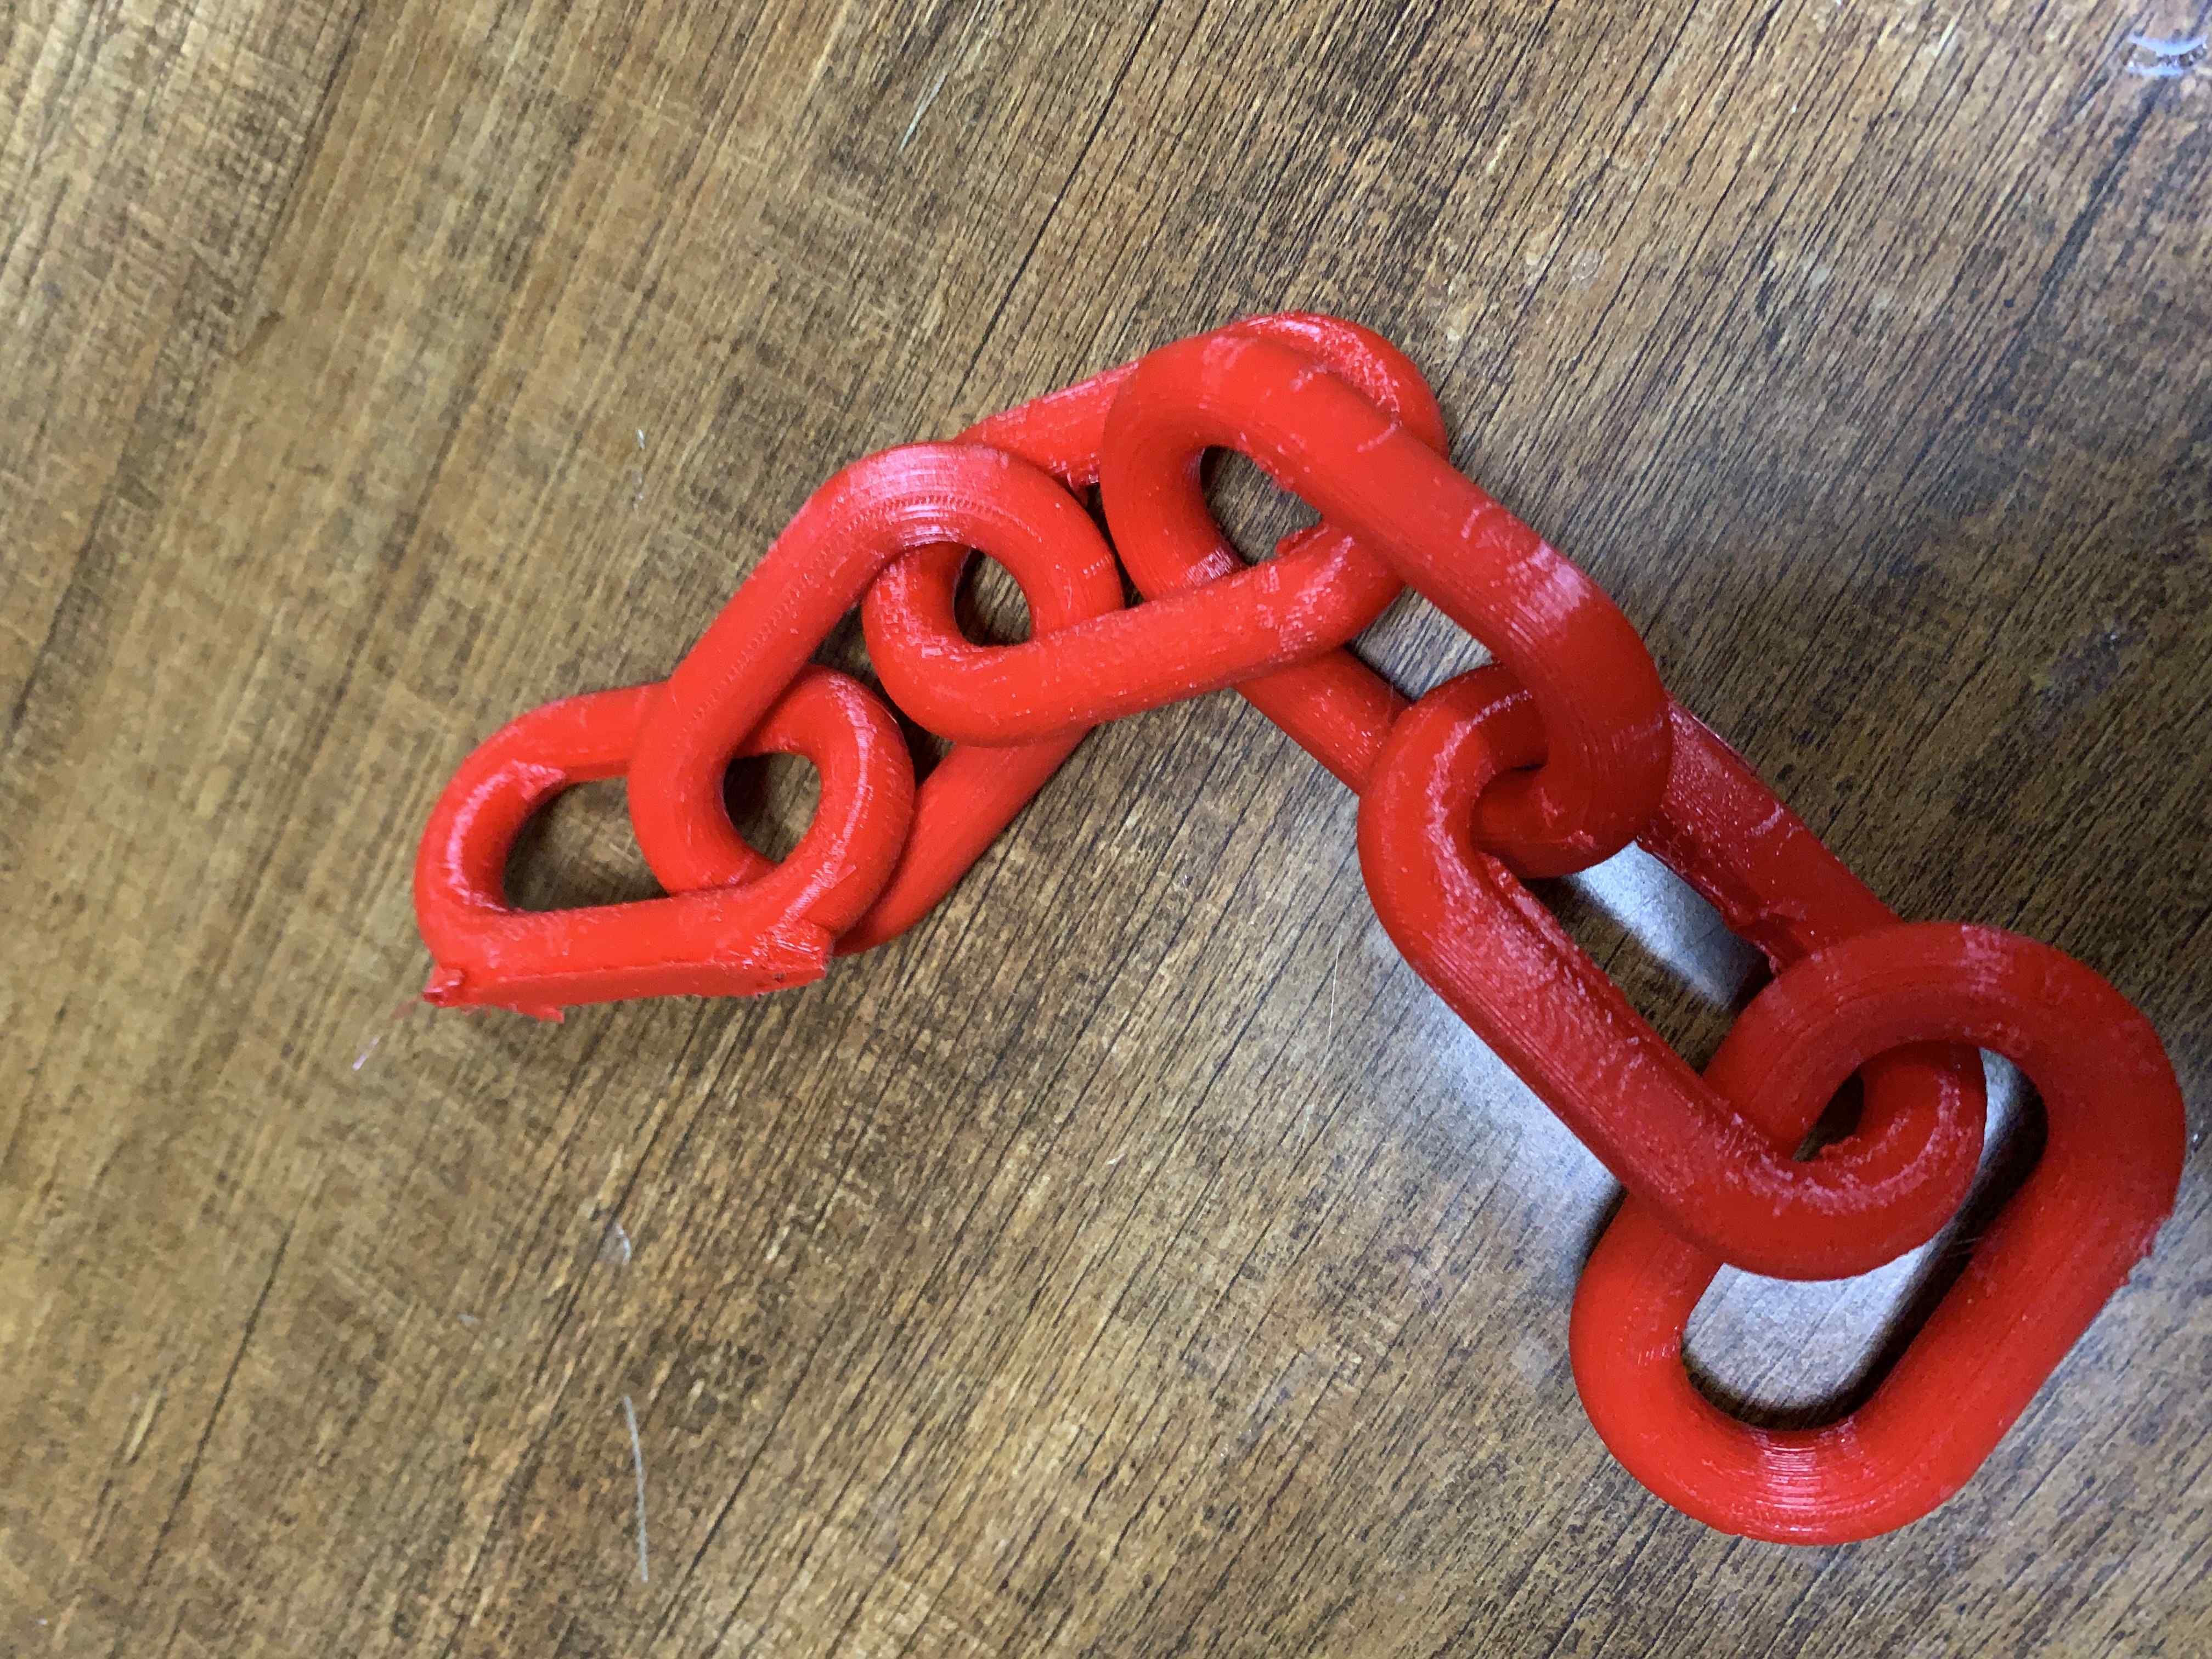
Final here is the results for the work
3D SCANNING

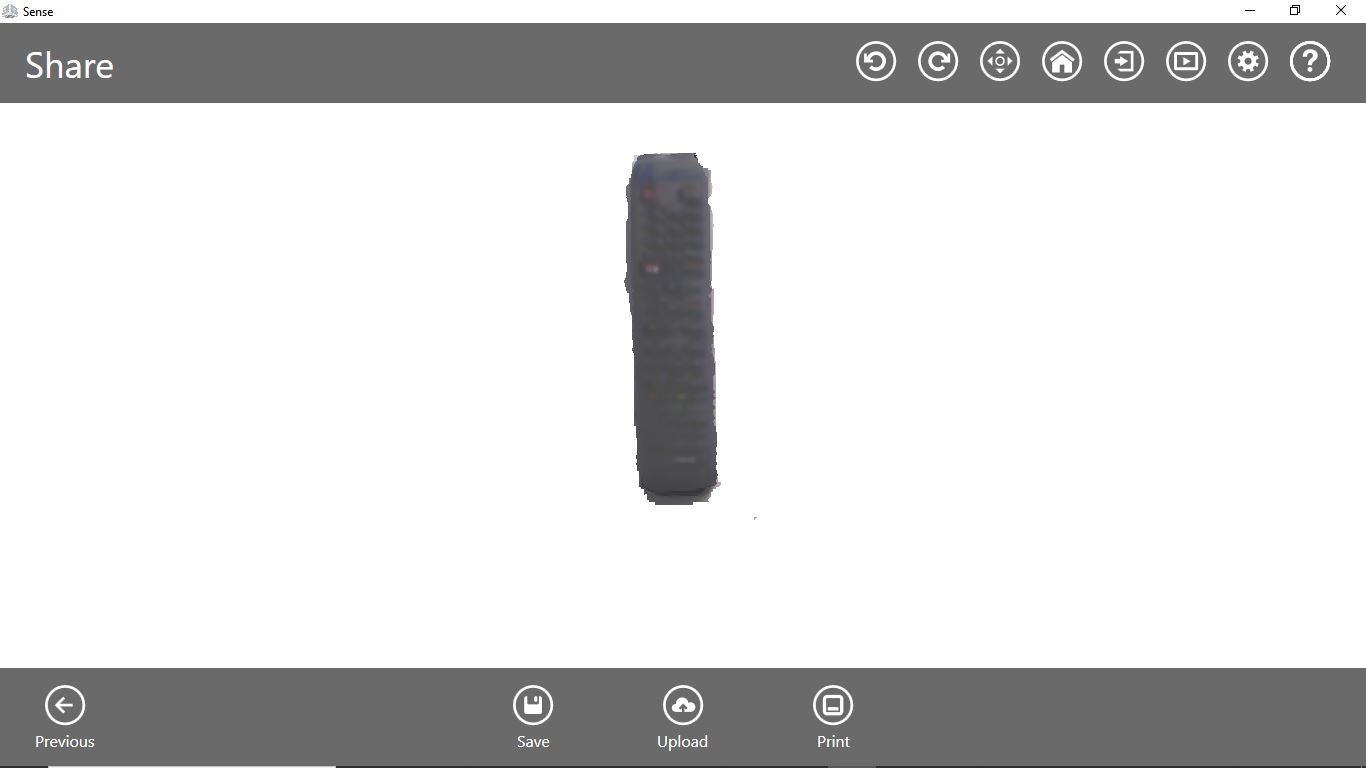
Here in 3d scanig i scan tv controler
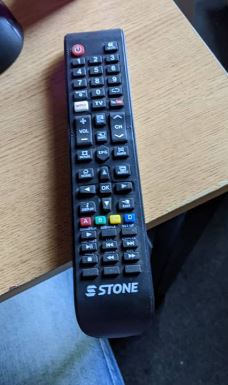
I open a 3d sense software to scan
After opening my software i choise scan (object)
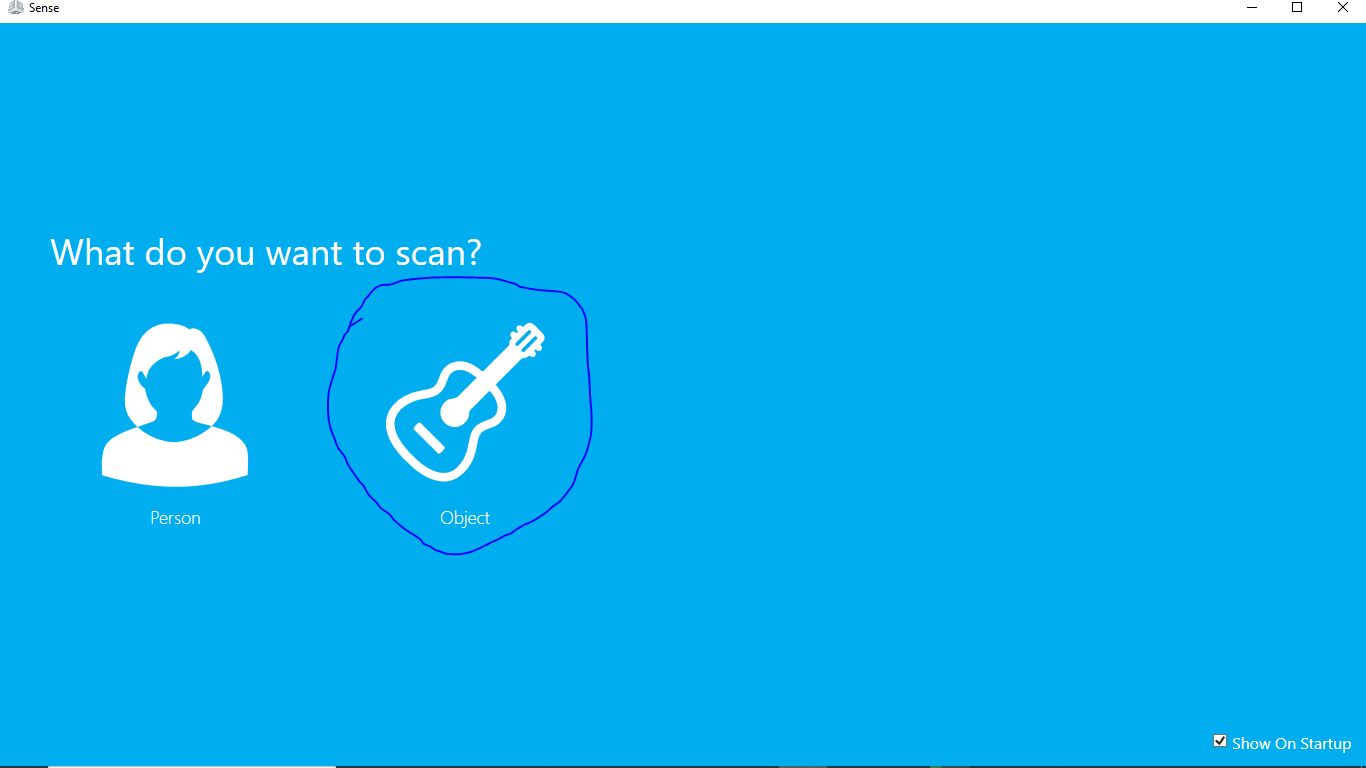
Here is the results after scaning
Advantages and limitations for 3D Scanning:
The main advantage of 3D scanning is that you can create a 3D model of anything in an easy and fast way. With 3D scanning you can also create more creative 3D design shapes like the shape of the human body. The 3D scanning limitations I can name are: limitation on the size of the object you can scan, the quality of the 3D model produced (matching with the original).
Here is what i learned on testing 3D printing
1.Understanding the Technology: Testing 3D printing allows students to gain a comprehensive understanding of the technology itself. They learn about the principles of additive manufacturing, how 3D printers work, the different types of printers and materials available, and the various parameters that affect the printing process.
2.Three-Dimensional Space: Unlike 2D design, which focuses on two dimensions (length and width), 3D designing adds the third dimension of depth. This enables the designer to create objects with realistic proportions and spatial relationships.
3.Realistic Visualization: 3D models allow designers to view and manipulate objects from different angles and perspectives, providing a more accurate representation of the final product. This helps in visualizing how the object will look in the real world.
4.Design Iteration and Modification: 3D design software enables designers to easily modify and refine their models. They can make changes to the shape, size, texture, color, and other attributes of the object, allowing for iterative design processes and quick revisions.
5.Virtual Prototyping: 3D designing facilitates virtual prototyping, where designers can simulate the functionality and behavior of their objects before physically creating them. This helps in identifying potential design flaws, optimizing performance, and reducing the need for costly physical prototypes.
6.Integration with Manufacturing: 3D designs can be exported in various file formats that are compatible with manufacturing processes, such as 3D printing, CNC machining, or injection molding. These designs serve as the basis for creating physical objects with precision and accuracy.
7.Animation and Visualization: In addition to static models, 3D designing also involves creating animations and visual effects. Designers can add motion, lighting, materials, and special effects to bring their designs to life, making them suitable for presentations, marketing materials, or entertainment purposes.
8.Collaboration and Sharing: 3D design software often supports collaboration features, allowing multiple designers to work on a project simultaneously. Designs can be shared with clients, stakeholders, or team members for feedback and review.