15. Wildcard week
This week is a wilcard week where we are supposed to build alomst anything we want to explore.
The assignment is basically to Design and produce something with a digital fabrication process (incorporating computer-aided design and manufacturing) not covered in another assignment.
So I decided to explore the Vacuum forming machine that our FABLAB facility has and I had not got a chance to explore it in depth before.
Vacuum Forming
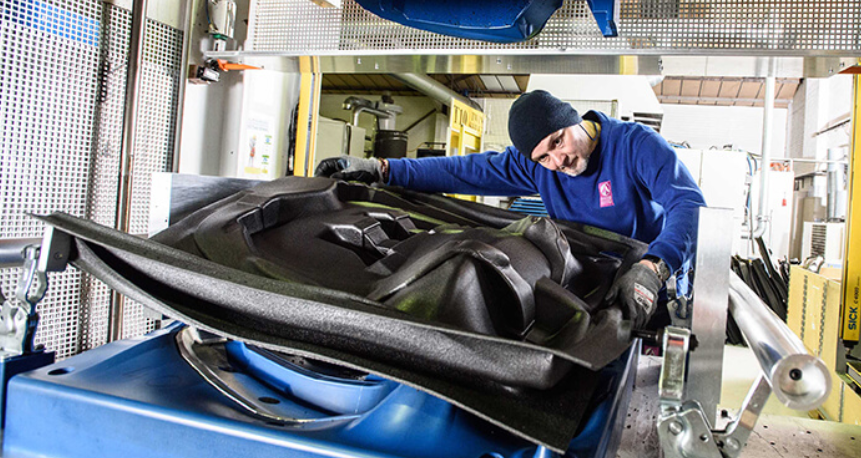
So what exactly is Vacuum forming?Vacuum forming is one of the oldest and cheapest methods for plastic molding and is widely used in our everyday life, from smaller objects to huge industrial machinery. The vacuum forming process is being used at a large scale due to its low cost, efficiency, speed of imitation, and ease of use for shaping smaller objects molds. Vacuum forming is a process in which a layer of plastic is placed on the mold, and then a suction force is applied to shape the plastic according to the desired shape. Vacuum forming is also known as the simplest form of plastic thermoforming as only a mold is required, and the plastic is placed over it.
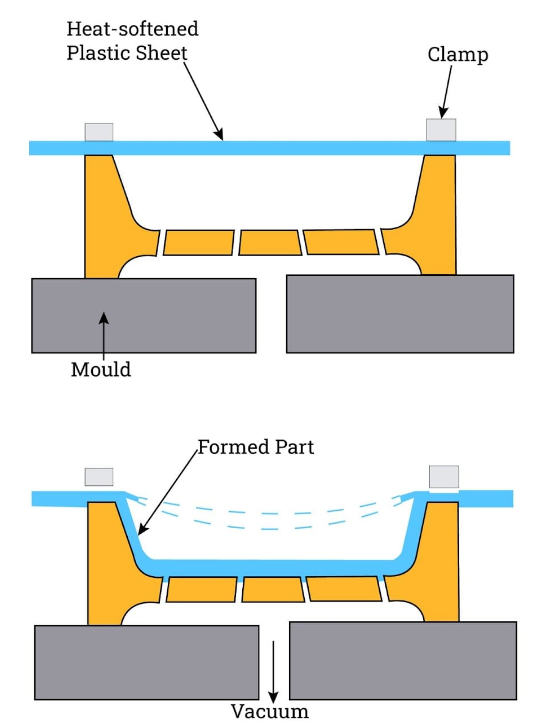
There are two types of molds that are used in vacuum forming that are:
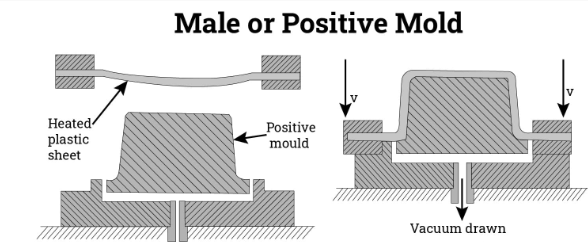
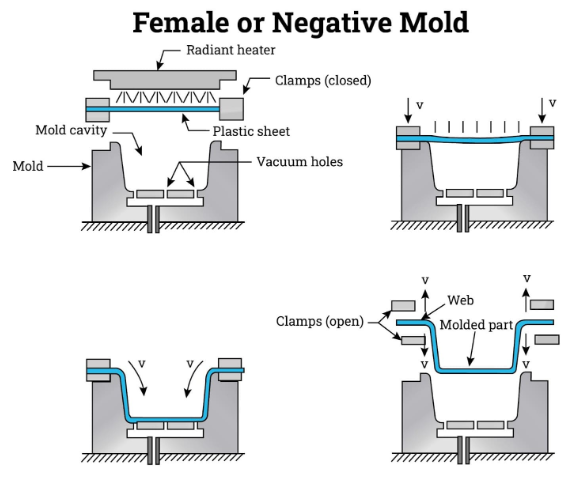
Materials used in Vacuum Forming
Vacuum forming can be done on a variety of thermoplastics but typically the materials that are used in vacuum forming are as follows:Vacuum Forming Machine at riidl
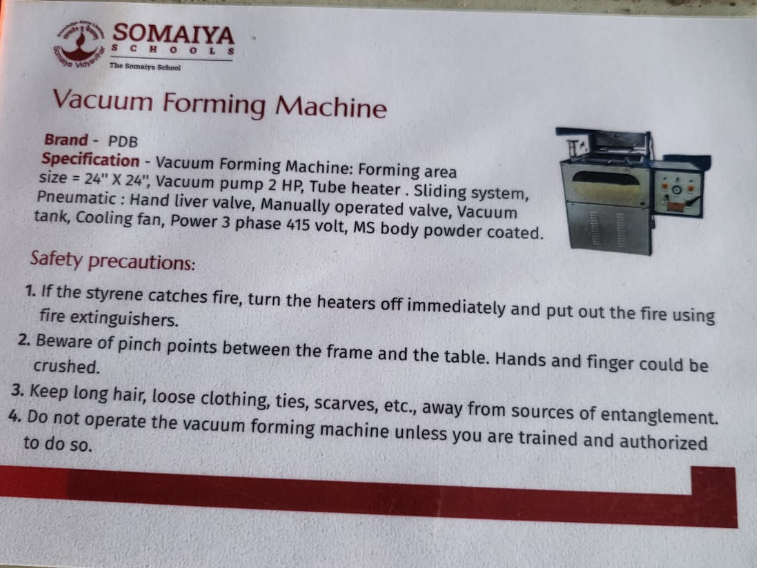
The Vacuum forming machine at riidl is from PDB brand. The specifications and charateristics of the machine along with safety precautions are mentioned in the image below: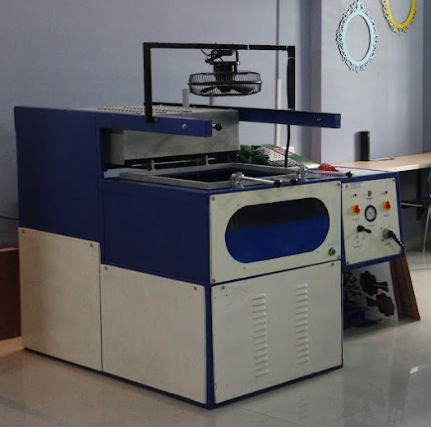
Types of products made from Vacuum forming
Hundreds of products are made from plastic material using the vacuum forming method, and we use them in our daily life. The vacuum forming process is used in making products related to medical, industries, household items, automobiles, lawn and garden pieces of equipment, agricultural equipment, electronics, display centers, commercial equipment, fitness, and many more. This topic will cover almost every product made from vacuum forming. Some of the examples are as follows: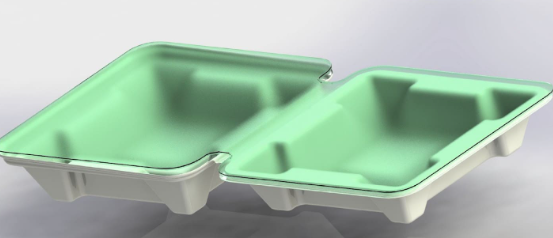
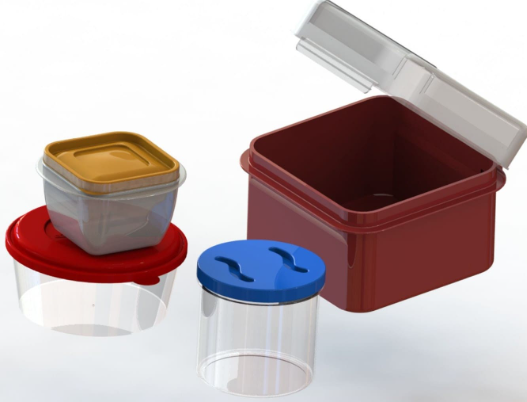

and many more like:
How to operate the Vacuum forming machine?
Vacuum Formed food packagingSo to try how it a food packaging box can be made at riidl's vacuum forming machine.
The process to operate the machine is as follows:
Step 0: Making the mold
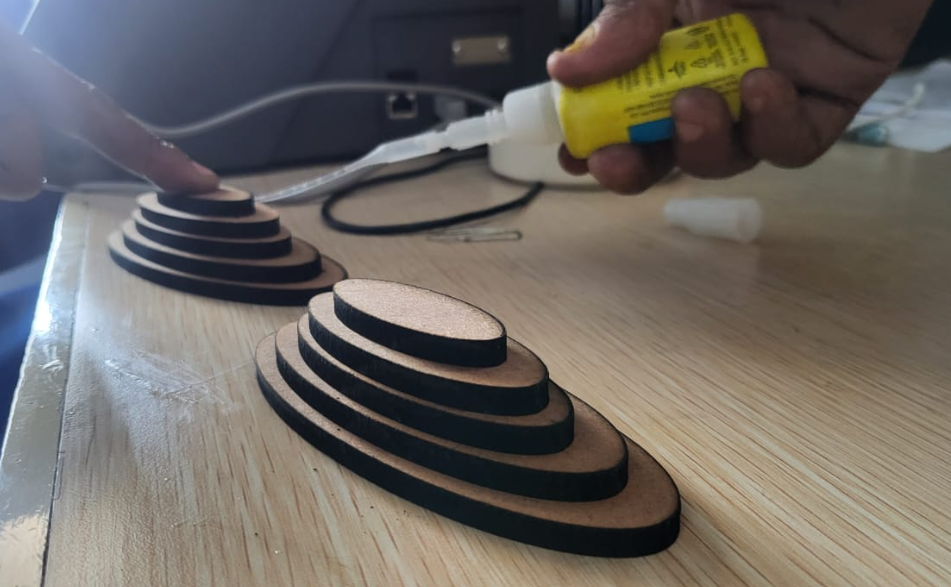
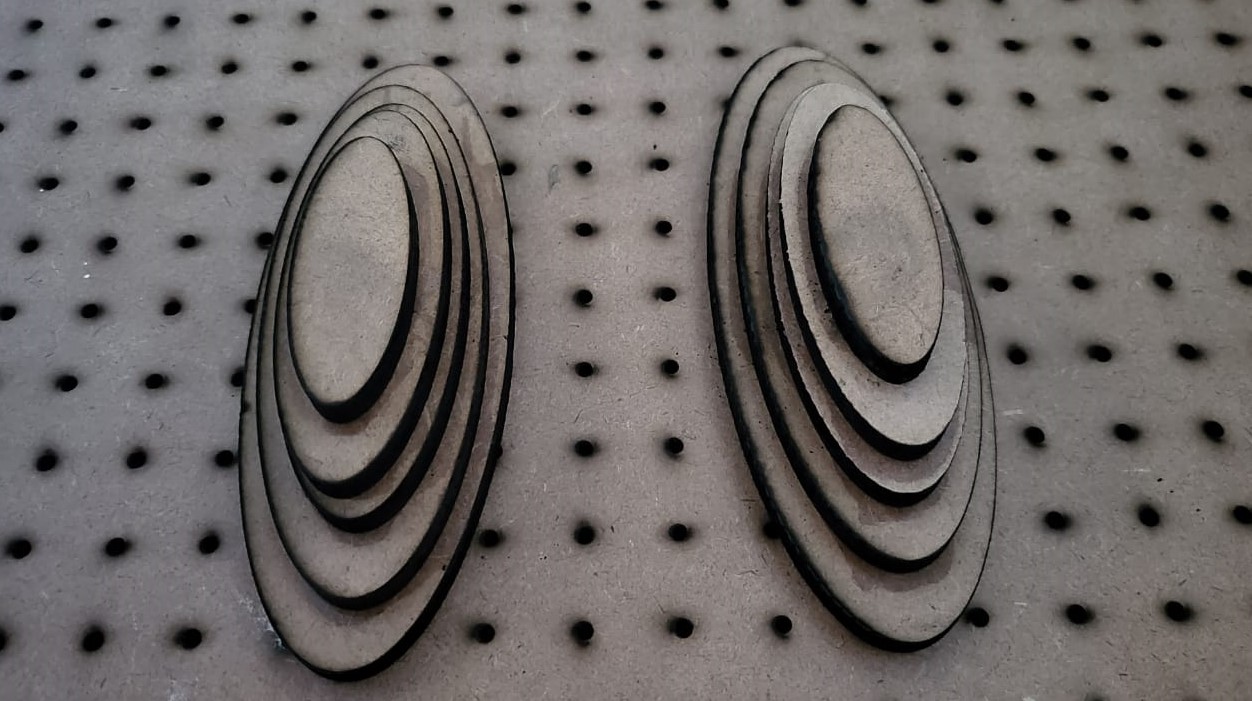
I used 2 identitcal structures next to eachother for the cavity. I designed these structures after getting inspired from a cashew nuts packaging I had seen couple of weeks ago.
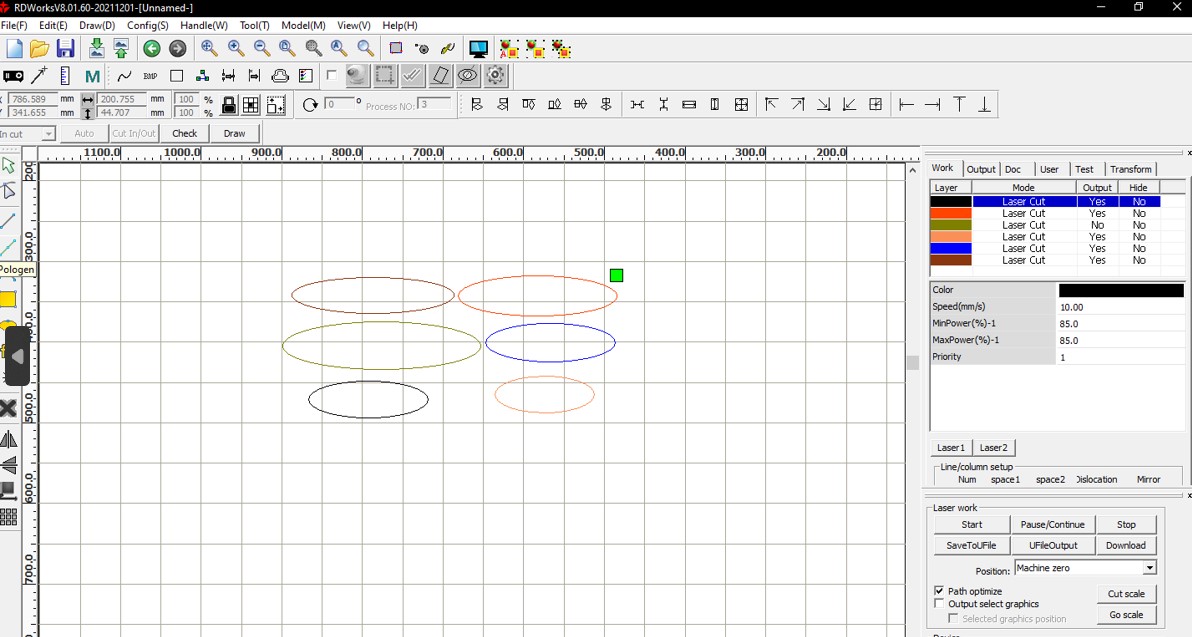
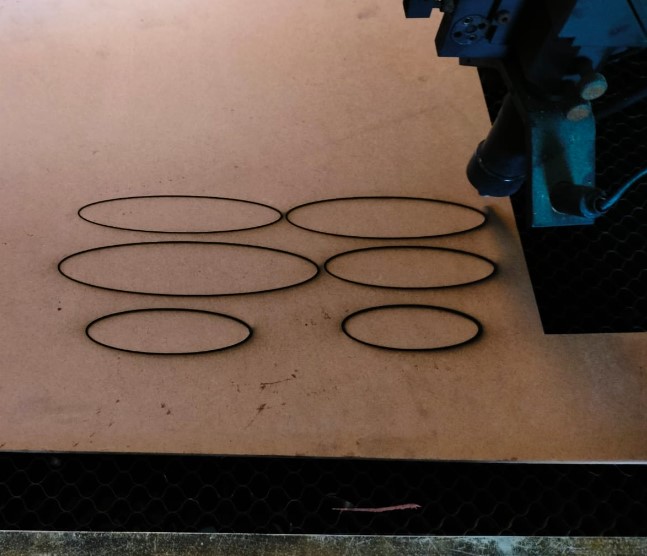
So I lasercut some MDF oval shapes in gradually increasing sizes, arranged them in ascending order one over the other and glued them together as shown below:
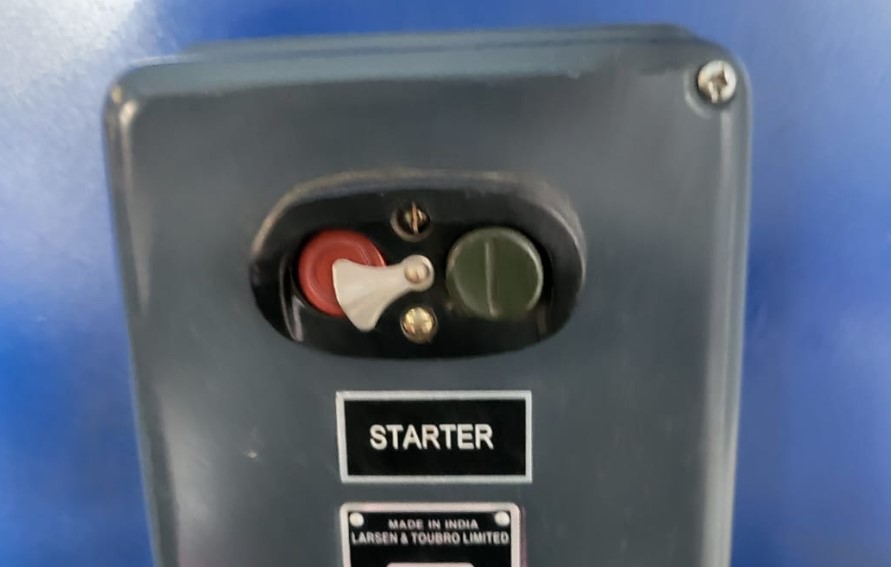
Step 01: Starting the Machine
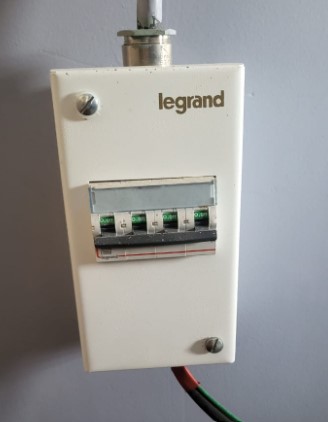
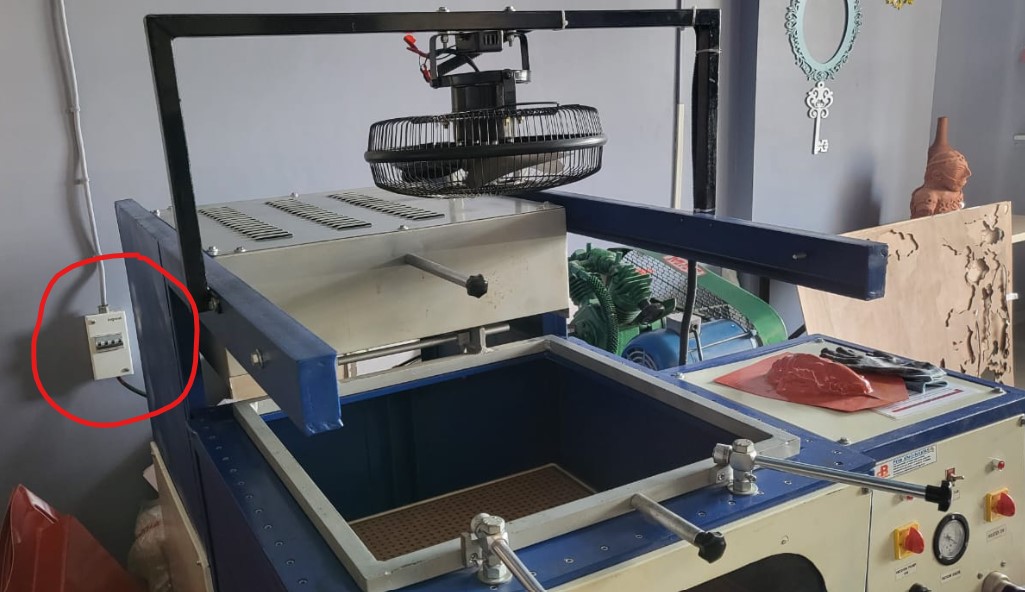
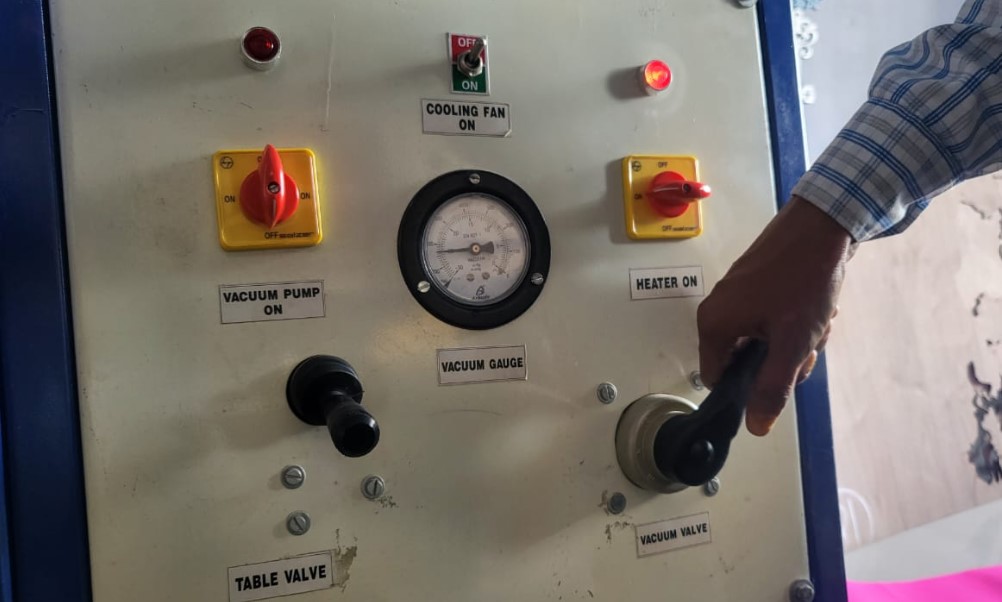
So the first step is to start the machine MCBs as shown in the figure
Step 02: Starting the Compressor
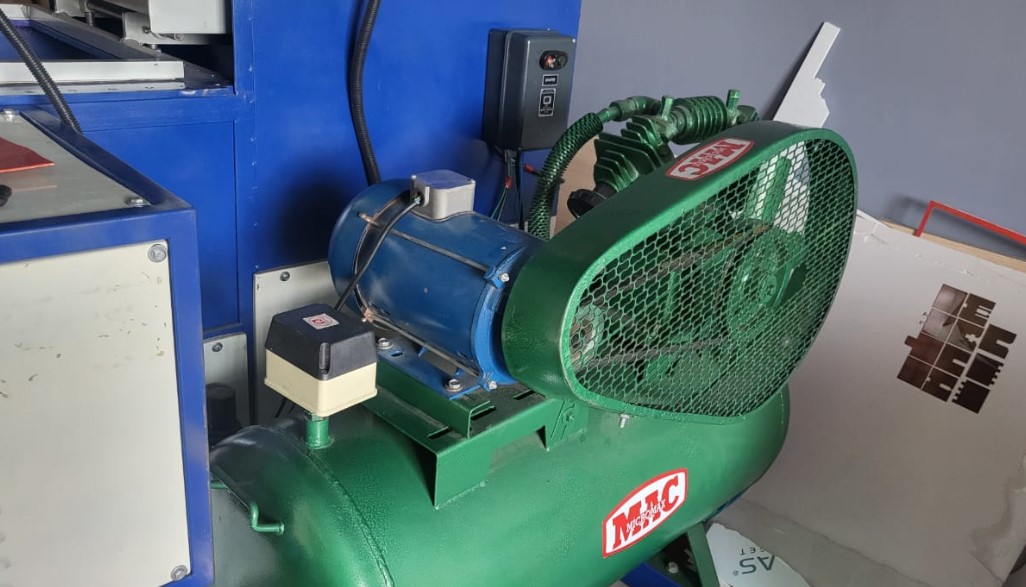
The next step is to start the compressor for the pressure generation to create vacuum. Actually this step can ideally be done after Step 6 or 7 to avoid the compressor noise throughout.
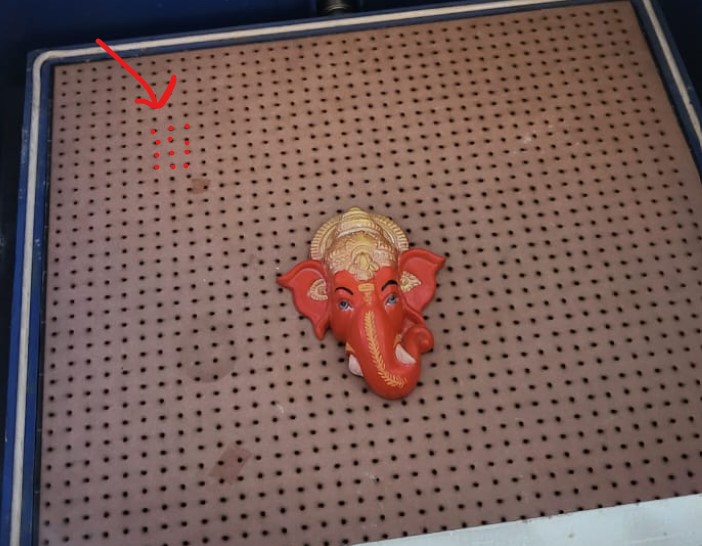
Step 03: Using a standard holed base
The based needs to have holes for creating vacuum between the sheet and the base bu sucking out the air.The holes can ideally be around the mold. But we have a standard base which has holes patterned over the whole base.
Step 04: Fixing the mold to the base
We used as simple as double sided tapes to stick our lasercut stuff as molds on the base as shown below:
By the way, Molds can't be plastic, they have to be wood or metal or similar
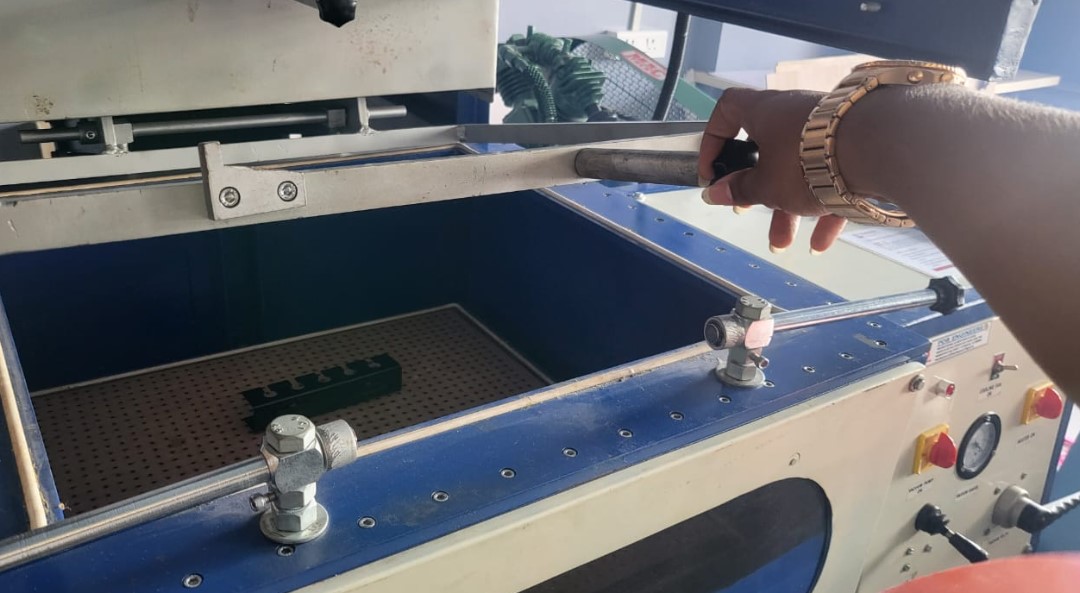
Step 05: Putting the sheet
Now we put in the PVC sheet into the machine by opening the lever as shown below:
Note: Make sure the sheet is lay completely flat and is covering the whole space in all corners and all edges.
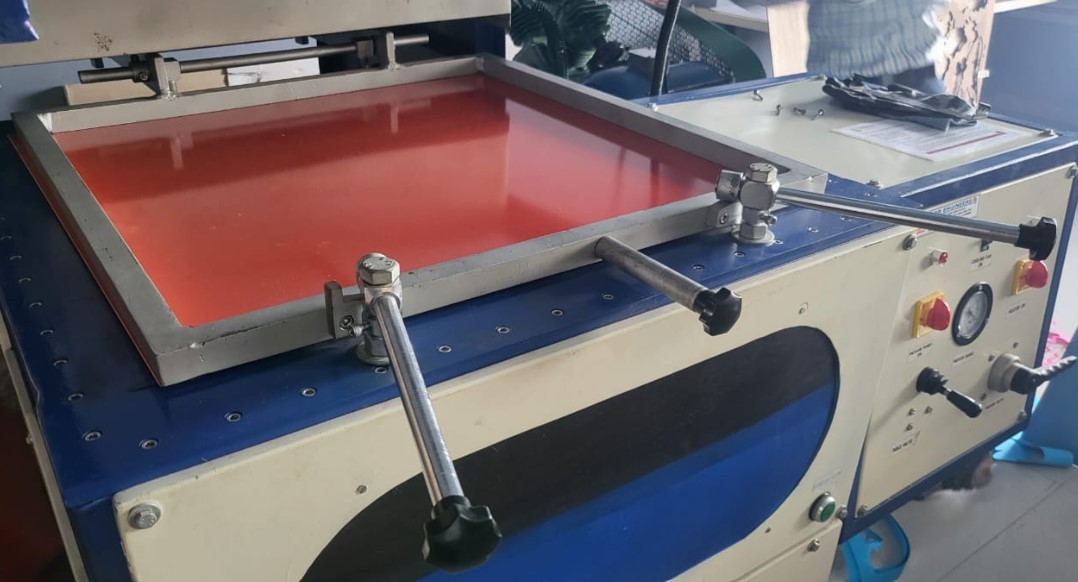
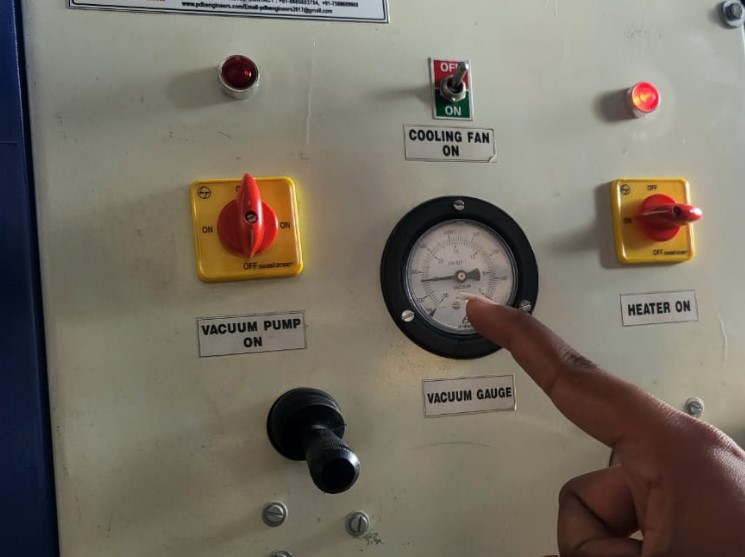
Step 06: Setting the pressure
Turn the vacuum pump on untill the desired pressure is obtained as shown below on the vacuum gauge:
Step 07: Turning the heater
Turn the heater on and wait untill all the coils are red hot inside as shown:
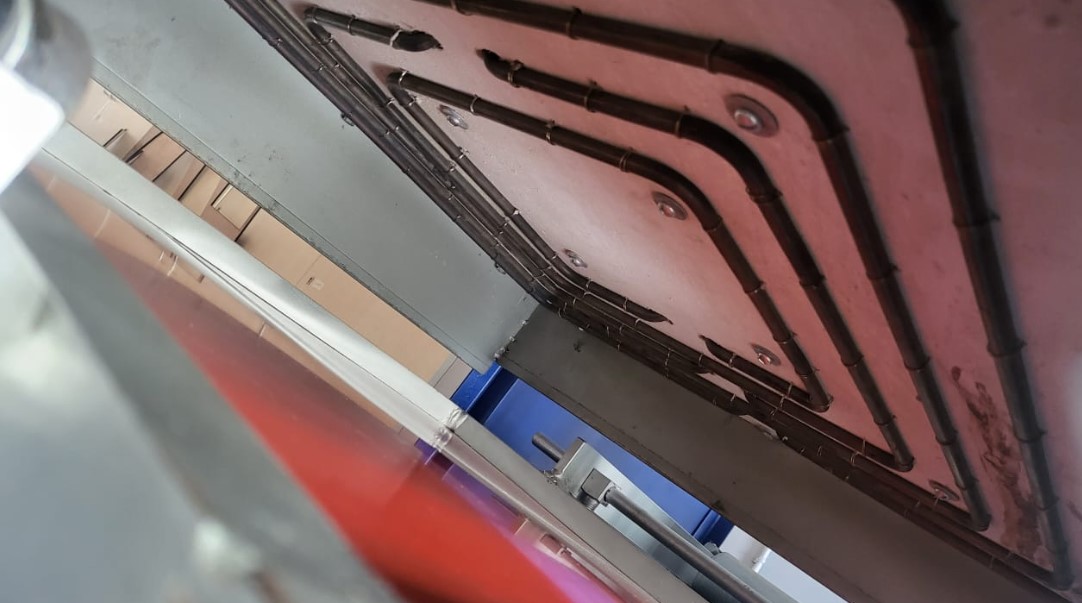
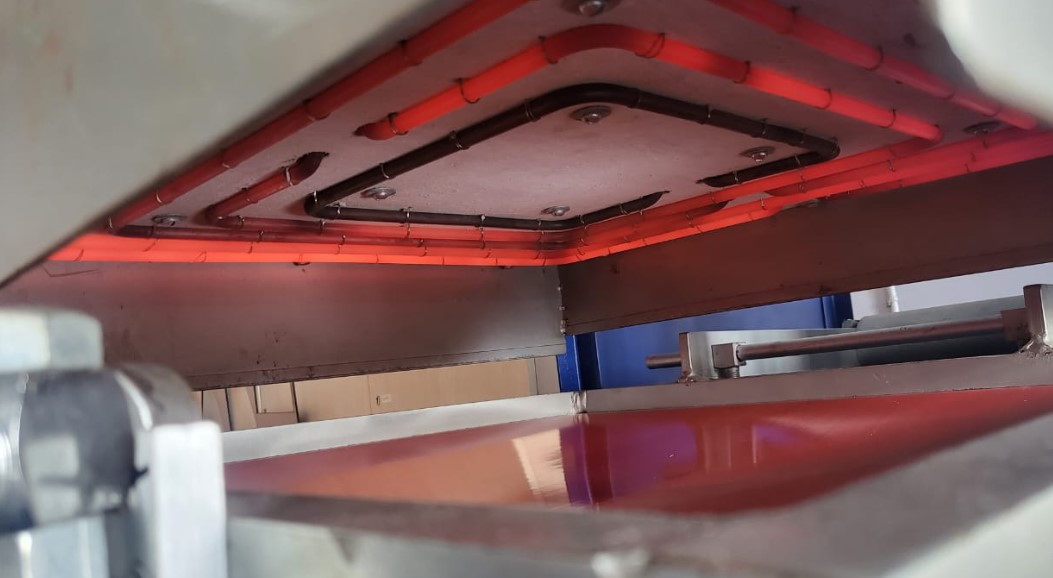
Step 08: Pull the table up and then release pressure
Once it is heated sufficiently and the plastic is melted flat, we can pull the table up, and then release the pressure
Step 09: Turn cooling fan on
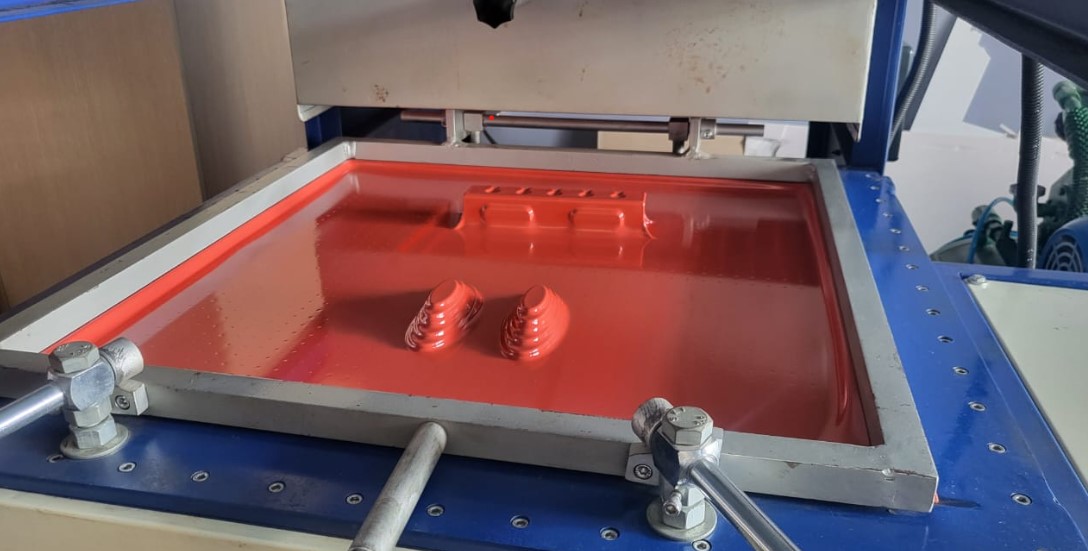
Now we can tun the exhaust on, turn off the compressor, pull the table back to its place and wait untill the plastic is a bit cooled.
Step 10: Taking the sheet out
Now you can take the sheet out and cut put the essential part
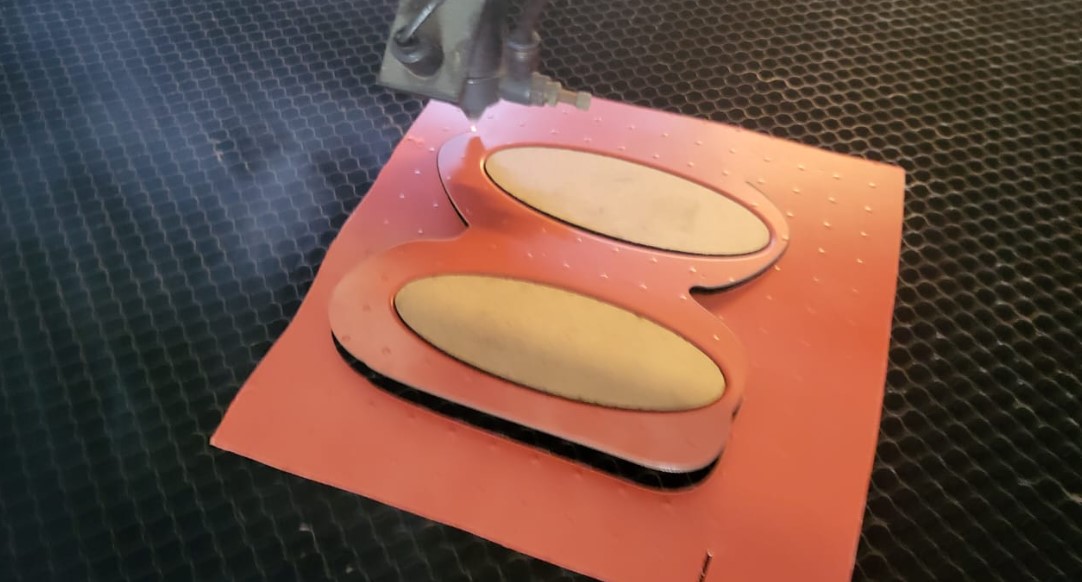
The design looks wobbly because I messed up with the cutting. So ideally, PVC sheets are not meant to be cut on the laser cutter we have. On top of it, the shape not being flat, the laser cutter was inconsistent leading to wobbly edge in the cutting.
Final Product:
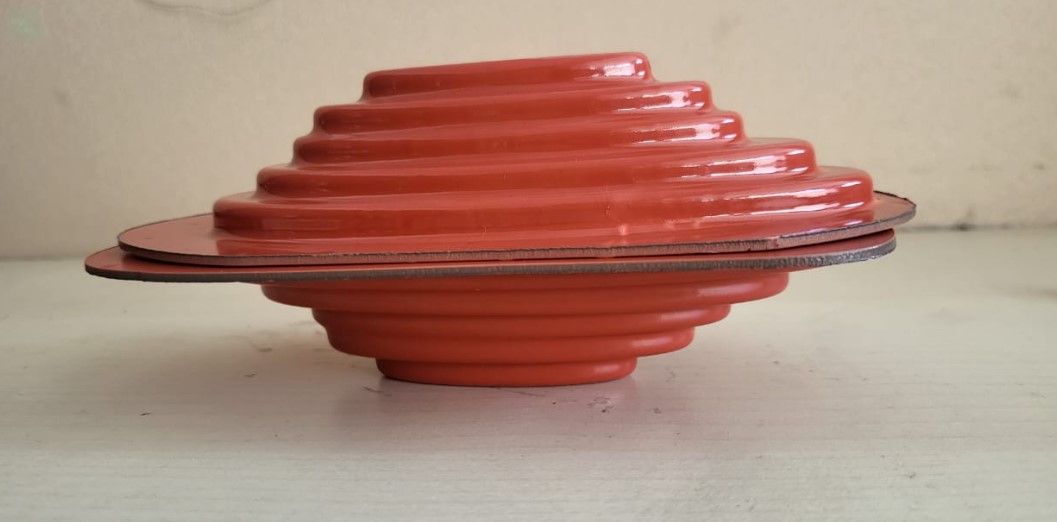
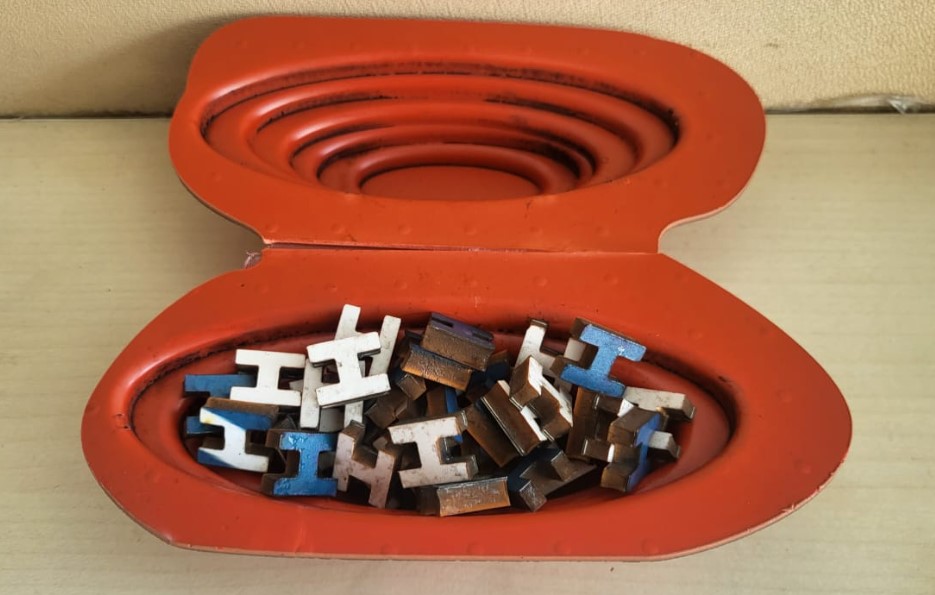
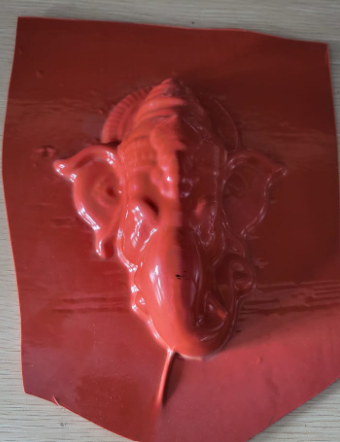
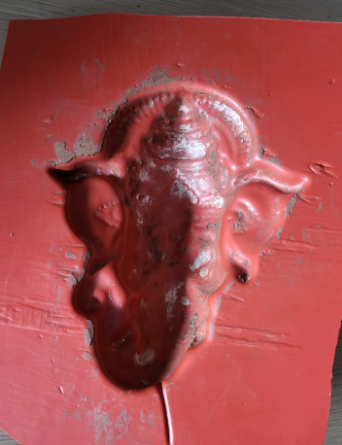
Other Experimentation was done with a Ganesh Model to check out the basic functioning of the machine.
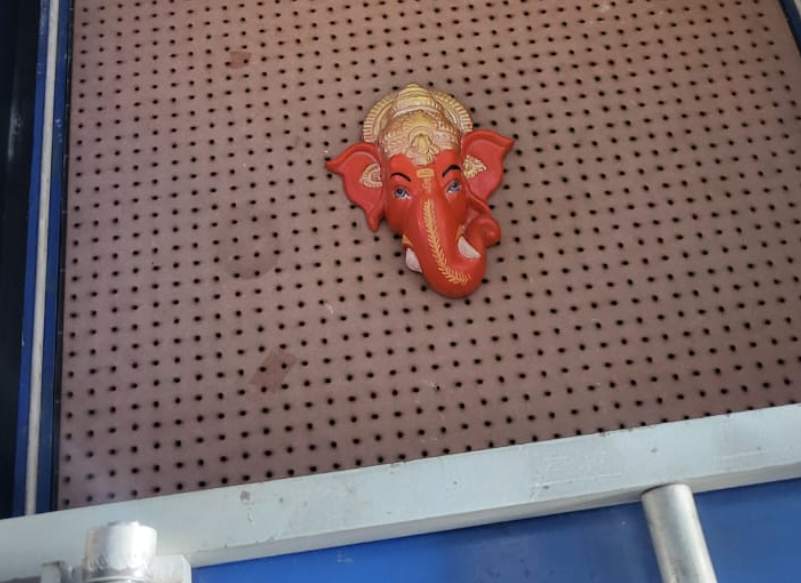
The outcome of the same is shown below:
