1. Project Management, Principles & Practises
This week's assignment was to understand the git, gitlab, and all about coding, as it was necessary for the documentation process.
At first,
the major challenge I had was about getting sufficient information about how to use gitlab.
I had never used gitlab but I did had basic background as I did use github for my previous job.
Second step
involved understanding the documentation process followed by th Fab Academy and to try build on for myself.
Last step for the week
was to explore and define possibilities for the final project of the course. Ofcourse plan out the same.
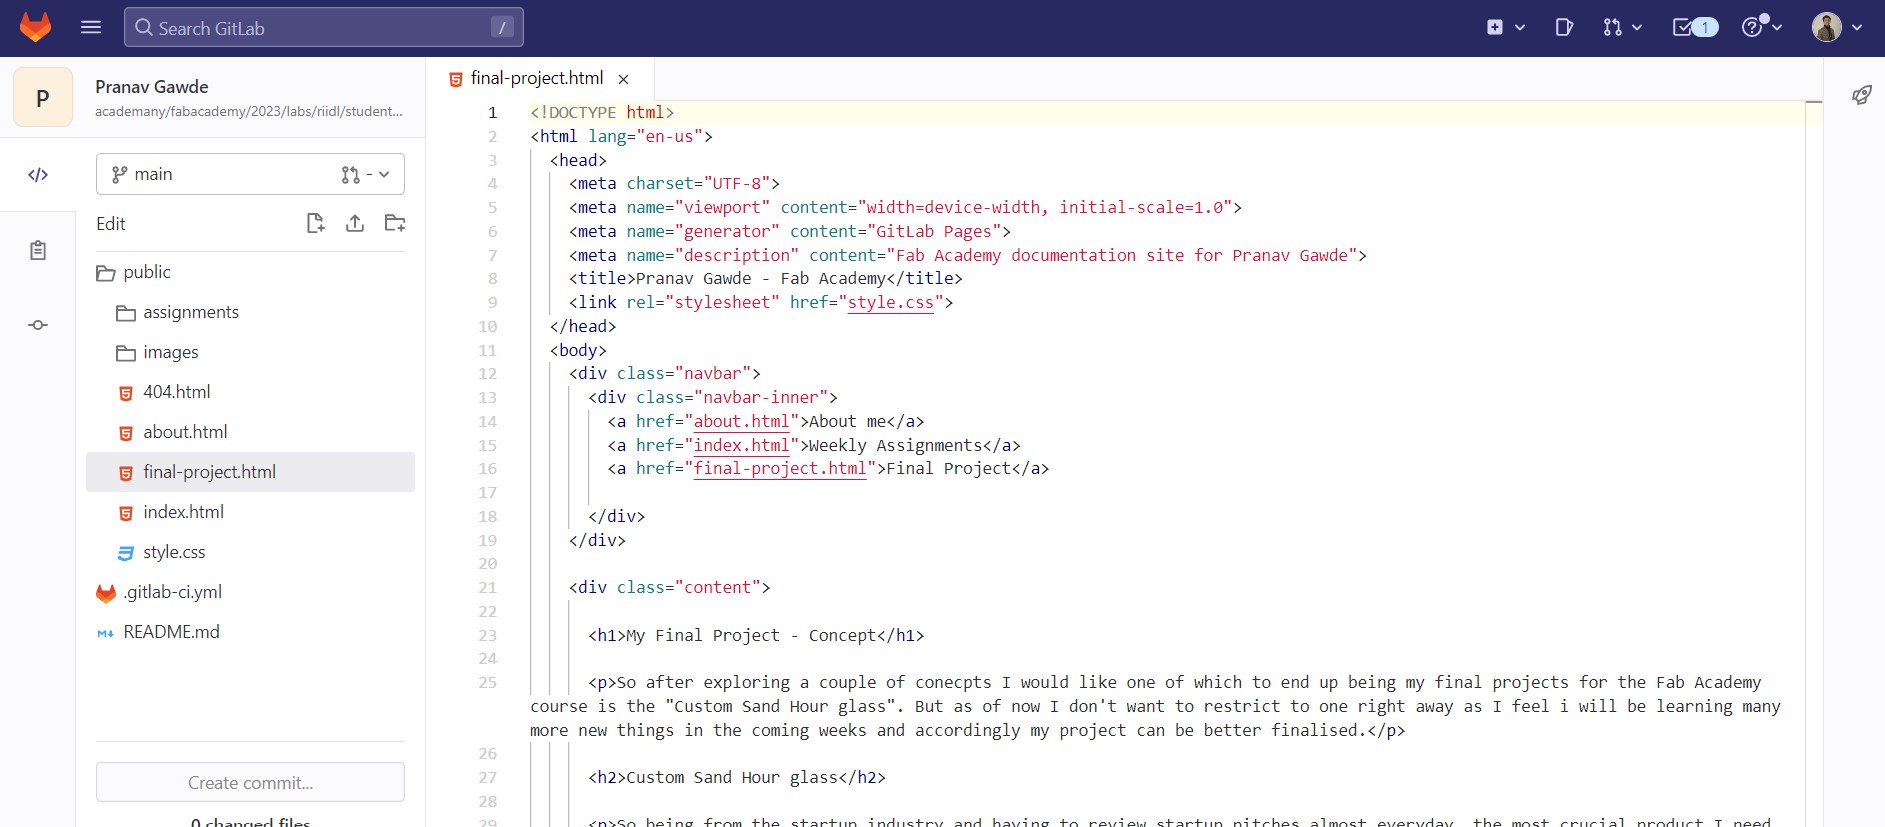
I worked on defining my final project idea and started to getting used to the documentation process using HTML.
So basically all three requirements were attempted in parallel.
Understanding Git, GitLab and GitHub
Git is an open-source version control program used by DevOps teams to handle small and large software development projects. Git has the ability to track changes and therefore supports non-linear development, allowing multiple members of a team to modify, add, or delete files at any time.GitHub is one of the most popular Git hosting providers. It is an interface that has a large range of functions with quality performance and sufficient resources. Some of the main components of GitHub include Git repositories, collaborative work with forks and pull requests, GitHub Actions, automatic safety checks, and a ticket system with milestones.
Then there’s GitLab, which is GitHub's direct competitor. Both platforms provide a variety of useful tools for software development, with the central element in both being a Git repository. A significant difference between the two is that GitLab maintains the source code of the application publicly on the internet under an open-source license.
GitLab also gives you the option of running a GitLab server in your own data center, which can reduce costs. Users can install the GitLab platform on their own server to manage Git projects. They can then use the software to develop commercial or open-source projects without their code or business data falling into the wrong hands.
Understanding HTML
What is an HTML element?An HTML element is defined by a start tag, some content, and an end tag:
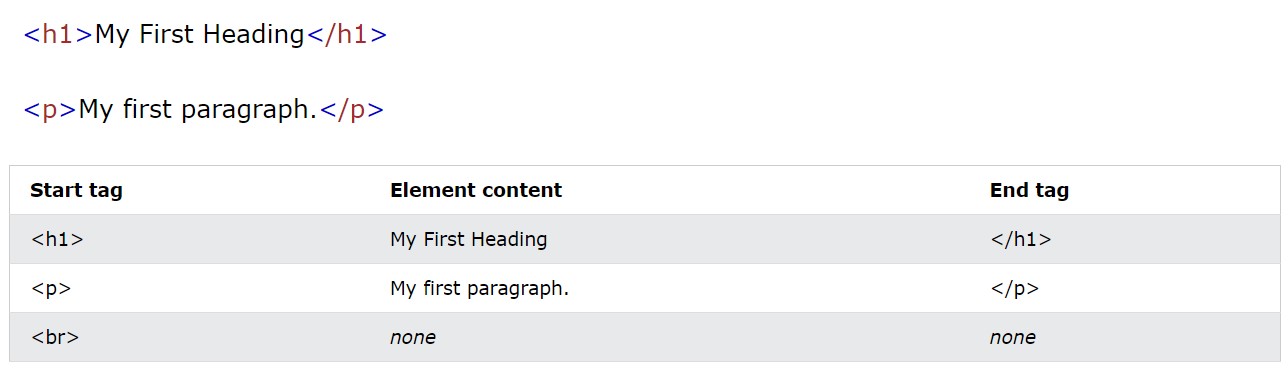
Some HTML elements have no content (like the <br> element). These elements are called empty elements. Empty elements do not have an end tag!
Basic HTML body code body structure:
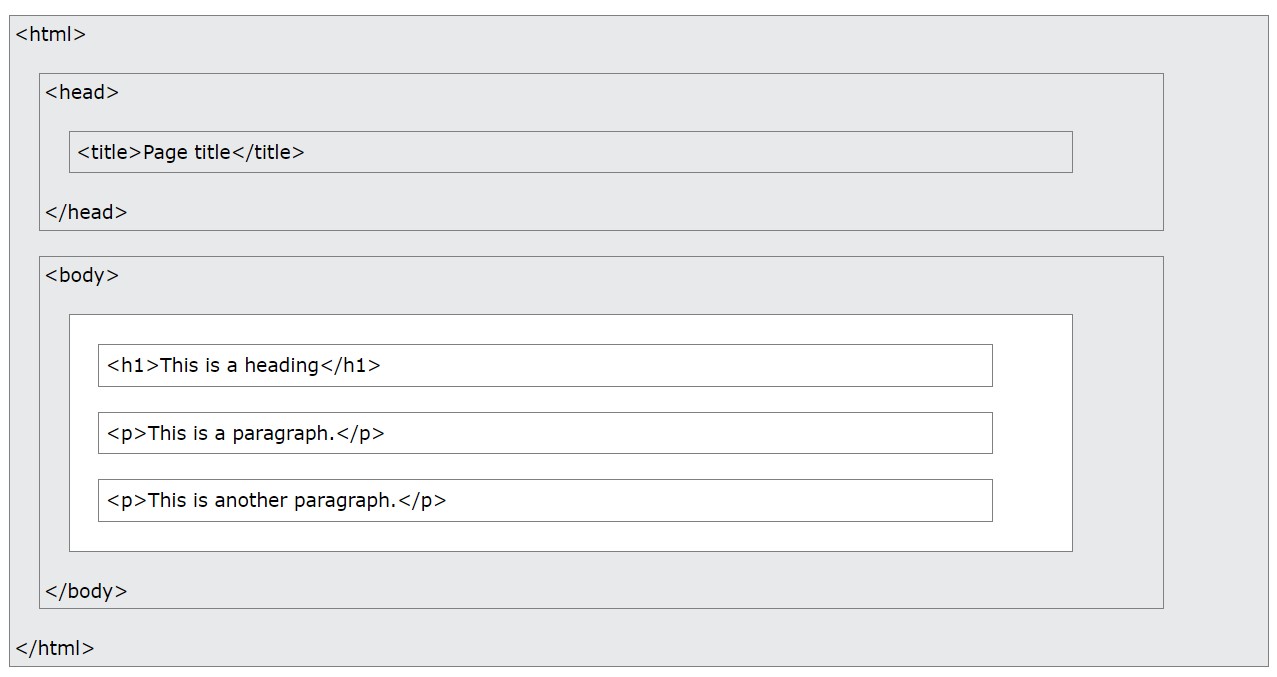
The content inside the <body> section will be displayed in a browser. The content inside the <title> element will be shown in the browser's title bar or in the page's tab. I have heavily used W3Schools website for help whenever I used to get stuck with basic syntax issues. The site is linked here: www.w3schools.com/html_intro.asp
Steps to create the website
1. Getting used to HTML and Gitlab
For the better understanding of the documentation process and learning HTML better, I took help of my brother, who is an IT engineer.
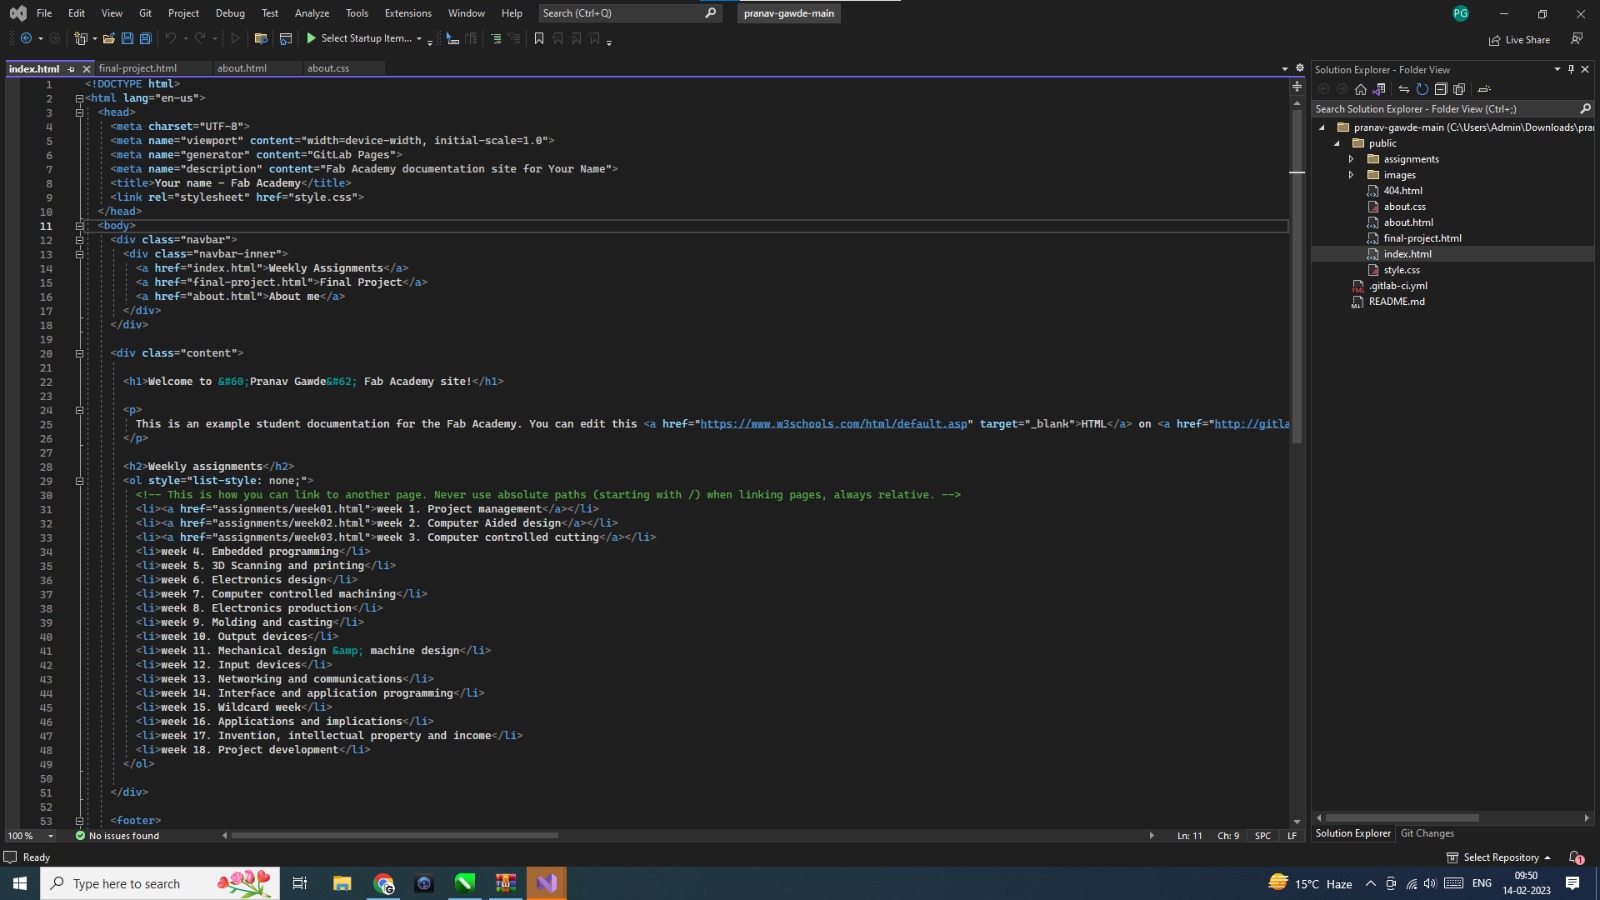
Initially to understand the basics of HTML and it's syntax, I tried playing around the local HTML using Microsoft Visual Studio as shown in the image below.
I also have plans to beautify my website in terms of layouts, immages, and generic aesthtetics.
But it will take me some time to get hold of HTML in details to be able to do any wonders.
After hours of investment into the HTML and its syntax, finally I am able to get hold a bit of it.
But then unfortunately I was not able to get the gitlab and the local visual studio connected for git push.
So I went back to the safer side, editing directly on GITLAB IDE.
It worked fine for me for the first few days, but then I realised from my fellow collegues at work that it should not be done like that.
That's when I took help of Raj Dhiravani amd Mitul Jain from riidl to get the Visual Studio and git push thing working.
Using Visual Studio Code for the documentation
So if you are wondering what exact medium I used for all the coding, basically the documentation then, the software I used for the web development is Visual Studio Code. I am not using a standard template, but I just edited the .css file to get some color variations and font size variations with multiple headings, subheadings, options. And the rest of the layout is also organised through the directory and the code in visual studio code itself. I am very new to coding to be honest, so took me a lot of time to come here. I initially worked directly on the gitlab and used to push directly, but then my instructor helped me.I have tried to explain both ways(directly on gitlab and via Visual Studio) and mistakes I have done in both the ways, so that anyone reading this will get a better understanding.
Directly on GitLab interface.
So if you want to owrk directly on the gitlab main folder(not recommended but for the time being), then these are the steps to follow:1. Open gitlab and go to the public folder.
The link for the same is: fabcloud/fabacademy/2023/pranav-gawde (just change the year, fablab name and student name at the end). You also need to obviously log in through fablab id to the gitlab.
2. Edit in Web IDE.

3. Build Code Create Repeat
Once in Web IDE, you can edit the codes directly for the pages and subpages on your website. The subpages can be seen in the left sidebar as shown in the figure below.
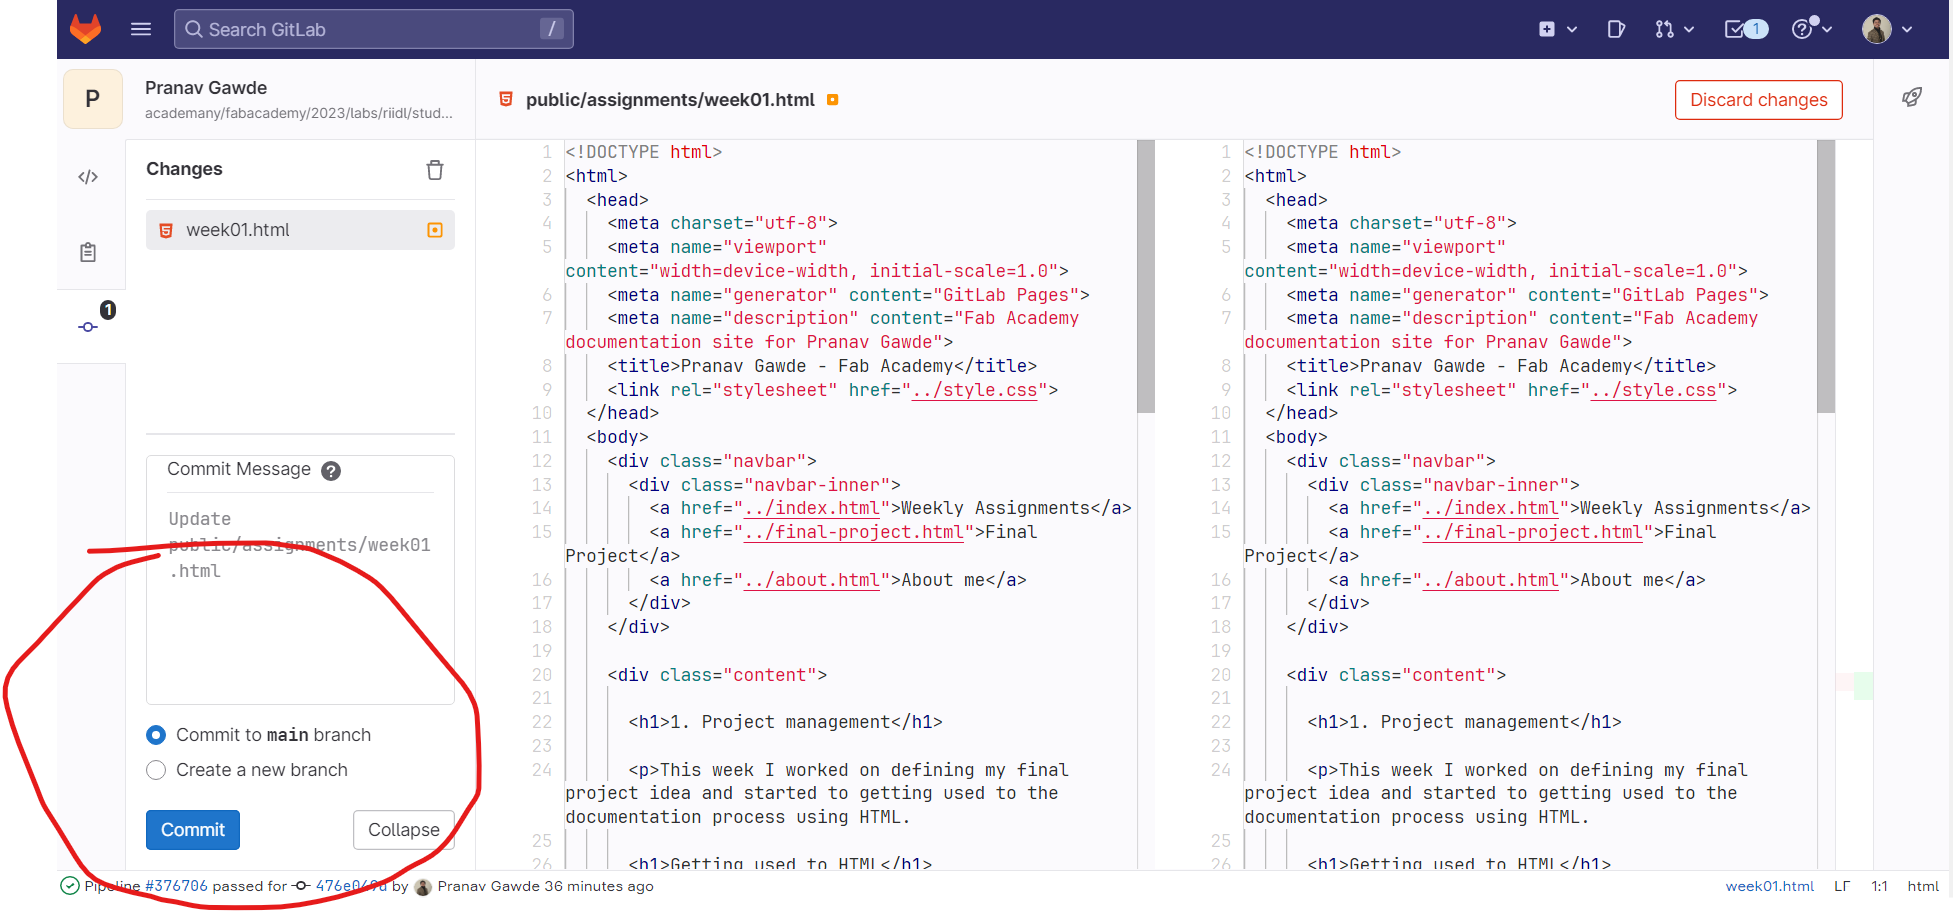
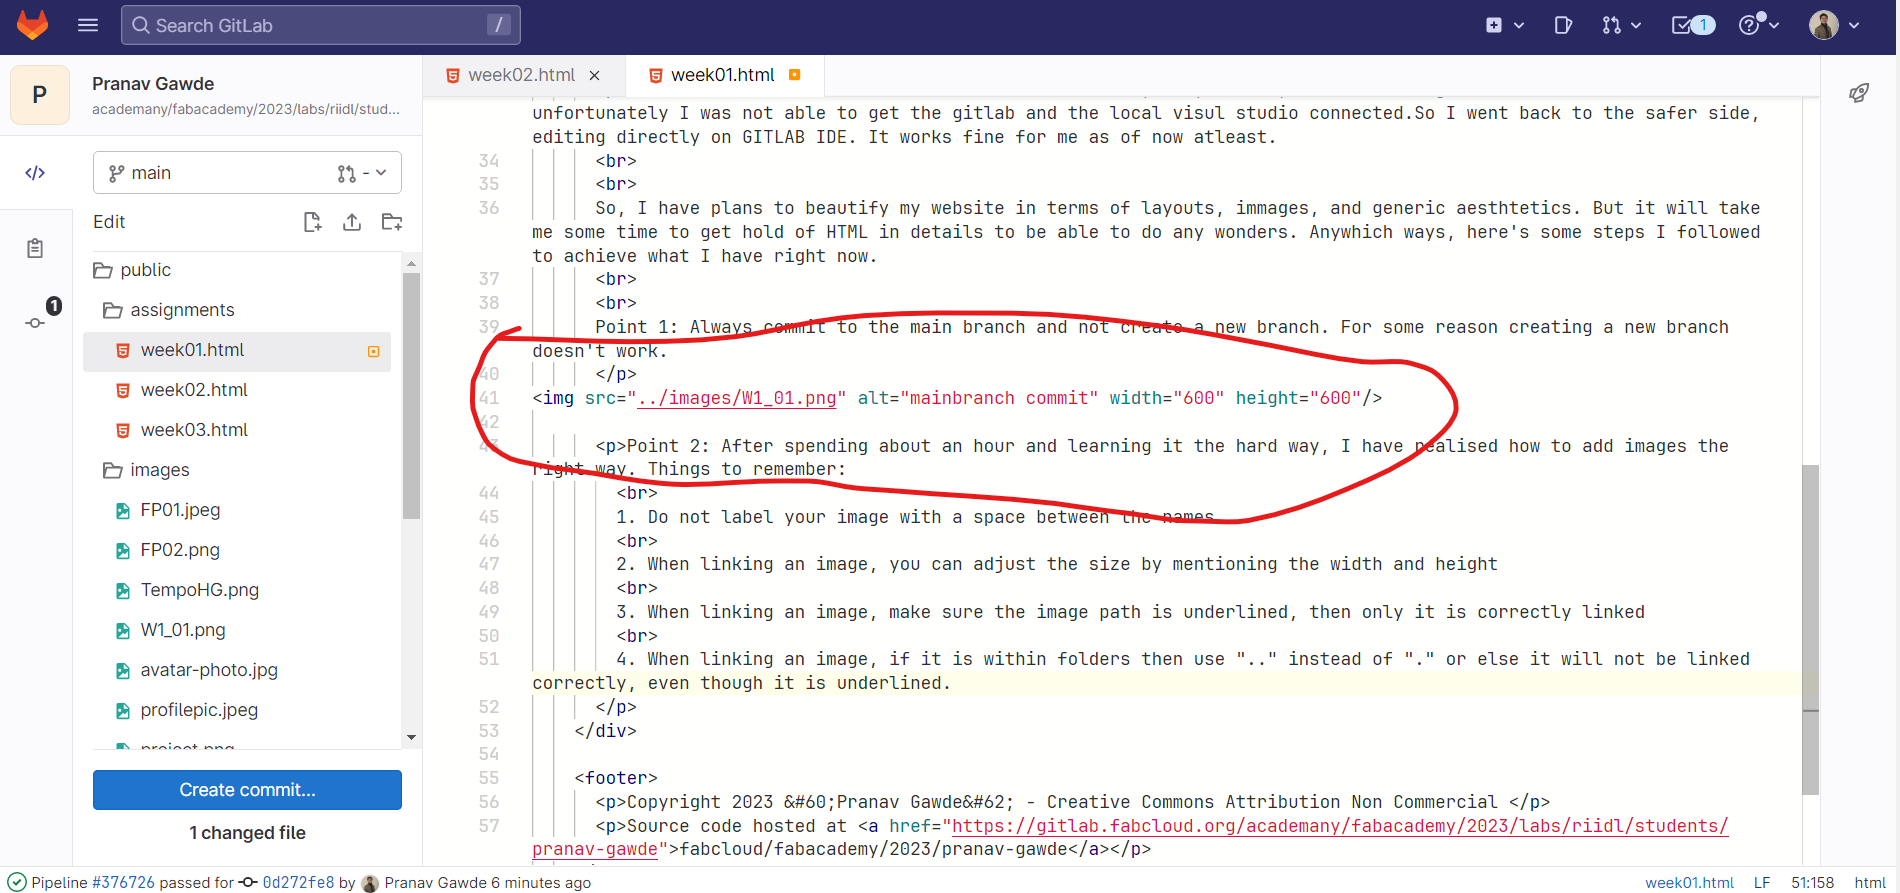
4. Commit to main branch
Once you are ready with your code, you can commit to the main branch as marked in the image below. Then you can check the changes on the site reflected within few seconds.
5. Uploading images
Steps to remember while uploading an image:
1. Do not label your image with a space between the names
2. When linking an image, you can adjust the size by mentioning the width and height
3. When linking an image, make sure the image path is underlined, then only it is correctly linked
4. When linking an image, if it is within folders then use ".." instead of "." or else it will not be linked correctly, even though it is underlined.
5. Always organise your images in folders (atleast assignmentwise)
Making a clone & local editing
So I have started working locally on Visual Studio Code for convinience and to avoid multiple pushes on the main branch on the gitlab site. Although I have not figured out the way yet to be able to git push stuffs.Here are the steps to follow to work locally:
1. First thing to do is to install Visual Studio Code, git repository, etc
So to work locally, you need to have a coding software installed for convinience. Visual Studio code is the most widely used platform for HTML on Windows if I am not wrong. Previously for my other office, I used to use Linux for python. You also need to install git.
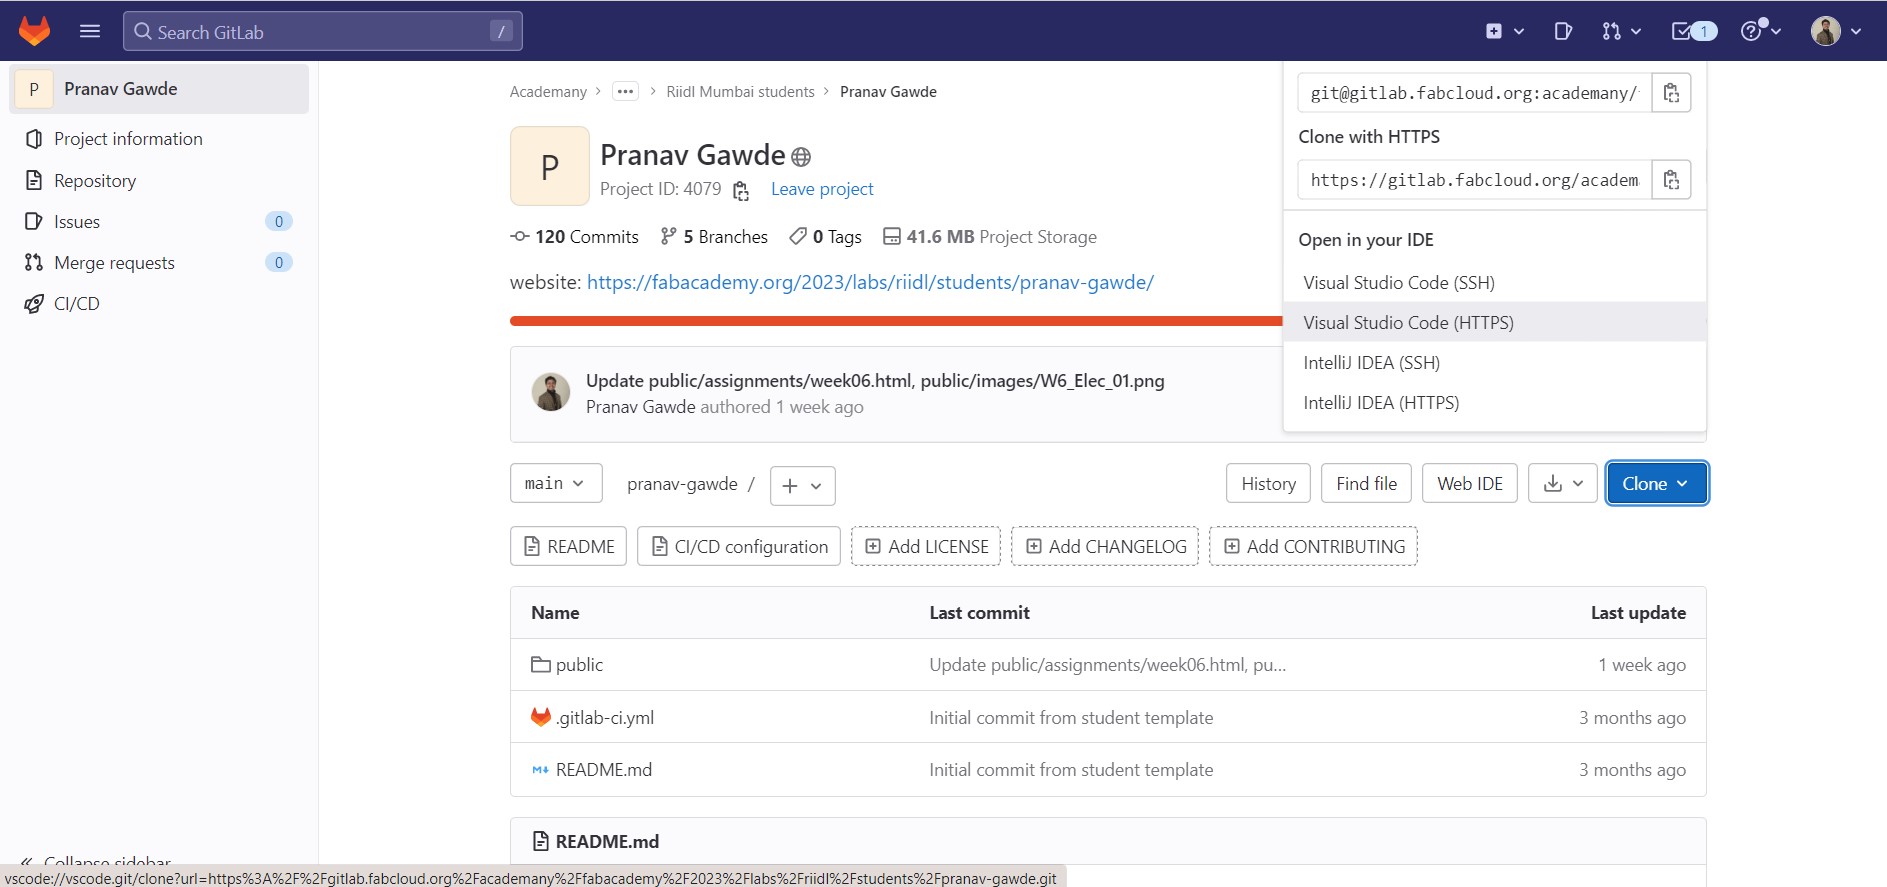
2. Then get a clone in Visual Studio Code
Then onces the softwares are setup, go to the Gitlab, login using Fablab login credentials and then make a clone of the public repo
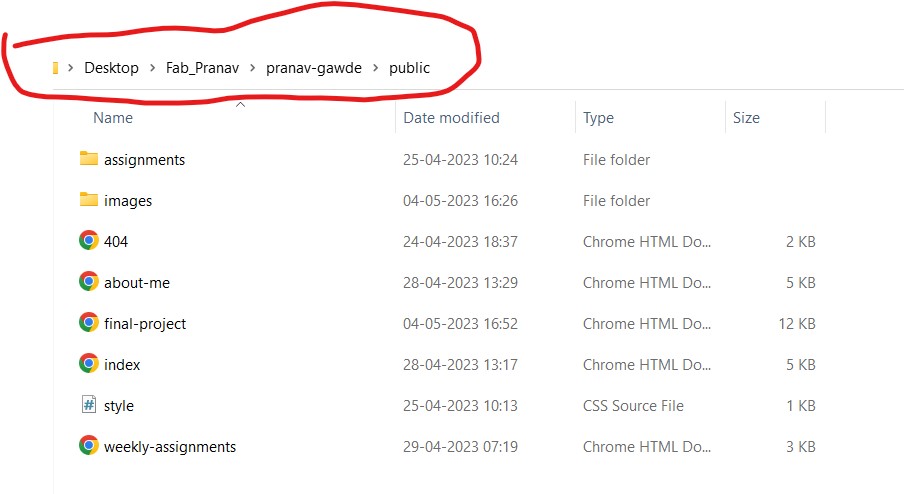
3. Unzip the repository folder
The clone folder is zipped and downloaded locally. Unzip it to a folder according to your convinience and remember the path. From this path you can locally visit the site anytime you want to test out your changes before doing a git push.
4. Edit in the visual studio code
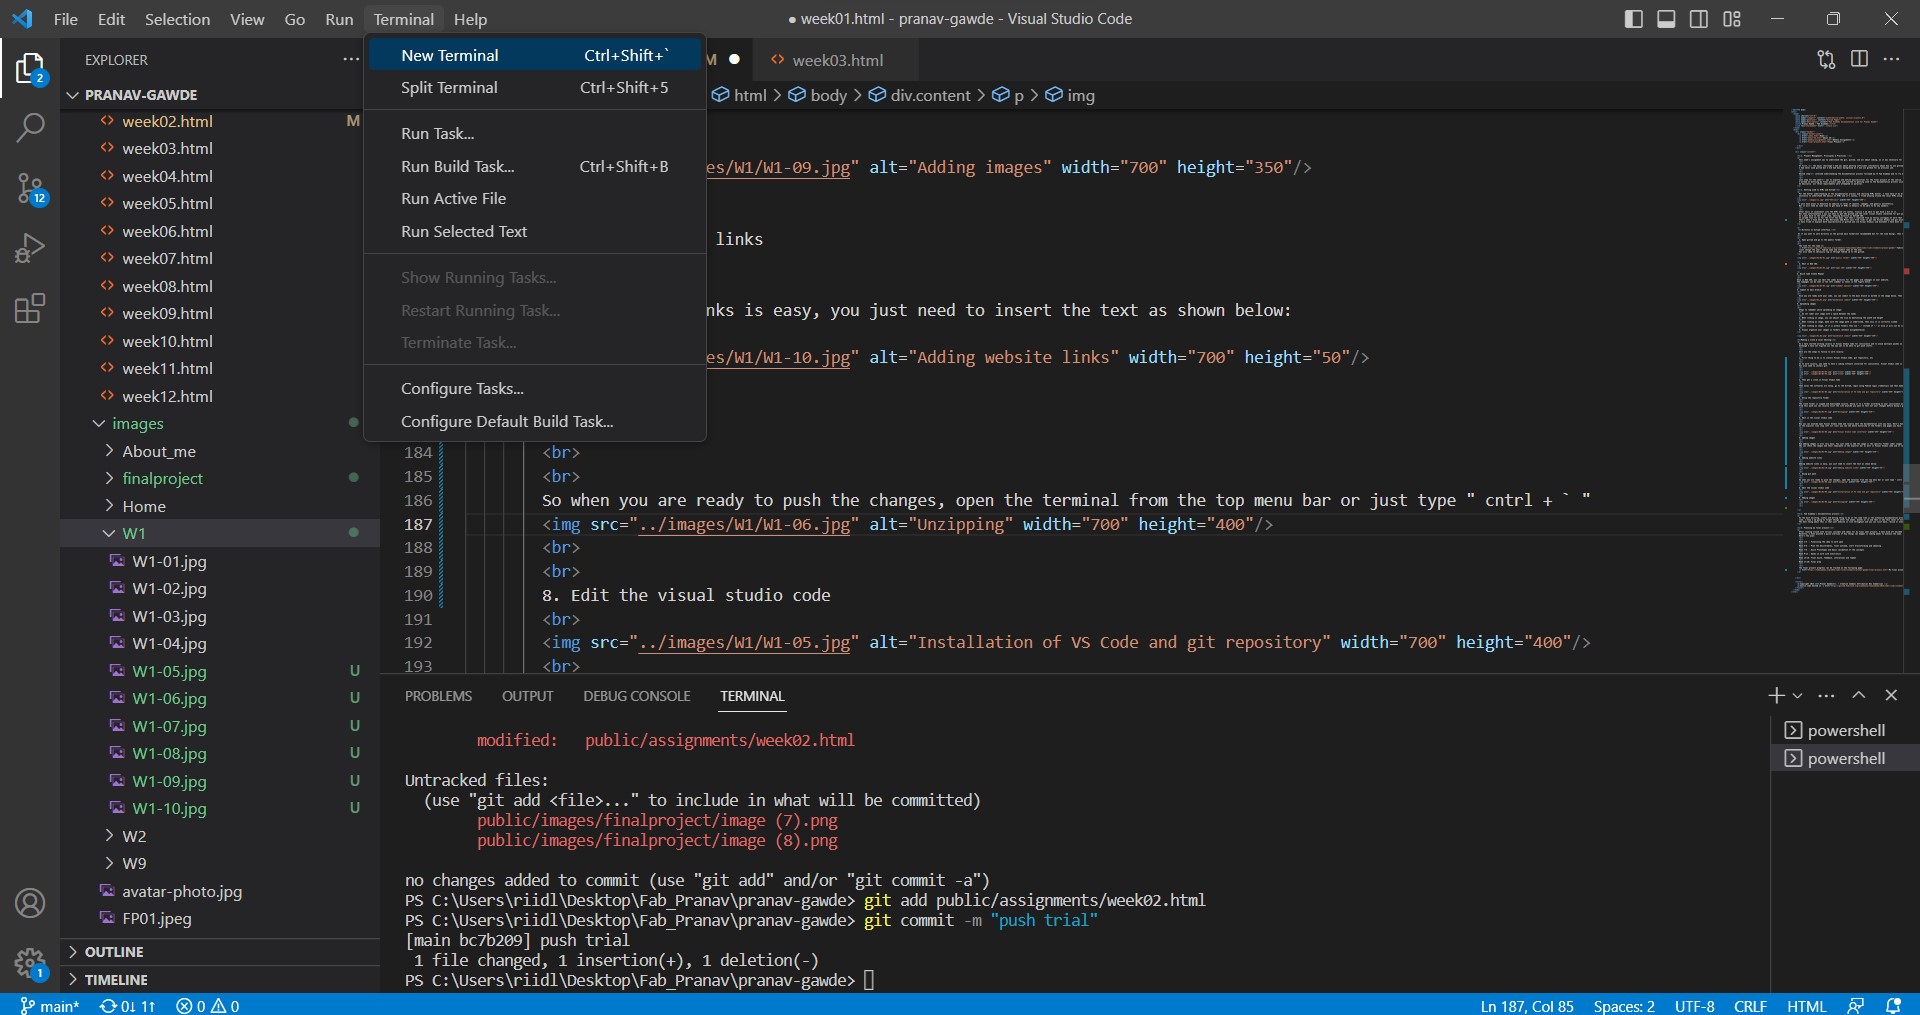
Now you can anytime open Visual Studio Code and locally edit the documentation site you have. Here's how to interface looks like. In the explorer view (top left 1st icon) you see the whole hierarchy of the folders and pages you have.

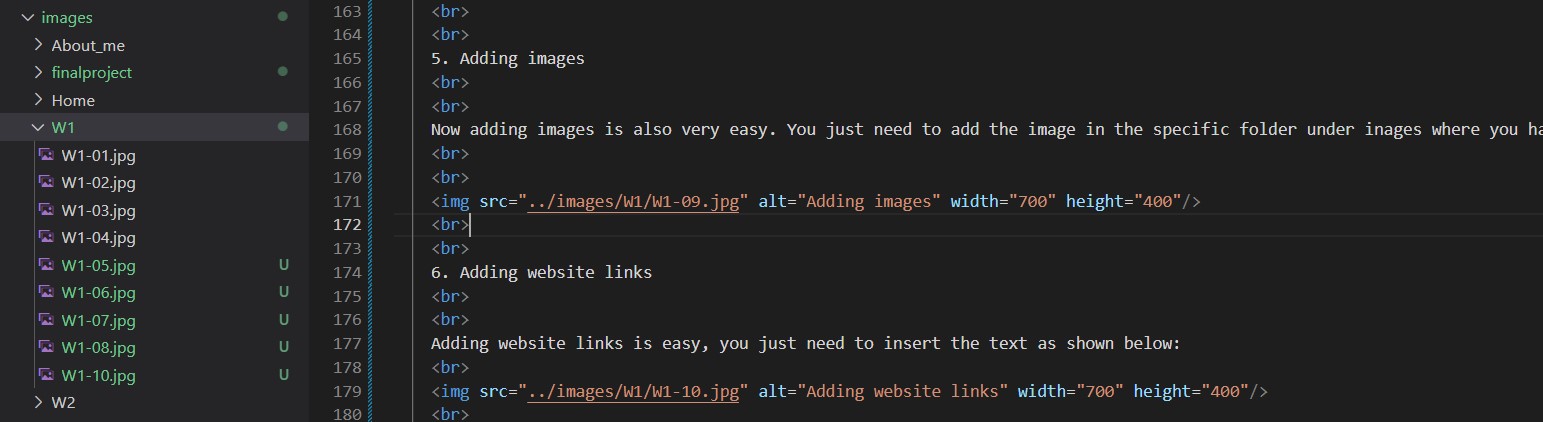
5. Adding images
Now adding images is also very easy. You just need to add the image in the specific folder under inages where you have unzipped the folder and then copy that path in the code. YOu can check the images and their name/path in the explorer bar as well in Visual Studio code and it can be added to the code as shown in the figure below:
6. Adding website links
Adding website links is easy, you just need to insert the text as shown below:

7. Doing git push
So when you are ready to push the changes, open the terminal from the top menu bar or just type " cntrl + ` "
If you want to check what changes have been made since the last git push, then you can do it by typing "git status" and press enter
Next if you want to commit a specific path say only the week 2 assignment page, then type "git add (enter the path here)" ex. git add public/assignments/week02.html and press enter.
If you want to commit all the changes then type "git add ." and press enter
Next type git commit -m "(type what you want to name this change)" ex. git commit -m "push trial"
then type git push
Done!
2. Fab Academy's documentation process
So the most exciting, useful and boring thing to do at the same time is the extensive documentation process. Like, I know I am going to forget things after few weeks, months or so and that is why this level of extensive documentation is important. The best thing about this is that your website is live throughout and you can visit back, revise or even share with someone to refer to if needed in future.
3. Planning my final project
After roaming around with various concepts and ideas for my final year project, I have kind off decided to work on the adjustable sand hour glass project. Recently, I have planned a quick overview of how things can happen in coming weeks to achieve the same. Here's the plan:Week 1-4 : Finalising the idea to work upon
Week 5-6 : Plan the deliverables, final outcome, start brainstorming and ideating
Week 7-8 : Quick Prototypes and basic validation of the concepts
Week 9-12 : Hands on work with electronics
Week 13-16: Final build, feedback, interations and repeat
Week 17-18: Final prep
Some ideas
Concept 1 - Adjustable Hour Glass
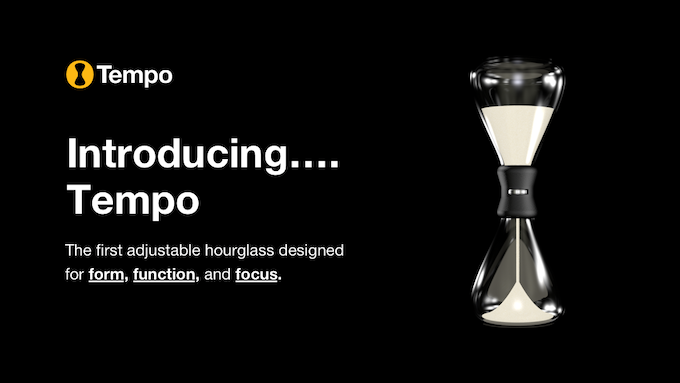
So being from the startup industry and having to review startup pitches almost everyday, the most crucial product I need next to me is a timer. I am super fond of a sand hour glass. I already have one with 1 minute and 5 minute timers. But I always felt the lack of being able to adjust the sand timer to whatever time I would like to set it to. Imagine having a sand hour glass which can range in its functionality from say 1 minute to 1 hour. And we can set that ourselves on the hourglass by some simple buttons! So cool!Upon research, yes it does exist in the international market. Here's one shown in the image above from Tempo, but it is only adjustable to 3 settings, 5 min, 15mins, 25mins. My plan is to make it more free to adjust. I haven't figured out exactly how but maybe some servo? I don't know, need some time to brainstorm in detail. Coming weeks it will be!
I had sketched initial ideas for the final project. Initial brainstorming led to few ideas as described below:
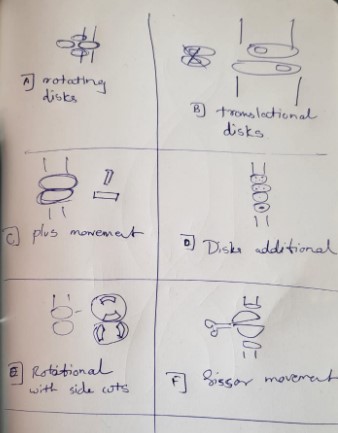
Some of the interesting ideas are explained below:
Idea [A]: There can be disks with different diameter holes in the center of the disks (defining the time it takes for the sand), and these disks can be rotated to be replaced by another over a button actuation using servo.
Idea [B]: Instead of multiple disks, there can be translational motion between two oval holed disks and the interection on the holes can define the time it takes for the sand.
Idea [C]: Here I thought, we can have try getting the right combination of slot by using a plus sign at the interaction, but actually it is not feasible as everyting the intersection will be the same sized square or rectangle.
Idea [D]: Maybe we can just have multiple disks one above the other and the holes in it can be such that they can add up to get the right sand time and each disk can be rotated indivitually or interlinked(to reduce servos needed).
Idea [E]: This idea was inspired from idea [C] to some extent but instead of being at the center the interections can happen a bit away from the center and in two locations or more. This will give more easier control ovet the interection tolerance.
Idea [F]: This idea wasa inspired from the spirograph project of ours and it basically means the opening of the center slit by motor controlled movement for the exact amount of sand timing to match.
Further, I focused on 2 ideas to try out and conceptualise a bit more to validate the functionality.
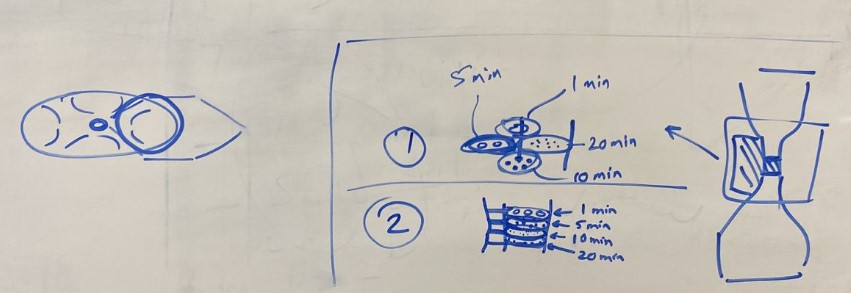
Idea 1 is basically the idea [A], and Idea 2 is basically the idea [D], but in both the cases the definition of the center hole diameter for exact sand to pass through for a specific time stamp is very important. So the first ideal iteration would be to figure out the dimension of the center hole diameter by trying out various versions of the same.
So before finalising on the adjustable hourglass, I had explored few more concepts. These concepts I are explained below. maybe they will be some inspiration in future to me or even anyone else visiting my site.
Concept 2 - Indegenious crawler
I want to build a crawler robot with interchangable end effectors for the operation of snake movements beteween parametric bridges or bailey bridges(used during World War) for quick repair/inspection in the coming future. With research going on in the autonomous parametric bridge constructions using 3D printers, and myself being involved in a similar project, I have personal connection into building a robot to do daily inspection of such bridges.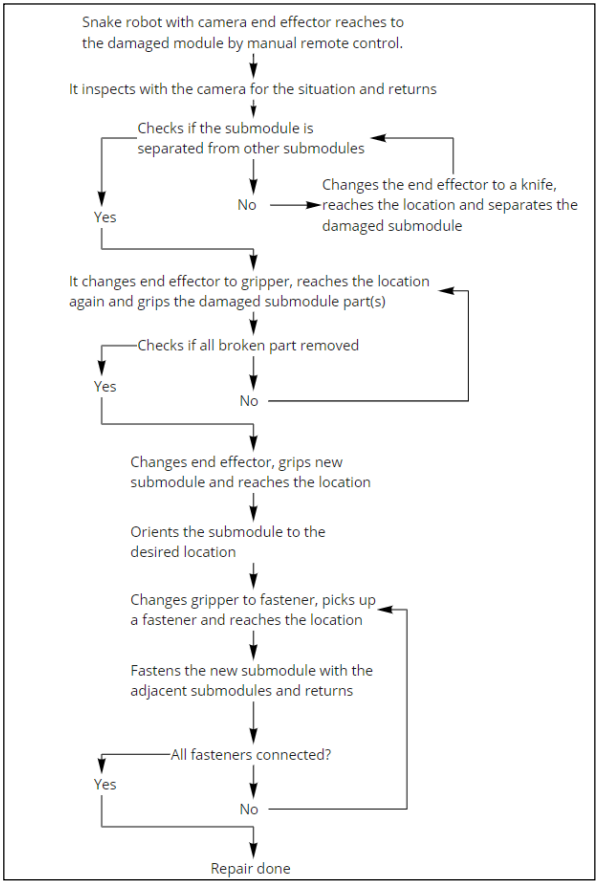
As above shown in the flowchart, this is the basic plan that the robot should be ideally able to perform. I am planning to build in stages as it might be too surreal to expect building a complete working model of this snake robot in the given time constraints with the course as well as my professional and personal life
Concept 3 - Supportless 3D printing
So I have invested more than a year working with 3D printers and especially in the field of lattice structures ( parametric 3D printing) as a part of my master's thesis and during the thesis, I had an opportunity to interact with fellow researchers working in the 3D printing industry. One discussion that stuck in my mind is the irritating efforts needed to avoid as many supports as we can and optimised the design in regards to the machine constraints. But why not optimize the machine in regard to the design requirements? This led me into researching a bit about supportless 3D printing. After putting some initial planning hours and thoughts into it, I think being able to build a supportless 3D printer.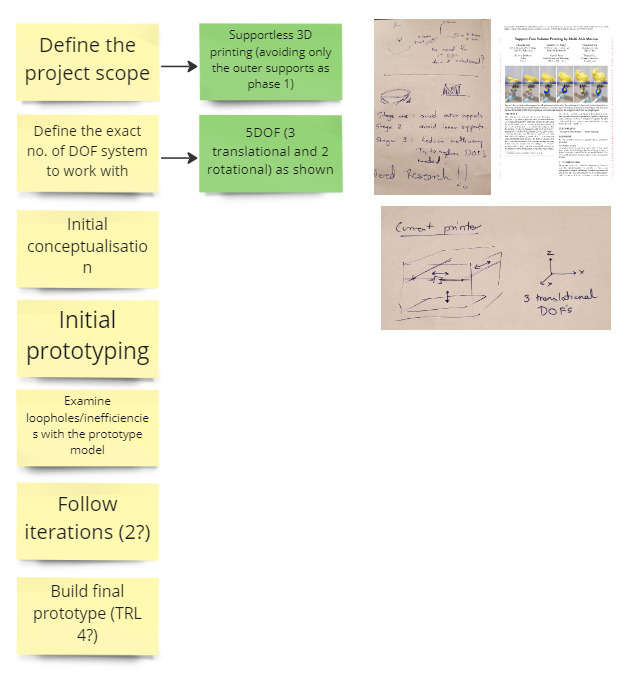
"As shown above, if I choose to go with this, I am to plan a bit realistic in stages and 1st thing would to attempt to be able to avoid all external supports. According to my initial research (ofcourse way more coming its way), I need atleast 5DOFs to be able to schieve this. I am planning to keep the nozzle of the extruder maybe fixed at a location and infact have the bedplate with the product remodified to ove around the nozzle of the extruder based on the angle requirements. I am planning to try this out with some dirty cardboard and servo motor based prototypes in coming days and check out its feasibility.
The final project progress can be tracked on the following page: My final project