In order to create something “big” I decided to take as inspiration the traditional wooden boxes used by Zapotec indigenous women in Oaxaca in order to store their traditional clothes. Those boxes are called “baules”. They normally get the boxes as a gift after they get married. However, since those boxes are quite big to transport, I decided to make a smaller version of it.
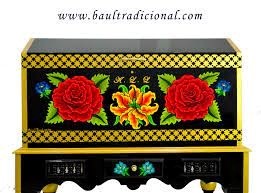
Photo: Zapotec box
The inspiration: Fist I looked for some images of the design, then I went to the Freepik page to look for similar patterns. This is a page where you can download for free some design made in vectors. Once you select the design you can downloaded to make some modifications. In this case I did the modifications with CorelDraw in order to modify and clean the design. Then I save it in format dxf. And then I send it to
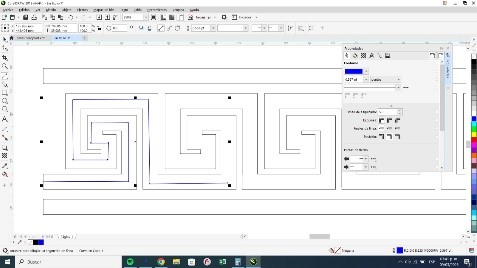
Photo 2: Patterns in vectors downloaded from Freepik and modified in CorelDraw
I did my practice with the program VCarve Pro, which is a software for creating and cutting parts on a CNC Router. With this software you can produce 2D patterns and then send it to a router CNC machine with all the instructions it needs depending on the materials and tolls you are going to use. Actually, this software has a gadget to create boxes which facilitates the process of design. There I choose a box similar to the one I was looking for and there I placed the design I downloaded from Freepick and modified in Corel. I had to make some little adaptations to the drawing placed over the box pattern in order to adjust it to the material and production specifications. Before sending to production, you have to give all the specifications of your material to the software. Then the software is going to give you some recommendations for your design.
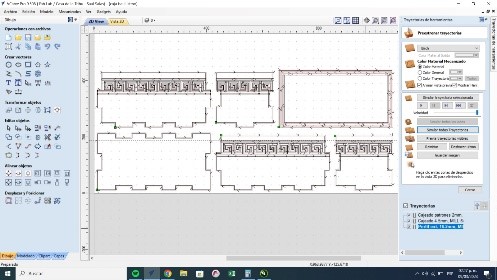
Photo 3: Box patern taken from VCarve and adapted to my design
The software is divided in two parts, design and machinery. As is obvious, the first helps you to make your design and the second to have all the specifications you need before send it to production.
CNC: Some of the machinery that the router makes are: 1) profile (perfilado) or cut. There are 3 types of cuts; inside, outside or over the line. 2) cajeado or pocked, and 3) the type of drill or mill. It is important to think how the CNC is going to cut depending on the material, technics and drills you are going to use. For example, if you use a little drill then you cannot go very fast in the cutting, otherwise this is going to brake. Each drill has different purpose; therefore, you have to understand well what you want to do which the material and which is the best tool to achieve that. Before send it to production we have to specify to the machine who fast is going to work following the vectors, how deep is going and how many times it has to repeat all the operations. All those specifications have to be very clear for the machine and others to understand. That is the reason because when the files are saved, we can use in the name those specifications so it is easy to find and understand. Finally, before saving all is very important to doublecheck the preview to be sure that you are going save tool pad.
The CNC also have to know if you are going to work in one or other sides of the material. You have to specify also the measurements of it specifying the Z, X and Y dimensions of your work material. Before sending and start working with the CNC you have to calibrate the 3 axes. Then you select postprocessor. Each router has its own language. It translates between the software and the hardware. For example, I used and Asia Robotics Shop1325 and NK105.3 is the model of the postprocessor. Therefore, I had to put this specification into the VCarve which is going to translated it to the G code. You can store the G code in an USB to be read it by the CNC. Before start the cutting is very important to center and fix the material by the use of clams in order to be sure that the material is not going to move. Some of the materials are not even or get expanded due to climate or storage issues. Therefore, the use of clams is helpful. When you start working with the CNC you have to do it with an slow velocity in order to be sure that the machine is doing what you want. When I started to operate the machine, I realized that the specifications were not the right ones because the mill was very big for the narrow patterns I choose to carve over the wood. The result of this mistake is that the lines between the patters were braking. Therefore, I assumed that I need it to use a lesser mill or to put more space between the lines. However, after I changed the mill from 6 to 3 the same mistake happened again. As alternative I had to modify the 2d drawing of the patterns and separate the lines that are very narrow or make only one line.
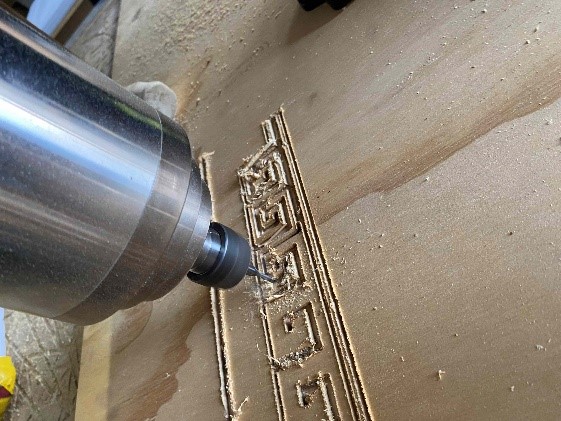
Photo 4: CNC rutter working in the ptterns
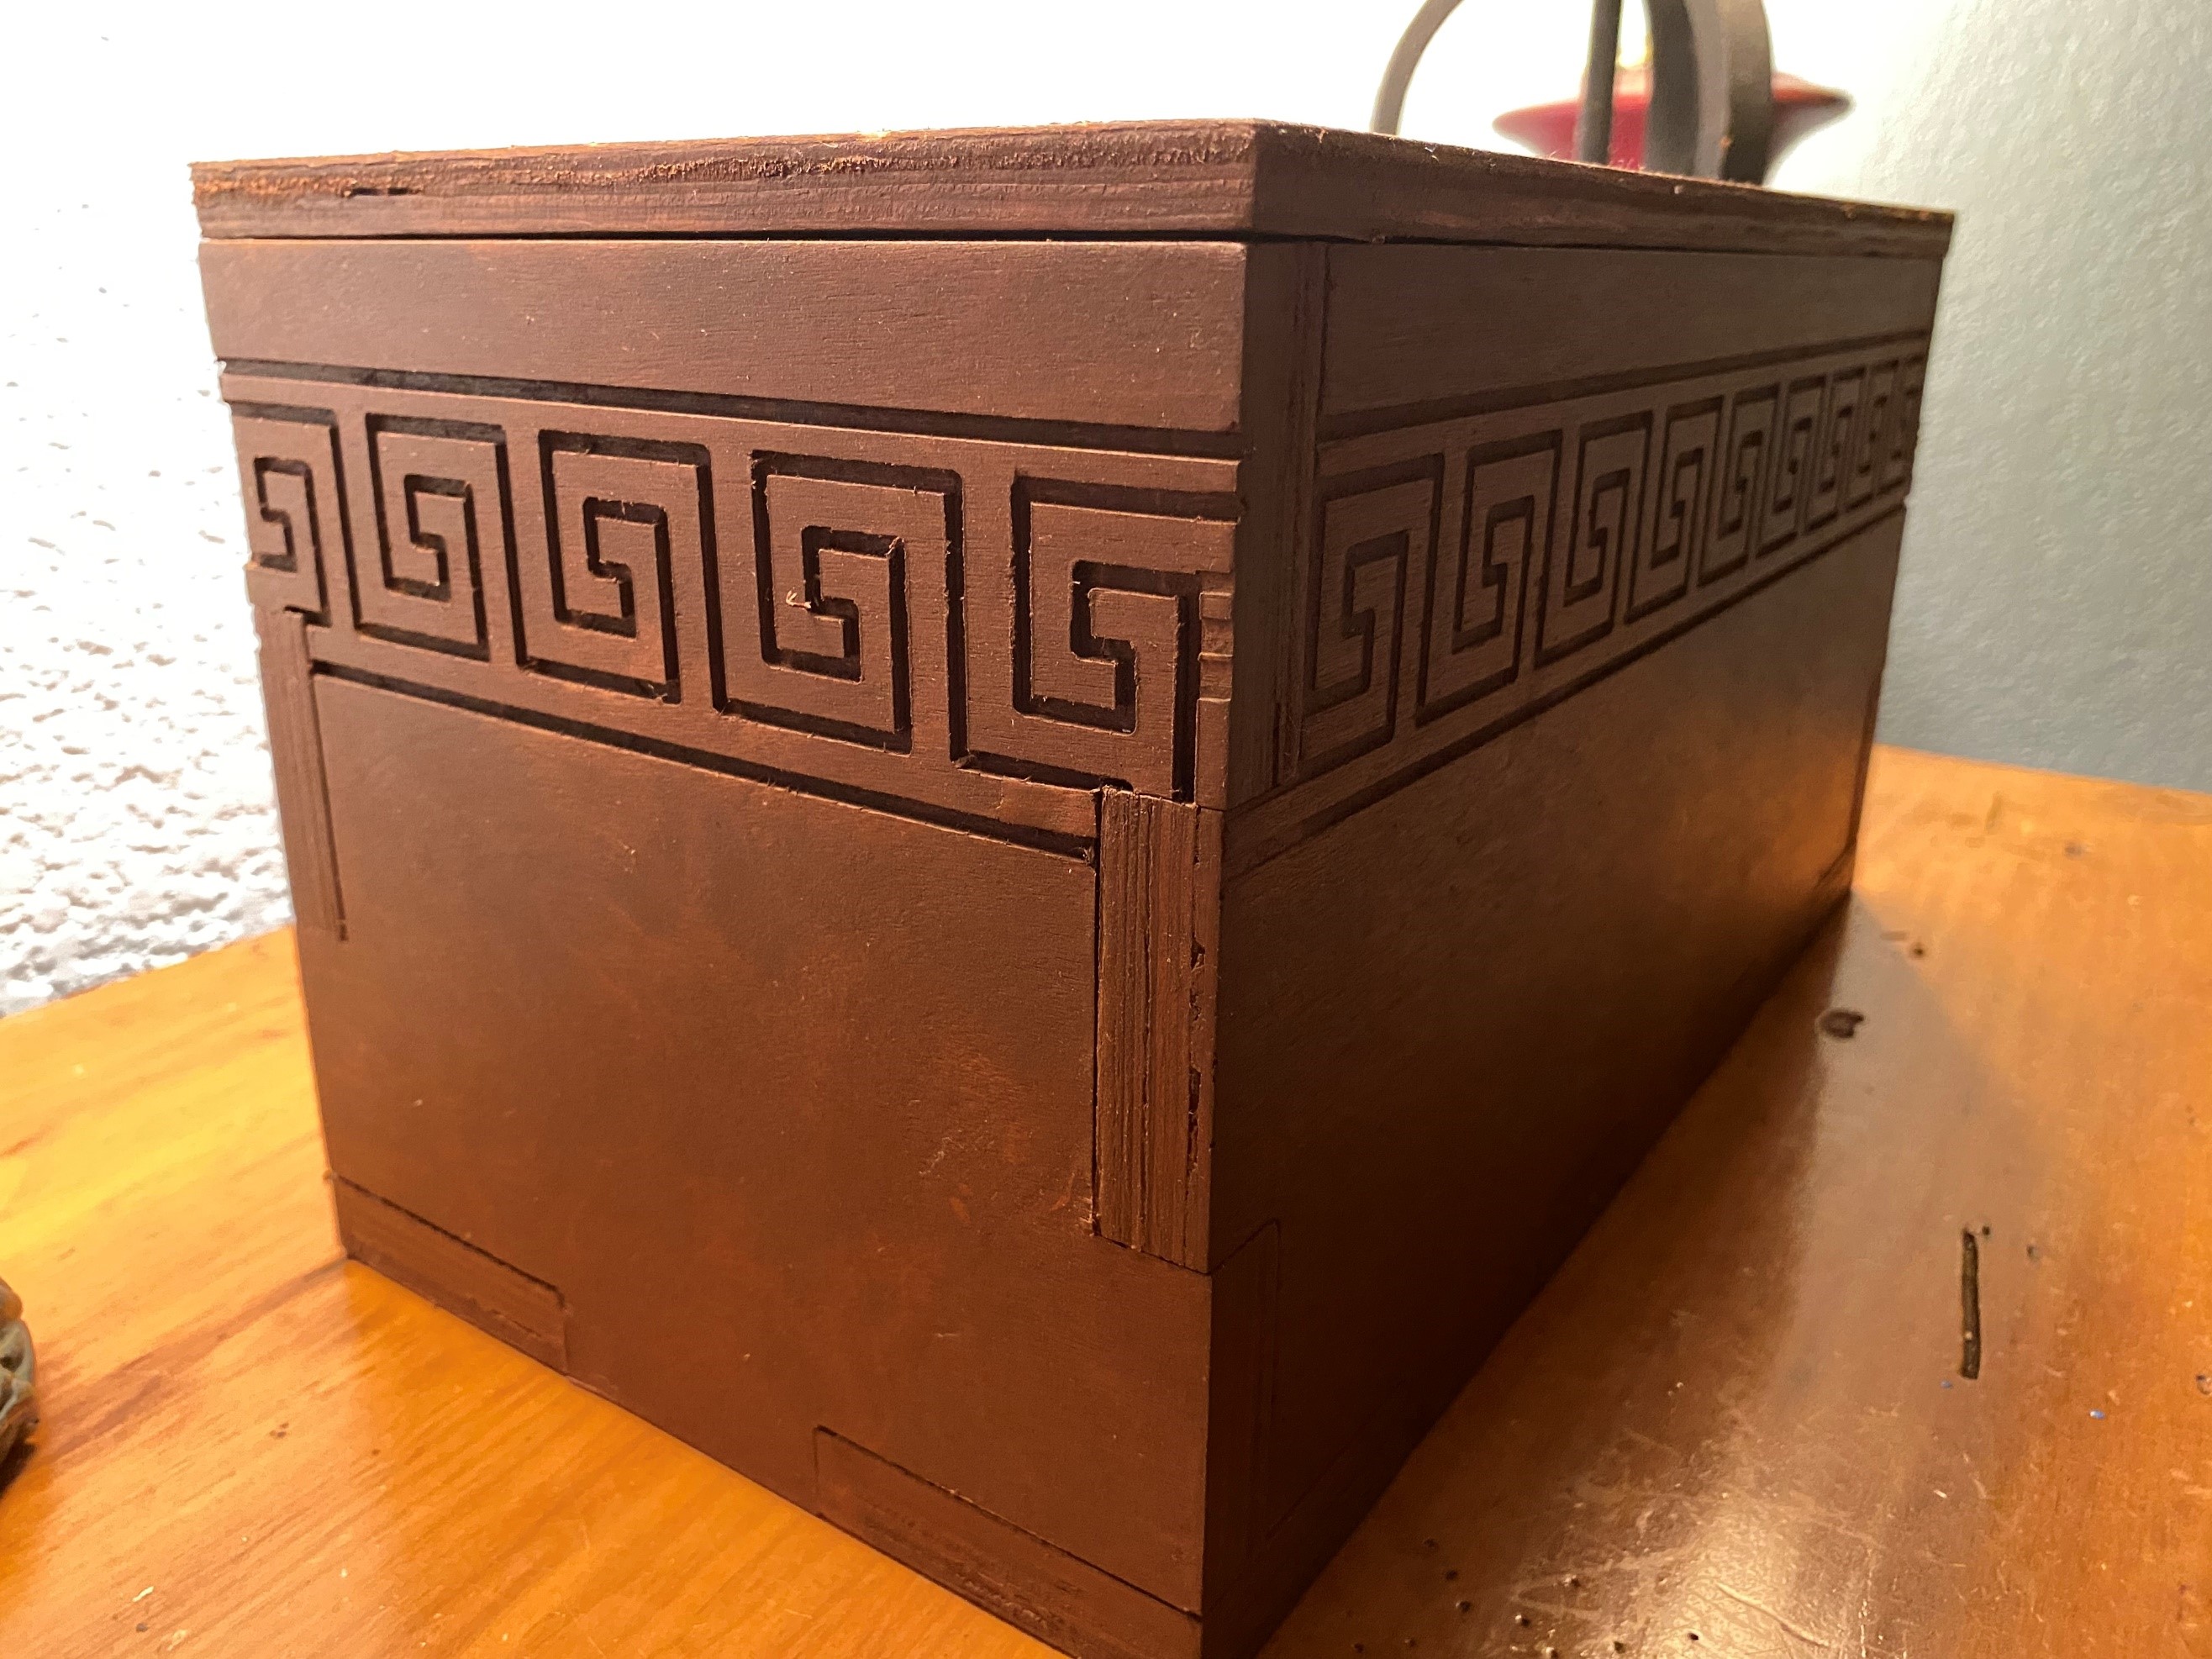
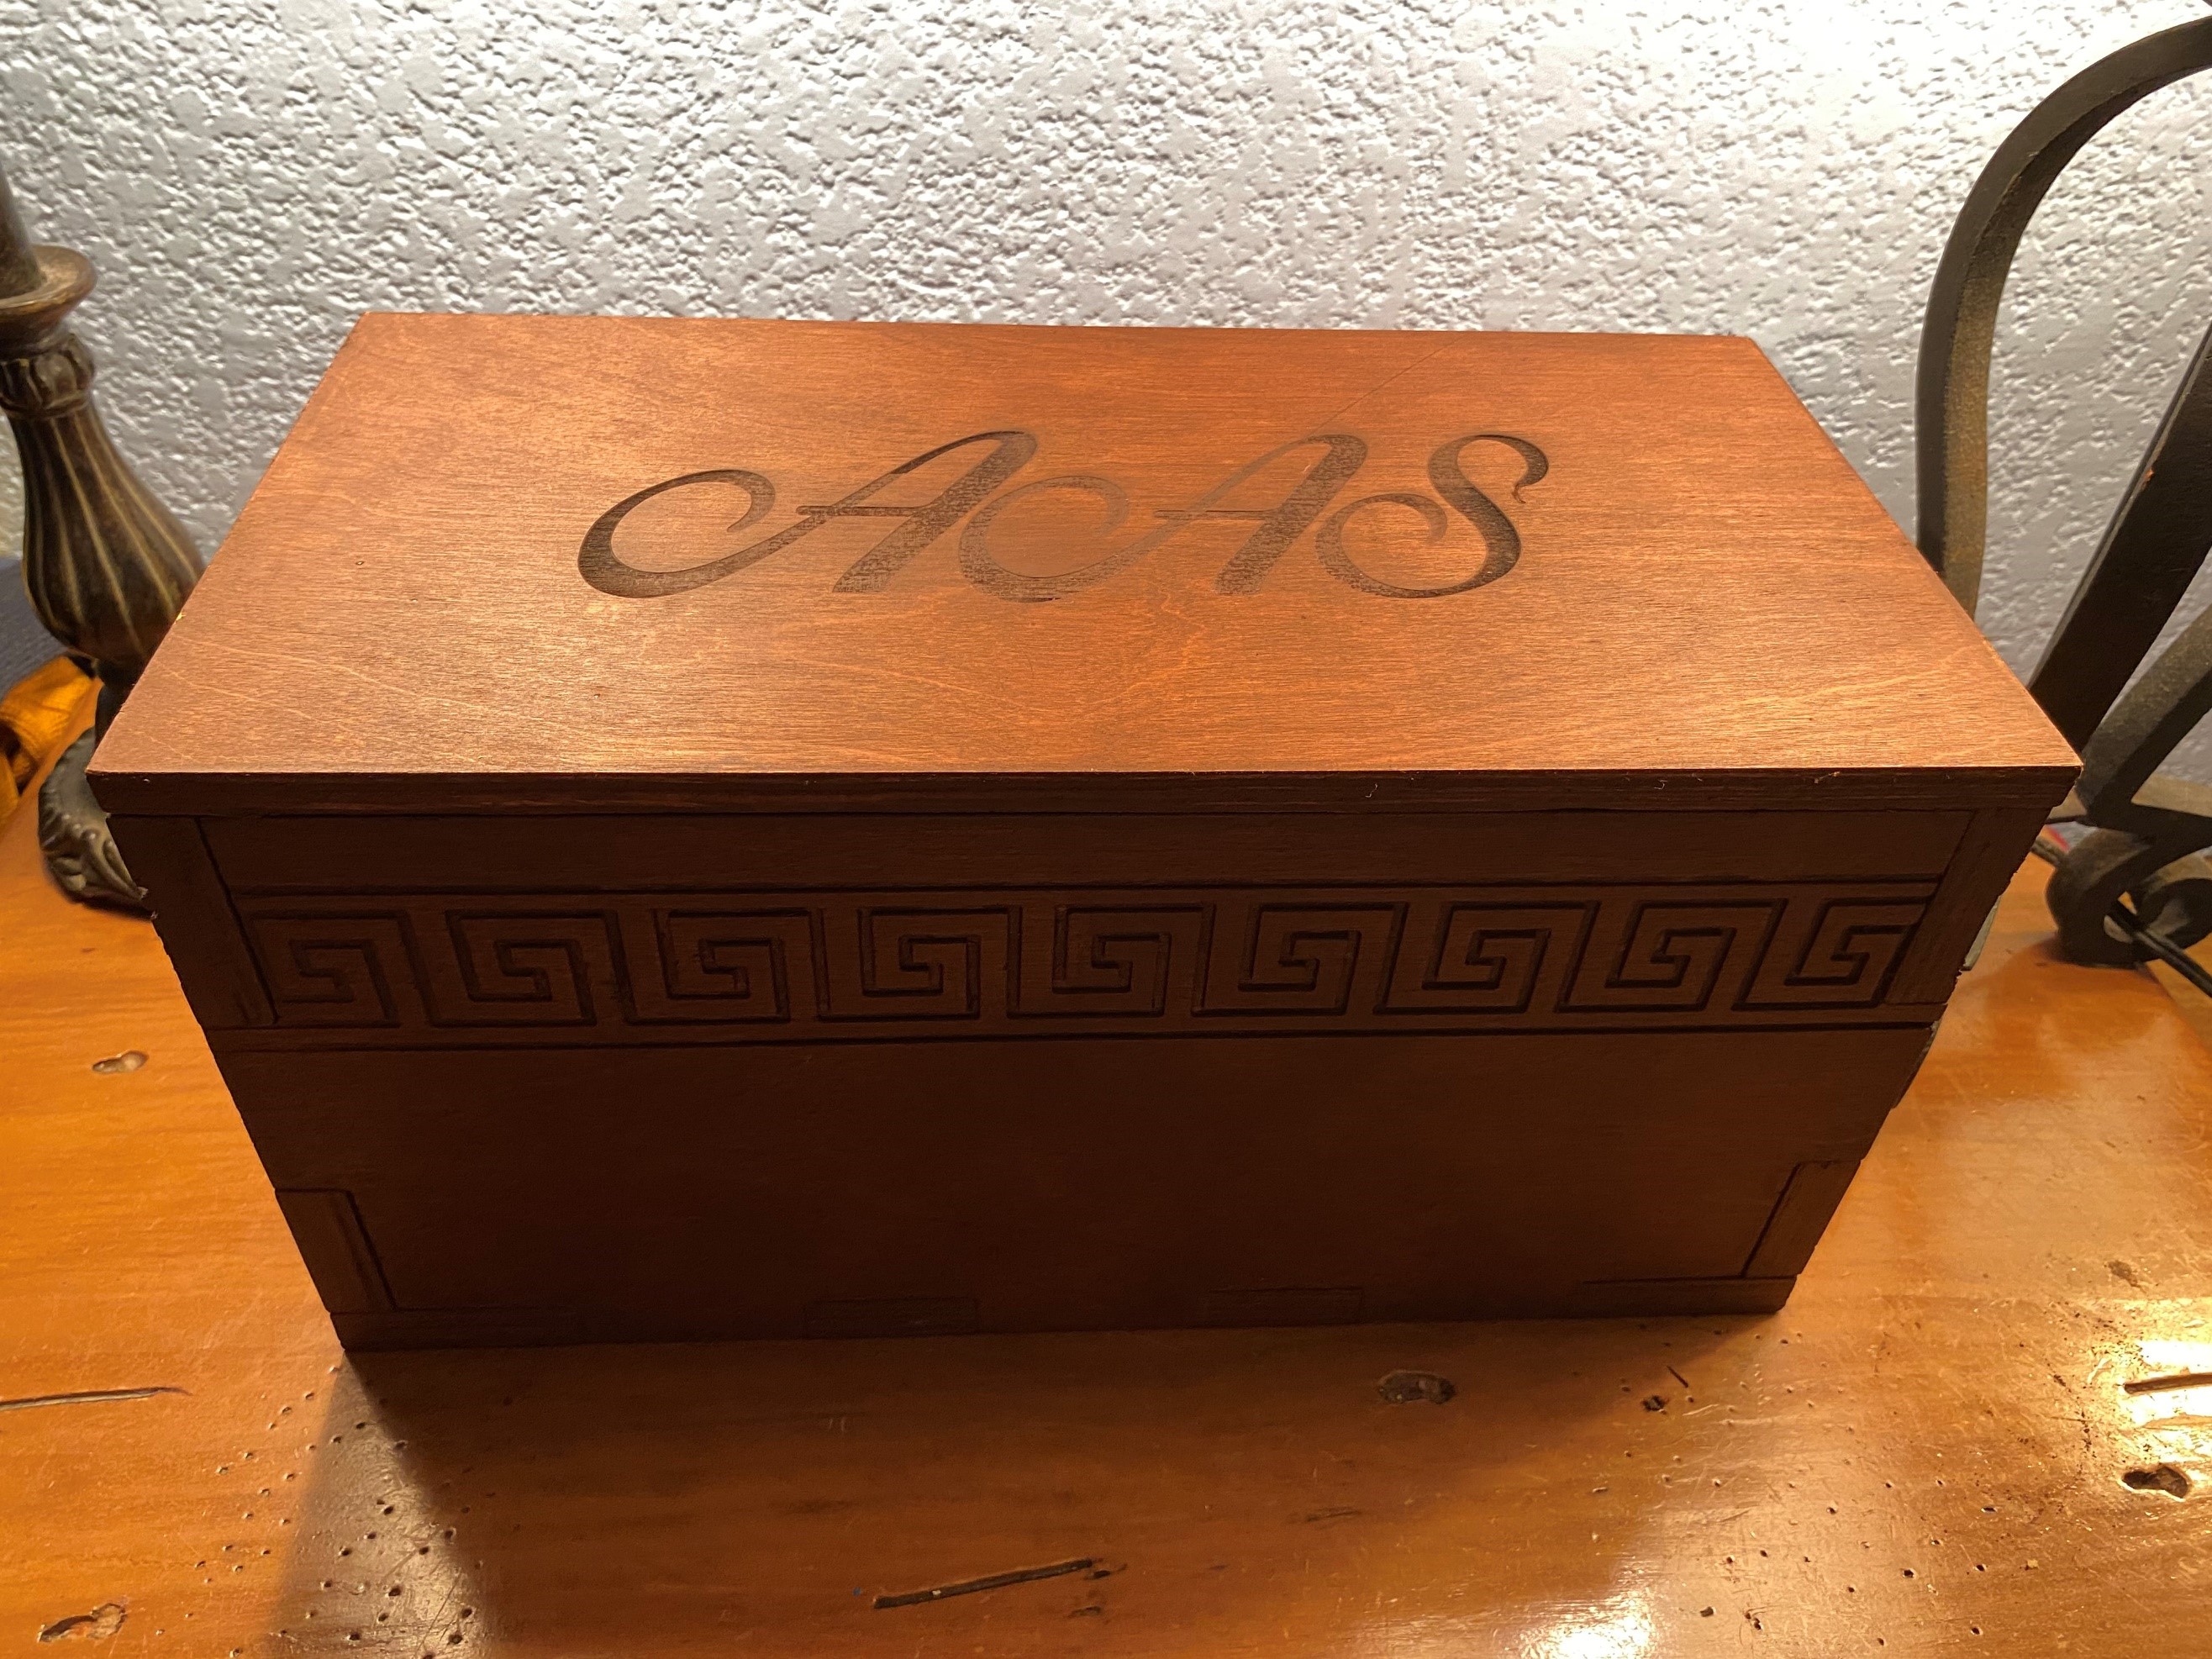
Final work: Zapotec mini baul