This week I was practicing with two machines: vinyl cutter and laser CNC.
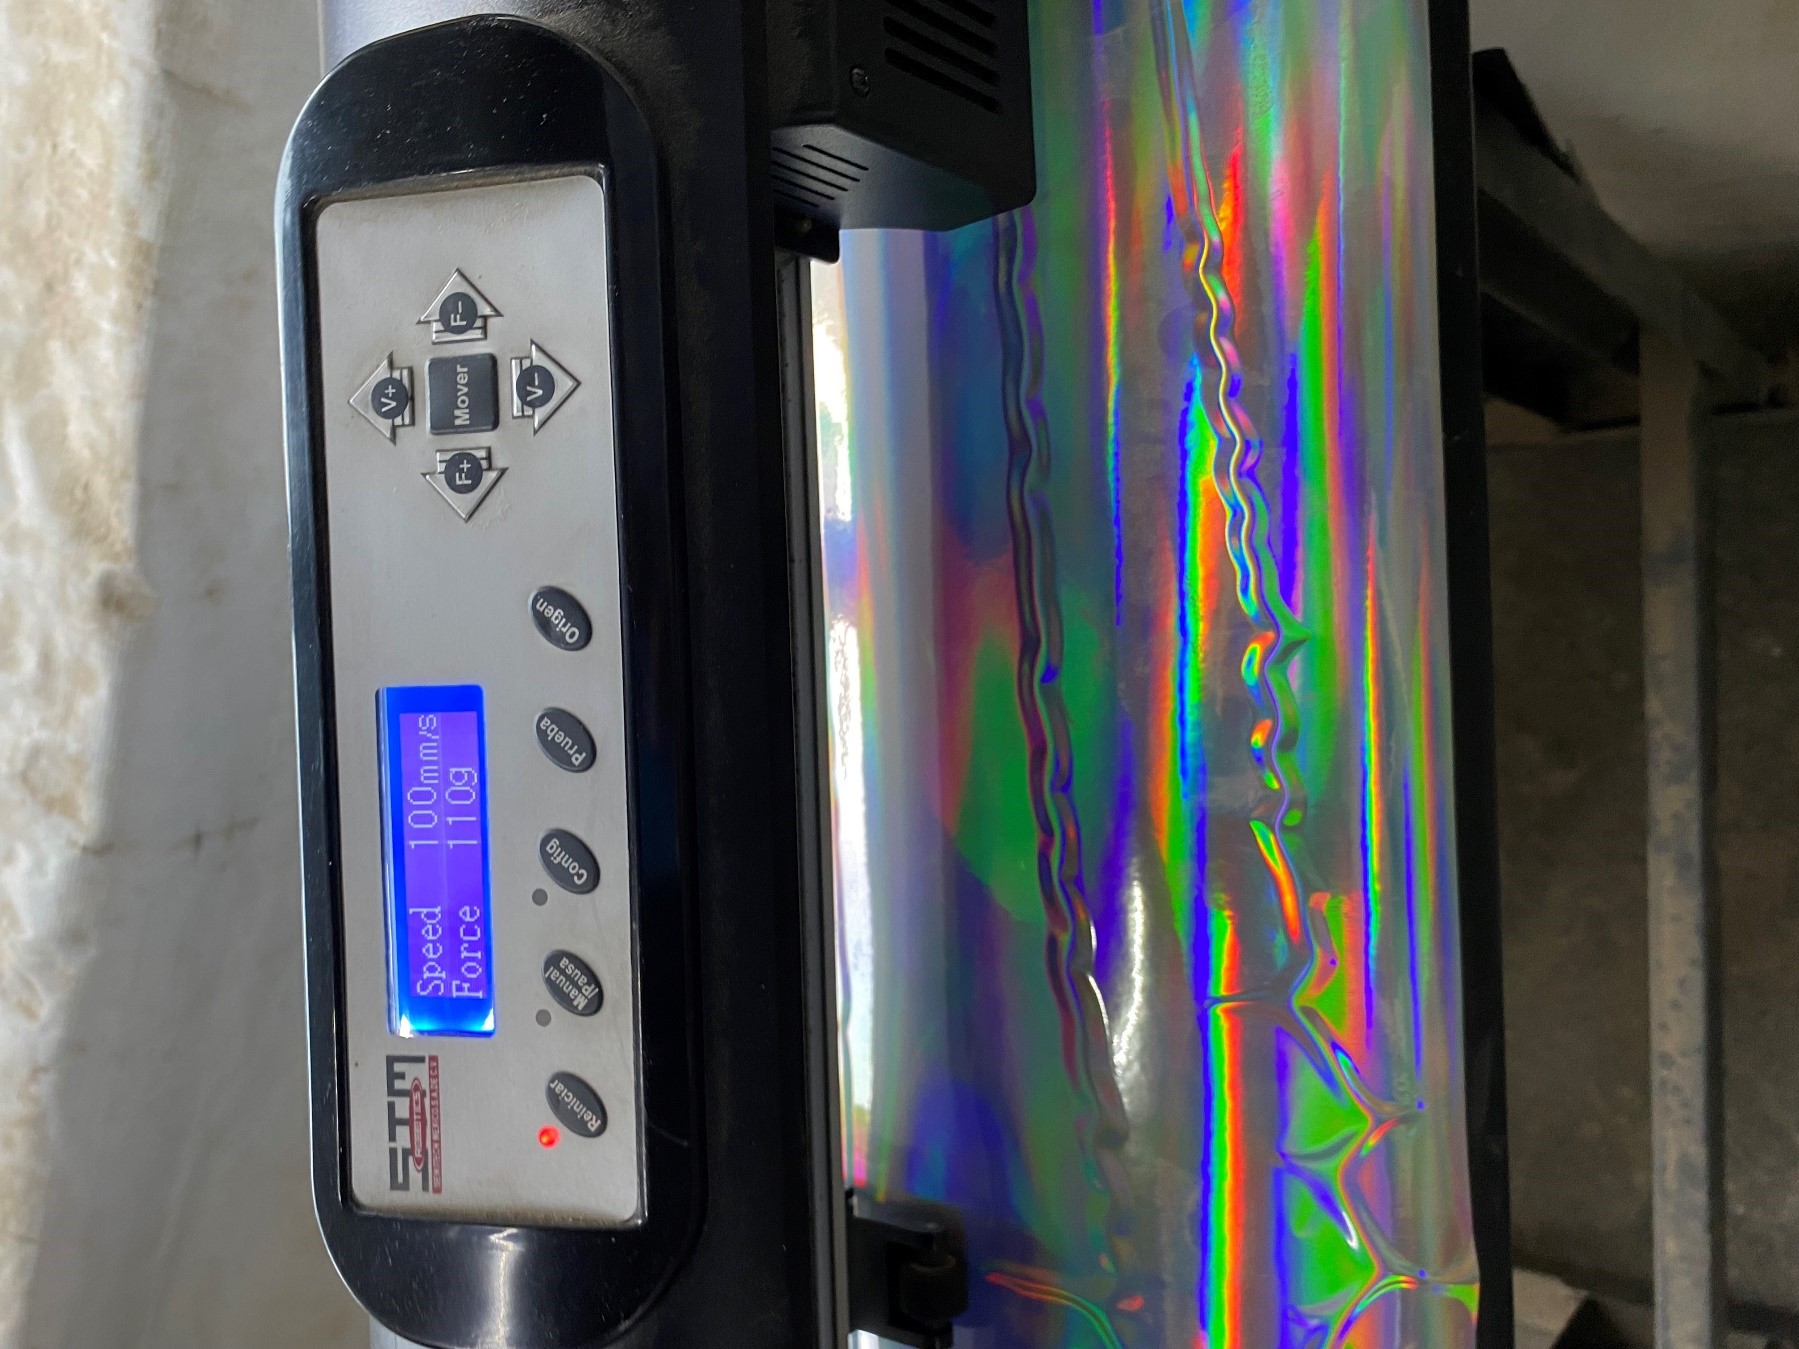
I practiced with two vinylcutters. 1: STM Robotics: The one they used to have in Casa de la Tribu Fab lab -wich now is closed- was a super big and old plotter that nobody wanted to use because it was cheeper and faster to do it outside the lab. Anyways, the lab manager opened it for me, enabling me to understand the way it operates. I made a very simply design with CorelDraw and sent it to the vynilcutter with its own software. I thought it would be very easy for the machine to make the cuts, however it became way more dificult than expected. By practicing with this vinylcuter I learned that it is very important to pay attention to the force you apply, otherwise it´s not going to cut. This also depends on the quality of the materials you work with. It seems that the vynil I was using was quite old. To solve this problem I did many little cuts to be sure about the right potency needed. First I tried the vinyl cutter machine at the speed 100 mm/s and force of 110 g but it did not work to cut the vinyl. Then I had to increase the force many times. Finally it worked well at 160 g with the same speed.
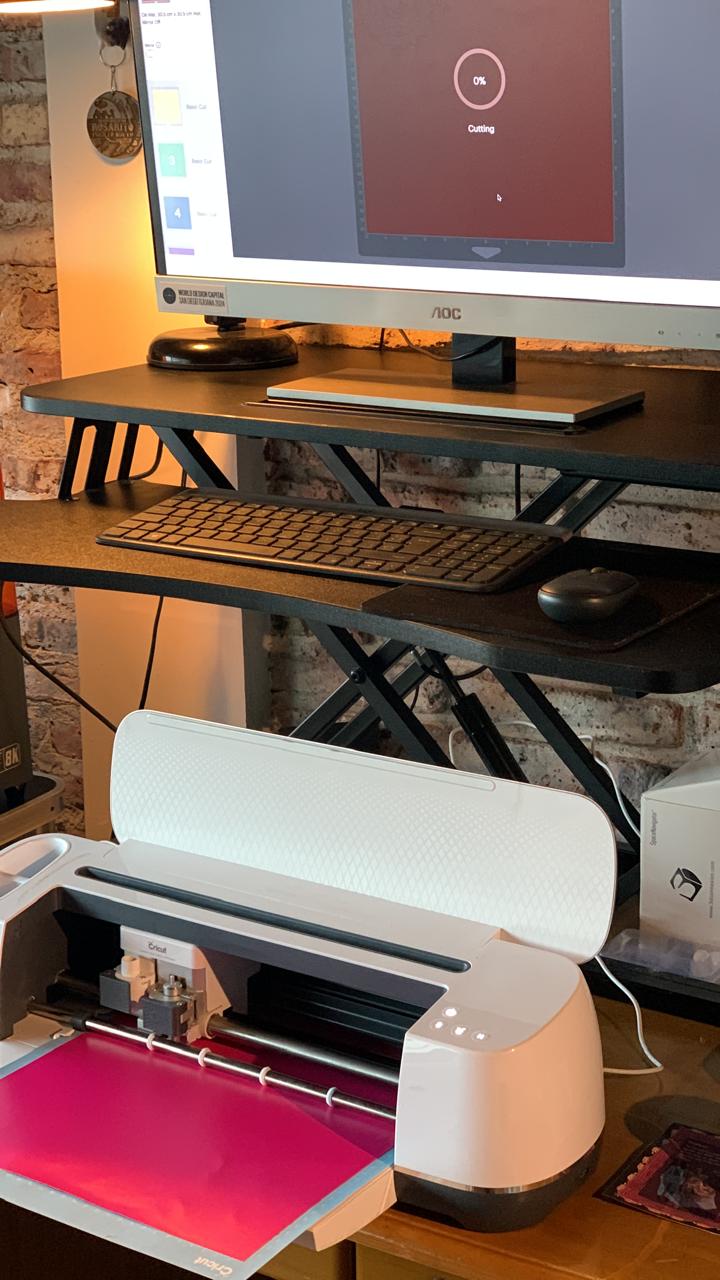
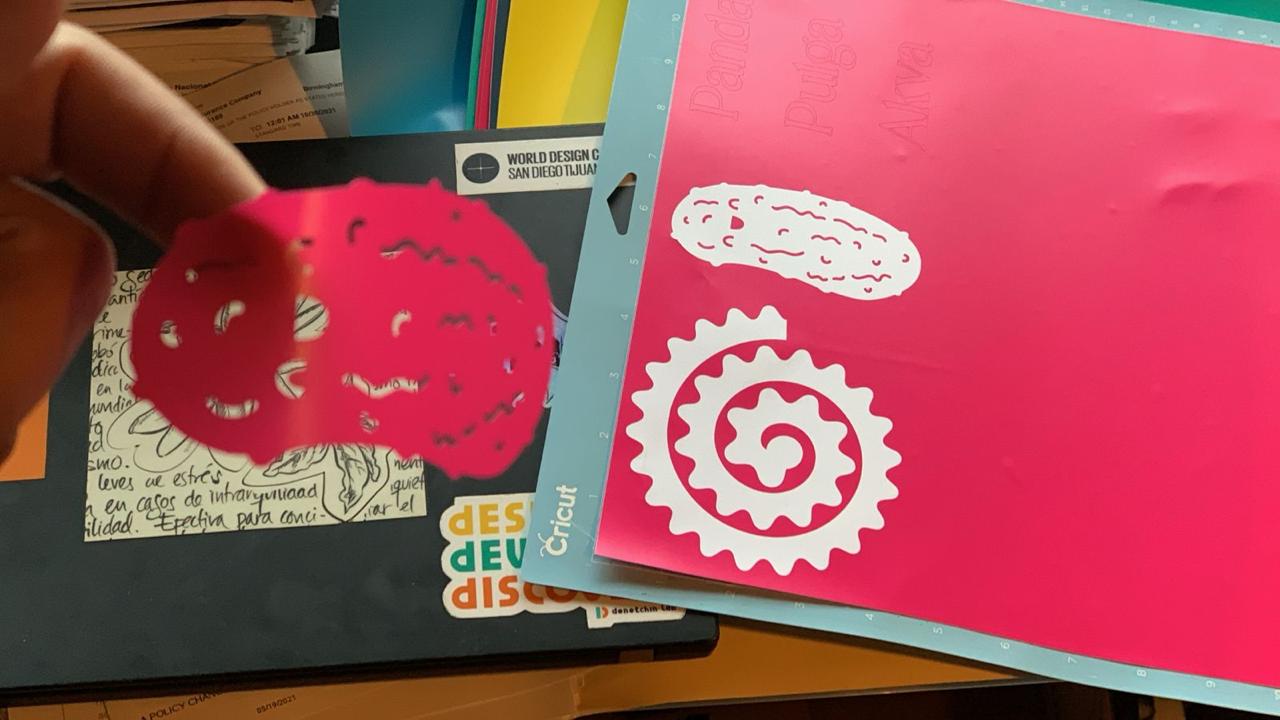
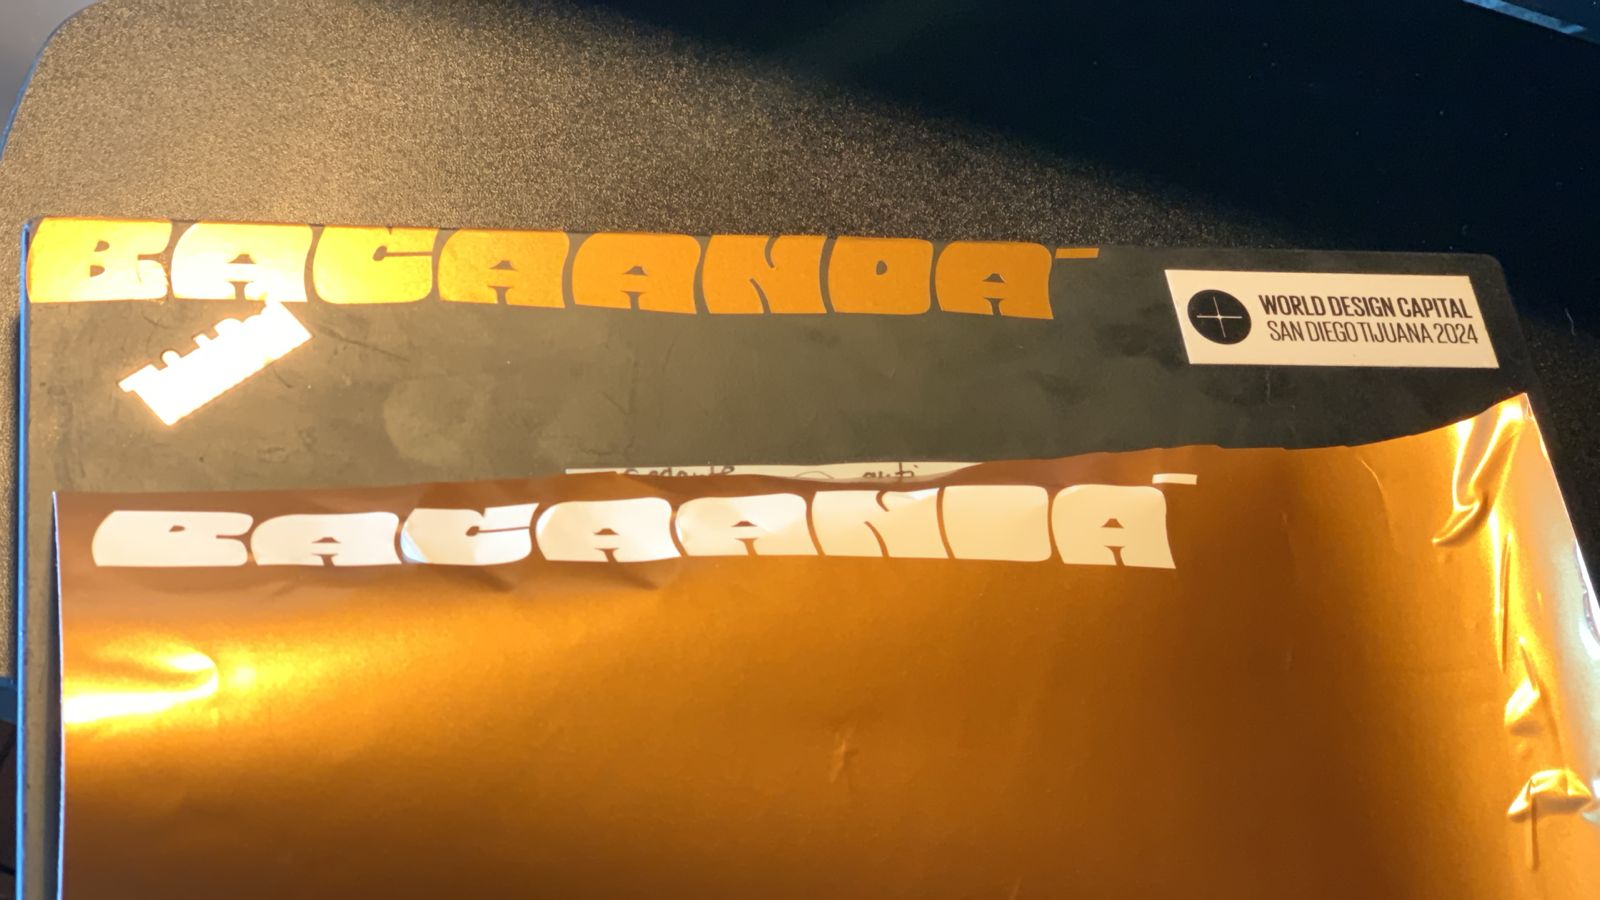
2.Cricut maker: I bought it couple of moths ago to continue my Fab Academy sice professor Neil mentioned that vynilcuters are very powefull machines that are not well apreciated. Cricut maker is a multitask machine that can help you to cut vynil, leather, diferent kind of fabrics, wood or make banners. You can make all type of cuts with diferent knifes. To be sure about the area of design you use a mat with precise messurements and a pencil. To aperate the machine you simply have to conected to your computer and download the Cricut softwer wich is free for a month. the softwere is very easy to operate and helps you to understand the presure and speed you need depending on the material you are working with and the type of proyect. Somehow is an automated procedure. As in most of the design softweres you can create your own designs or they provide also some for free and others that you have to pay for. I was experimenting with the Cricut making some stekers for my laptop. It was very fast to make stekers for all the family and even for the bowl of my dogs. I really liked this machine.
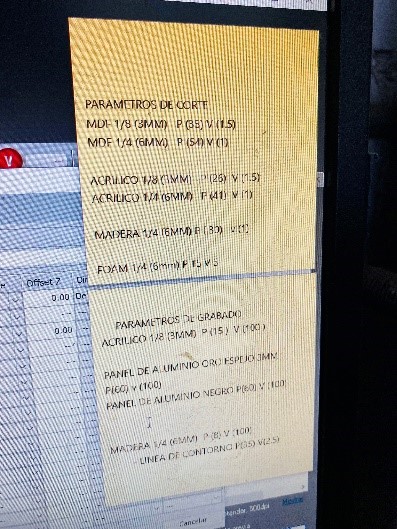
II. Lasercut STM Roboics: First of all it is very important to know what are the parameters of your CNC machine. This is going to varies from lab to lab depending on many aspects. In the next photo I show the parameters of the machines I was practicing with:
In the practice I learned that CNC machines work with colors: blue, red and black are the more common. If you color your vectors with these colors the machine will understand a specific action. For example, with the machine that I was practicing the meaning of the colors is as follow: black is to engrave, blue to cot outside and red to cut inside. I also understood the meaning of code G or GNC which have an X and Y axe, as well a Z which means high. With those colors we manage to control the pantographer.
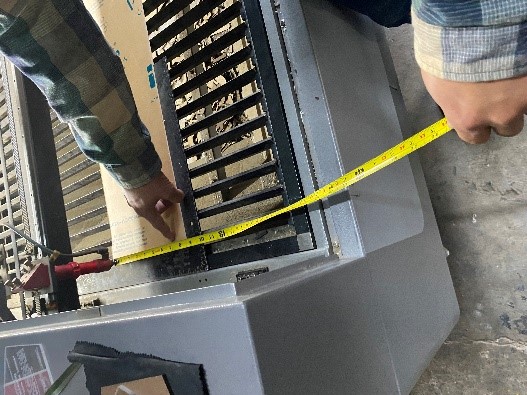
In this practice I also understood to very important concepts to manipulate a CNC laser machine: Potency and velocity. If you use more potency and less velocity then you are going to make a cut, but if you us less potency and more velocity you are going to engrave. I also learned that in order to make any work at the CNC you have to understand and specify your material, in bot ways; measures and quality. The first one is to tell the program were to work. The second one is to understand if you have to make any adjustment in order to work well with the material you are dealing with. When you operate the CNC is also important to make the measurement of the pantographer to be sure that the high is the correct one. There is an especial device to make this measurement.
FabLab Puebla is equipped with three laser cutting machines. For safety reasons hese machines utilize cutting-edge CO2 tube technology, which generates a laser beam through the electrical stimulation of a gas mixture predominantly composed of carbon dioxide. Those machines functions with a series of mirrors and a focusing lens guiding and focusing this beam onto the material's surface. This enables cutting, engraving, or marking through the processes of melting, burning, or vaporizing the material
CFL-CMA1200, CFL-CMA1080K, CFL-CMA1390T: When working on a CNC machine always follow the next safety rules: DO NOT look directly into the laser beam. DO NOT modify or disable any safety features of the laser system. DO NOT operate the laser unless all covers are in place and interlocks are working properly. DO NOT remove material from the cutting bed before it cools down. DO NOT leave a laser cutter operating unattended. DO NOT use highly flammable materials, explosives, or materials that could produce toxic byproducts. DO NOT use a laser cutter with a malfunctioning exhaust system or a clogged air filter. Laser cutters emit an invisible, high-energy laser beam that can cause serious skin burns. Always turn off the laser when the door is open.
As all three machines have similar capabilities, we created a series of tests to standardize and characterize their focus, power, speed, rate, kerf, joint clearence and types. Power and Speed: To be aware of cutting tolerances, a "comb" with multiple different openings ranging from -0.5 to +0.5 was created in CATIA. Then We transferred it to the laser cutting program with different parameters for the letters and the outline, aiming for the letters to only be marked.
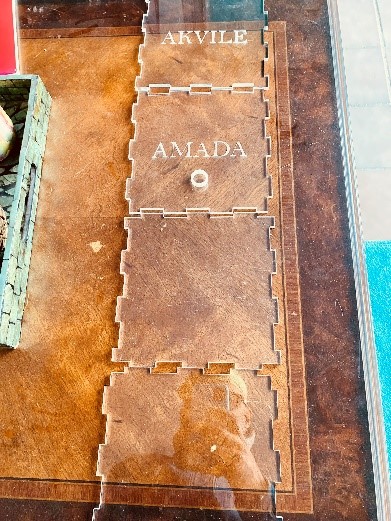
The same process was done for a comparison table of laser power vs its movement speed. In the case of the laser cutter program, each entity was adjusted one by one with its own parameters, which was a very tedious task.When a laser cutter cuts a line, it burns away material. The name of this phenomenon is kerf. Because a laser beam has a certain width, you end up with a part that is slightly smaller than you want, unless you account for this. The kerf of a laser is the amount of material that gets burned away To figure this out, we cut out a series of rectangles. We tested it using both 3mm MDF and 3mm acrylic. By obtaining the number of lines, the formula becomes easy as we have that number of inner lines that count for a full kerf. By sliding all pieces to one side we create a gap that we are able to measure using a caliper. This means that the kerf can be calculated by dividing the gap by the number of cuts. the result was as follows. MDF 3mm 10 cuts Speed 40 mm/s Power 50% / 3 mm/20 = .15 mm kerf