18. Project development

Hello, in this section of my site, I will tell you in detail about the result of my final project, initially my final project was a game for children with Autism to improve socialization through fun stimuli, but it ended up being a game for my moments of stress, it is better to lower stress levels with a distractor to help lower stress with a different activity, the activity I am referring to is making music with your heartbeat.

First

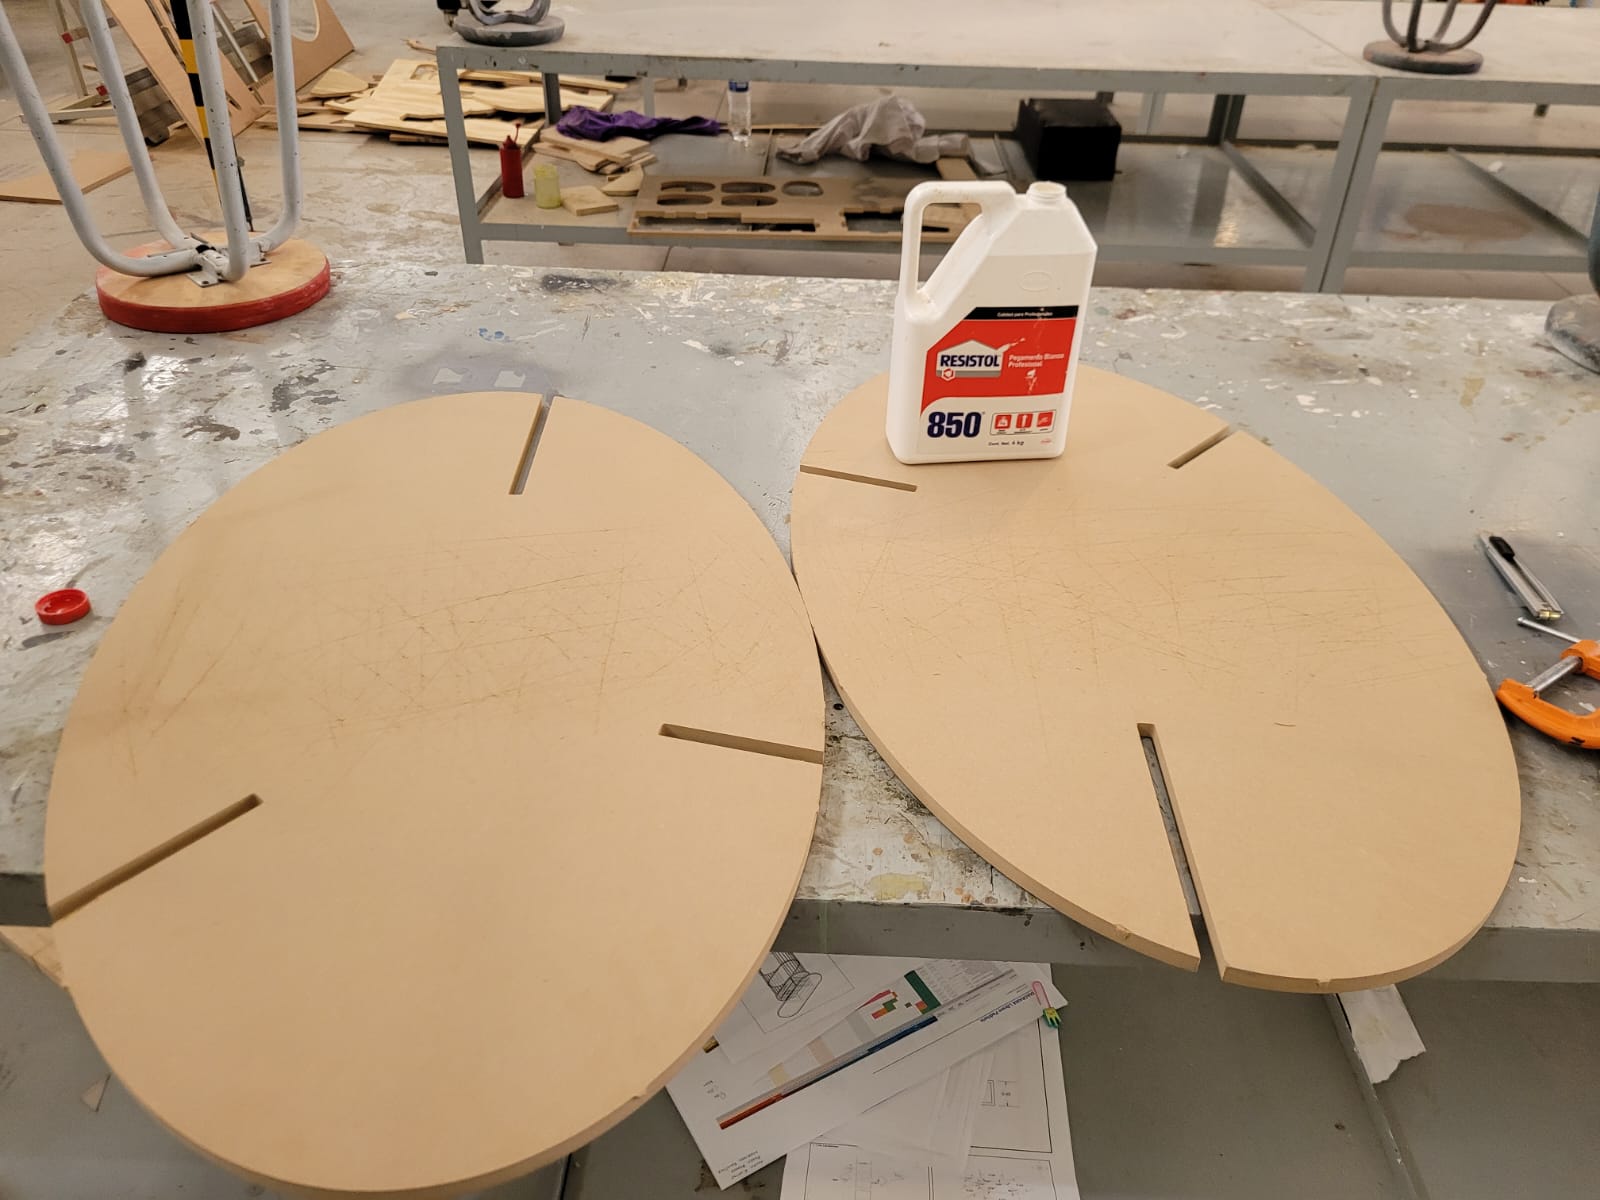
Throughout the weeks of the FabAcademy I was carrying out several projects related to digital manufacturing, these exercises could lead to the development of our final project. In my case, I directed most of my exercises, but it was in week 15 (Wildcaed week), when I began to manufacture my structure.

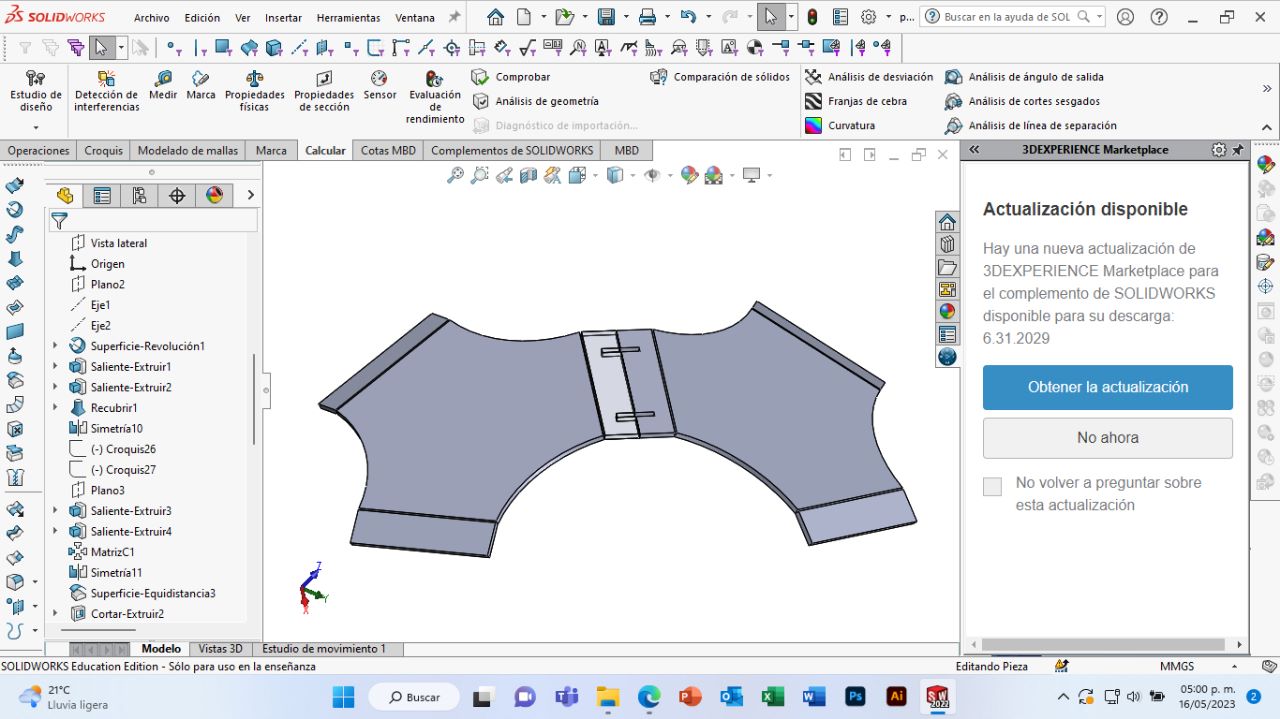
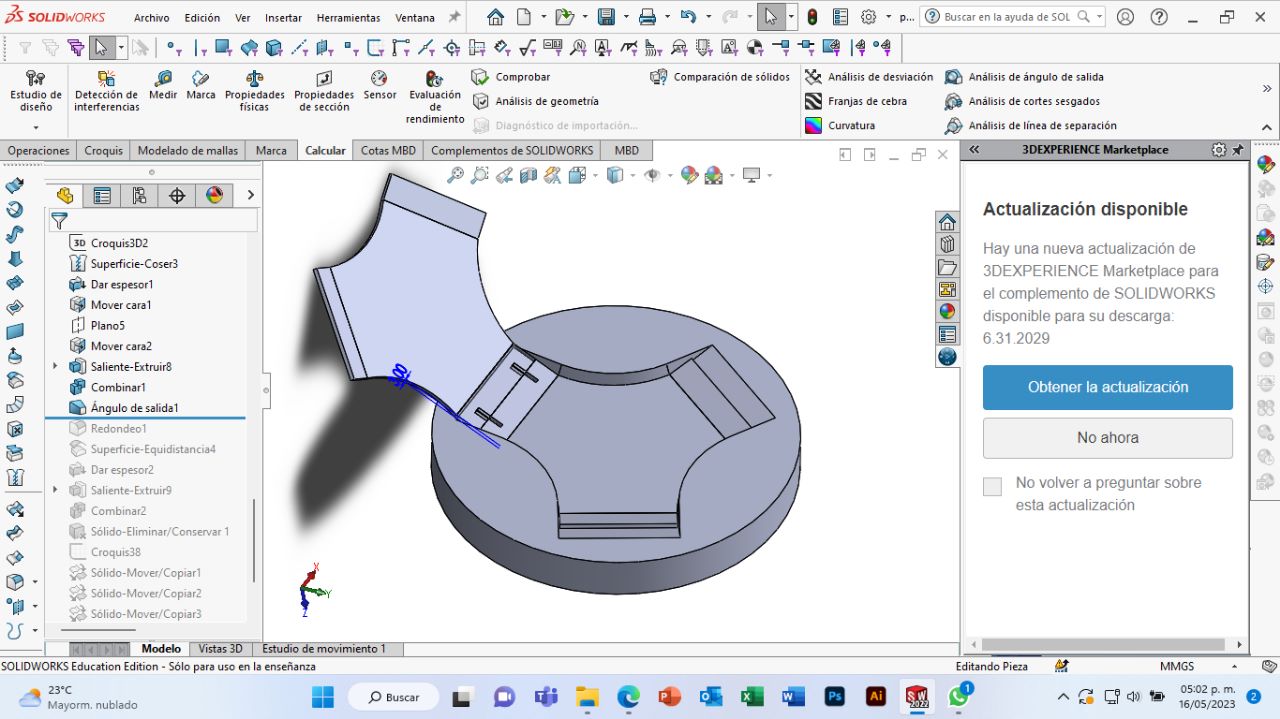
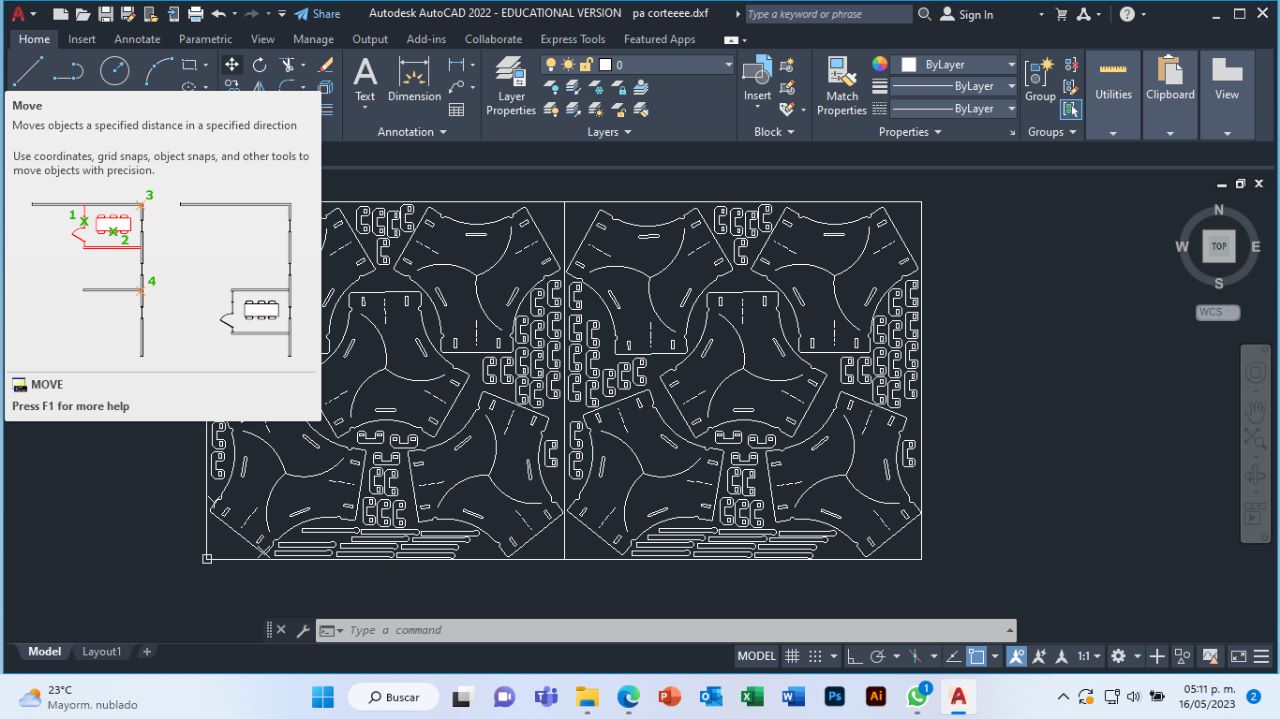
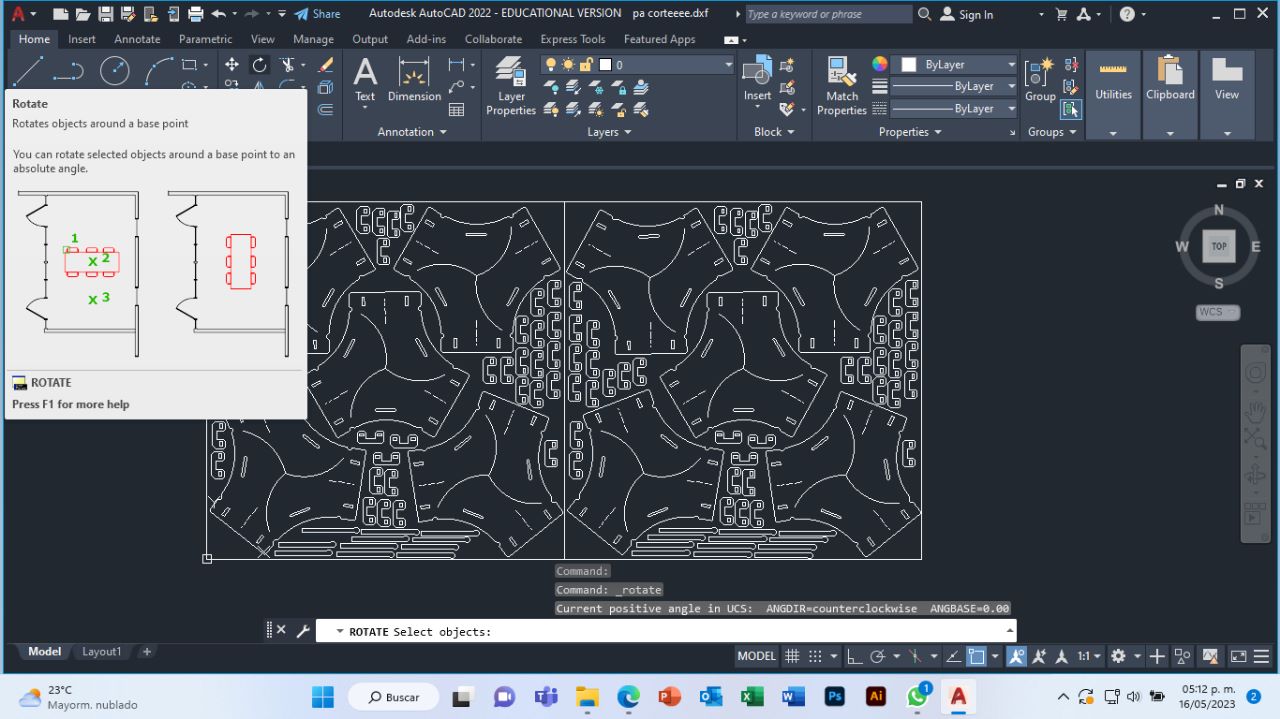
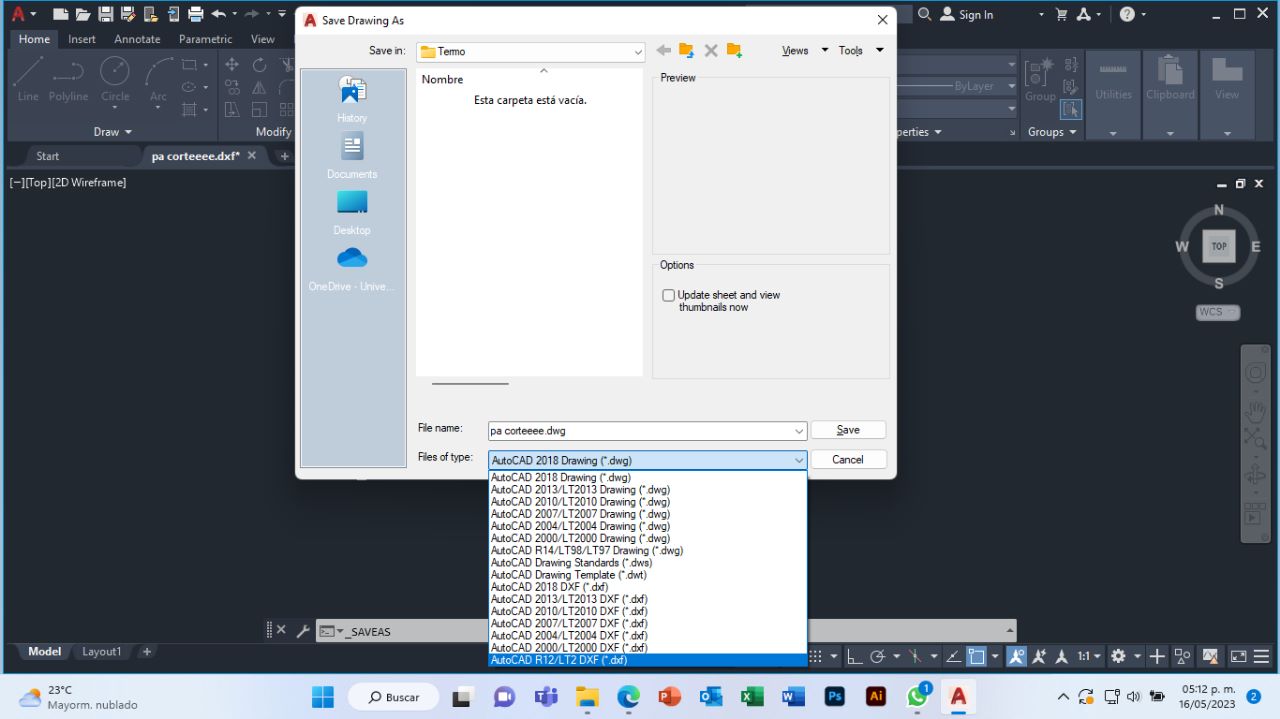
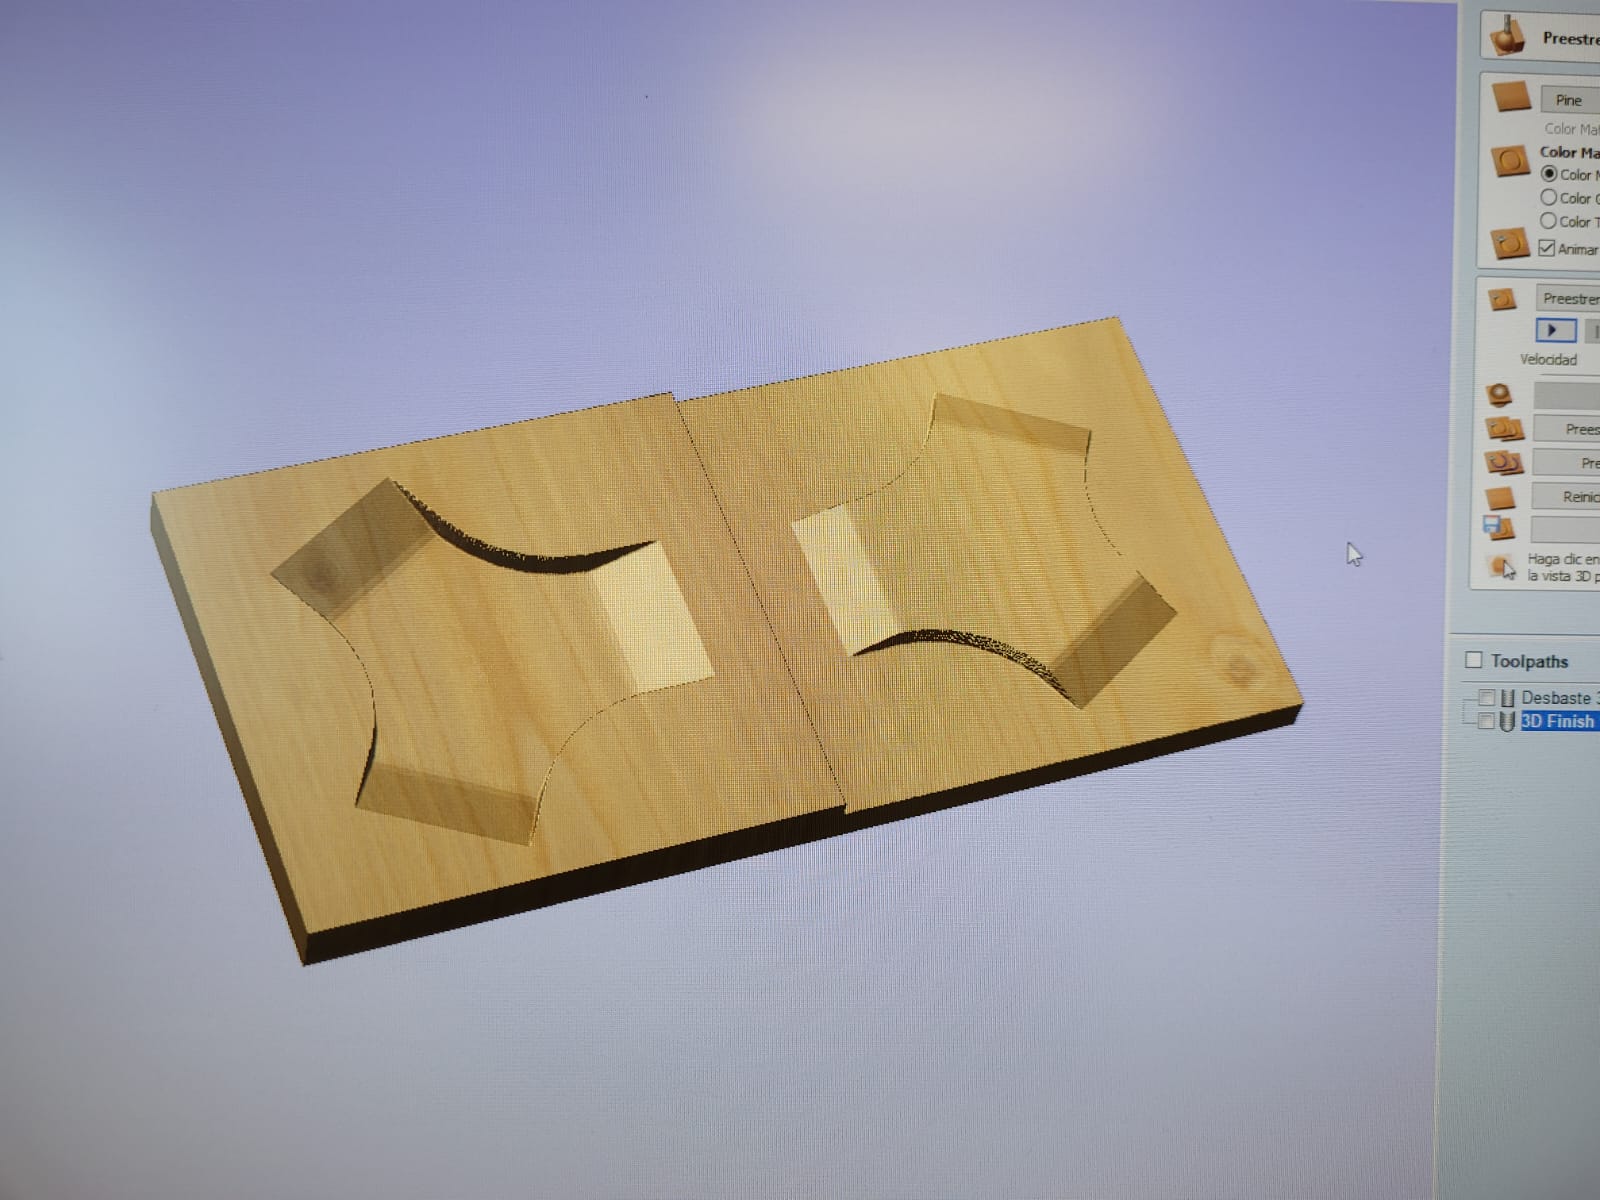
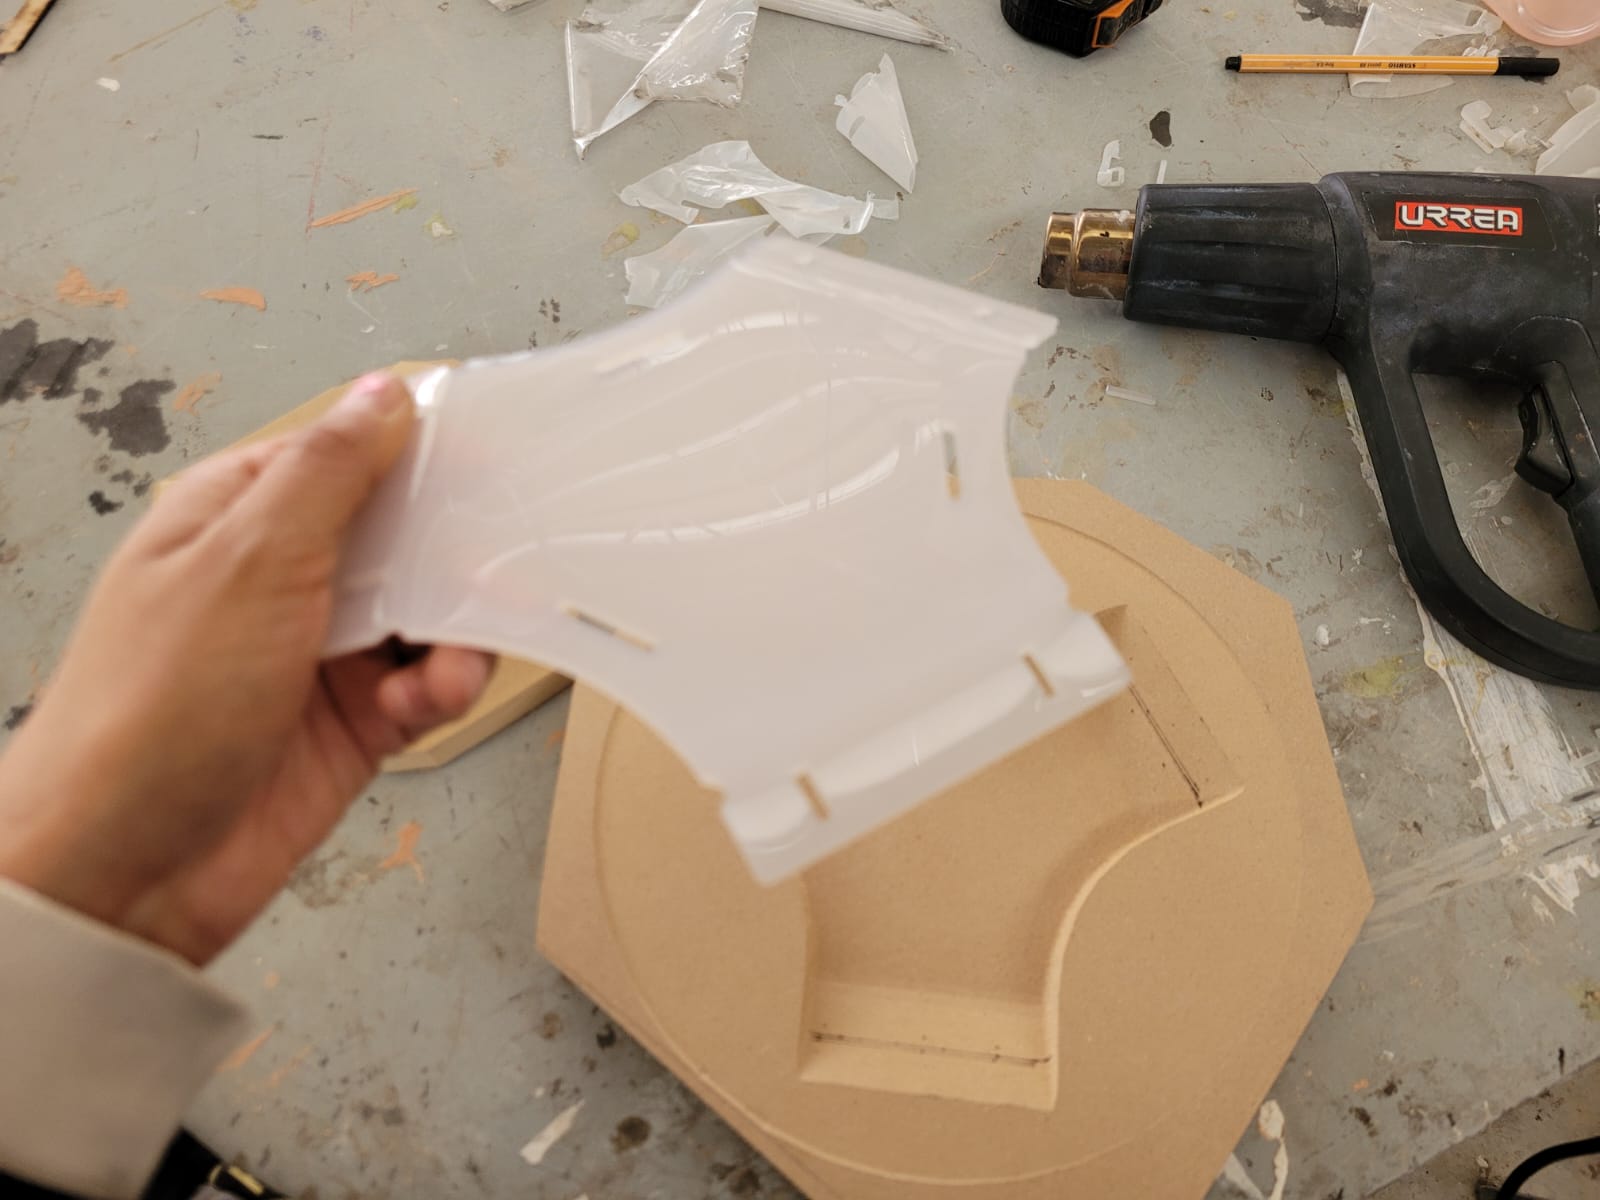
First I designed my file in solid works to make a flat piece with the help of my project that I did in week 3 "Computer controlled cutting".

Mold 1

To carry out my thermoforming I needed a mold and a counter-mold, first I made my mold 1, I turned my solid piece into a flat surface, which I added a thickness of 20mm, to later substract that solid from a larger solid.

Mold 2

I did the same procedure as before, except that now the surface started from the other side of my module.

STL

I saved my two molds in a single file as "stl" to later open it in the V Carve program.

Autocad

To check my cut file, I used the AutoCad program, I also made a design to engrave it and I arranged my pieces with the help of the "move" and "rotate" tools. Lastly I saved my file as AutoCadR12/LT2 DXF.

Preparation of material for mold

Before making the laser cut, I glued two 15mm MDF boards (it was waste from week 7). First I made some cuts and then glued it together and pressed my two boards together. Let the glue dry for 4 hours.

Laser cut

I did some tests to check the parameters for my cut, the images show the final parameters in which I cut my 3mm acrylic.

V Carve

I make the G code with the V Carve program, with the parameters of week 12, make two files, one for roughing and the other for finishing.

router CNC

I did the roughing and finishing of my mold with the security measures, in the process it took me around 5 hours.

video

>

thermoformed

To begin with, it is necessary to wear gloves as a safety measure, it is also important to accommodate the piece.

video

In this process, the acrylic piece is heated uniformly first, until it takes the shape of the mold for at least 40 seconds, then the counter-mold is placed for at least 5 min.

cooling

If the piece is warm can be cold with a pressured air.

flat structure

The module can be assembled in two different ways, one is flat, the circle is closed with 6 modules.

sphere

The other way of assembling is building a sphere, to close a circuit 5 modules are needed.

Arduino

This sensor measures the heart rate, it is used to easily incorporate data into any project. The current consumption is low, being 4mA with a 5v supply. It is build with a emitting LED and also a intensity receiving sensor. The amount of light reflected by the finger bloodstream defines the output of the sensor, and it is possible to recover data from it.

On the provider's website you can find tutorials on how to install the library and "examples" with different tasks to use in Arduino.

Library

In order to install the library of the sensor, i went to: Sketch > Include Library > Manage Library. Then i look for "pulsesensor" and proceed to install it.

First part

This library have many "examples" for uses with the sensor. At this point i just used the "Getting Started Proyect" code. To experiment with it, i use an Arduino PCB and i put in place the indicated pines.

Arduino PCB

I follow the provider tutorials to make the first activation code from a blue led connected to an arduino plate.

Xiao

I started my programming on the Xiao microcontroller. Tools-> Board-> Boards Manager. Then i select the lastest version of "Raspberry Pi Pico/RP2040"; And finally i just needed to select the port. After this, i modified the code to play it with my PCB schematics.

Contact me

dimaricruzchavez Linkedin