solid again
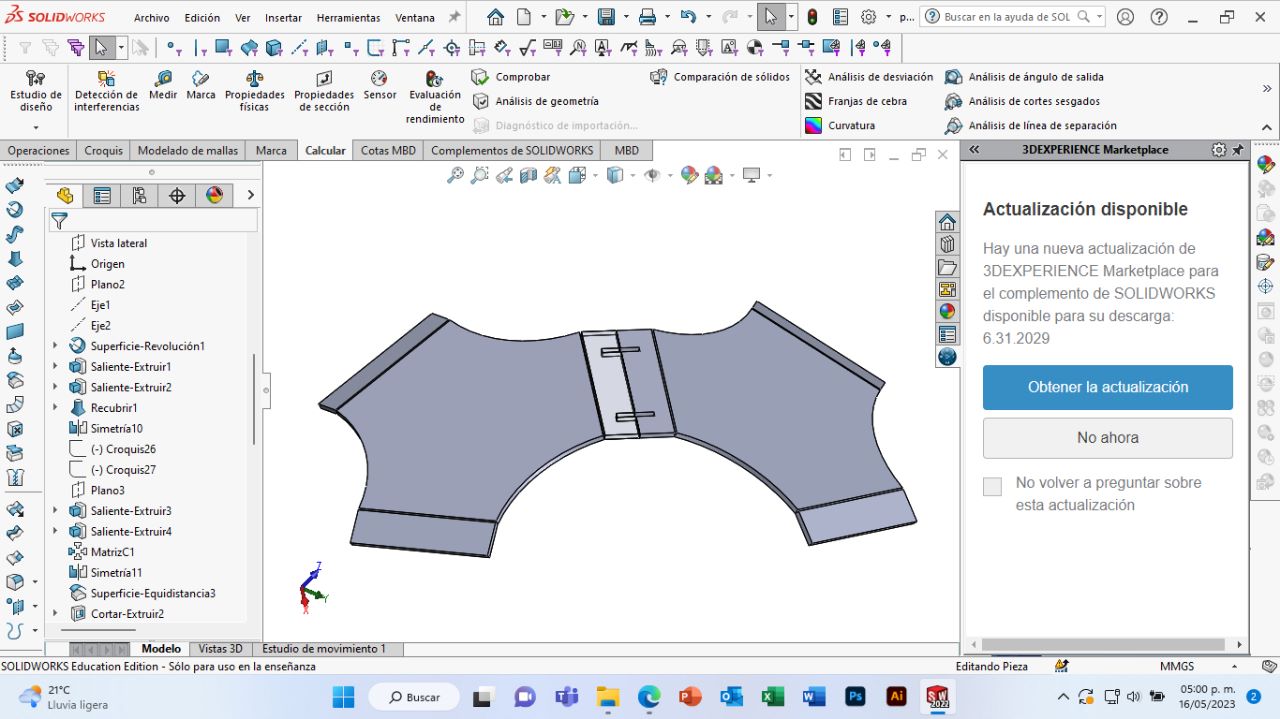
First I designed my file in solid works to make a flat piece with the help of my project that I did in week 3 "Computer controlled cutting".
This week I decided to make the crack for my final projector, with a tip that gave me my advisor. I decided that my module would come out in less time if I thermoformed it compared to the 3D printing process.
Thermoforming is a process in which the material is heated until it reaches its "formation" temperature and force is applied to the sheet to mold the piece. It is ideal that you use a mold and counter-mold so that the piece does not have many variations.
First I designed my file in solid works to make a flat piece with the help of my project that I did in week 3 "Computer controlled cutting".
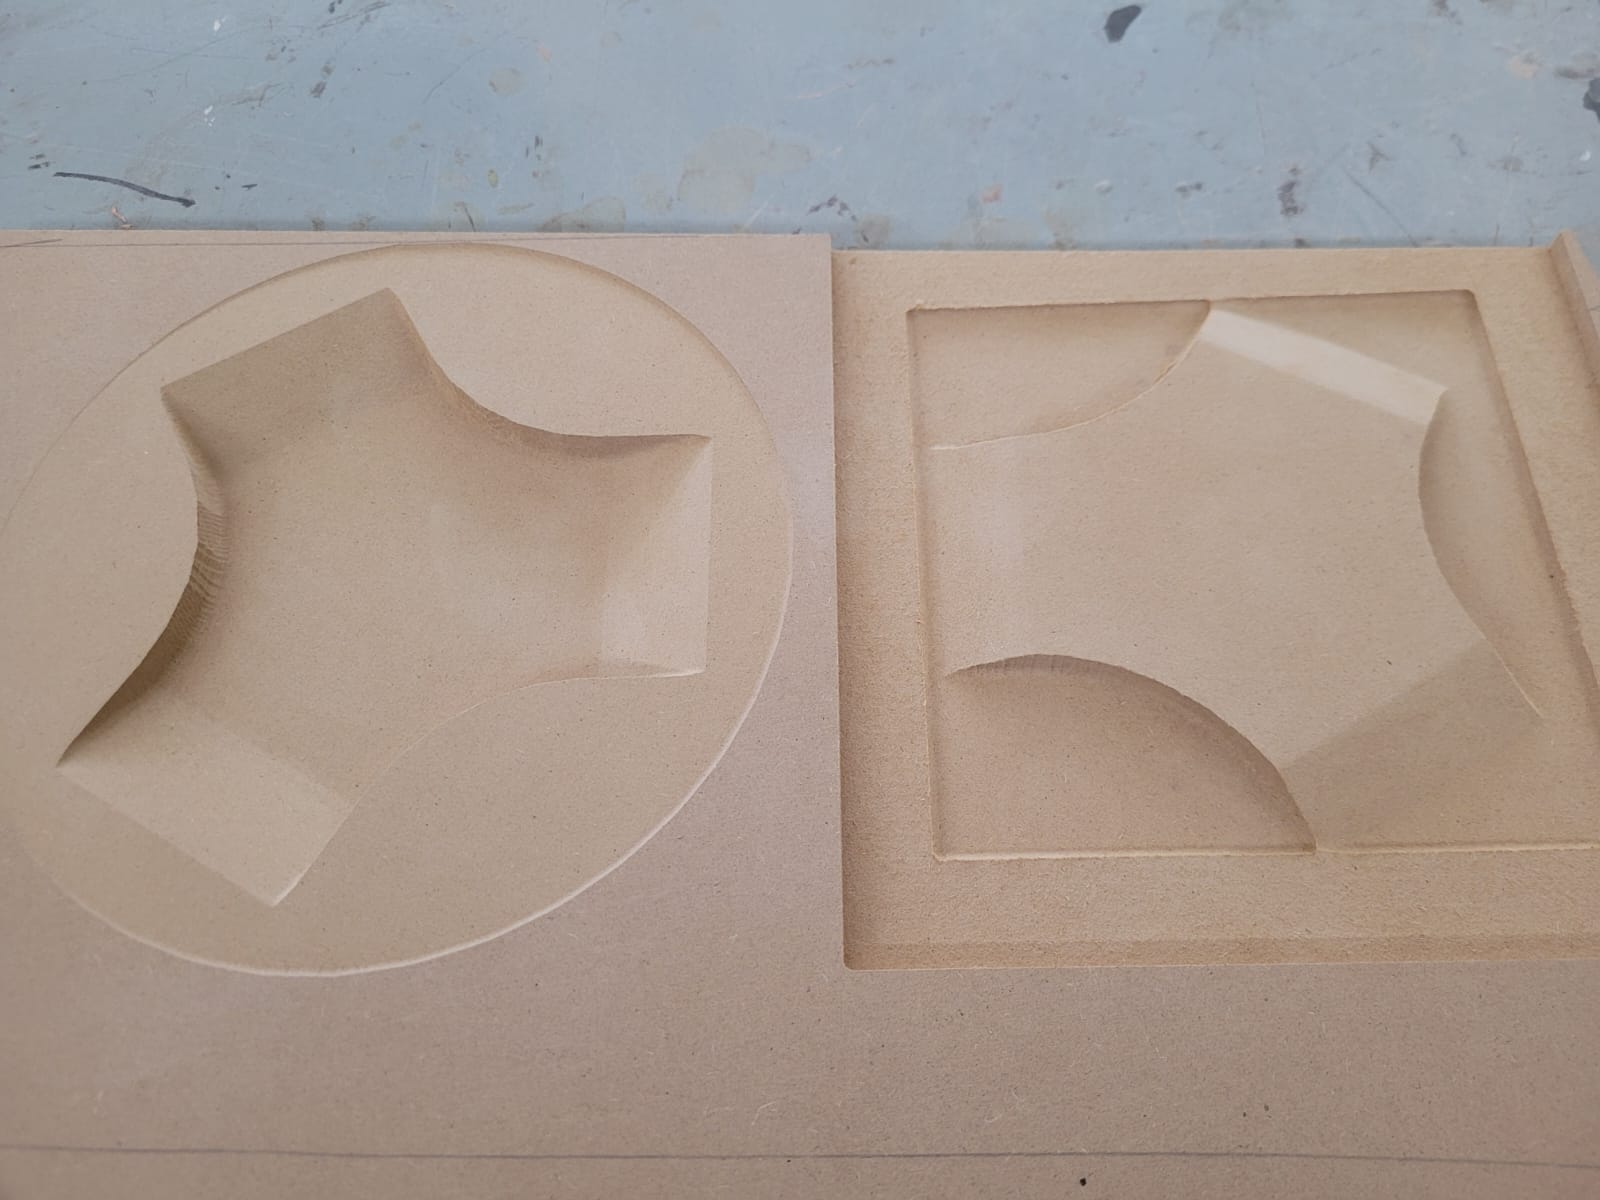
To carry out my thermoforming I needed a mold and a counter-mold, first I made my mold 1, I turned my solid piece into a flat surface, which I added a thickness of 20mm, to later substract that solid from a larger solid.
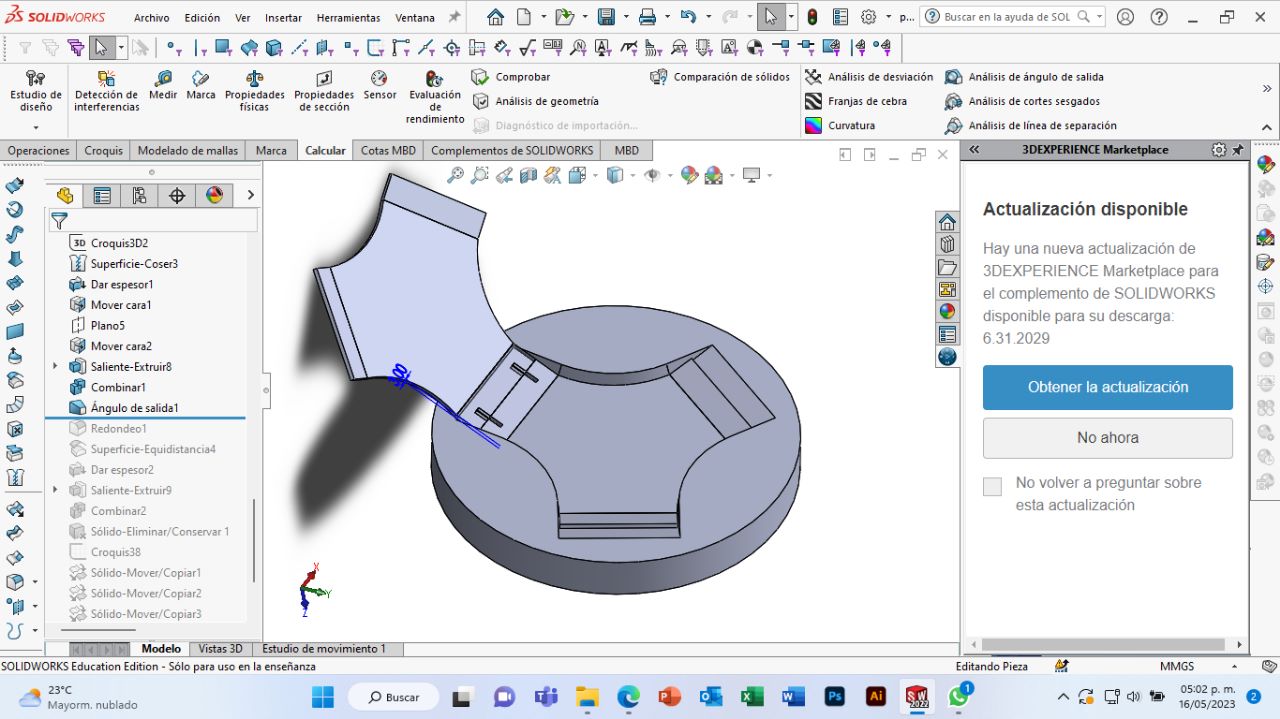

I did the same procedure as before, except that now the surface started from the other side of my module.


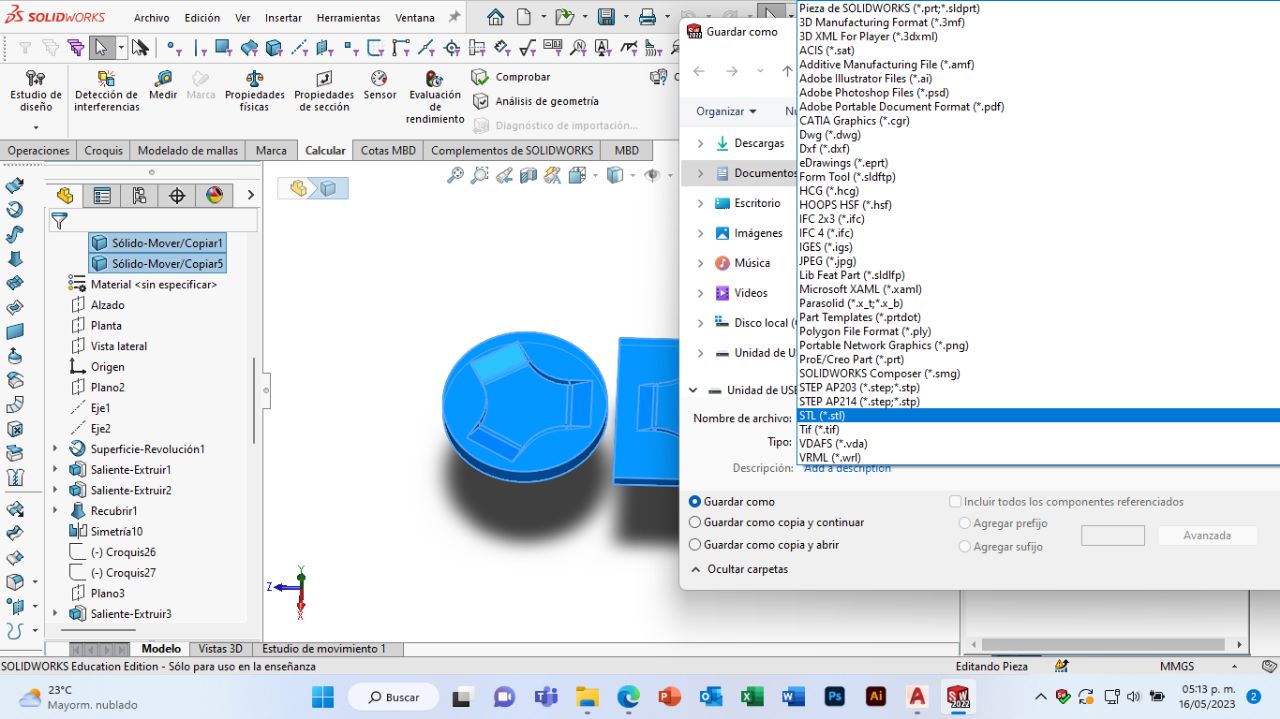
I saved my two molds in a single file as "stl" to later open it in the V Carve program.

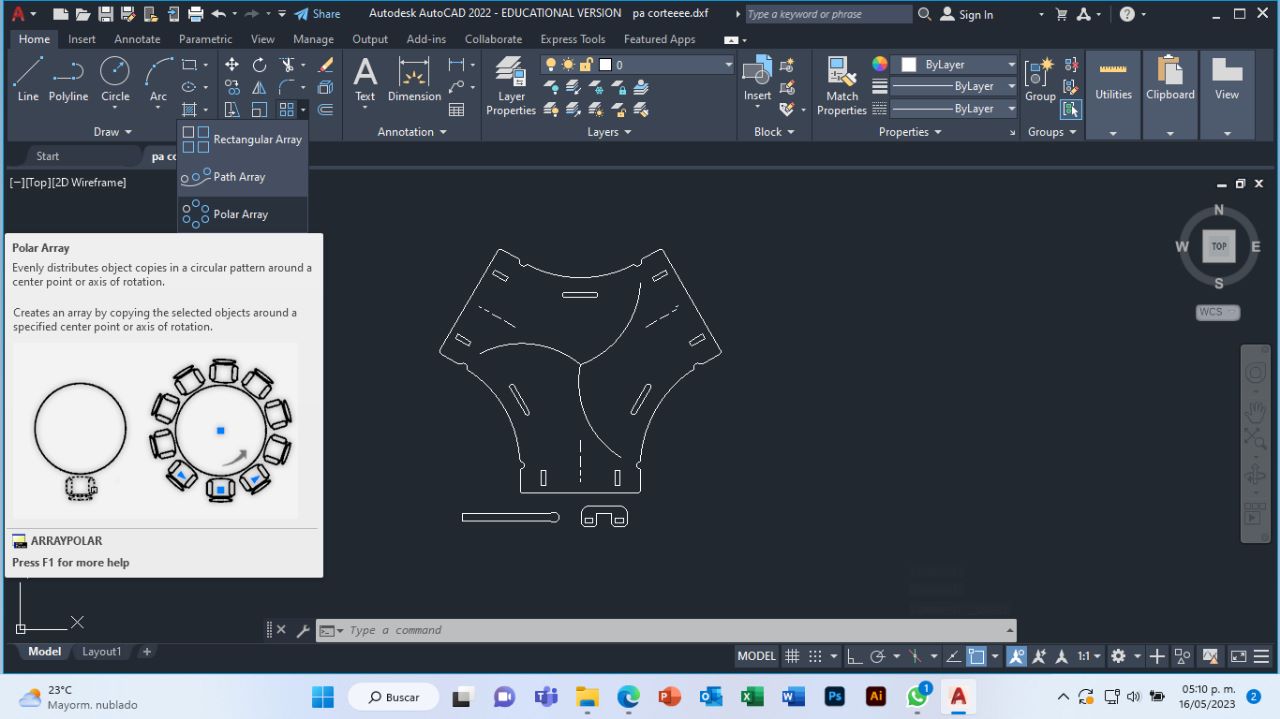
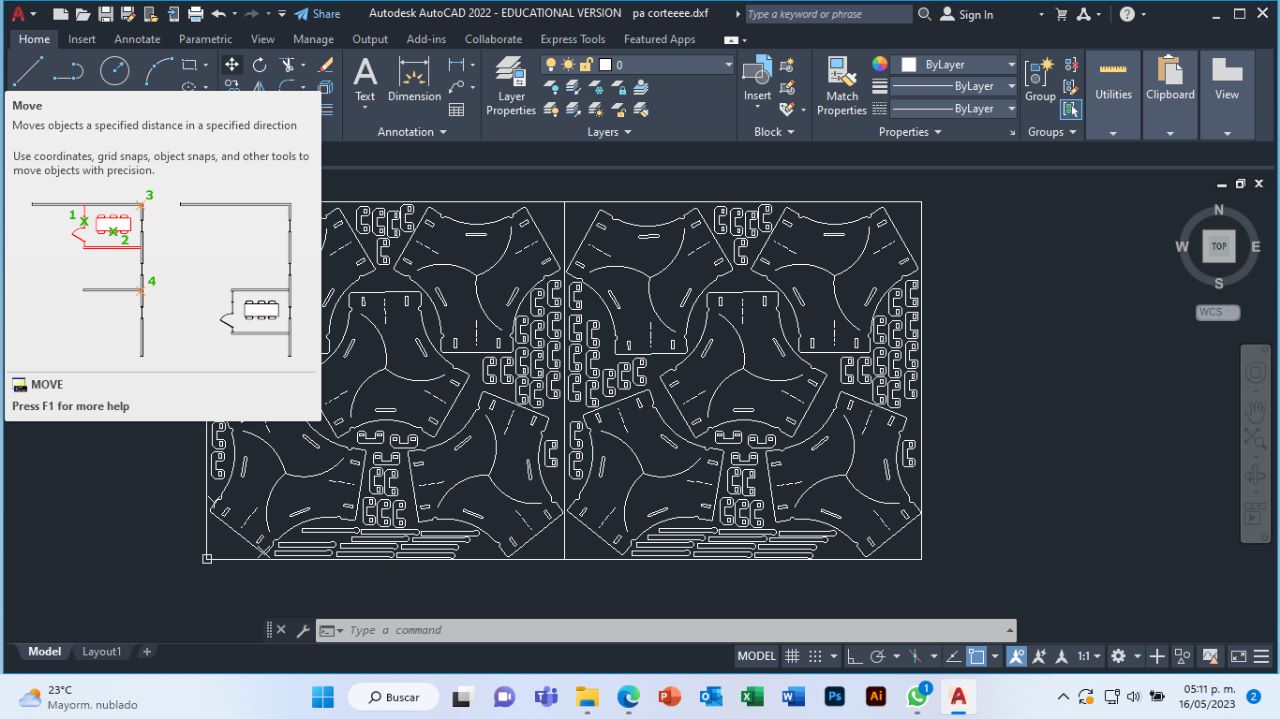
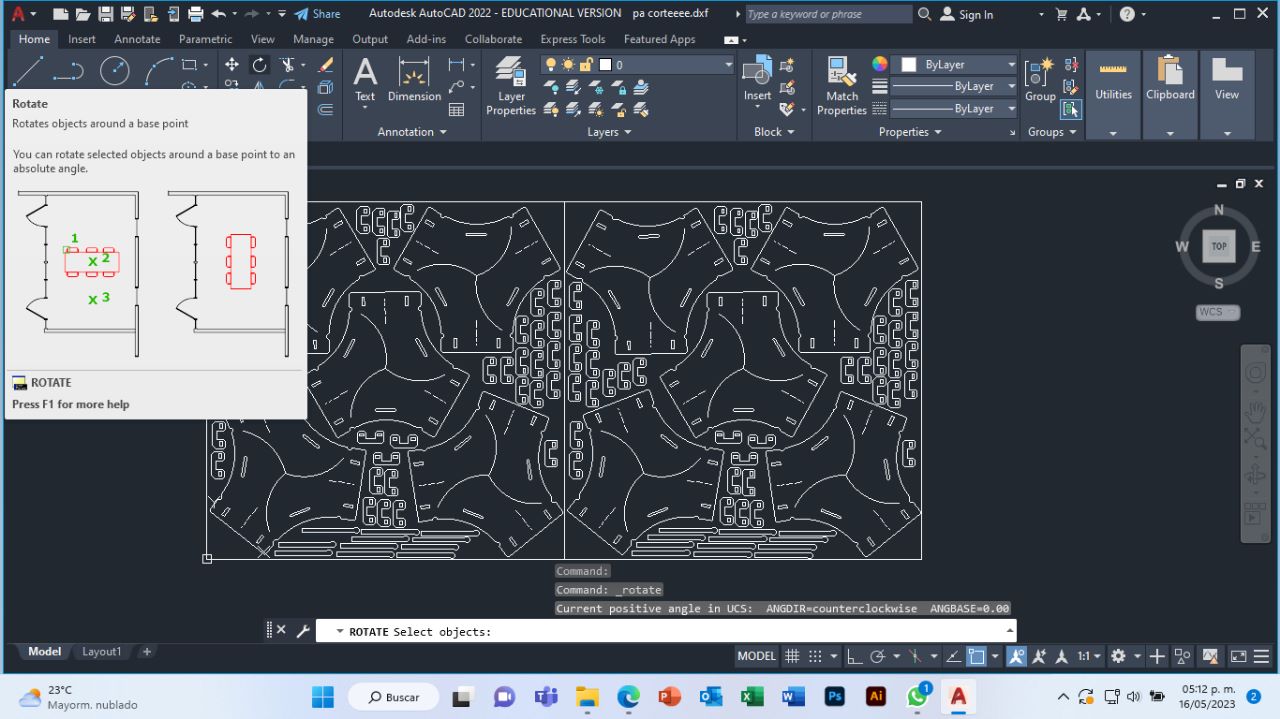
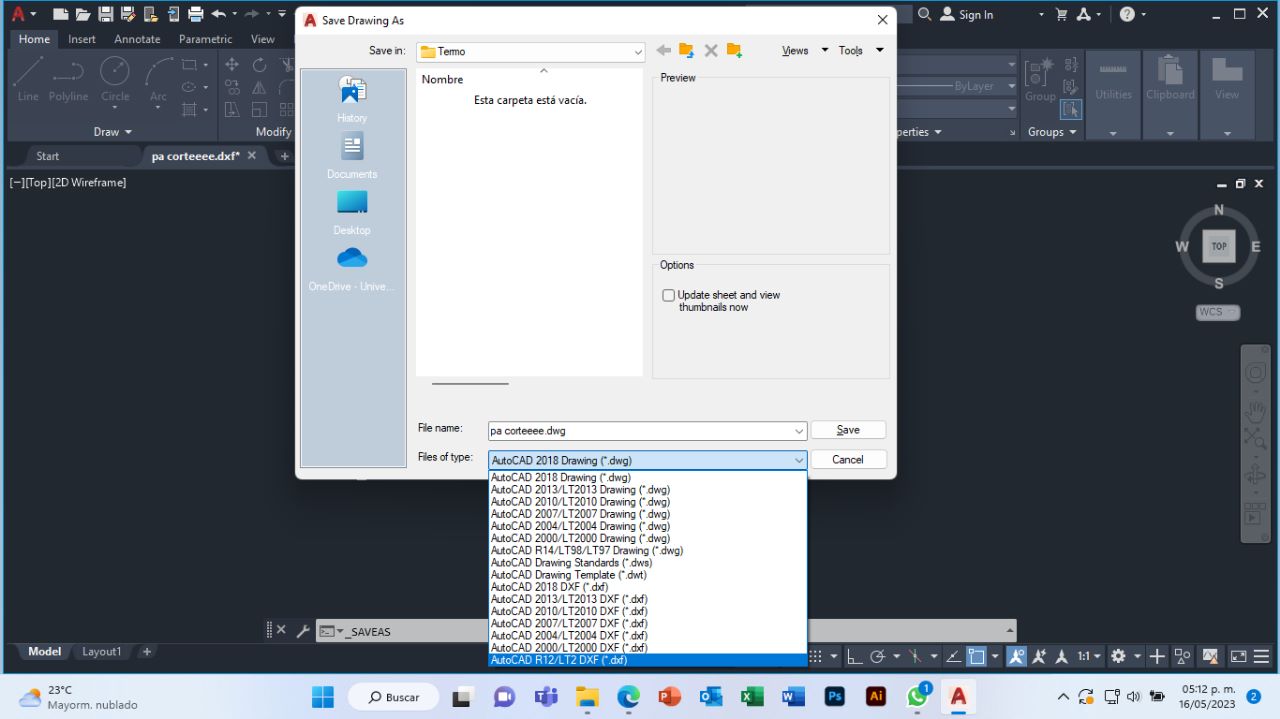
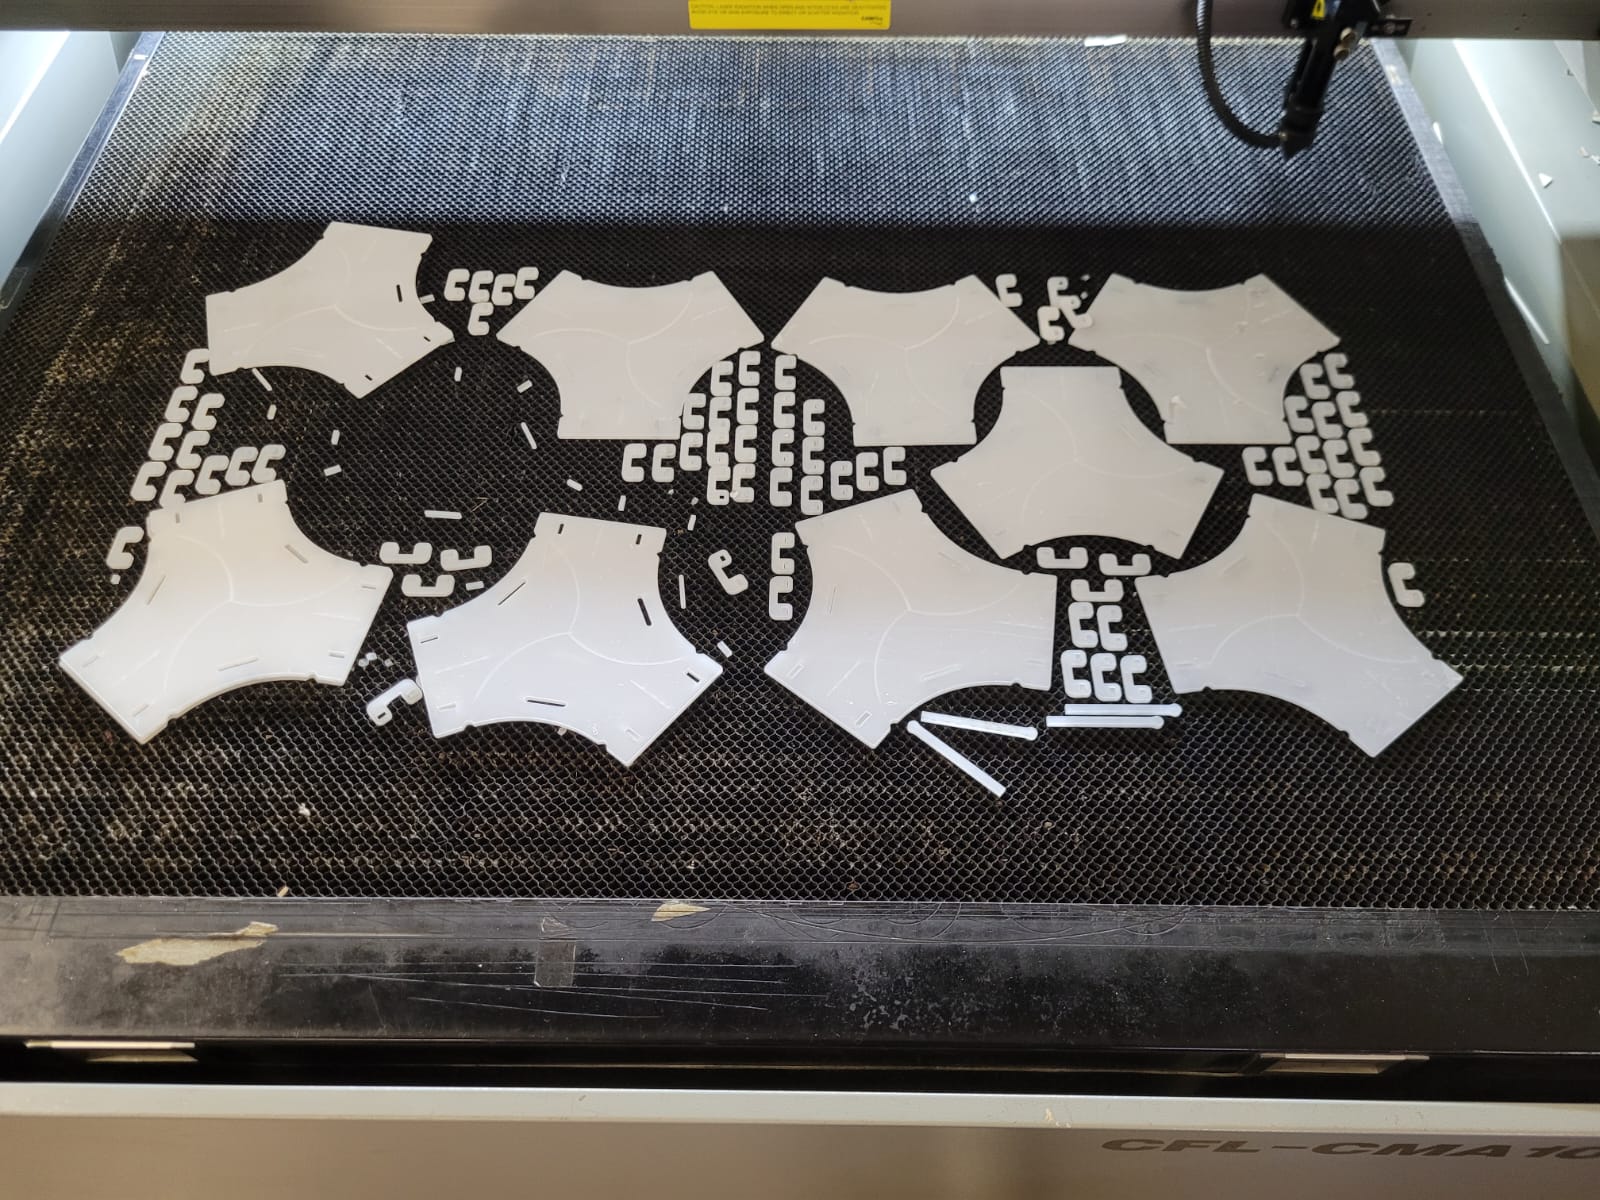
To check my cut file, I used the AutoCad program, I also made a design to engrave it and I arranged my pieces with the help of the "move" and "rotate" tools. Lastly I saved my file as AutoCadR12/LT2 DXF.
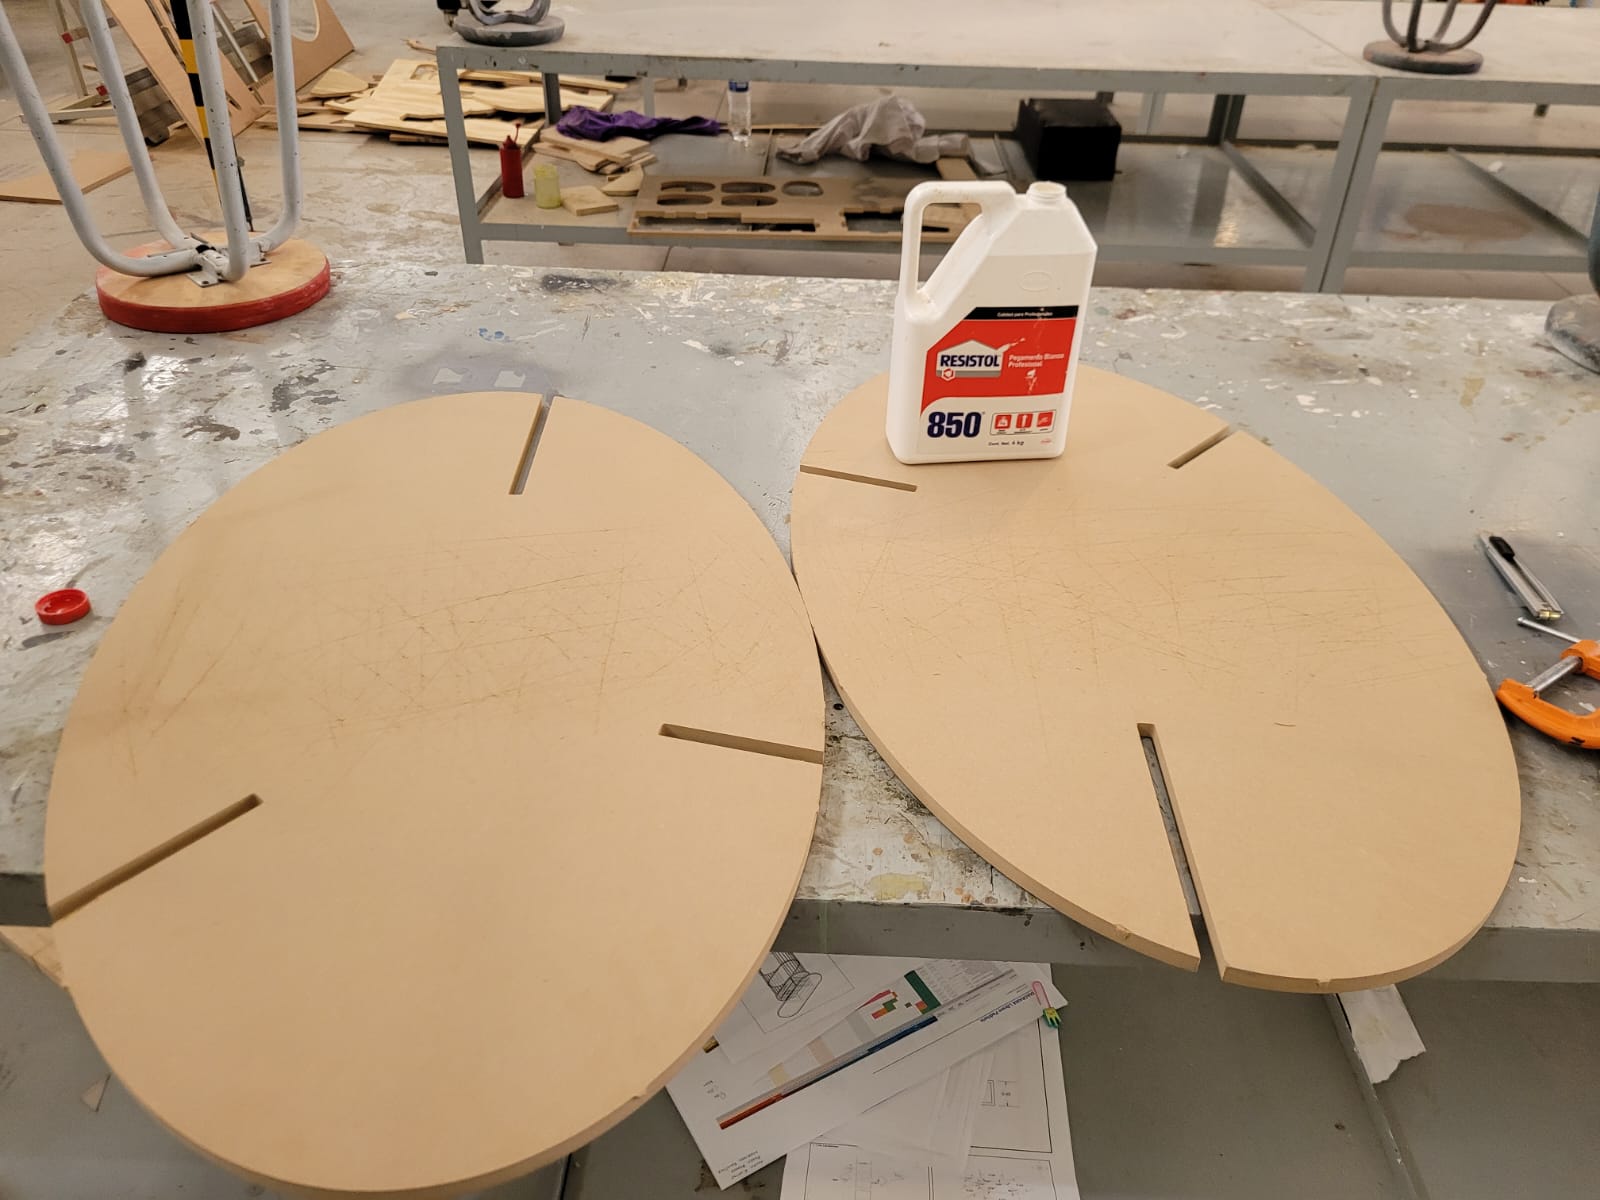
Before making the laser cut, I glued two 15mm MDF boards (it was waste from week 7). First I made some cuts and then glued it together and pressed my two boards together. Let the glue dry for 4 hours.


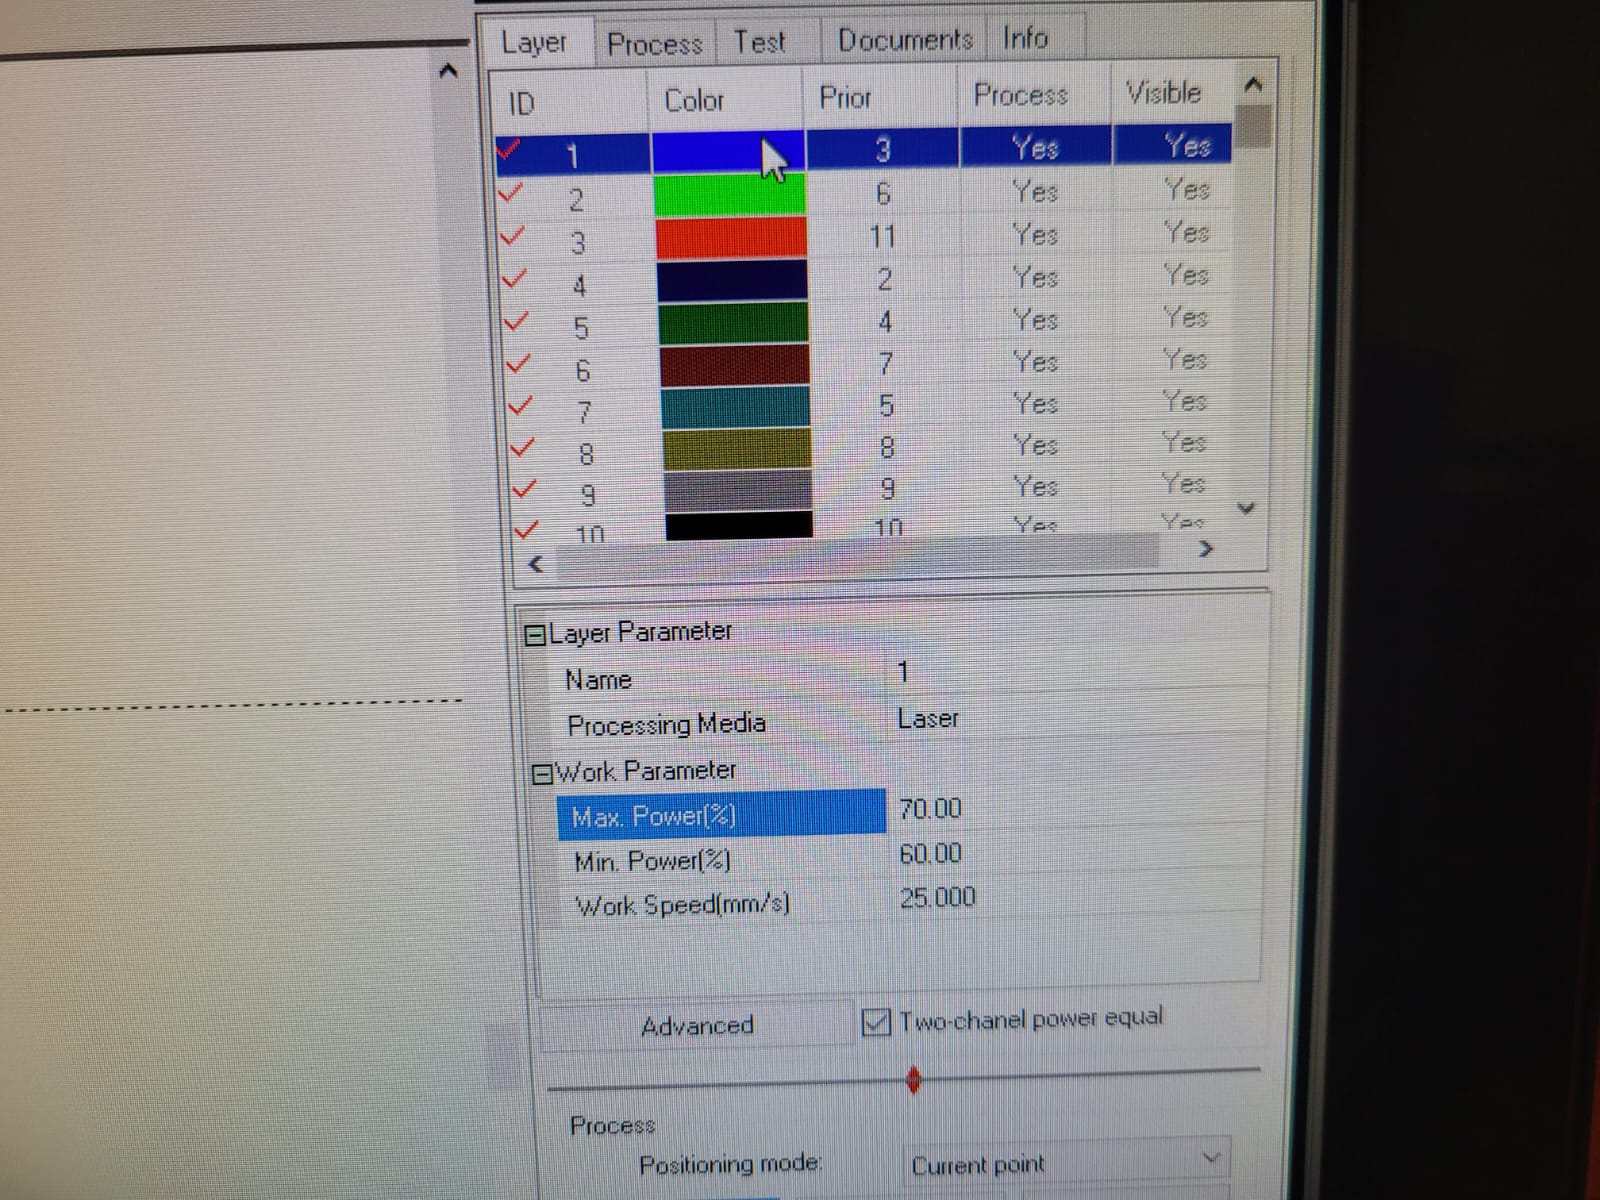
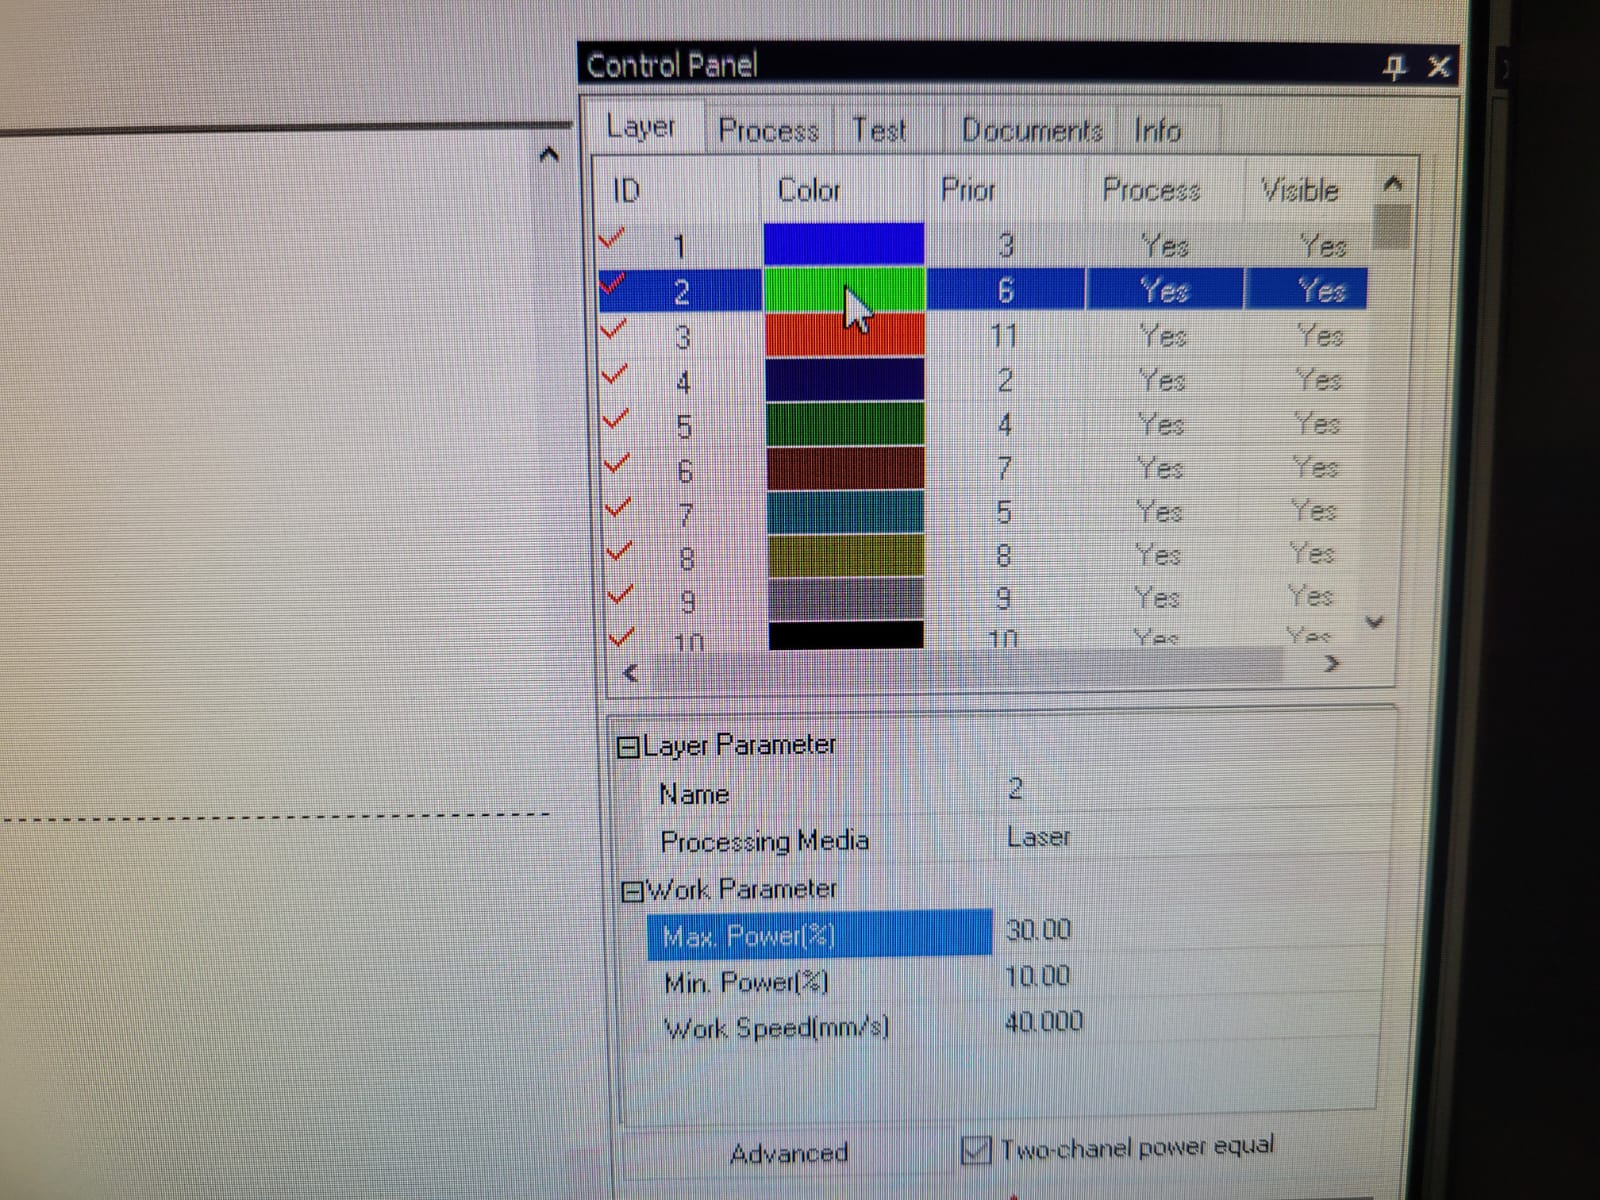
I did some tests to check the parameters for my cut, the images show the final parameters in which I cut my 3mm acrylic.
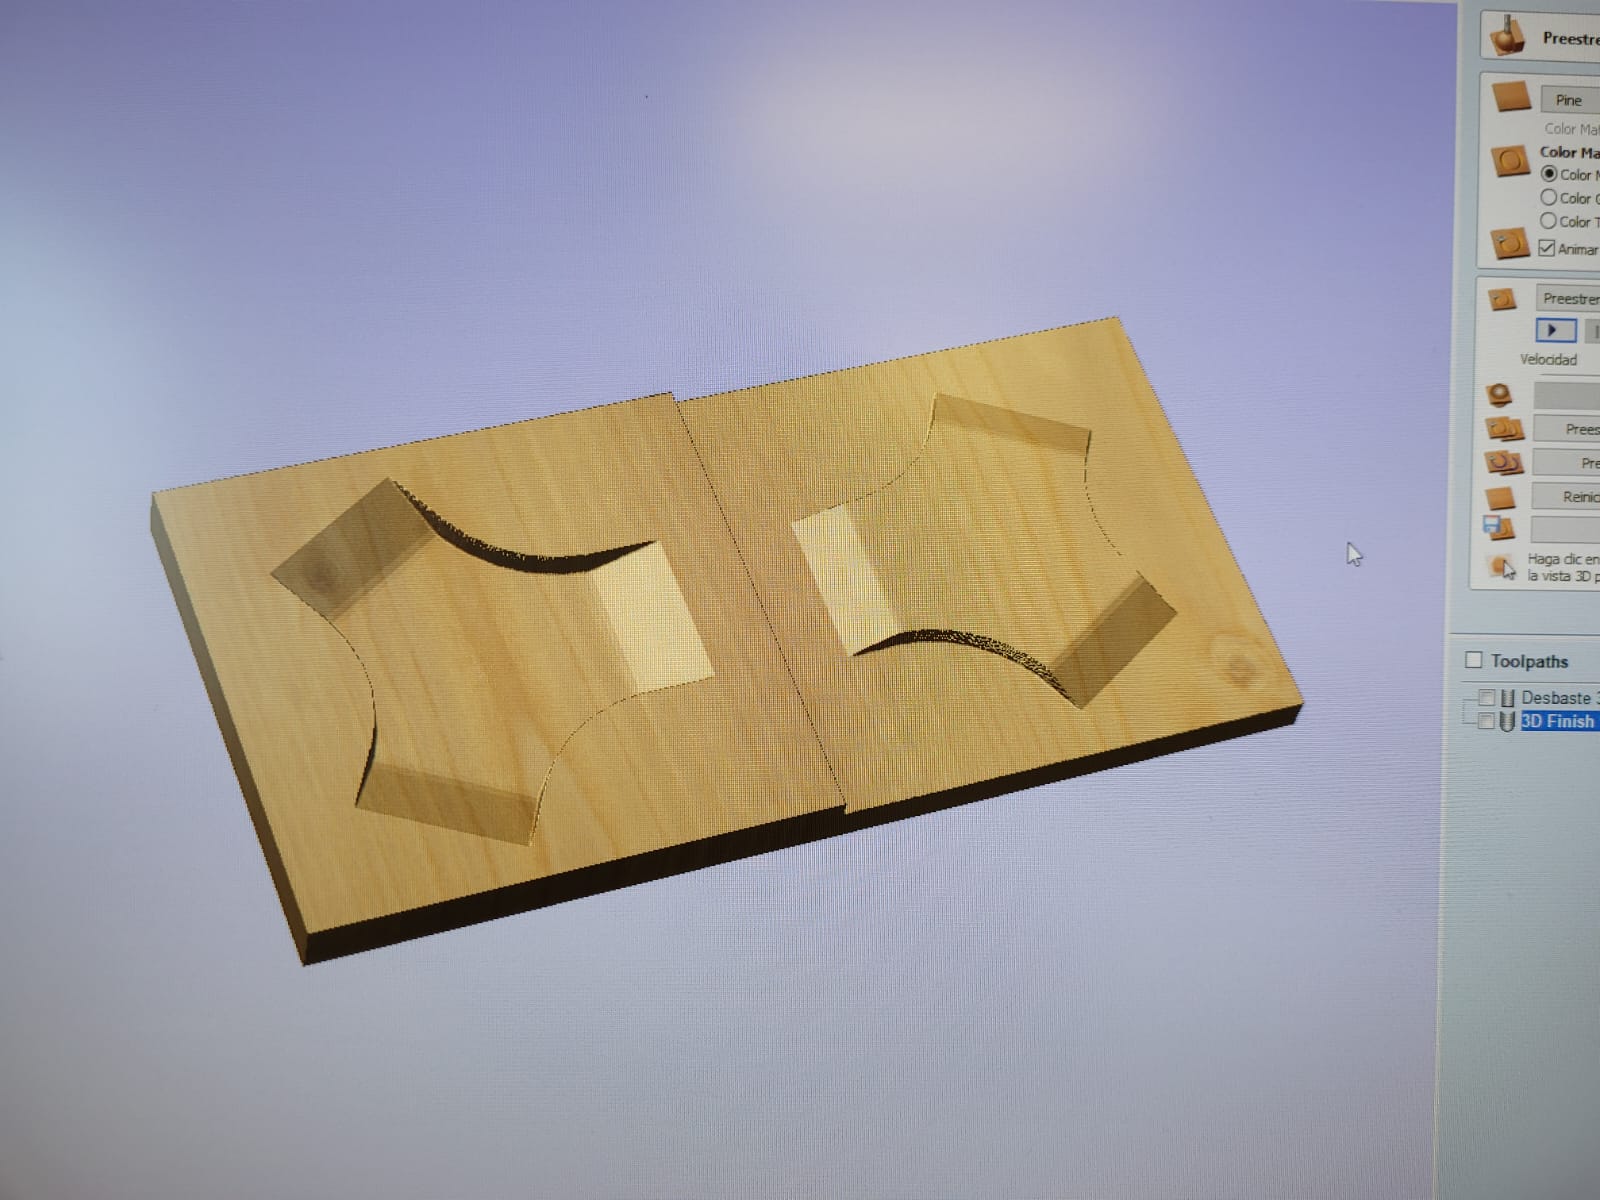
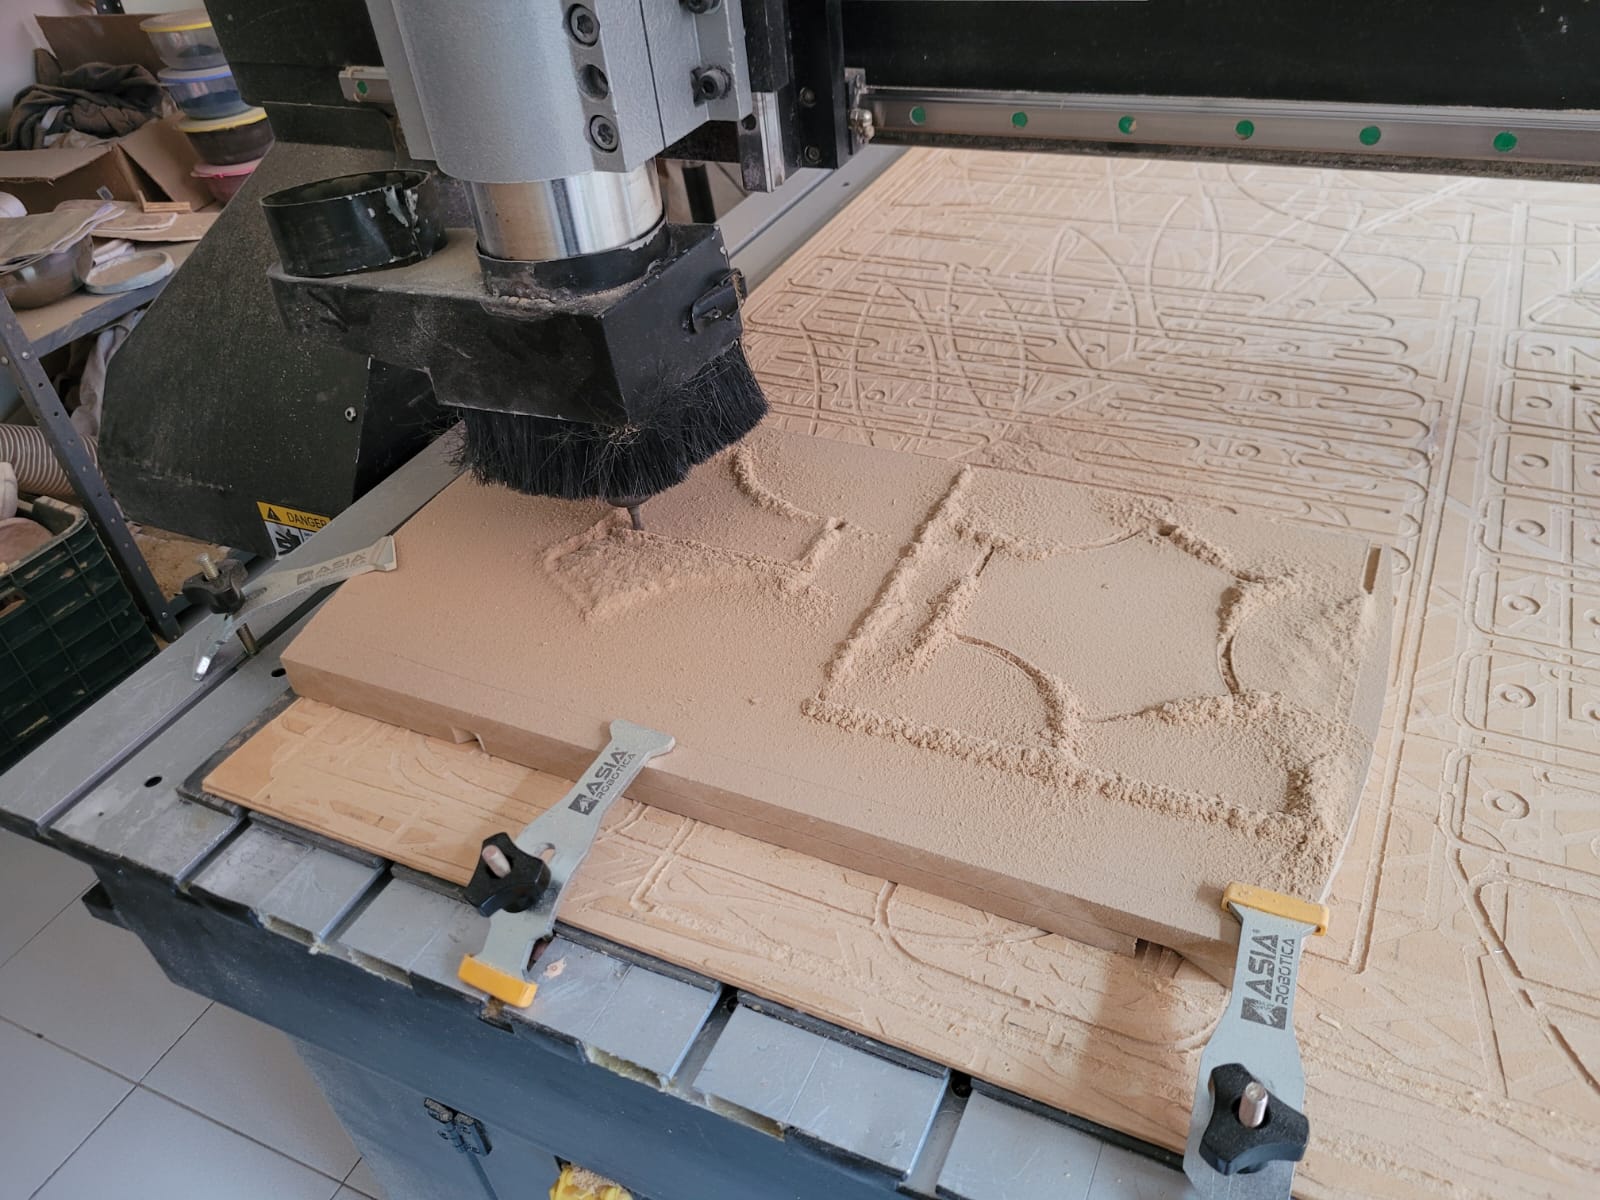
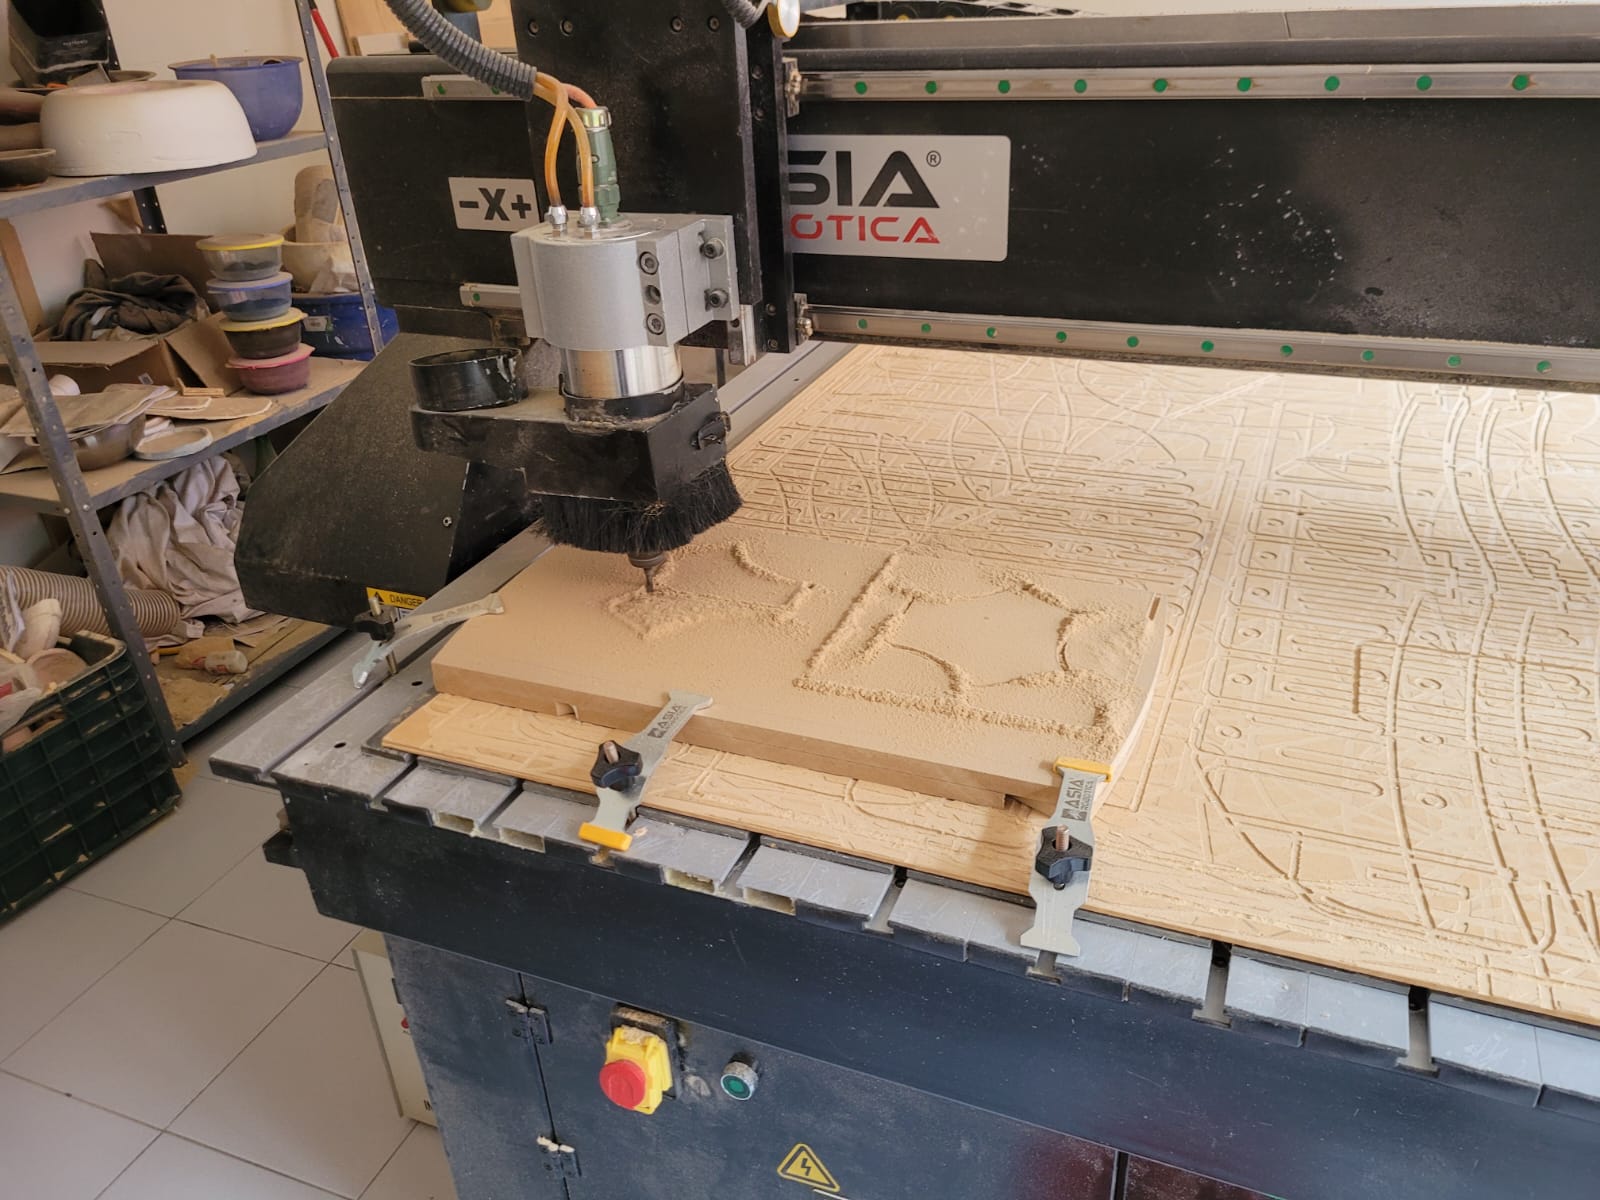
I make the G code with the V Carve program, with the parameters of week 12, make two files, one for roughing and the other for finishing.
I did the roughing and finishing of my mold with the security measures, in the process it took me around 5 hours.
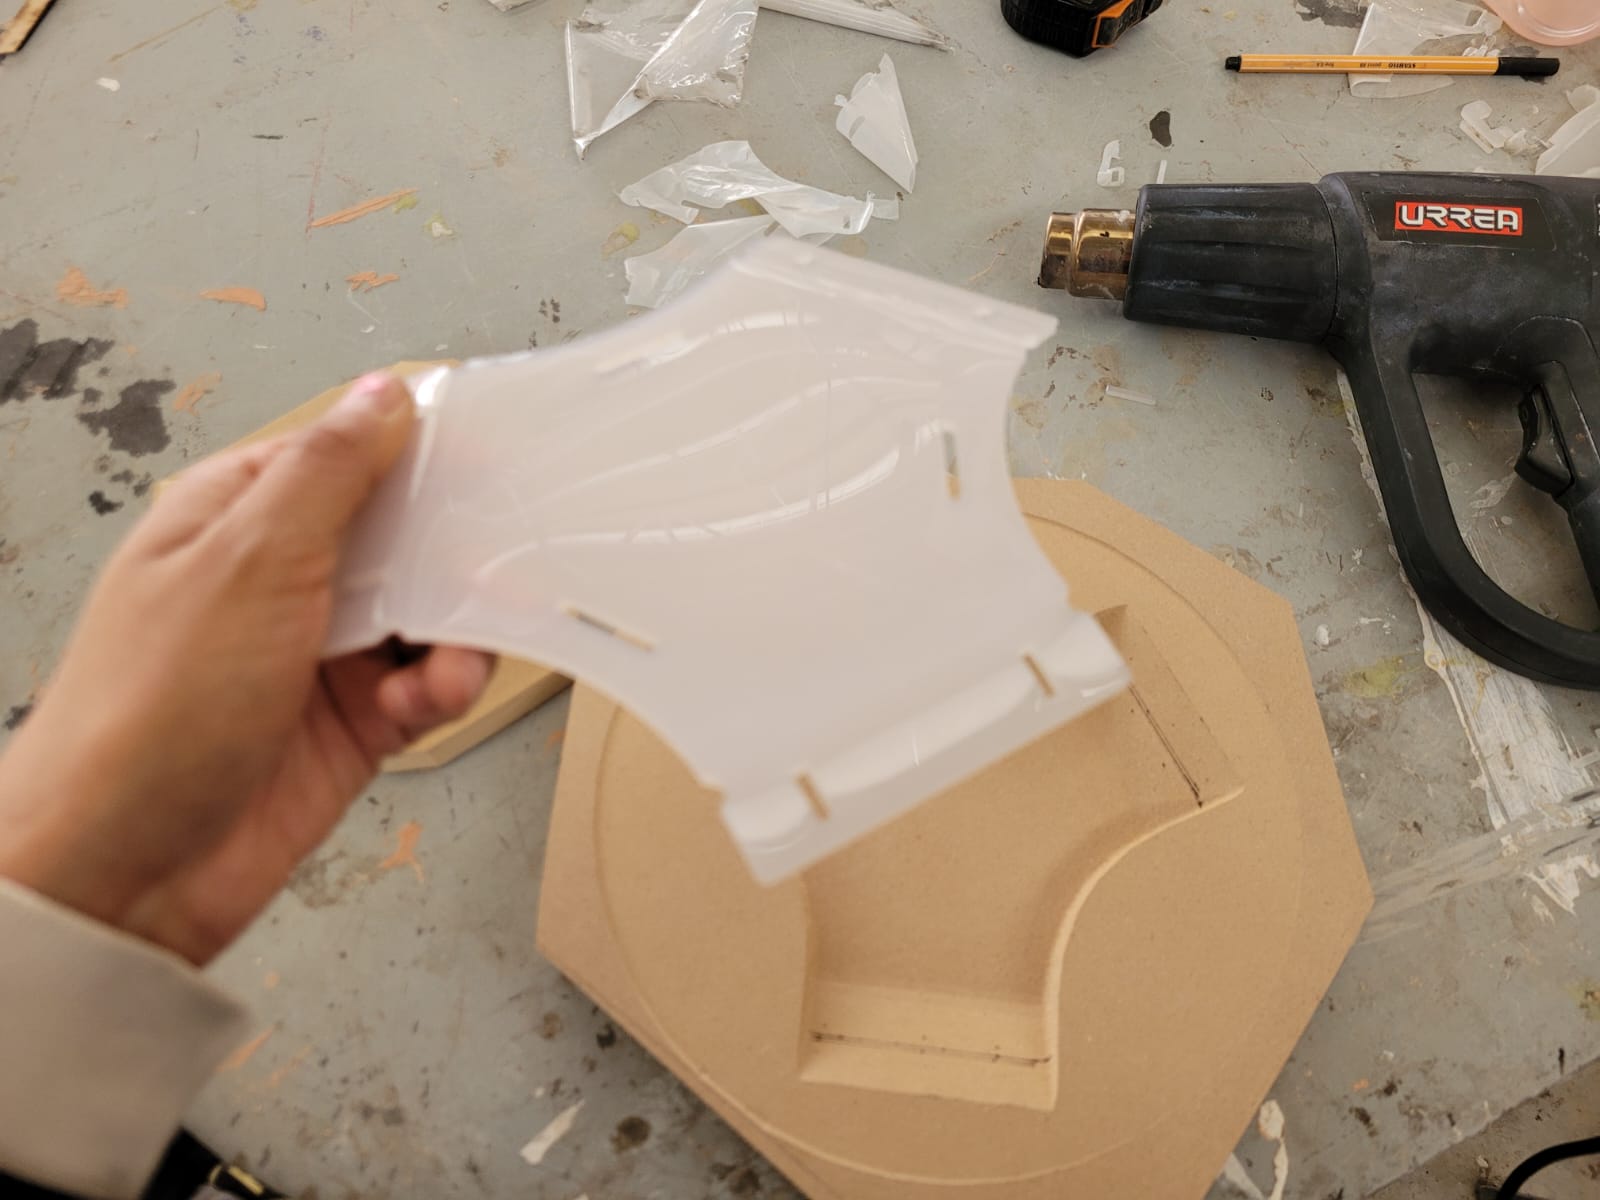
To begin with, it is necessary to wear gloves as a safety measure, it is also important to accommodate the piece.


In this process, the acrylic piece is heated uniformly first, until it takes the shape of the mold for at least 40 seconds, then the counter-mold is placed for at least 5 min.
If the piece is warm can be cold with a pressured air.

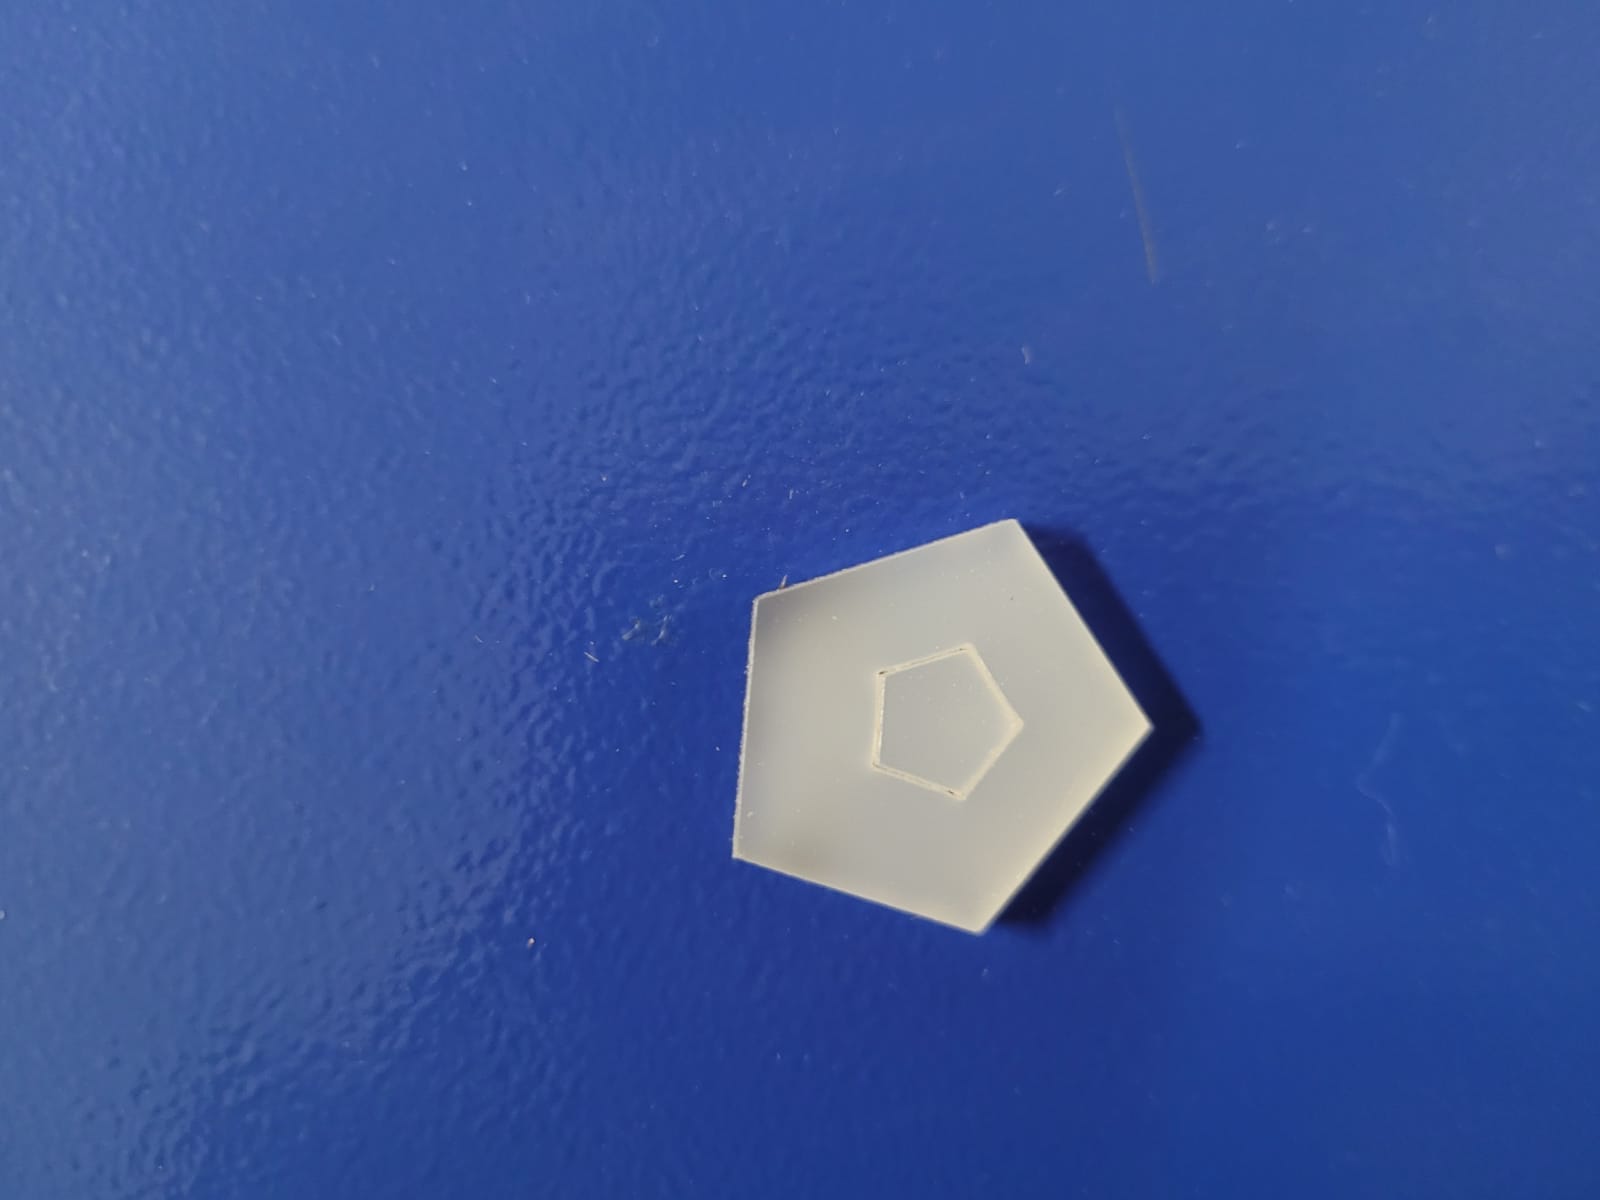
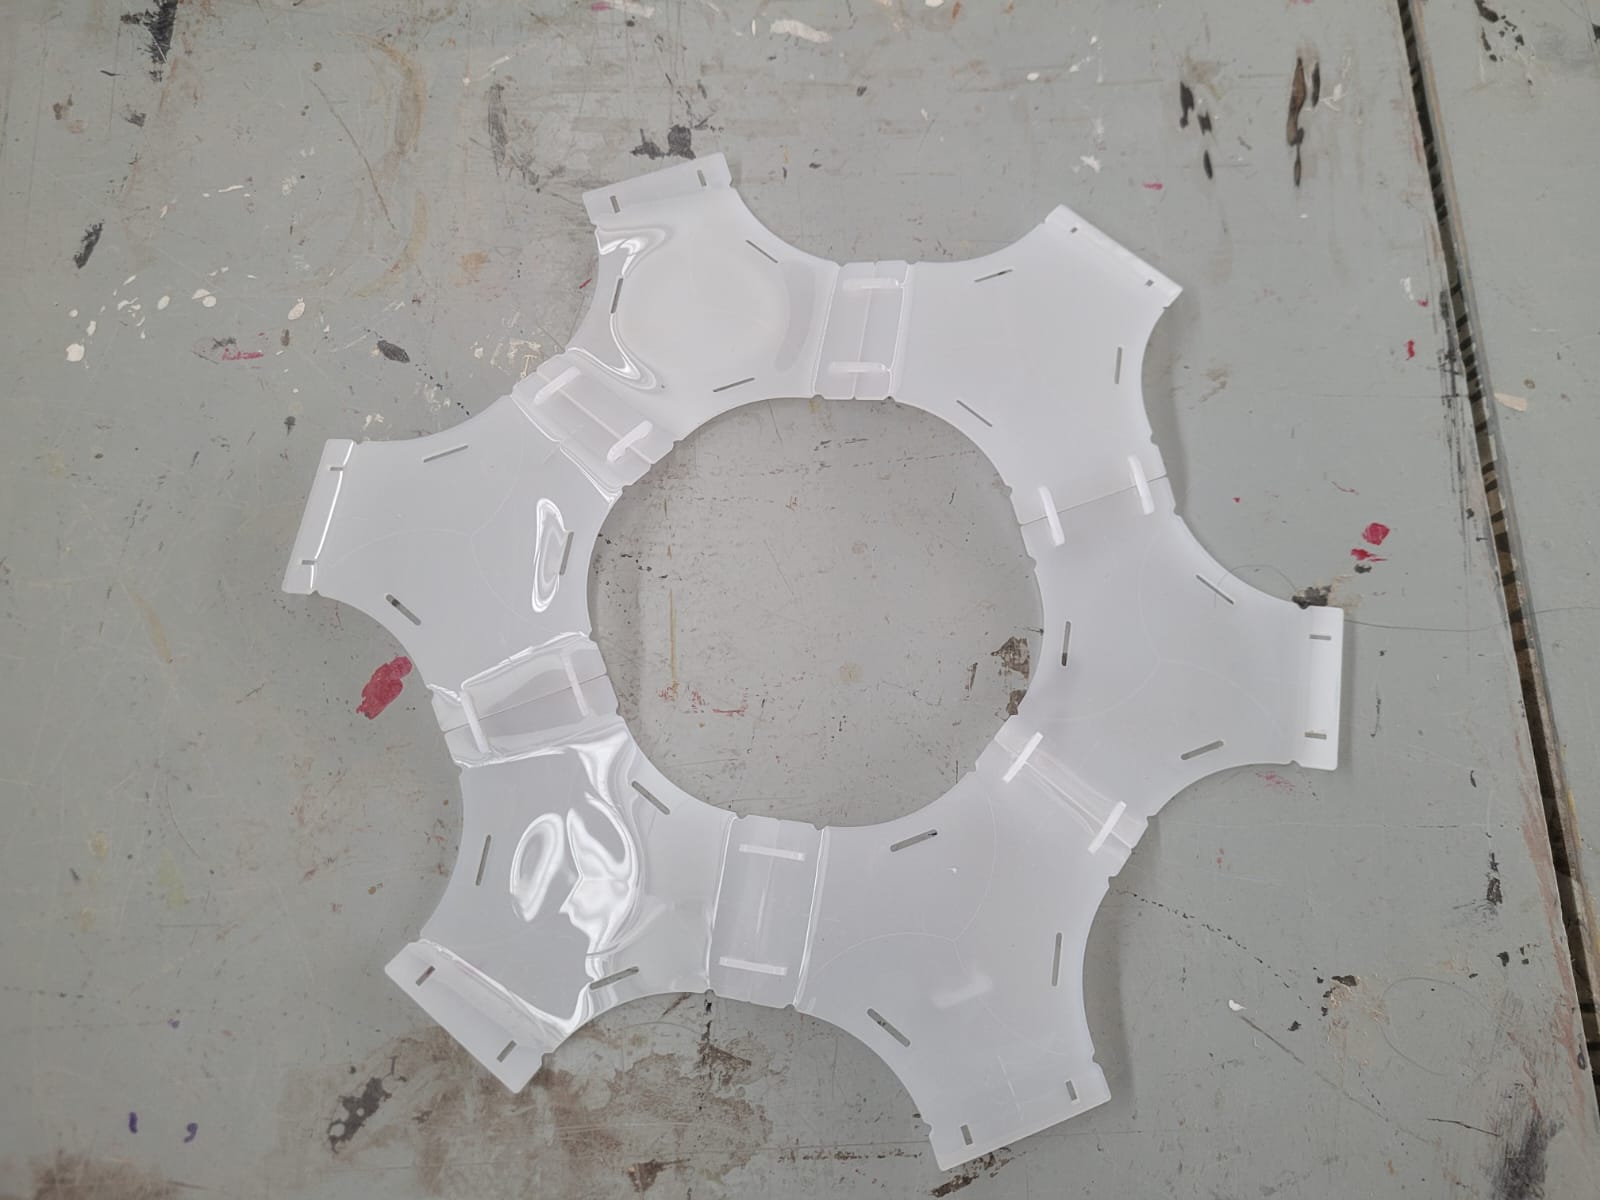
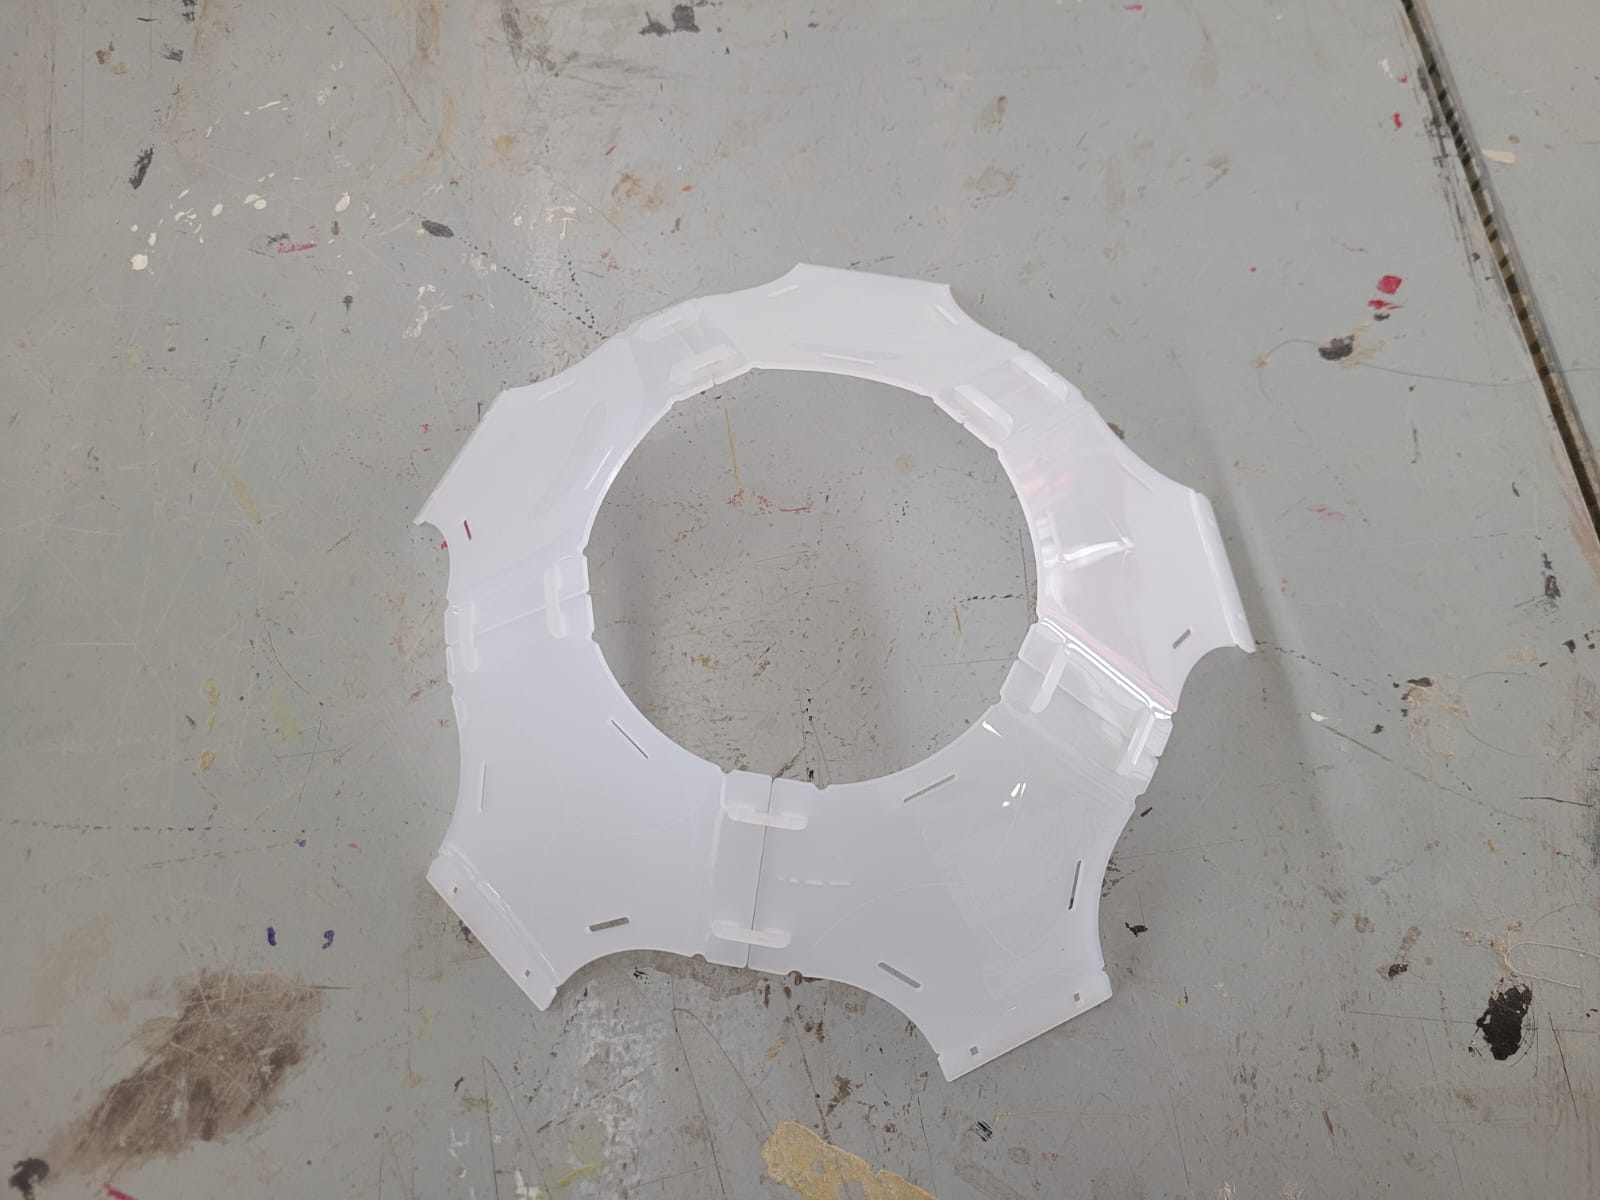
The module can be assembled in two different ways, one is flat, the circle is closed with 6 modules.

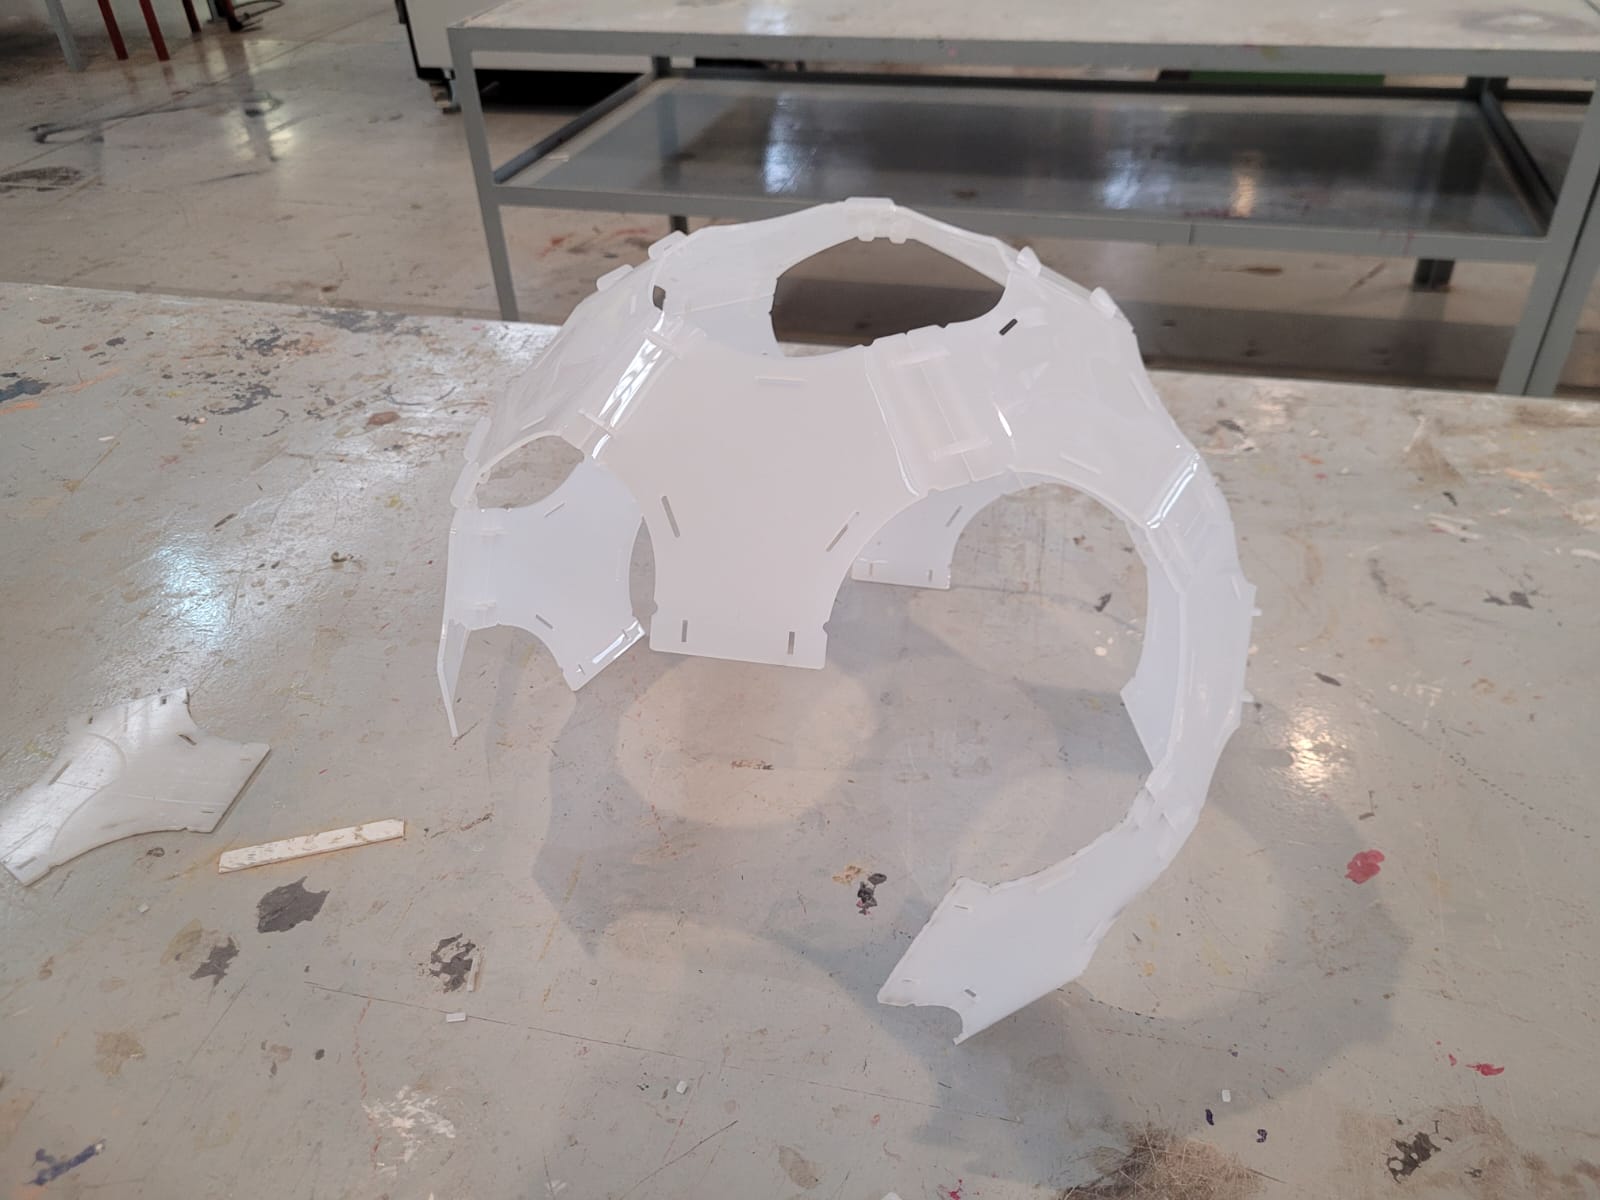
The other way of assembling is building a sphere, to close a circuit 5 modules are needed.
Compared with this technique and that of 3D printing or the function, it is that you can save material and time, because in this technique you already have the material and it is only to deform it, cost and material are reduced, but it is important that you think about the complexity of the piece and the use of a suitable mold that contains the sheet in its entirety if possible.
This week I really liked being able to propose a new technique to the ones we had already seen and the previous weeks helped me to achieve this week.