12. Molding and casting
Welcome to "Molding and casting" week, This time I designed a piece for my final project, it is a piece that must be translucent so that light can pass through.

The requirements for this week were that we had to machine our molds, to later pour some resin or silicone.
SolidWorks
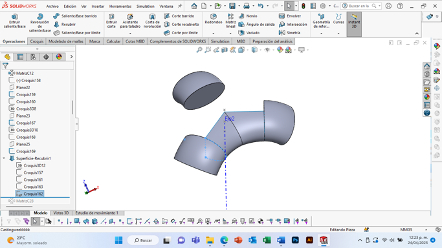
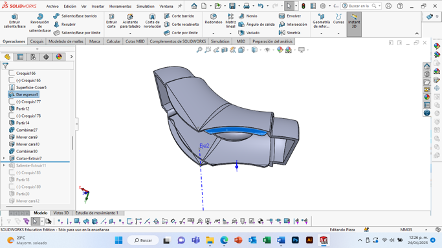
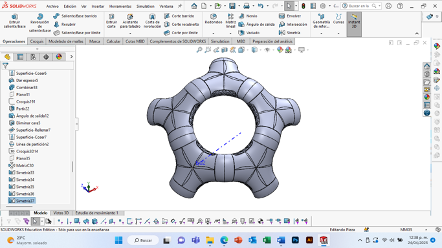
I first re-modeled the module from my final project, taking into account the dimensions of my PCB board.
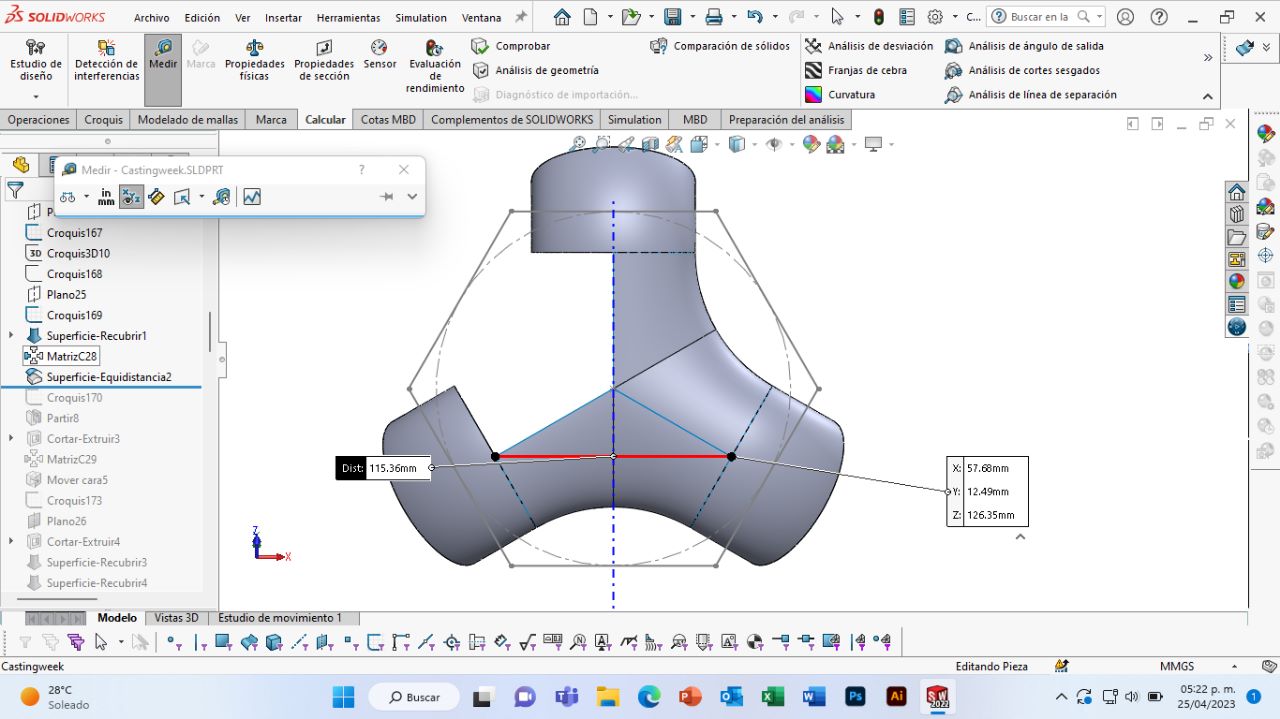
To model the module I used the surface tools, like the "Overlay Surface" and the "Move Face" tools. I also added a space for the power cable and sensor outlets.

Led piece
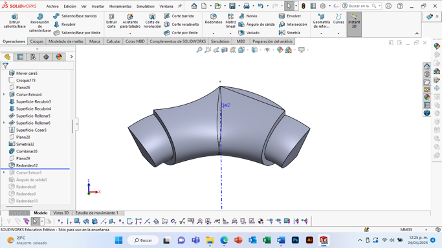
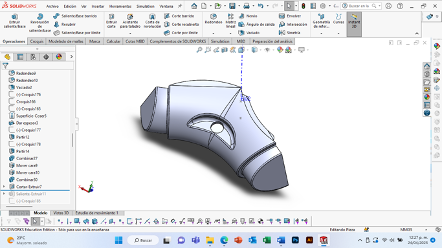
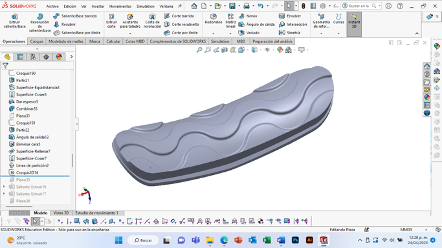
The parts of the module that will light up are the side parts, each module will have 3 "led pieces" on its sides, to create it use the "Split" tool and "Give thickness", then I added a tab to the piece for its assembly and add 1º of departure angle.
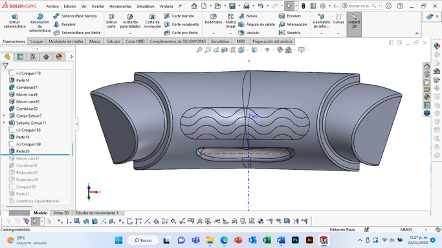
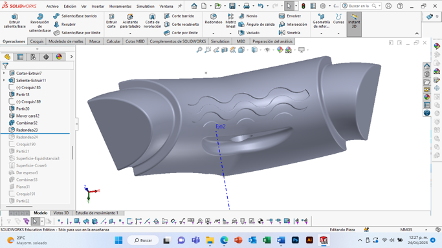

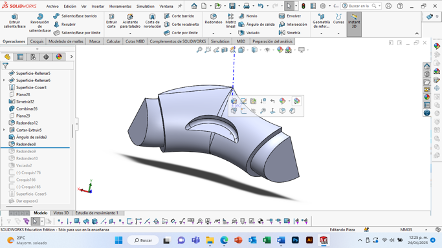
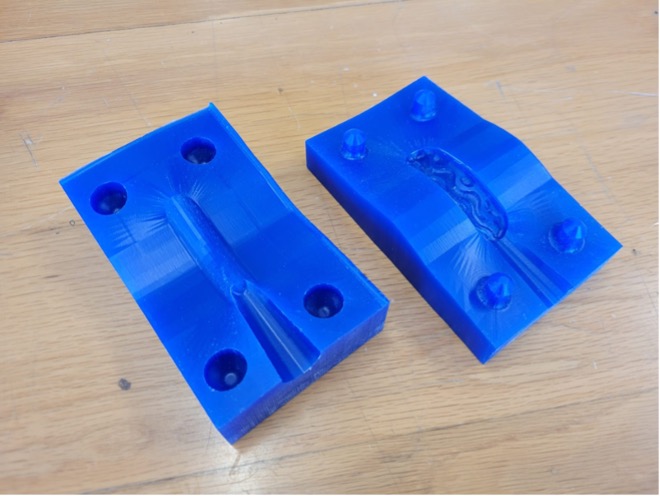
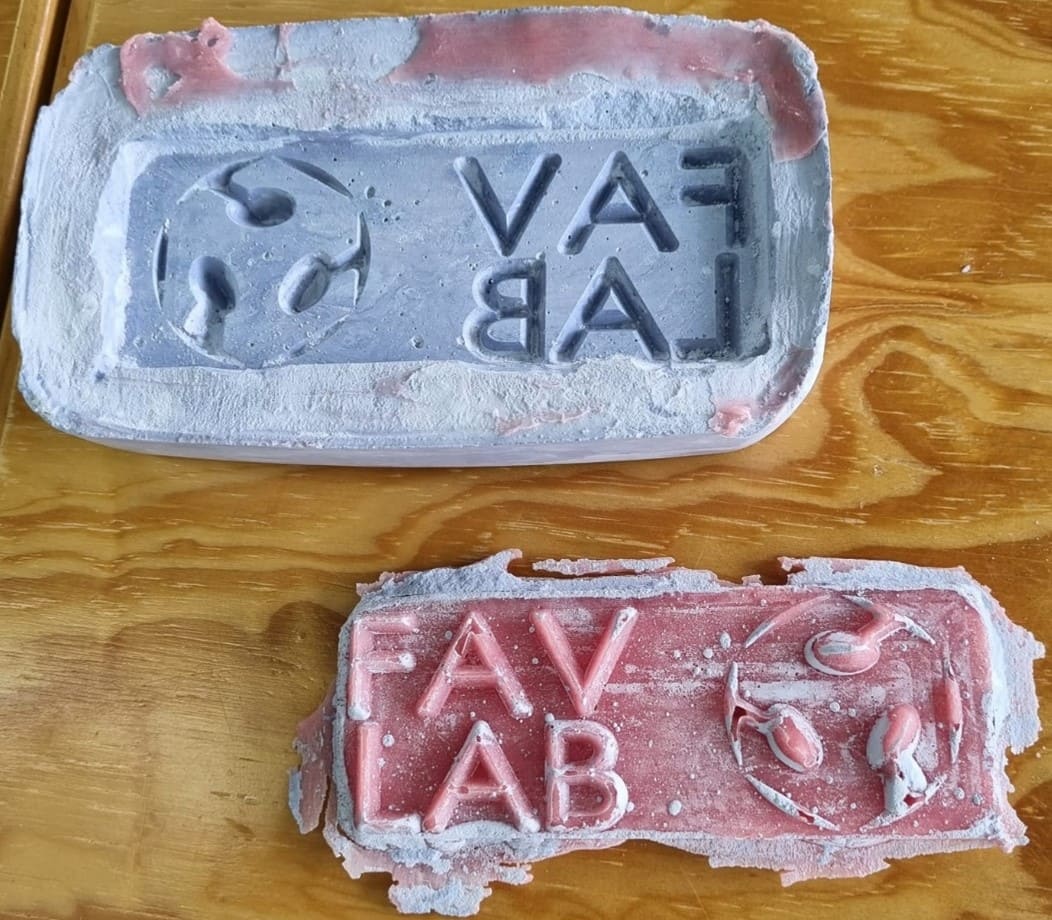
Mold design.
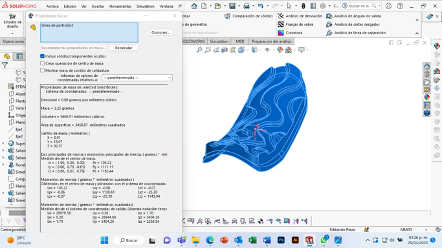
I used the SolidWorks mold tools, I placed the "parting line" and "parting surface" on my part so that I could get the "core" and "cavity" out of my mold.


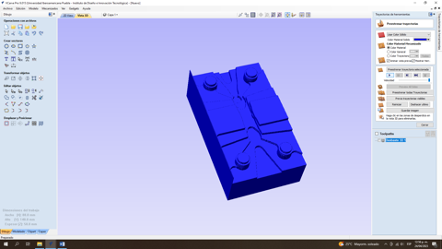
VCarve
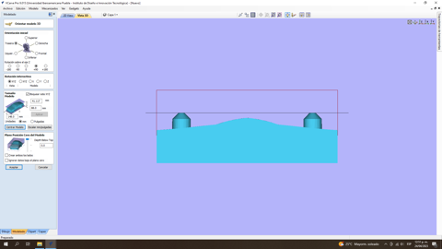
I exported the model in STL, to place it in the VCarve program and configure the first roughing and the second finishing roughing for each of the mold parts.

I use EndMill (0.25 inch) for my first roughing
I chose to take the parameters of "softwood" to make my cutting parameters. In the Shopbottable, the recommended spindle speed is 18000rpm.
In the End mill 1/4 45408Amana tools proveer table the feed rate is 120 ipm=3045mm/min.

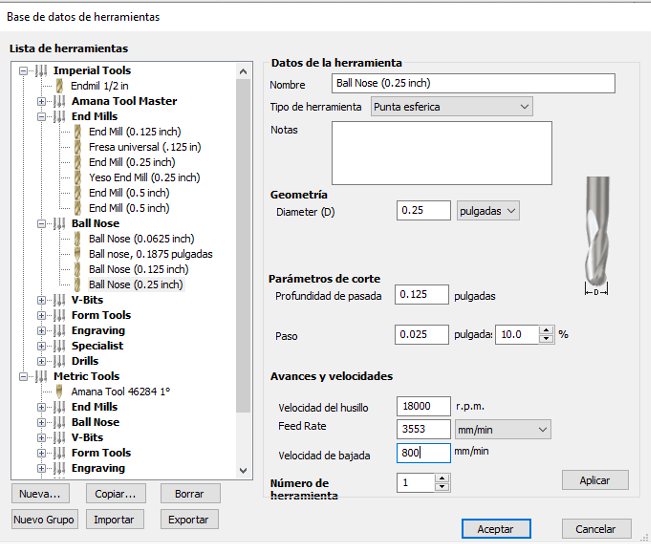
NoseBall (0.25 inch) for my finishing
I chose to take the parameters of "softwood" to make my cutting parameters. In the Shopbottable, the recommended spindle speed is 18000rpm.
In the Nose Ball 46294-k Amana tools proveer table the feed rate is 140 ipm=3553mm/min.
In Stepover use 10% to make the cut more specific, this speeds up the time.
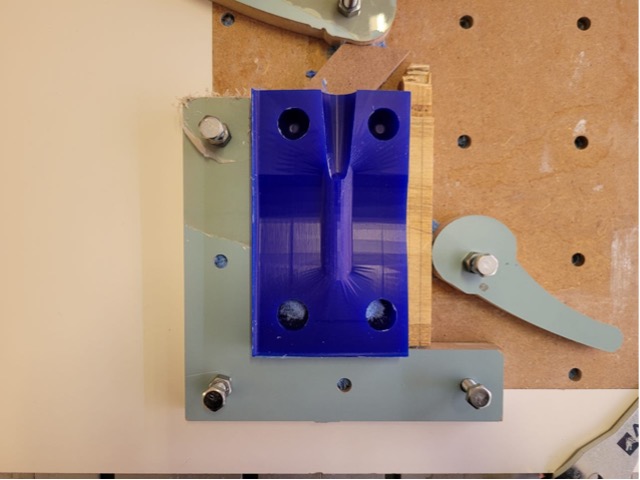
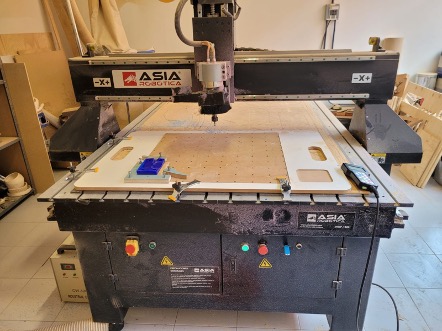
CNC Machining
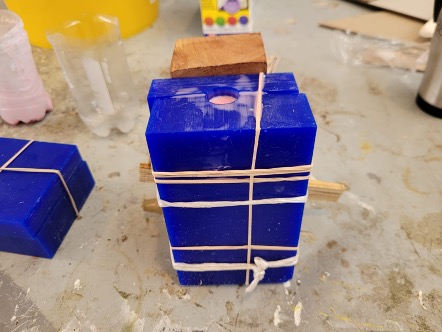
Our adviser gave us and recommended a "Ferris" wax with good properties to recreate clean details.To start working I took safety measures, such as the use of boots, glasses and earplugs. I place the part to be machined taking into account the "0 part" and the cutters that I configure in the G code.

Process
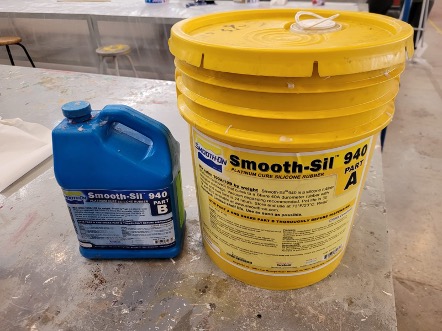
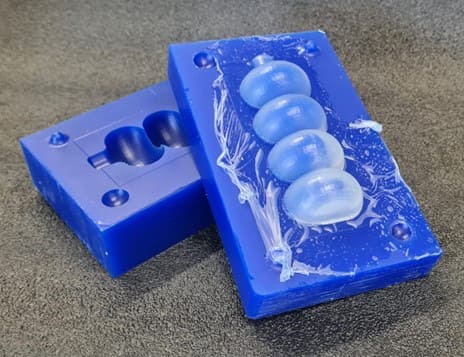
Silicone
For the pouring part, I used "Smoth Sil 940" which is a Platinum Catalyzed Smooth-Sil silicone, it cures at room temperature. It should be used in a place with good ventilation, long sleeves and gloves should be used to avoid the risk of contamination. The mixing ratio is 100A:10B, it must be mixed for 2 min and the hardening time is 24 hrs.
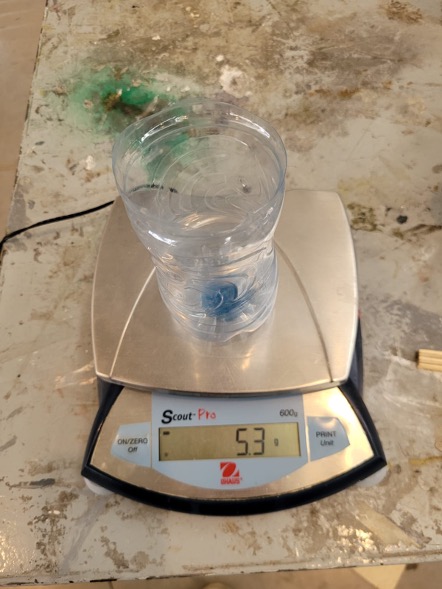

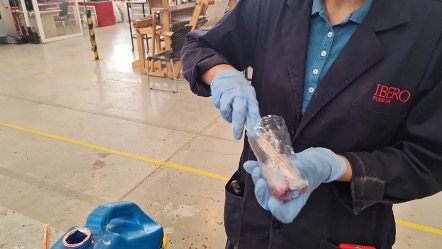
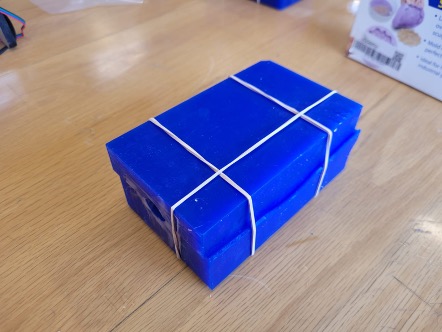
Process
I used the ratio of 10g:1g, for my piece which weighs 3.6g, then I placed some of the silicone on the ridges of my cavity, closed the mold and poured the silicone through the mold chute.
First piece
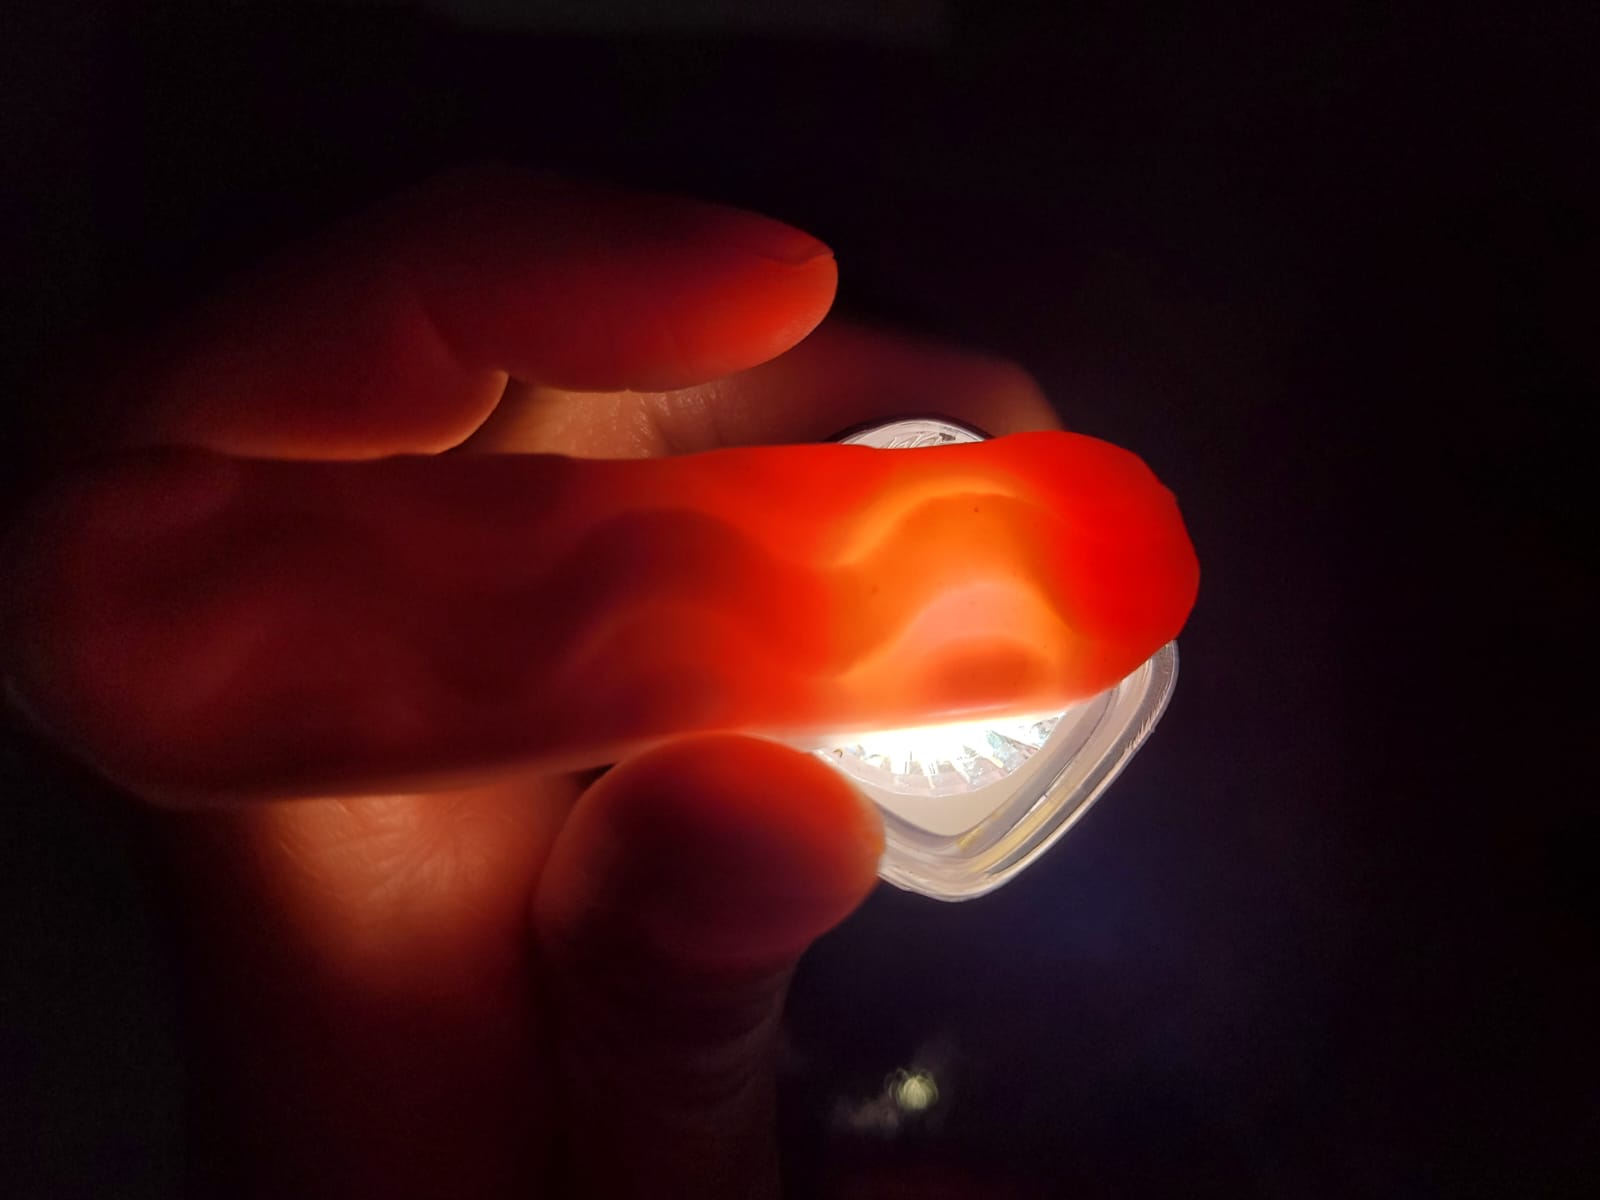
After 24 hours, I demoulded and removed the finished piece, I cut off the excess material and tested the amount of light that the silicone let through.
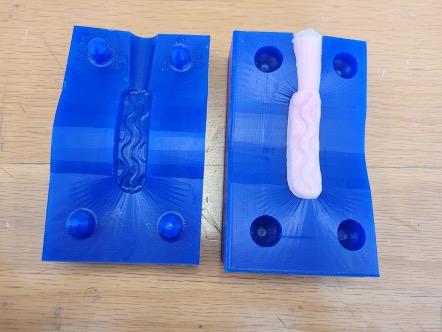
piece
Downloadable files.
comparison with other materials
My colleague Fávell made his piece with quick self-curing acrylic, which is a material used in orthodontics due to its tolerance to soft tissues and its low porosity.
My partner Beto used a resin whose flexibility index is high.
Compared to my colleagues, I came to the conclusion that the material you use must be thought of the use you are going to give it. In my case, the piece had to be soft but it should not resist soft tissues or high flexibility, but rather, it had to be soft and allow light to pass through.
This week, I really liked working with wax and resin, they are soft materials suitable for processing.