5.3D Scanning & printing
In this week work in 3D and scanning.
Layers
The creation of a 3D printed object is achieved using additive processes. Is created by laying down successive layers of material until the object is created.
Design
3D Printer Design Rules

Parametric desgn for print in 3D
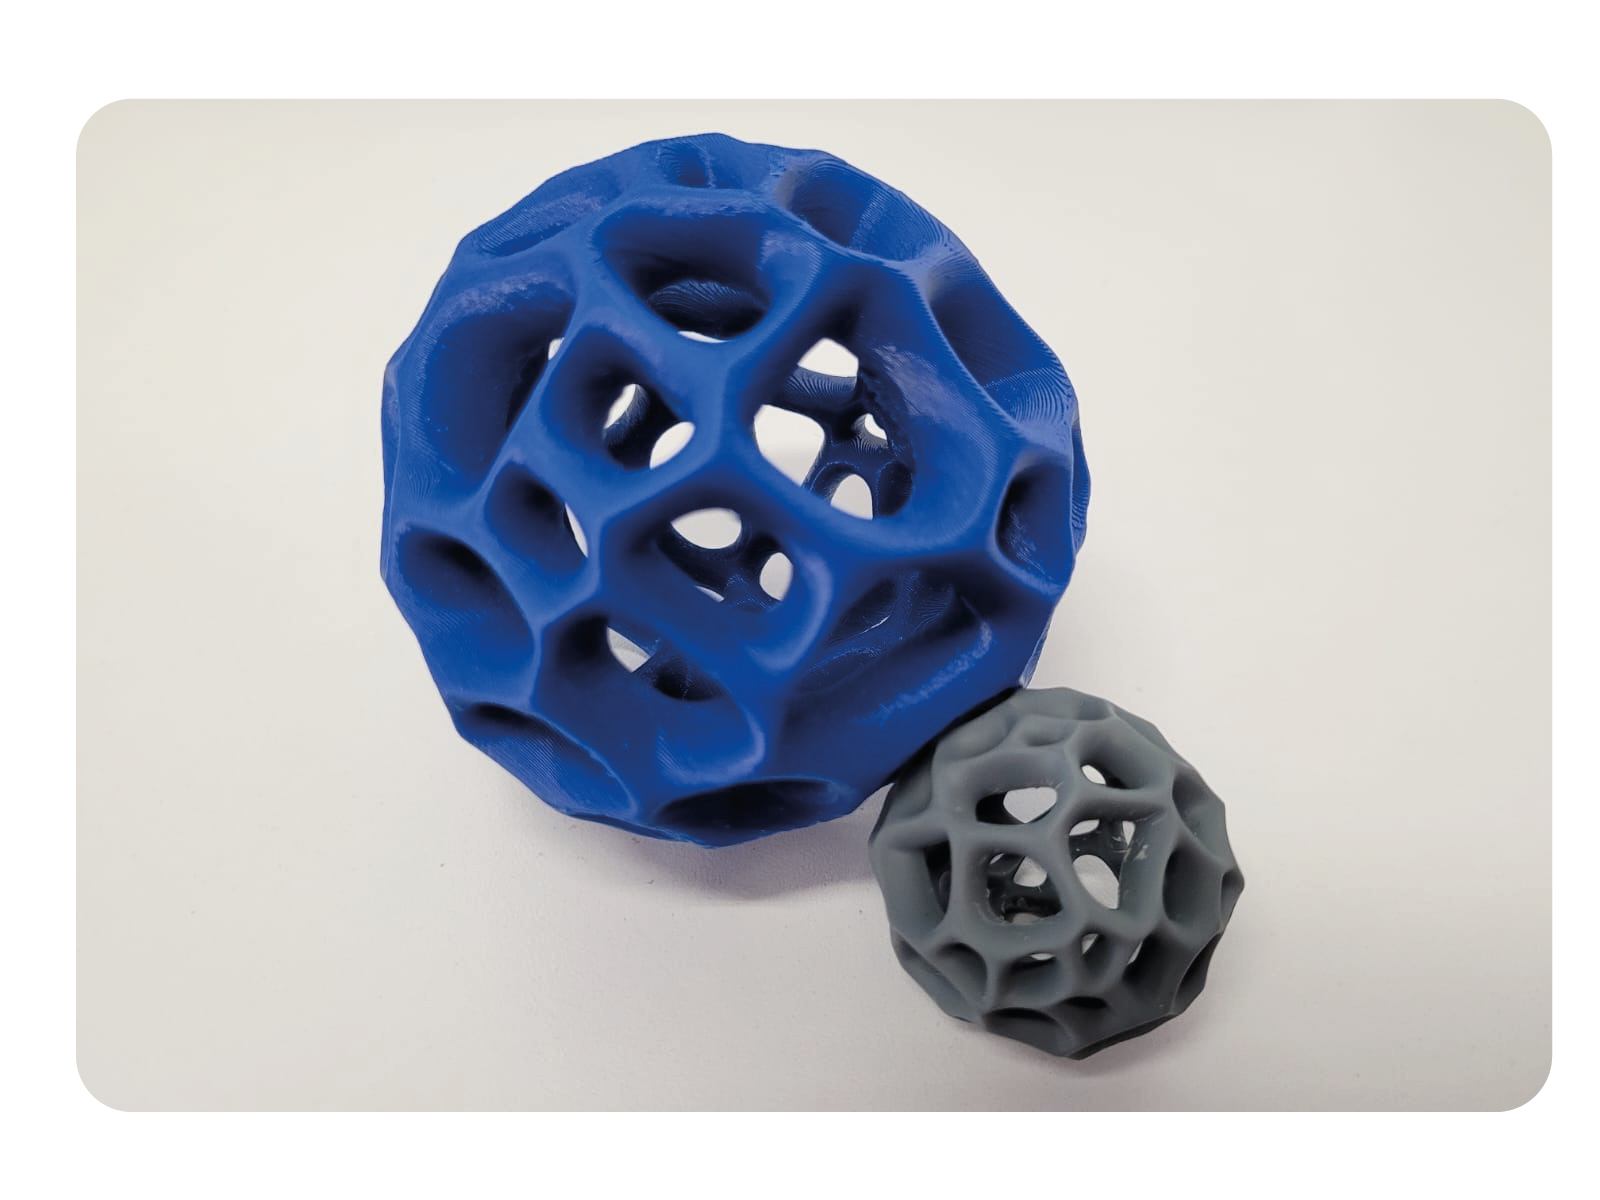
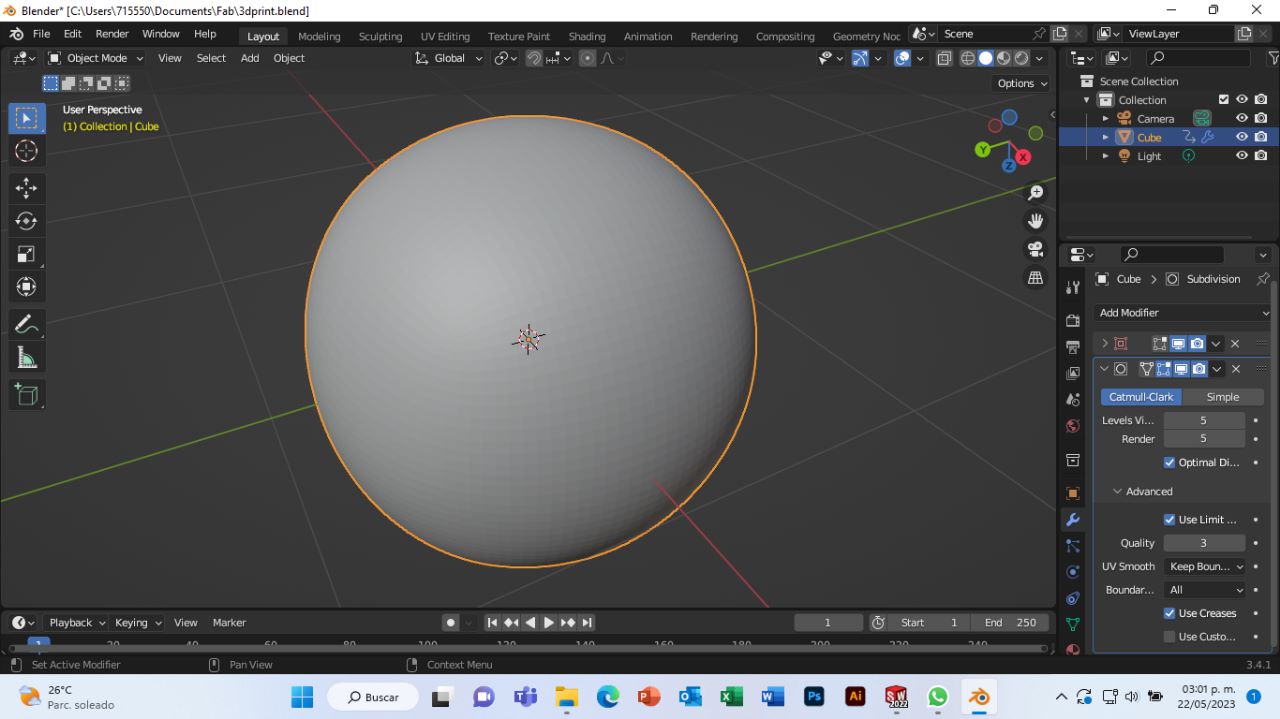
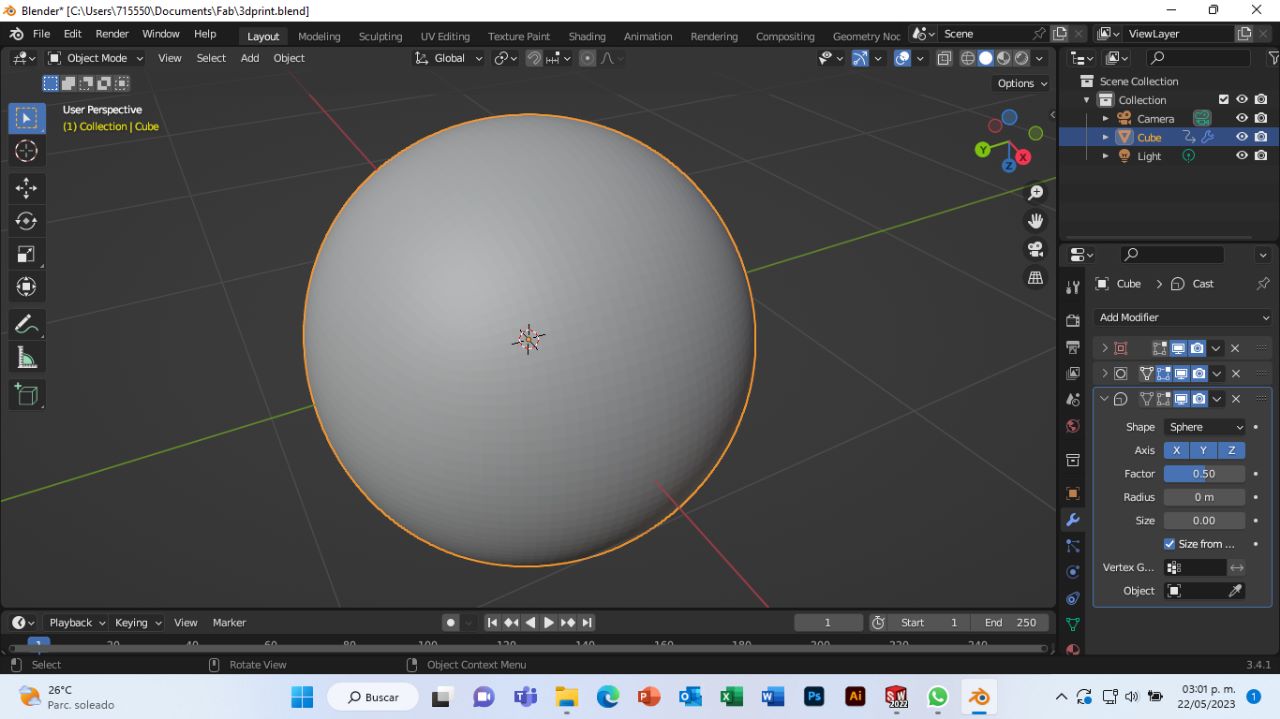
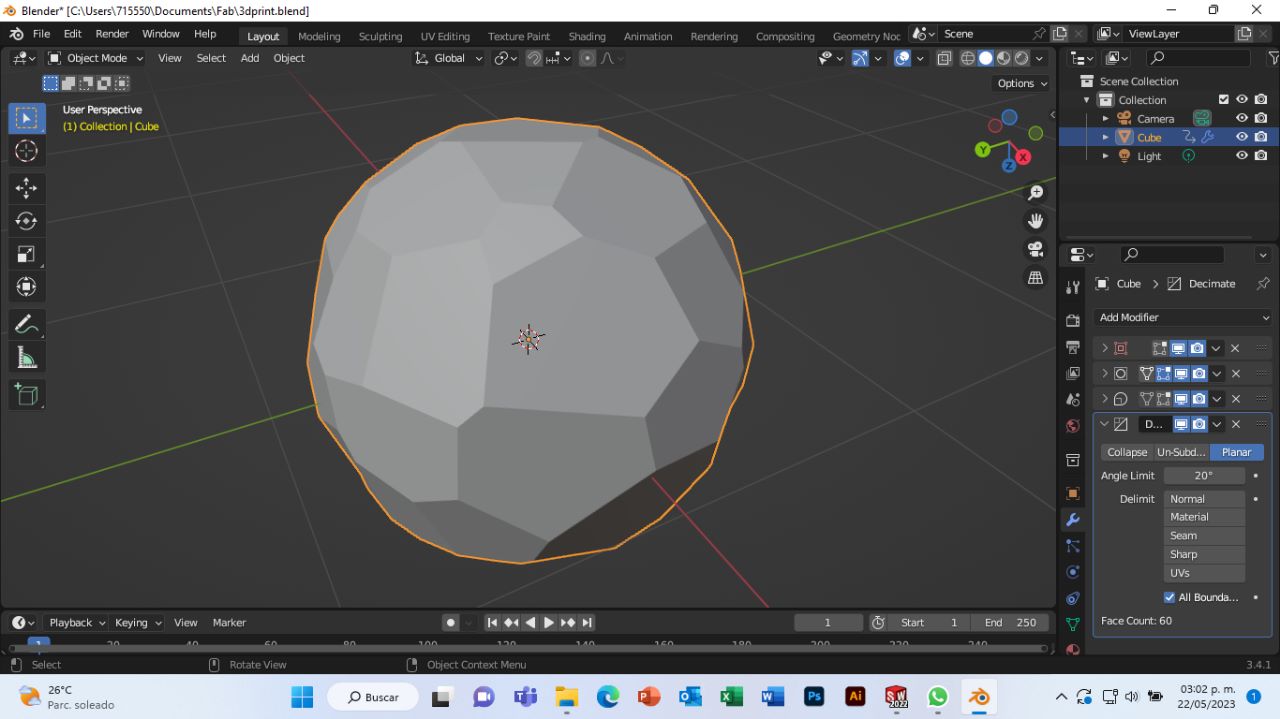
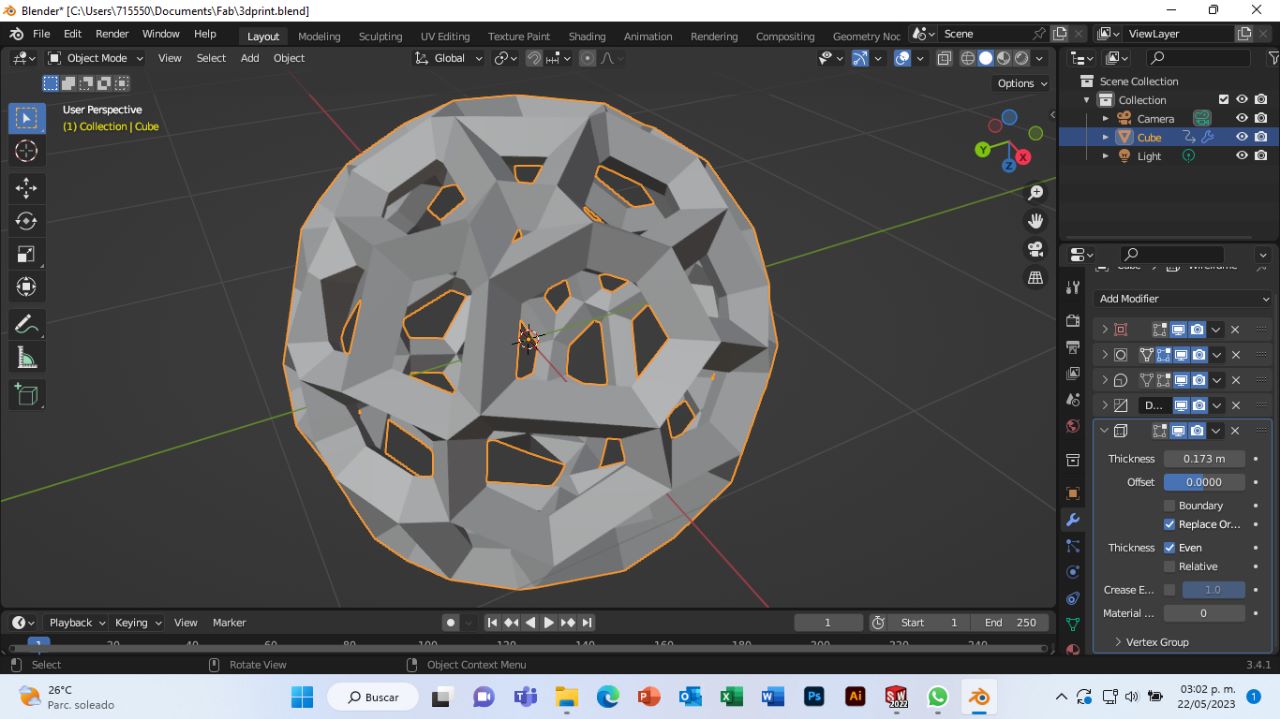
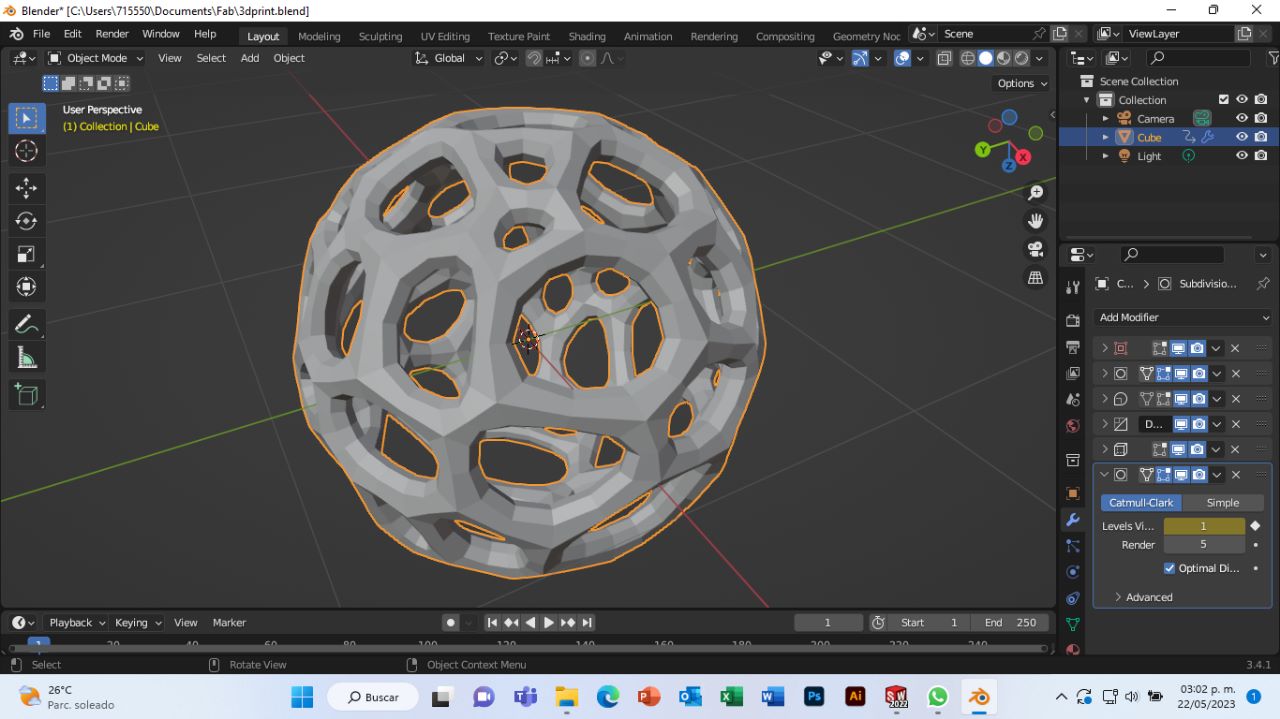
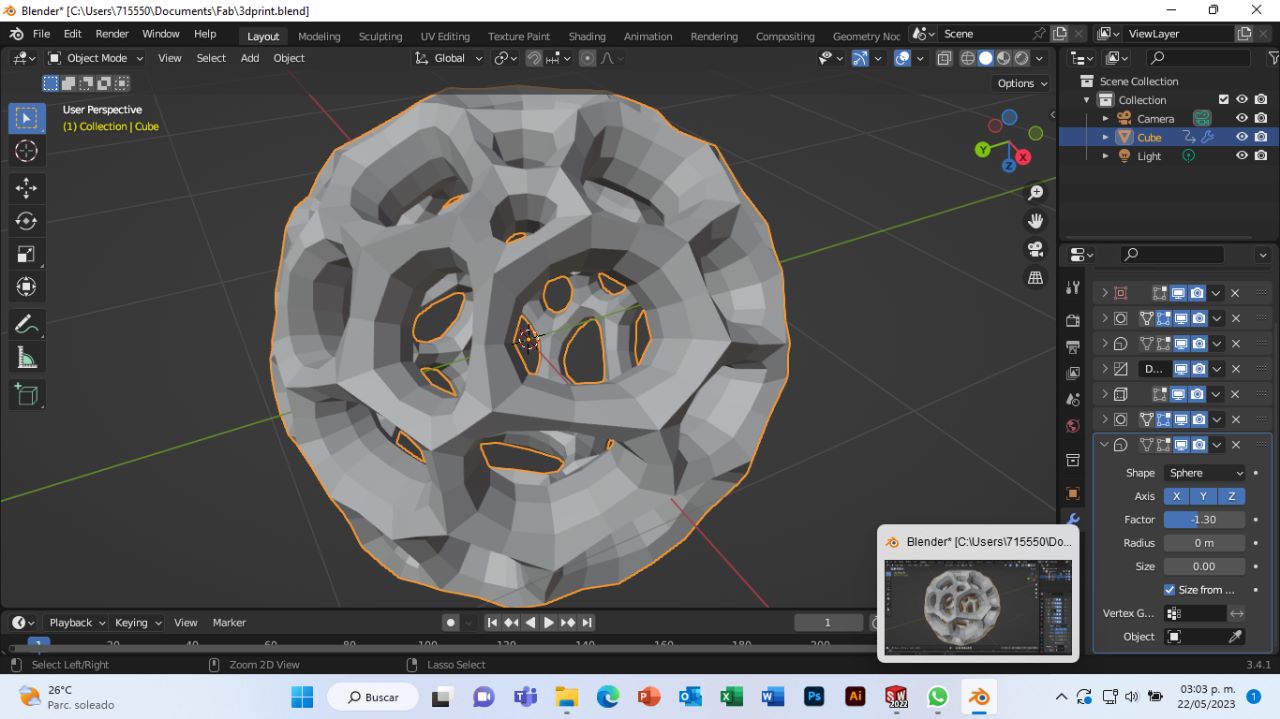
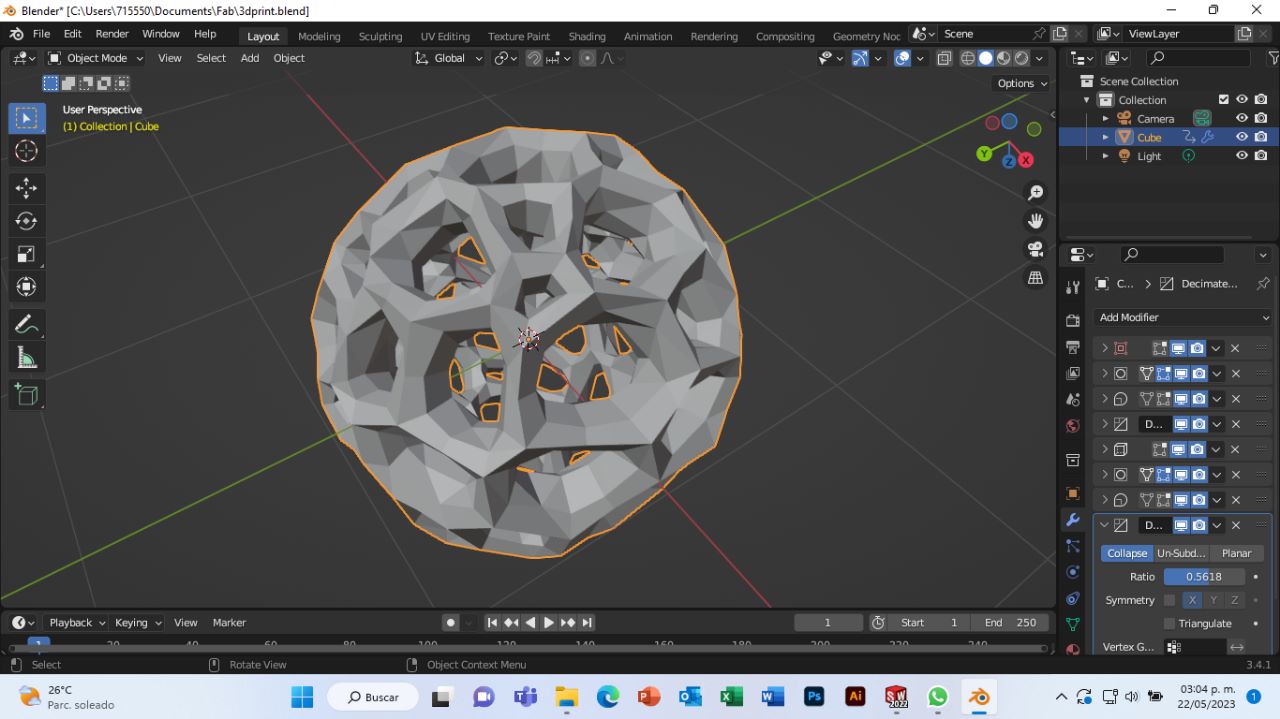
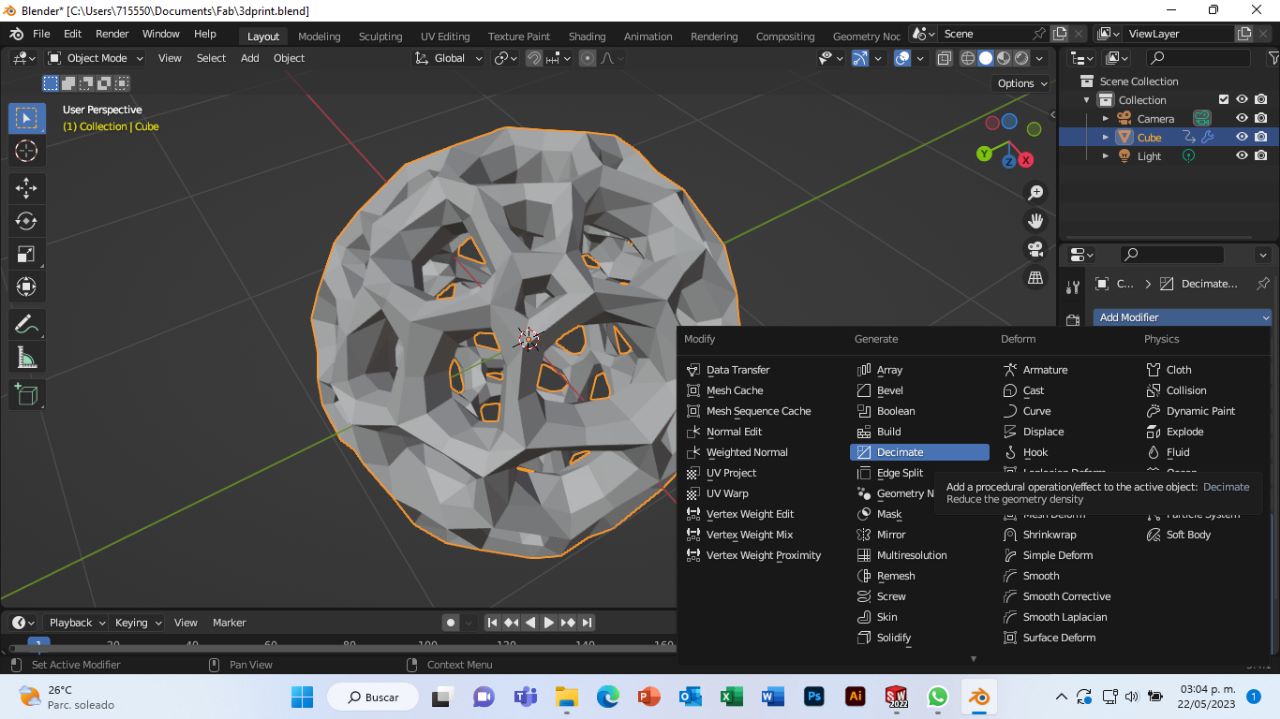
I started off creating the parametric piece in Blender with: add Modifier: Subdivision surface (Sub:5, short cut:5), Cast (Defaul), Decimate(Type:planar, Angle limit:20, All boundarnes box), Wireframe (Sub Surface to hollow it out), Cast (Type: Sphere) and the last Decimate (is optional to lower the resolution)

Inspired by:
Video Tutorial for Luxxeon 3D Blender (2.8 Tutorial | Parametric Voronoi Sphere | 3d Modeling)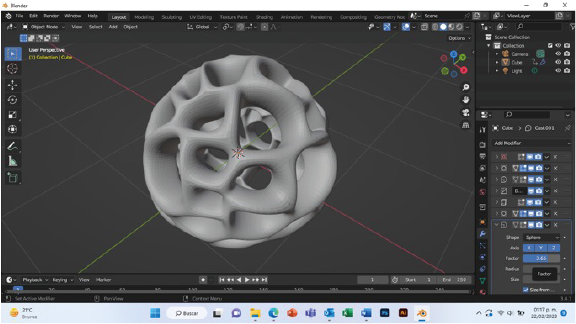
Downloadable sphere
Basic parameters for printing 3D in filament.
Here I leave you, a list of the basic parameters when printing in 3D.
| Parameter | Description | For my impression |
|---|---|---|
| Filament diameter | This depends on the material. | 1.75mm (PLA) |
| Layer height | Smaller more definition | 0.20mm |
| Print speed | Overall value (recommended 60 mm/s u 80 mm/s) | 60 mm/s |
| Inner wall speed | Inner perimeter, (a little more than overall) | 35 mm/s |
| Outer wall speed | Overall perimeter(50% of print speed) | 30 mm/s |
| Top/bottom speed | Top layer(= at the velocity of the outer wall) | 30 mm/s |
| Initial layer speed | Correct adhesion | 30 mm/s |
| Support | Fill shape and density (more density longer print time) | Mesh with 20% density |
FILAMENT
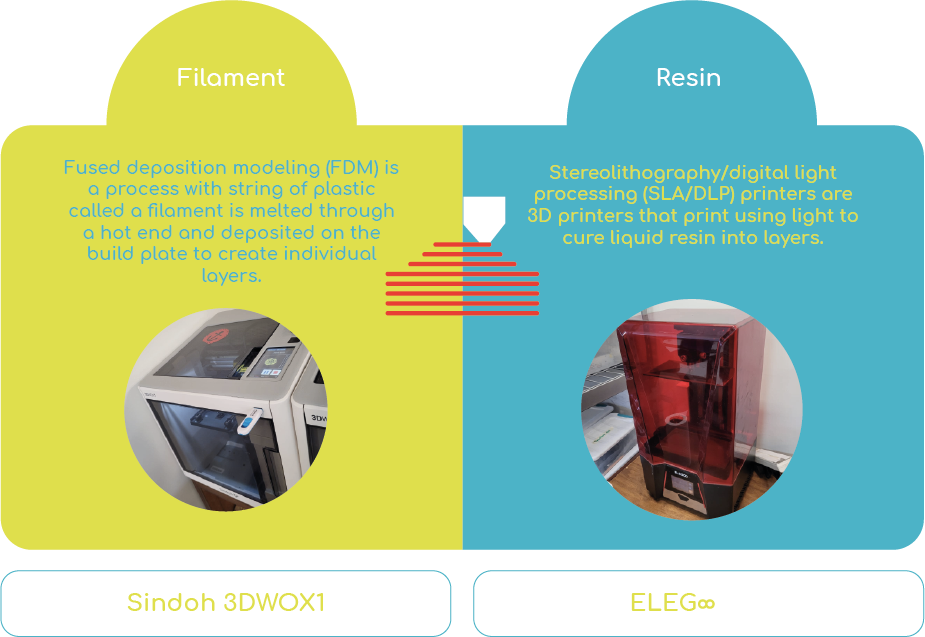
Filaments used in 3D printing are thermoplastics, that melt rather than burn when heated, can be shaped and molded, and solidify when cooled. The filament is fed into a heating chamber in the printer's extruder assembly, where it is heated to its melting point and then extruded through a metal nozzle as the extruder assembly moves, tracing a path programmed. Sofware 3D WOX
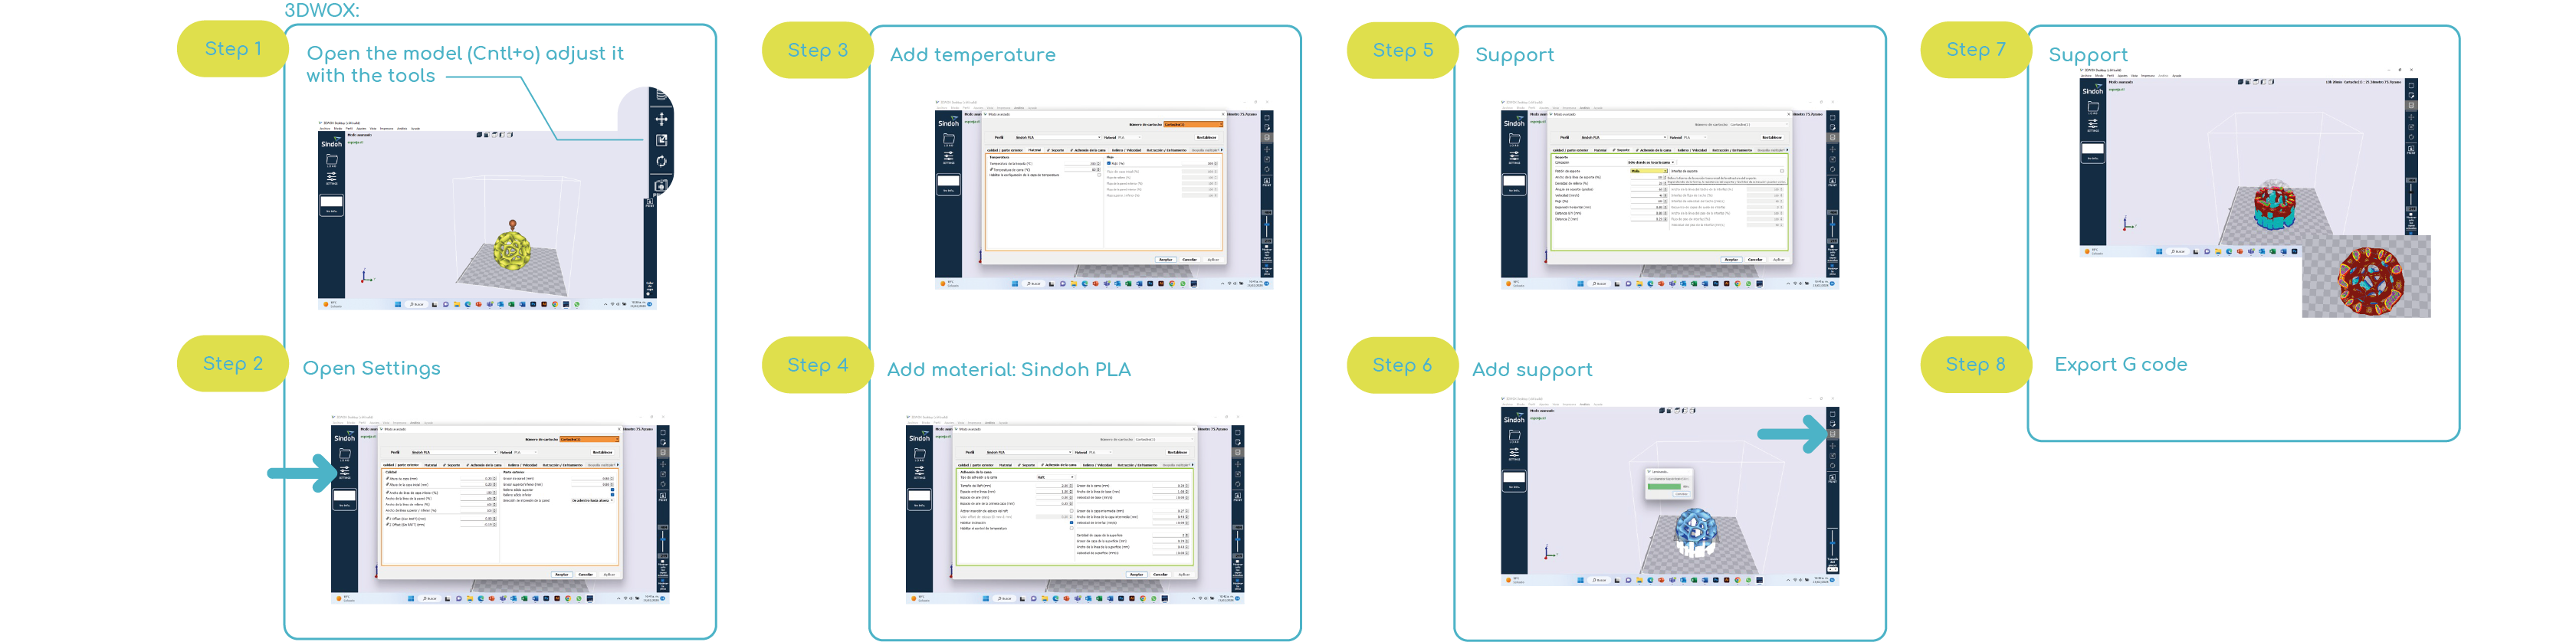

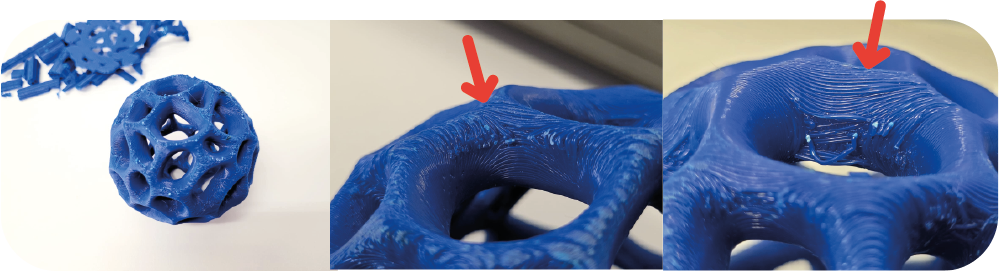
PROCESS
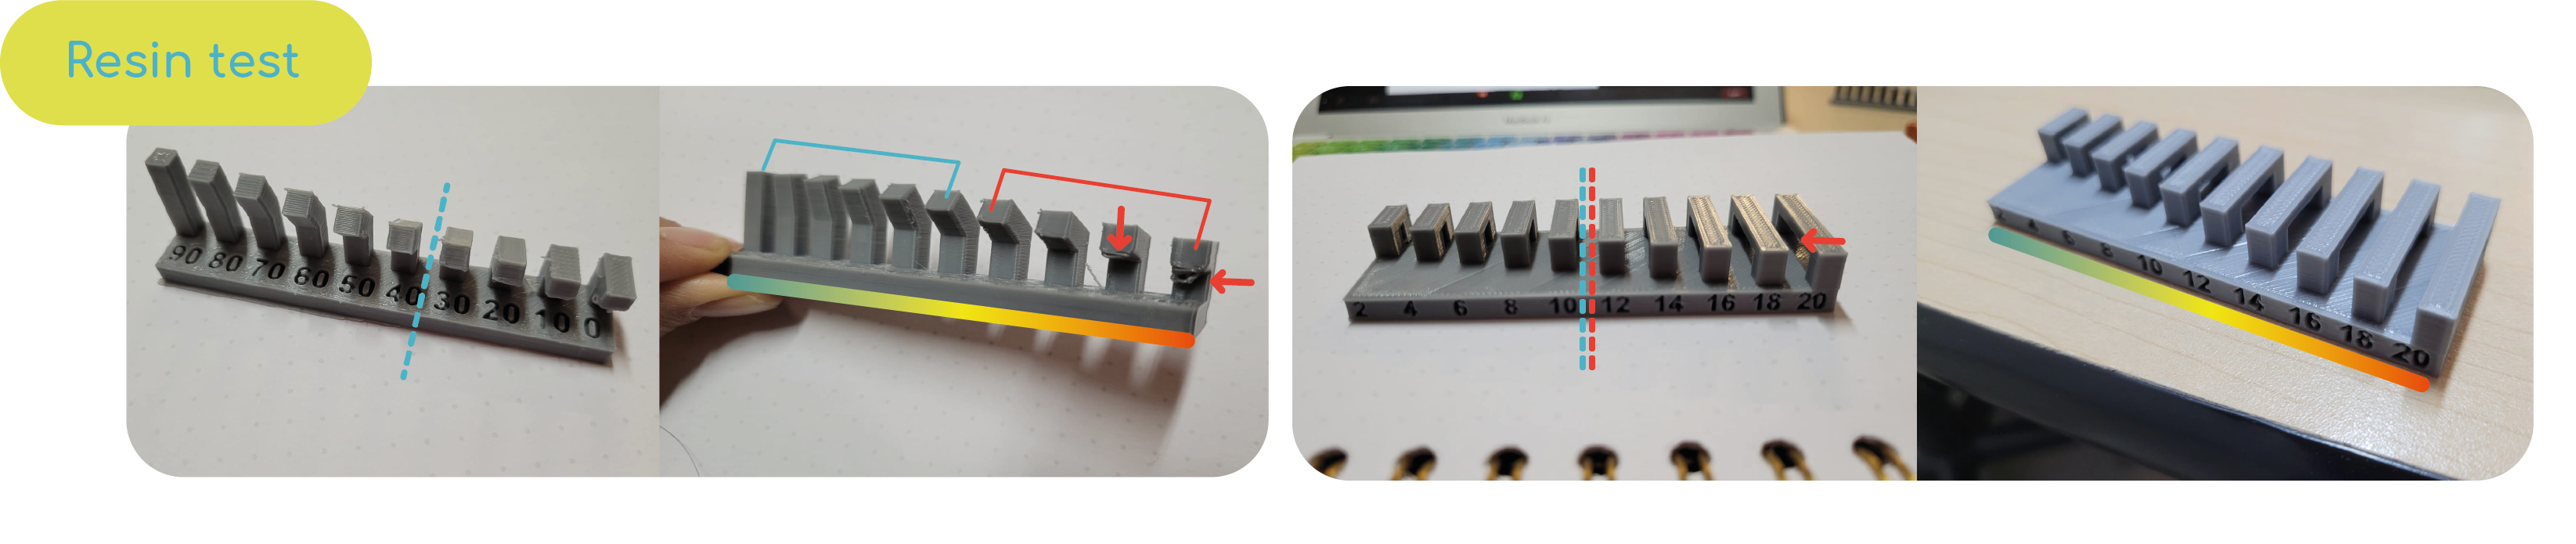
Lees Intricate details in the area of support and areas overhang of more than 60º.
Basic parameters for printing 3D in resin.
Here I leave you, a list of the basic parameters when printing in 3D.
| Parameter | Description | For my impression |
|---|---|---|
| Hollow | You can edit the thickness, but it must have resin output | Solid |
| Resin type | Material | Standard Grey 1.100 g/ml |
| Layer height | Smaller more definition | 0.050mm |
| total lower layers | layers glued to the plate 5-6 | 6 |
| Exposure time | Every time the z axis goes up, it depends on the resin | 2.5 s |
| Botton exposure time | Greater than the previous one, so that it solidifies well (50seg) | 20 seg |
| Botton lift distance | offset distance in z axis | 5mm |
| Lifting speed | velocity of displacement | 60 mm/s |
| Support | Easy to remove | Light and type of contact: sphere, conection shape: cone |
RESIN
The process beams ultraviolet (UV) light into a tank of liquid, resin, triggering a reaction that solidifies the resin into a hard plastic. This photo-polymerization happens in a small volume thanks to the narrow ultraviolet beams. As a result, the final object can have much finer details and smoother surfaces than those produced by FDM printers. Sofware CHITUBOX

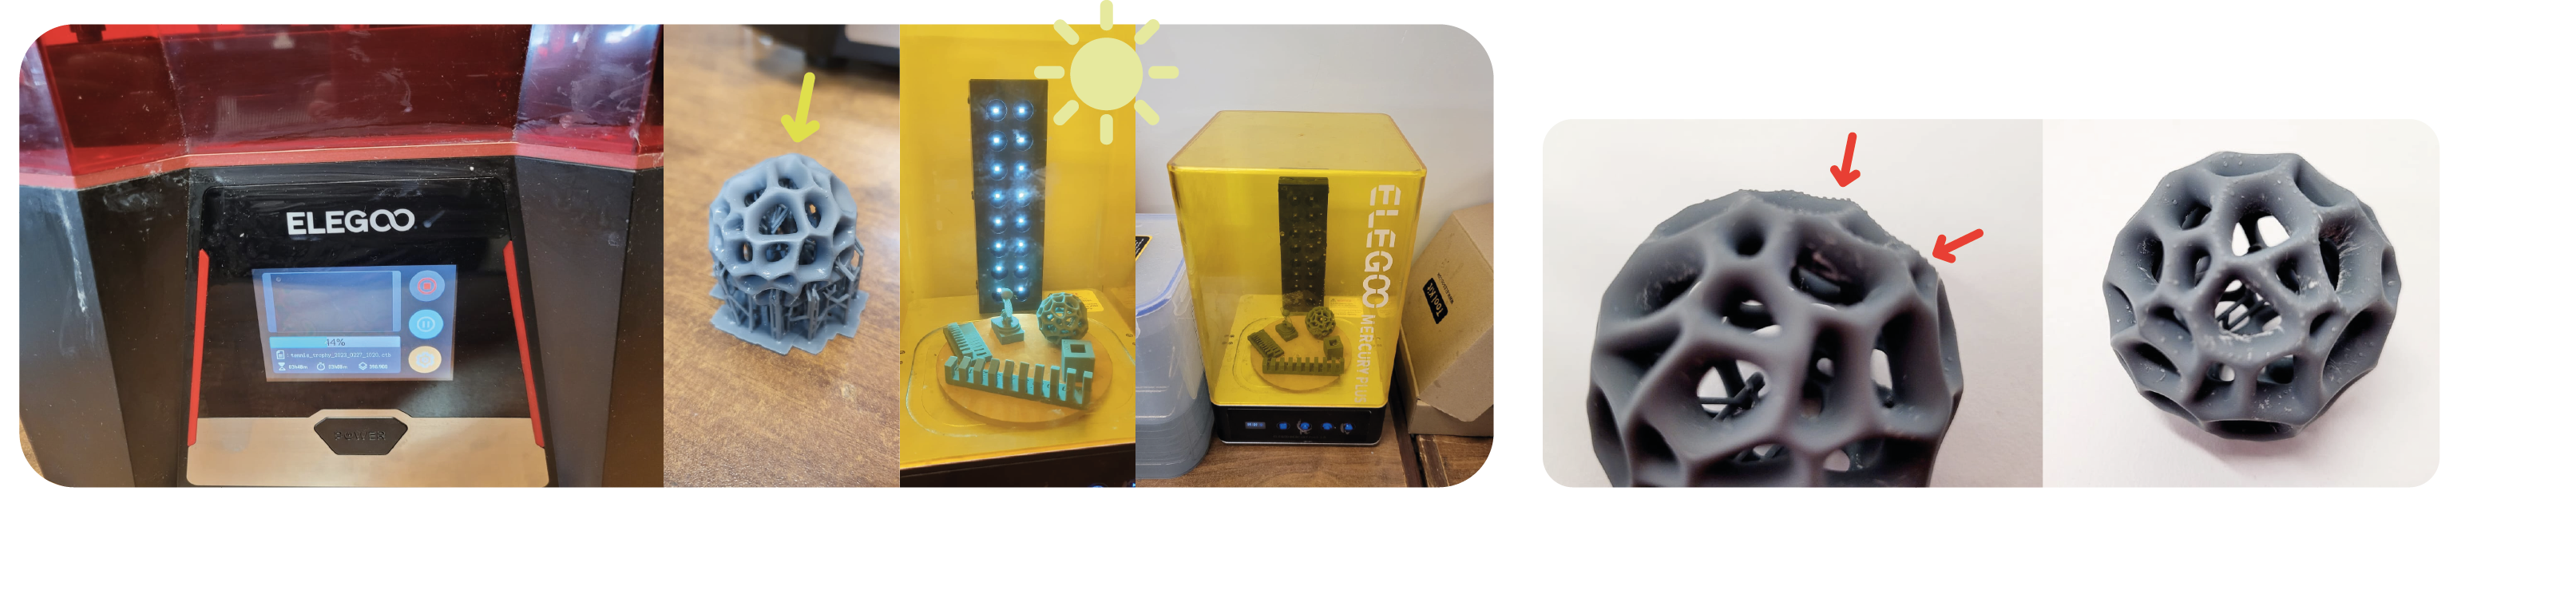
Model
Lees Intricate details in the area of support.
Scanning
3D scanning is the process of analyzing a real-world object to best capture its shape and appearance. The data collected by the 3D scan is used to construct digital 3D models of real world objects.
Photogrammetry is a measuring technique that takes photographs from different perspectives to obtain 3D coordinates. Specifically speaking, it extracts geometric information by triangulating the locations of points on the subject.
I worked with the mobile app called PolyCam: 3D Scanner and editor, taking photos of the object in different positions and in dim light.


BLENDER
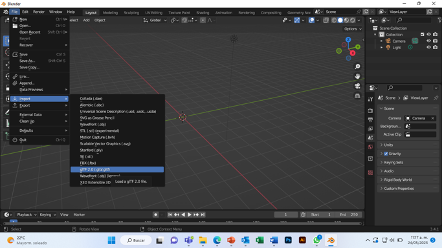
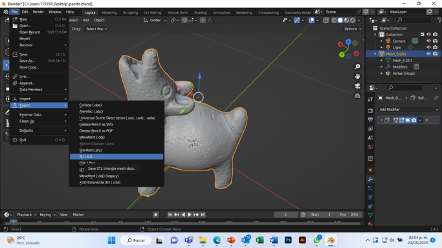
The polycam application allows me to download the MESH "GLTF" files in its free version, to rebuild and check my file use the Blender program with the following steps:
1. Import the GLTF file.
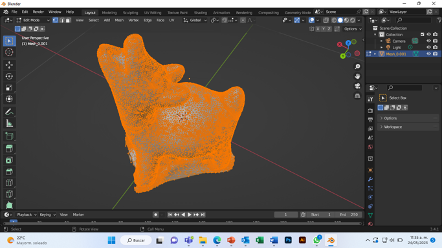
2. Activate the "Edit Mode" option located at the top left of the window.
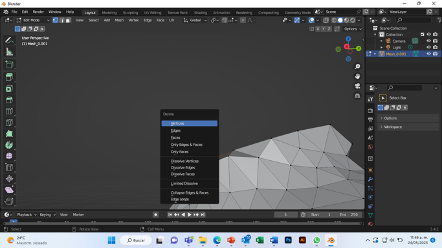
3. Locate the holes and eliminate vertices that you don't need, selecting them and the "DELETE" key and selecting the "VERTICE" option.
4. Add vertices, with the "F" key and selecting at least 3 other vertices a vertex is created.
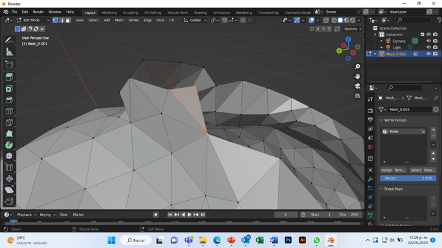
5. To cover the gaps, you can "EXTRUDE" a vertex from another vertex by typing this same "Extrude" command.
6. Change the mode to "object Mode" and add a "CAST" modifier to add the thickness.
7. In the end it is exported as STL and opens in the software of the 3D printer.


Print 3D
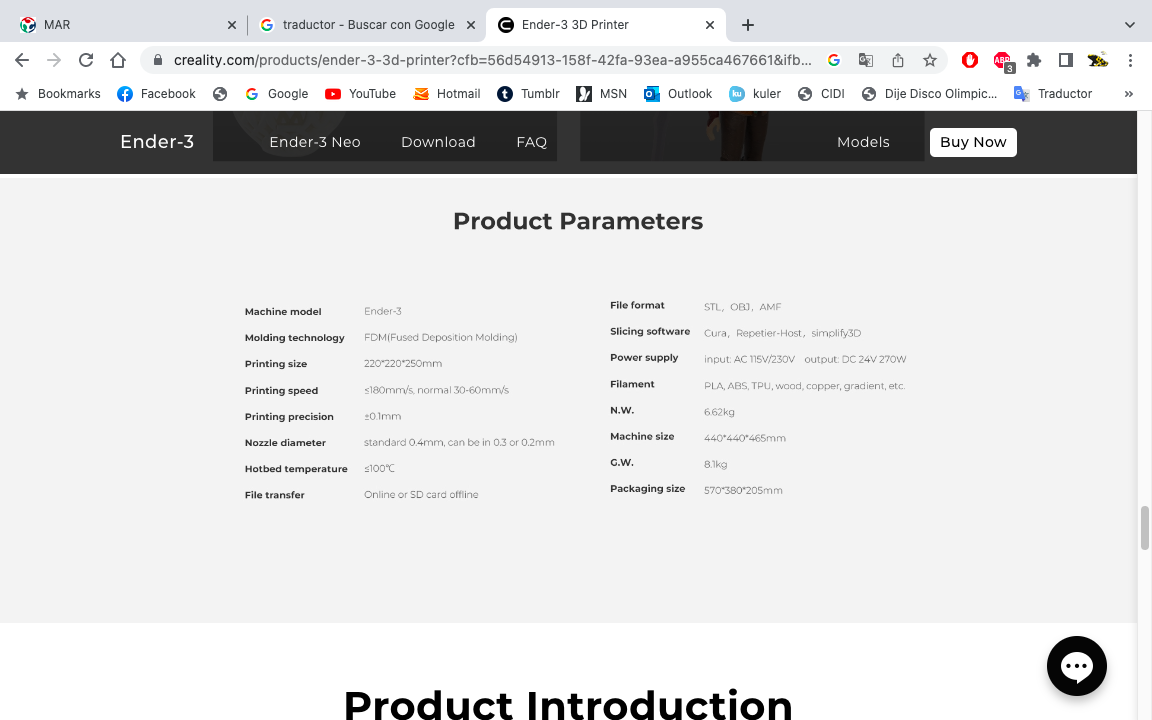
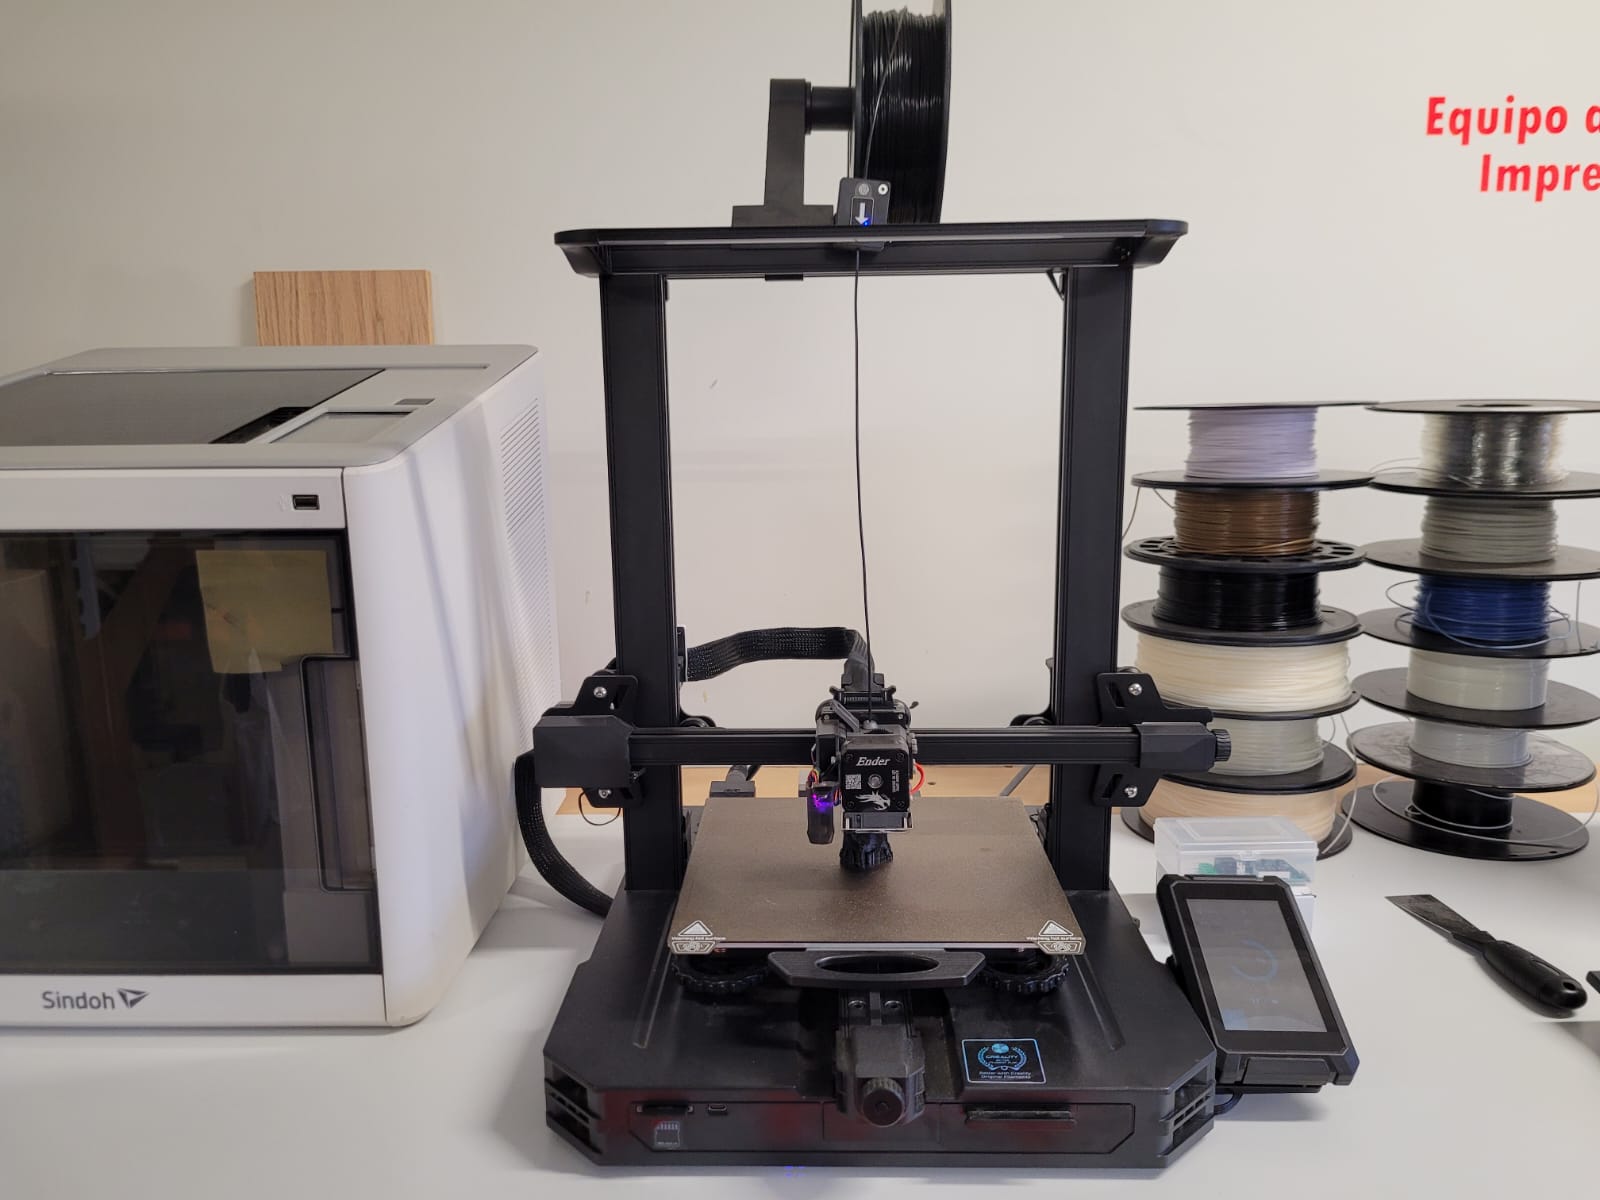
For 3D printing I had to use another machine, I used the printer Creality Ender, for printing I base myself on the recommended parameters of the provider and some of my modifications.
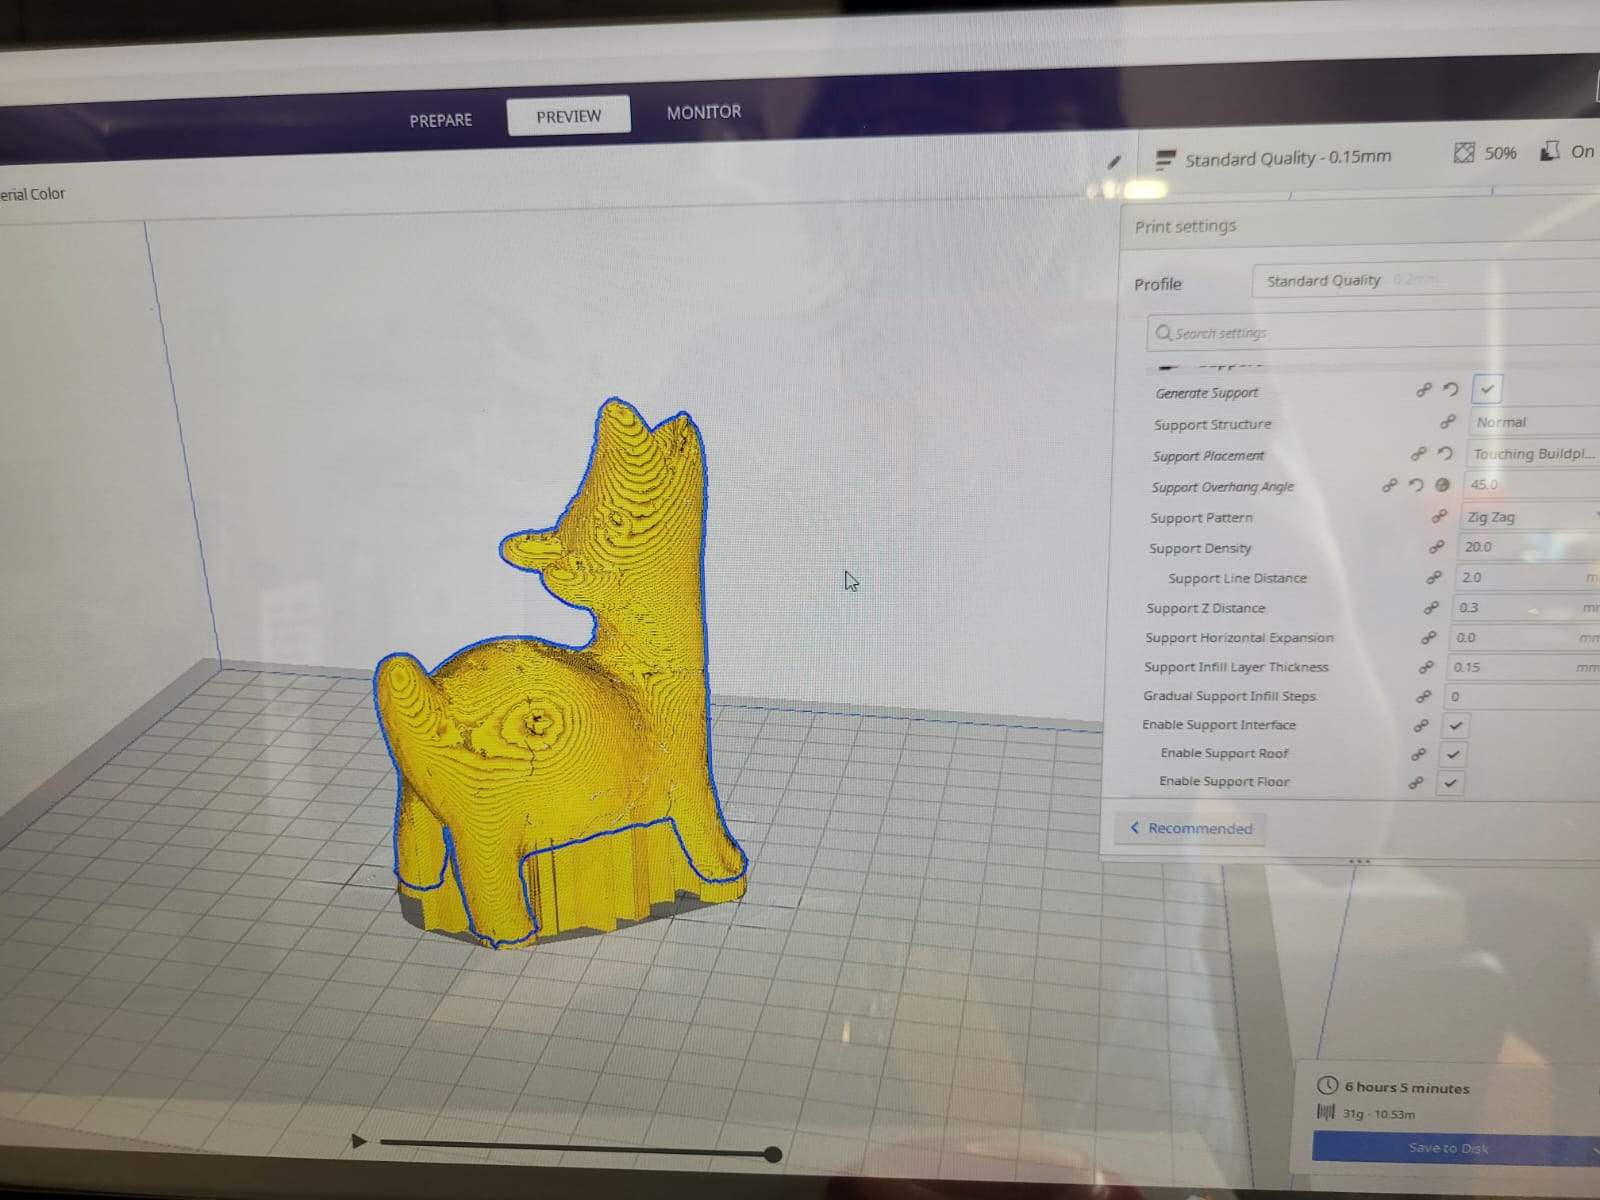
I imported the STL file that I modified into Creality's printing software, in the program I scaled my model to have a smaller version of my dog sculpture.
The model is quite heavy, due to all the meshes that it creates in the scanning process, for this reason I will not upload the model, if I lower the resolution it would not be defined.
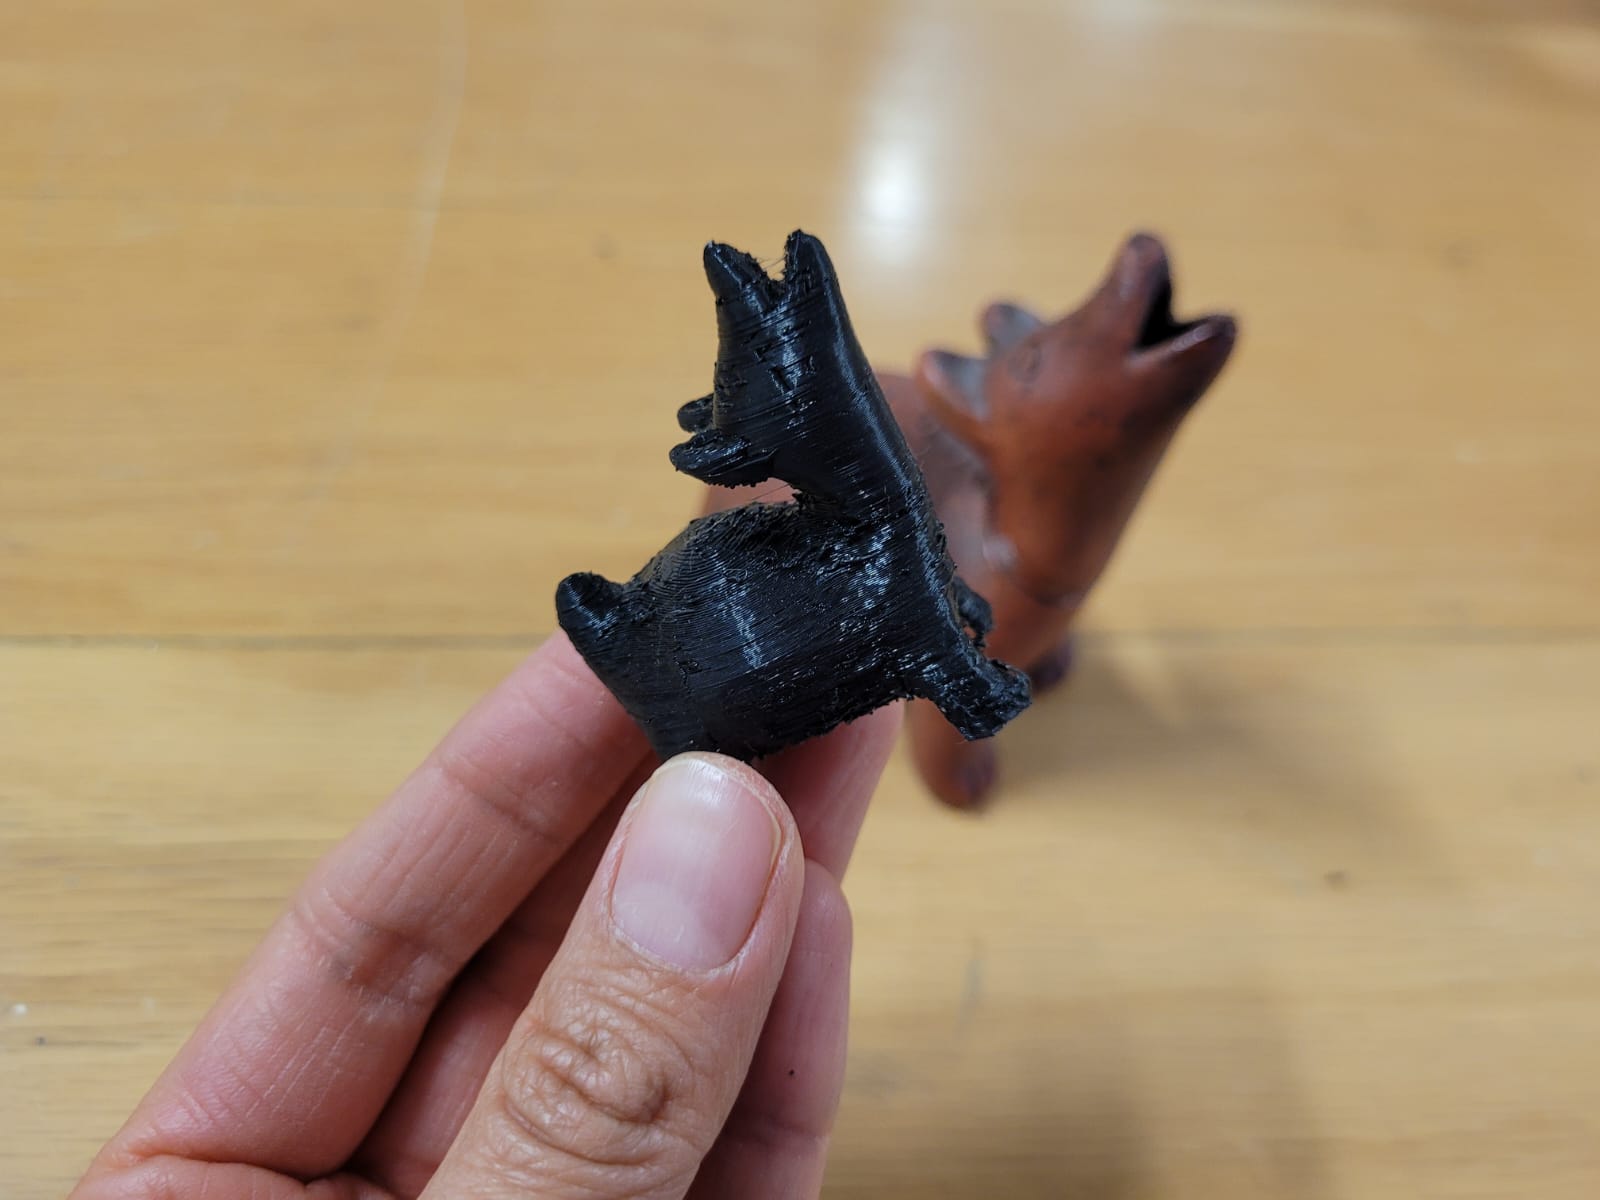
Downloadable dog
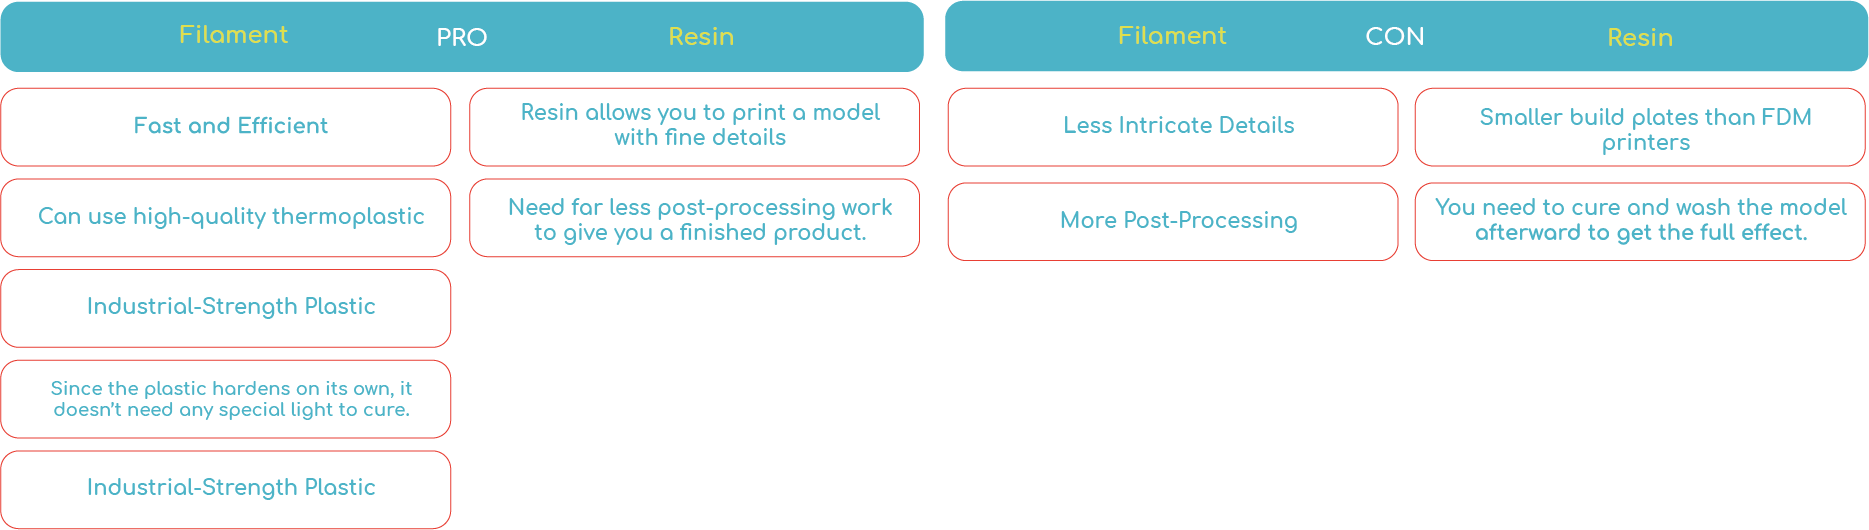
This week was difficult, due to the times, but I really liked starting to work on Blender, it is a very interesting program.
Comparing the two printing processes, it is important to talk about the material first, the first difference I saw is that filament printing has a greater variety of materials at low cost compared to the more expensive photosensitive resins used. The applications of these two processes are different, because resin printing can make models with many details, but its application is aimed at small things. In filament printing the details on a small scale are not as good, but there are printers that can handle larger jobs.