Re-design
Whats Next? Process-Based Redesign What process? Thermoformed or laser cut What material is? PVC, MDF, Acrylic What circuits? Infrared proximity sensors leds

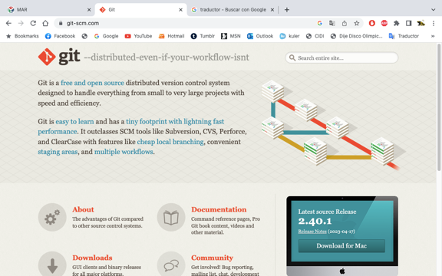
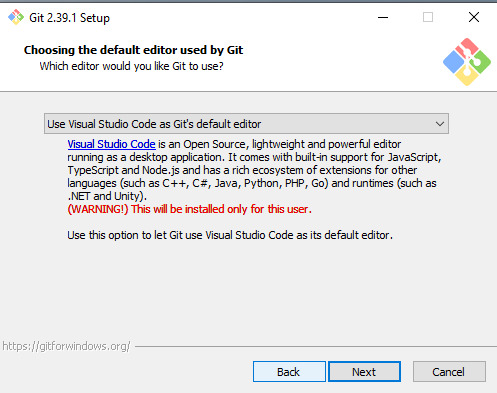
I appreciate the support of my advisors. This week we start with the version control system and web develFor this week download the GIT program and Visual Studio Cove.opment to create our page in which we will upload our work every week.
For this week download the GIT program and Visual Studio Cove.
Version control is a system that records changes made to one or more files over time. We will upload our documentation on our website every week, the content of our page in general must have the following:
GIT, it will help us to have this aforementioned system for our work week by week, this tool will have the history of individual projects and will also allow us to work as a team on different computers.
Types: local versions (install git locally change1, change2, change3, on my computer), centralized (can be on a server), and distributed (local copy but with a group of people).


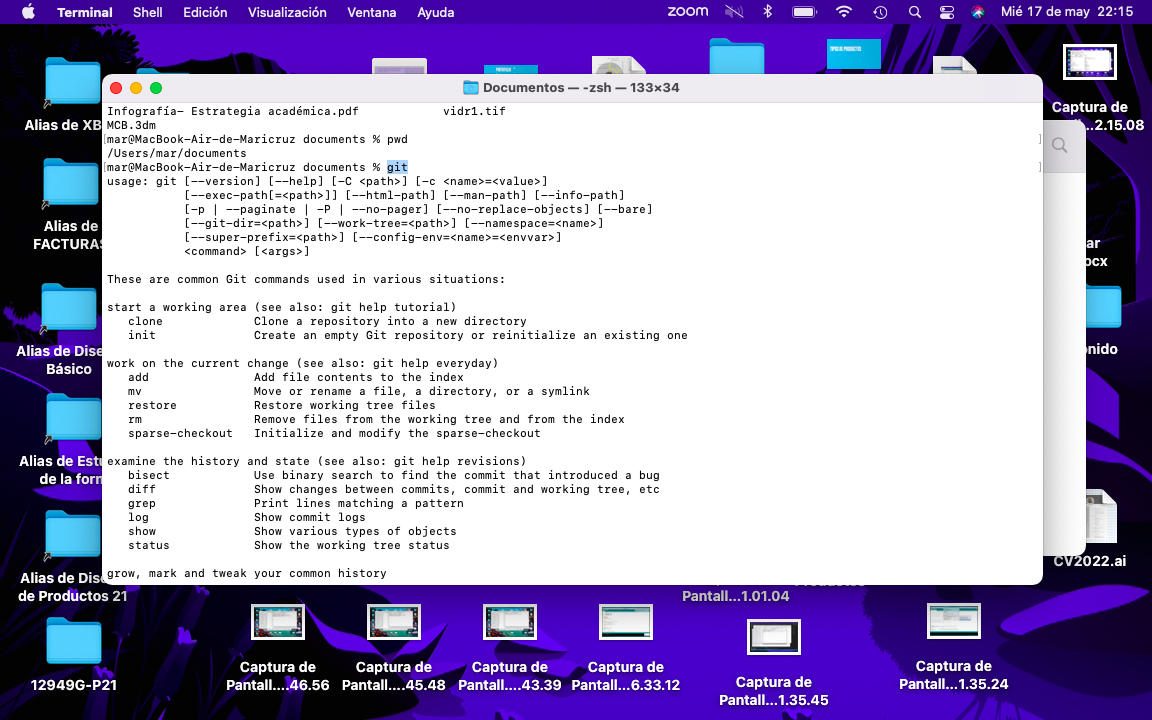
To get started with Git, I'll use the command line, to navigate. Instead of using the "Finder-Mac" I will do it from my computer's terminal or also known as "command line" where:
1. To navigate I will use the command “cd”+ “the folder name”+ “Enter” (Example: cd Documents).
2. To see the content in that folder, I will use the command “ls”
3. To return I will use the command “cd ..”
4. To show the path I will use “pwd”.
5. To check that git is installed, we put “git” and it shows us the commands that we can use.
6. To create a repository locally (only on my computer) we will use “git init” (an empty repository is created).

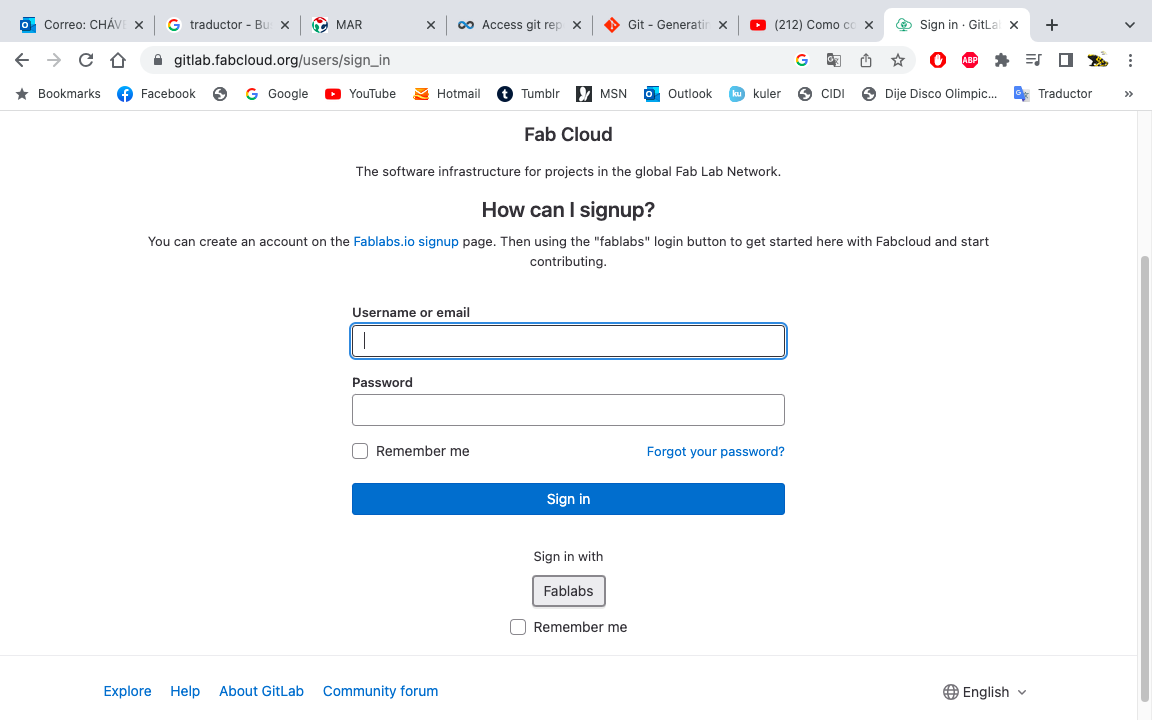
In order to clone the repository, a key must be generated. For this, first access our gitlab site, logging in as a "Fablabs" student. Once there, we have to go to our profile, select "settings" and look for the SSH Keys section.

With SSH keys allow we to establish a secure connection between my computer and GitLab.
Here we add our key, we have available a tutorial in "learn more"
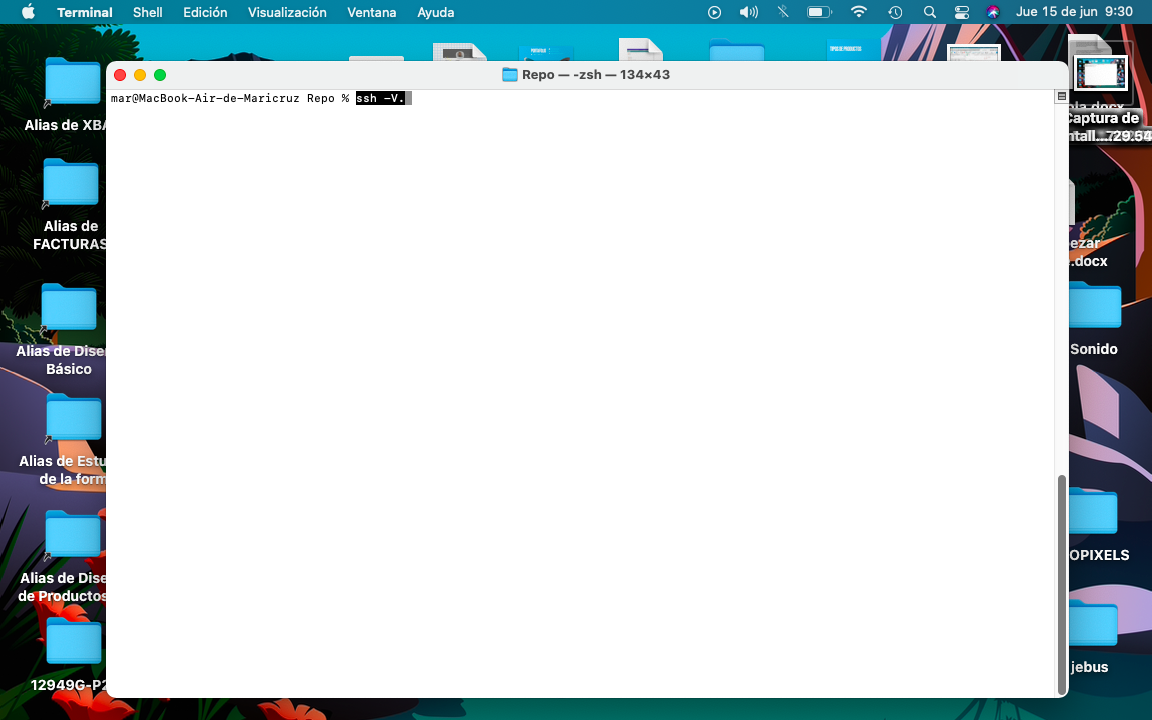
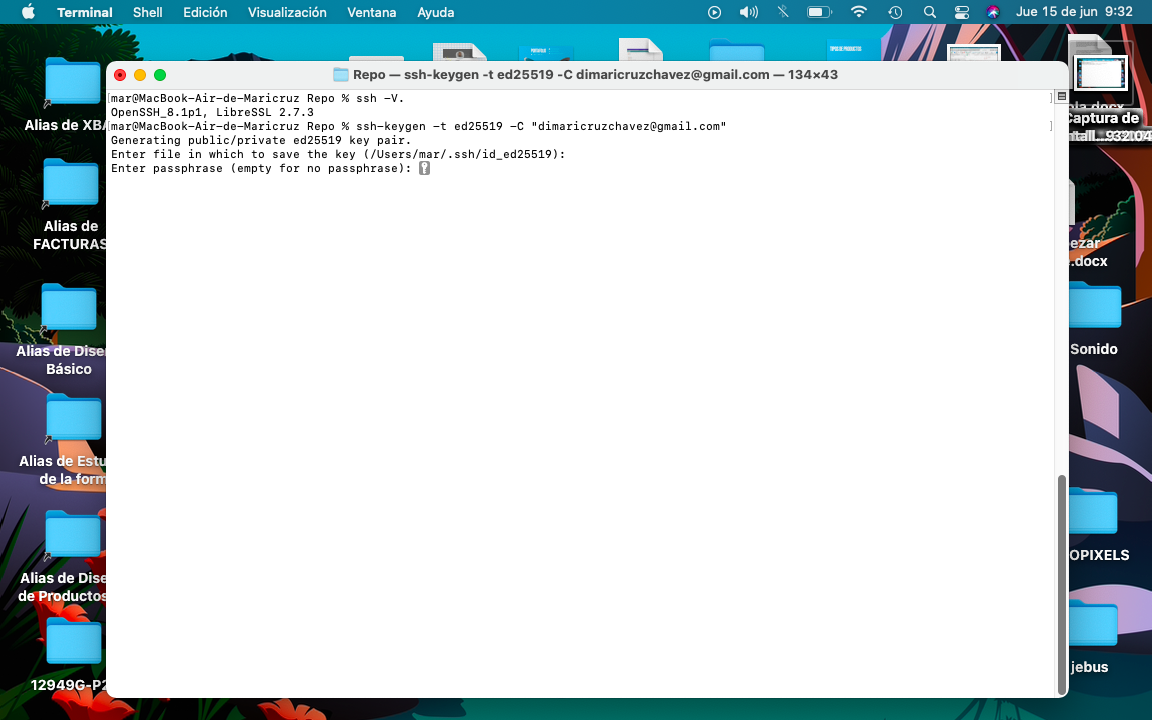
First, to see if we have what we need, run ssh -V.

In the tutorial it tells us to first open my terminal and then run the command ssh-keygen -t + the type of key + email.


Pressing "enter" shows us a message, we are shown a suggested file and directory. Then it asks us for a password that we must enter 2 times.
To see the content of the key, we'll run the following command and replace the "id_ed25519" with our filename.

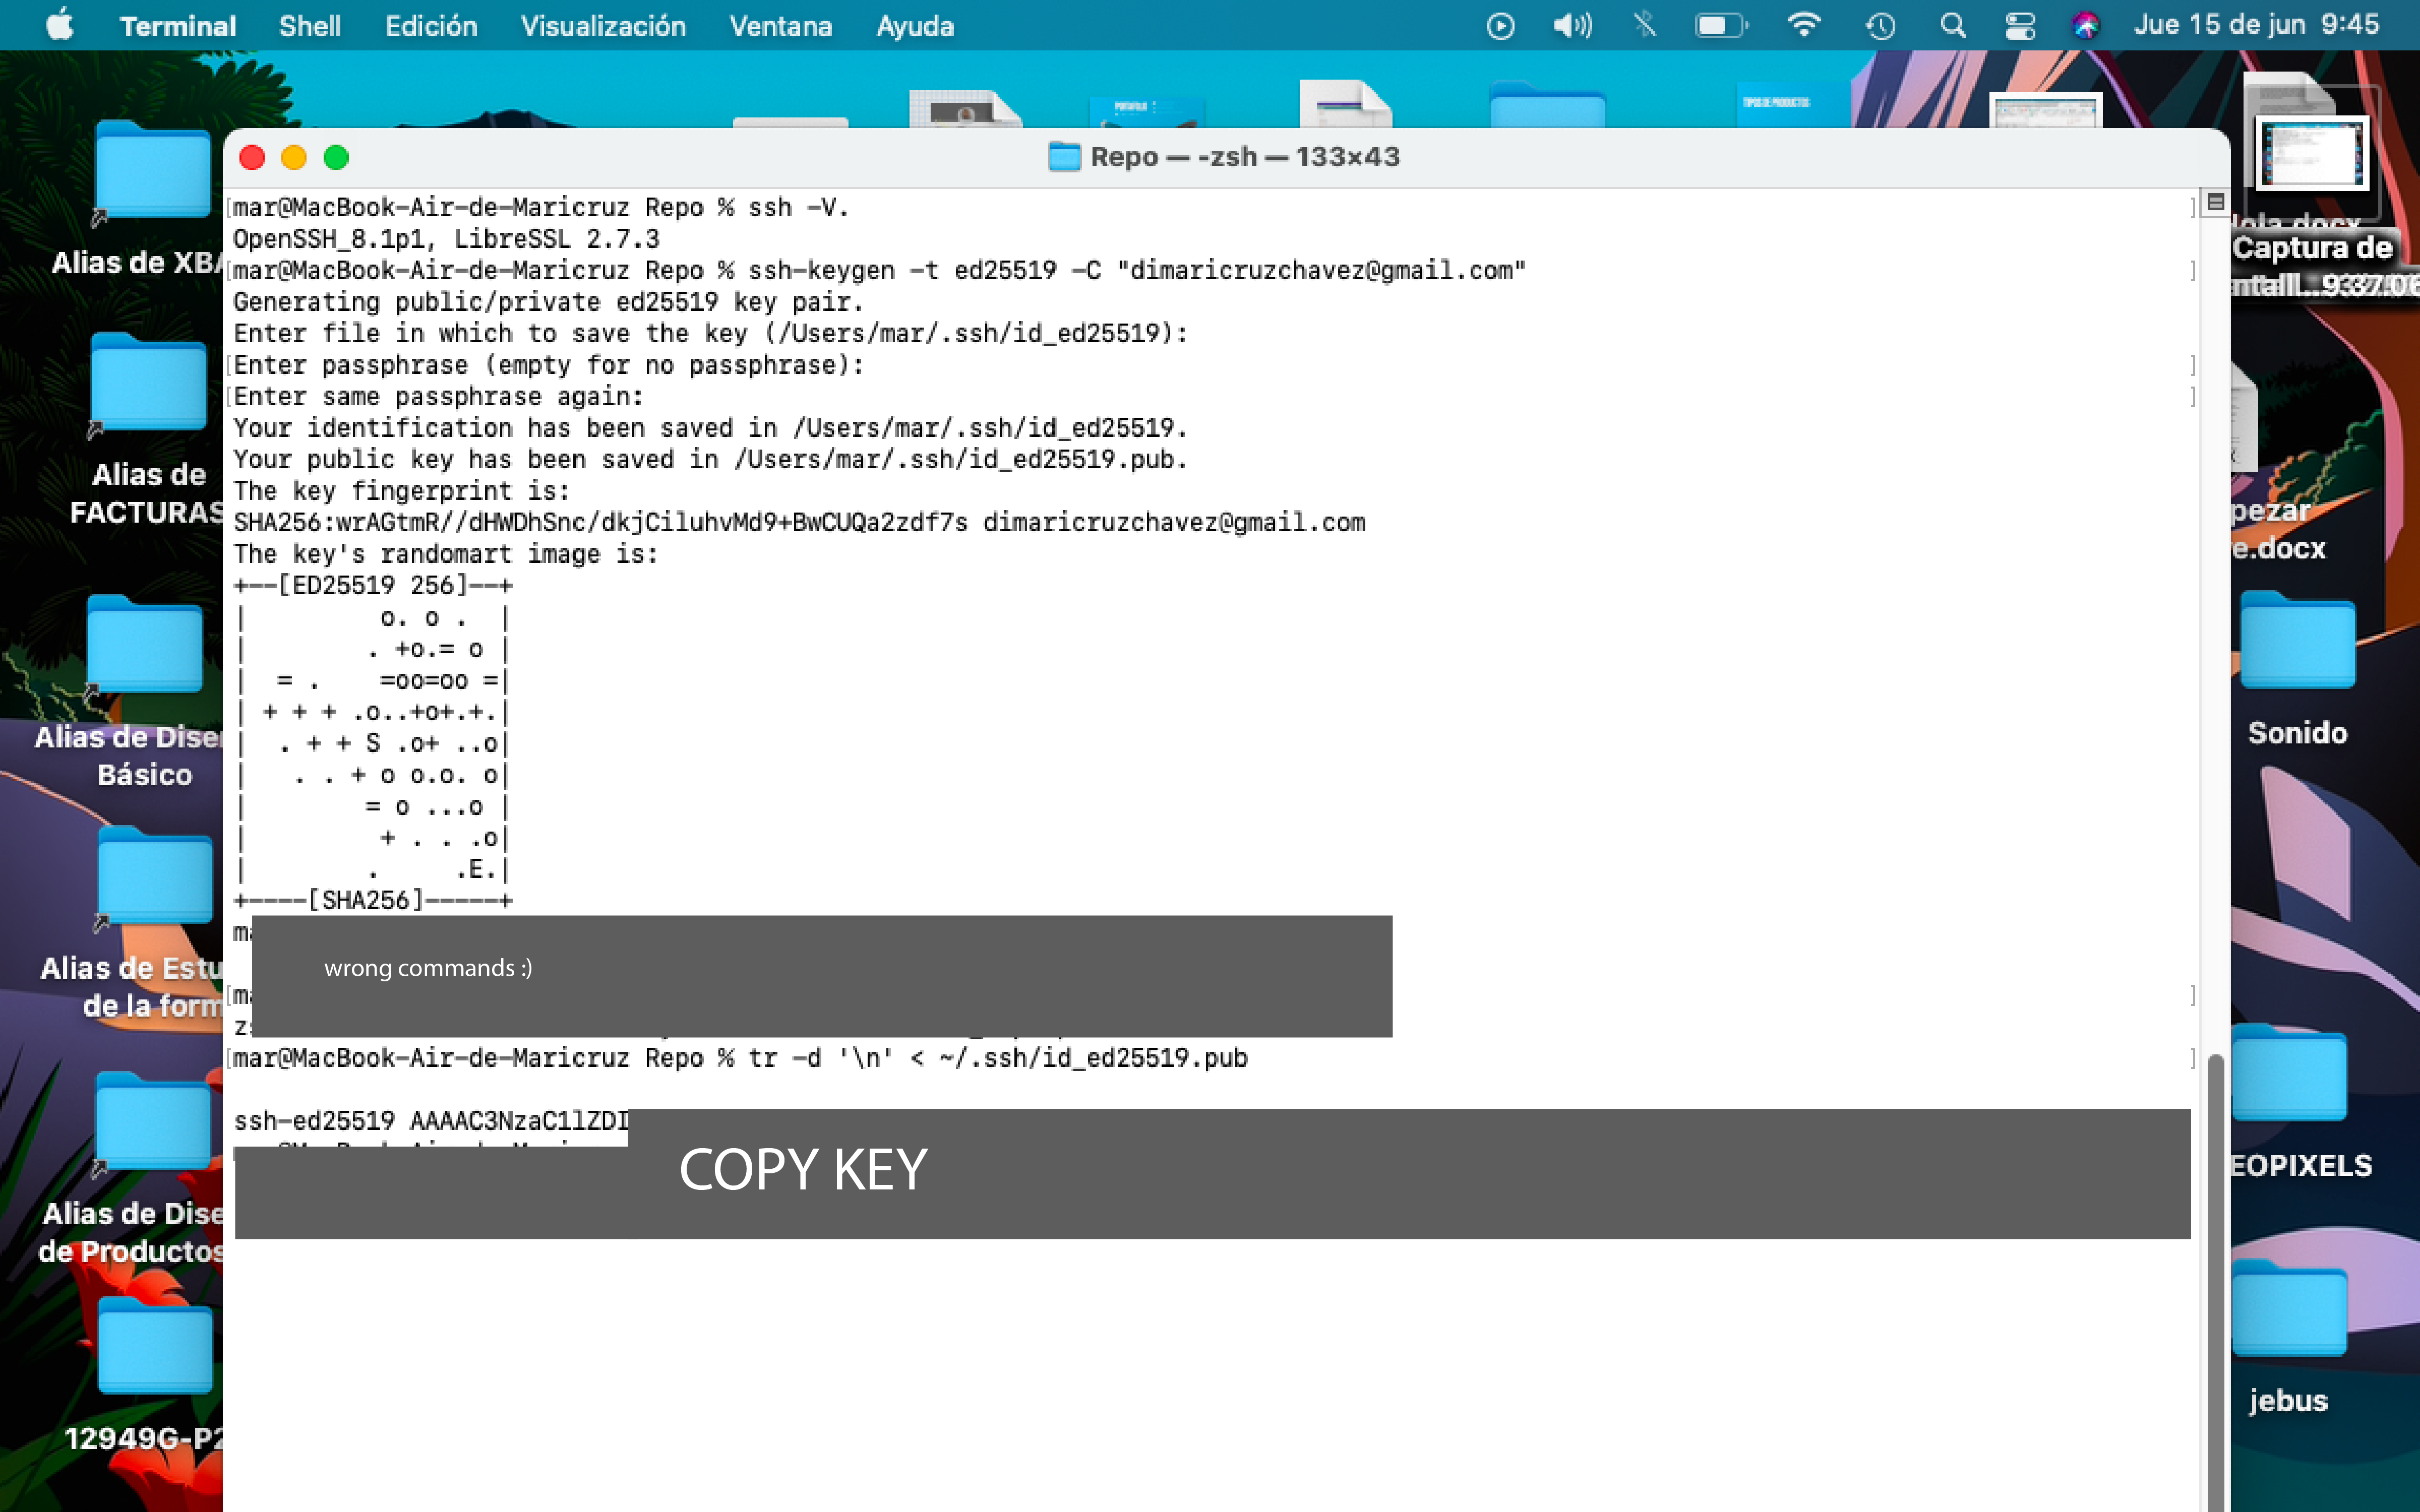
We copy the key and we will add it in "add key", to verify we will check our files.

Then I have to connect my local work remotely, to view it on the gitLab.
1. We have to go to our GitLab account, where we already have a space where we will place all our files.
2. I searched for my repository and cloned it, it's in the blue button, I can clone my project with SSH or HTTPS (I used SSH for its key security).
3. I went to my command line and located myself in a folder where I will place my files on my computer, and in the folder I used the "git clone" command and I will add what I have copied from my GitLab.
4. It has created 2 files for me, the “README.md” and the “public”.
 >
>
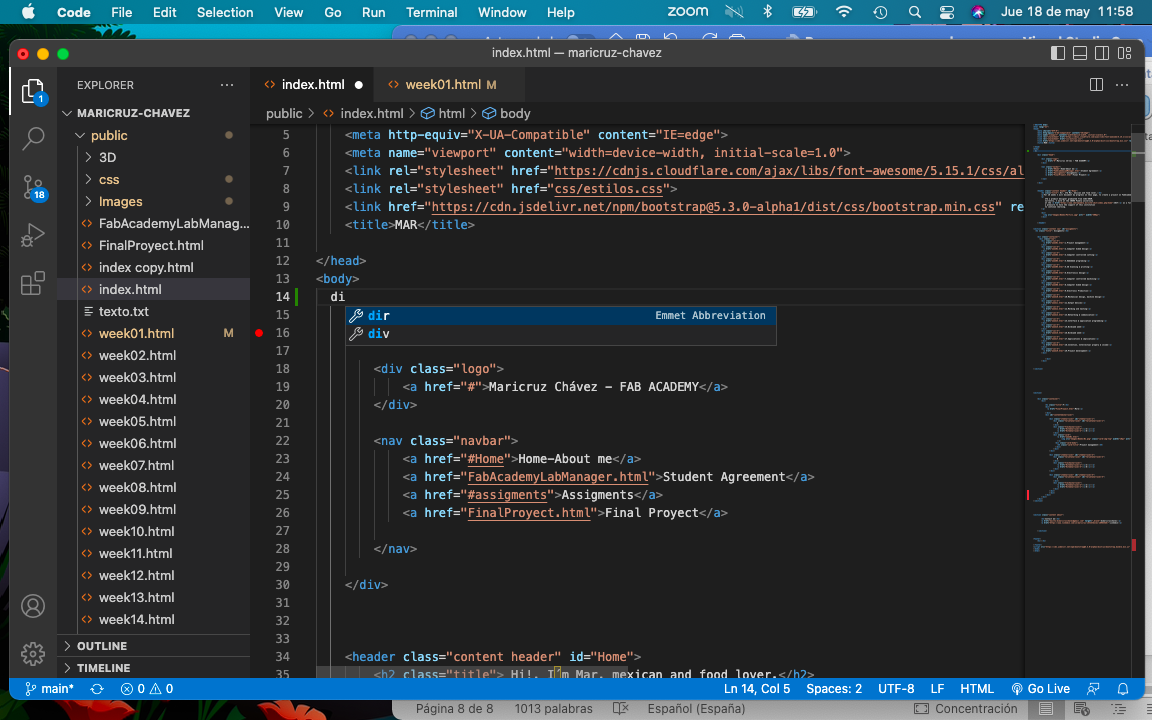
To start working on my site I used Visual Studio Cove, it is important to mention that the repository must be opened from the “Open Folder” option of the program.
Once the Folder is open, it shows us the files that are in the folder, to create new HTML files, we must give it a secondary click on the mouse and choose the option to "create a new file."
I will upload these modifications as I progress in my project, to upload my work, I will upload it in my command line, I will use the command “git add .” (to contemplate those changes).
Then I will name that check point, with the command "git commit -m name of changes"
To push those changes, I'll use the “git push” command.
In the next step I started with the design and content of my page, to start learning about the subject it is important that you take into account the following concepts: global network (WWW), address (URL), web browser (in my case it will be Safari), files that the browser will see (HTML), and the Hypertext Protocol (HTTP).
I started by creating my first file "index.html" that would be the main page of my website, I also created my pages to document my assignments per week, my final project and the "Student Agreement" section. The way to do it is to secondary click on the mouse and create a new file with the desired extension, in this case it was “.html”.
To start web development, I started by organizing the work structure, first I made my structure in HTML, and then I made my design in CSS and I used JS to generate interaction.
I started by creating my first file "index.html" in the Visual Studio Code program, which is a text editor that helps us autocomplete tags. When I opened the program, the first thing I did was open my folder where I had previously created my local repository.
This "index" file is my main page of my website, I also created my pages to document my assignments per week, my final project and the "Student Agreement" section. The way to do it is to secondary click on the mouse and create a new file with the desired extension, in this case it was “.html”.
Tags – Tags help us organize and direct our content, so below I'll put some tags that I use on my site. These must have opening and closing (<>).
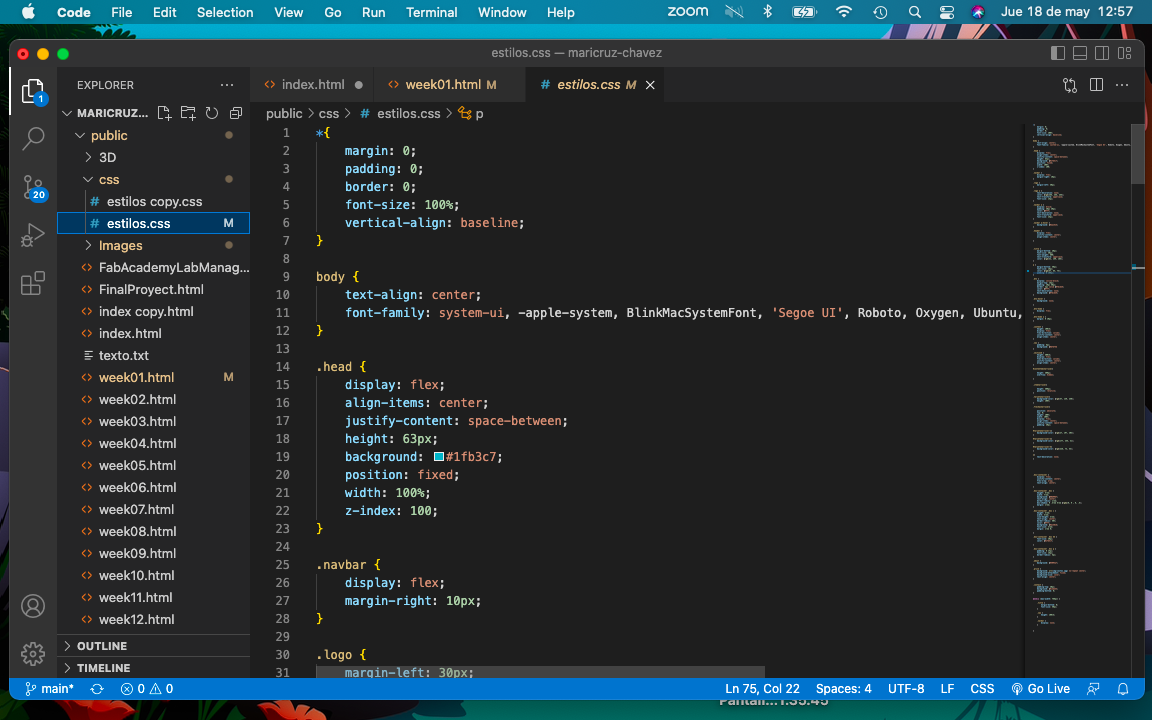
In order for my tags created on my page to be styled, I formatted them in my css file.
First I create a new folder called CSS, here I create a file called “Estilos”.
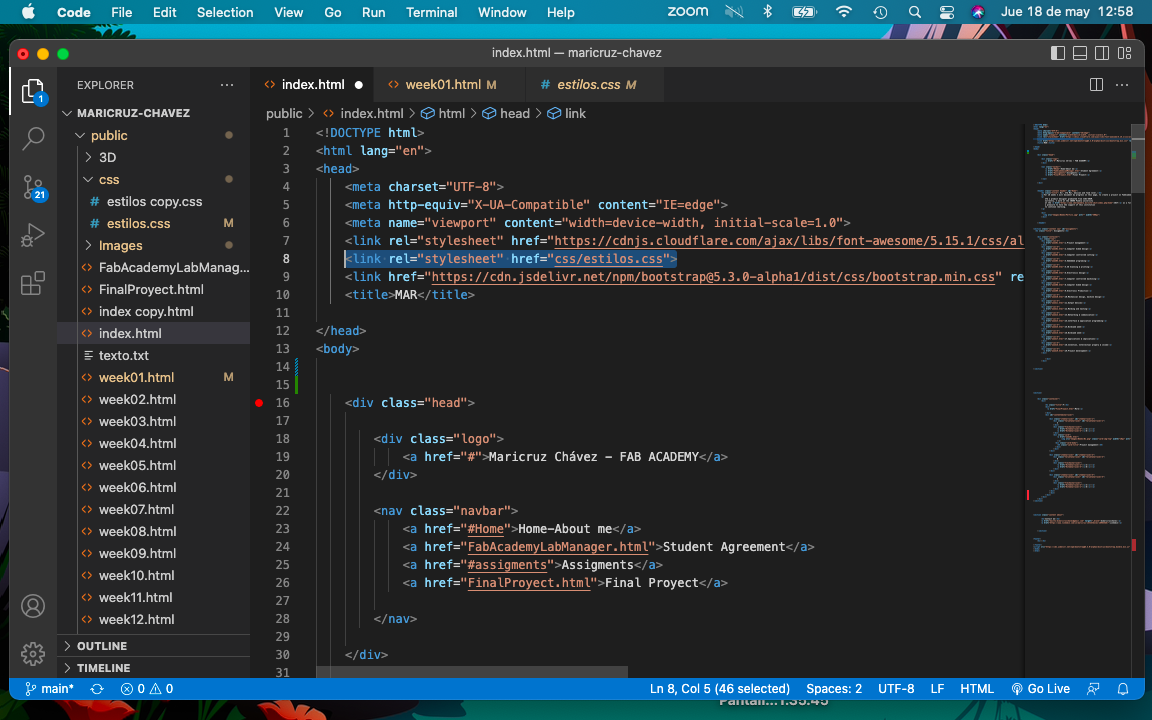
An important step is to link the file to my page so that these two can connect, I did it with the "link" tag (this does not need a closure) in which it is located in my "head" tag.
I will edit the labels with “the name of the label” + “{ }”, (for example: p{ color: darkblue font size: 40px}).
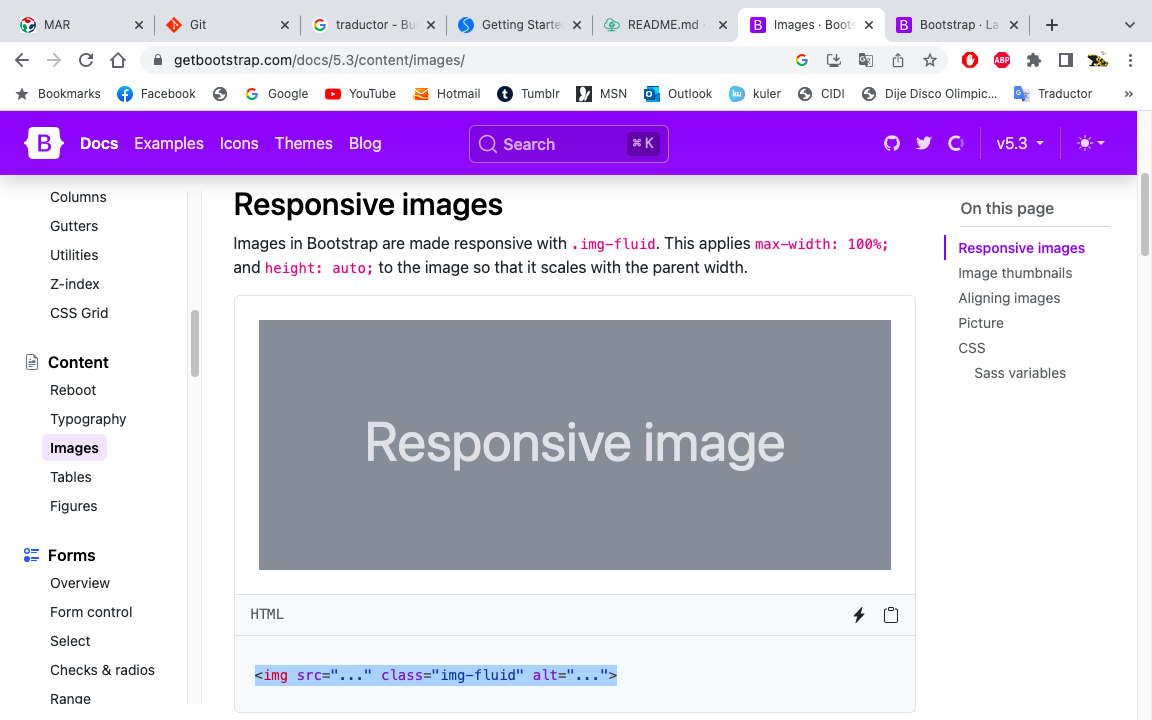
Bootstrap, a third-party code framework site, is used for adaptations of my own page.
I used it to support me in the organization of information and style, such as the use of columns in images and text.

In this image you can see my first attempt to create my web page.
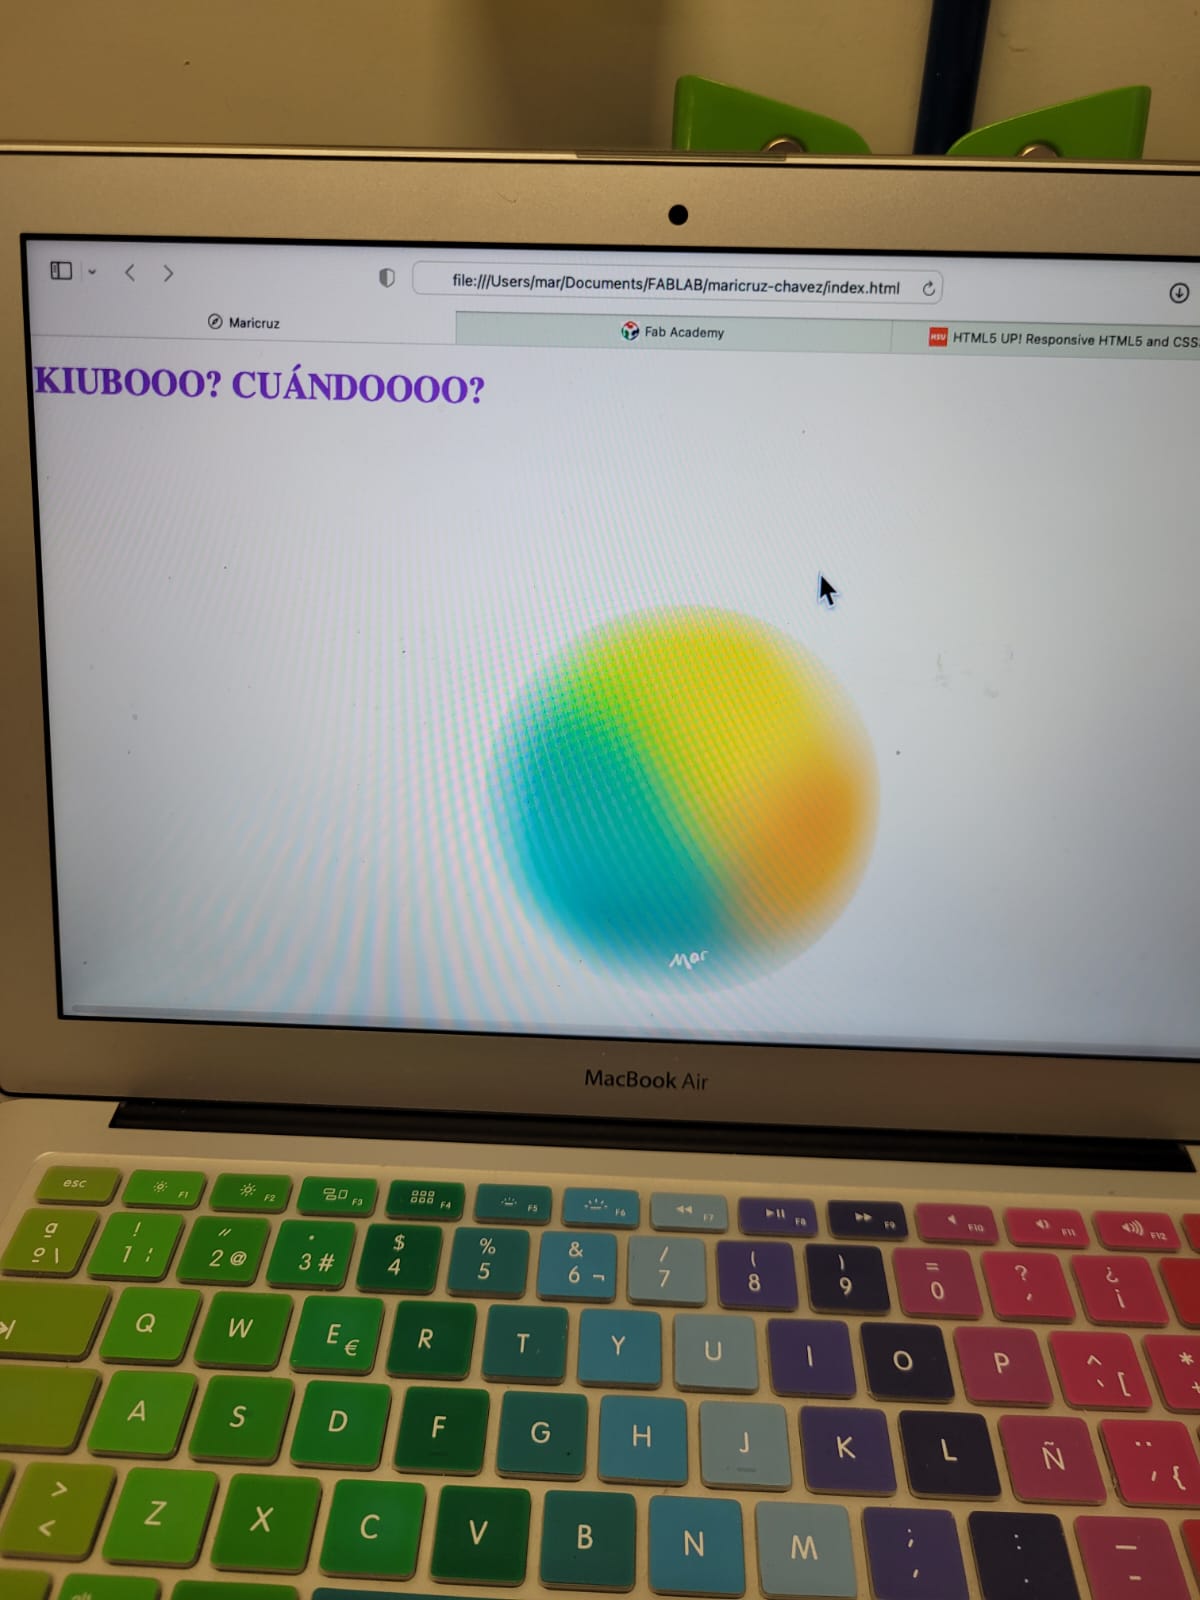
In this image I show how I finish my assignment for the week.


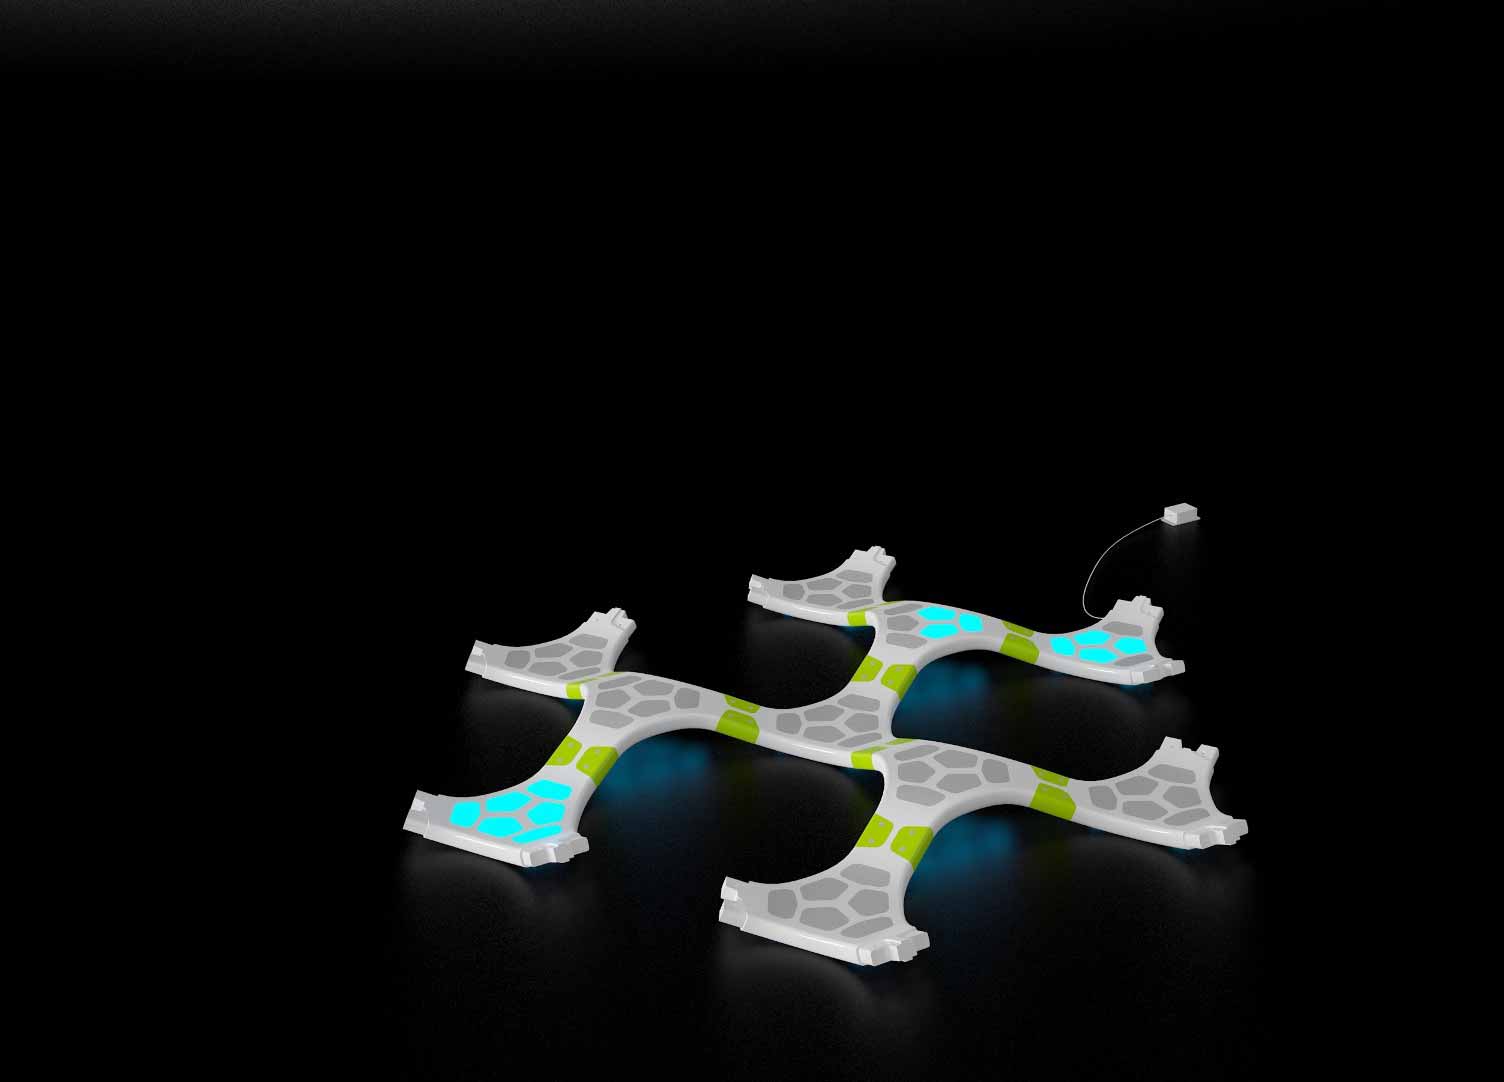
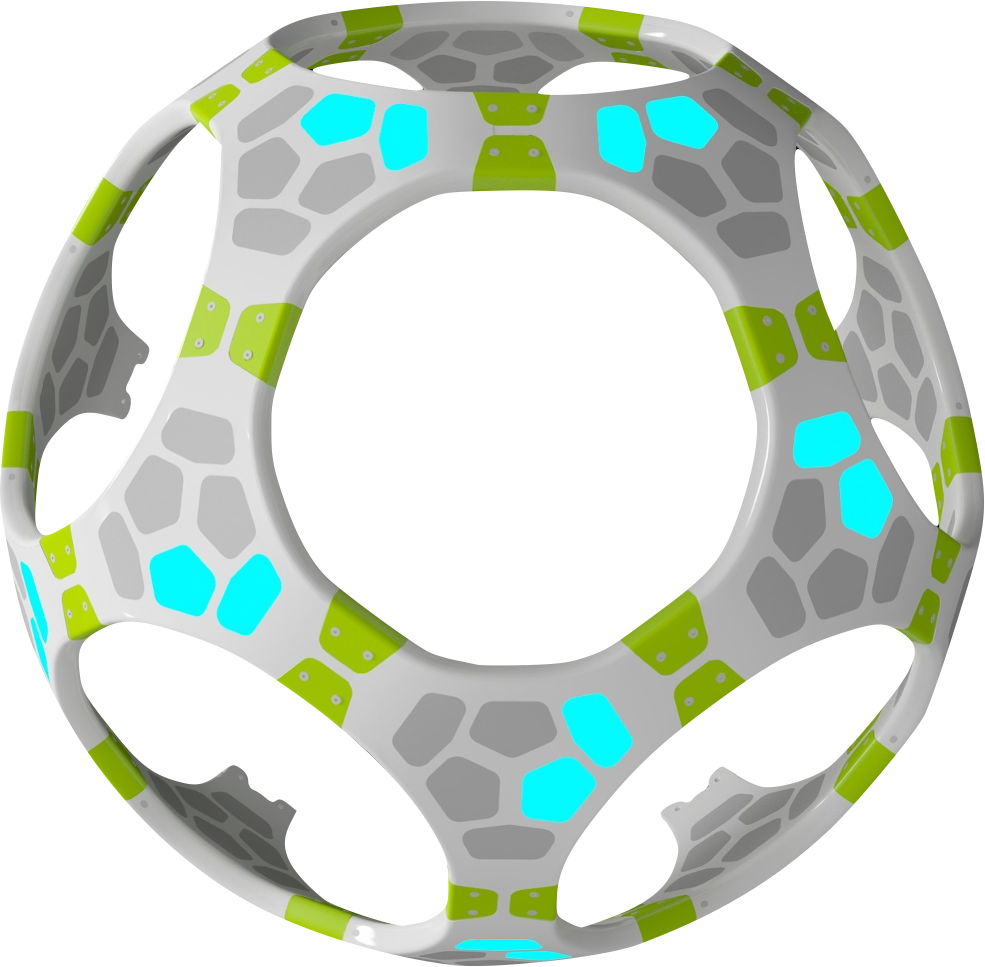
The concept borns from a bubble, which is the interpretation of a safe place for many children with hypersensitivity. The idea is to use this bubble to interact with his users and break itself to create other spaces in order to encourage outside interaction safely. This is a project of mine that I would like to resume to improve it. Change the plastic injection process for a replicable "do it yourself" process so that anyone can have it. It is a modular system, a multifunctional space to positively motivate interaction with the physical environment, in a child. with Autism (TEA).
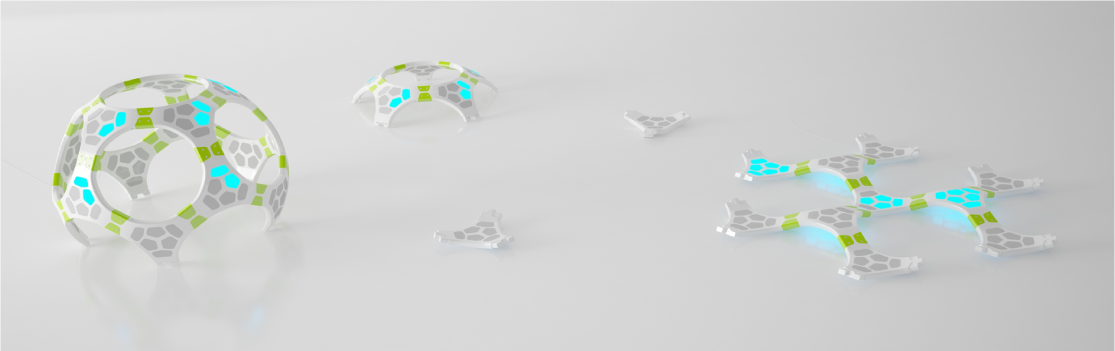
This is a modular system, with multifunctional spaces in order to motivate positively the physical interaction with the enviroment for children. The module interacts with the user, by turning on the LED lights with an approximation sensors. The module forms differents structures depending on how it is assembled, this is the assemblt of two modules to create a flay structure. On that flat structure, children practice their coordination
And this is the assembly to create a spherical structure. On that structure, children practice their socialization through play. The module has a LED lights that is activated by an approach sensor, encouraging interaction with it.
Whats Next? Process-Based Redesign What process? Thermoformed or laser cut What material is? PVC, MDF, Acrylic What circuits? Infrared proximity sensors leds