Molding and casting
Week 12 - Documentation
For this week we are going to work with Molding and Casting. The idea is to design our mold and use a milling machine to make it. Then cast a part out of the mold.
Molding and casting materials
The materials I used are commonly used by dentists for molding and casting dentistry products. For molding I'm using yeast type III and for casting quick self-curing acrylic.
Safety comes first!
The first thing we need to do is to review the safety data sheets of the materials we are working. I'm using Yeast Type III for my mold. From the datasheet here are some important points regarding safety:
First Aid Measures:
- As a general rule, in case of doubt or if symptoms persist, always call a doctor. Never induce swallowing by an unconscious person.
- In the event of splashes or contact with eyes: Wash thoroughly with fresh, clean water for 15 minutes holding the eyelids open. If there is any redness, pain, or visual impairment, consult an ophthalmologist.
- In the event of splashes or contact with skin: Watch out for any remaining product between skin and clothing, watches, shoes, etc.
- In the event of any of swallowing: Seek medical attention, showing the label.
- Most important symptoms and effects and effects, both acute and delayed: No specific symptoms or effect have been reported.
Exposure Controls:
- Personal protection, such as personal protective equipment: Pictogram(s) indicating the obligation of wearing personal protective equipment (PPE):
- Use personal protective equipment that is clean and has been properly maintained.
- Store personal protective equipment in a clean place, away from the work area.
- Never eat, drink, or smoke during use. Remove and wash contaminated clothing before re-using. Ensure that there is adequate ventilation, especially in confined areas.
- Eye / face protection: Avoid contact with eyes. Before handling powders or dust emission, wear mask googles in accordance with standards EN166.
- Hand protection: Wear suitable protective gloves in the event of prolonged or repeated skin contact.
- Body protection: Work clothing worn by personnel shall be laundered regularly. After contact with the product, all parts of the boy that have been soiled must be washed.
- Respiratory protection: Avoid beathing dust. Wear a disposable half-mask dust filter in accordance with standard EN149.

I'm using quick self-curing acrylic for my casting. From the datasheet here are some important points regarding safety:
First Aid Measures:
- Emergency and first aid procedures in case of Inhalation: Take the patient to a ventilated place.
- In case of eye contact: Immediately flush eyes with plenty of water, keeping the eyelids open. Go to the ophthalmologist.
- In case of skin contact: Wash skin immediately with plenty of water. Remove contaminated clothing. If symptoms (irritation or blisters) occur, see a doctor.
- In case of ingestion: Drink plenty of water. Go to the doctor.
- Most important symptoms and/or effects (acute and/or delayed): May cause allergy symptoms or respiratory tract irritation if inhaled. May cause damage to organs (lungs, kidneys, and liver) through prolonged or repeated exposure.
Exposure Controls:
- Respiratory equipment: Use suitable protective equipment. If exposure to values above the occupational exposure limit is foreseeable, use an appropriate mask with a type A filter. In case of formation of high amounts of vapor, use an autonomous respirator.
- Eye protection: Safety glasses and full protection face shield.
- Gloves: Wear suitable gloves. The most appropriate gloves depend on a series of factors such as: physical resistance of the glove, the degree of sensitivity required, level of permeability of the glove material. The gloves with the highest permeability are PVA/Polyethylene laminates or PVA coatings. Butyl and nitrile rubber gloves also provide some protection but should be changed immediately if exposure has occurred. Latex surgical gloves provide little protection. Gloves must be changed regularly and when excessive exposure has occurred.
- Others: Wear appropriate protective clothing.

Molding
Making
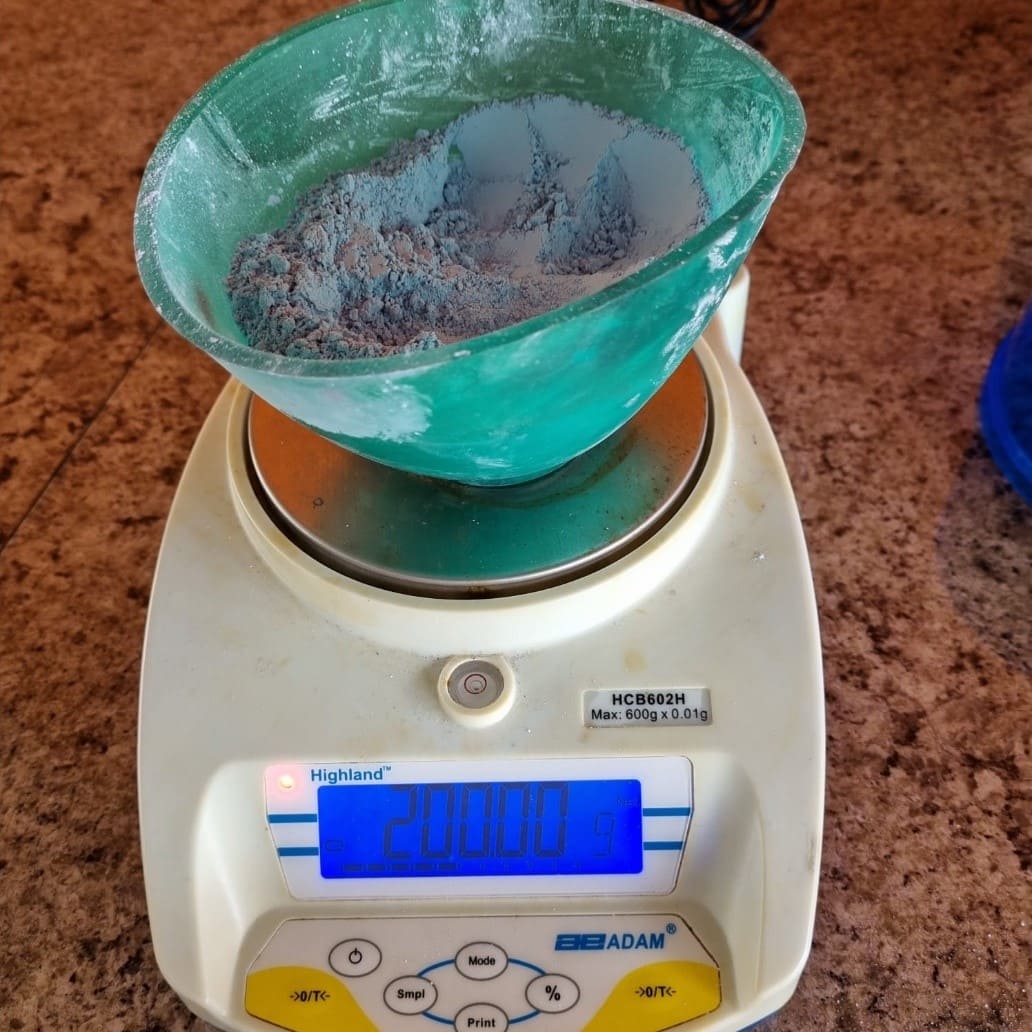
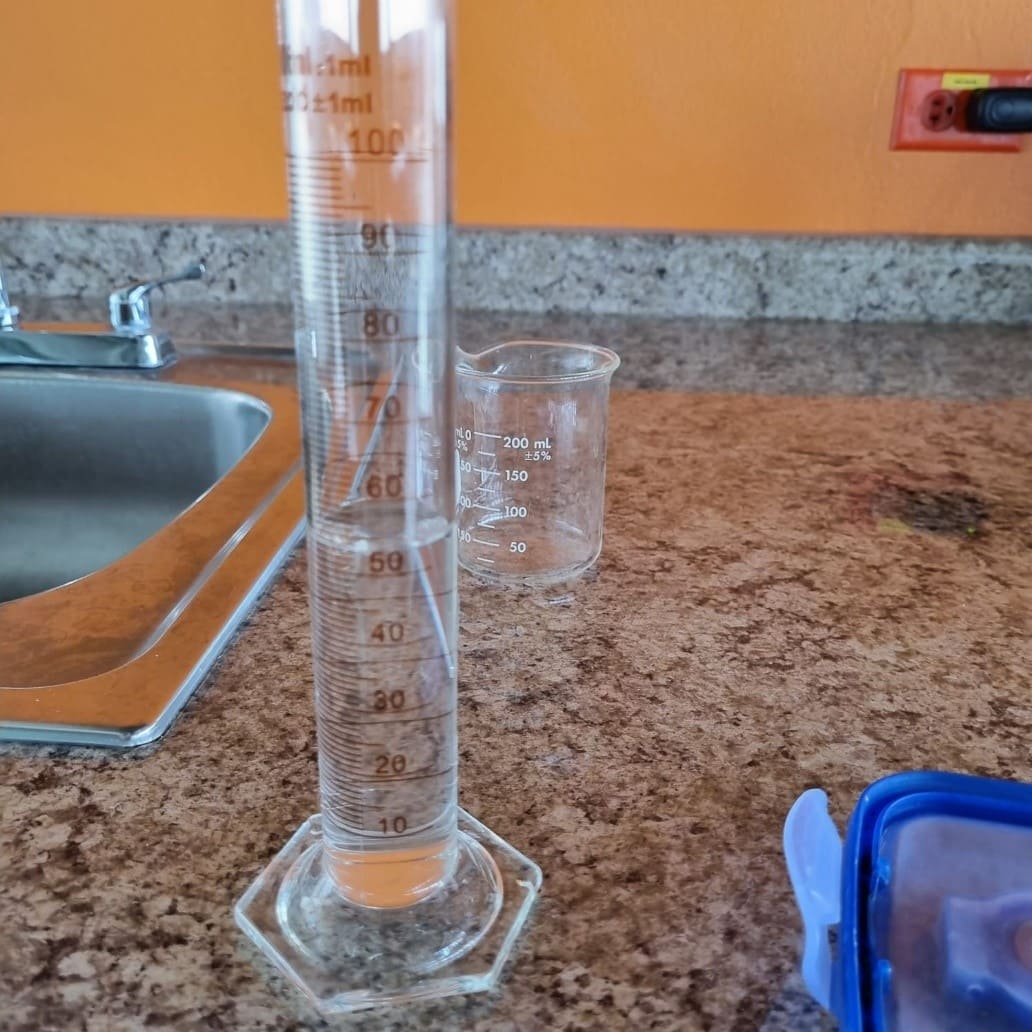
I don't have a resin block, so I will make my own mold! To make the mold, I'm using yeast, so preparing it consists of mixing 200g of the powder and 54 ml of water:
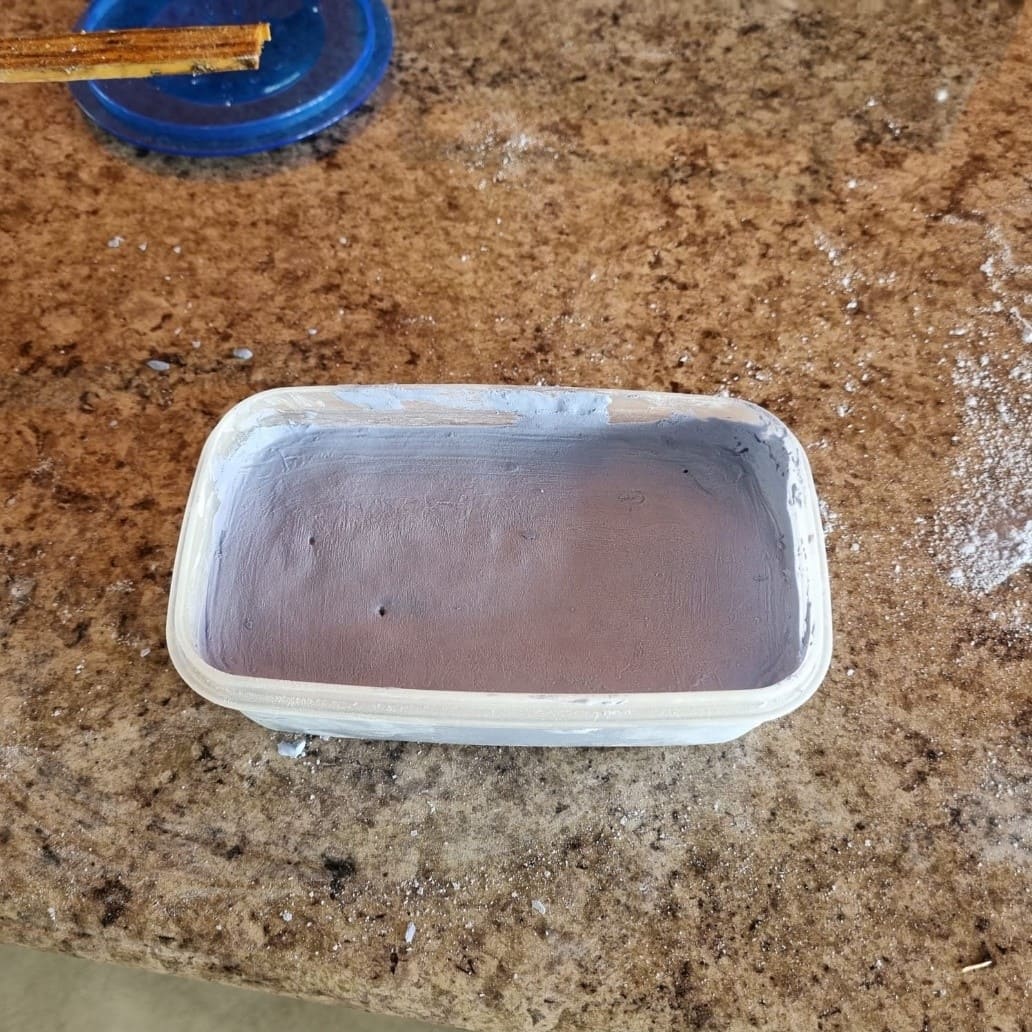
And then, after mixing it and breaking one of my house plastic containers I got the following:
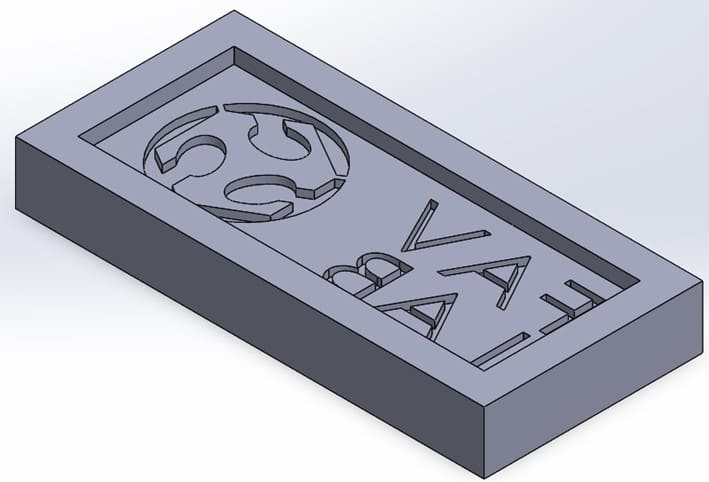
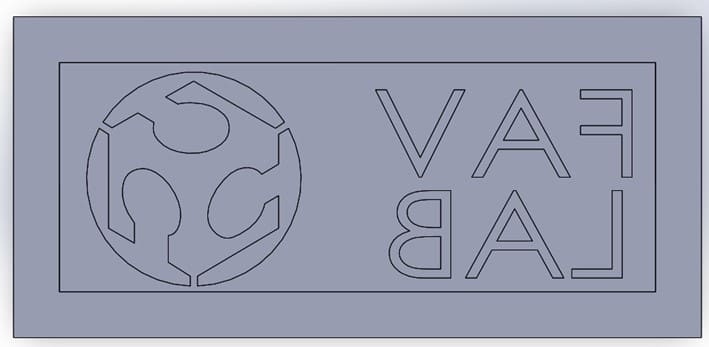
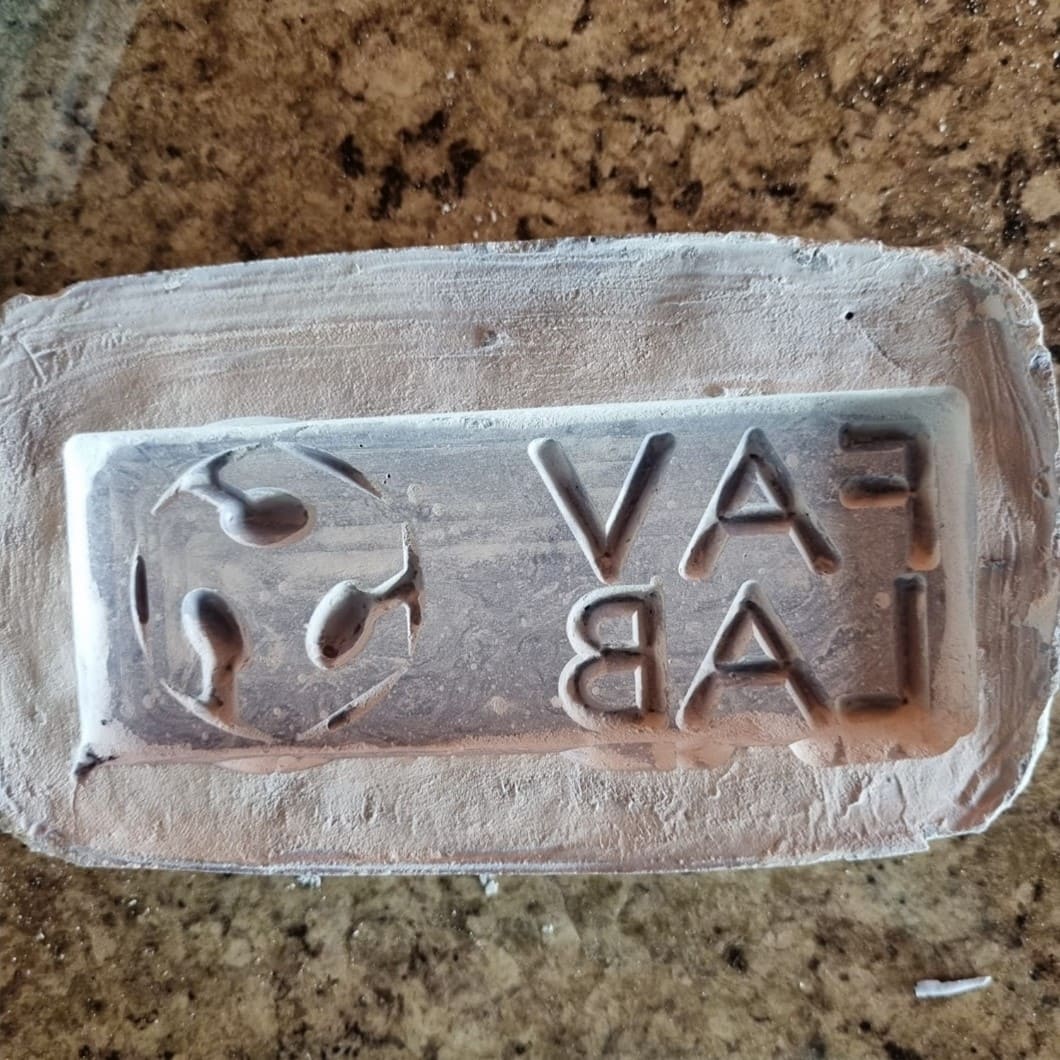
Mold Desing
I wanted to do a plate with the Fablab logo and the word “FAVLAB”. The mold would be with just one part, given its simplicity. I designed the part in Solidworks.
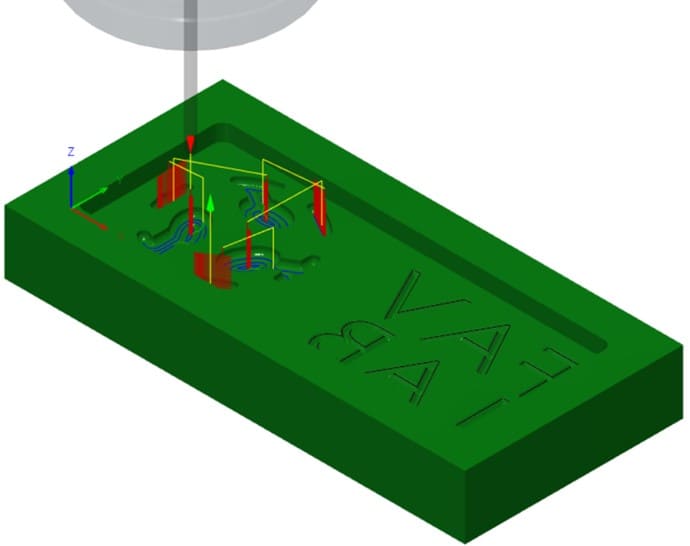
Machining Desing
I did the machining design with Fusion 360:
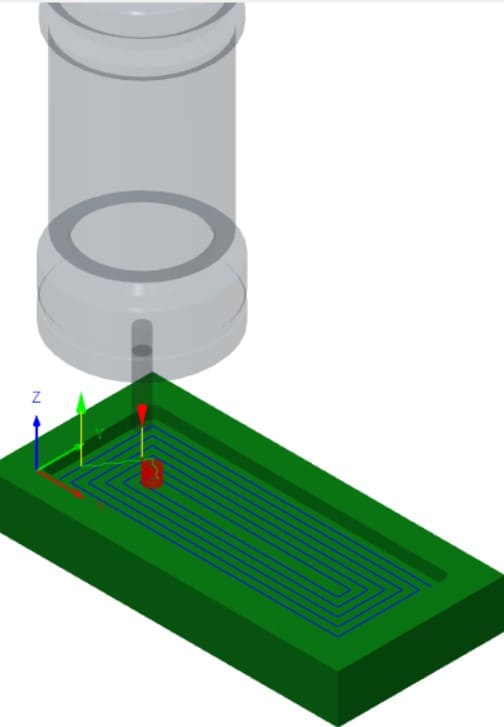
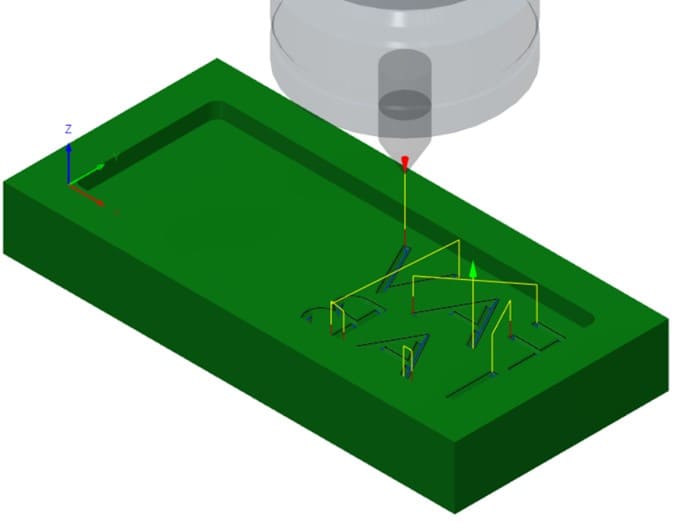
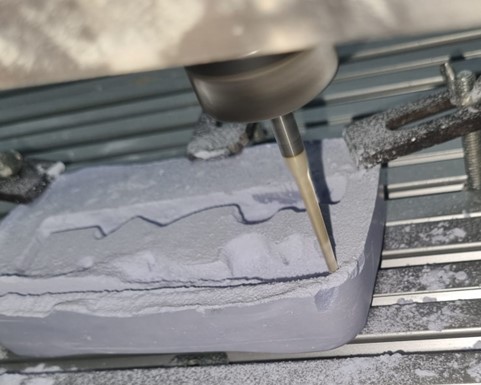
Milling
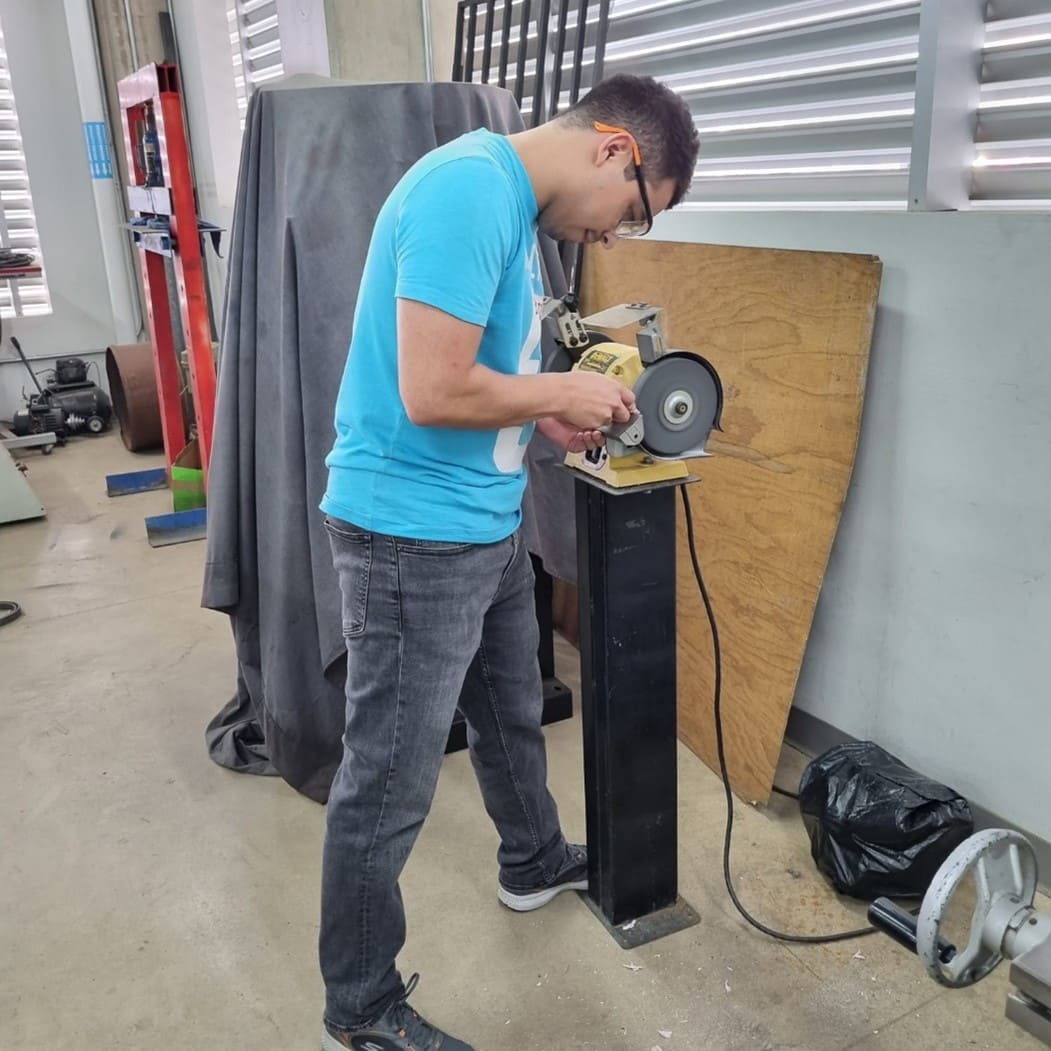
I'm milling the mold using a desktop shopbot.
Results:
Casting
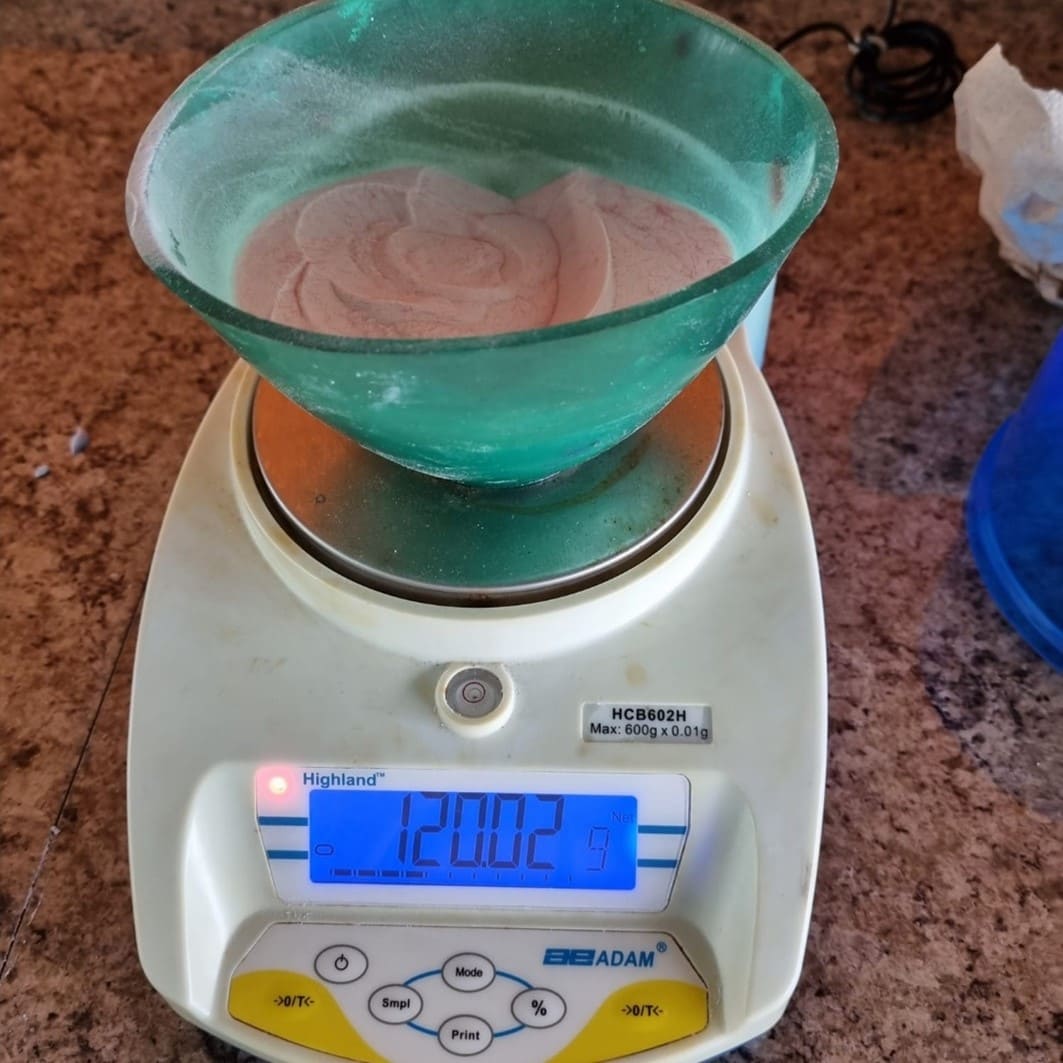
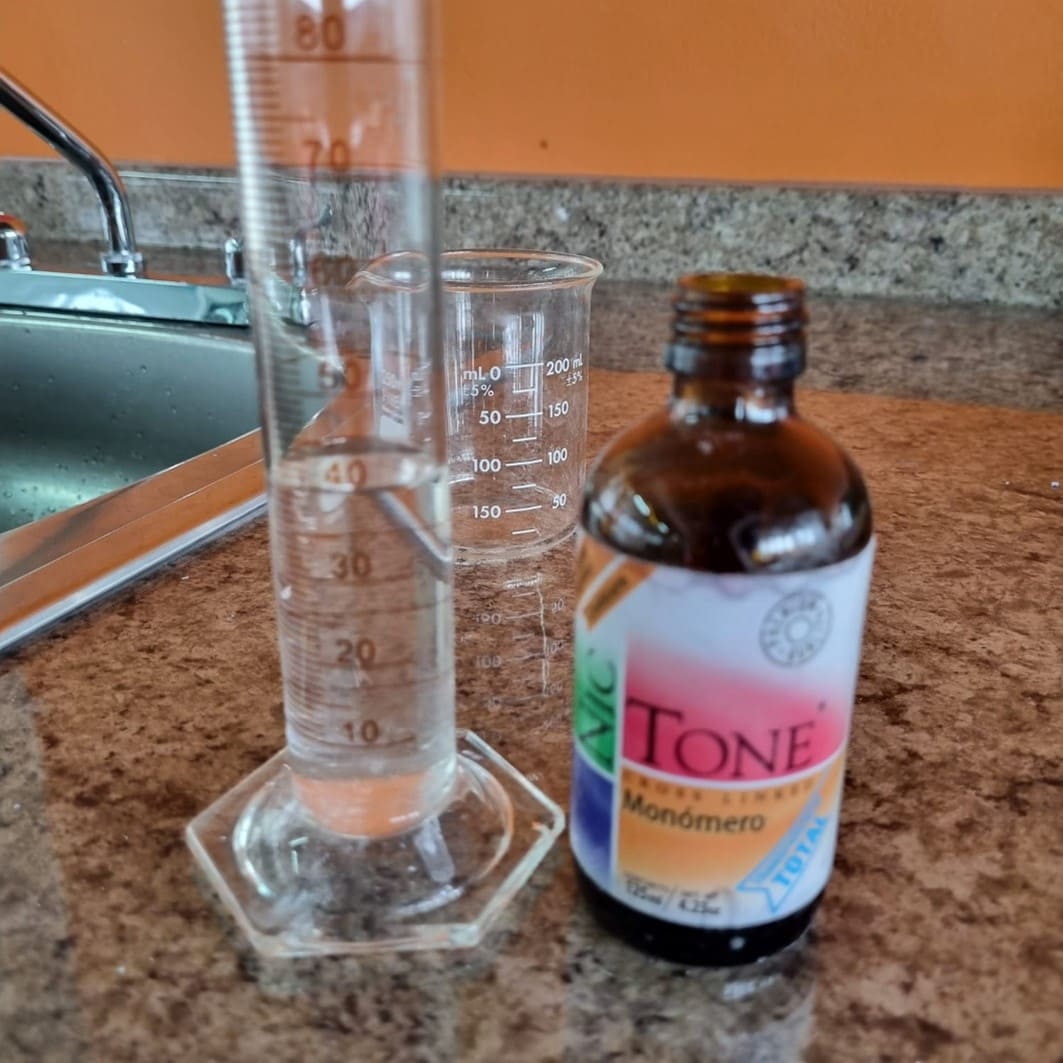
For the casting I'm using quick self-curing acrylic. I need three parts of powder for one volumetric part of the liquid. So, I'm using 120g of the powder and 40ml of the liquid.
Molding and Casting Results
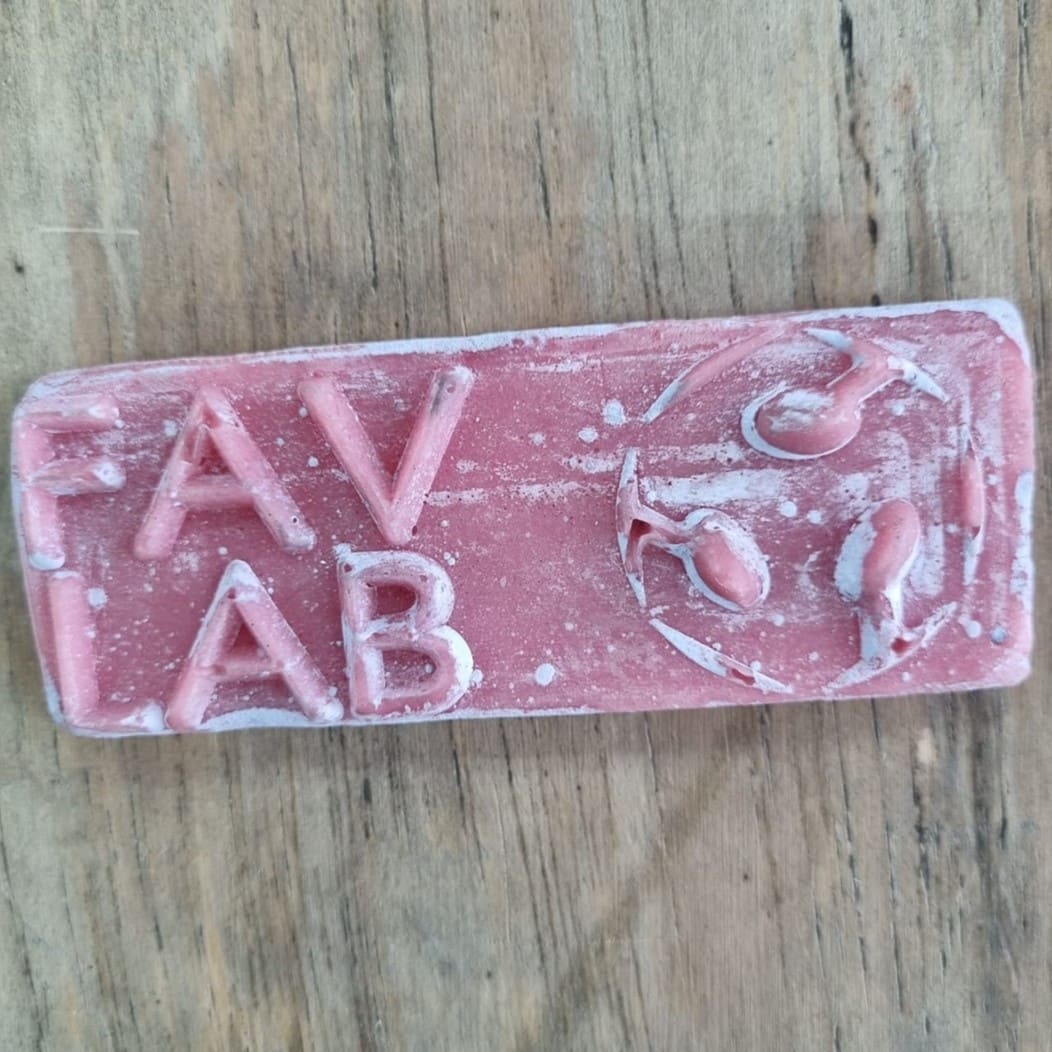
After some minutes and a lot of ventilation (acrylic has a strong odor), here we have the resulting part:

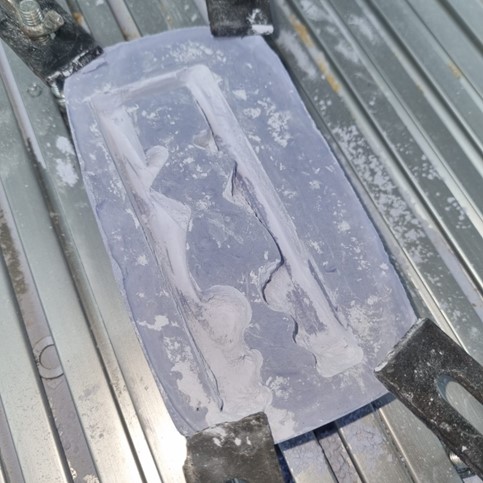
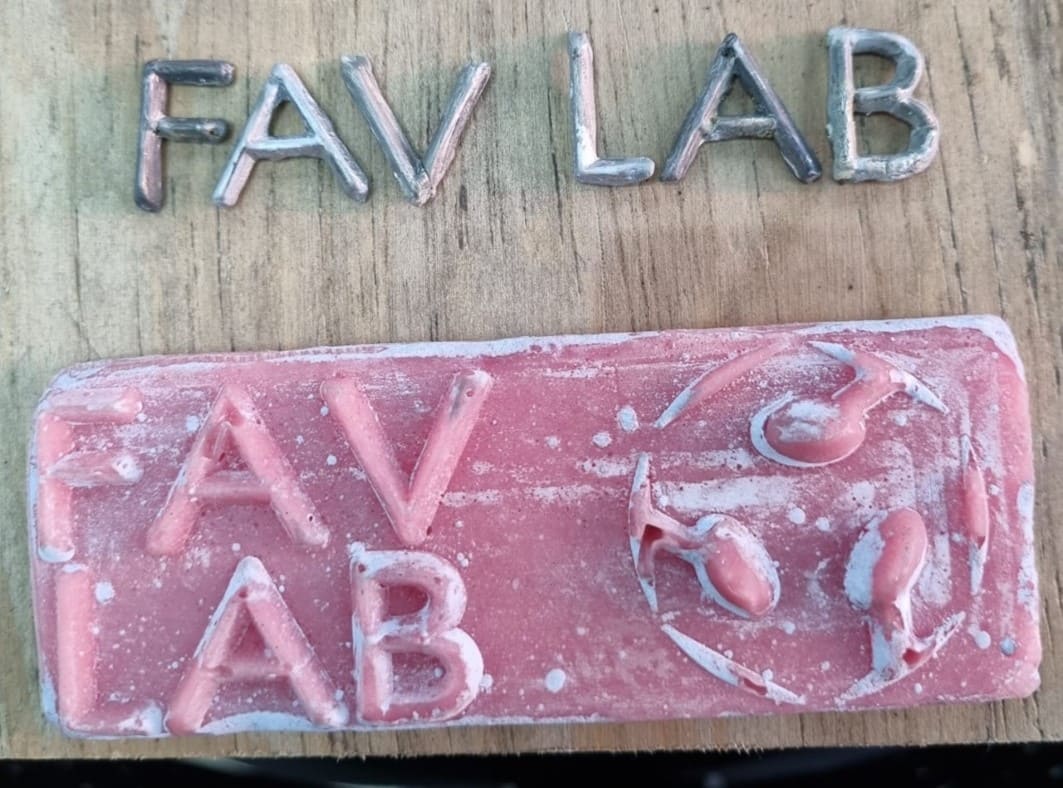
I tried to clean the casted part the most I could:
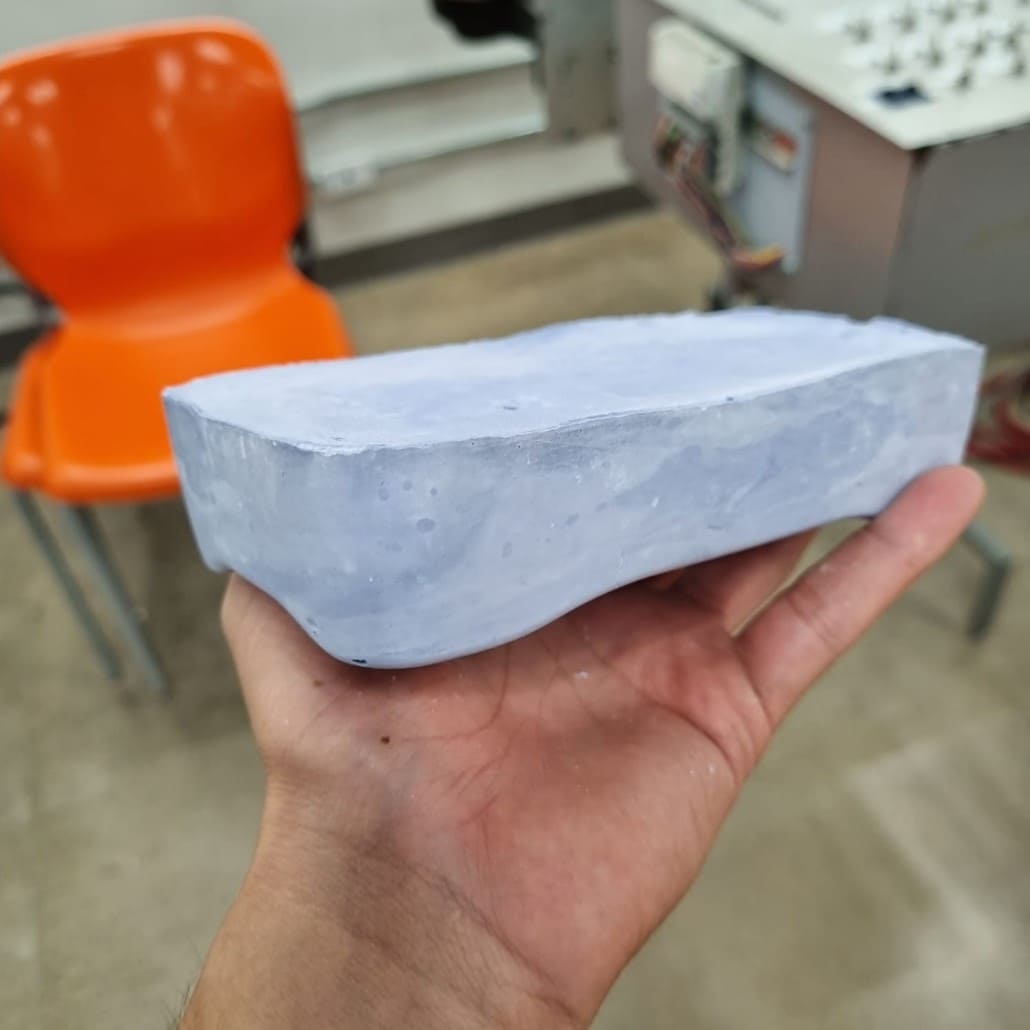
I got the following part:
Individual Assignment
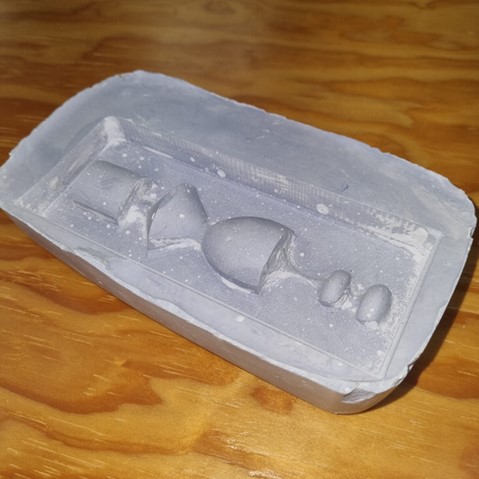
For the individual assignment I designed a 3D mold to visualize a rough and finish cut. I used Fusion 360 for the design and machining.
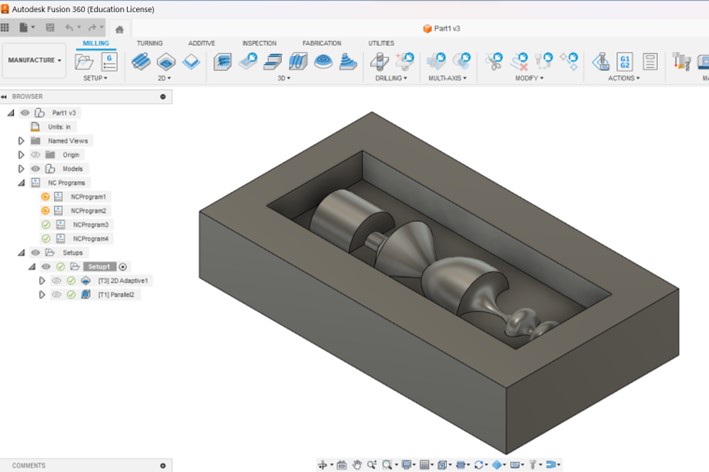
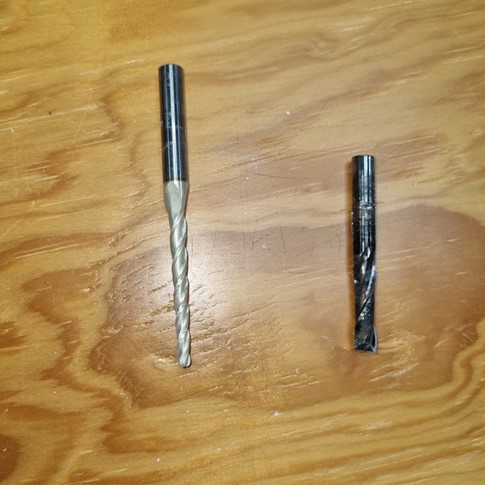
For the rough and finish cut I'm using a 1/4” flat end mill and a 1/8” ball end mill, respectively.
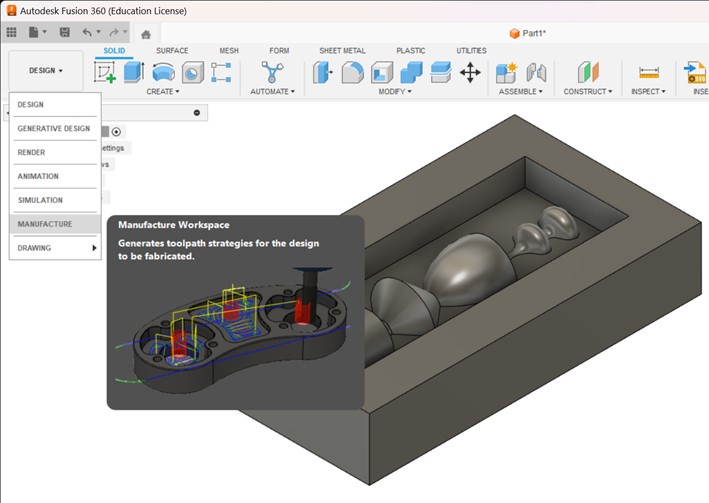
To start machining, I went to the Manufacture Workspace.
Then, I selected the 2D Adaptive Clearing operation for the rough cut.
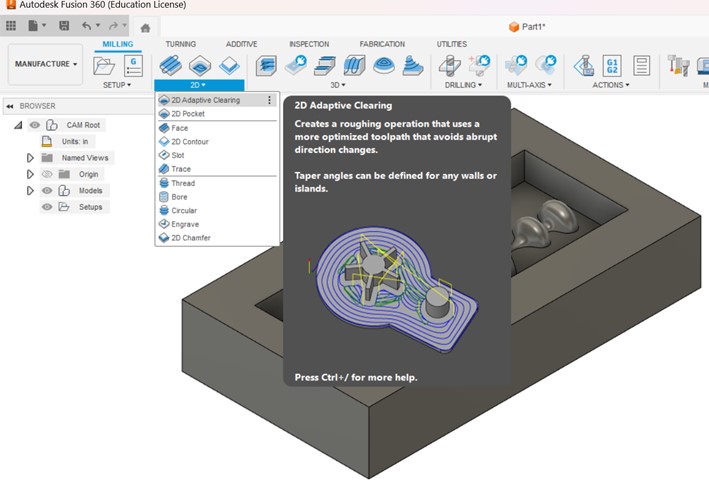
This is the simulation of the rough cut:
Then, I selected the Parallel operation for the finish cut.
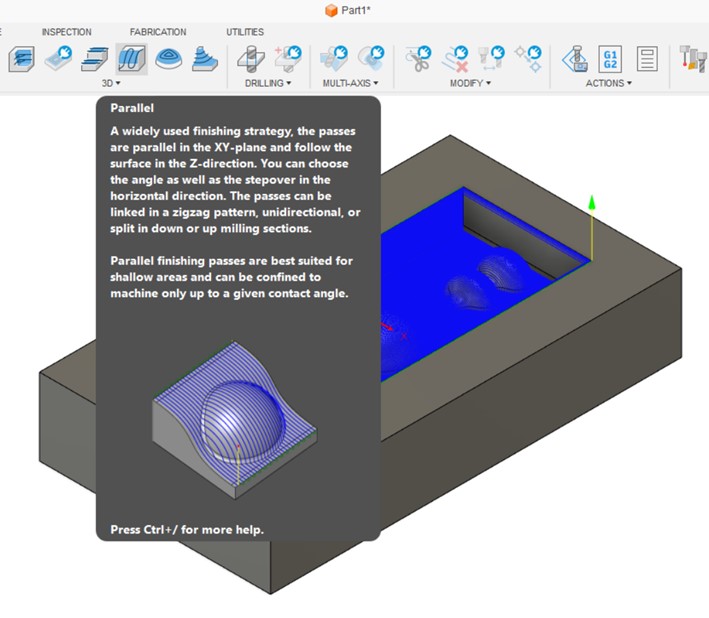
This is the simulation of the finish cut:
I saved both operations as post processes for the Shopbot. This is the result of the rough cut.
Then, I did the finish cut.
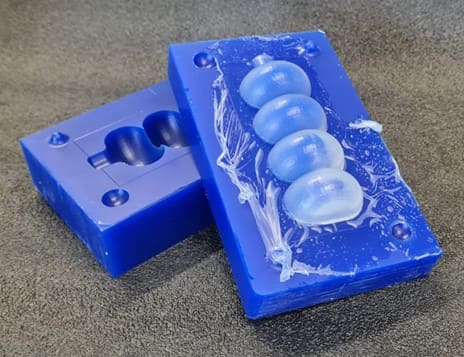
Results:
Comparing materials
I used materials that are not aesthetic, but they do the work, although the casted part could have been much better if I would have used some lubricant to avoid that the mold would have sticked to the casted part. That is why there were some residues from the mold in the work. My classmate Beto did the mold with resin, so the quality looks much better.
Experimenting with my mold and other casting materials
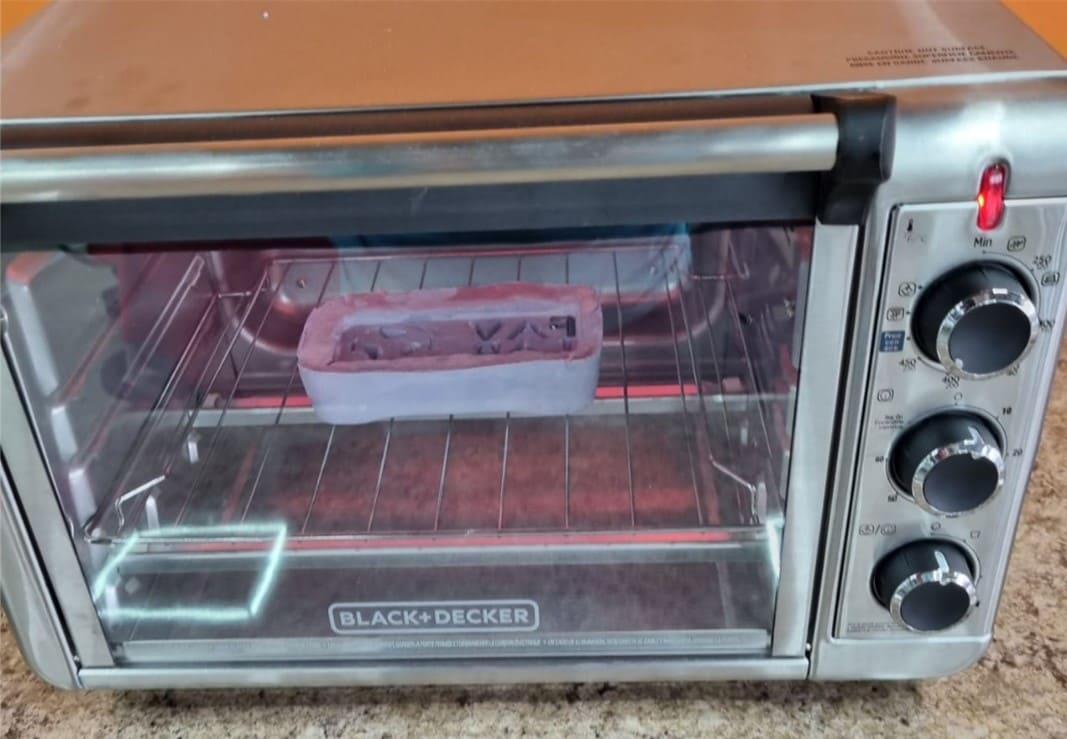
Once I had my casted part, I had some time to experiment! I wanted to make the FAVLAB letter out of soldering tin. I cut some little pieces of tin and put them inside the letters. My first approach was to use an oven, but unfortunately, the oven didn't get to the melting temperature, so it didn't work.
Then, I tried a heat gun.
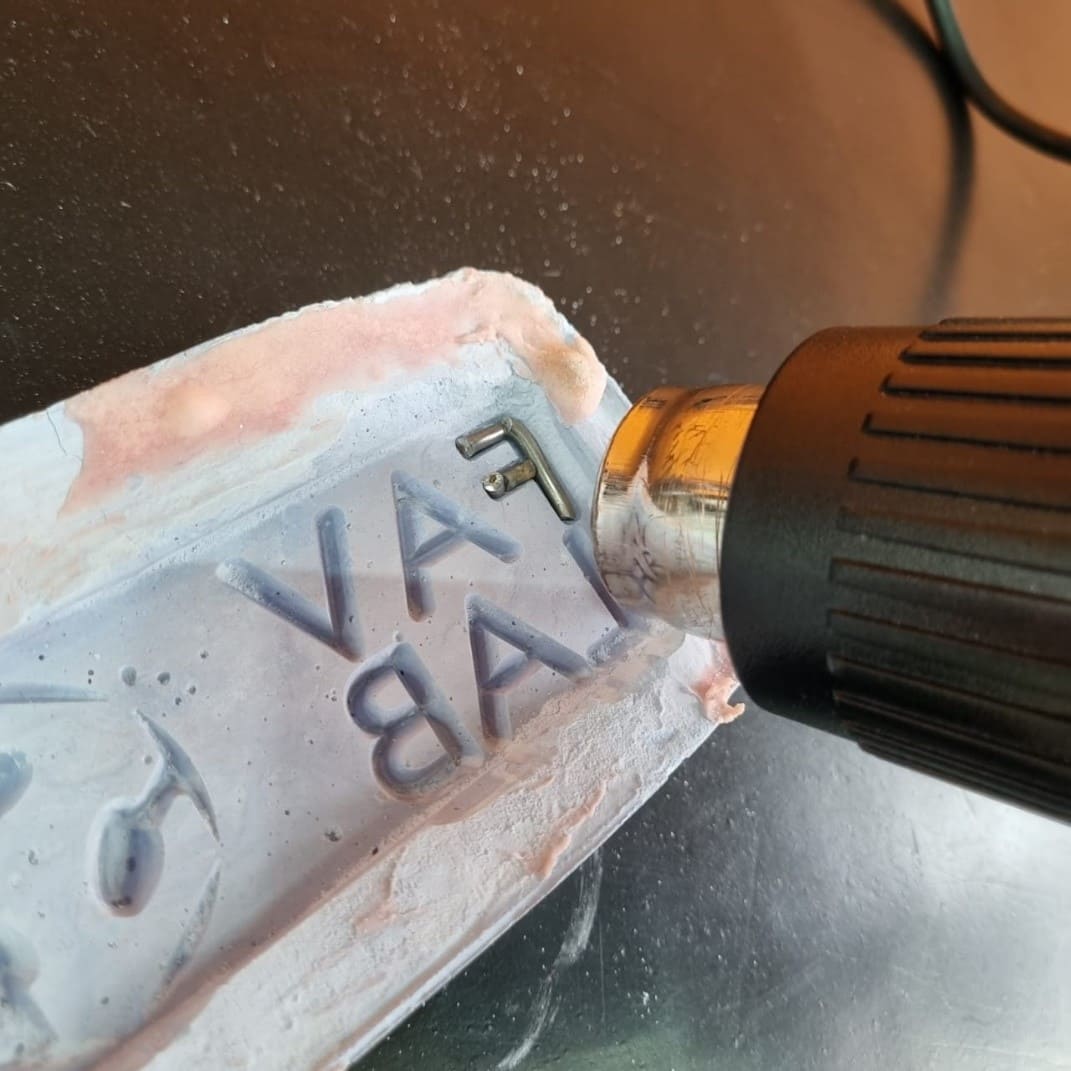
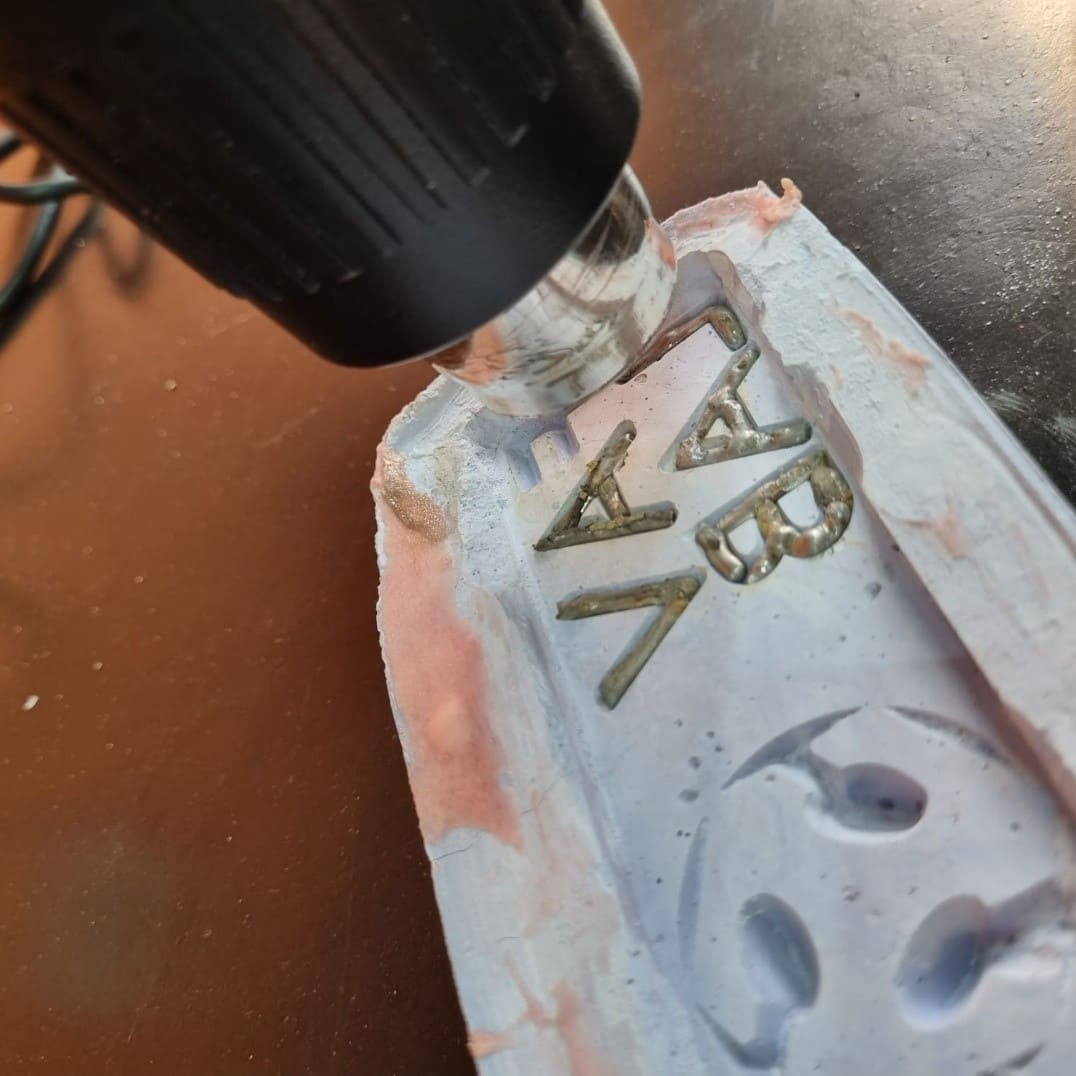
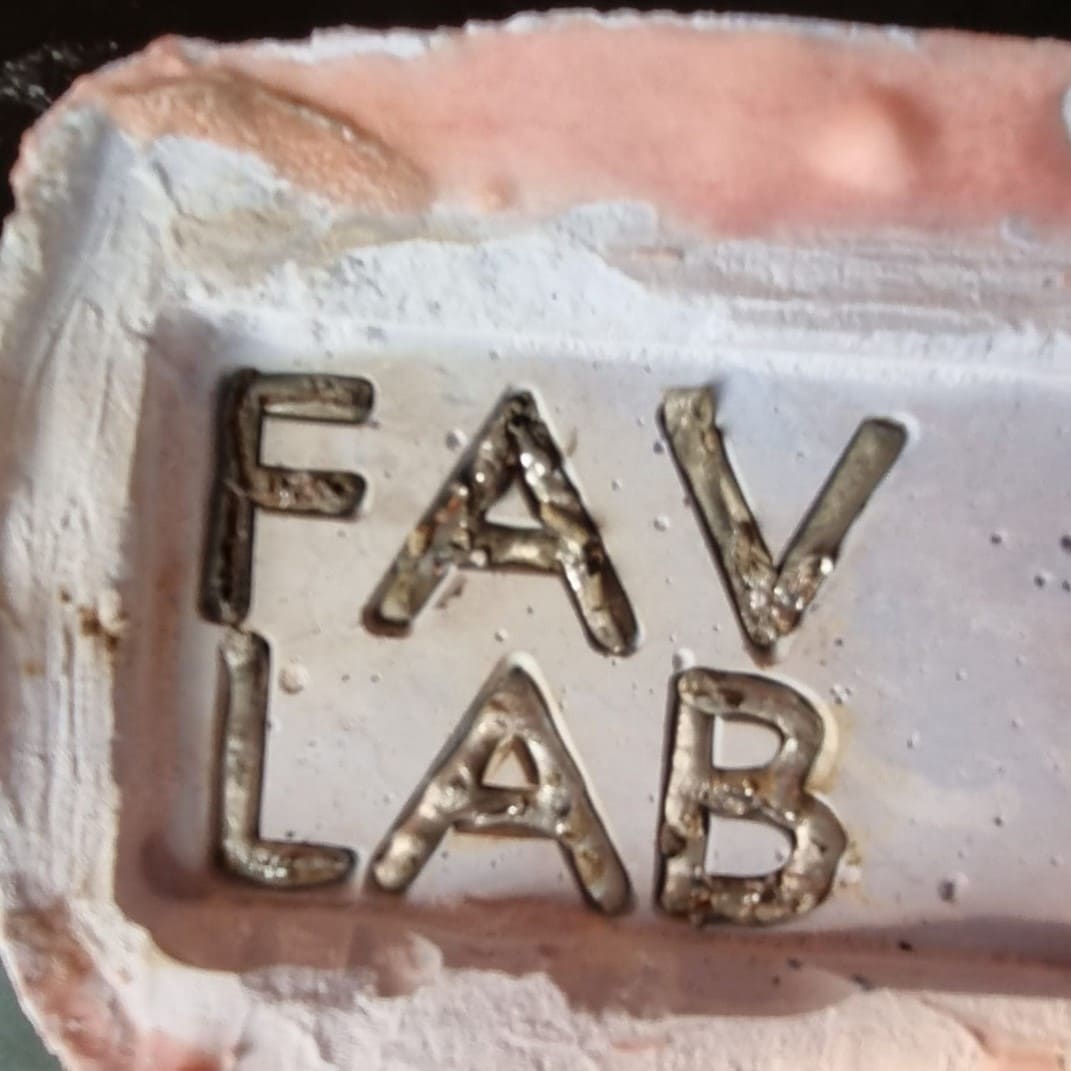
And for my surprise, it worked!
Here, you can download the :