Computer controlled machining
Week 7 - Documentation
This week we are going to do some to get the lab dirty… Well, it's not the point, but trust me, it does get dirty while doing the assignments. The goal of this seventh week is to get started with machining and use CNC.
Software and Equipment:
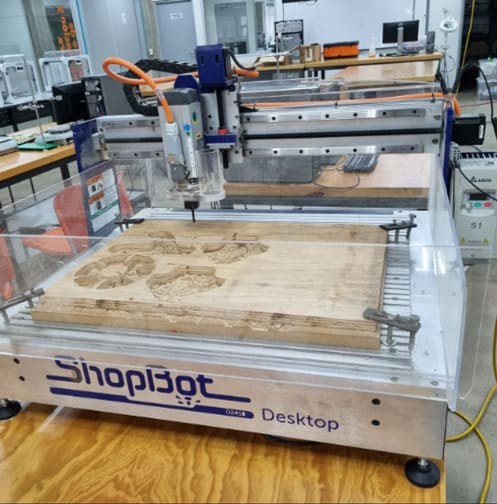
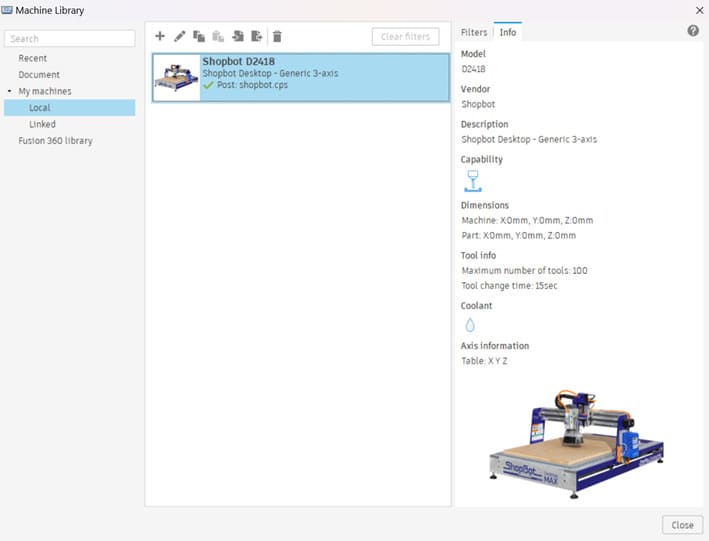
- Machine: ShopBot Desktop
- Machine Control Software: ShopBot 3
- Design Software: Solidworks
- Manufacture Process Software: Fusion 360
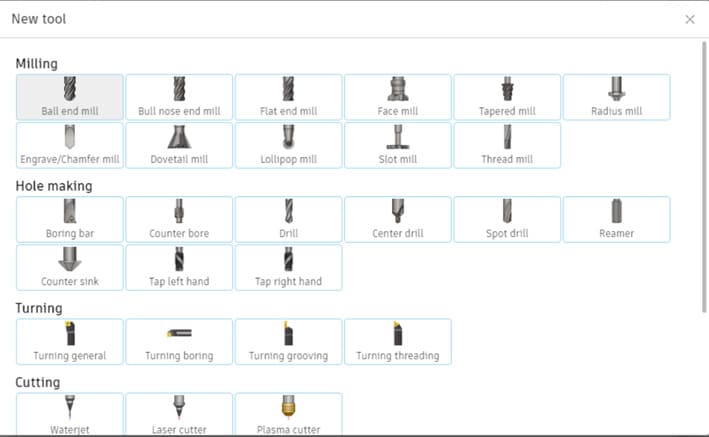
- Milling bits:
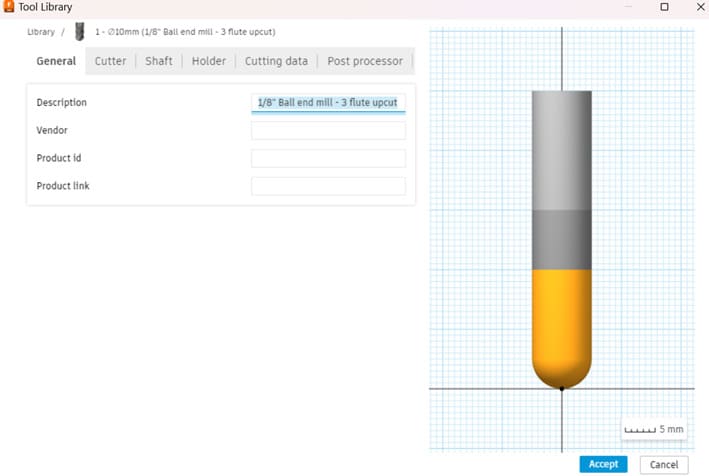
- 1/8" Ball end mill
- 60° V-Groove
- 1/4" Flat end mill
ShopBot Desktop:
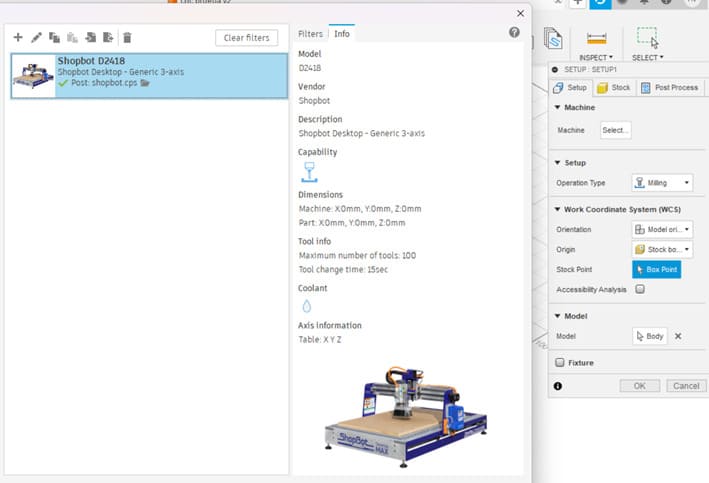
Since this is my first time doing this (not really, but it was long ago and it's not like riding a biking) I'm going to start the setup of my machine in Fusion 360.
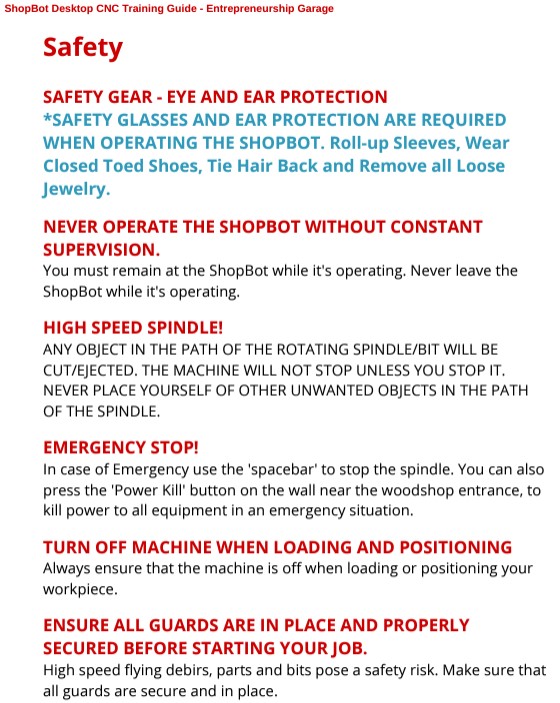
Safety Training:
For the safety training I'm using the ShopBot Desktop Training Guide from the NC State University. Here are some of the most important safety guidelines:
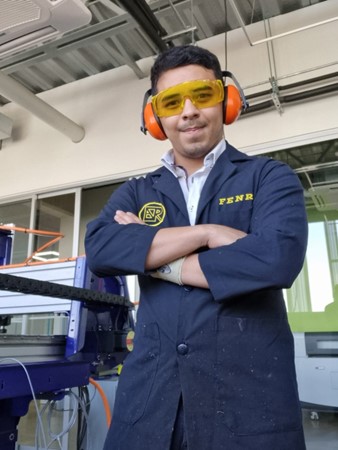
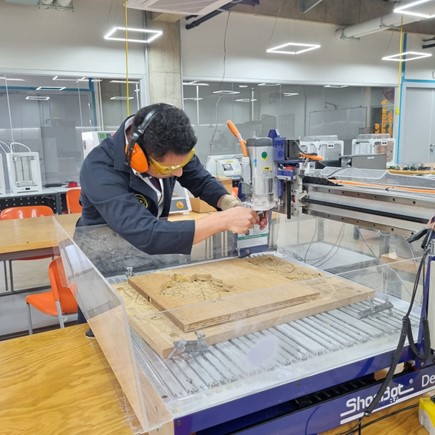
And here I am following the instructions…
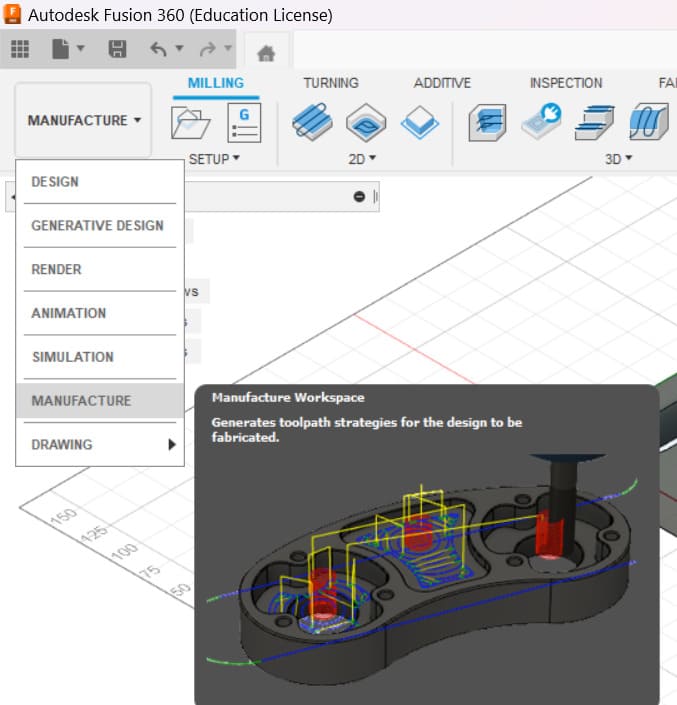
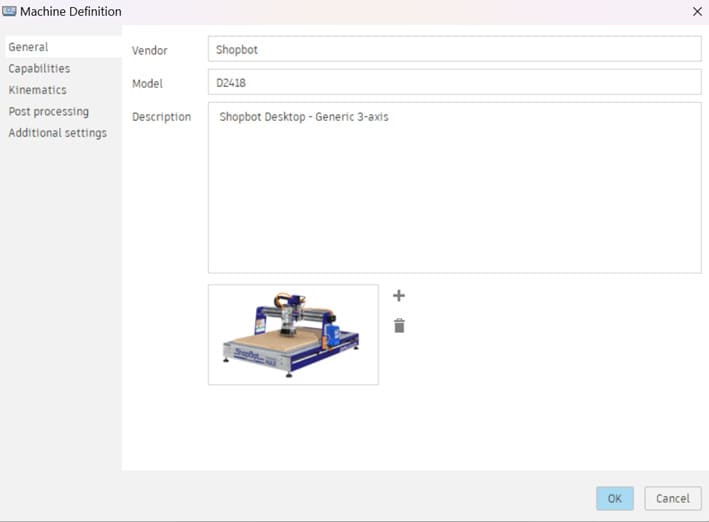
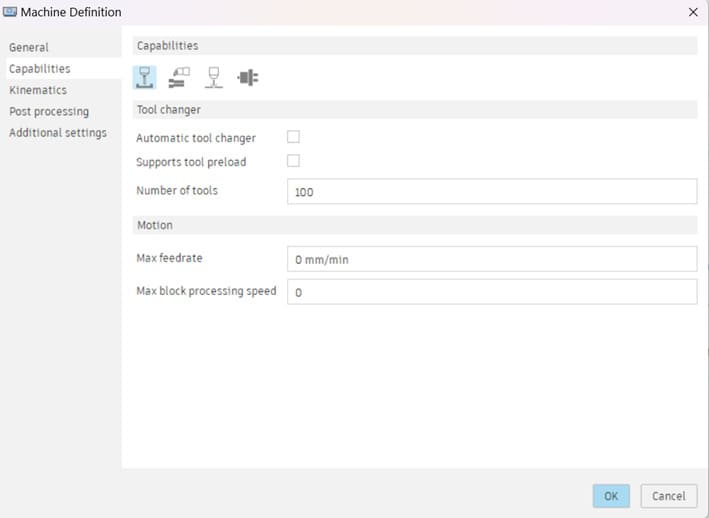
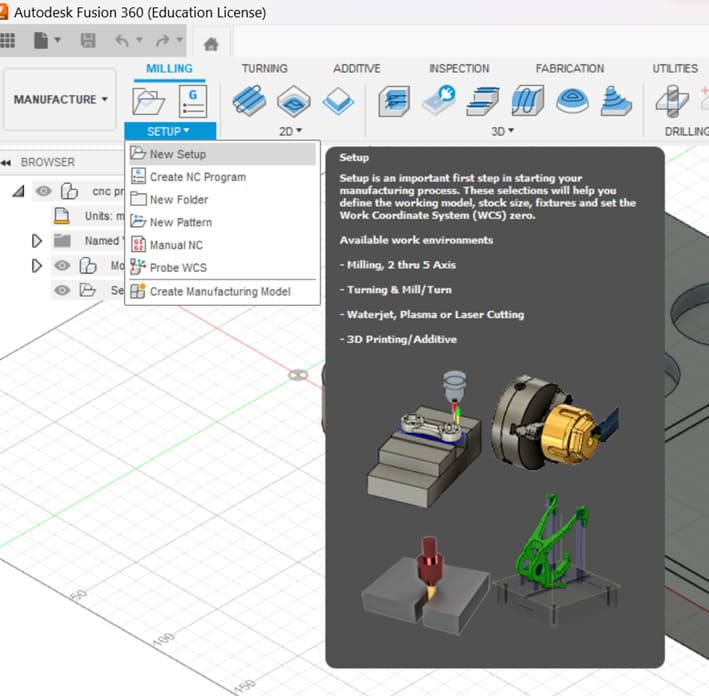
Machine Setup in Fusion 360

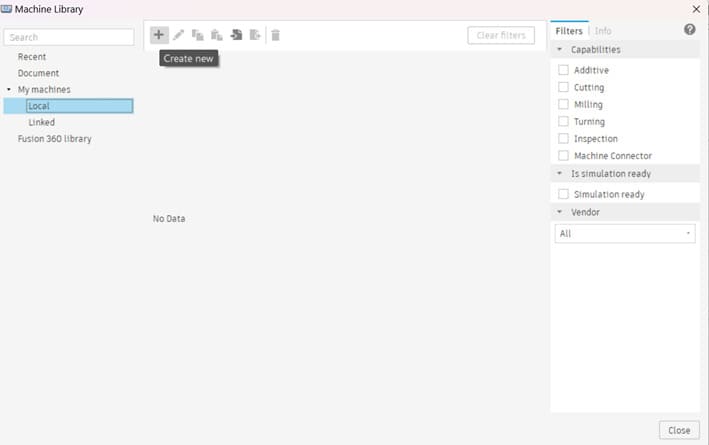
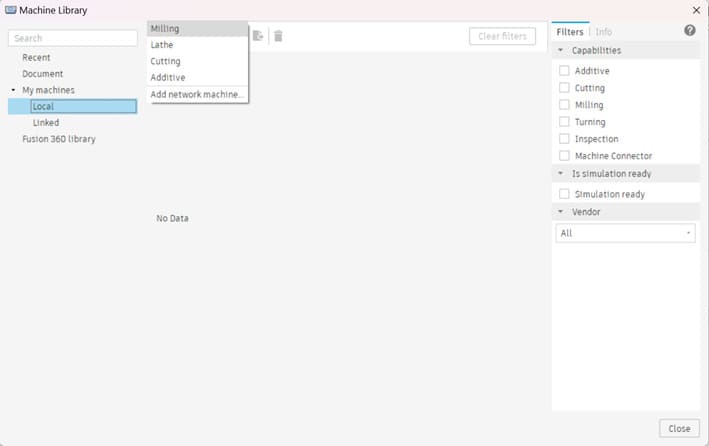
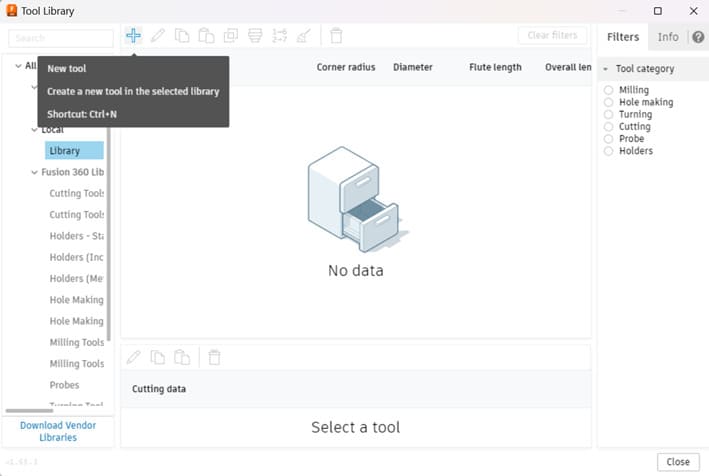
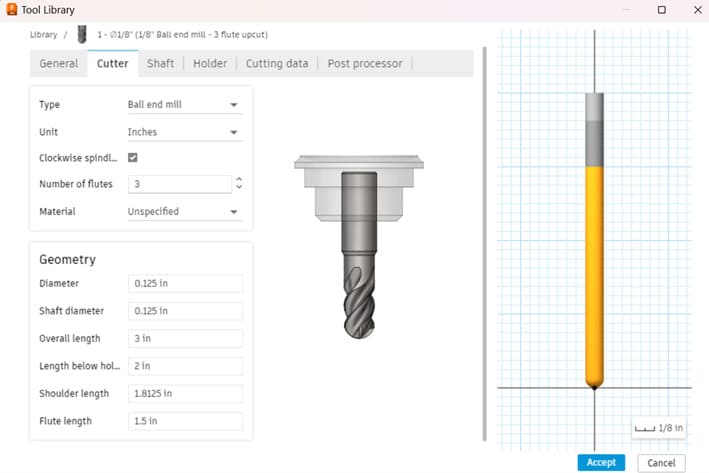
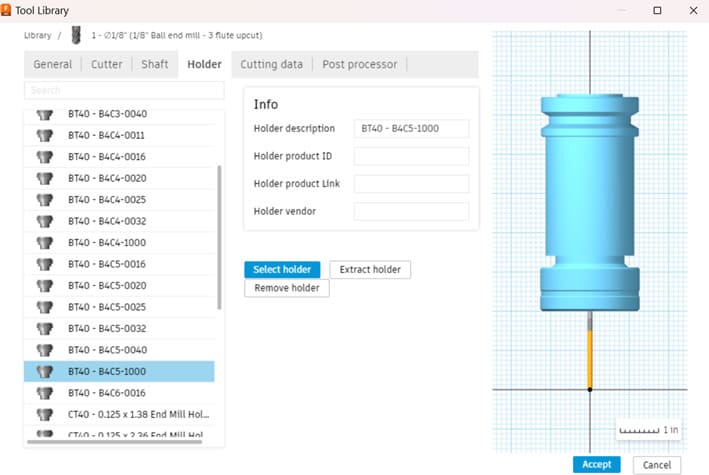
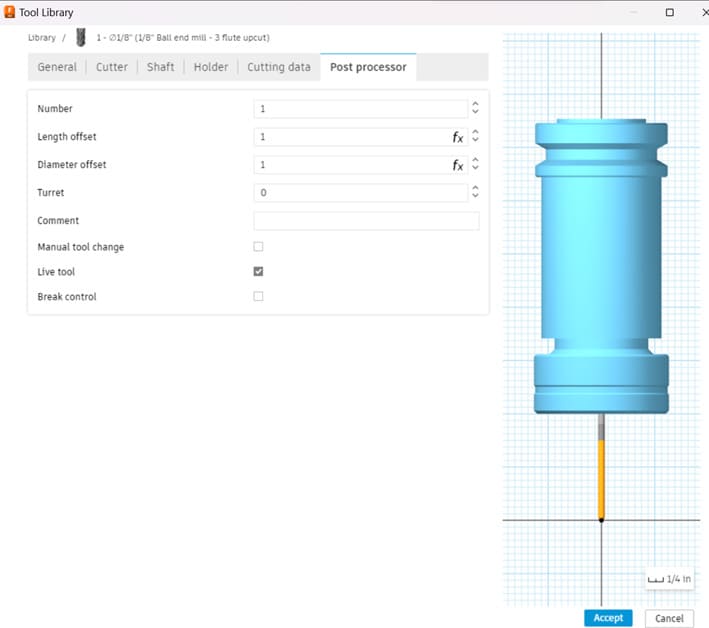
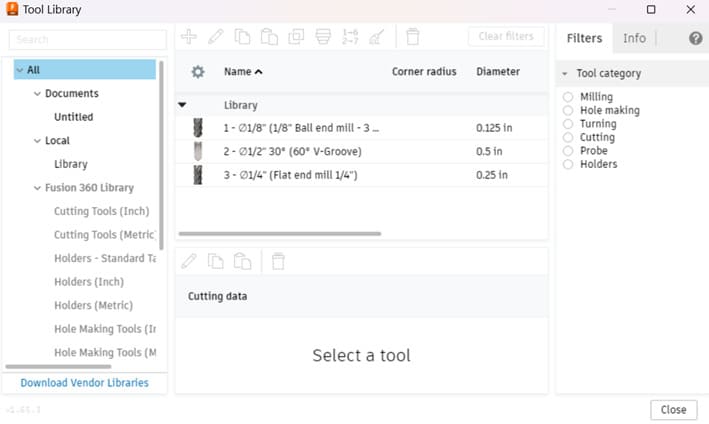
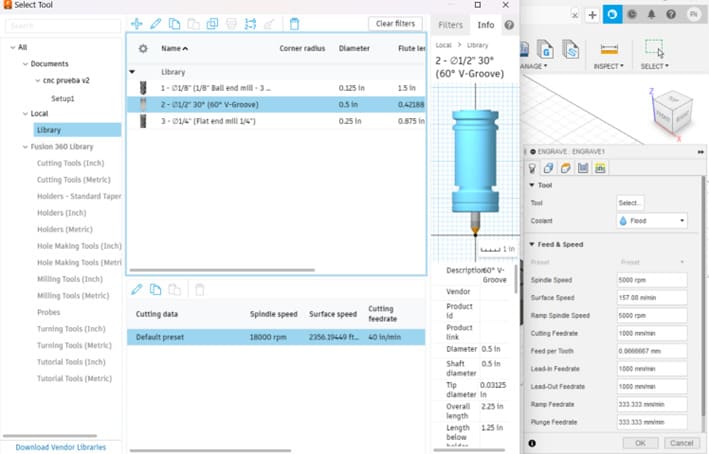
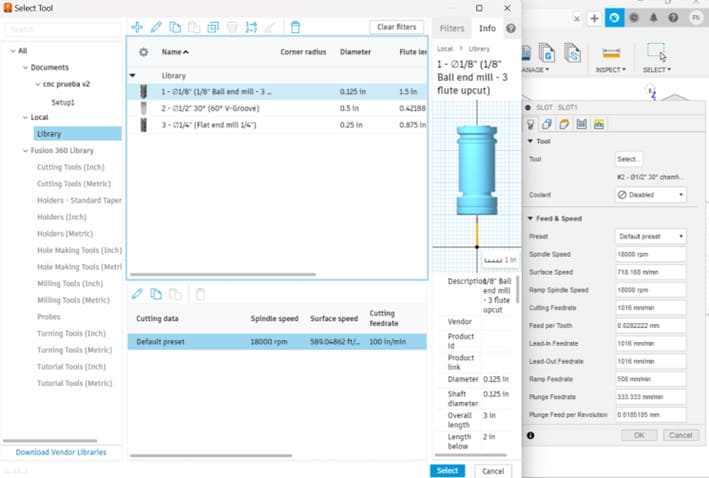
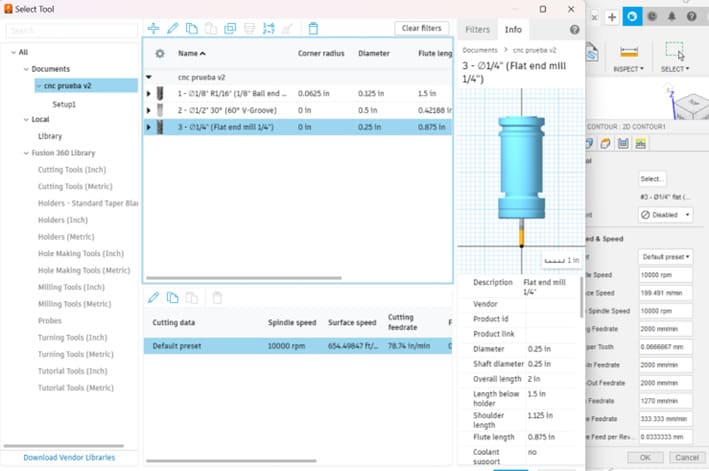
Setting our tool library

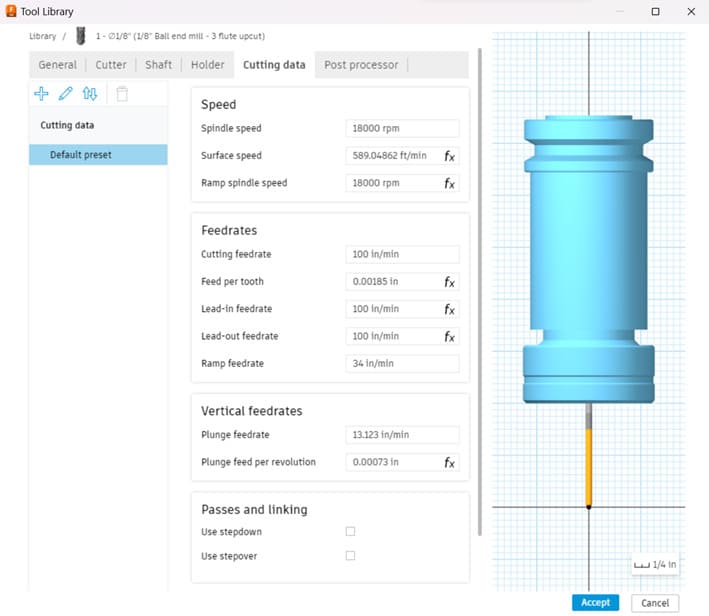
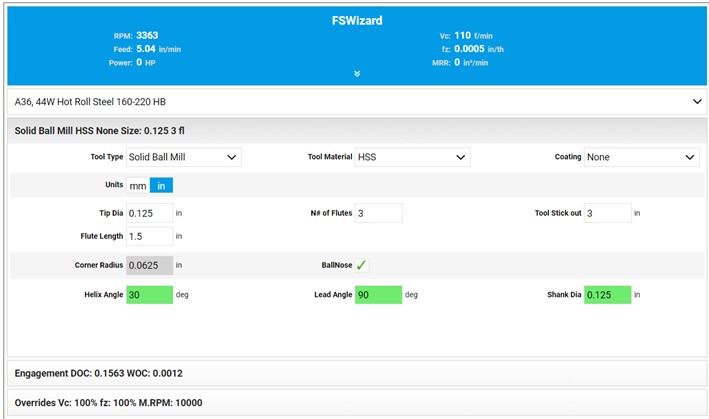
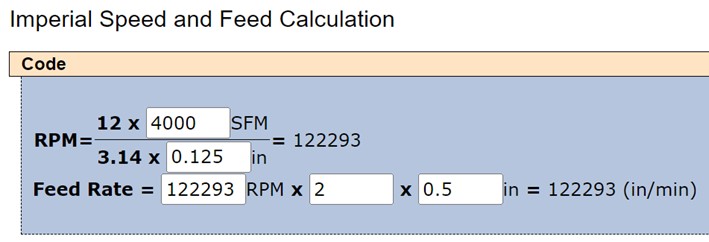
Speed and Feed Calculation
In the following section, we will be calculating the speed and feed values for our machining process. For these calculations, I'm using a web page named HSM Advisor, which provides a free CNC parameter calculator.
For the end mill, I got the following parameters:
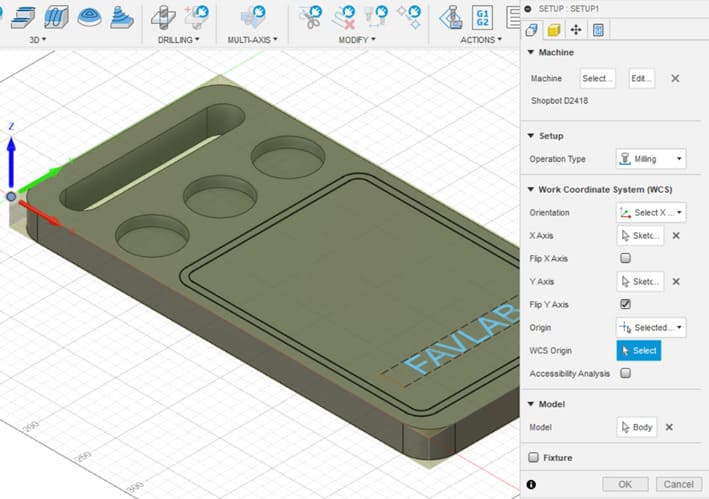
Setup configuration
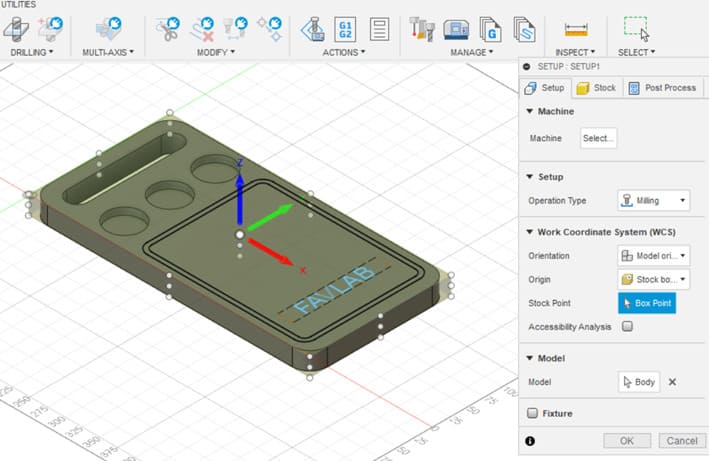
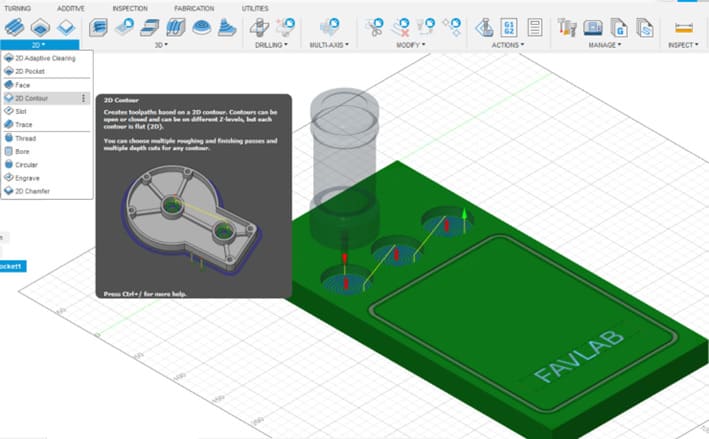
Configuring the machining process
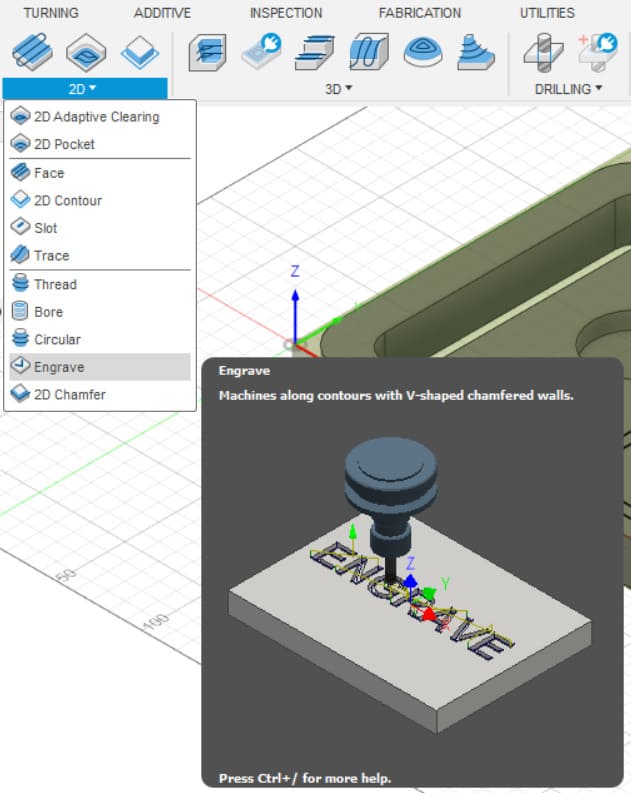
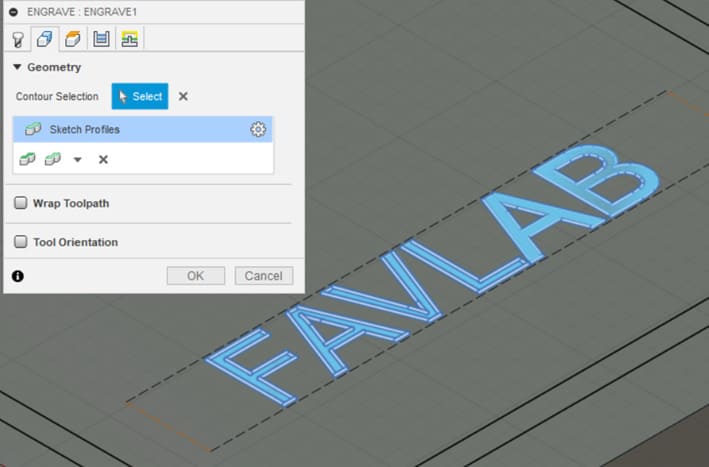
First, we will do the engraving cut.
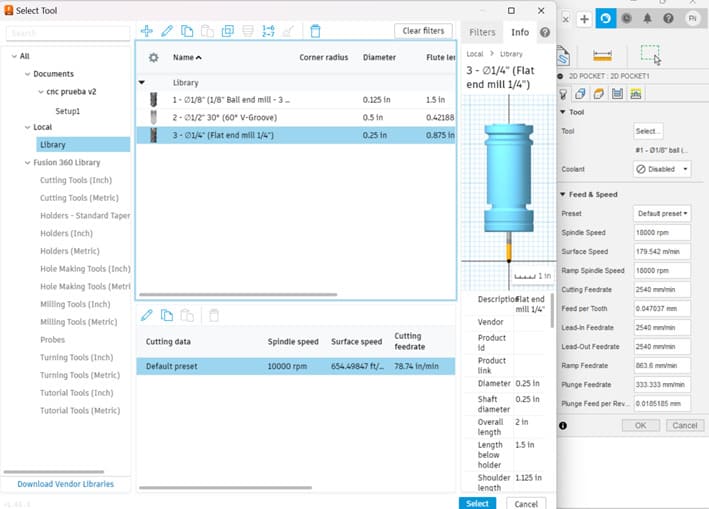
Select the tool.
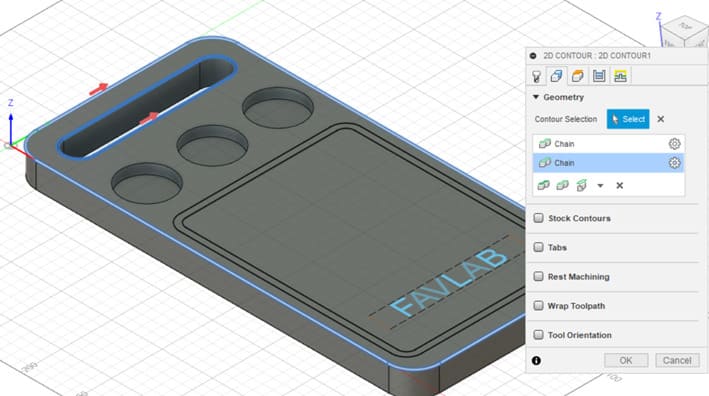
Go to Geometry and select what you want to cut.
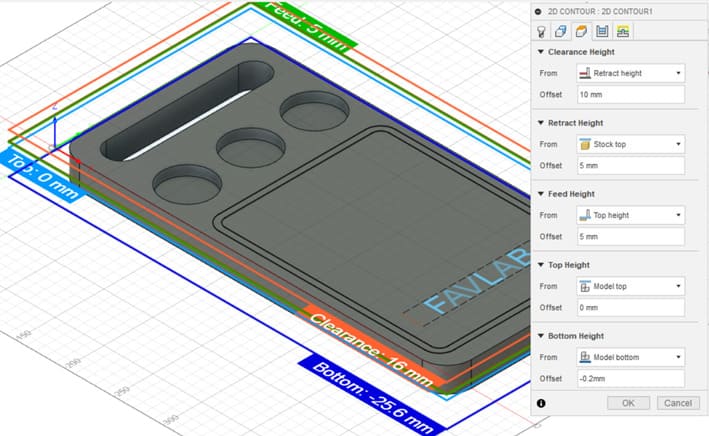
Select the heights. The clearance, retract, and feed height leave them as they are. Change the top height for where the machining will begin and the bottom height where you want it to stop.
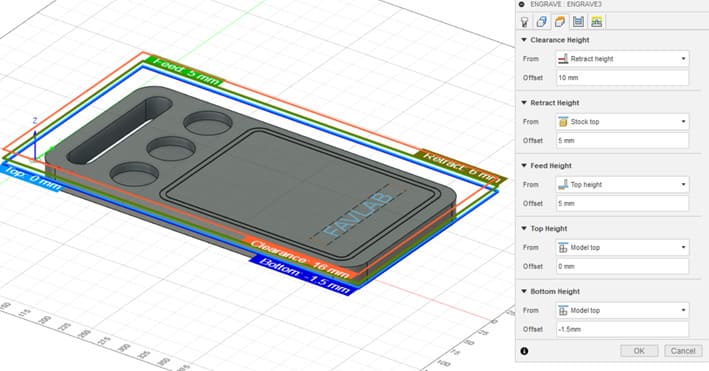
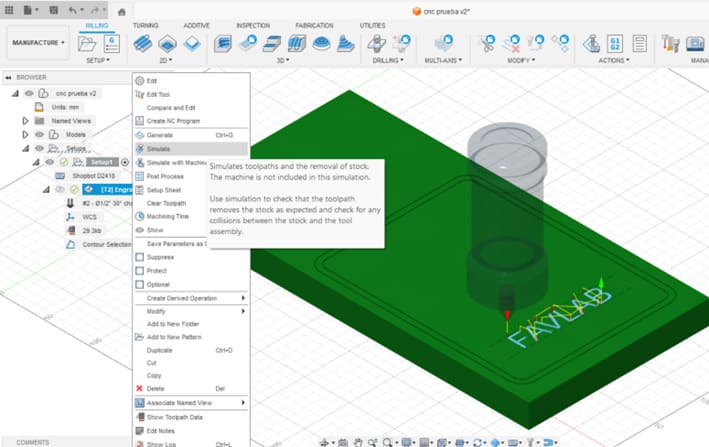
Press Ok. Then Fusion 360 shows you the process you have just configured.
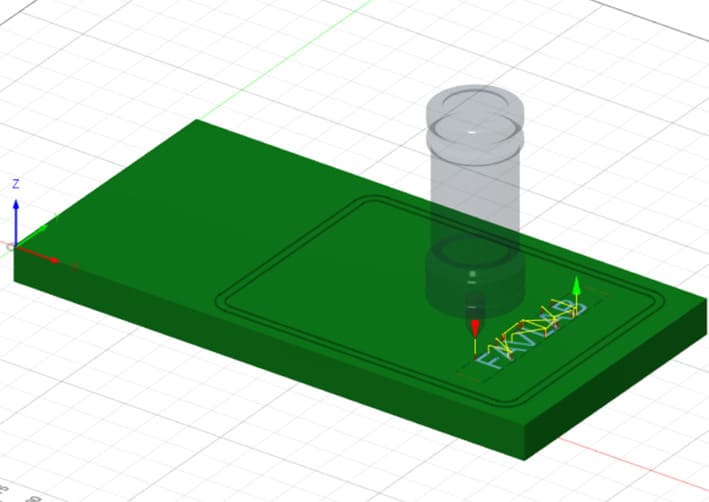
You can simulate the engraving.
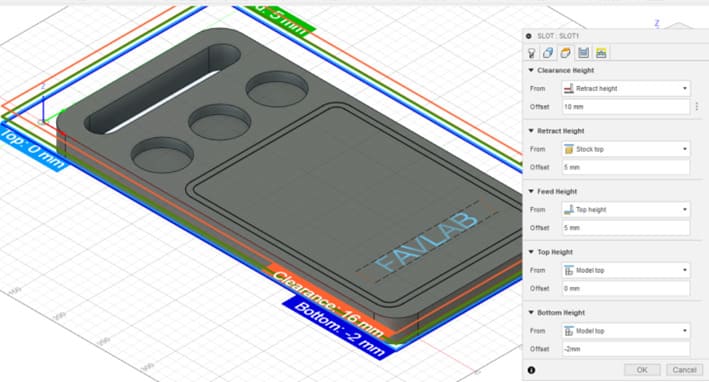
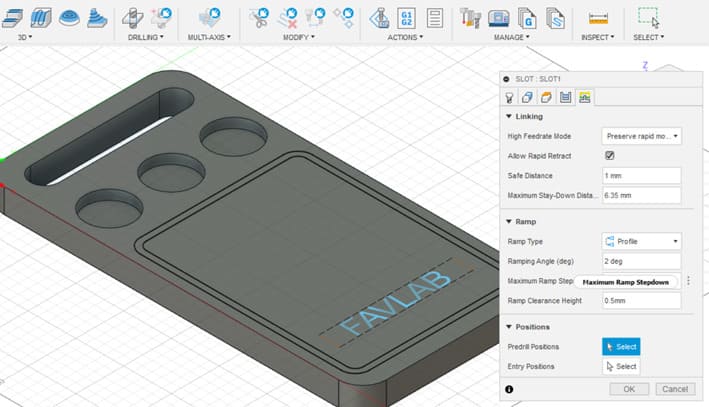
Let's make the slot.
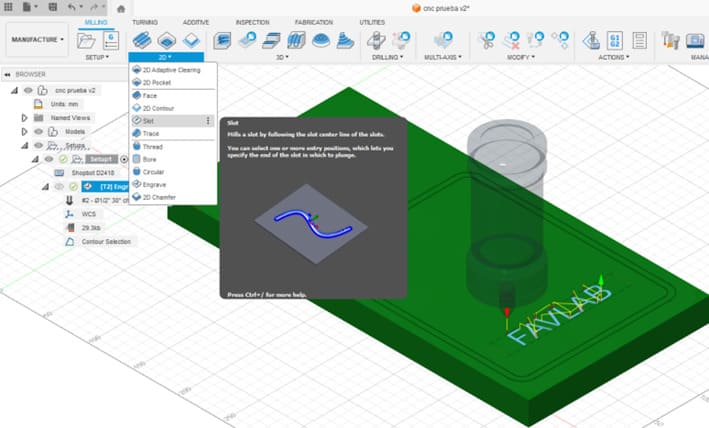
Select the tool.
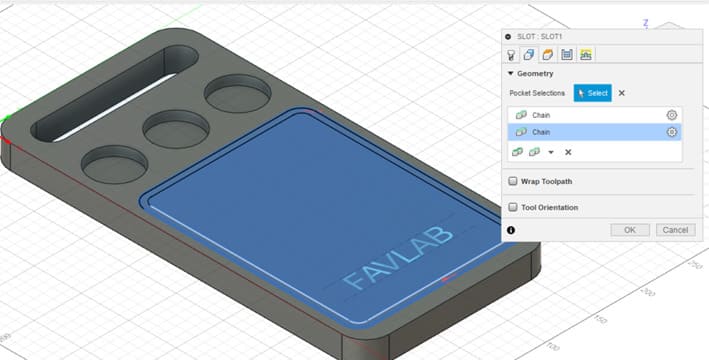
Select the Geometry.
Select the heights.
Configure the ramp.
Pres Ok.

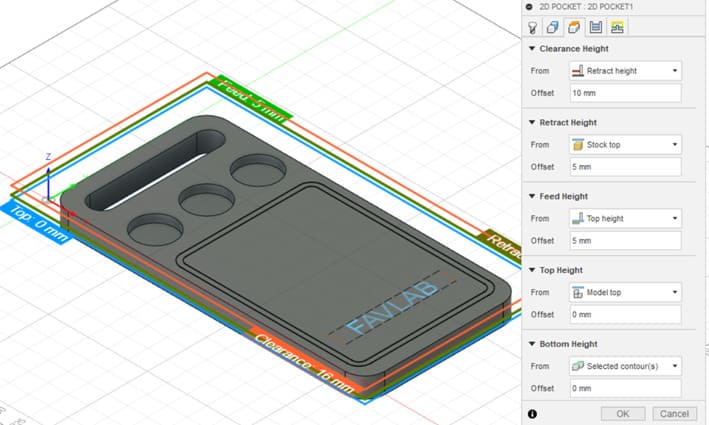
Now, let's create the pockets.
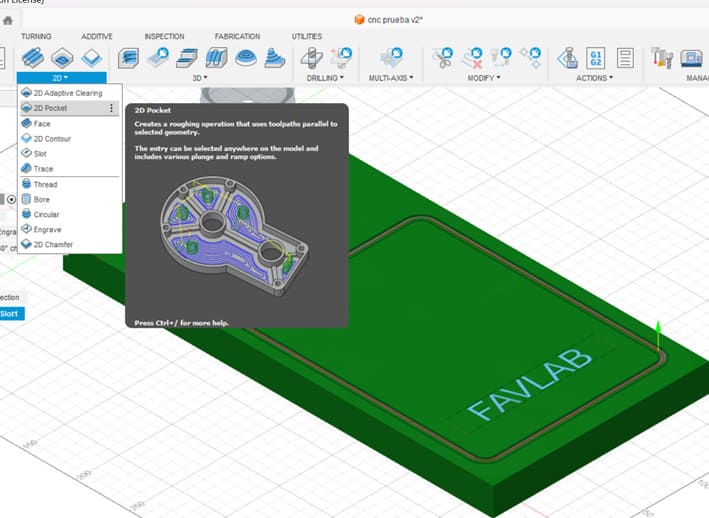
Select the tool.
Select the Geometry.

Select the Heights.
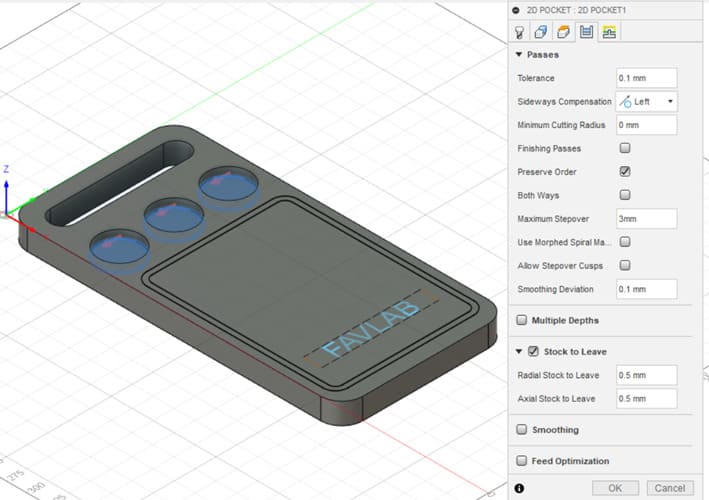
In the Passes option select to preserve the order of the operations you have pointed before.
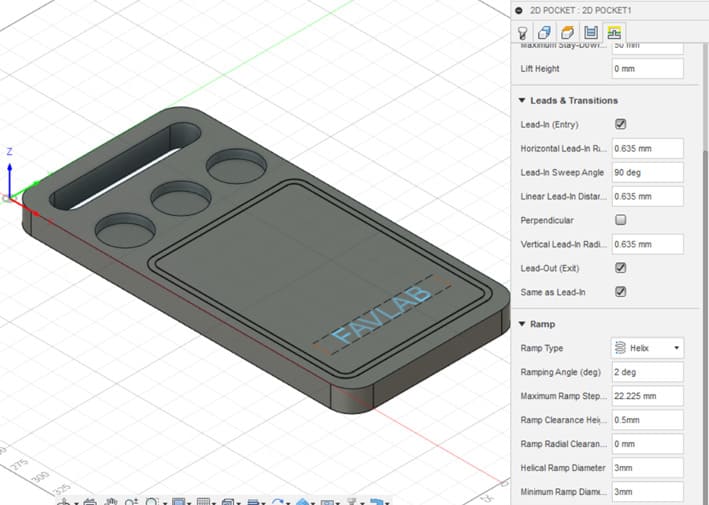
Configure the ramp process.
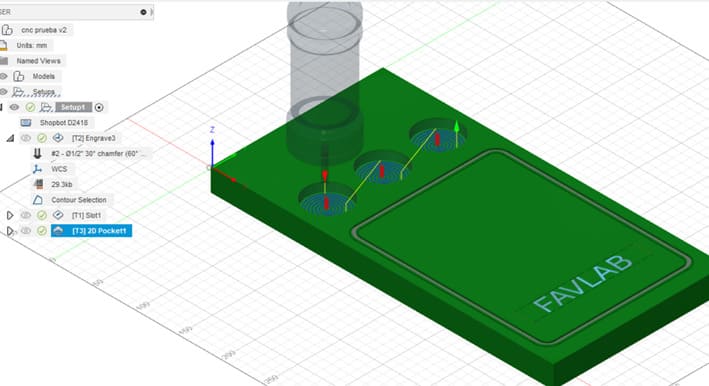
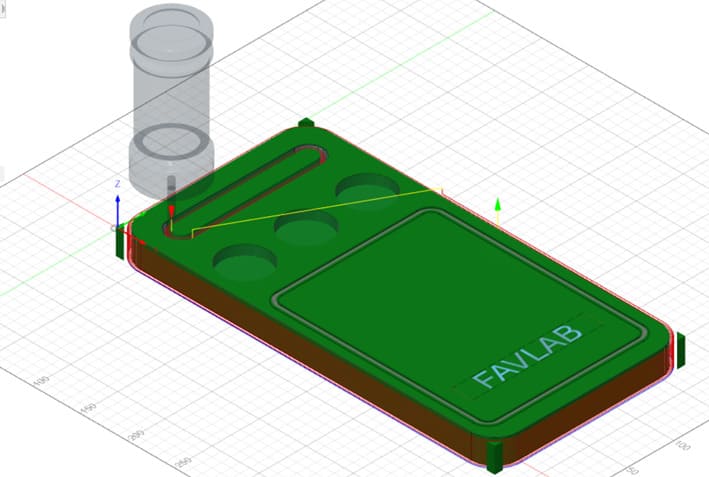
Then, you can simulate the process.
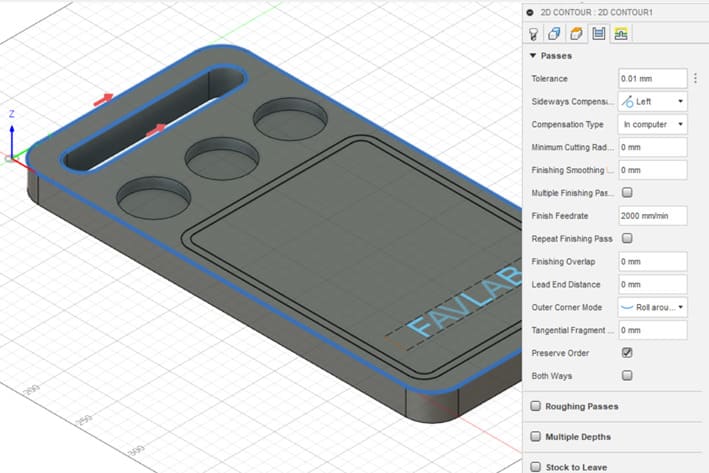
Let's do the contour cutting.
Select the tool.
Select the geometry.
Select the heights.
When you are machining the contours, it is important to select the internal operations first and to preserve the order in the passes.
Give the Ramp configuration and then press ok.
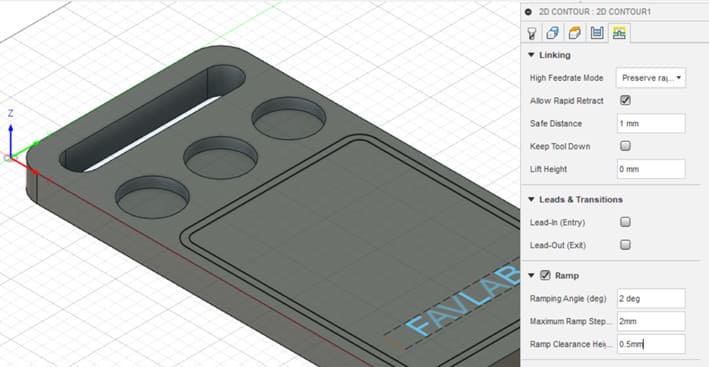
Now, you can simulate the process.
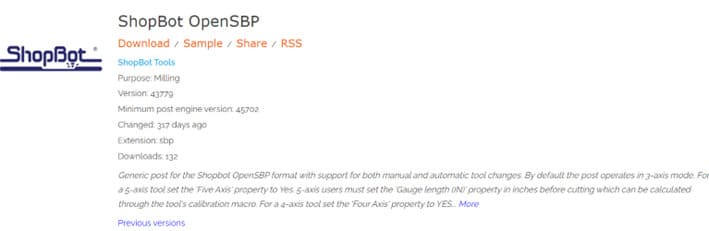
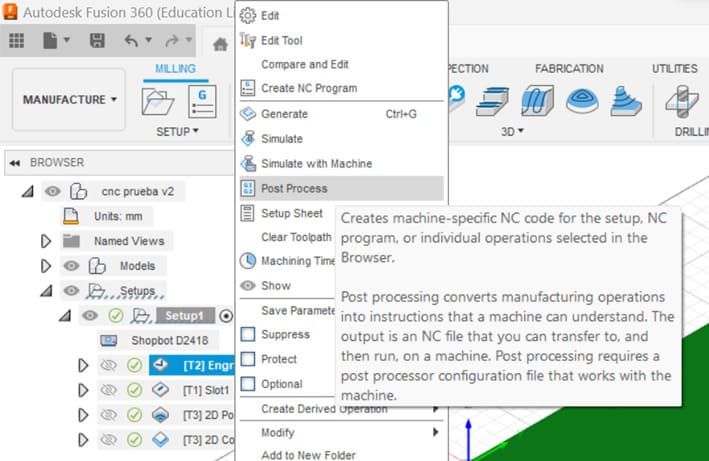
Now, that we have configured all the milling processes we are going to export it to the machine!
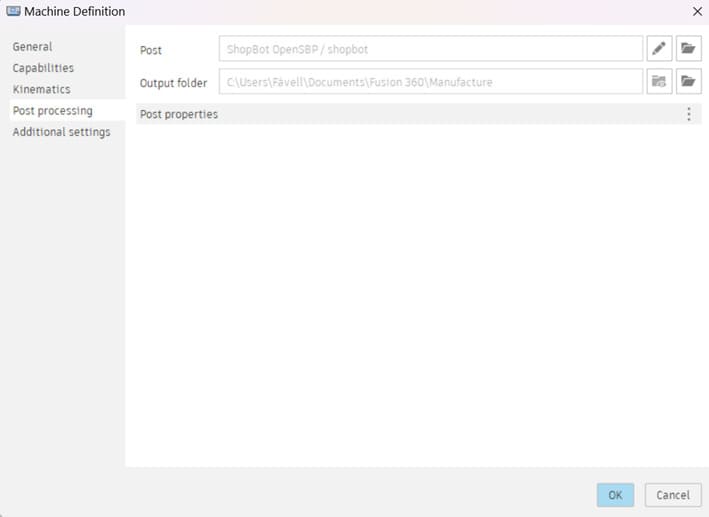
The operations must be done individually depending on each type of end mill being used. Select the first operation and click into Post Process.
Give the process a name, select an output folder, and then press Post.

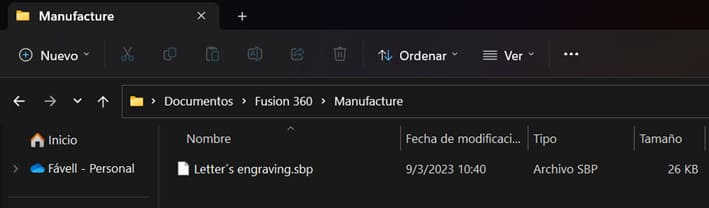
If you go to the output folder, you can see the file.
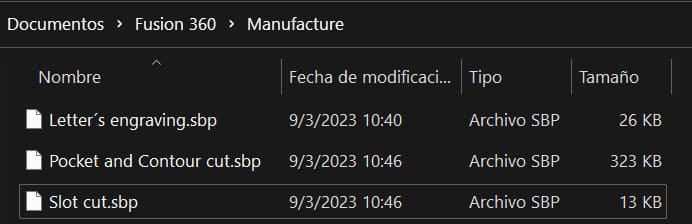
Repeat for the rest of the operations. The pocket and contour operations can be grouped in one operation, because they use the same end mill.
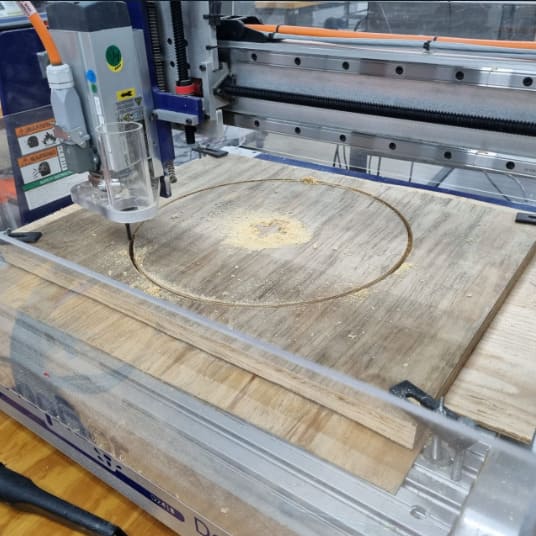
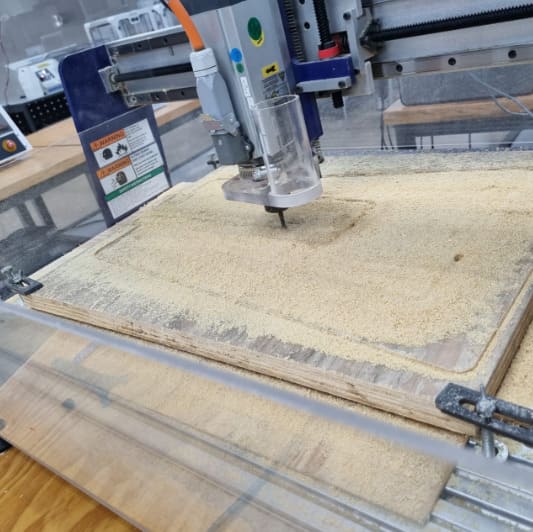
Finally, the machining part
Step 1: Open the file you post processed from Fusion 360.
Step 2: Change the tool to the one you need for this process.
Step 3: Select your zero.
Step 4: Very important: Make sure that the conditions for the machining are safe for you, then for others, and finally for the machine!
Step 5: Start the machining process.
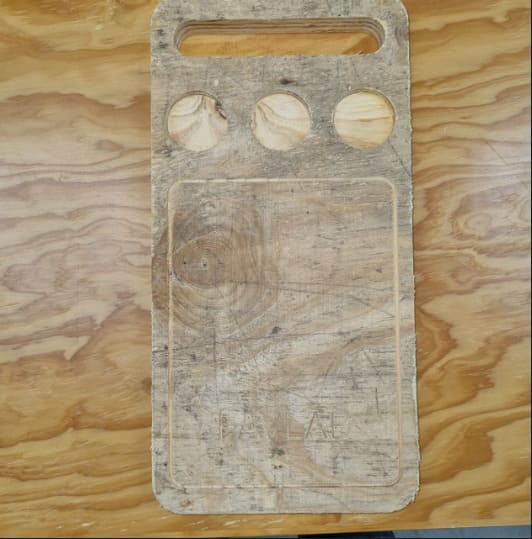
This is the result:
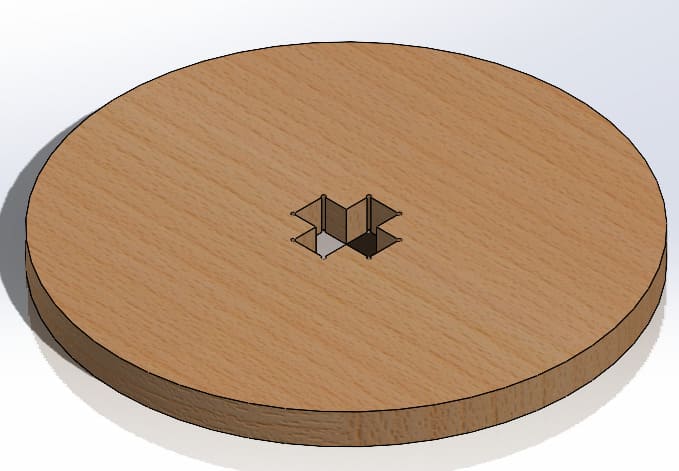
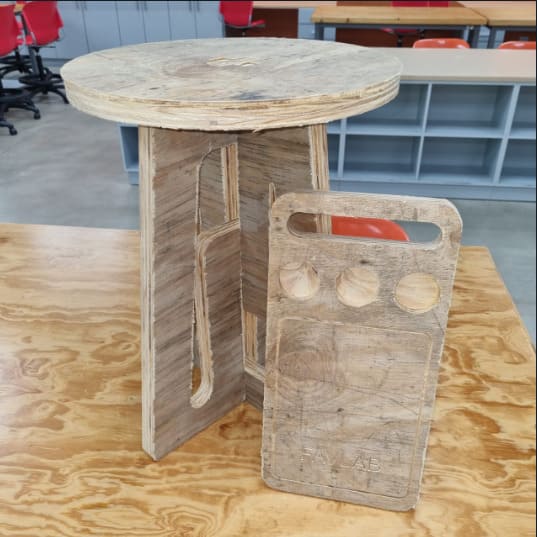
Making something big - chair
So, my individual assignment will consist of a chair. I designed the chair in Solidworks, because I’m more used to it than using Fusion 360. I designed three parts: the seat, leg 1, and leg 2. The two legs will be a giant chamfer joint to keep the fixed together.
The seat:
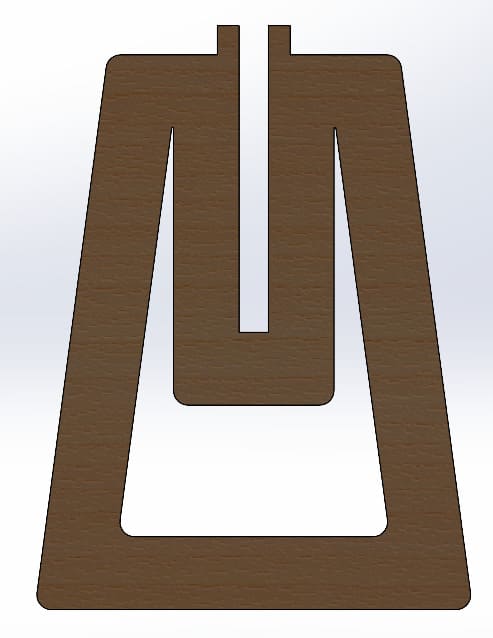
Leg 1:
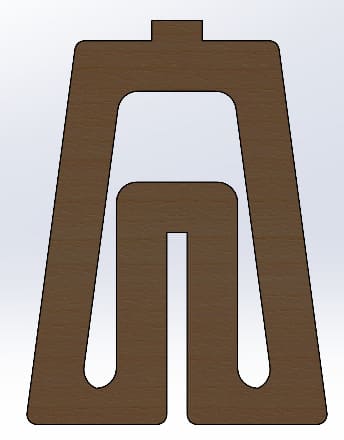
Leg 2:
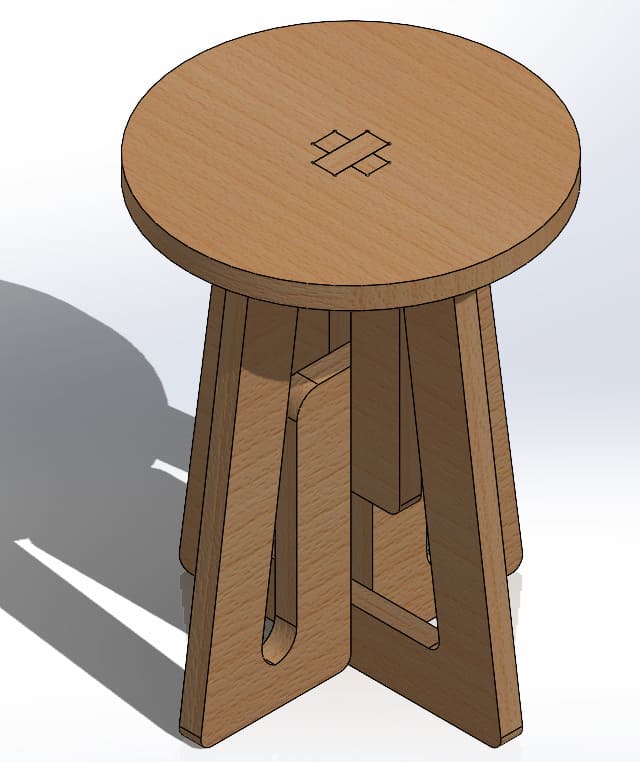
Assembly:
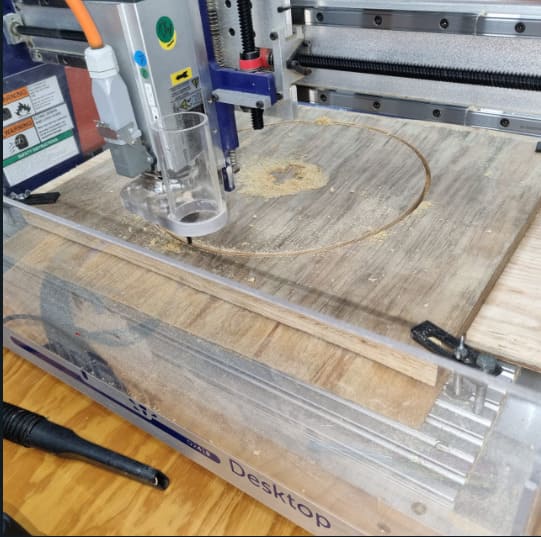
I opened the files in Fusion 360 and followed the same process as I mentioned before by configuring the machine process for each part and then sending the post process file to the ShopBot. Here are some pictures:

And this is the resulting chair:

To prove that it works, here is a picture of me sitting in the chair, like a real pro cnc manufacturer…

Another picture of my children (ugly but mine), because why not…
You can download the Computer Controlled Cutting files: