This week I worked on defining my final project idea, my web page, and started to getting used to the documentation process.
Project Idea
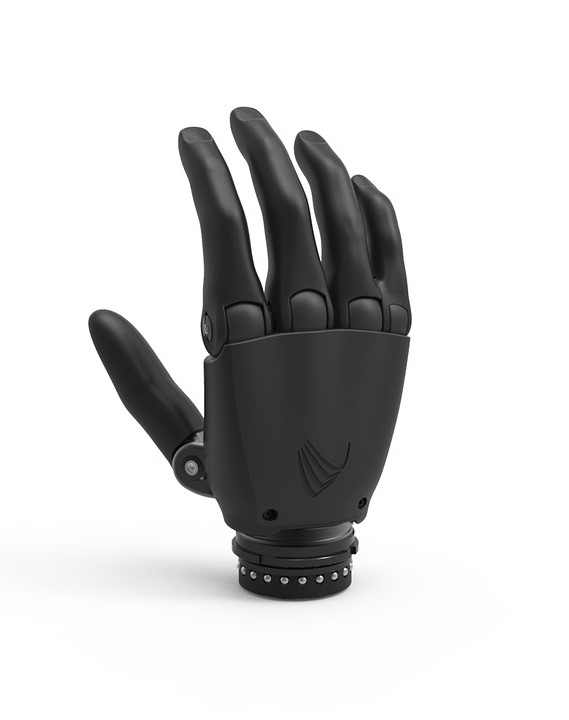
I want to build a robot that plays piano.
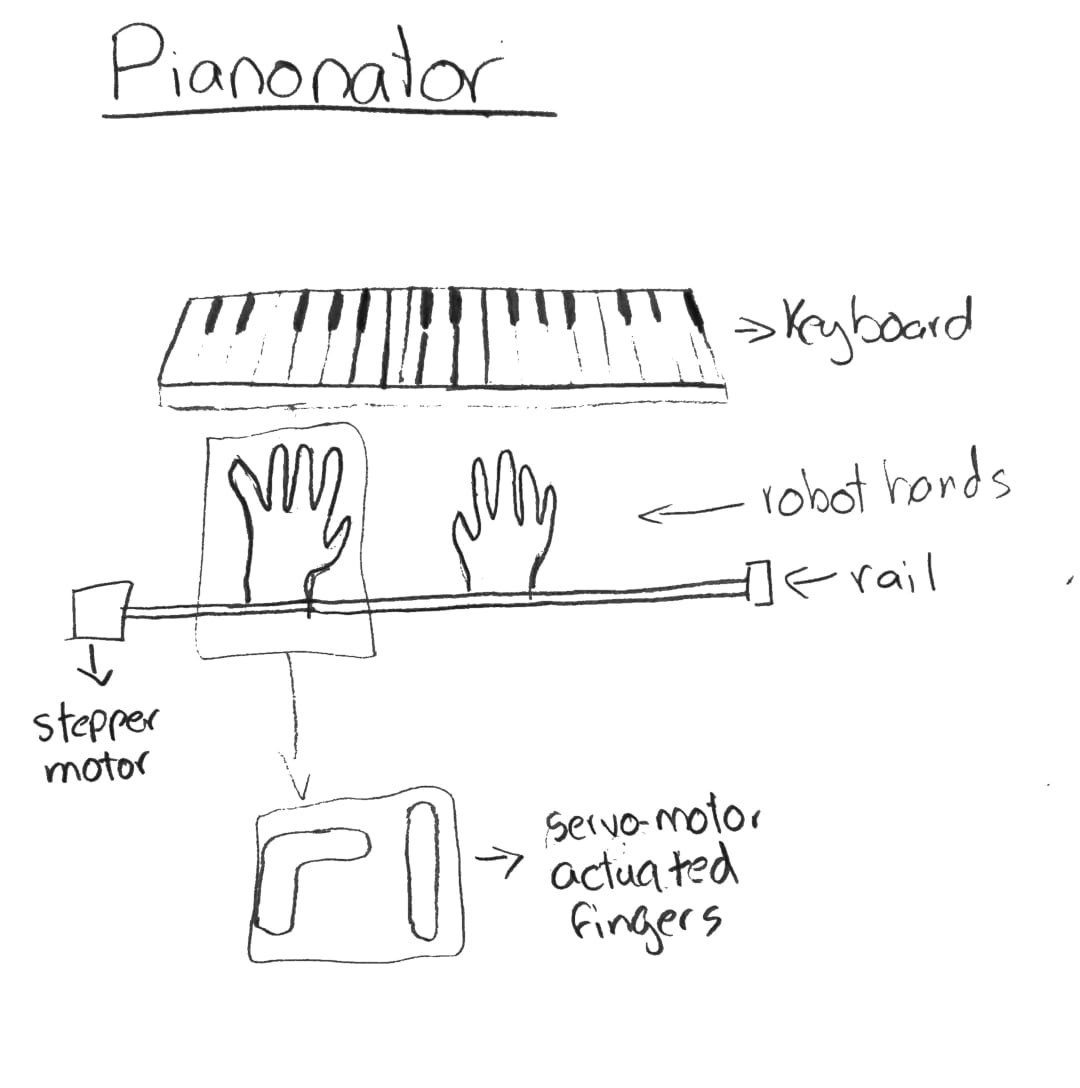
First sketch
The pianonator will consist of a pair of robotic hands with 10 servo-controlled fingers. The robot hands
will be a model of a human hand. They will move along the keybord through a rail controlled by a stepper motor.
Motion and Pose Analisis
Week 1 - Documentation
Here you will find the process I followed to run git locally (on my laptop), connect with Gitlab, make commits, and upload my work to the web page.
My understanding of version control software like GIT is to help keep track of a project's evolution. It is a useful tool to help us see what changes were made and to go back if any errors occurred. During my fab academy experience, I found using version control very useful for the documentation and sharing my work with others, and when everything went wrong, I could just go back, like the Control Z we need in life.
1. First install Visual Studio. (If you already have it jump to the Git installation).
1 / 8
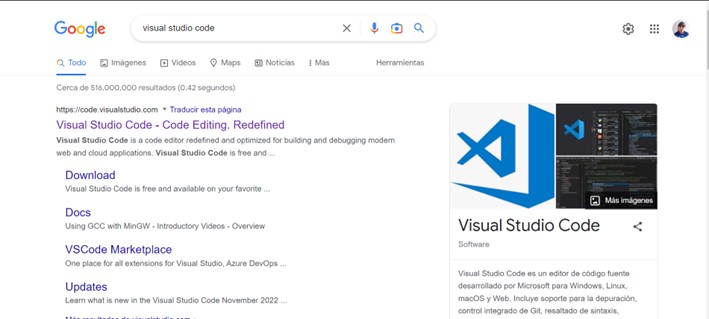
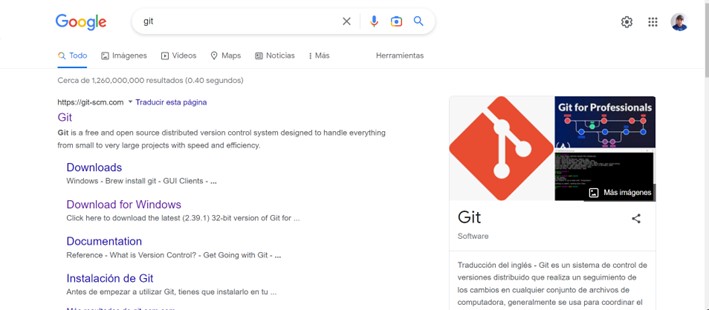
1.1. Go to your favorite browser (Chrome, Edge, Firefox, Safari,…) and search for Visual Studio Code.
2 / 8
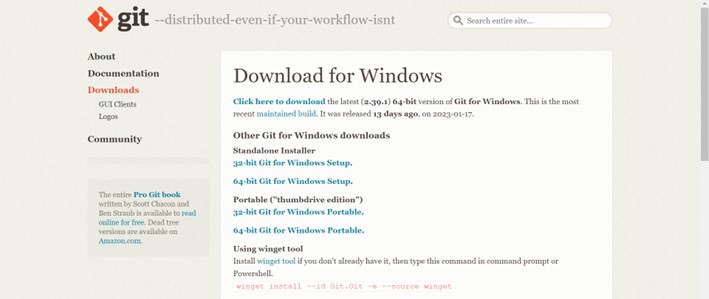
1.2. Go to the first link or the one pointing to Visual Studio Code and download the software suitable for your operating system.
3 / 8
1.3. Once the download is done, you can proceed to install the software.
4 / 8
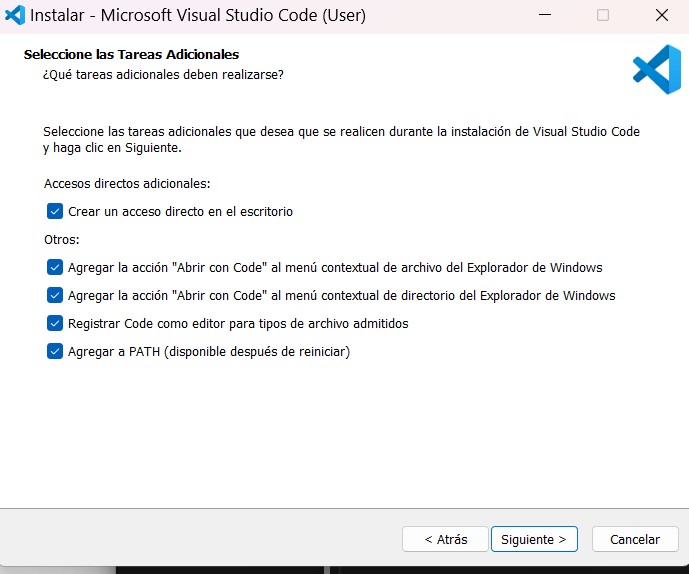
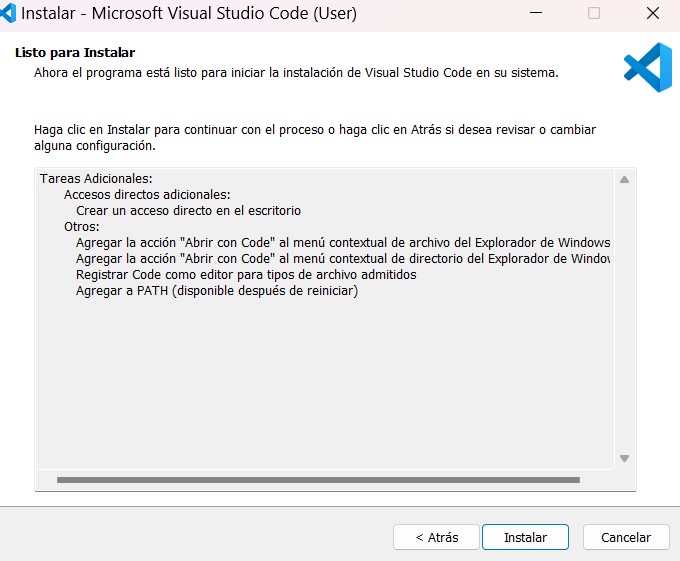
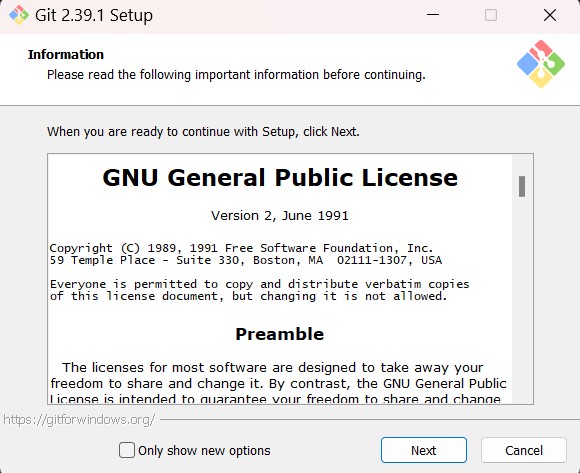
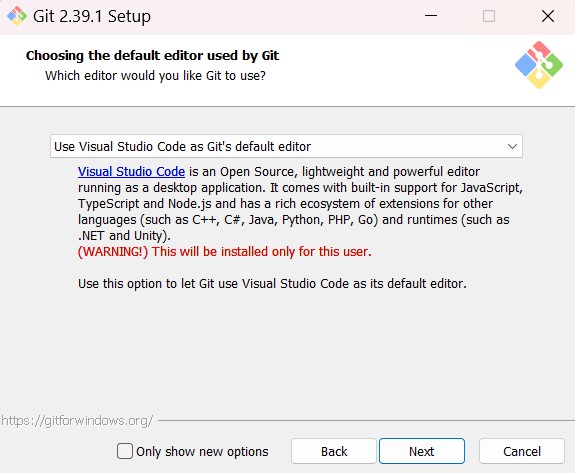
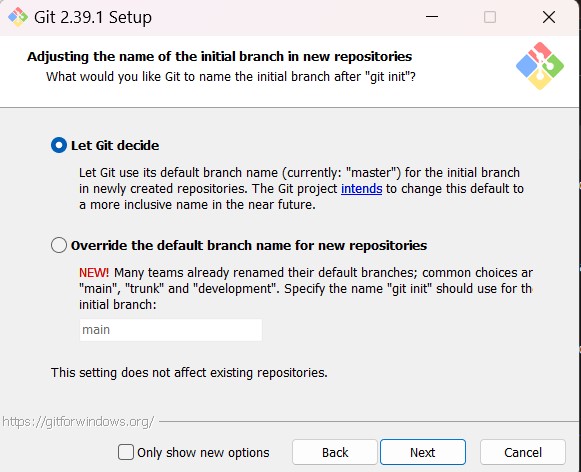
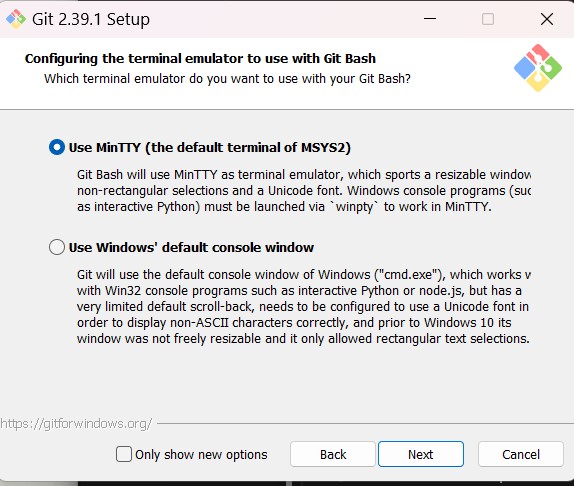
1.4. Follow the installation guide:
5 / 8
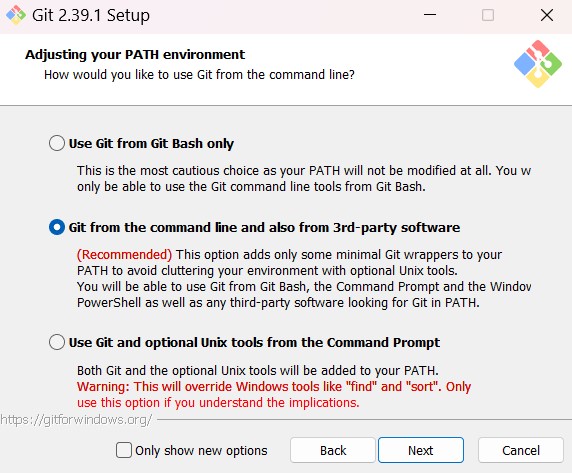
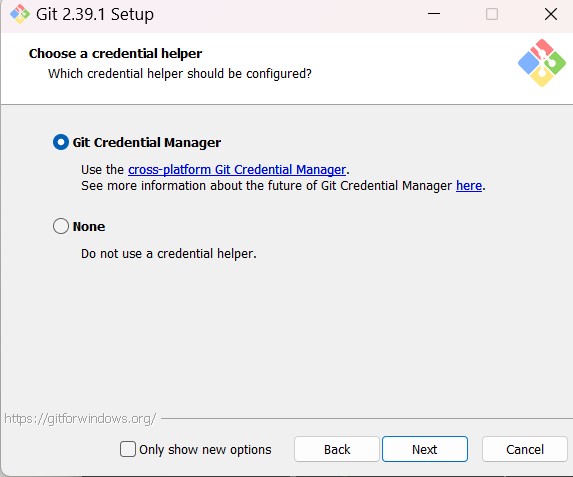
1.4. Follow the installation guide:
6 / 8
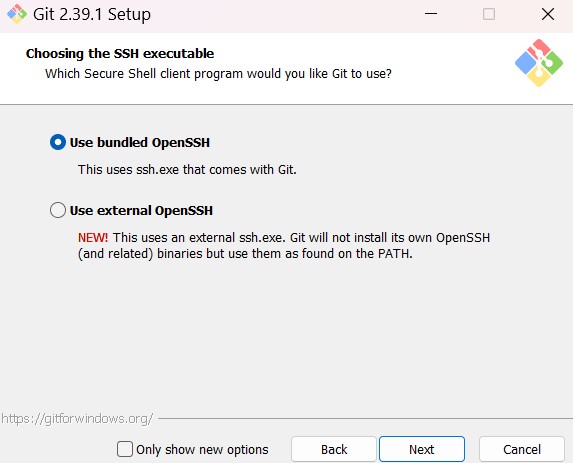
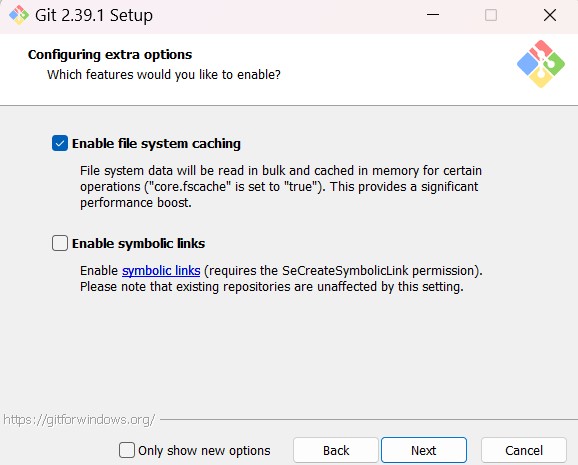
1.4. Follow the installation guide:
7 / 8
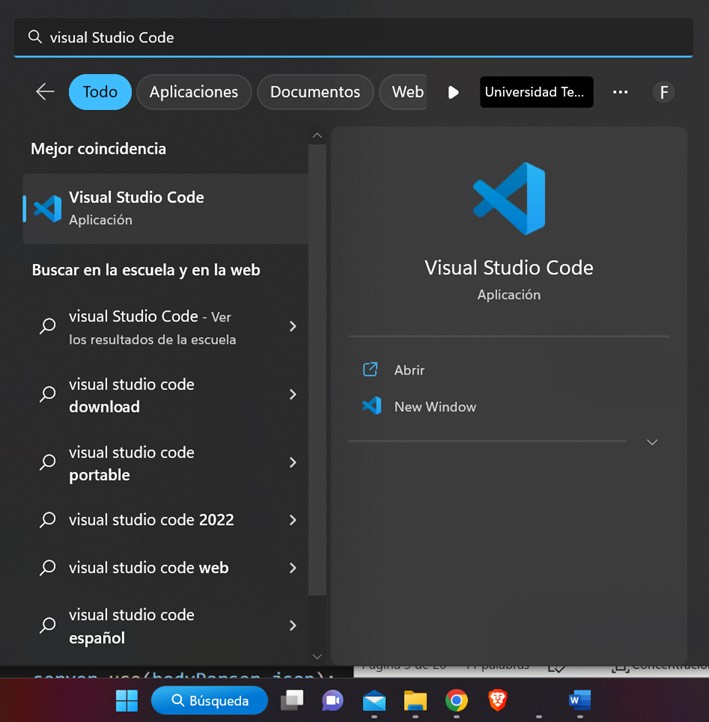
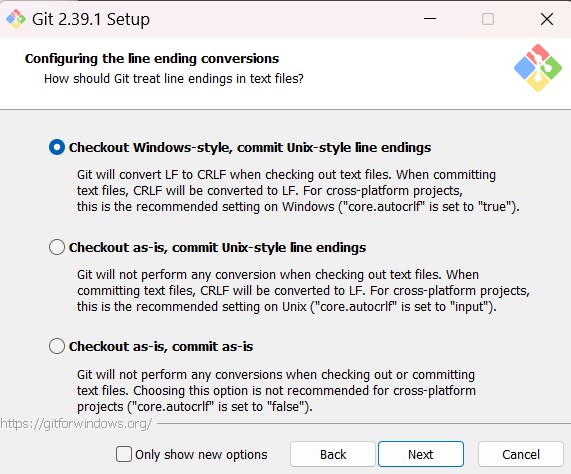
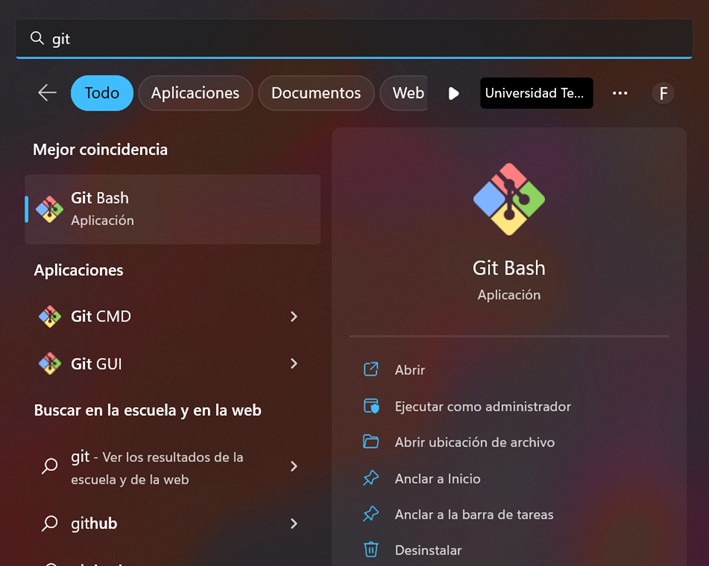
1.5. Once the installation is done you can go look for Visual Studio Code in your apps.
8 / 8
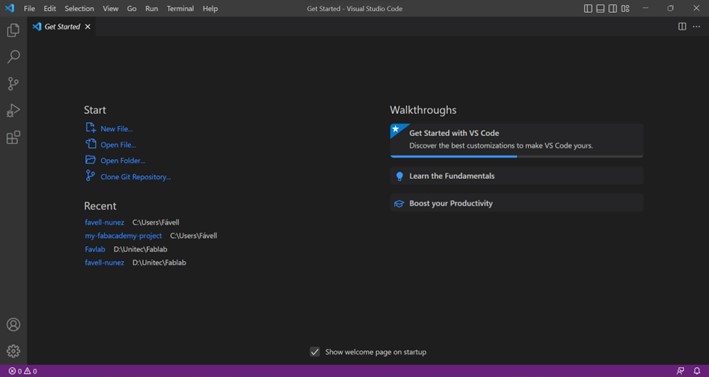
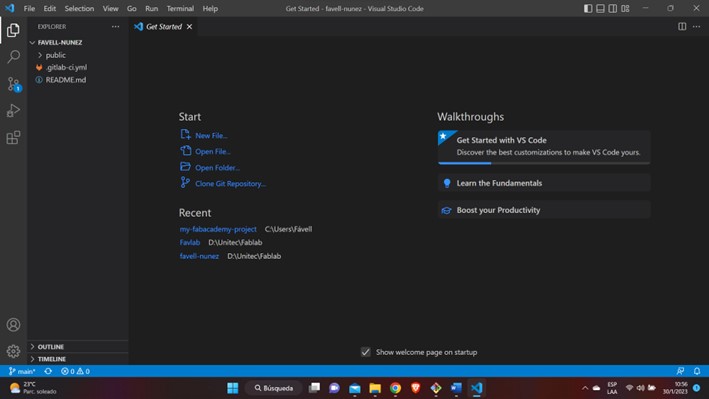
1.6. Check that Visual Studio Code opens normally, so you can continue with rest of the process.
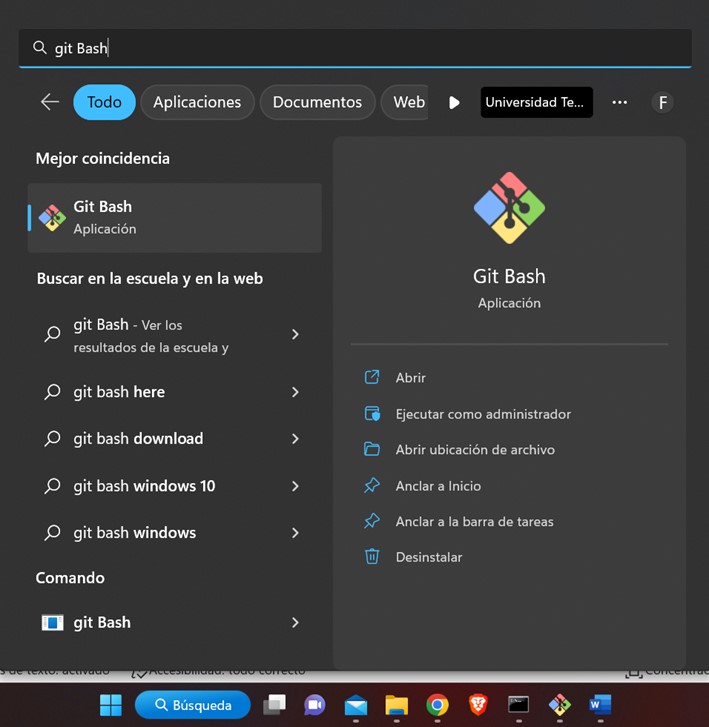
3. Open Git Bash (or your favorite command prompt).
1 / 10
Open your command prompt
2 / 10
Open your command prompt
3 / 10
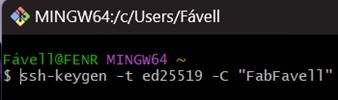
3.1.The first thing to do is create an SSH key for secure access to GitLab. You will do it by writing the following code (there are different key generators so be sure to read more about it and select the best one for you). Make sure to change the comment between the quotes so that it has your own name or refers to you.
4 / 10
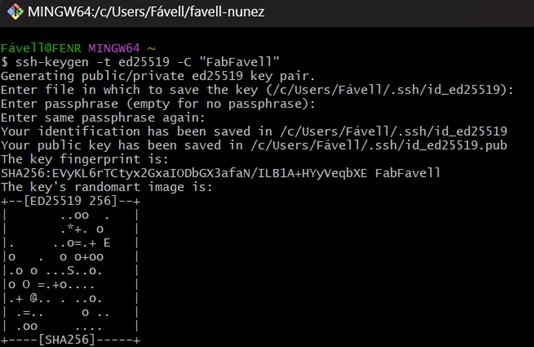
3.2. Click enter to all the following requests until you get the key image. This will mean that the SSH key has been generated.
5 / 10
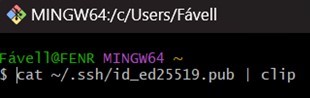
3.3.Then copy the SSH key with the following code.
6 / 10
3.4. You will go to your Gitlab Account and select the Edit profile option.
6 / 10
3.4. You will go to your Gitlab Account and select the Edit profile option.
7 / 10
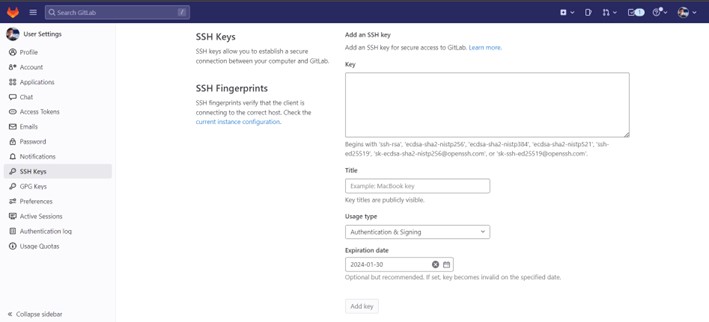
3.5. In user setting select SSH Keys.
8 / 10
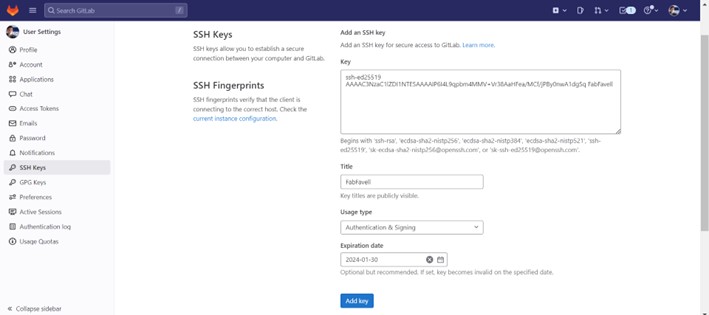
3.6. Paste the key that you have just copied from git Bash. The title should have updated by itself, if not write the name you had in the comment for the key generator. Finally, press the Add key button.
9 / 10
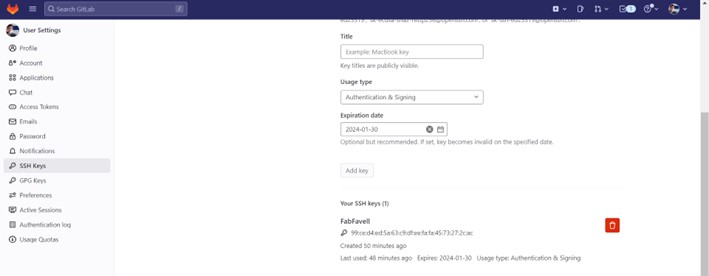
3.7. Now, you will have Gitlab connected to your workstation.
9 / 10
3.7. Now, you will have Gitlab connected to your workstation.
10 / 10
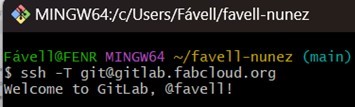
3.8. To check that the connection has been stablished go back to the git Bash and copy the following code, if everything was done correctly you will receive a welcome message with you Gitlab account.
4. Working on your webpage within your workstation.
1 / 20
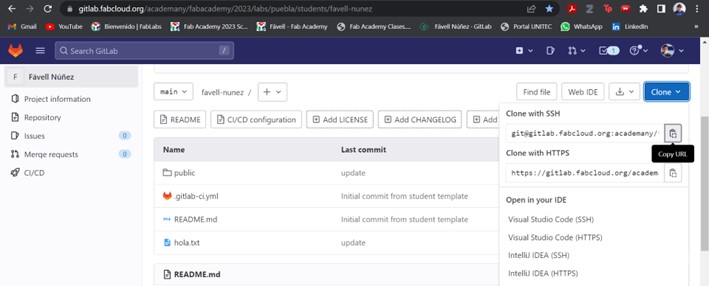
4.1. First you need to go to your project in Gitlab, press the Clone button and then copy the link of “Clone with SSH”.
2 / 20
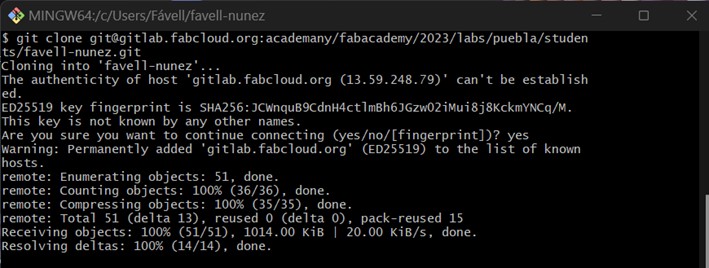
4.2. Use git clone to download and keep a connection with your Gitlab repository.
3 / 20
4.3. Paste the link after the “git clone” command and press enter. The repository will start to download.
4 / 20
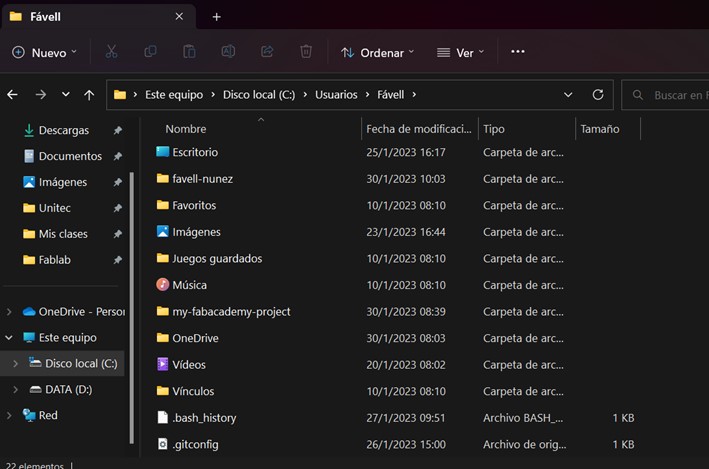
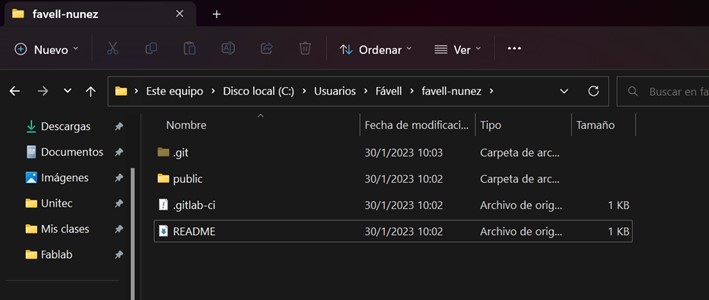
4.4. Once the download is done, you will find the folder in your computer.
5 / 20
4.5. Go inside the folder and you will find the same documents from your Gitlab project you've just cloned.
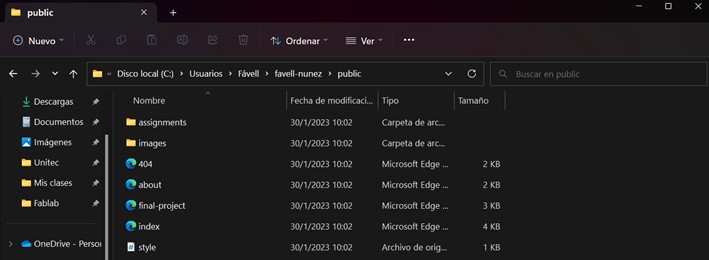
6 / 20
4.6. Inside the public folder you'll have the html pages of your webpage.
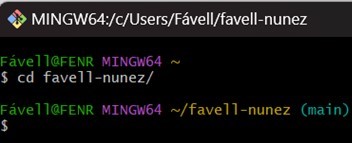
7 / 20
4.7. Go back to your command prompt and access the repository.
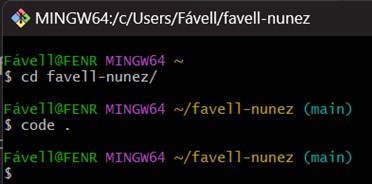
8 / 20
4.8. Write “code .” to open Visual Studio Code with the web page repository.
9 / 20
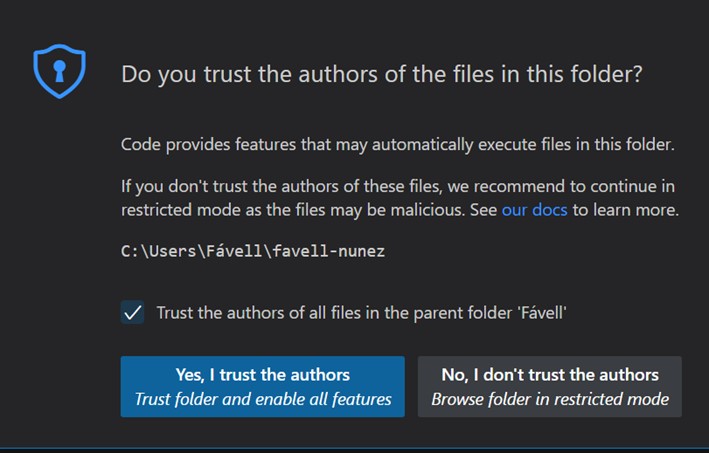
4.9. Automatically, Visual Studio Code will open. Select the Yes, I trust the author's option.
>
10 / 20
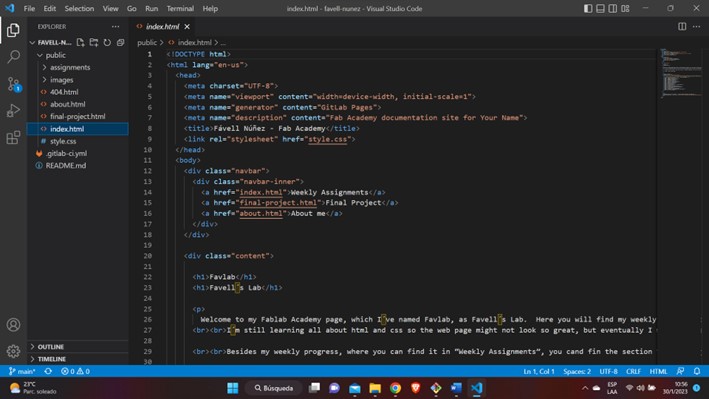
4.10. Now, you have access to the repository in your workstation and star working on your webpage.
11 / 20
4.11. Work your documents.
12 / 20
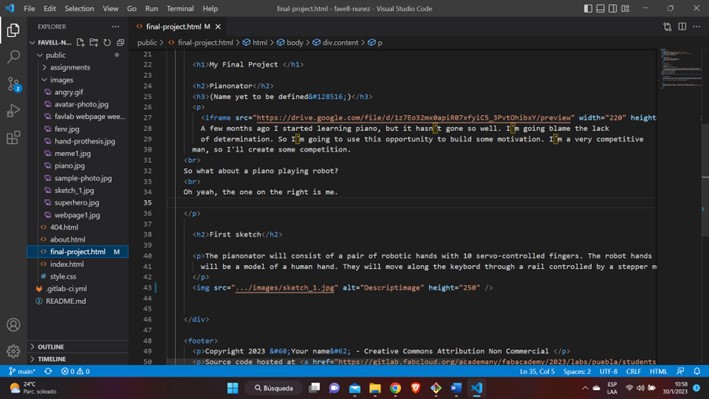
4.12. In my case, I'm changing and image in my Final Project page. When you are done ready to upload the changes press Ctrl + S to save the document.
13 / 20
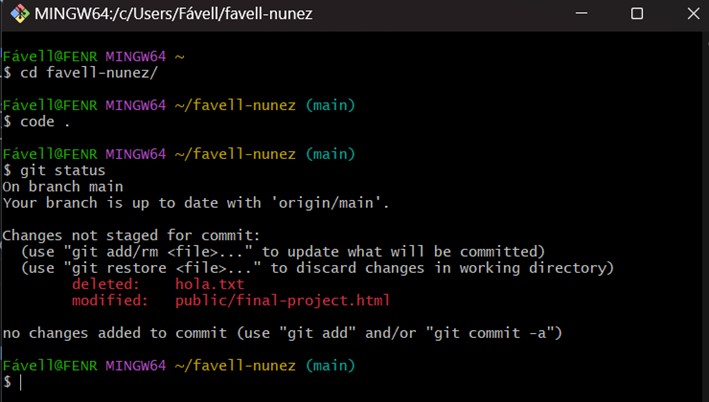
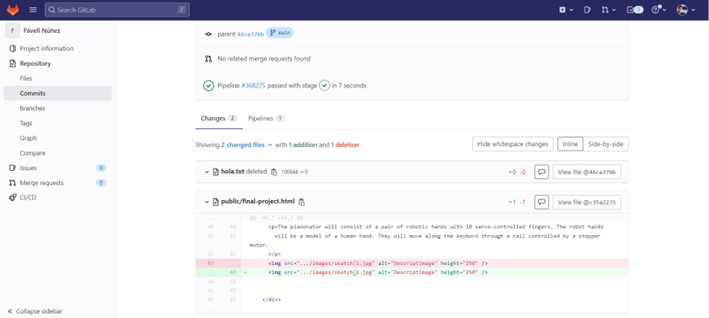
4.13. Go back to your command prompt and use “git status” to see what changes you have done. As you can it tell that the final-project file has been modified (I also deleted a txt document).
14 / 20
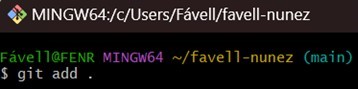
4.14. Add the modifications to the repository with “git add .”.
15 / 20
4.15. Then use git commit -m “Replace this with how you want to name the commit”
16 / 20
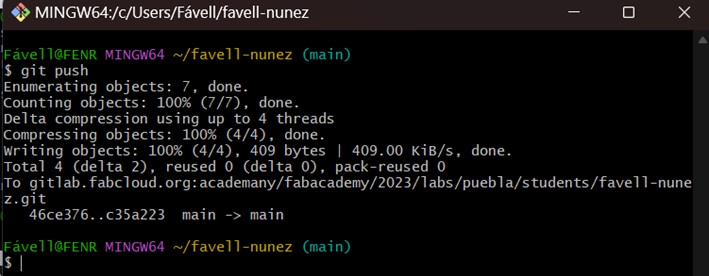
4.16. Finally, use “git push” to upload the changes to your Gitlab repositoy.
17 / 20
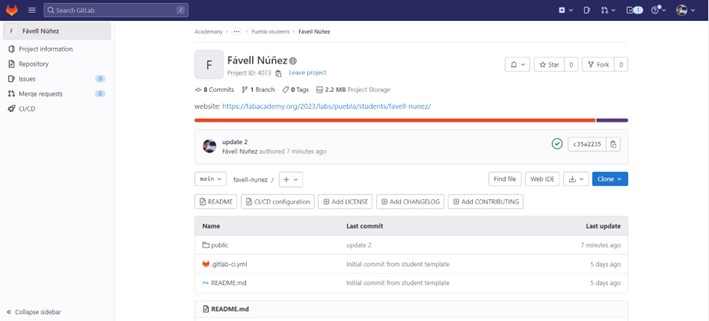
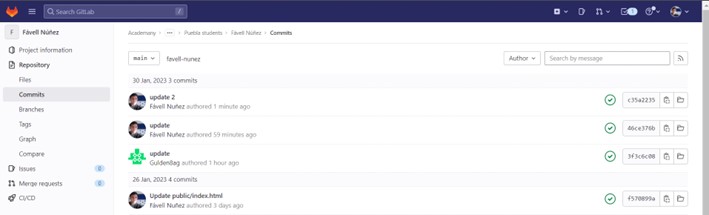
4.17. In your Gitlab you can see that the last commit is what you have just done.
18 / 20
4.18. You can also check all the commits done in your repository.
19 / 20
4.19. And see what modifications were done.
20 / 20
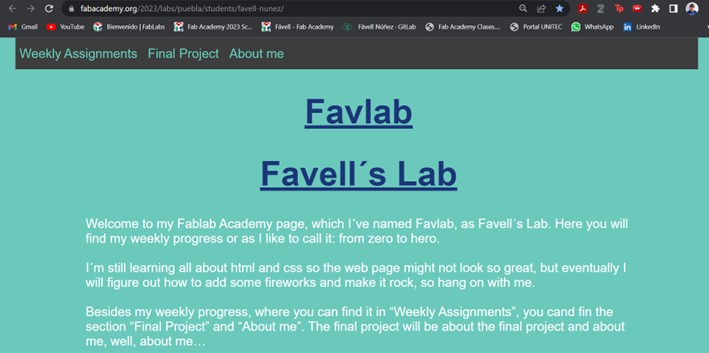
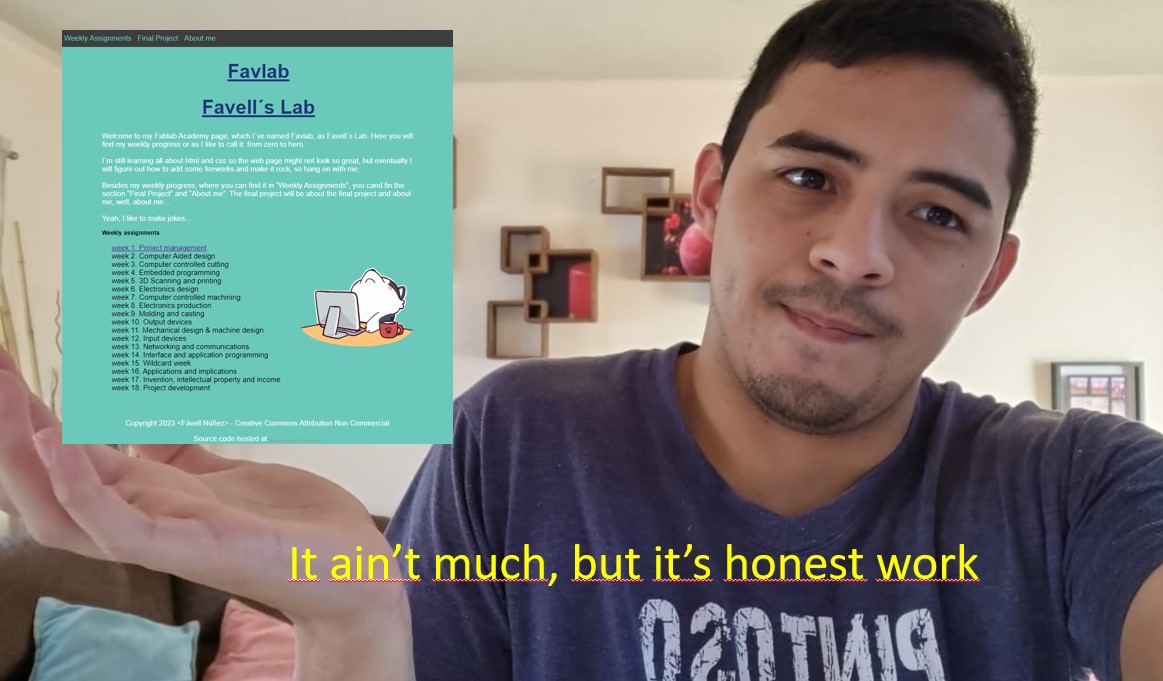
4.20. Check your webpage and now you will have the changes you have been working. Do this process and create your webpage as you wish.
I'm using the same template given with some minor changes like the slideshow for the images. I learned to do this slideshows with (Hot To - Slideshow).
It ain't much, but it's honest work. It's going to get better, just wait (a note to myself).