7. Computer controlled machining
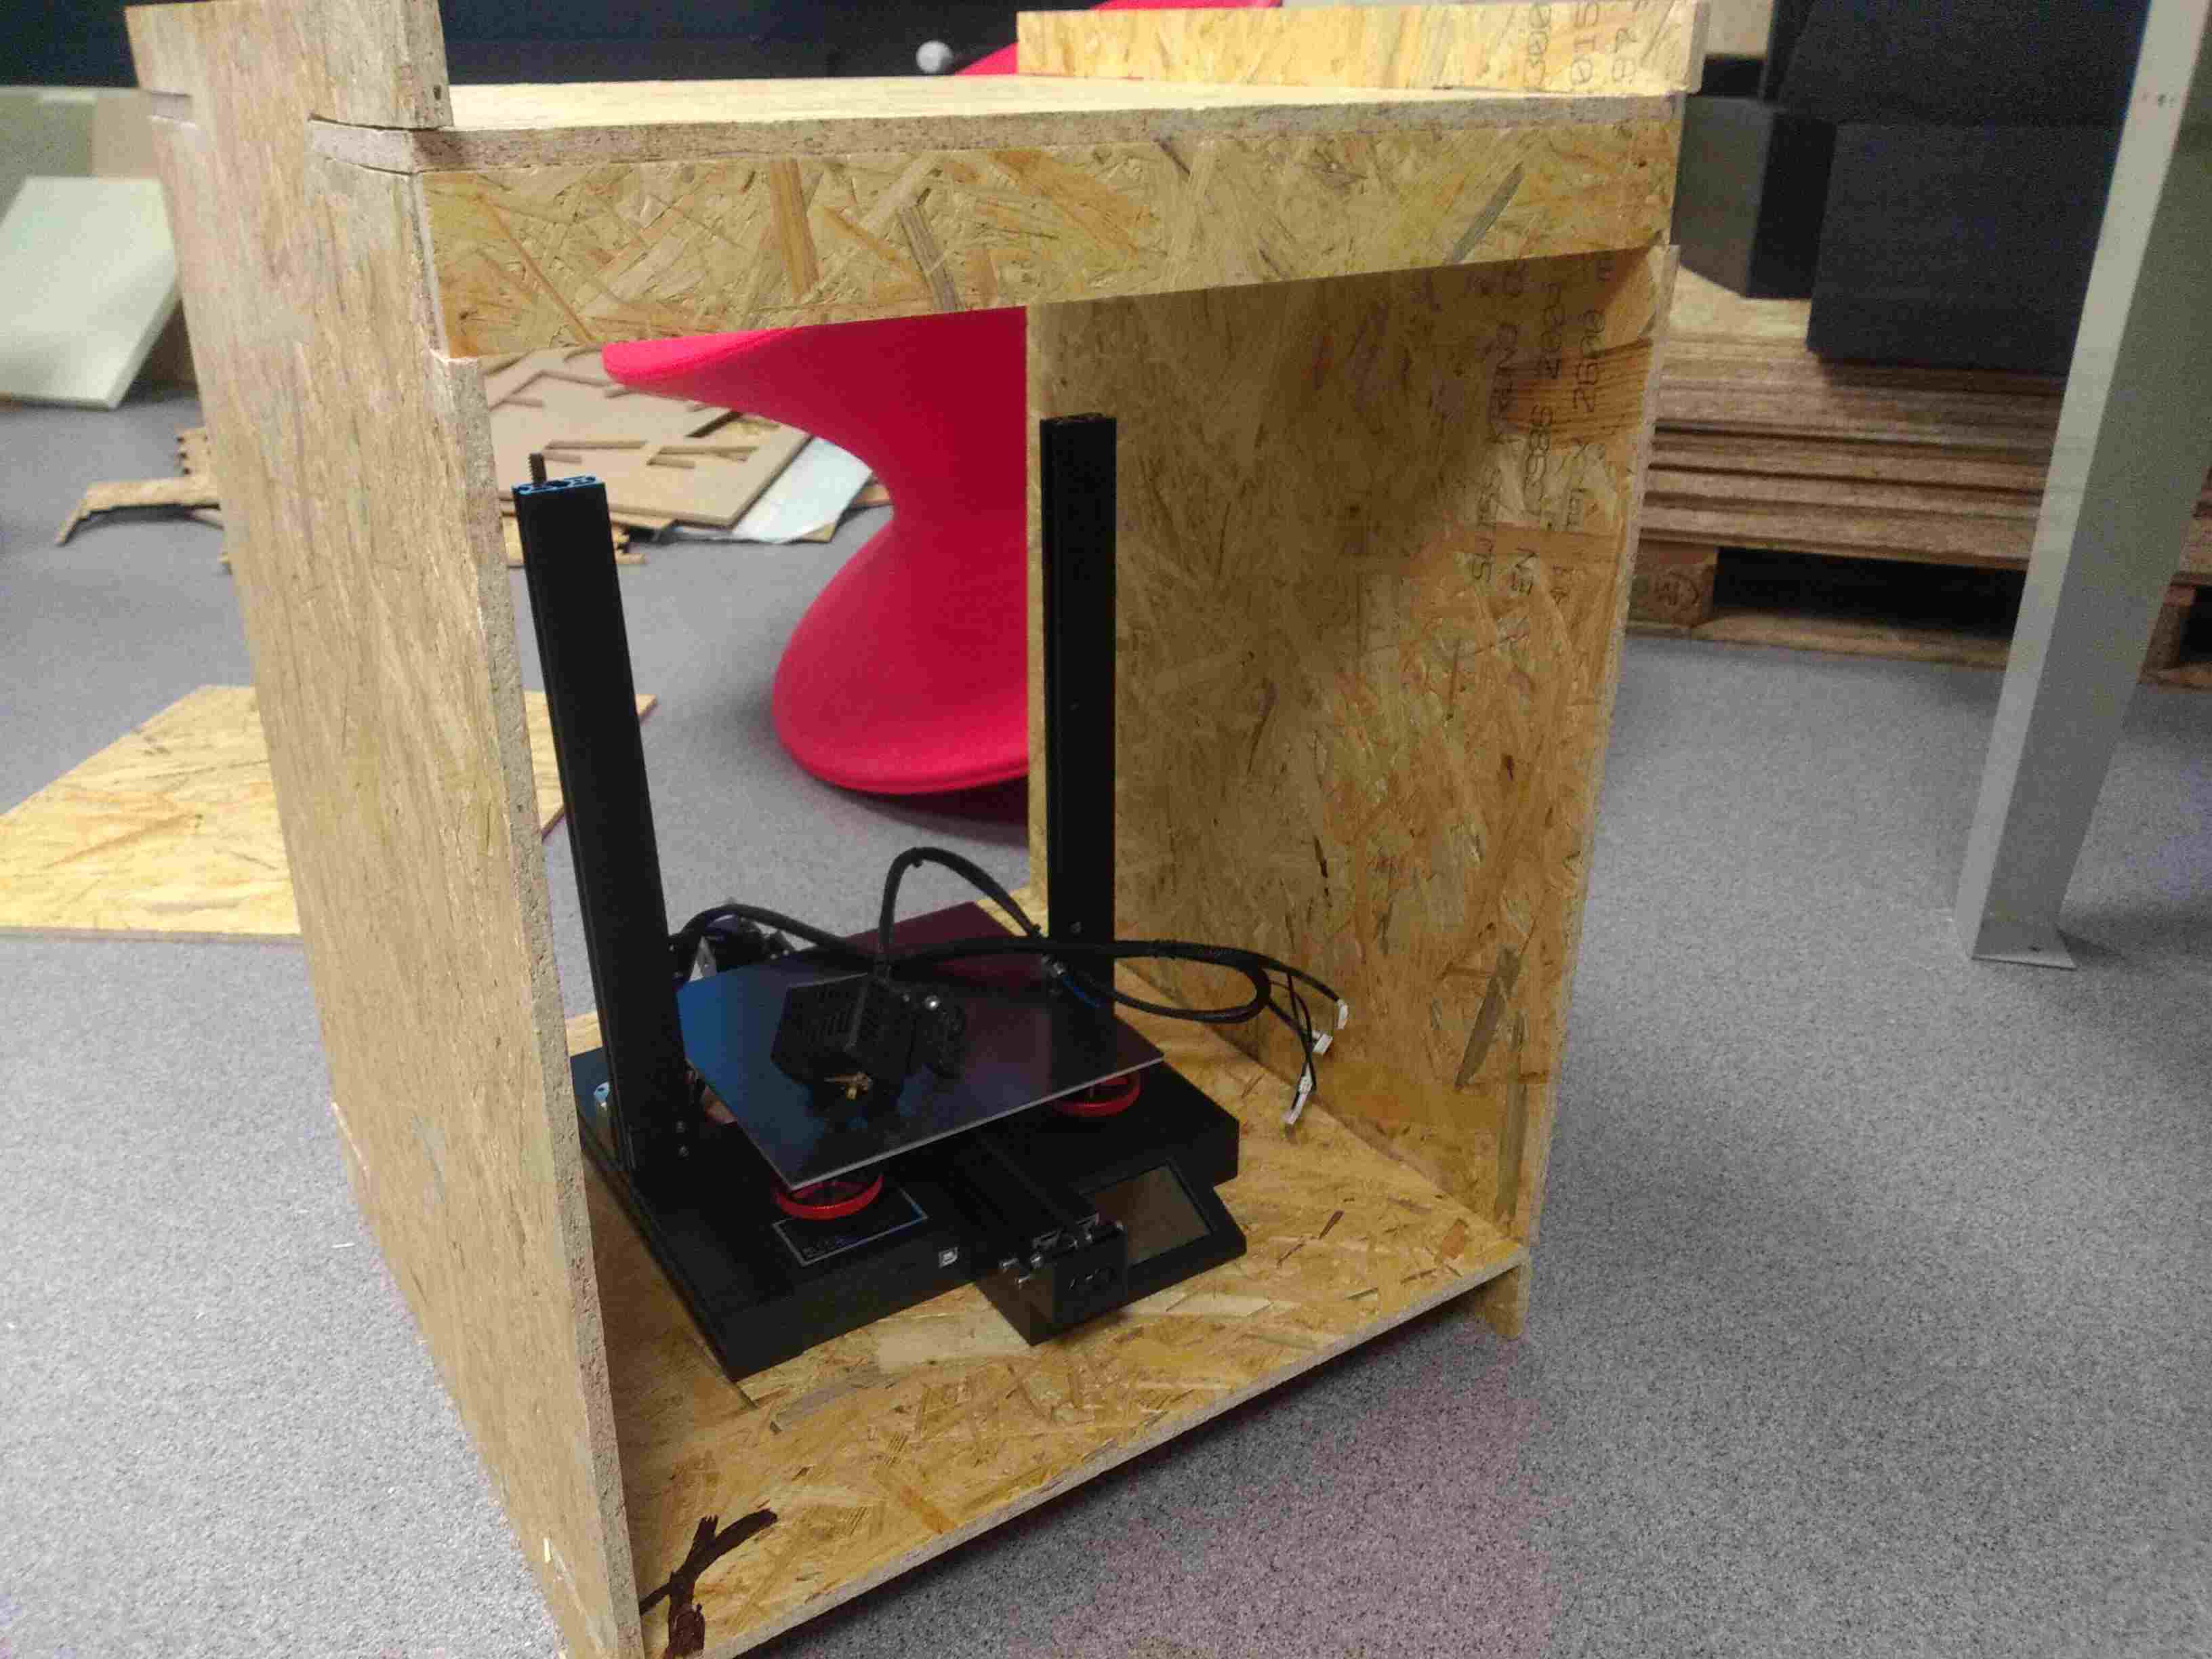
This week individual assigment was to make something big. First idea that come to mind was enclosure for one of the 3D printers that I have. I have order in for 10kg of ABS filament so I will be needing the enclosure for vnetilation purposes as well as to print in warmer climate inside champer.
Local class
Before our local class we got instructions to watch couple safety related vidoes earlier in the week. During the class we started with desing parameters we needed to go through before moving to the machine itself. For the demonstration one off the inctructors used his own desing piece as a example for the task ahead. After this we moved to the big CNC machine. Over there we refreshed the safety rules and then basic steps to calibrate and workflow for the CNC. For the group work we had to measure dimenssion from the piece that was milled as a demostration piece during our local class. Measurements can be found from group work page.
Desing
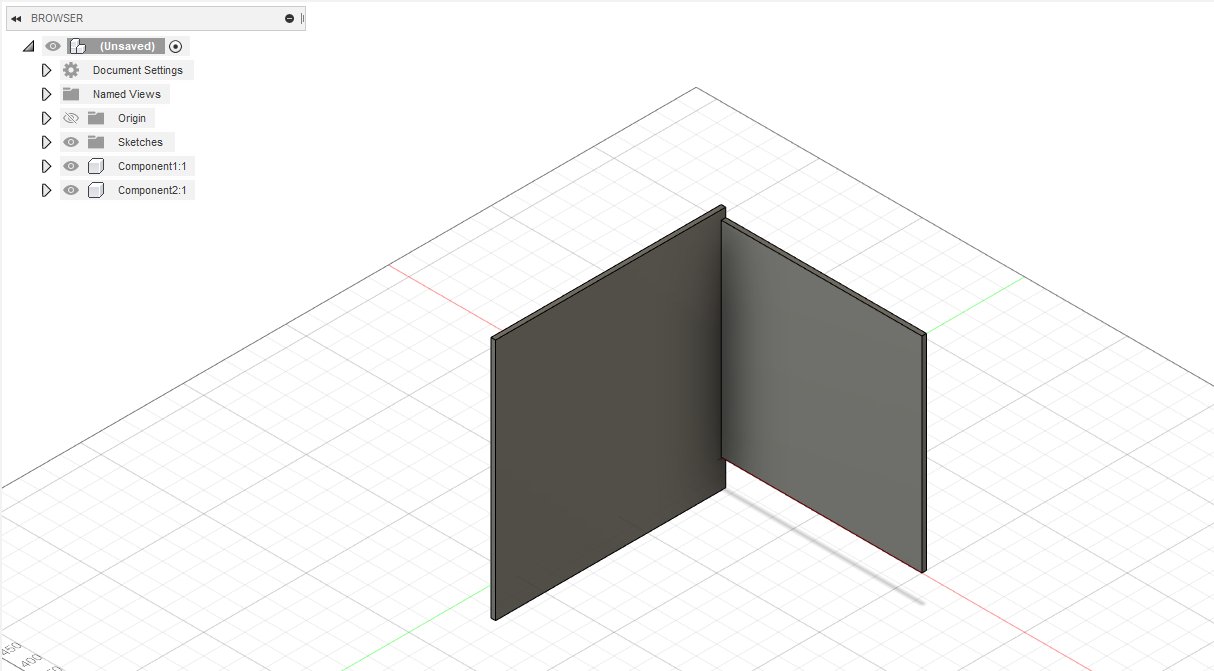
Instructions for oor own desing was to make something large aprox 1 meter scale. For this my idea dor a 3D printer cabinet fitted nicely. First step was to take initial measurement for the size and to start refreshing my Fusion 360 skills. I started modeling from creating parameters for basic measurements. After that first piece to madel was back panel, for me this seemed most locigal piece to start as it's basic shape was just regtangular. After this I created first side panel.
Basic back and side panel ready
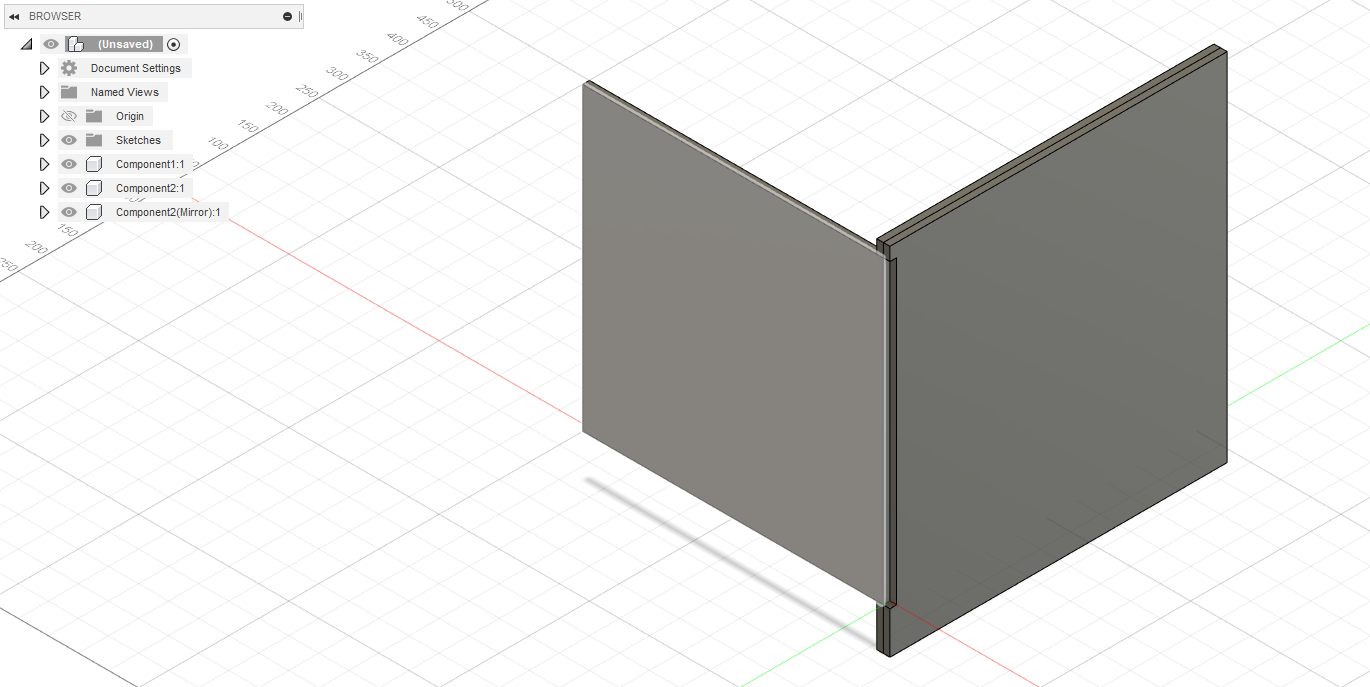
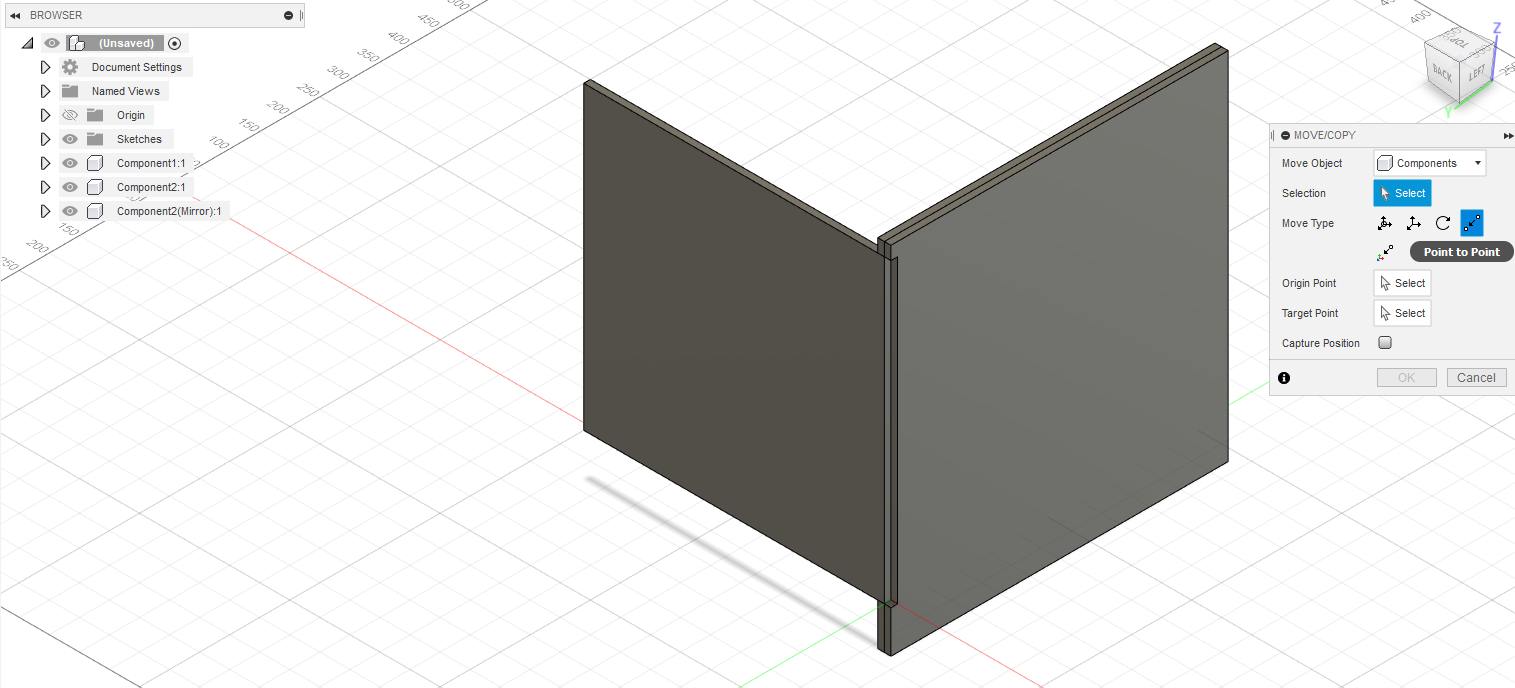
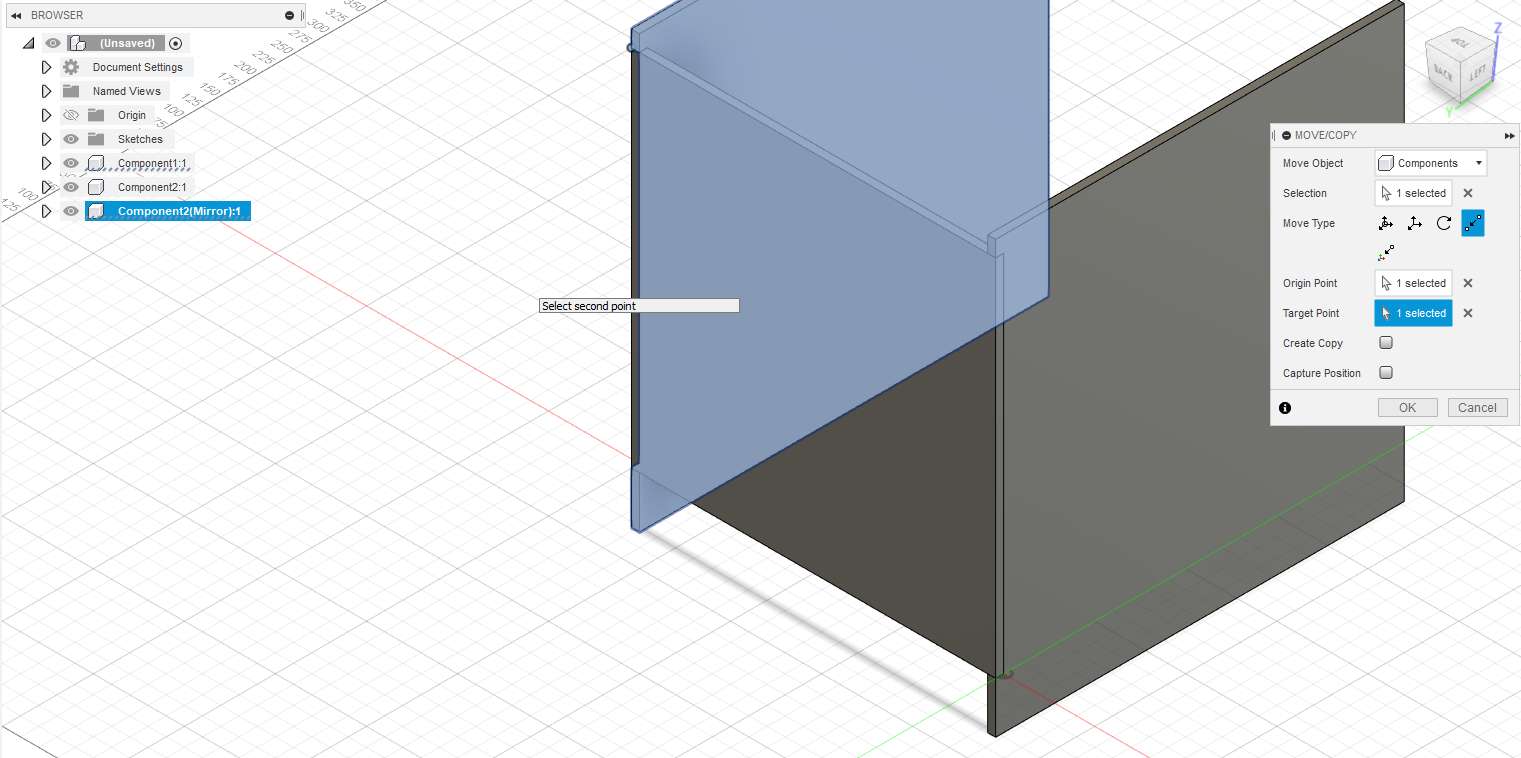
After back and one side was ready, I just mirrored first side panel and moved it to other side with point to point move command.
Mirroring side panel
Moving mirrored side panel using point to point selection
Basic side panels and back in place
Start parameters
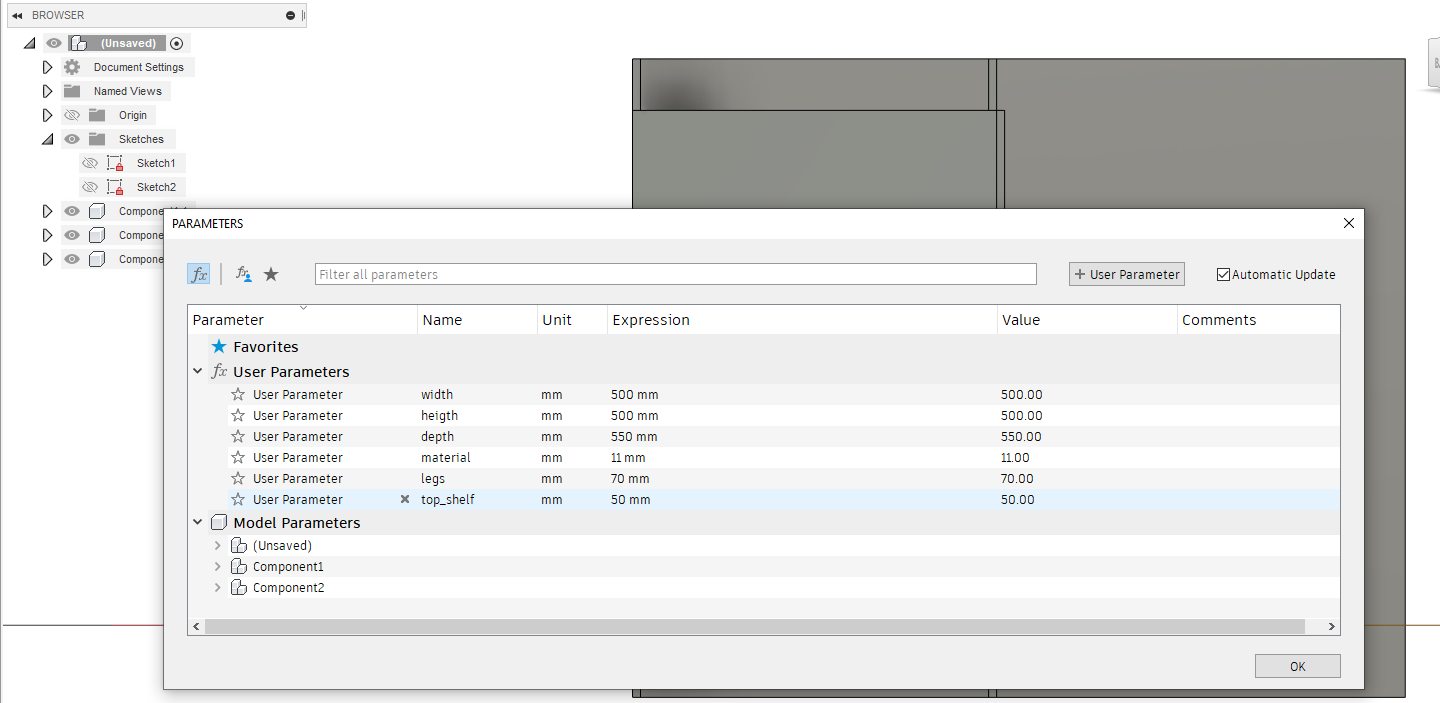
After sides and back were in place I started thinking top and bottom pieces. After some thinking I desided just to add slots to side panel for top and bottom pieces, to keep frame simple. After creating pieces I started to think if I end up using top piece as a shelf at anypoint it might need more support so I added prace piece in the front for support.
Model ready with slots
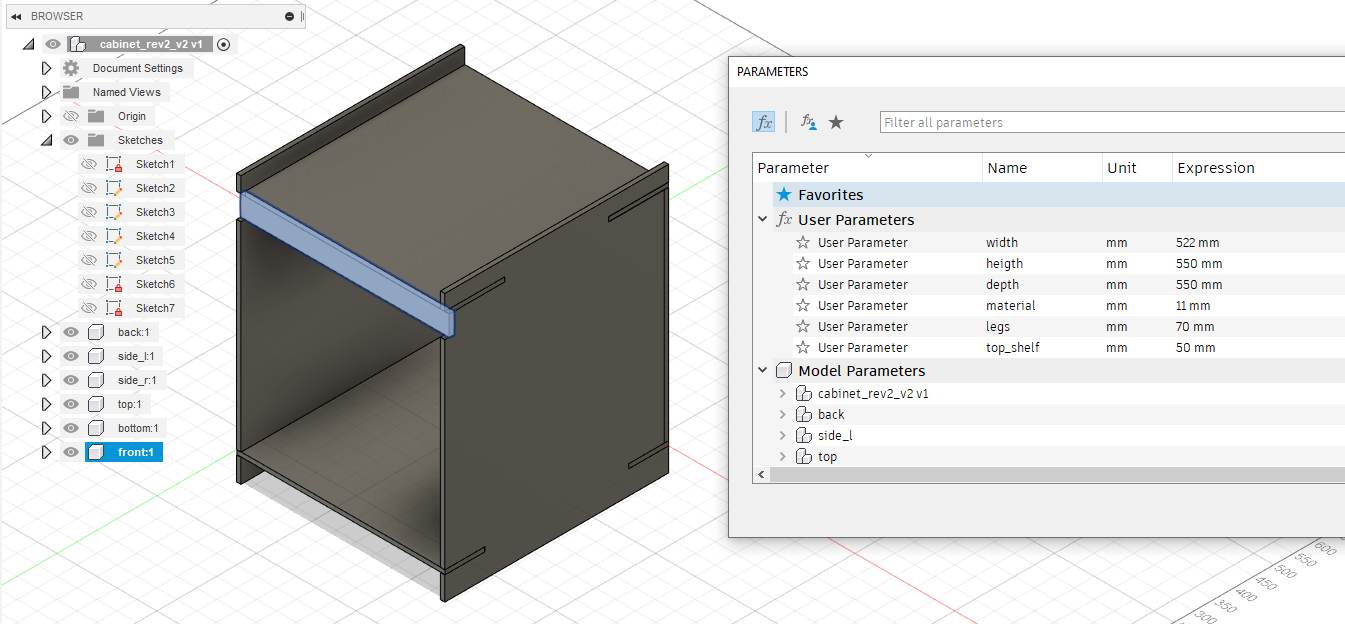
I considered adding back panel for the top, but desided against it. I hope to avoid using the as a shelf and if I end up using it as a such I will propably change whole back panel to support this.
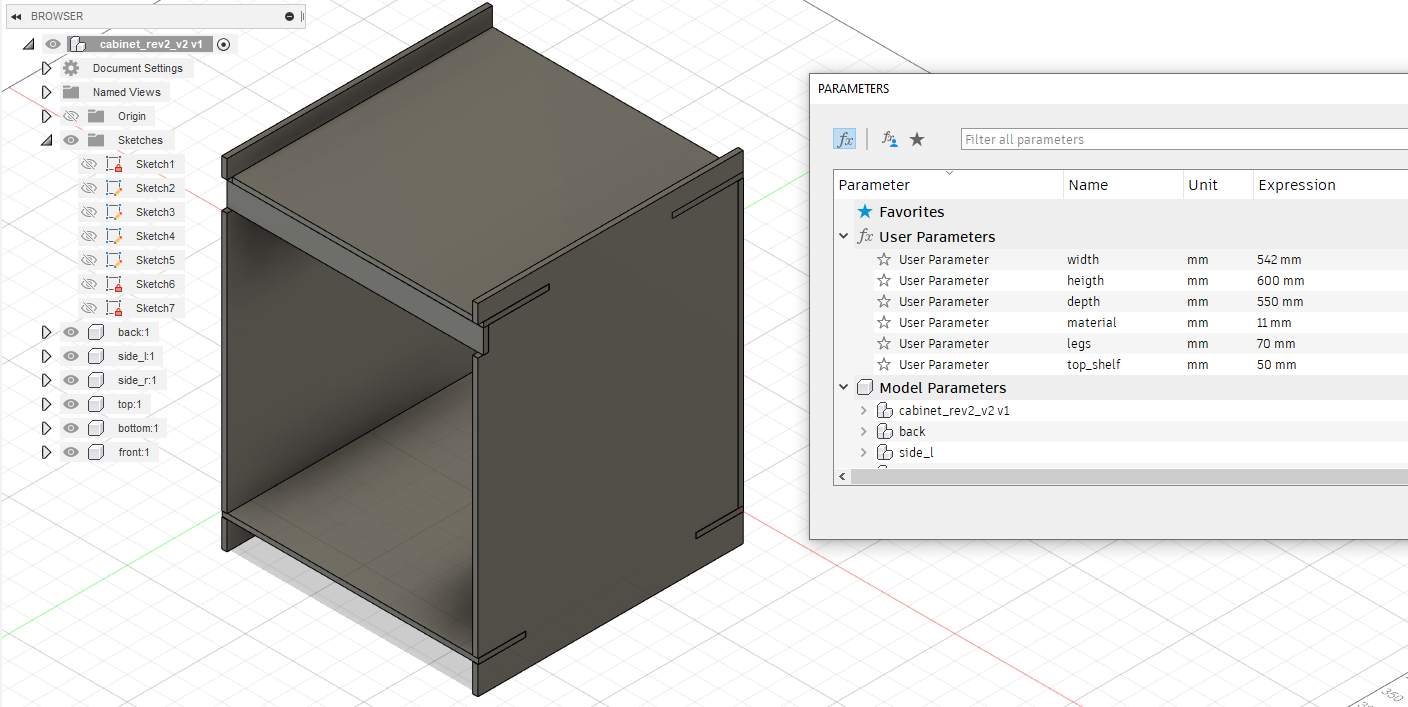
Finished model
Tool paths
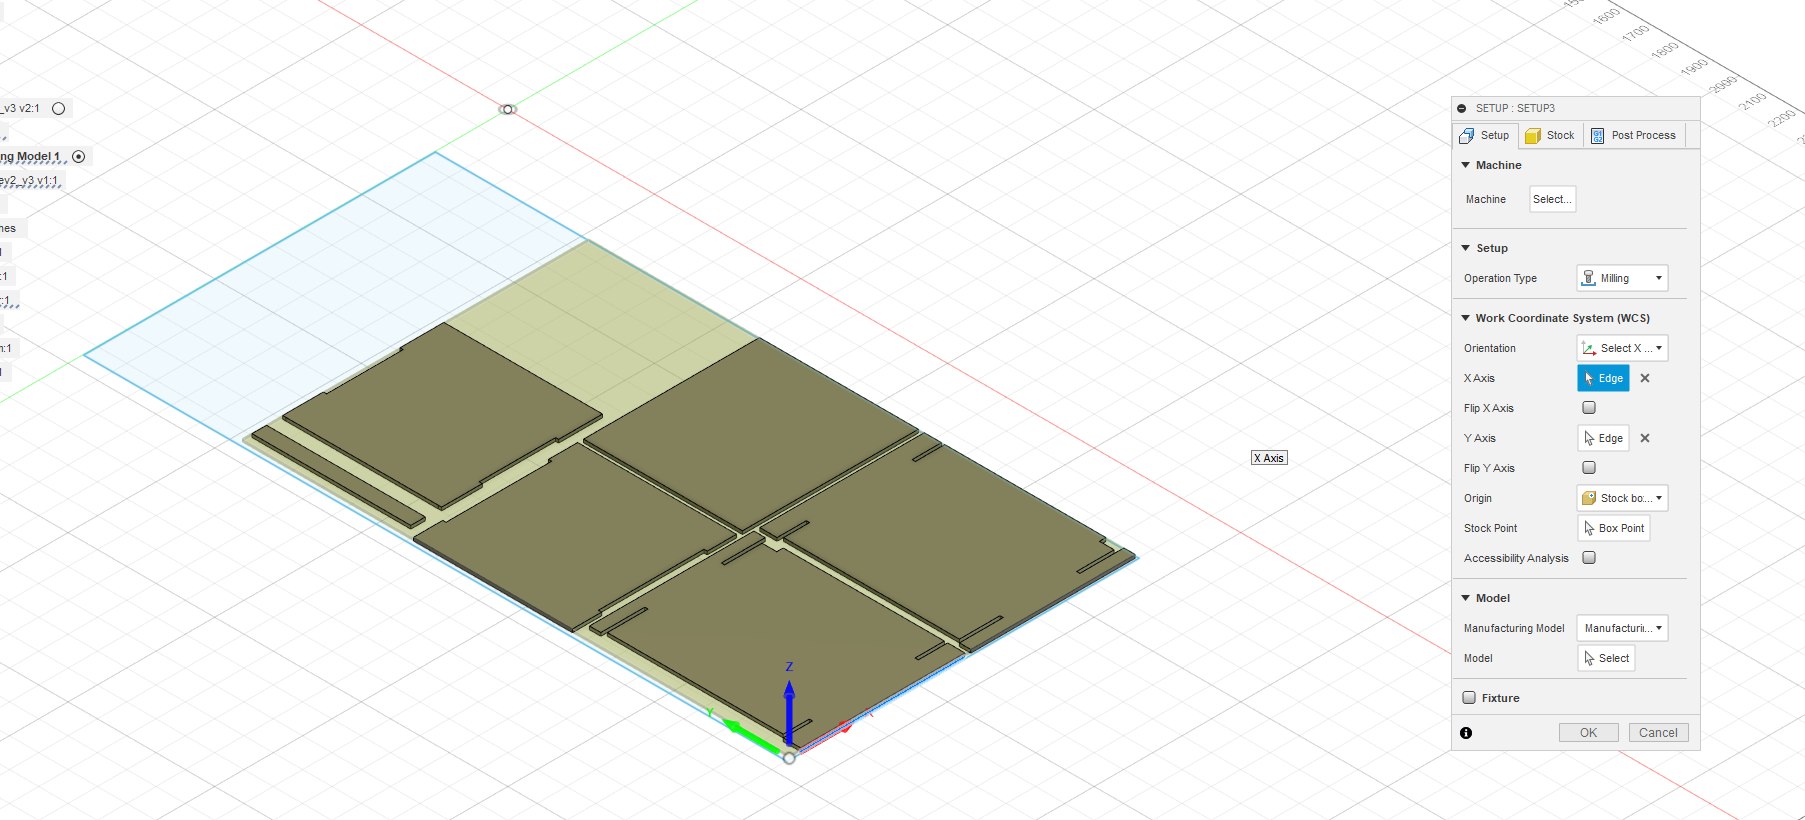
Setting origin point in setup
Milling
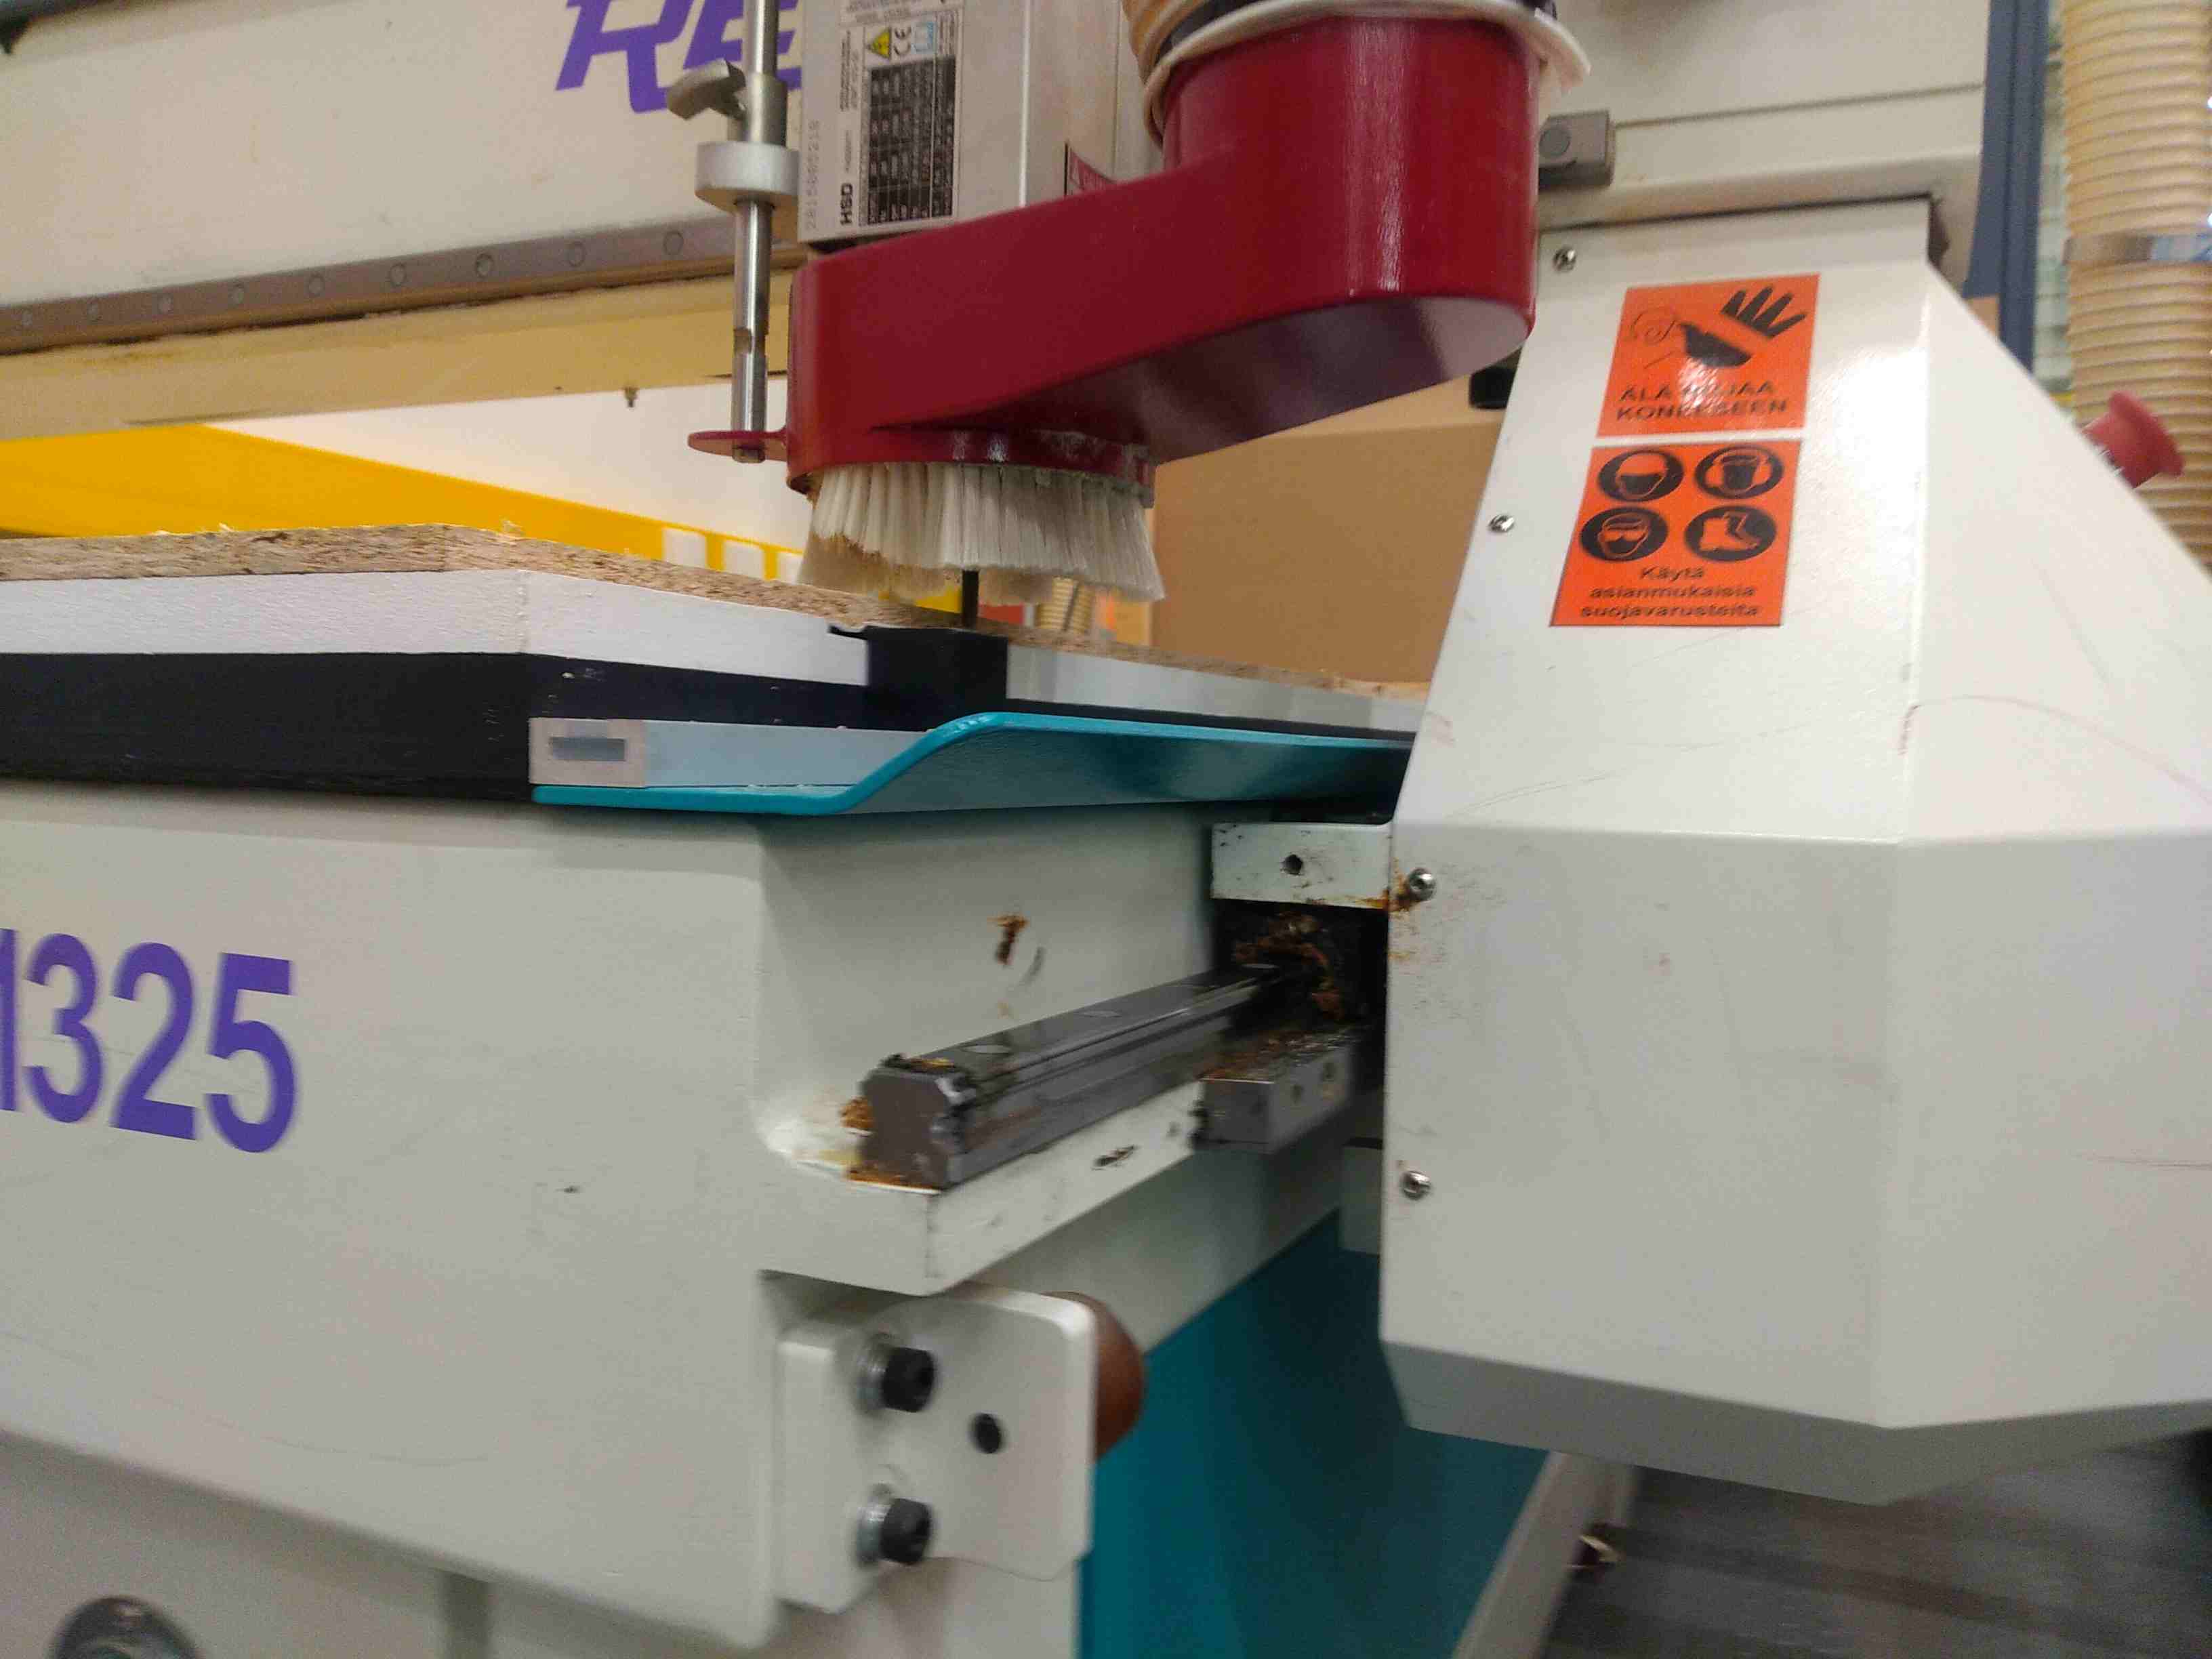
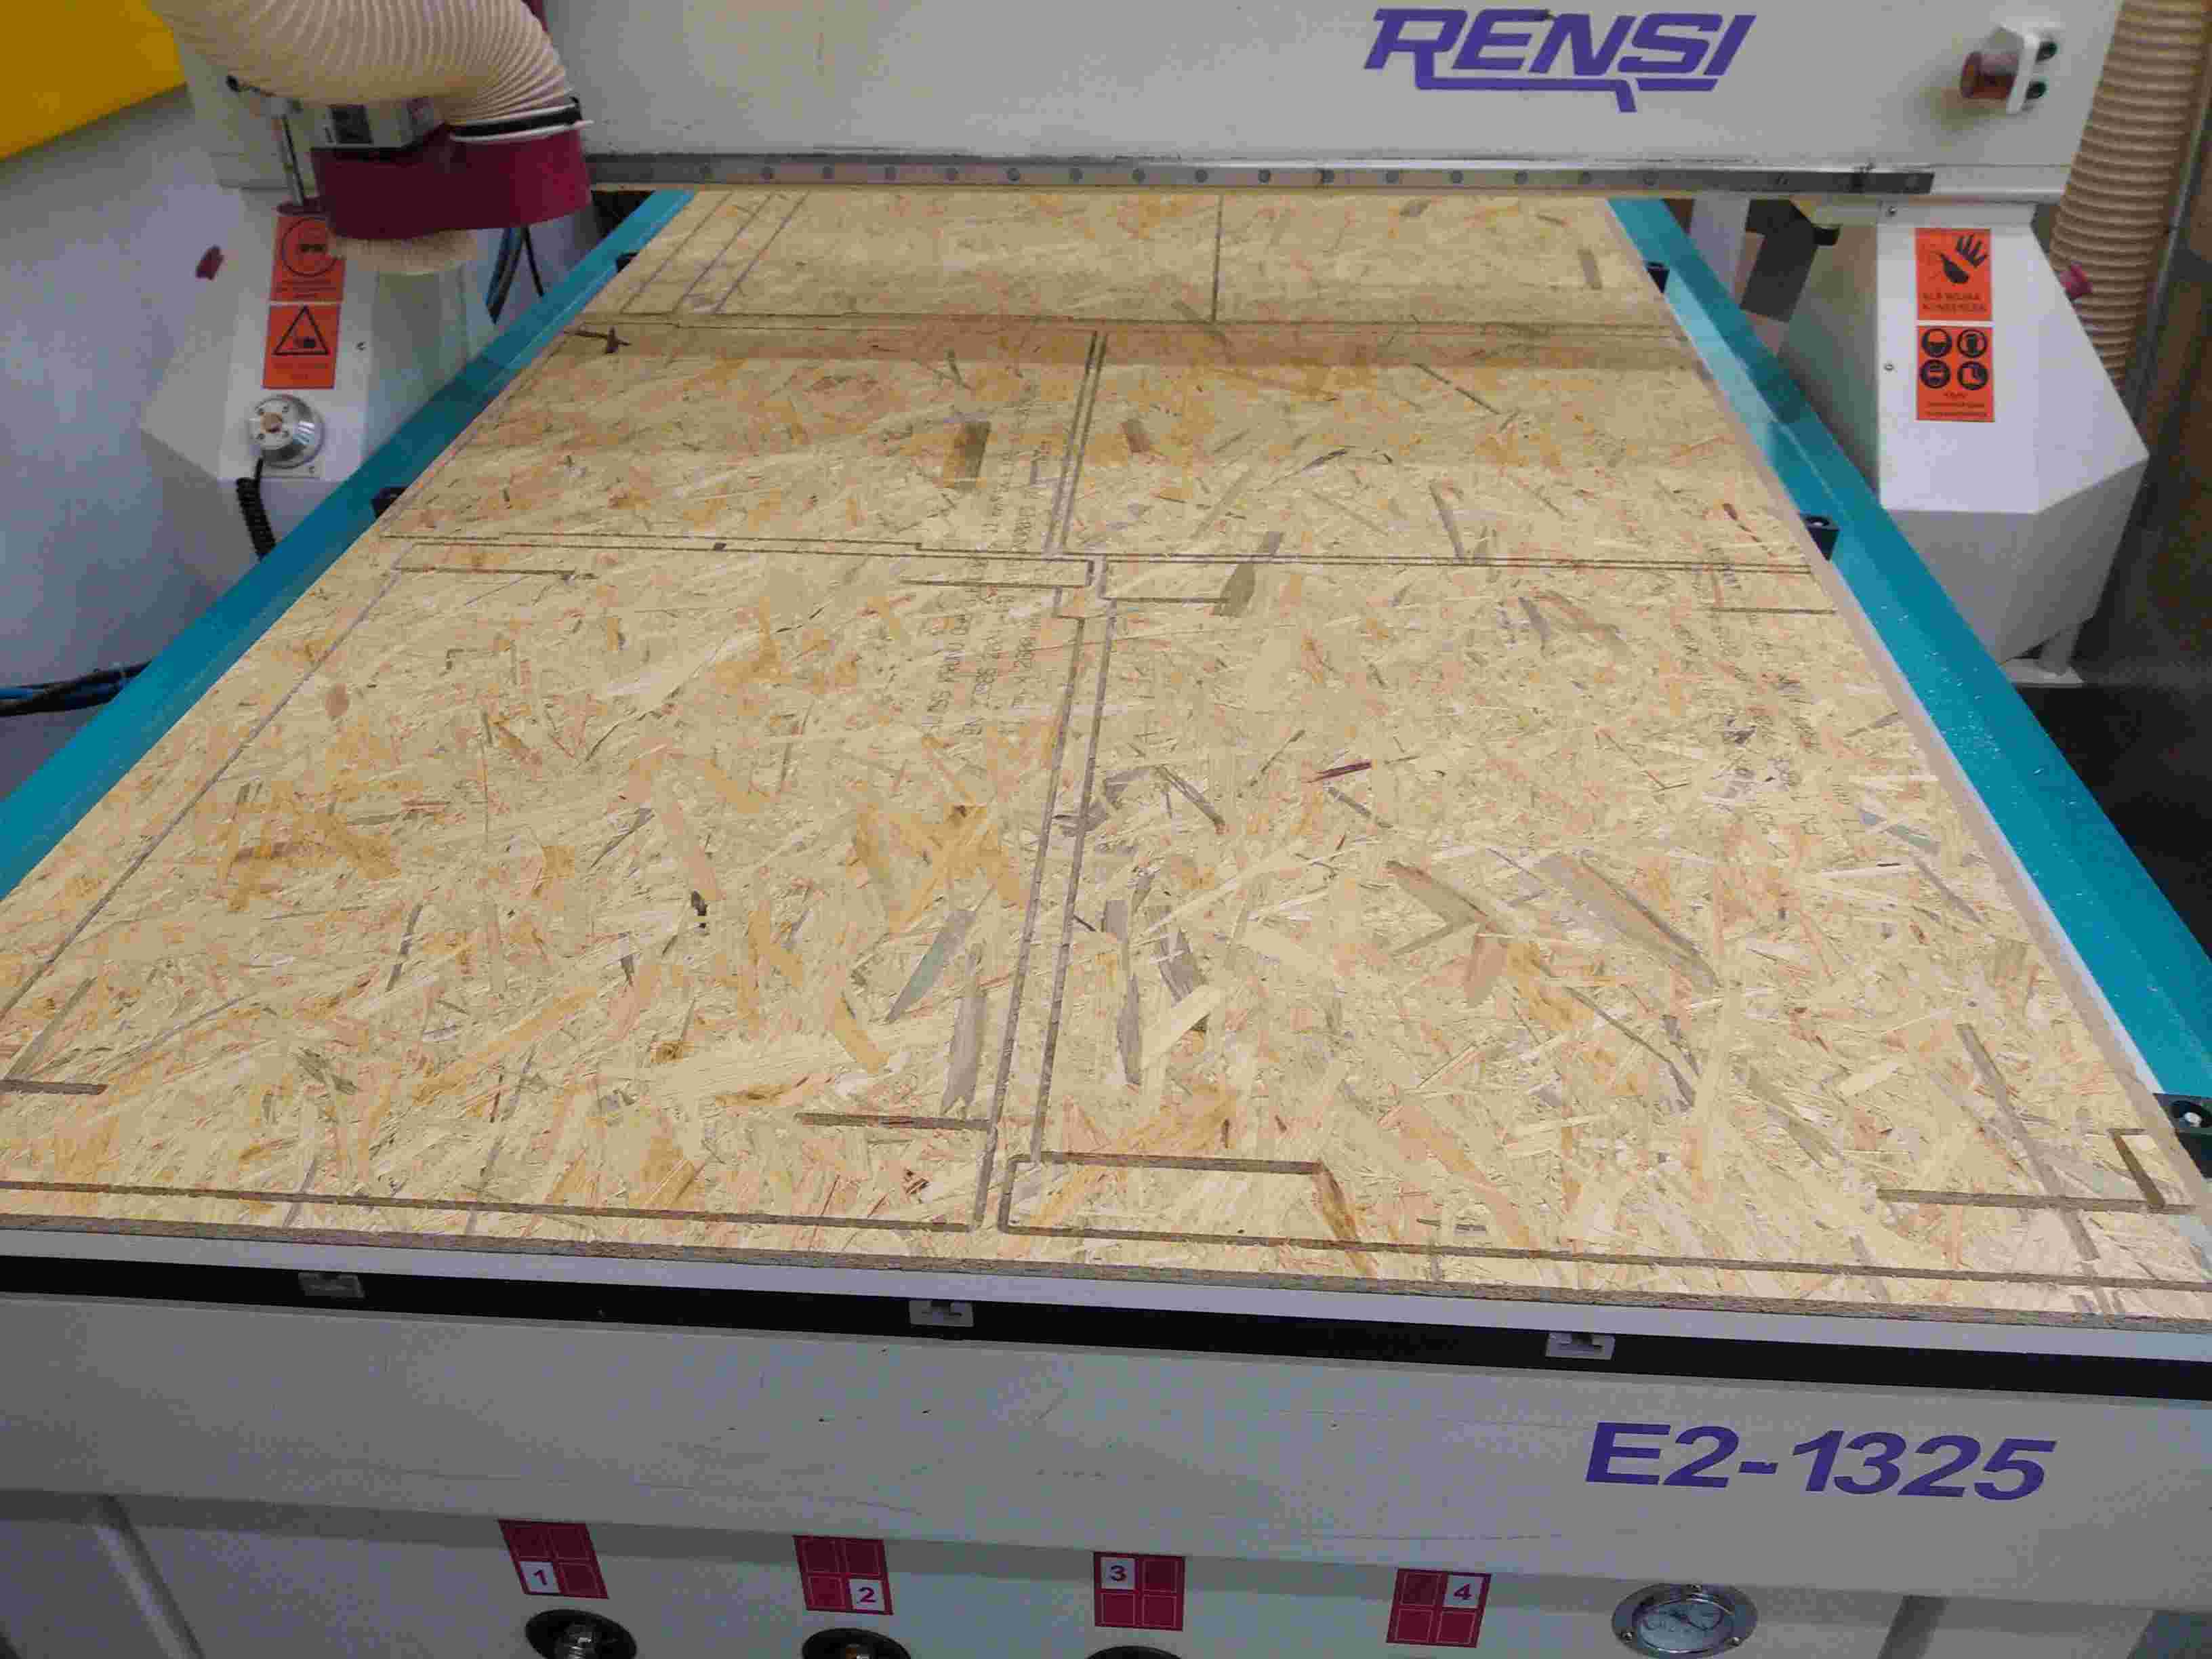
Next step is the actual milling of the part. This starts by placing selected material in the CNC table and activating vacuum pumps and opening valves for every sector of the table.Resetting mechanical origin in shopbot

Setup done in NCStudio
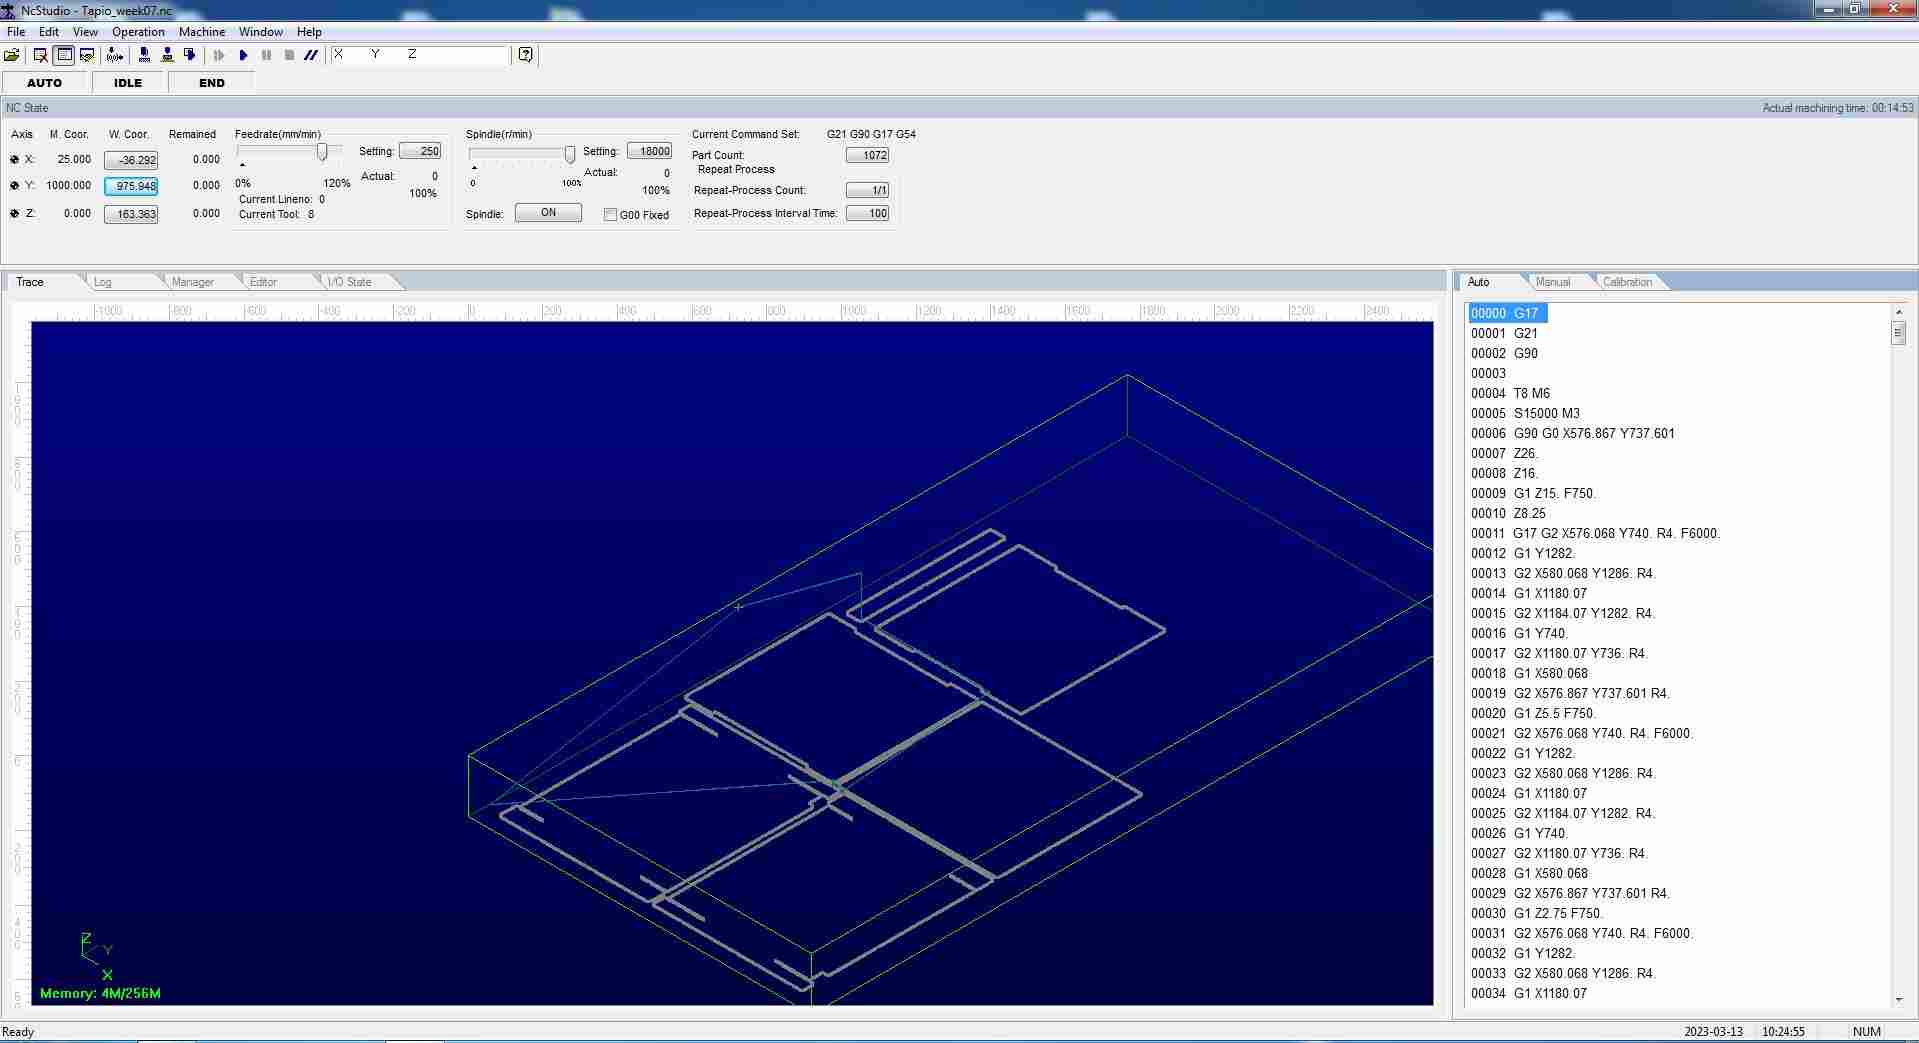
Milling outer edge
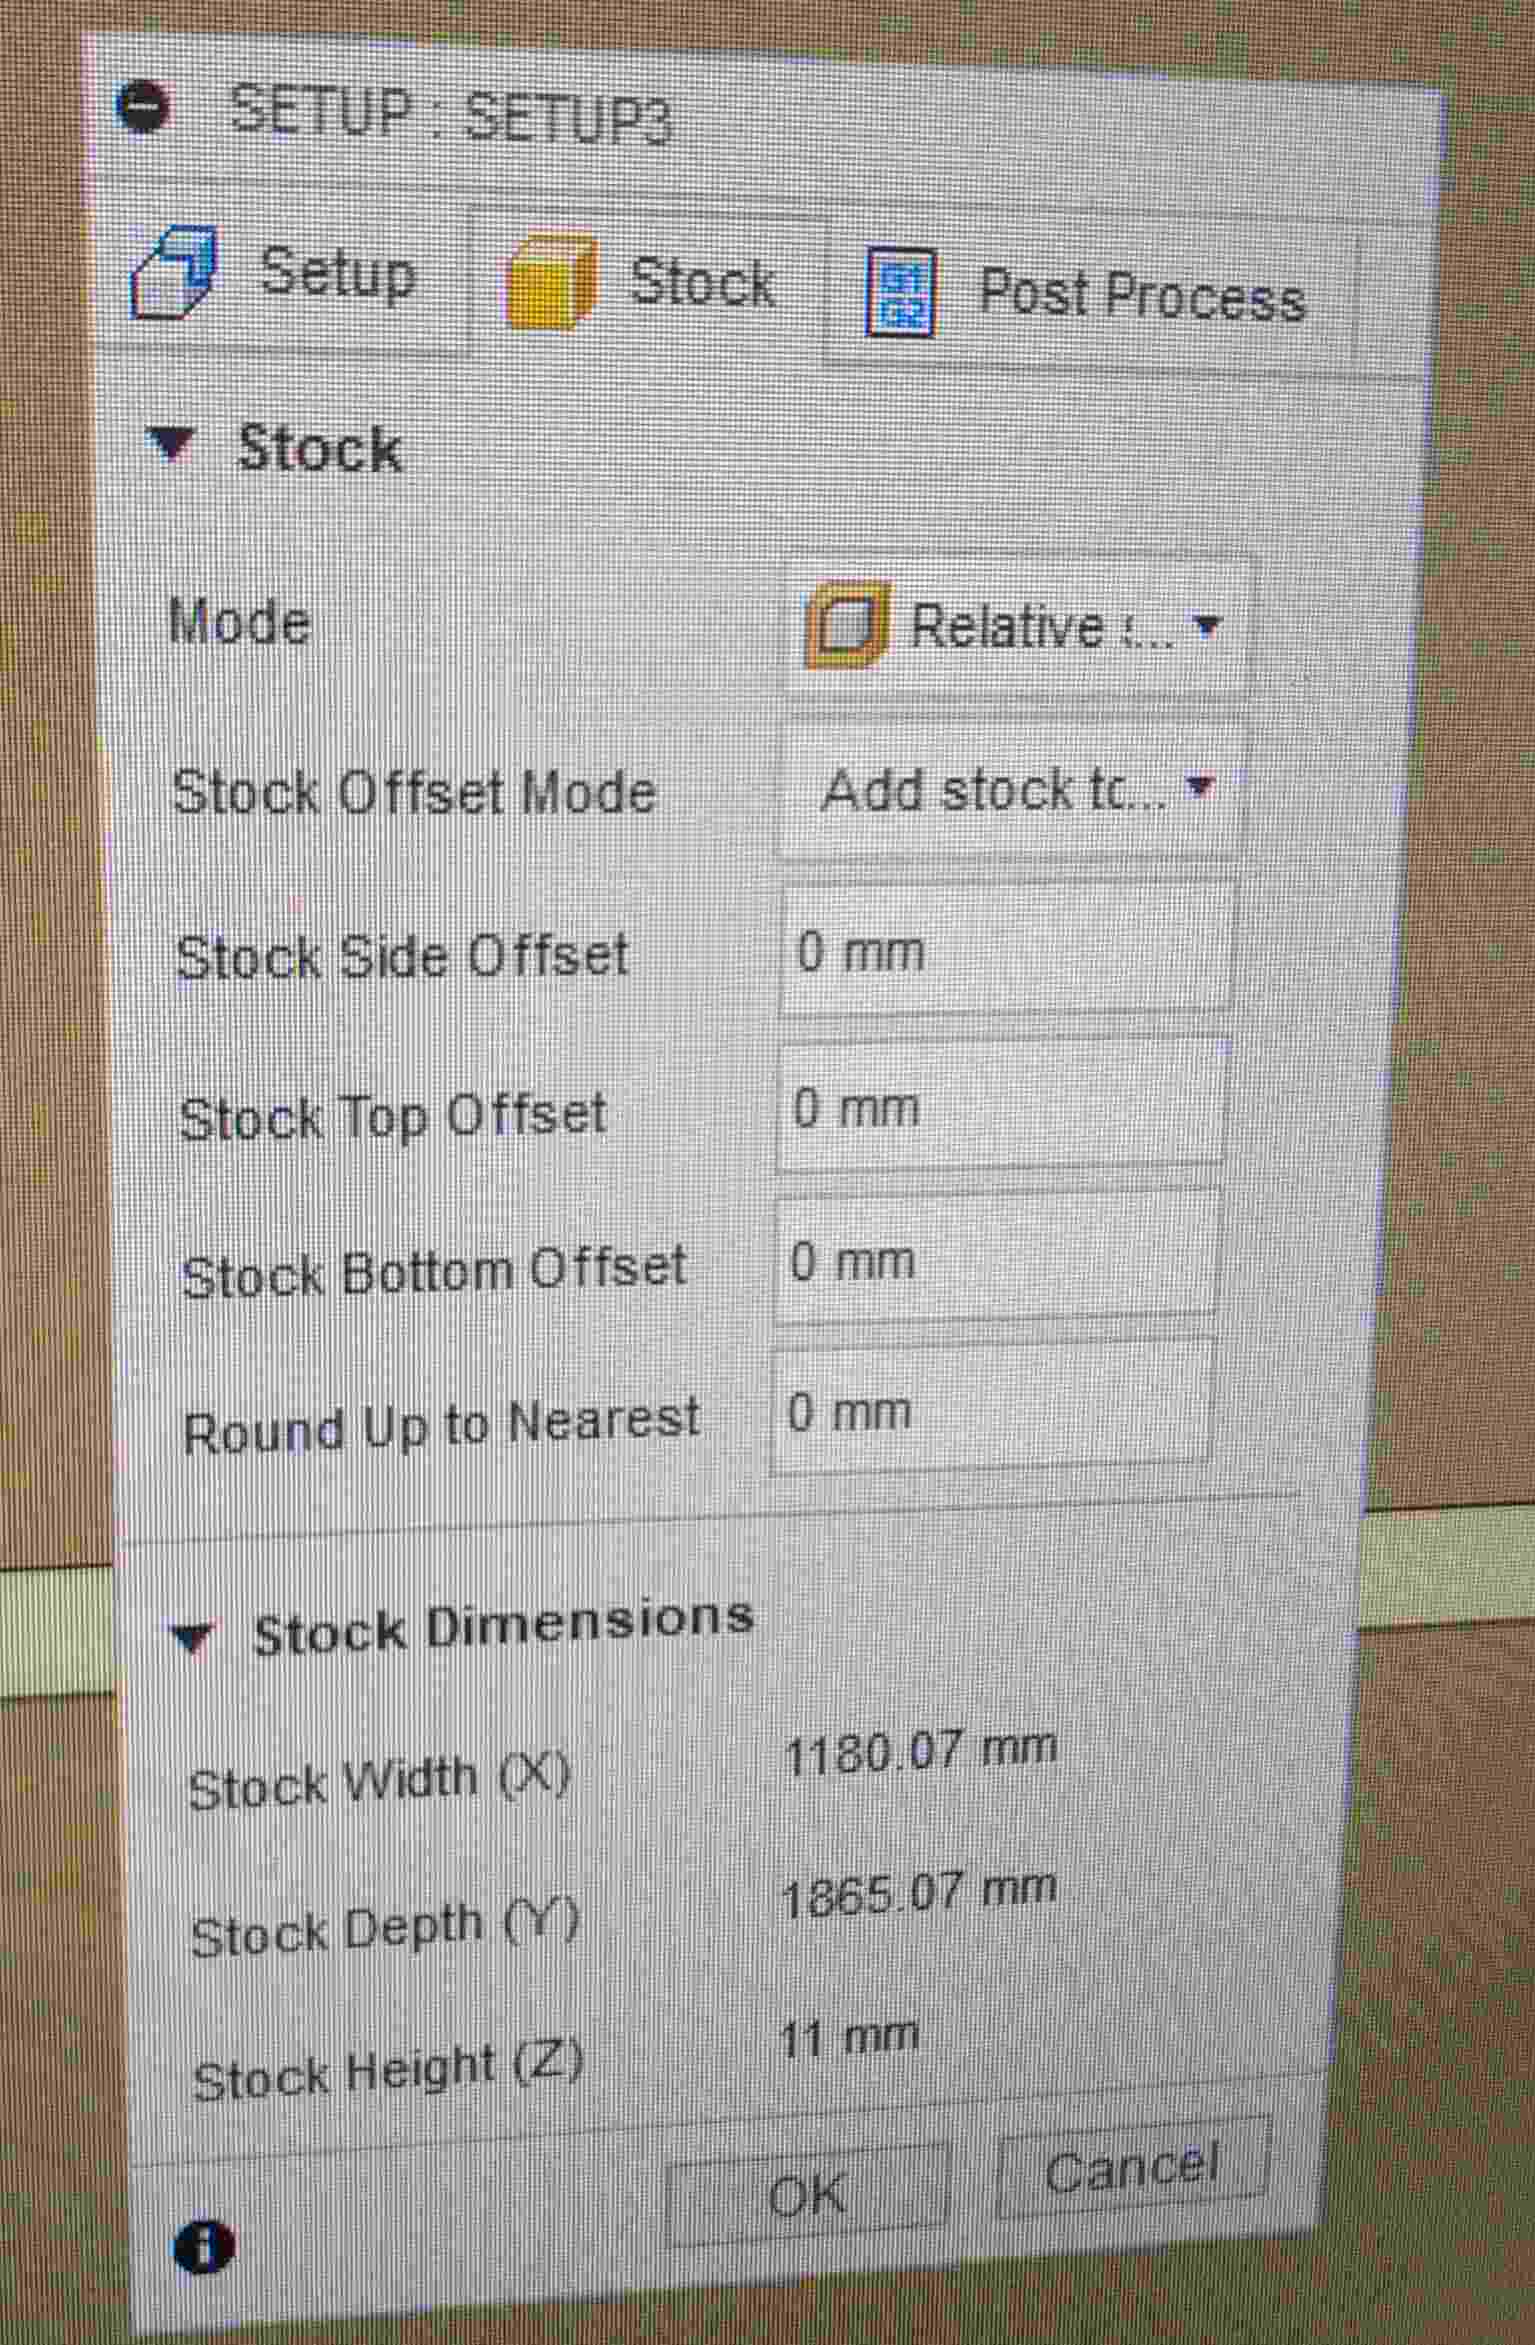
Stock dimension
Picture of the setup data
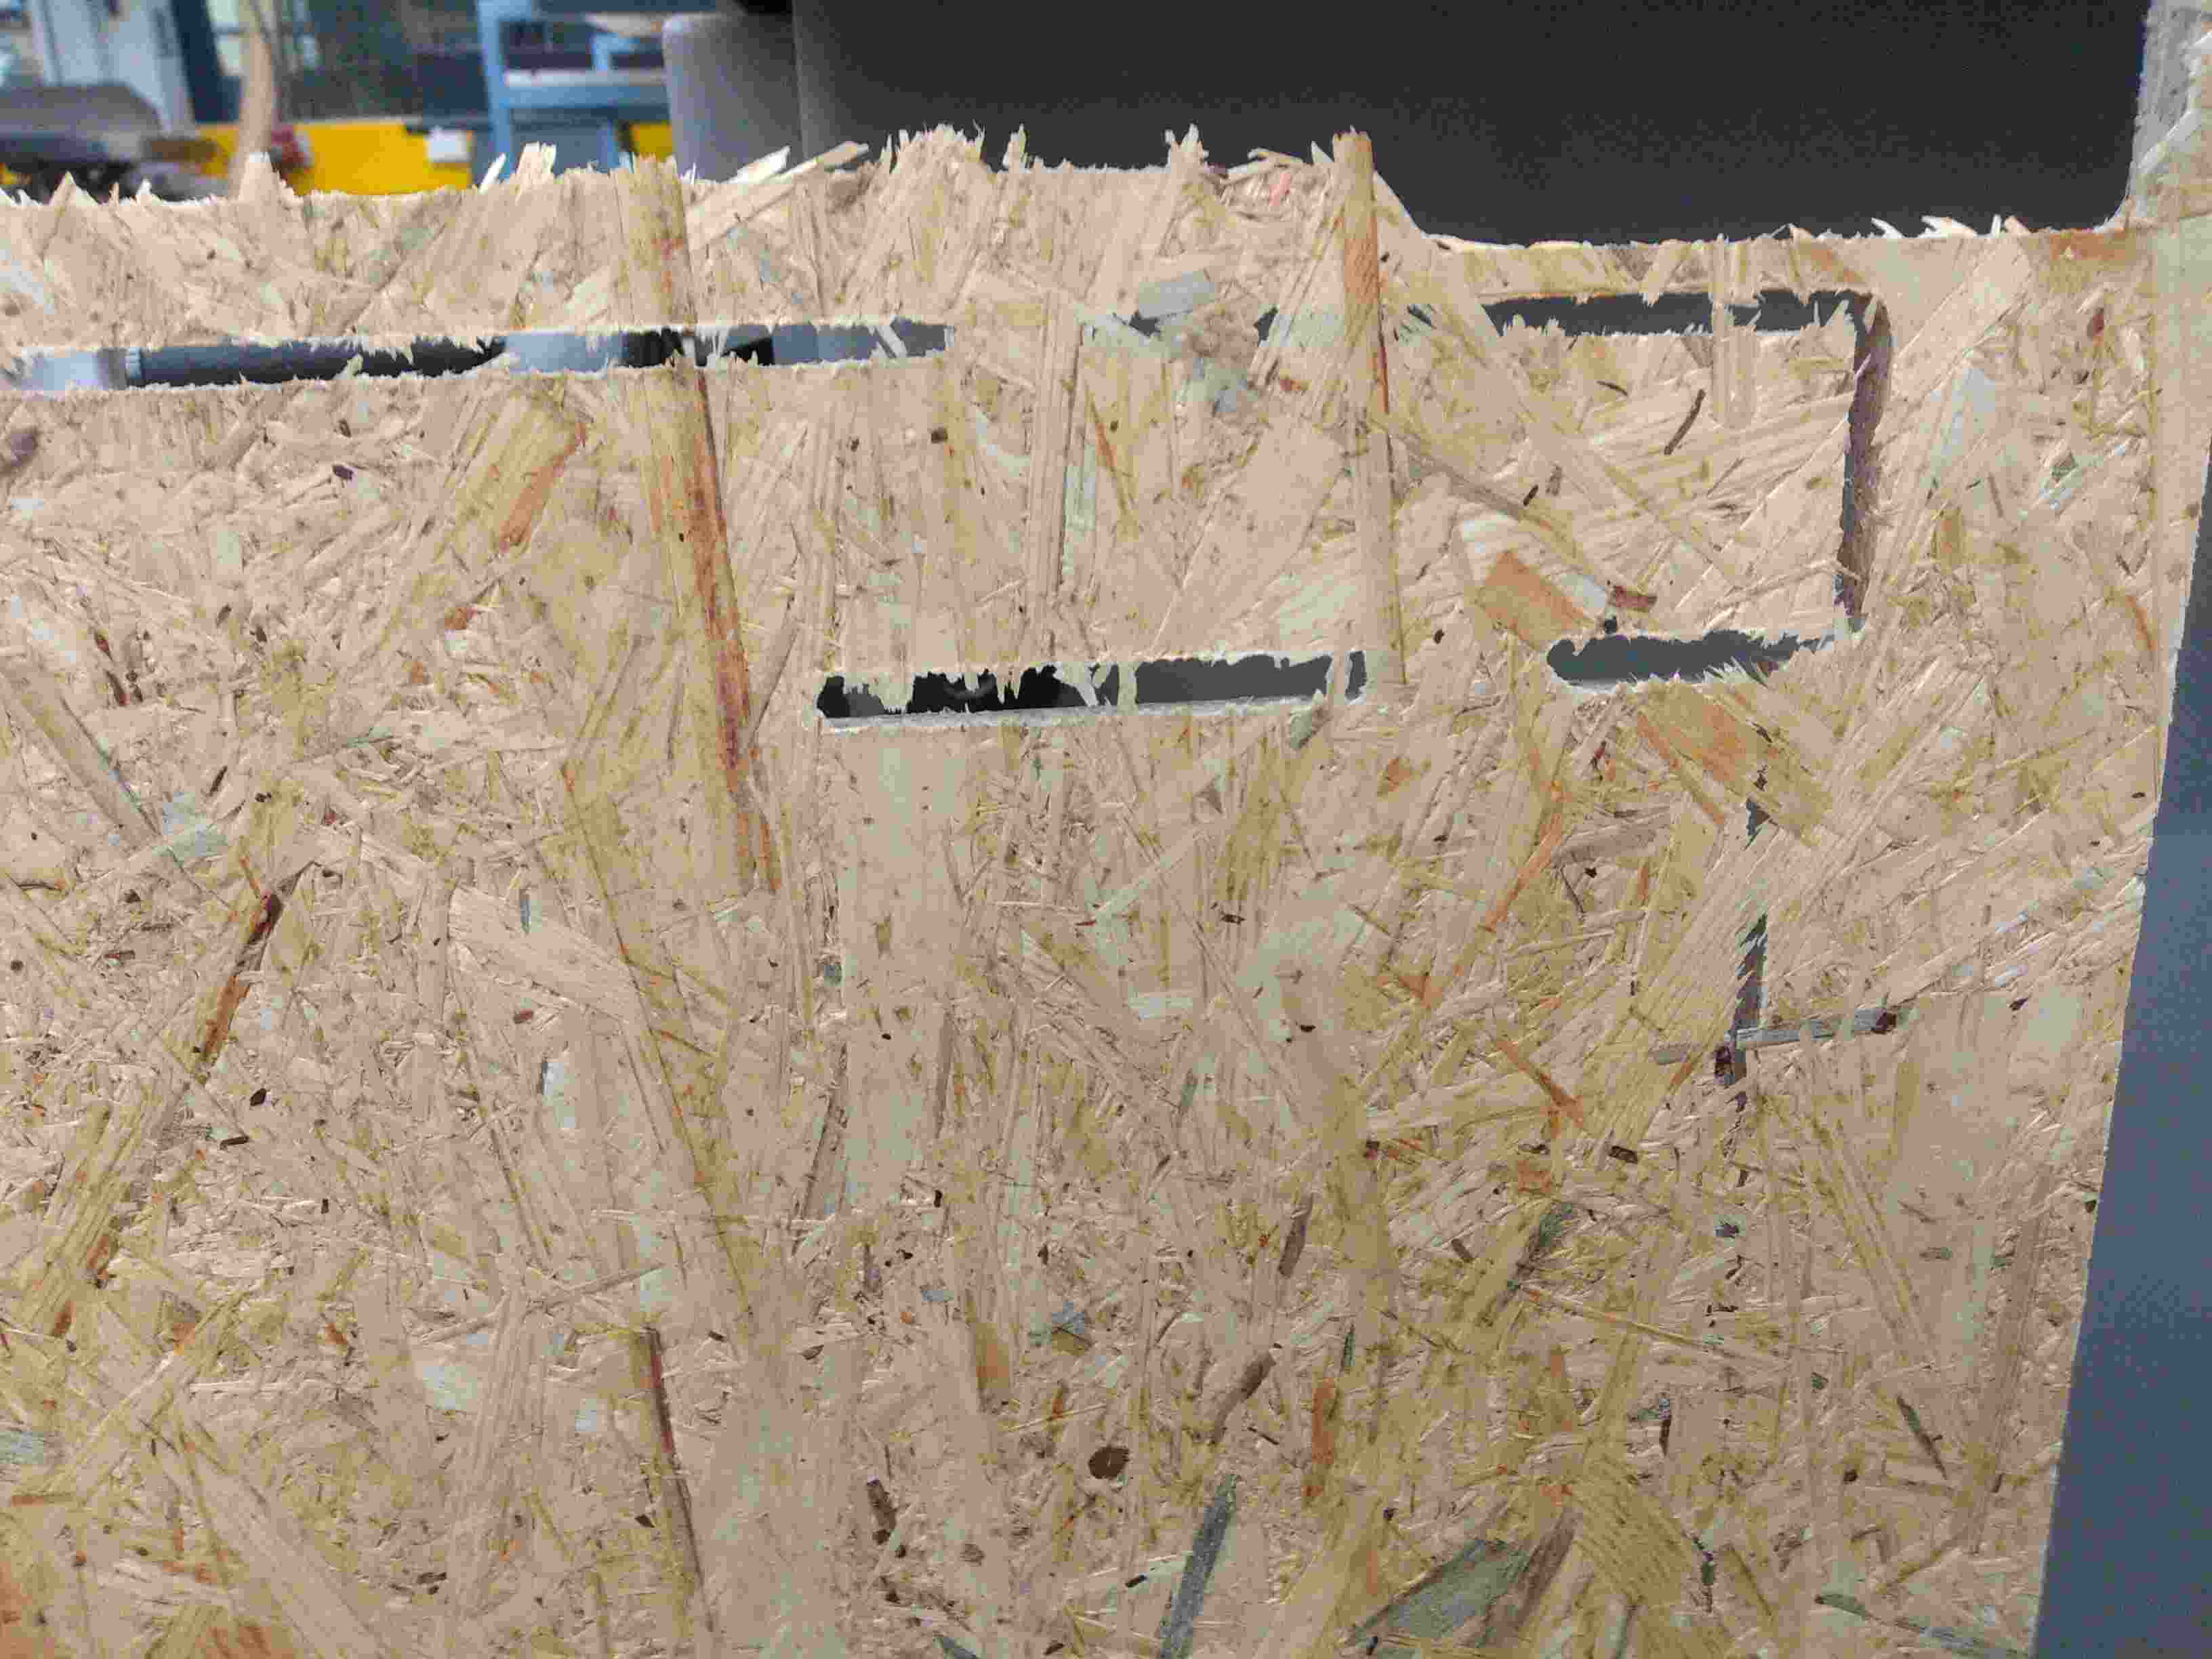
Finished milling
Milling result
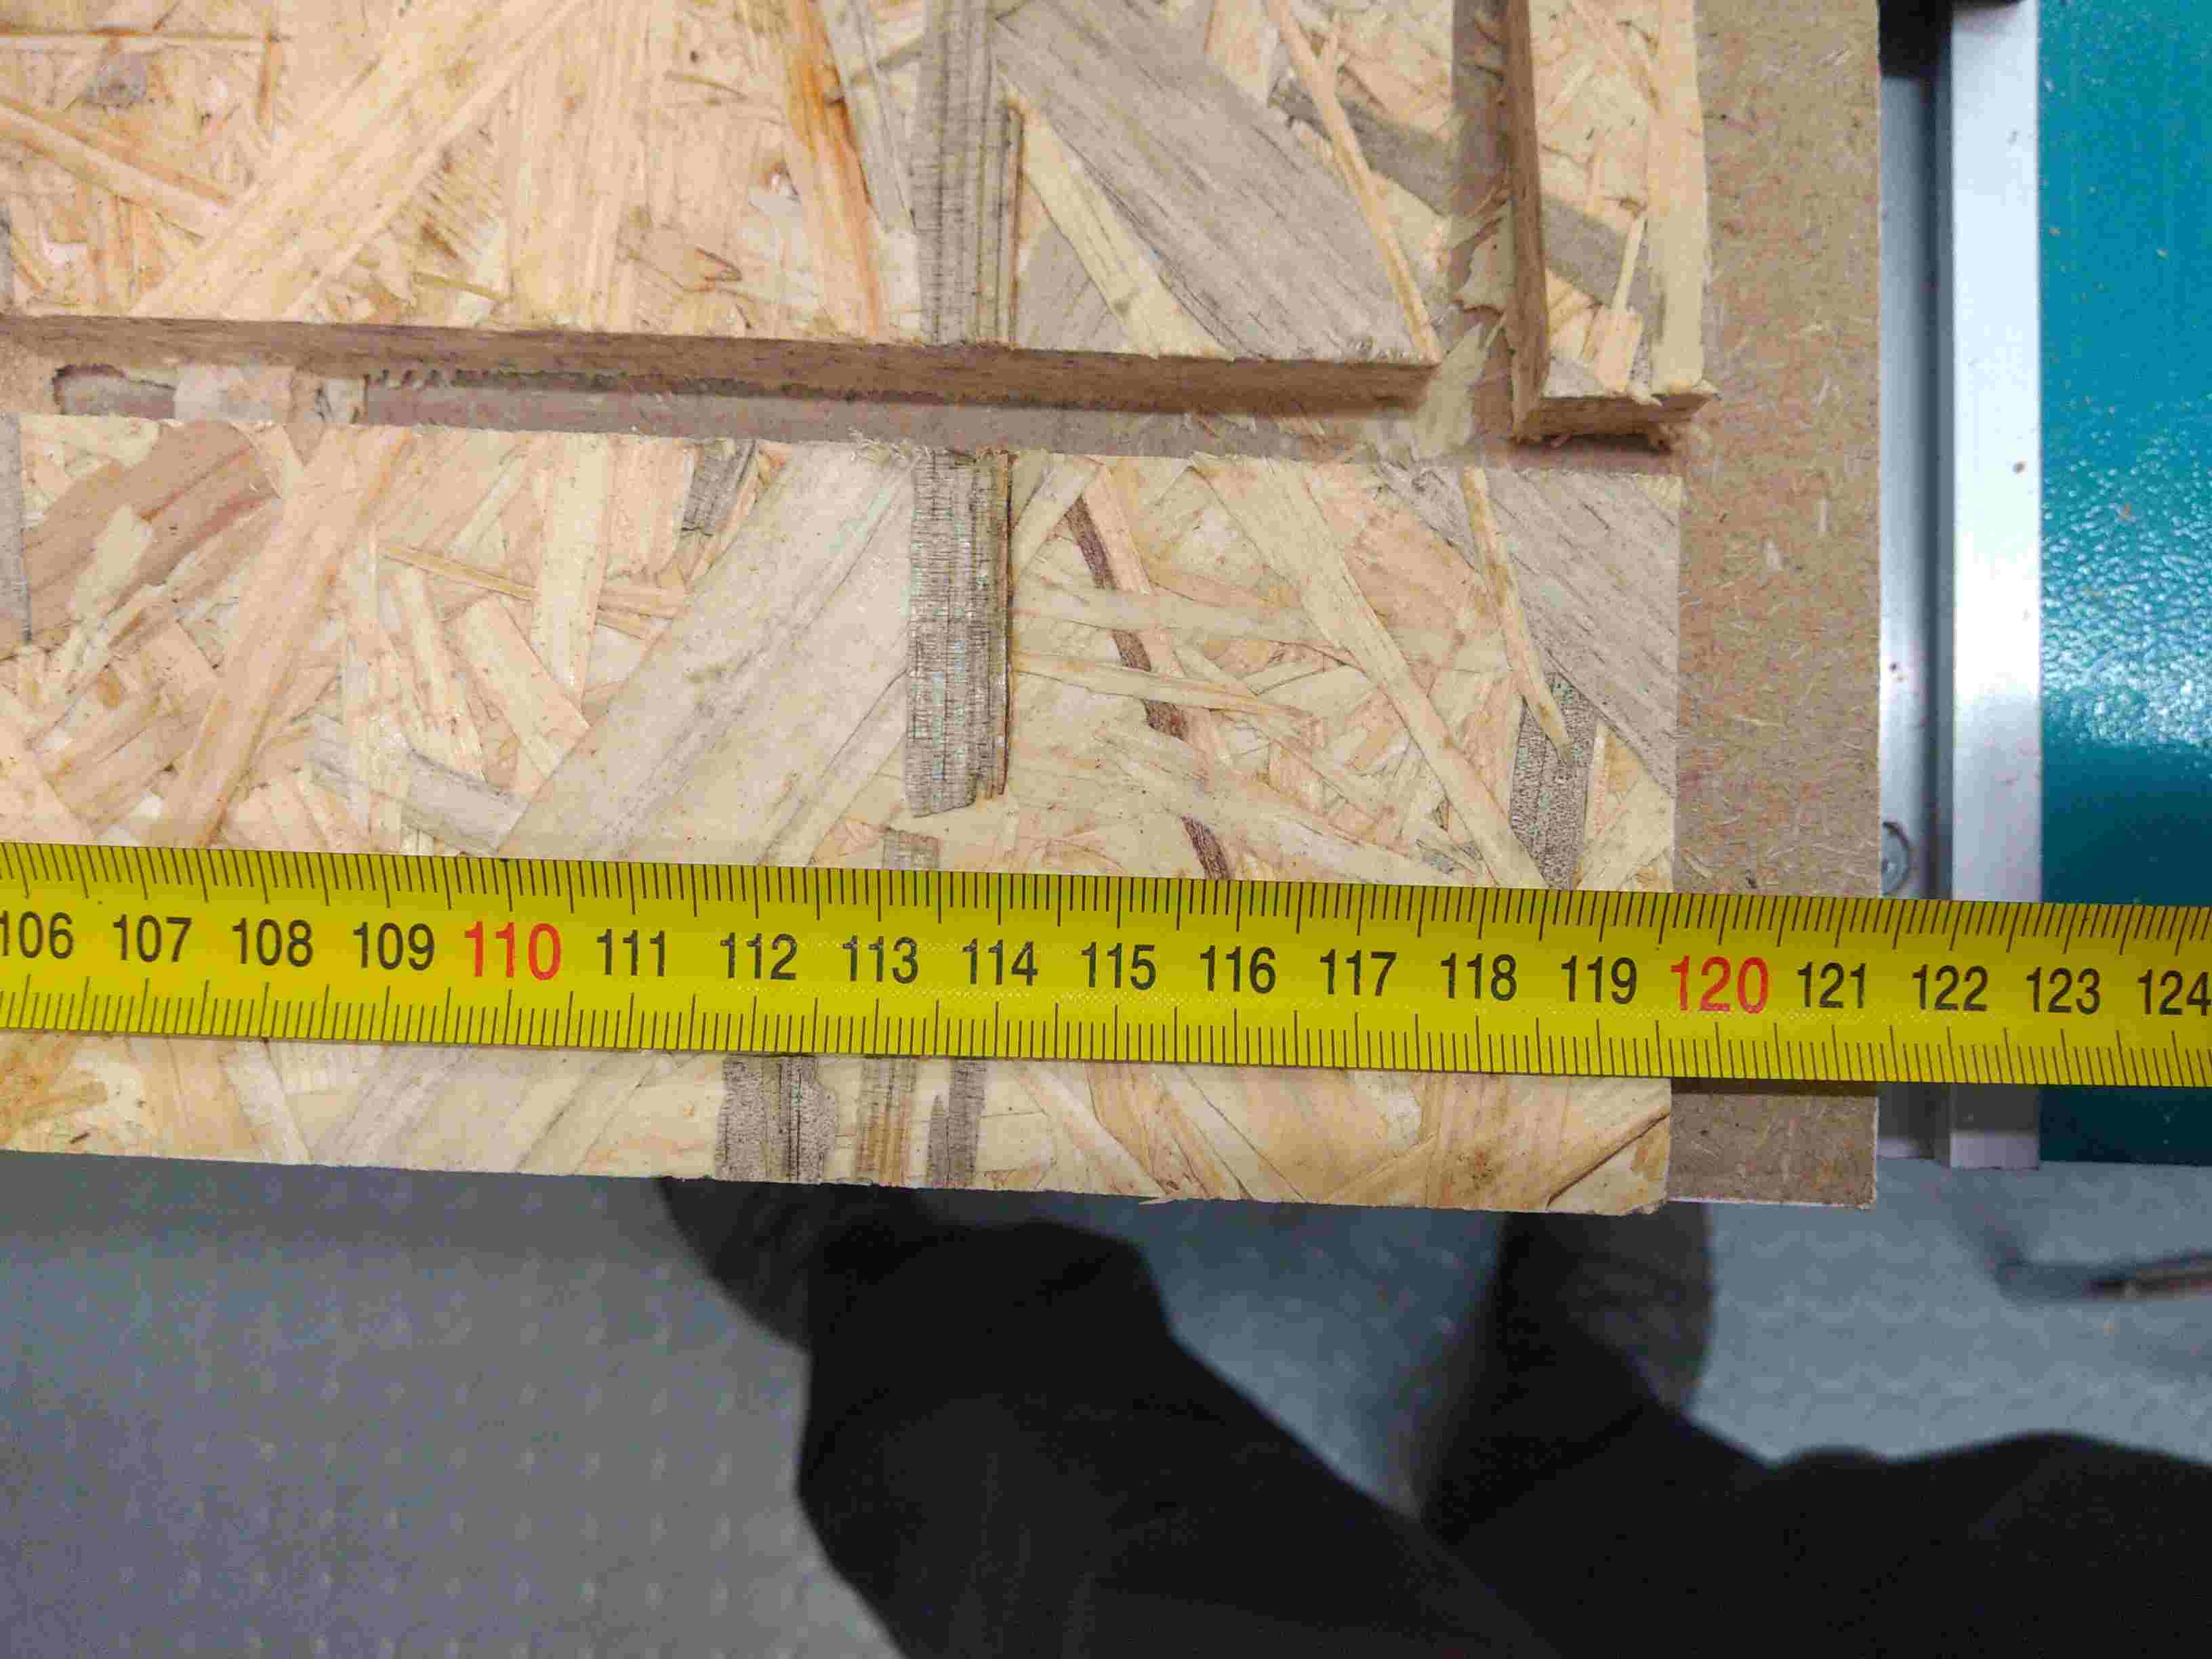
Test assembly
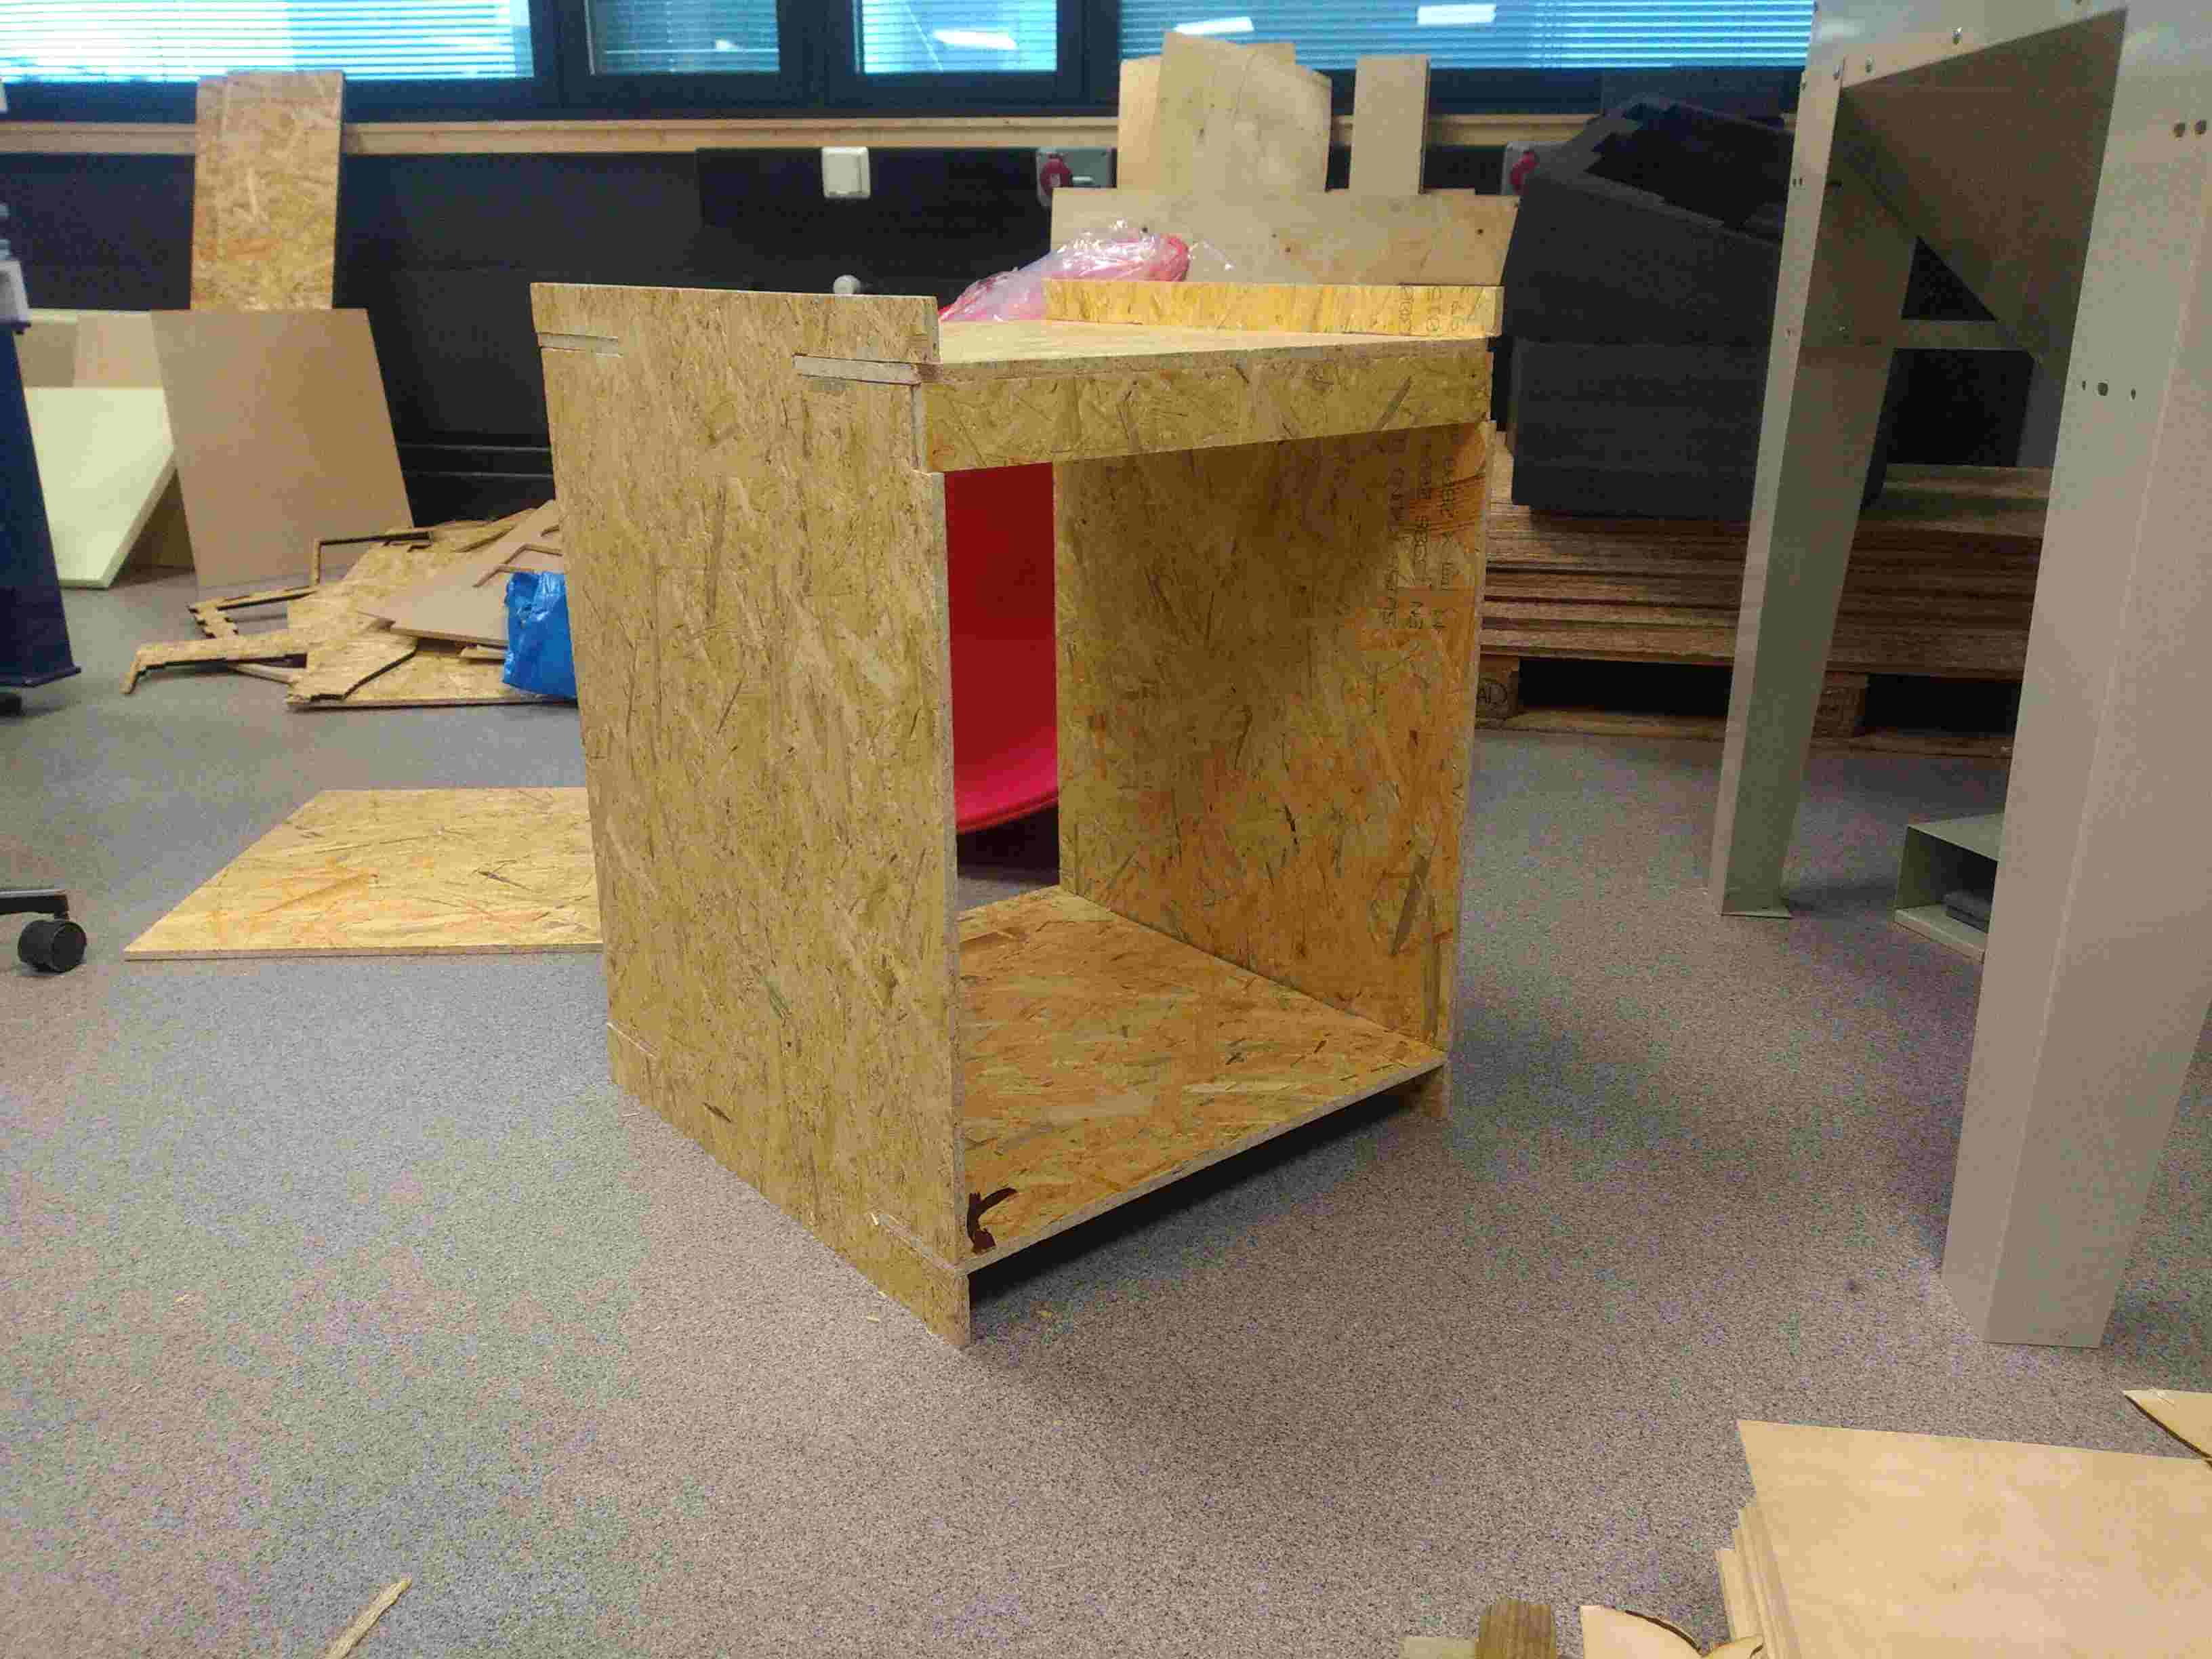
Testing size