Appearance
Interface and Application Programming
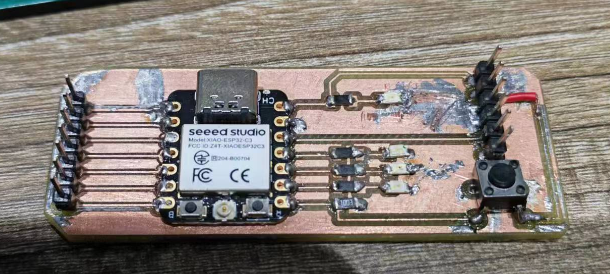
In this week I have tried to use Processing 4 to program a GUI application to control the LED output on the Xiao-ESP32 extension board I developed and also with a Raspberry Pi 4B.
Processing is an open-source graphical library and integrated development environment built for the electronic arts, new media art, and visual design communities with the purpose of teaching non-programmers the fundamentals of computer programming in a visual context. WIKI
The download and install of Processing can be easily found in its official site.
Group work 2023 & 2025: Compare Processing with other interface and application programming tools
Assignment: Compare as many tool options for interface and application design.
About Processing
Key Features:
- Simplified Syntax: Functions like
setup()anddraw()make it beginner-friendly. - Visual Capabilities: Excellent for 2D/3D graphics, animations, and data visualization.
- Hardware Integration: Works well with Arduino for interactive hardware projects.
- Extensive Libraries: Supports image processing, sound, networking, and more.
- Community-Driven: Open-source with a vast collection of tutorials and libraries.
Common Alternatives
Other tools and frameworks for creative coding and interfacing include:
| Tool | Strengths | Use Cases | Differences from Processing |
|---|---|---|---|
| P5.js | A JavaScript library based on Processing; runs in web browsers. | Web-based creative coding and interactive graphics. | Browser-based, uses JavaScript, suited for web apps. |
| Max/MSP | Graphical programming for audio, video, and multimedia projects. | Audio synthesis, interactive installations. | Graphical interface, focuses on sound and video. |
| TouchDesigner | Real-time multimedia content creation, particularly for live visuals. | Projection mapping, VJing, interactive installations. | Commercial, more complex for visual programming. |
| Unity | Powerful 3D engine for game development, VR, and AR. | Games, simulations, virtual/augmented reality. | Much more complex; focuses on 3D and physics. |
| MATLAB | Numerical computing and data visualization. | Scientific visualization, simulations. | Focused on data-heavy applications. |
| OpenFrameworks | C++ framework for creative coding. | High-performance 2D/3D graphics and audio projects. | More advanced; requires knowledge of C++. |
| Pure Data (Pd) | Open-source, visual programming for audio and multimedia. | Real-time audio processing and sound design. | Visual programming, focused on audio and sound art. |
| Scratch | Beginner-friendly, block-based coding for kids and education. | Educational projects and animations. | Simplified drag-and-drop interface for children. |
Processing vs. Others: Key Differences
Ease of Use
- Processing: Extremely beginner-friendly, ideal for quick prototyping.
- Unity and OpenFrameworks: Require more experience due to their advanced features.
Focus Area
- Processing: Focuses on visual design and interactive applications.
- Max/MSP: Best for multimedia and audio projects.
- MATLAB: Suitable for scientific applications and data visualization.
Web Integration
- Processing: Limited web capabilities.
- P5.js: Specifically designed for web-based applications using JavaScript.
Hardware Integration
- Processing: Strong Arduino support for interactive projects.
- Max/MSP: Works well with MIDI and other multimedia devices.
Summary
Processing is a versatile tool for creative coding and visual design, especially for beginners. However, alternatives like P5.js are better for web-based projects, while Max/MSP or TouchDesigner excel in multimedia. Unity and OpenFrameworks offer high-performance solutions for more complex and resource-intensive applications. The choice of tool depends on the specific project requirements and the user’s expertise level.
Serial Communication Between Arduino and Processing: Light a LED
In this part, I created an interface in Processing where I could left-click to light up the LED on my Fab-Xiao development board and right-click to turn off the LED. Connect the Hardware:Connect the Arduino to the computer via USB. The USB cable allows for power and data transfer. Program the Arduino:Initialize the serial communication in the Arduino sketch.
void setup() {
  // put your setup code here, to run once:
pinMode(D10,OUTPUT);
Serial.begin(9600);
}

void loop() {
  // put your main code here, to run repeatedly:
if(Serial.available()>0){
  char ledPinState = Serial.read();
  if(ledPinState == '1'){
    digitalWrite(D10,HIGH);
  }
  if(ledPinState == '0'){
    digitalWrite(D10,LOW);
  }
}
}
Set Up Processing:Initialize the Serial Connection and Send Data to Arduino.
import processing.serial.*;
Serial myPort;

void setup(){
  size(200, 200);
  myPort = new Serial(this, "COM5", 9600);
  // Move the sketch window to the desired location on the screen
  surface.setLocation(3000, 1200); // set location
}

void draw(){
  background(255);
  if(mousePressed && (mouseButton == LEFT)){
    fill(255,106,160);
    rect(80, 80, 40, 40);
    myPort.write('1');
  } else if(mousePressed && (mouseButton == RIGHT)){
    fill(0);
    rect(80, 80, 40, 40);
    myPort.write('0');
  } else {
    fill(255);
    rect(80, 80, 40, 40);
  }
}
A hero shot video to see result.
Processing on Raspberry Pi
Download and Install Processing 4 on Raspberry Pi
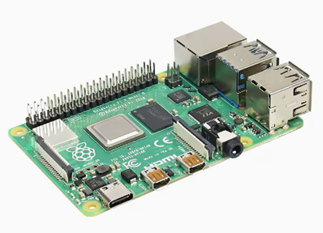
Raspberry Pi is a series of small single-board computers developed in the United Kingdom by the Raspberry Pi Foundation in association with Broadcom. The Raspberry Pi project originally leaned towards the promotion of teaching basic computer science in schools. WIKI To run Processing on a Raspberry Pi computer, we need:
- a Raspberry Pi model 4, 3+, 3 or 2.
- a microSD card with raspbian os installed.
- a suitable USB power supply (2.5A are recommended for the latest model)
- an HDMI cable to hook up the Pi to a screen or you can use SSH & VNC
- a USB keyboard and mouse
Then follow the steps in this DOCUMENT, you will have Processing successfully installed. After installation you can open the file in terminal and turn on Processing with following code.
pi@raspberrypi:~/Downloads/processing-4.2 $ ls
core                java   processing          revisions.md
hs_err_pid7021.log  lib    processing-java     tools
install.sh          modes  replay_pid7021.log  uninstall.sh
pi@raspberrypi:~/Downloads/processing-4.2 $ ./processing
Test Example of Mouse Input
I have practiced the Processing programming with mouse input.
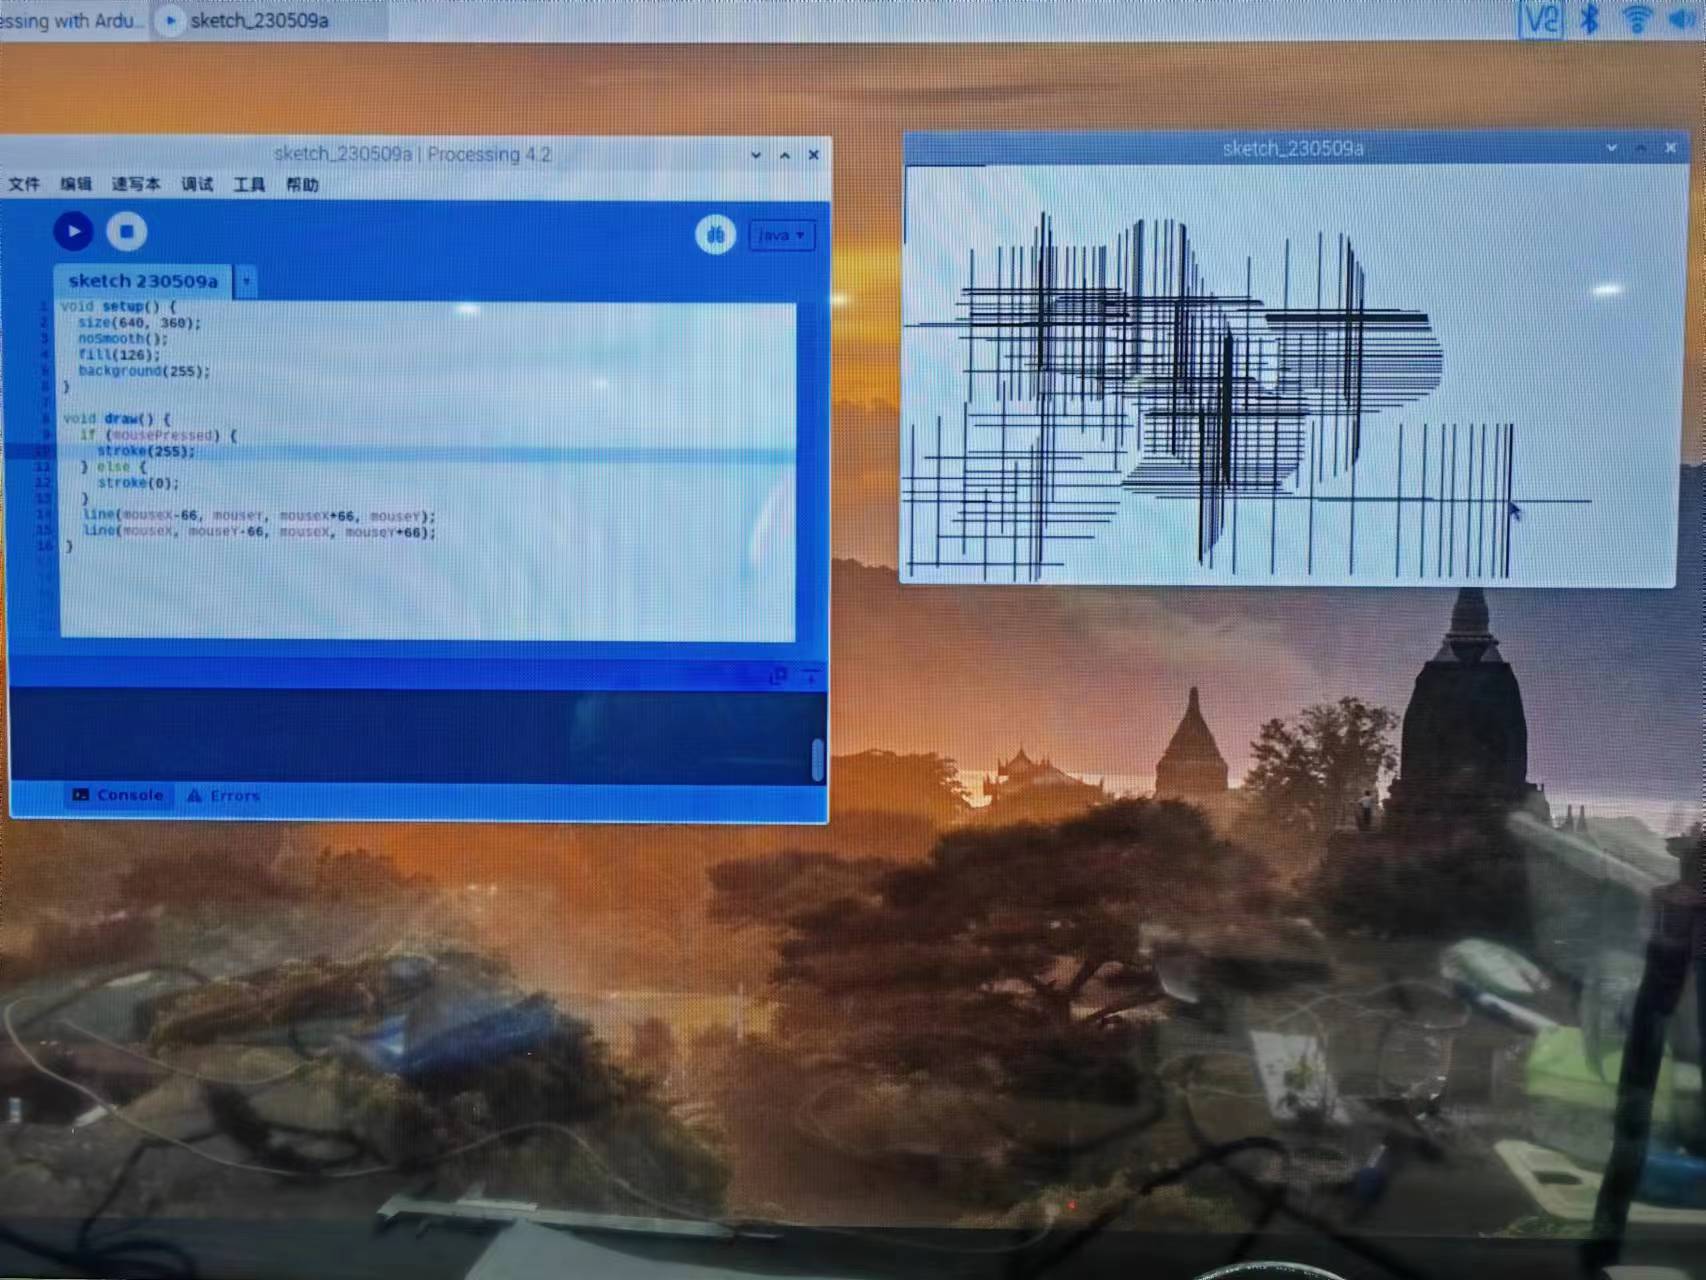
void setup() {
  size(640, 360);
  noSmooth();
  fill(126);
  background(255);
}

void draw() {
  if (mousePressed) {
    stroke(255);
  } else {
    stroke(0);
  }
  line(mouseX-66, mouseY, mouseX+66, mouseY);
  line(mouseX, mouseY-66, mouseX, mouseY+66);
}
Shine a LED Light
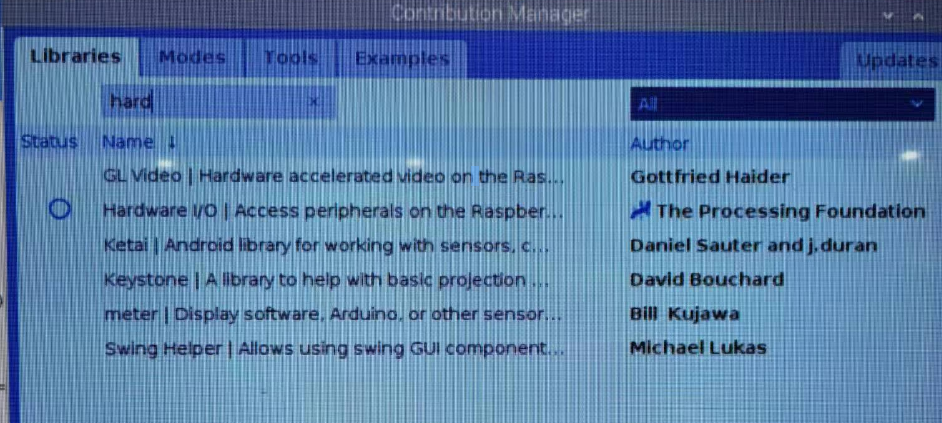
In order to use Processing directly read and write signals with Raspberry Pi GPIO pins. We need to first download a library in Tools> Manage Tools> Libraries> Search for Hardware I/O then install it.
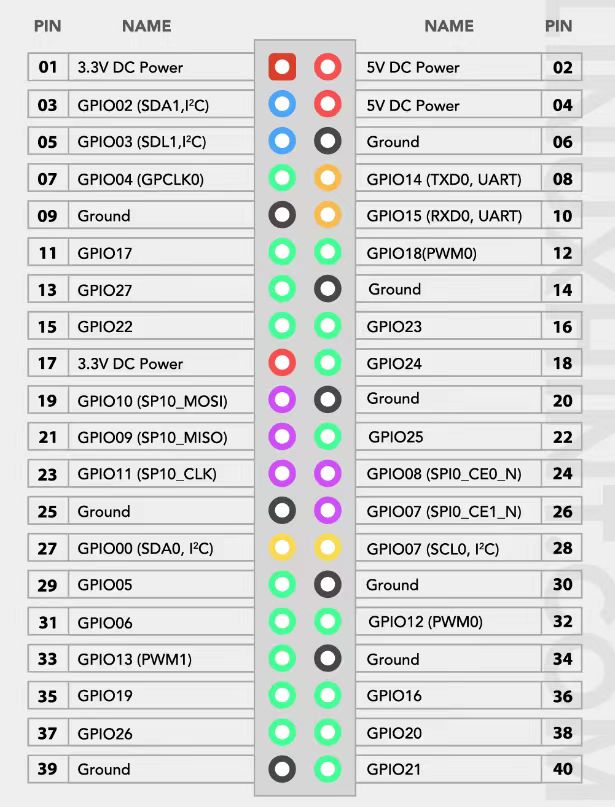
The pinheads type on Raspberry Pi is shown figure below.
The LED light should be connected as follow.
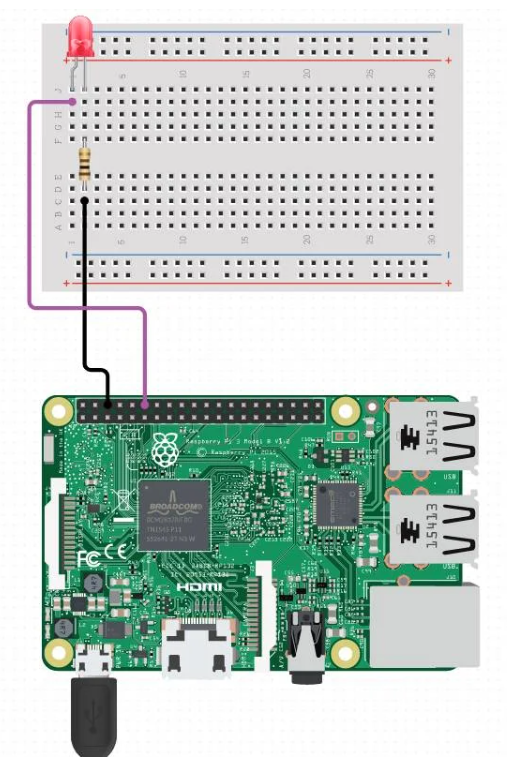
Following code will enable you shine this LED.
import processing.io.*;
int led = 18;
void setup() {
GPIO.pinMode(led, GPIO.OUTPUT);
frameRate(0.5);
}
void draw() {
GPIO.digitalWrite(led, GPIO.LOW);
delay(500);
GPIO.digitalWrite(led, GPIO.HIGH);
delay(1000);
}
Control a LED Light with GUI
The following code plot a square button on the screen and it changes color when you use mouse to press it (Left Click Green & Light Off / Right Click Red & Light on).
import processing.io.*;
int LED = 18;
void setup()
{
  size(640, 360);
  background(0);
  rectMode(CENTER);
  frameRate(25);

  GPIO.pinMode(LED, GPIO.OUTPUT);
  fill(255, 0, 0);
  rect(width/2, height/2, 50, 50, 7);
}

void draw()
{
  if (mousePressed && (mouseButton == LEFT) && mouseX <= 346 && mouseX >=295 && mouseY <= 203 && mouseY >= 153)
  {

    fill(0, 255, 0);
    rect(width/2, height/2, 50, 50, 7);
    GPIO.digitalWrite(LED, GPIO.LOW);
    //delay(100);
  }
  if (mousePressed && (mouseButton == RIGHT) && mouseX <= 346 && mouseX >=295 && mouseY <= 203 && mouseY >= 153)

  {
    fill(255, 0, 0);
    rect(width/2, height/2, 50, 50, 7);
    GPIO.digitalWrite(LED, GPIO.HIGH);
  }
}
The LED light will turn on and off we you press the GUI button.