Grupal Assignment.
Test the design rules for your 3D Printer(s)

The Sidewinder X1 is a popular 3D printer produced by the Chinese manufacturer Artillery.
It is a cartesian-style printer that features a large build volume of 300 x 300 x 400 mm,
making it suitable for printing a wide range of objects. The Sidewinder X1 is known for its high-quality
components and reliable performance. It comes with a number of features that are usually found in more expensive printers,
such as a direct drive extruder, a heated bed, and a touch screen interface. It also has a number of safety features,
including thermal runaway protection and a filament runout sensor.
The printer supports a range of materials, including PLA, ABS, PETG, and TPU, and it has a maximum print speed of 150 mm/s.
It is also compatible with a wide range of slicers and software, including Cura and Simplify3D.
I downloaded a 3D Test from Thingiverse that I opened on Ultimaker Cura.
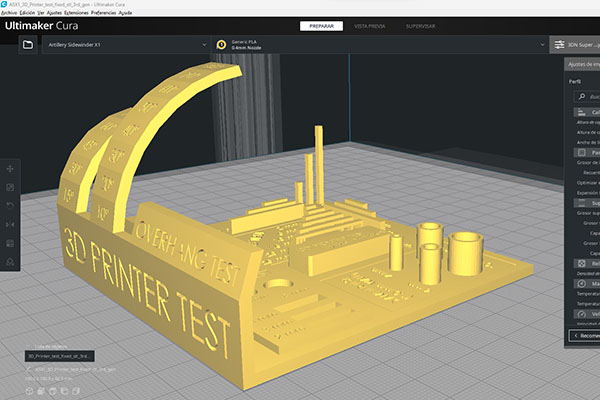
Here are the print settings:
Layer
Layer height: 0.12mm
Initial Layer height: 0.2mm
Line Width: 0.44mm
Temperature
Extruder: 200° C
Bed: 60° C
Speed
Print speed: 60mm/s
Wall speed: 30mm/s
Travel speed: 150mm/s
Initial layer speed: 20mm/s
Retraction
lenght: 2.5mm
speed: 25mm/s
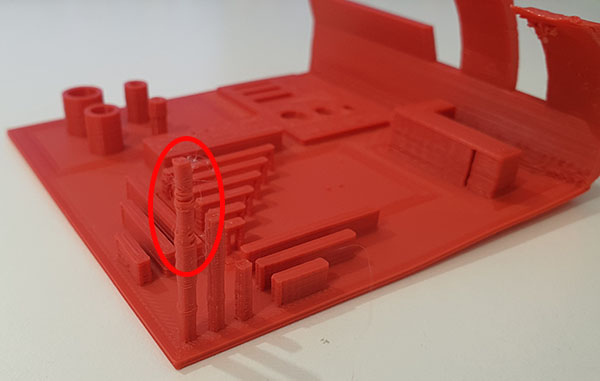
I used a Creality PLA, the overhang won't go over 60 degres without support and the text won't appear.
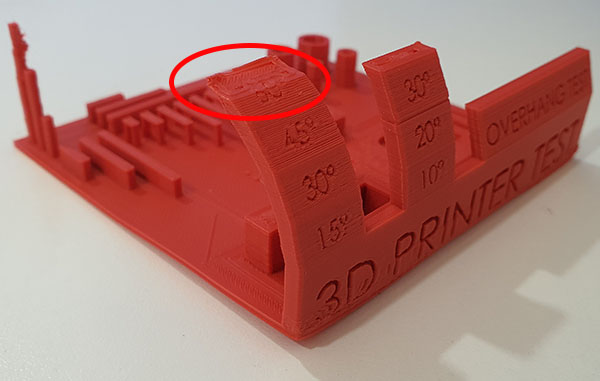
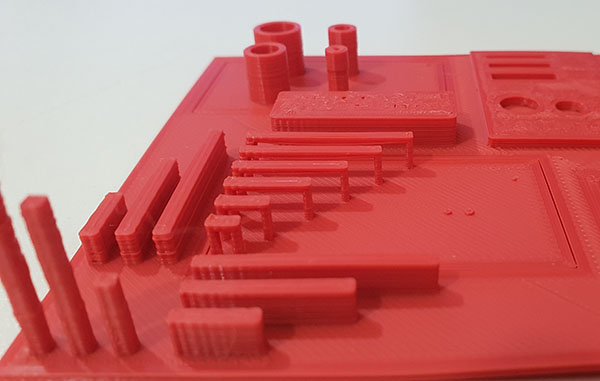
The mini pilars won't go straight, looks like a Z axis problem.
The bridges worked well but we can see some problems with the calibration.
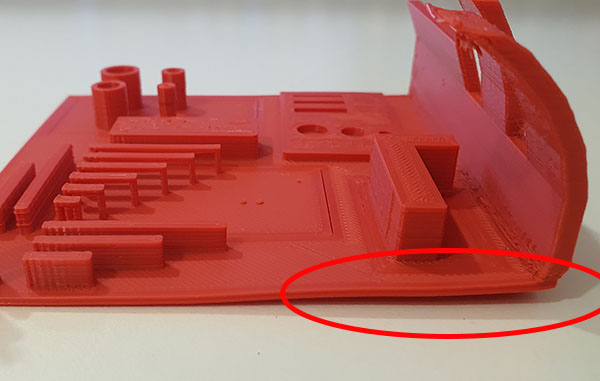
The adhesion on this side wasn't great, might be a heat problem with the bed.
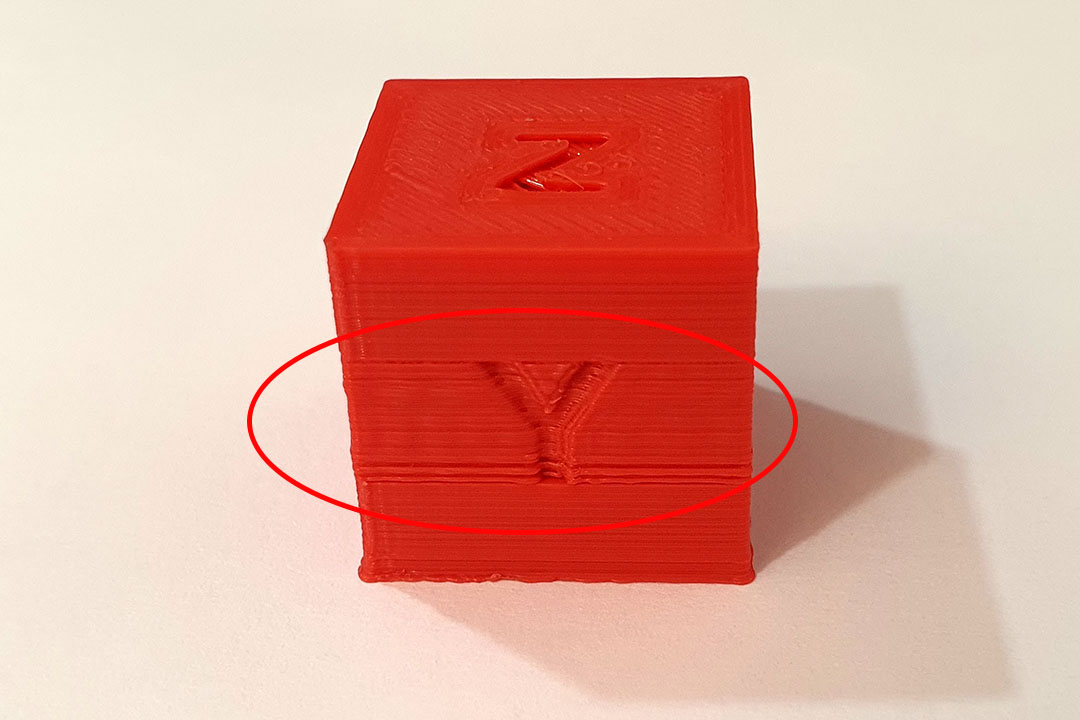
I then printed the XYZ Calibration Cube and could see the Z axis problem.
Conclusion:
3D Printing offers a range of advantages compared to traditional manufacturing methods:
Flexible Design
3D Printing allows more complex design and with the new upgrades like the Palette 3 Pro, we can print with different colors on the fly.
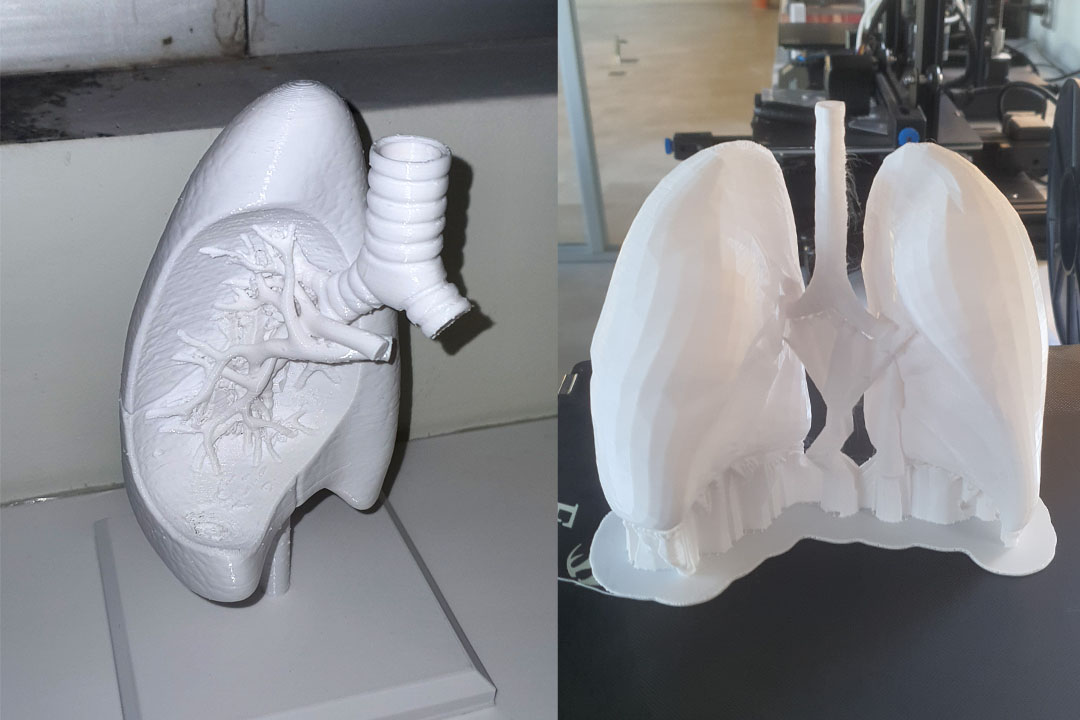
We started with the students of medicine a workshop with 3D Scanning and Printing so they have to print a clinic case
for their final examen of the semester.
Rapid Prototyping
3D printing can manufacture parts within hours, which speeds up the prototyping process. This allows for each stage to complete faster.
When compared to machining prototypes, 3D printing is inexpensive and quicker at creating parts as the part can be finished in hours
allowing for each design modification to be completed at a much more efficient rate.
Minimising Waste
The production of parts only requires the materials needed for the part itself, with little or no wastage as compared to alternative methods
which are cut from large chunks of non-recyclable materials. Not only does the process save on resources but it also reduces the cost of the materials being used.
Like with almost any other process there are also drawbacks of 3D printing technology which should be considered before opting to use this process.
Limited Materials
While 3D Printing can create items in a selection of plastics and metals the available selection of raw materials is not exhaustive.
This is due to the fact that not all metals or plastics can be temperature controlled enough to allow 3D printing.
In addition, many of these printable materials cannot be recycled and very few are food safe.
Restricted Build Size
3D printers currently have small print chambers which restrict the size of parts that can be printed.
Anything bigger will need to be printed in separate parts and joined together after production.
This can increase costs and time for larger parts due to the printer needing to print more parts before manual labour is used to join the parts together.
Design Inaccuracies
Another potential problem with 3D printing is directly related to the type of machine or process used, with some printers having lower tolerances
meaning that final parts may differ from the original design.
This can be fixed in post processing, but it must be considered that this will further increase the time and cost of production.
Individual Assignment.
Design and 3D print an object (small, few cm3, limited by printer time) that could not be made subtractively.
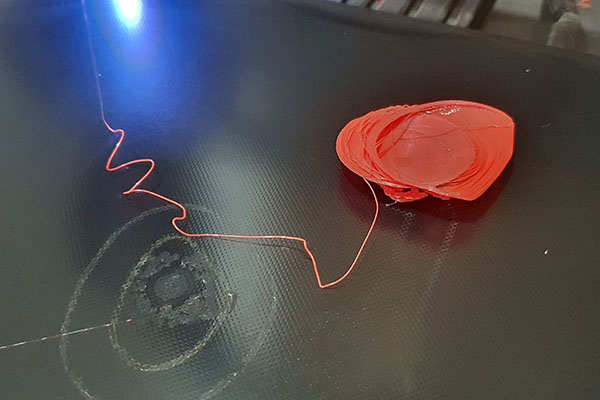
For this assignement I designed a Spring in Fusion 360.
It's a shape that can't be done with any CNC on a simple way, you need a Rotary Attachment and also a hollw tube from cardboard or acrylic.
It can't be done with the regular boards that we have on Fab Lab (MDF, Wood, Plywood...).

I exported it as a STL file to be opened into Cura.


The supports needed where too much and let an unfinished work so I changed my form.


Then I made a Sphere but it I had problems with adhesion, the sphere will start moving.
Finaly I made a Hollow Sphere with a flat base.


I then exported as STL file and sent to Cura.
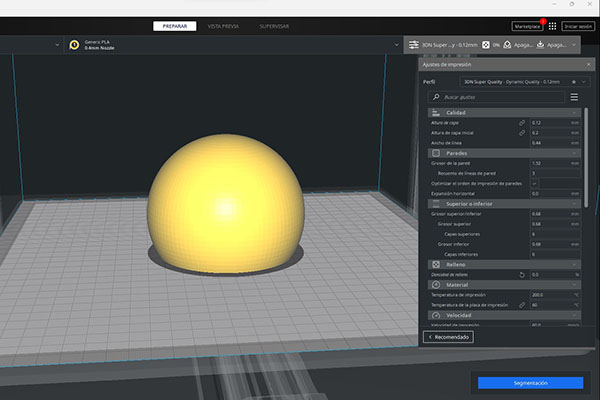
Here are the print settings:
Layer
Layer height: 0.12mm
Initial Layer height: 0.2mm
Line Width: 0.44mm
Temperature
Extruder: 200° C
Bed: 60° C
Speed
Print speed: 60mm/s
Wall speed: 30mm/s
Travel speed: 150mm/s
Initial layer speed: 20mm/s
Retraction
lenght: 2.5mm
speed: 25mm/s
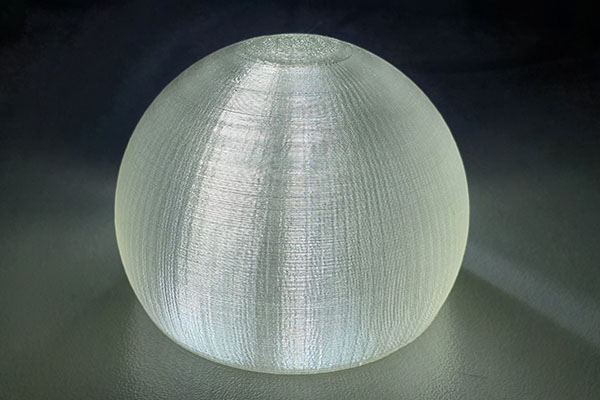
Here is the result, I printed it with translucide PLA and put some light beneath.
3D scan an object (and optionally print it)
First I used the QLone app available on IOS and Android.
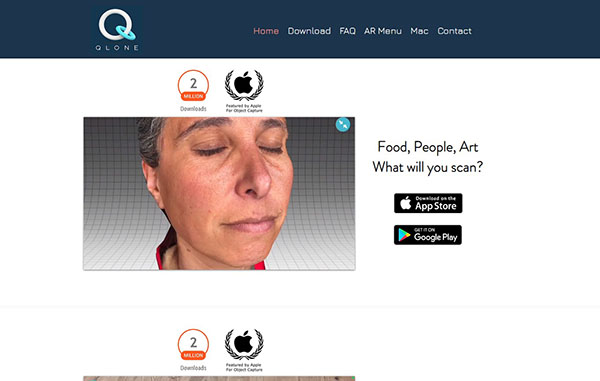
You need to download a mat that you print and then you can scan.

To scan you need to put the object on a pedestal so you can go all around the objet on a 360 way but it can be dizzily.
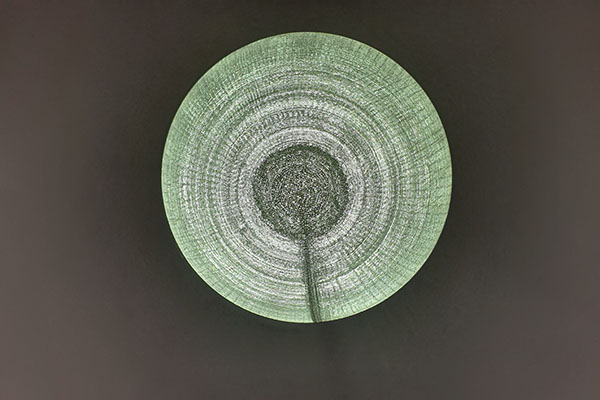
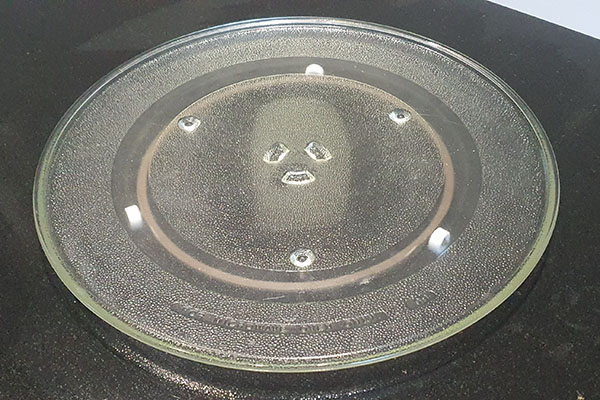
With some experience on 3D Scan, I used the tray from a microwave so you don't need to move around the object, it's the object that spins.

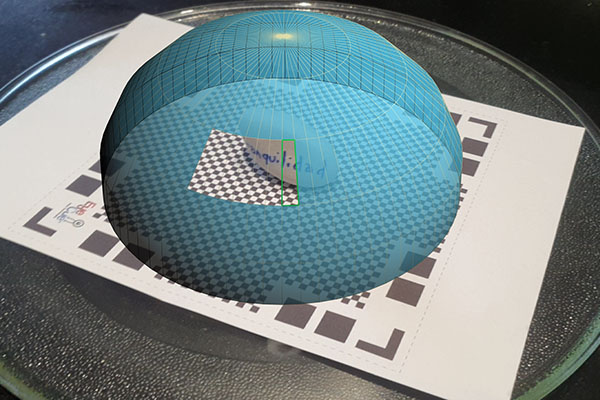
Once all the blue faces are gone, the scan is finished.
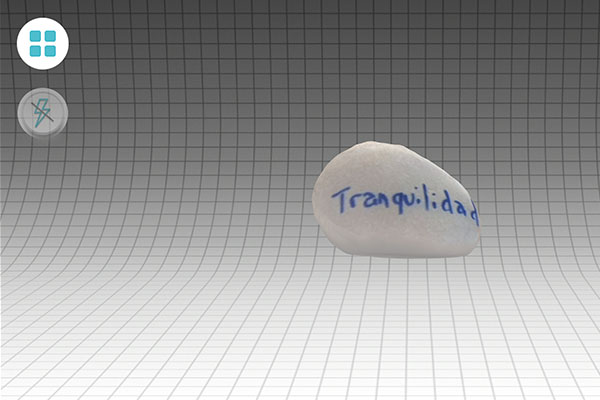
You can then export to many formats available
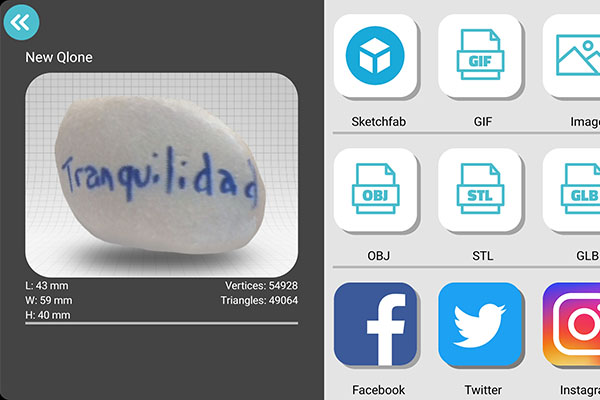
Here is the final result with the original stone side by side, we can notice a flat top that can be fixed on any CAD program.

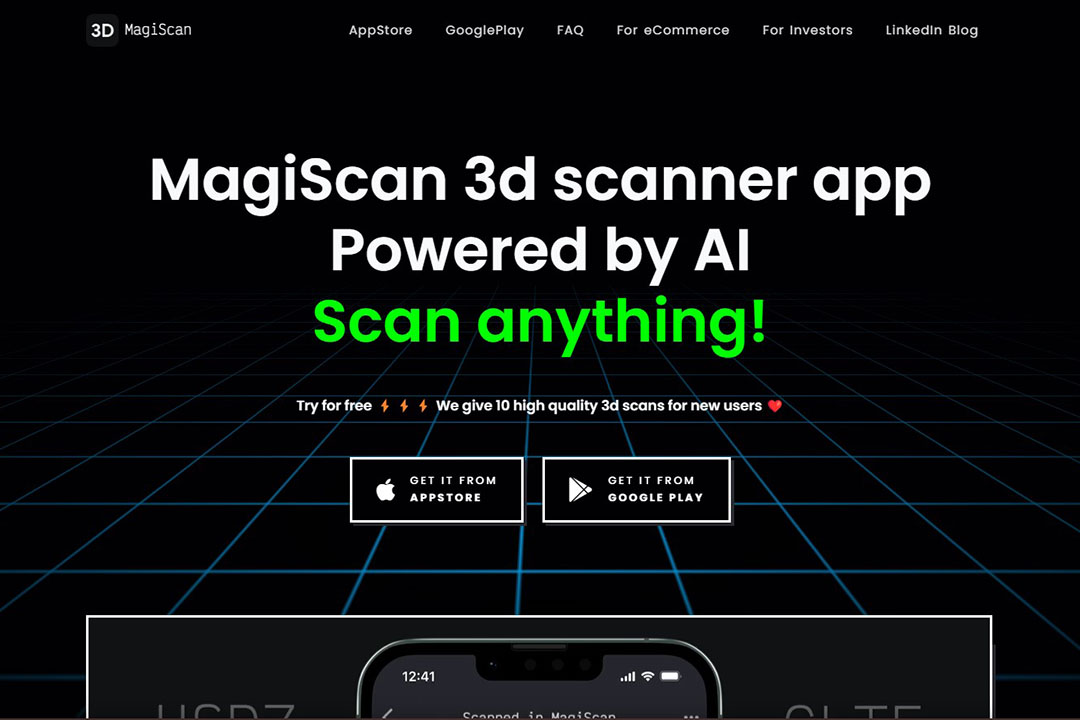
Then I tried with MagiScan AI 3D also available on IOS and Android.
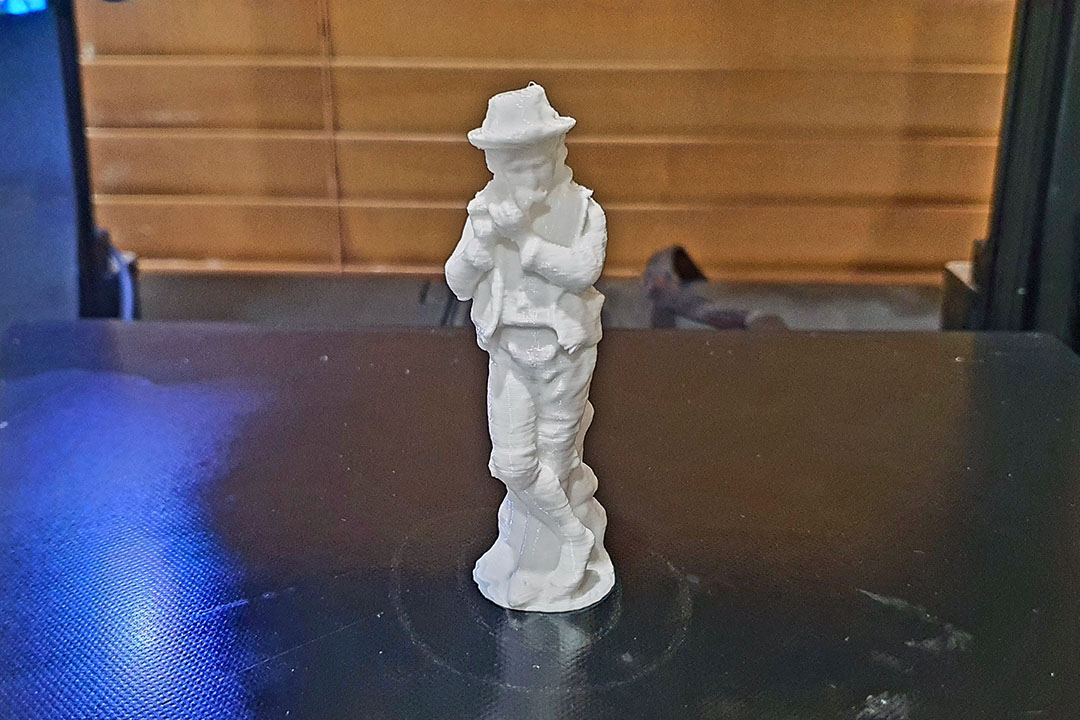
I tried to scan a statue from my father's in law house.
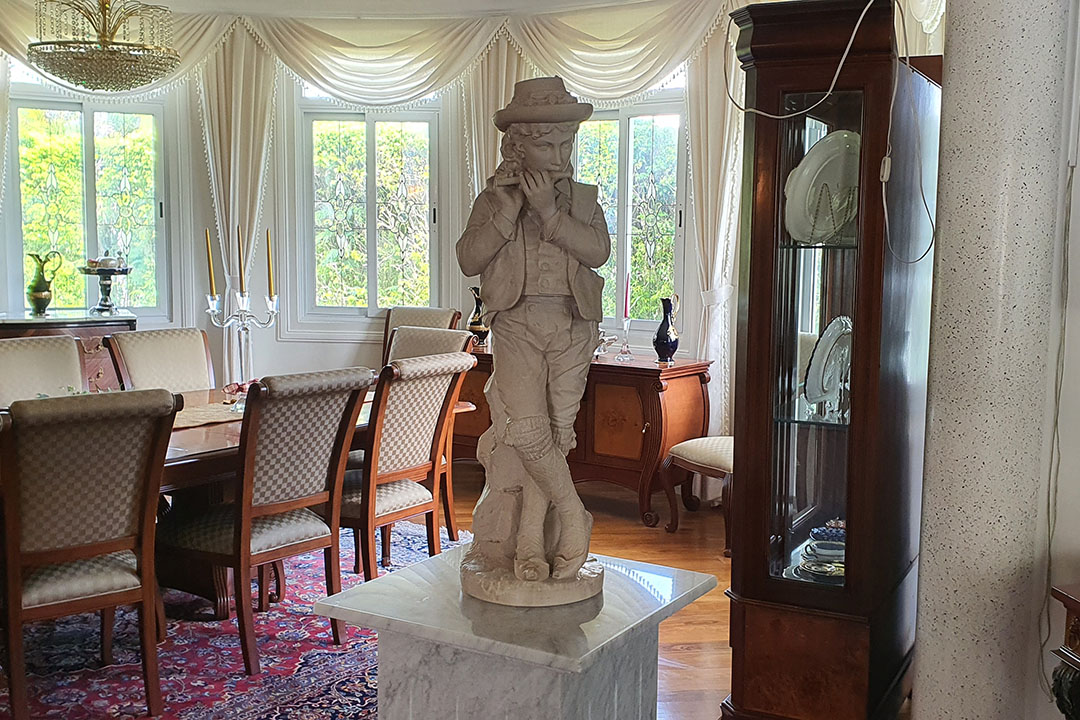
You can choose from 2 options for scanning, I choosed the 360 Wheel because the other option is still in development.
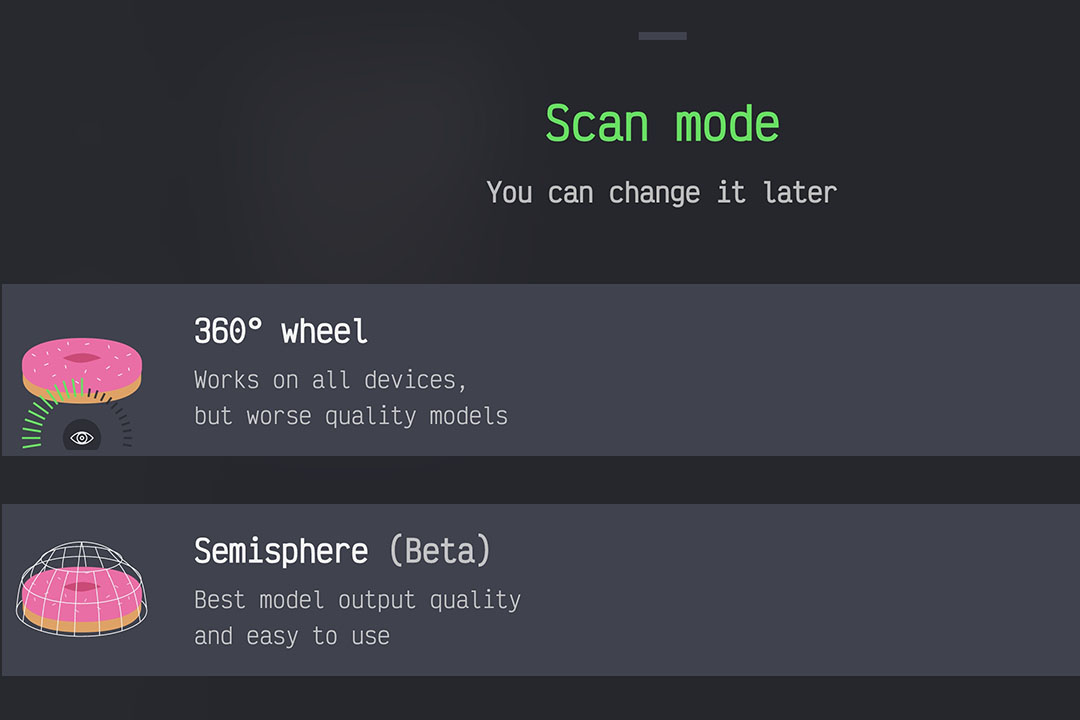
Then you just have to go around the statue to fill all the lines needed.
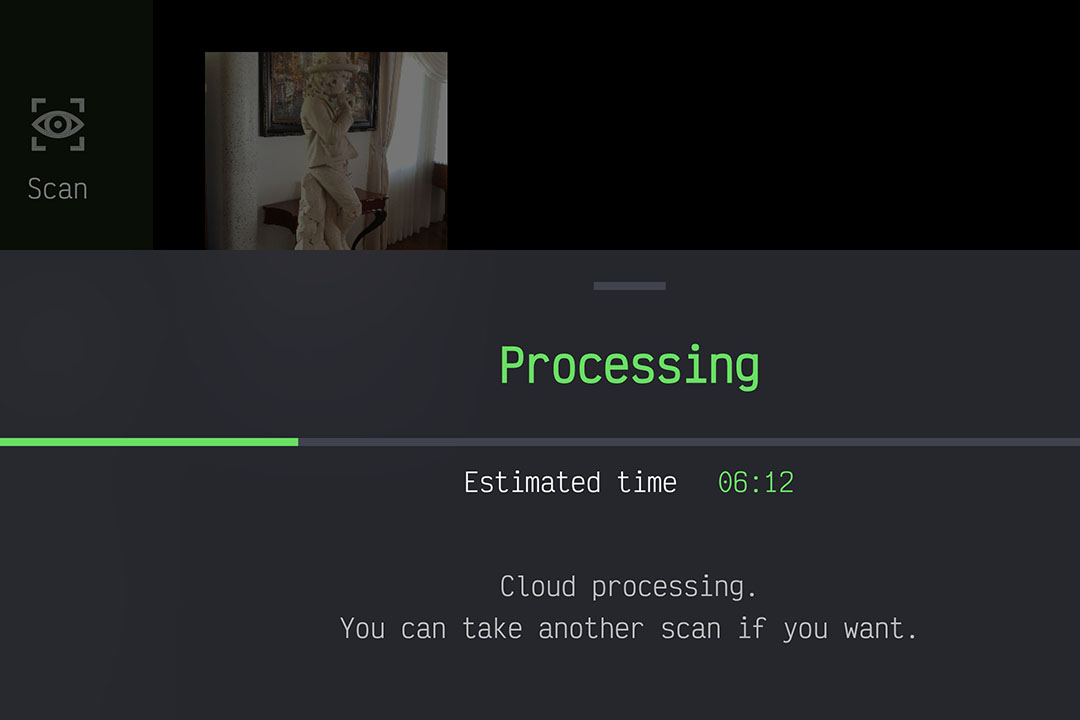
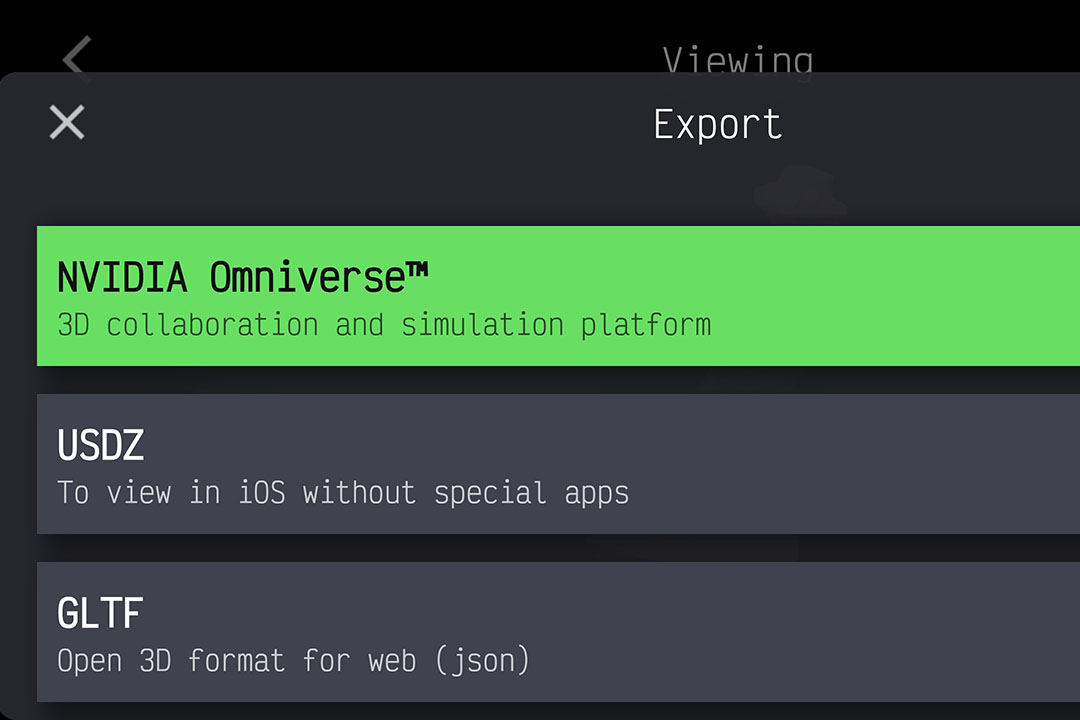
You can export to many formats:
NVIDIA Omniverse, USDZ, GLTF, GLB, OBJ, STL. FBX, PLY.
Here is the final result, you can see the file here .
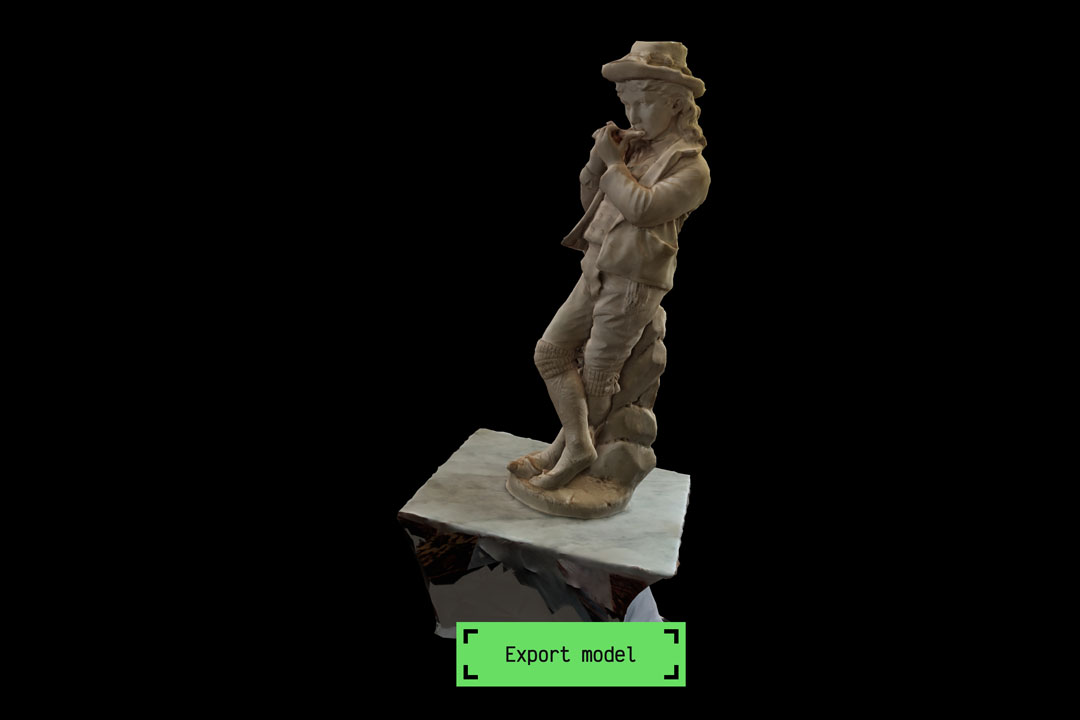
I imported the obj file on Fusion 360 as a mesh because MeshMixer is now a part of Fusion 360.
I cutted the lower part so I can 3D print it.

The original size is over a meter so I just printed a reduced model