1
Learn HTML
I started my first week with Fab Academy leaning and revising HTML basics in order to establish my first website ever ! so I went through "HTML Basics" tutorial by Krisjanis Rijnieks from Fab Academy website .

2
Learn Git
First I skimmed through "Git simple cheat sheet" from Fab Academy website . Having completed a Udacity course on Version Control with Git before , I needed to quickly revise some of the content I studied before to help get started with git

I was able then to proceed with installing and configuring git locally

Then I successfully generated my SSH key

However, as I attempted to view the generated SSH key using the same command line as in the Fab Academy's Git cheat sheet , it ran an error "No file or directory" , and that is because I enetered a file name where to save the key ,while this command line presumes no file name is enetered !

So I repeated the whole process and generated another SSH key without entering any file name for the key's location and it worked ! I was able to view the key using the same command line from Git cheat sheet

After watching "Create and Add your SSH Key to Git Lab" on youtube , I managed to add my SSH key to my GitLab account so this way I established a connection between my computer and my GitLab account and hence I can send code to my GitLab without the need to enter a username and passowrd everytime !


Locally on git , I started practicing basic commands and navigating to the directory where I want to store my initial website repository

Using git clone command I cloned the website template which was already avaiable on my GitLab account

3
Initial Website Using Template
On GitLab , Using Web IDE I started amending the default template into my intial website


I added the photos of myself and the sketch of the final project , also the content of my brief biograpgy .

|

|
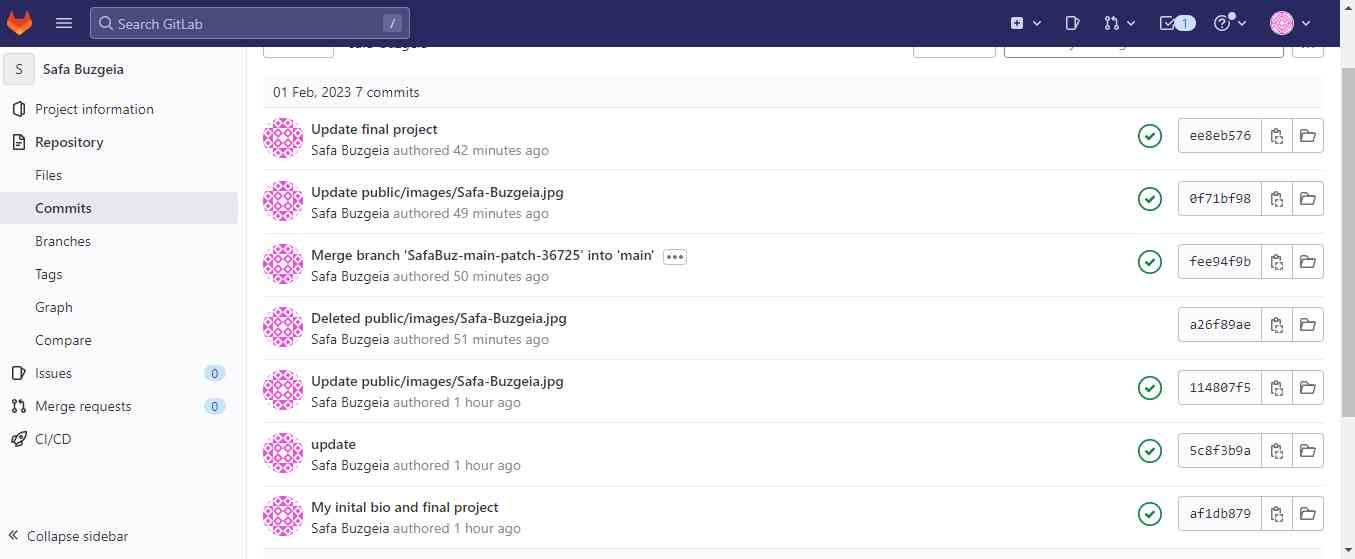
As I committed all the changes , the text was fine but the photos did not appear ?! After looking into it , I learnt that the photo file name cannot include spaces and has to be exactly the same as in the HTML code including the extention JPG or jgp

|

|

|

|
It worked now , however the phtoto was very large ...so on my computer I opened it using Photos and resized it till it perfectly fits the webpage with the text beneath

|

|

|
All changes were committed accordingly

4
Final Website
First of all , I selected a suitable template from a free website templates site

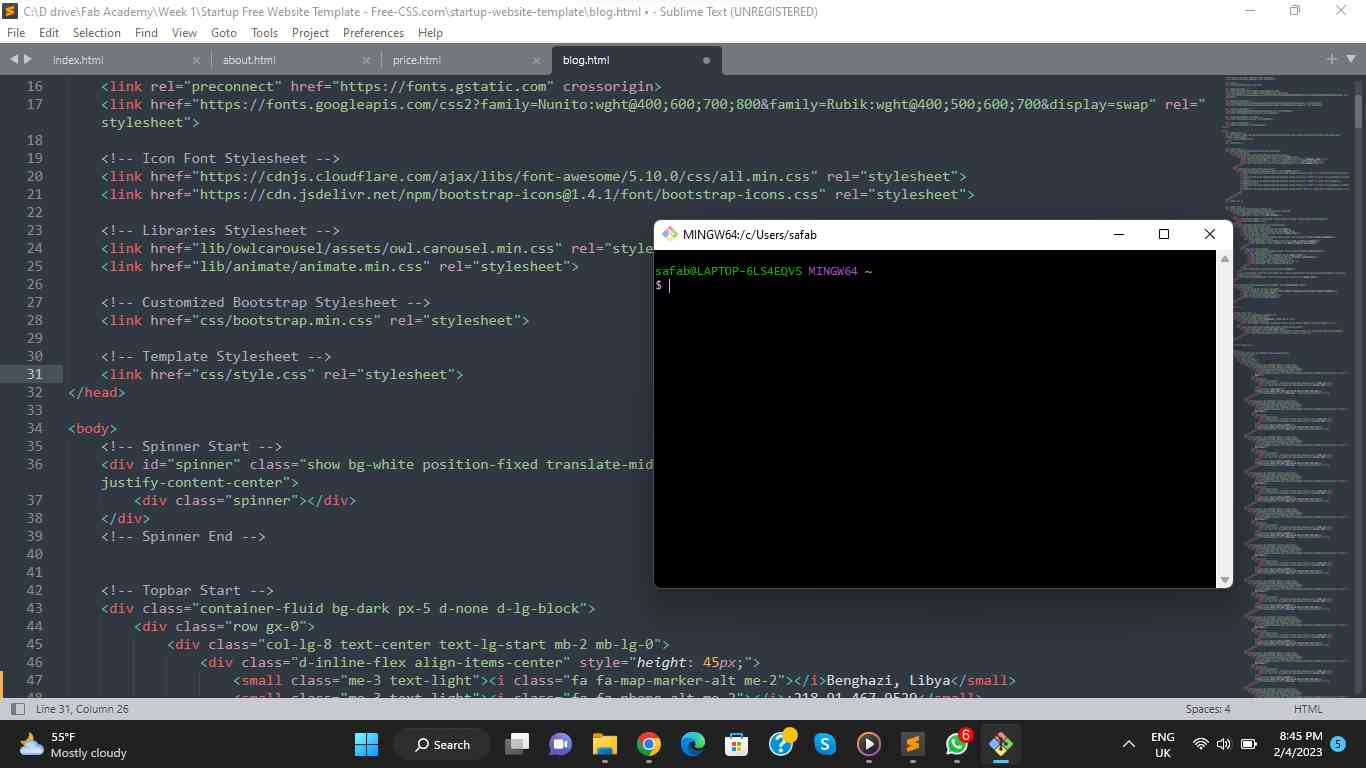
I investigated the downloaded files and started by opening the index file in Sublime . I had hard time figuring out a more complex and advanced HTML code but at the end I managed to successsfully amend and change the initial content of the website into my desired content as you can see !

|

|

One challenge was to change the photos in the index and upper part of every page , I had to go to CSS files where I found the code line with the image links


Quick Links
© Safa Buzgeia. All Rights Reserved. Designed by HTML Codex
Copyright 2023 'Safa Buzgeia' - Creative Commons Attribution Non Commercial
Source code hosted at fabcloud/fabacademy/2023/safa-buzgeia


