
Wild card
WEEK 15
This week’s assignments are:
- To design and produce something with a digital fabrication process (incorporating computer-aided design and manufacturing) not covered in another assignment, documenting the requirements that your assignment meets, and including everything necessary to reproduce it.
- For this week I am going to make a water-tight part with a Wire EDM machine
CONTENTS
Mitsubishi wire EDM
What is Wire EDM Machine?
Wire EDM is a non-traditional machining process that uses an electrically charged wire to cut through metal by melting and vaporizing it with a high-intensity spark. It's commonly used in industries where precision and accuracy are crucial, such as aerospace and medical manufacturing, to cut complex shapes and hard materials.
Materials that can be cut:
- Metals: such as steel, aluminum, titanium, copper, brass, and tungsten
- Alloys: such as stainless steel and Inconel
- Hard materials: such as carbide, diamond, and hardened tool steels
- Exotic materials: such as Inconel, Hastelloy, Kovar, and titanium
Advantages:
- High precision
- No tool wear: The wire electrode used in Wire EDM does not wear down like traditional cutting tools, allowing for consistent quality and accuracy over long production runs.
- Minimal material waste: Wire EDM produces very little material waste because the wire electrode is so thin, resulting in cost savings.
- Complex shapes: Wire EDM can create complex shapes and intricate details that may be difficult or impossible to achieve using other conventional machining processes.
- No contact: Since the wire electrode never comes into contact with the workpiece, there is no risk of tool marks, distortion, or part contamination.
Disadvantage
Wire EDM can be slower than other machining methods for thicker materials, and may not be cost-effective for high-volume production runs due to equipment and setup costs. It can also generate heat, causing thermal stress and distortion in some materials. However, these drawbacks are often outweighed by the benefits of high precision, versatility, and material capabilities for complex and high-precision parts.
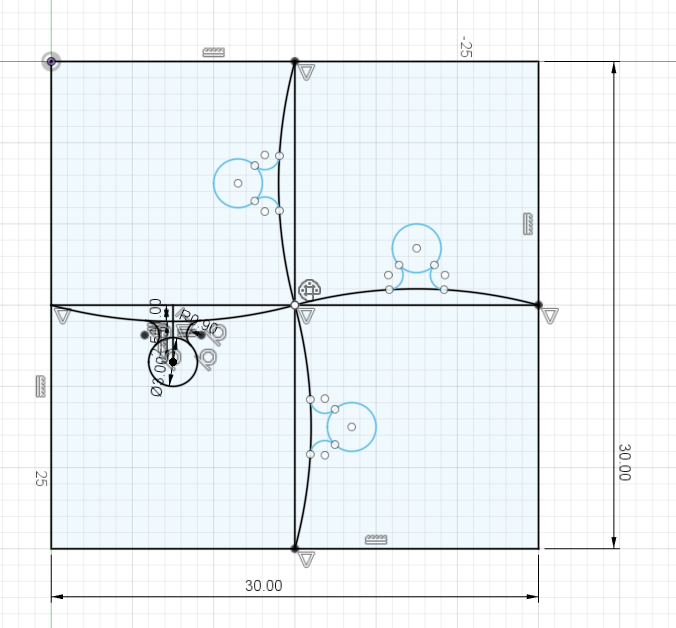
The designing the part
- The idea is to create a cube with puzzle pieces,
- the size of the is 30x30 mm
- here Im using Fusion 360 to design the model
2D design in Fusion 360

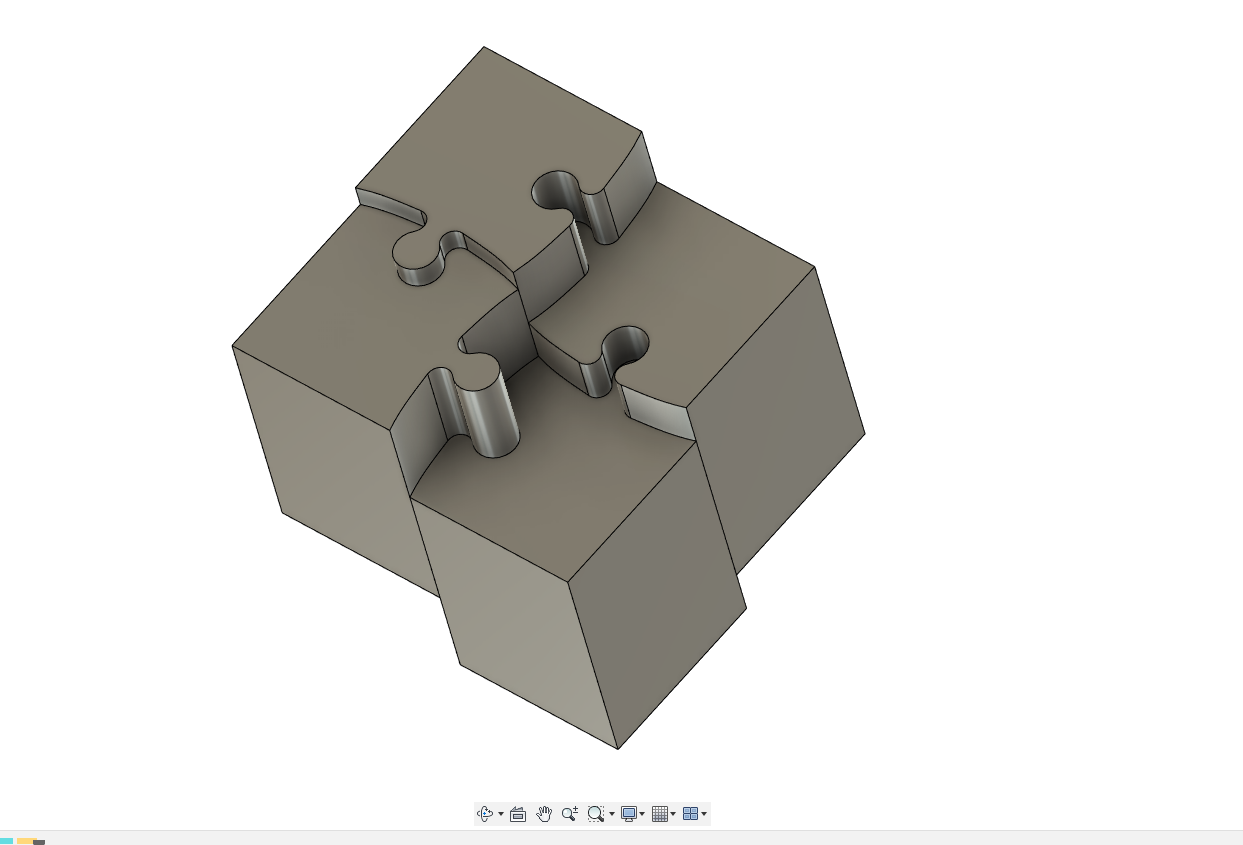
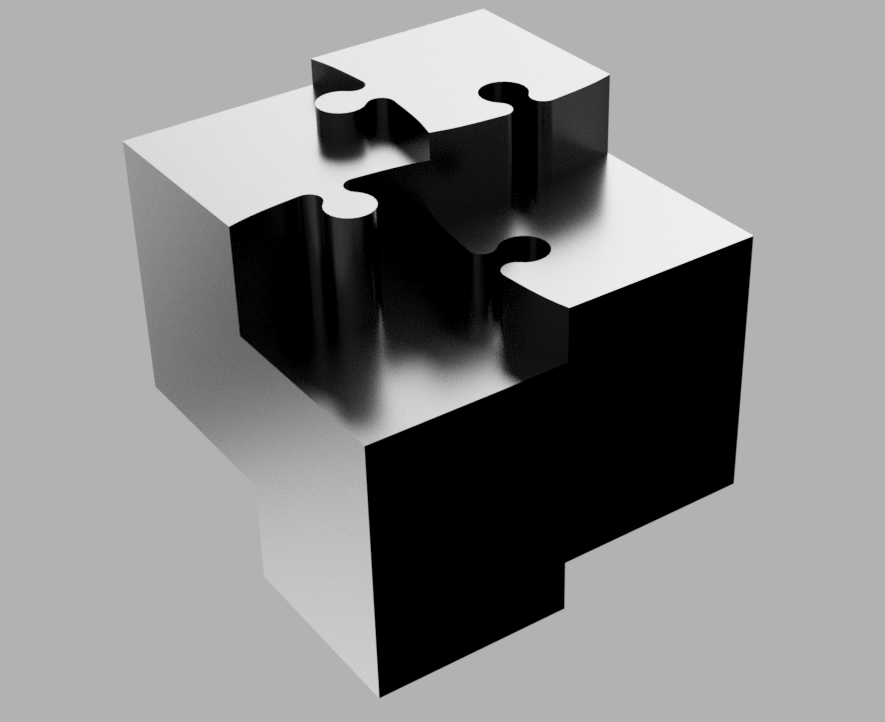
- Extruding the part to about 20mm
Download the Design file here ⬇️
Fusion 360 file
DXF file
Setting up the machine
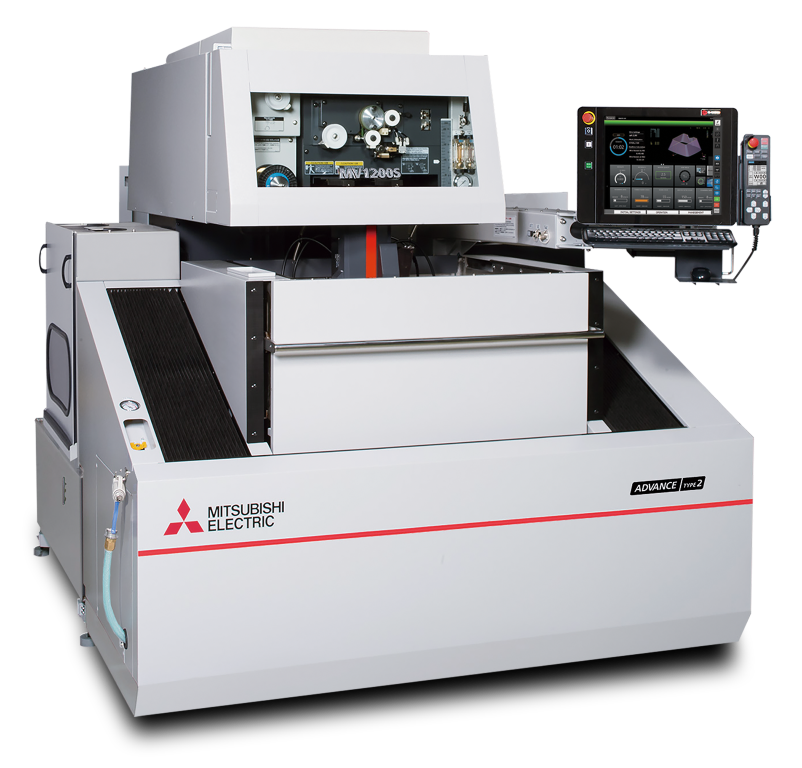
-Mitsubishi MV1200-s Advance-
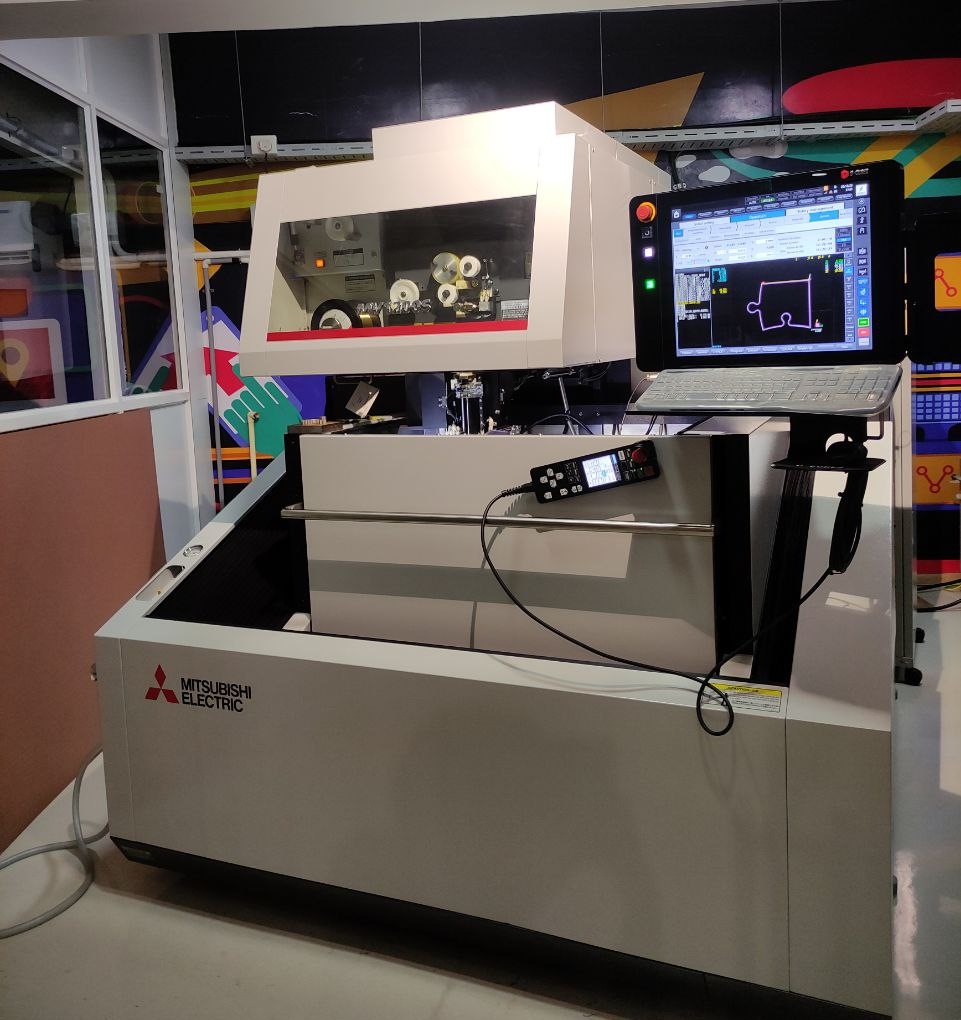
- This is the machine we have in our lab The Mitsubishi MV1200-s Advance EDM machine
- main features of this machine: auto-threading, internal machine communication, and power supply technology
- Automatic wire threading and cutting: (AT)
- The machine is a Non-contact, Zero Back-Lash Linear Shaft Drive System XY (UV-Z use ball screws)
- Machine Travels:
X x Y x Z in (mm) → (400 x 300 x 220)
- Maximum Work-piece Dimensions:
W x D x H in (mm) → (810 x 700 x 215)
- U/V Travels (from center): in (mm):
(±60 x ±60)
- Taper Angle @ Thickness: in (mm):
45 deg. @ 1.8″ 45mm (No AT Possible)
- Wire Diameter Possible in (mm): 0.004~0.012 (0.1~0.3)
The Wire dia we are using is 0.255 mm
Hand Held controller:
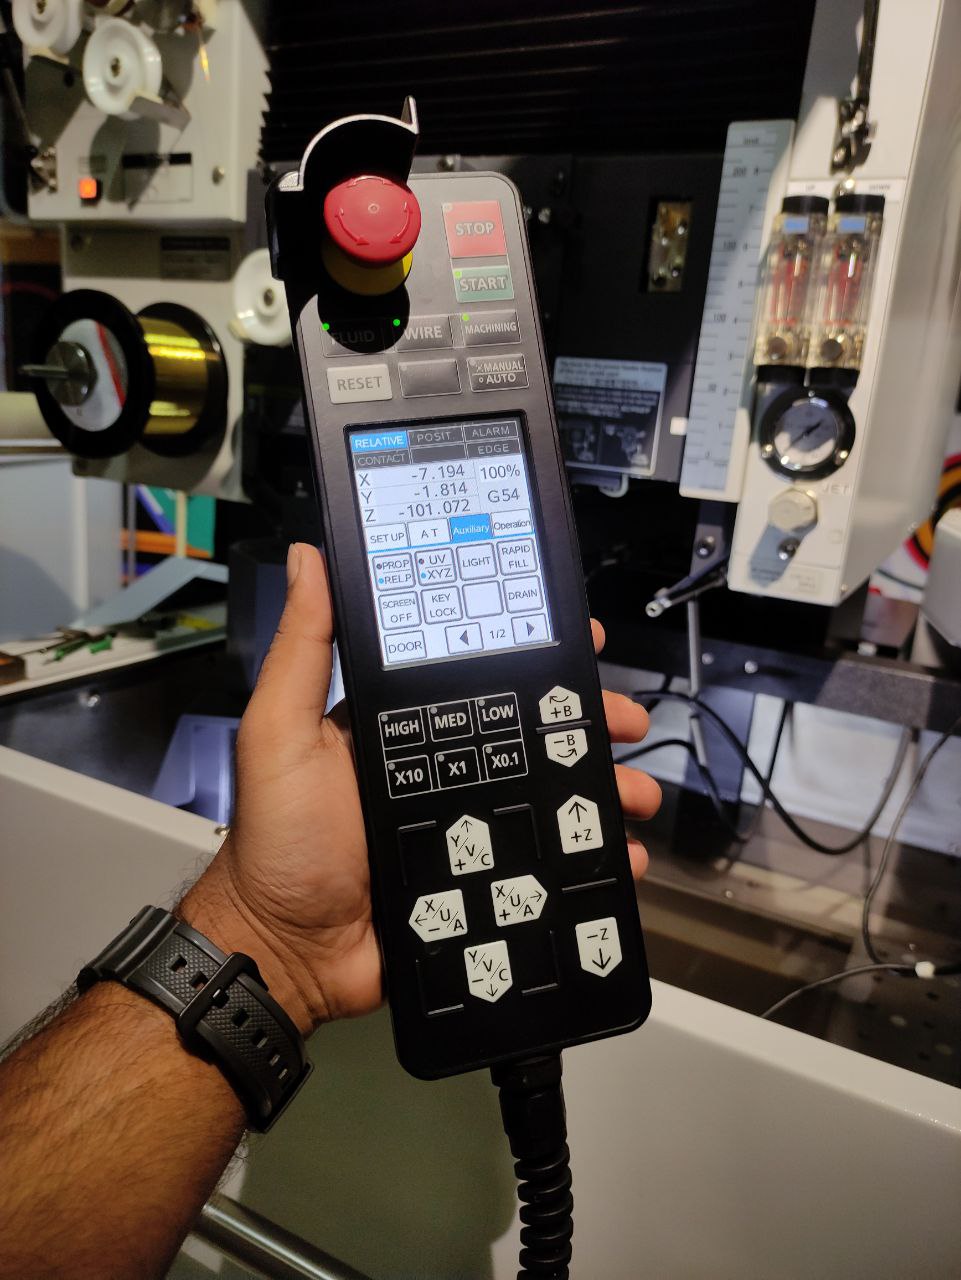
Controls:
(AT) controls: (auto threading)
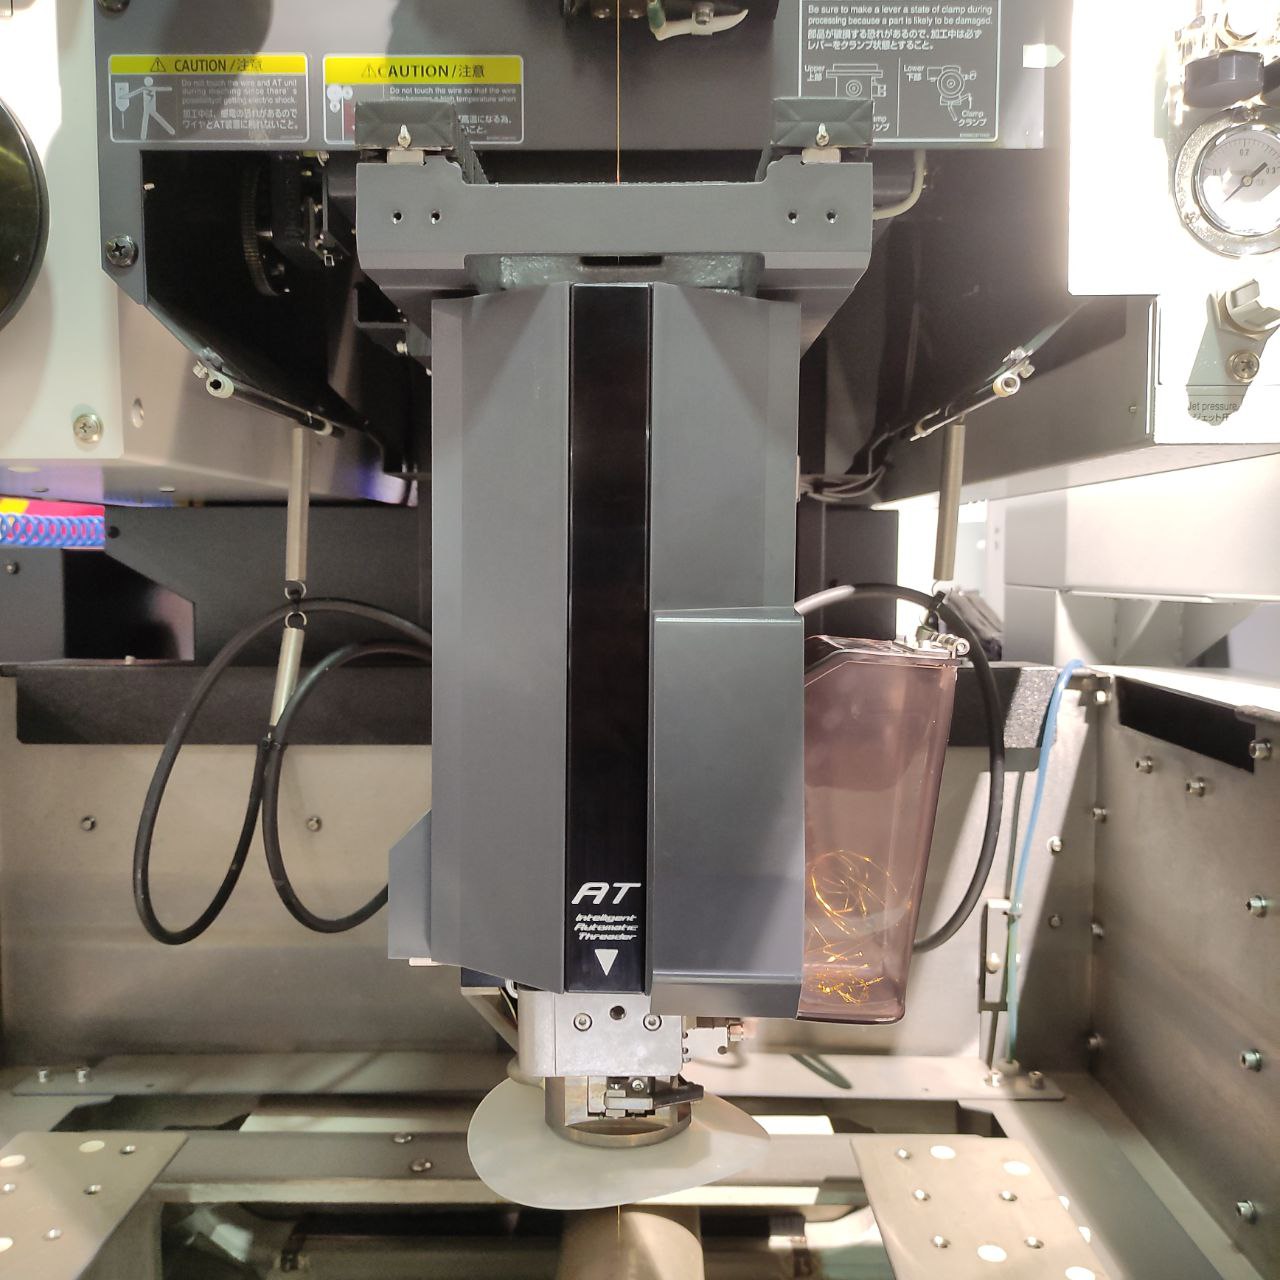
- This is the AT mechanism-
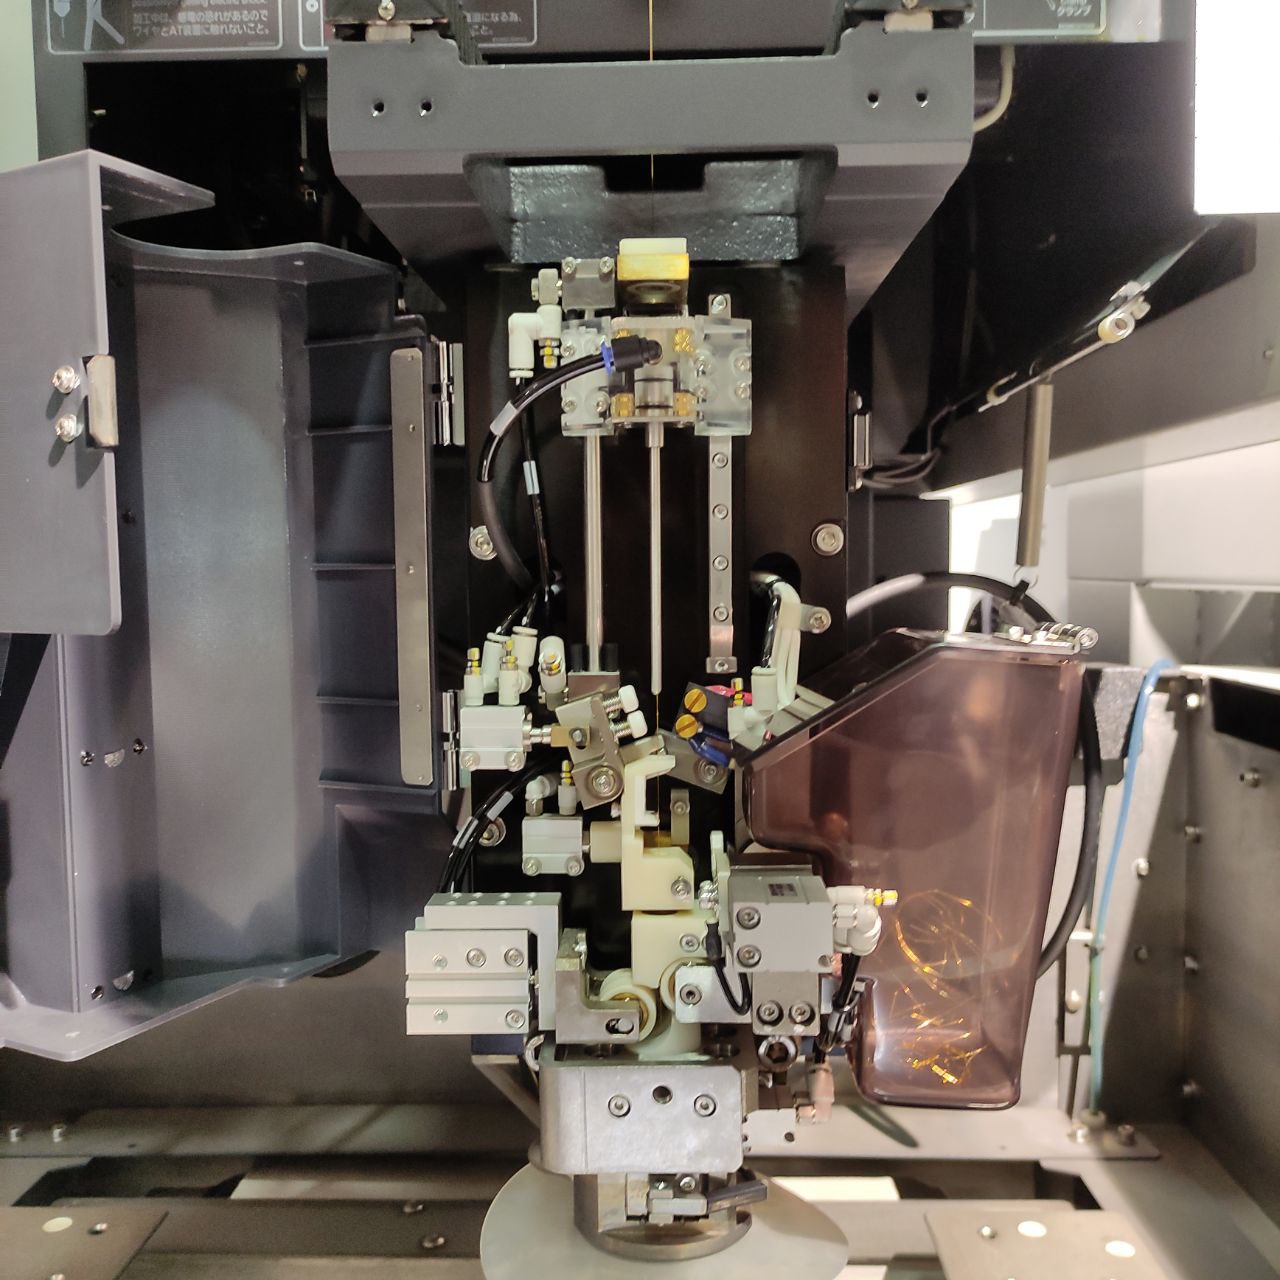
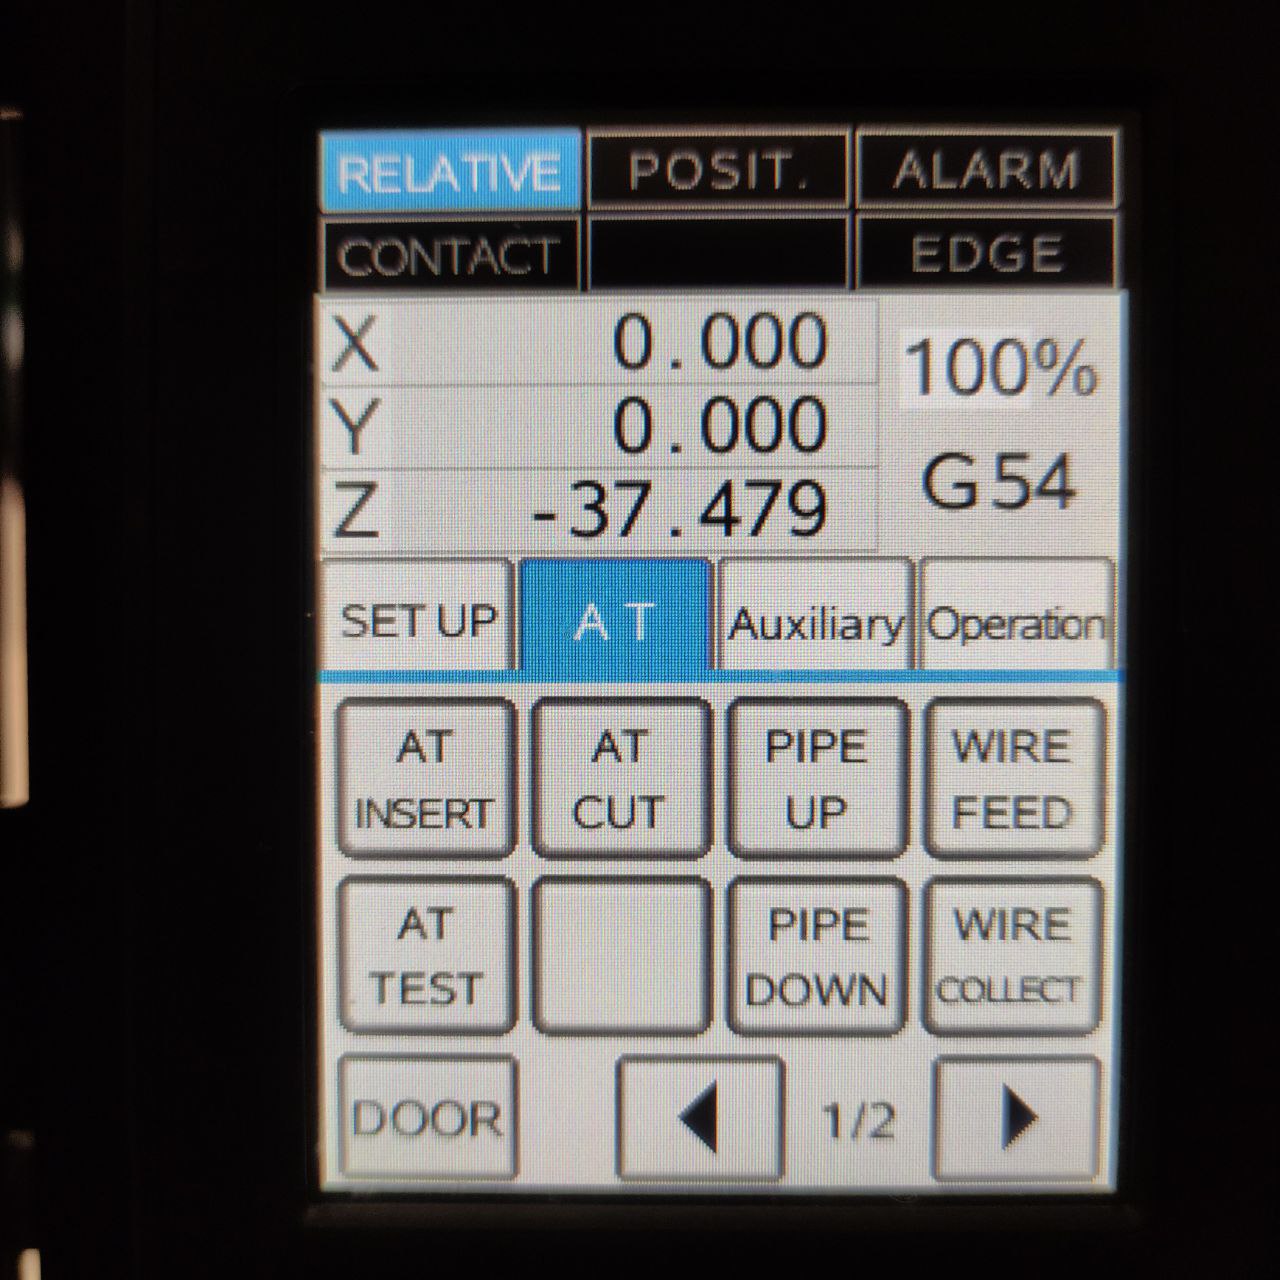
- these are the commonly used controls in this machine while using it
- AT insert → wire inserting,
- AT cut →wire cutting,
- pipe up and pipe down is used while manually inserting the wire during failure in AT inserts
Setting up the workpiece:
So after learning the basic controls its time to set up the workpiece:
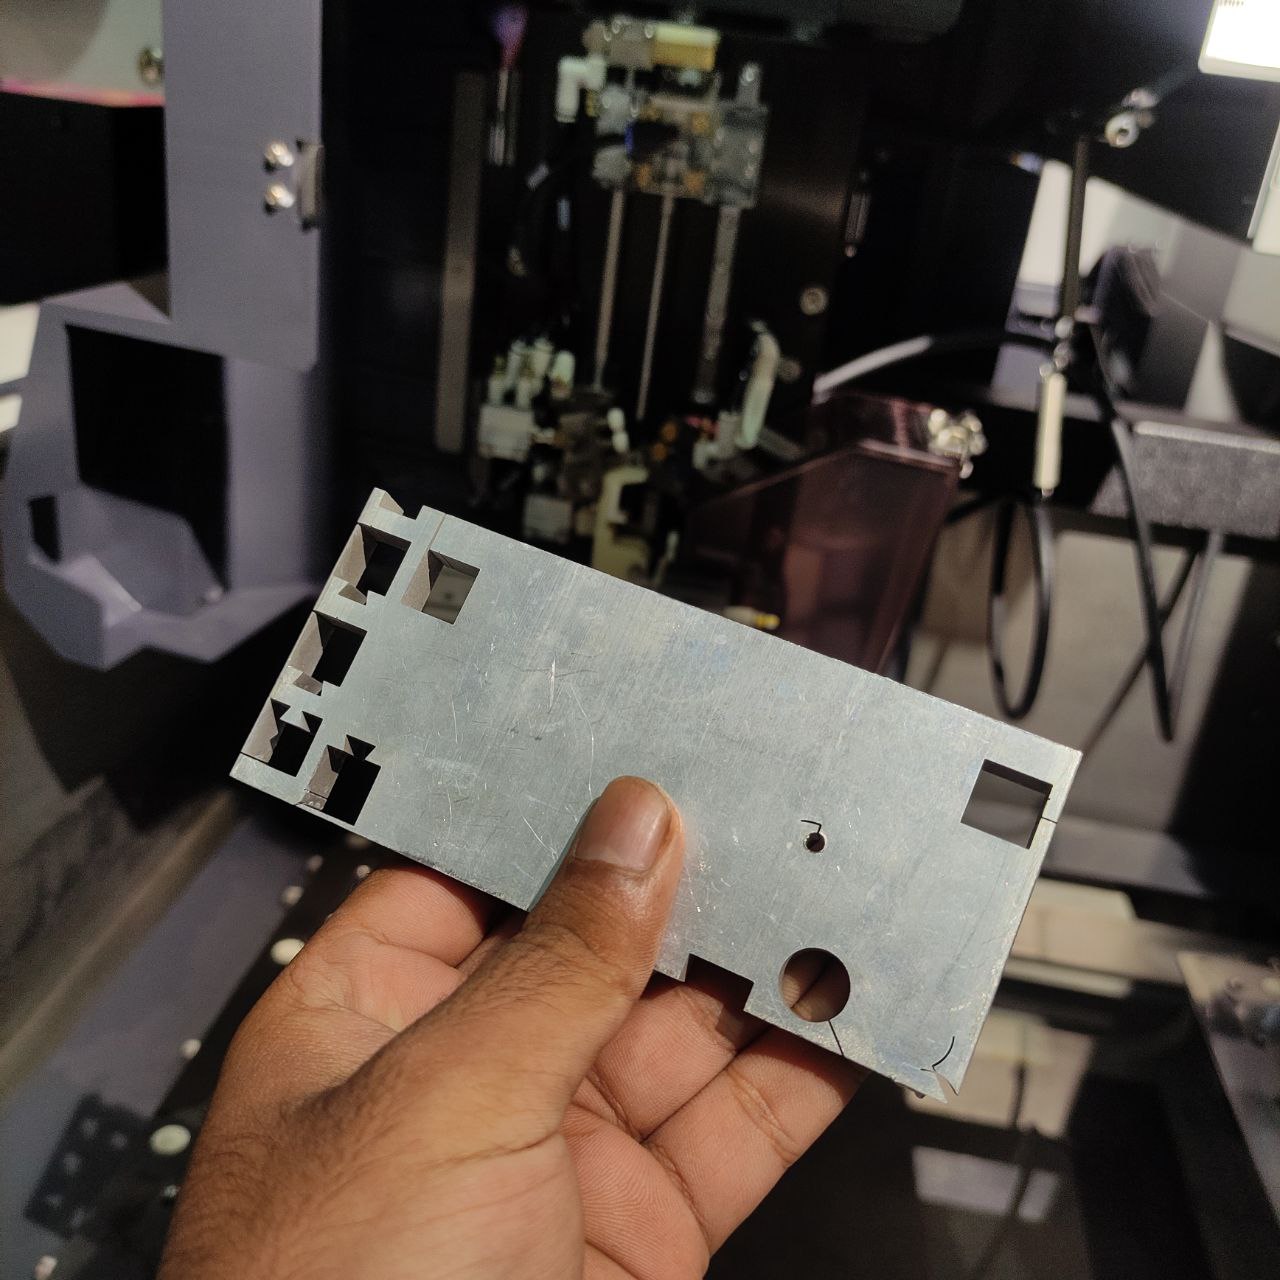
- this is the workpiece that I am going to use, you can see it's already used, for the test it was fine.
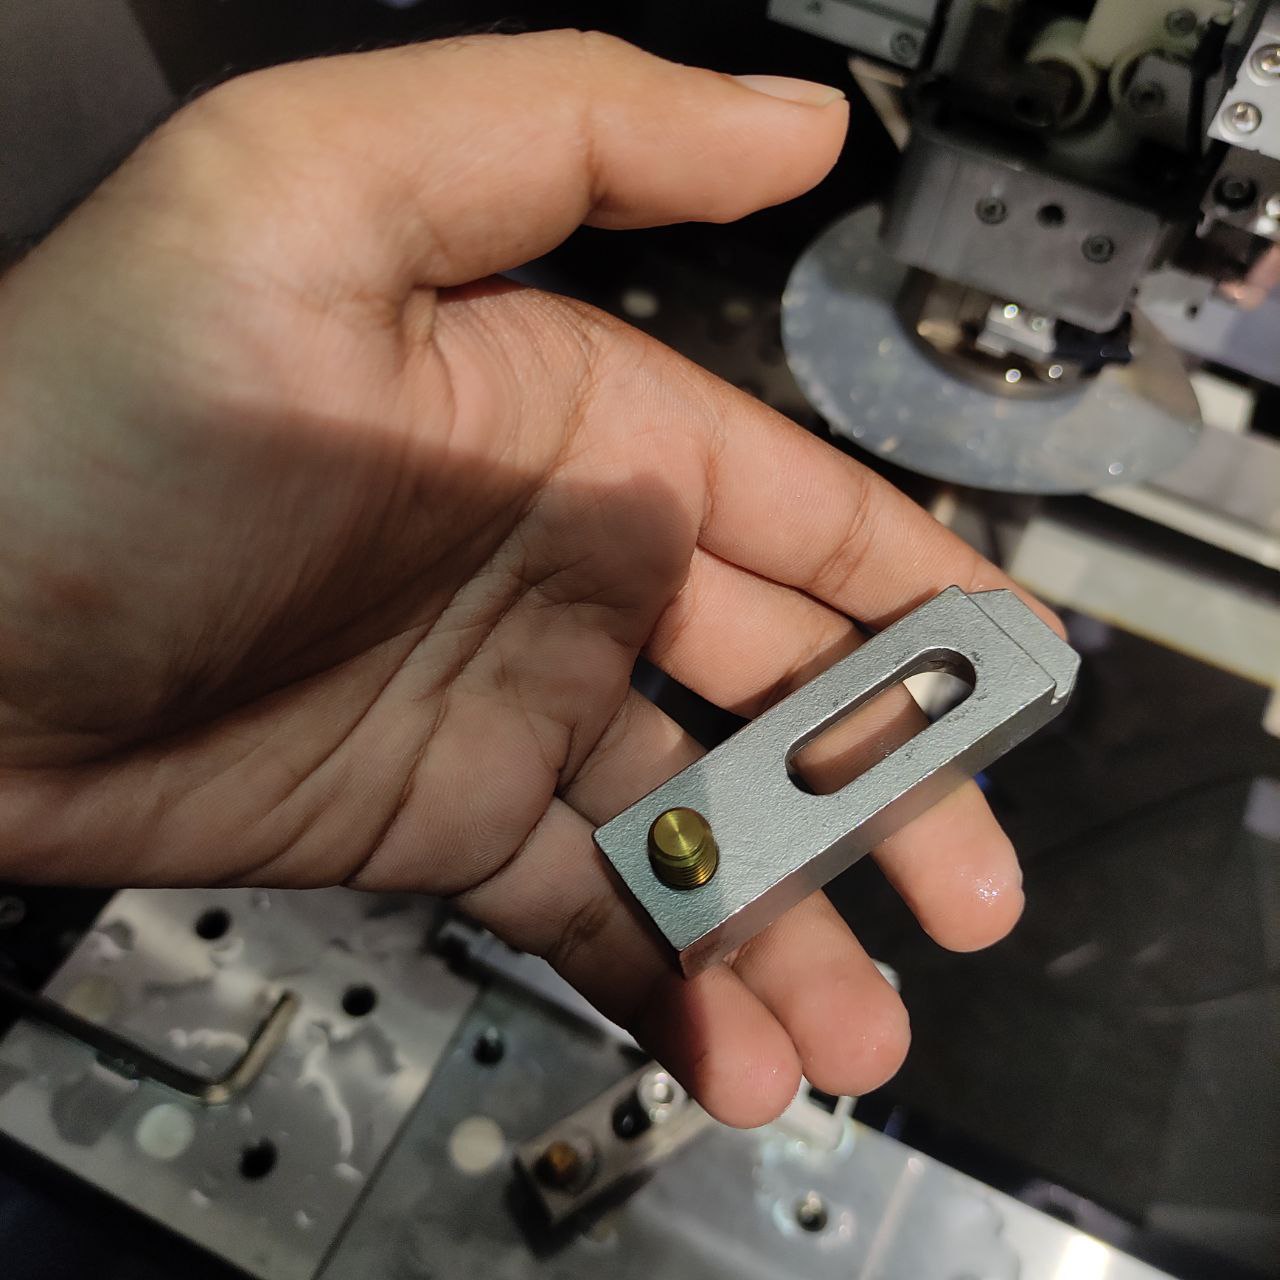
- these are the clamps that are used to fix the workpiece to the bead
<clamped photo>
CAM/work setup
Once the work piece is fixed, next we have to do the cam in the machine itself
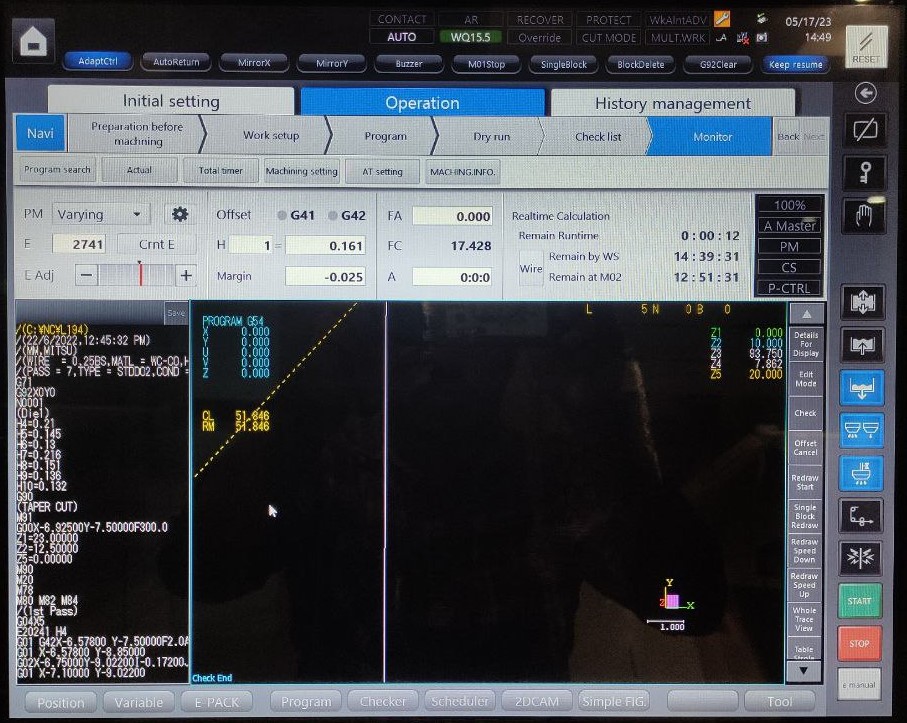
This is the interface of the machine, this page will be shown once you turn on the machine
- so to do the CAM go to the bottom left of the page and you will find 2DCAM> click on it
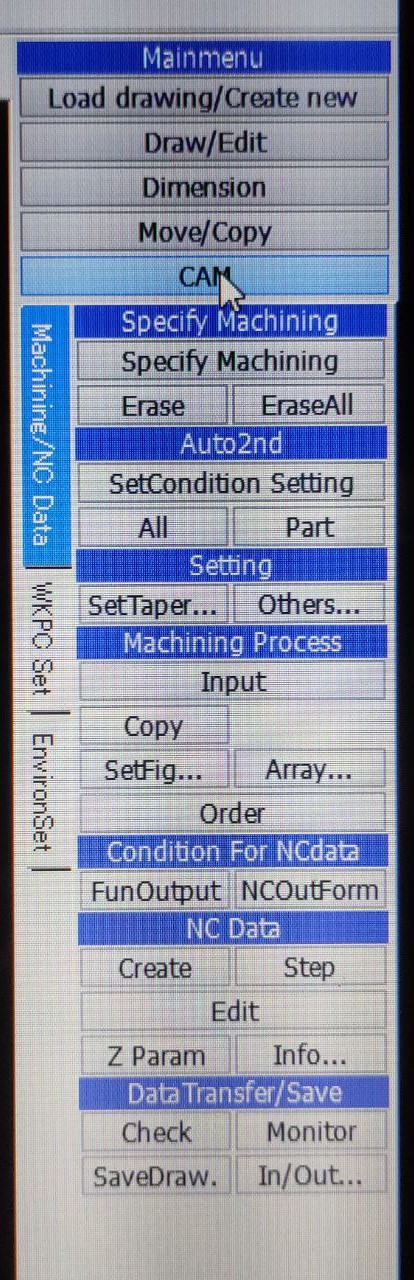
CAM
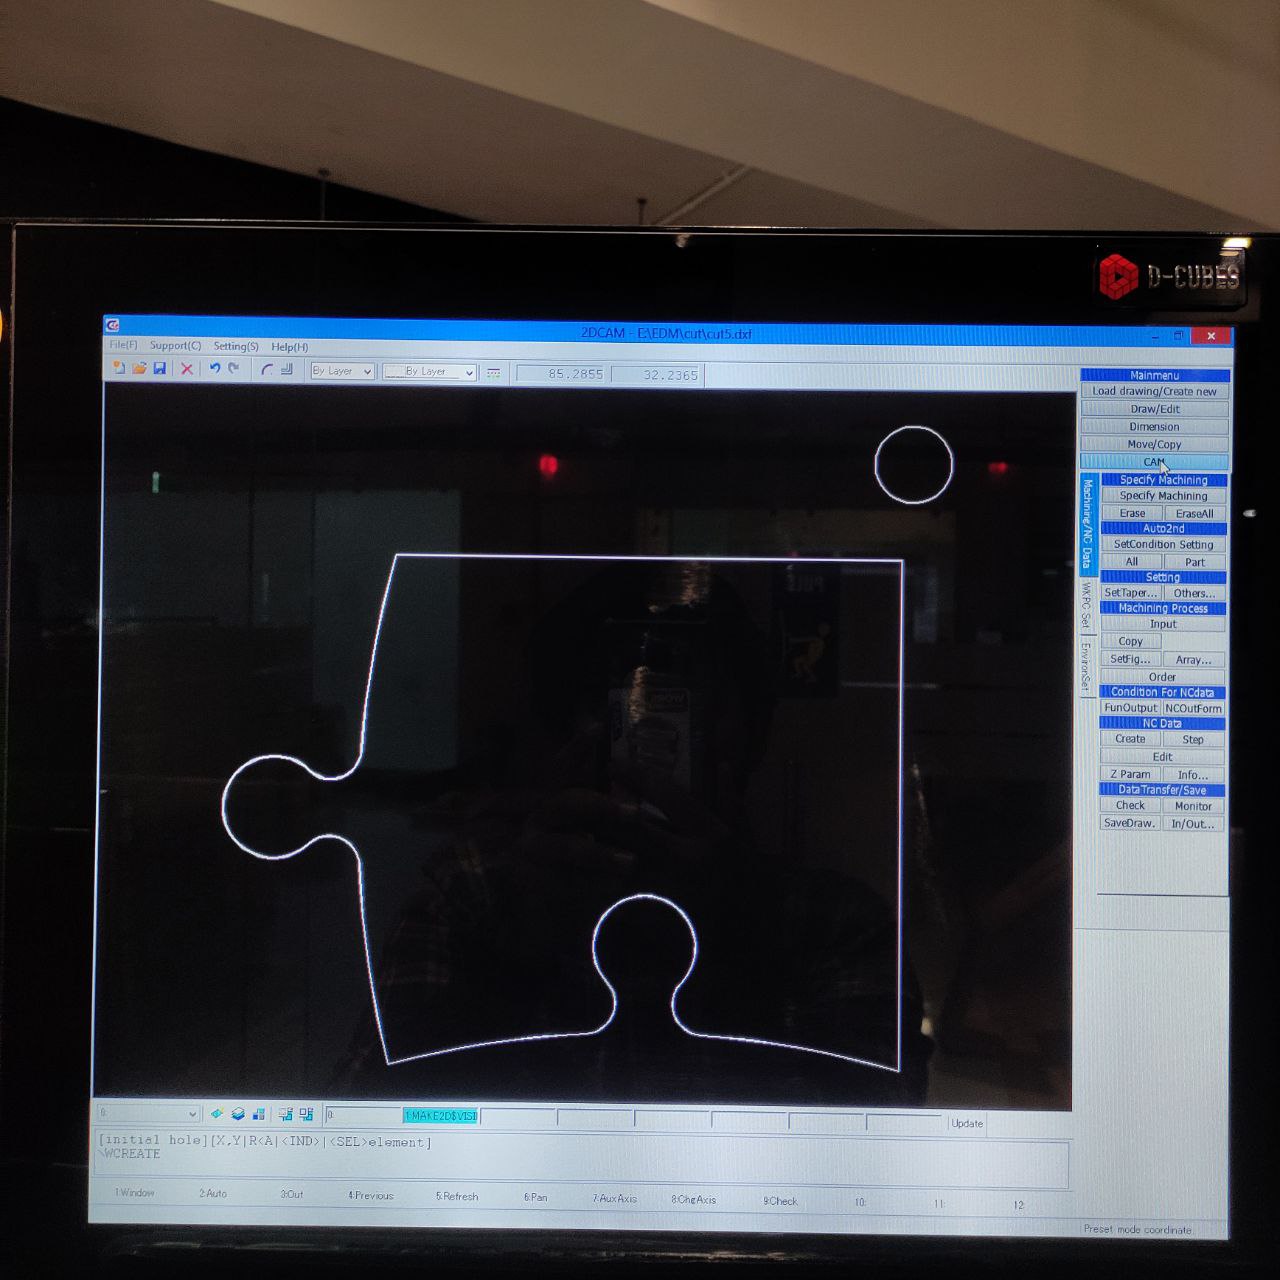
- to open the drawing, Load drawing> open select the .dxf file
- Now open the cam pressing cam button ——————————>
- first step: Specify machining
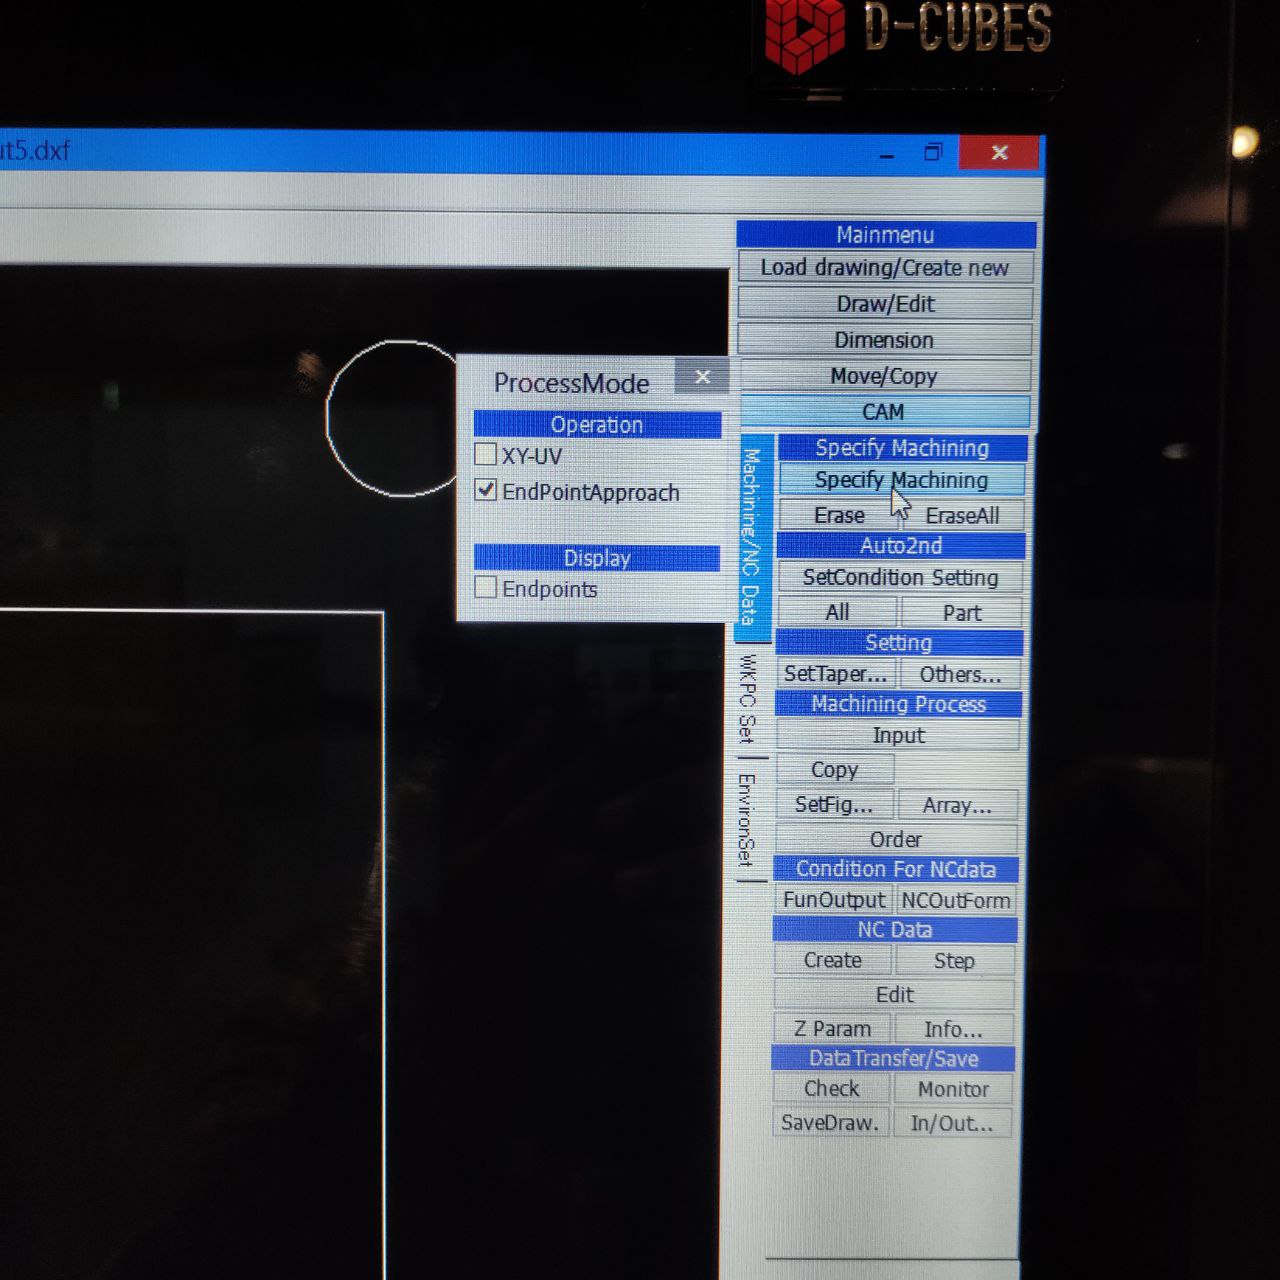
press shift and click on the initial hole and then part to be cut
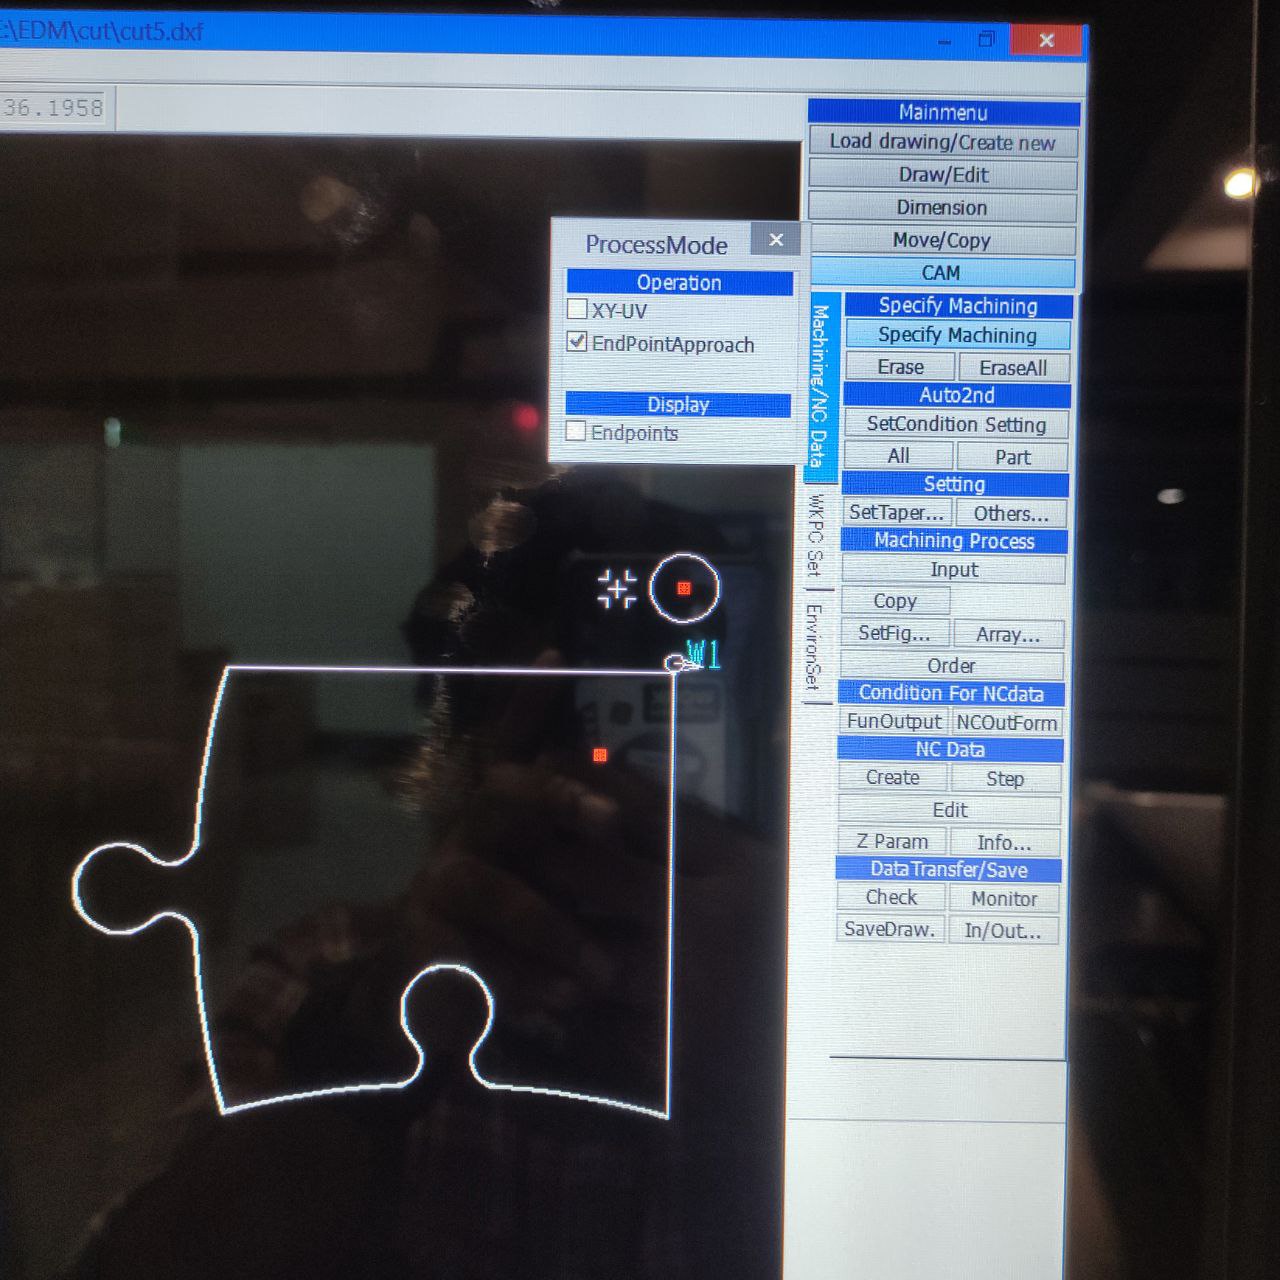
it will be shown like this W1 with an arrow
- now the machining is specified, we have to set conditions for that —> setCondition setting
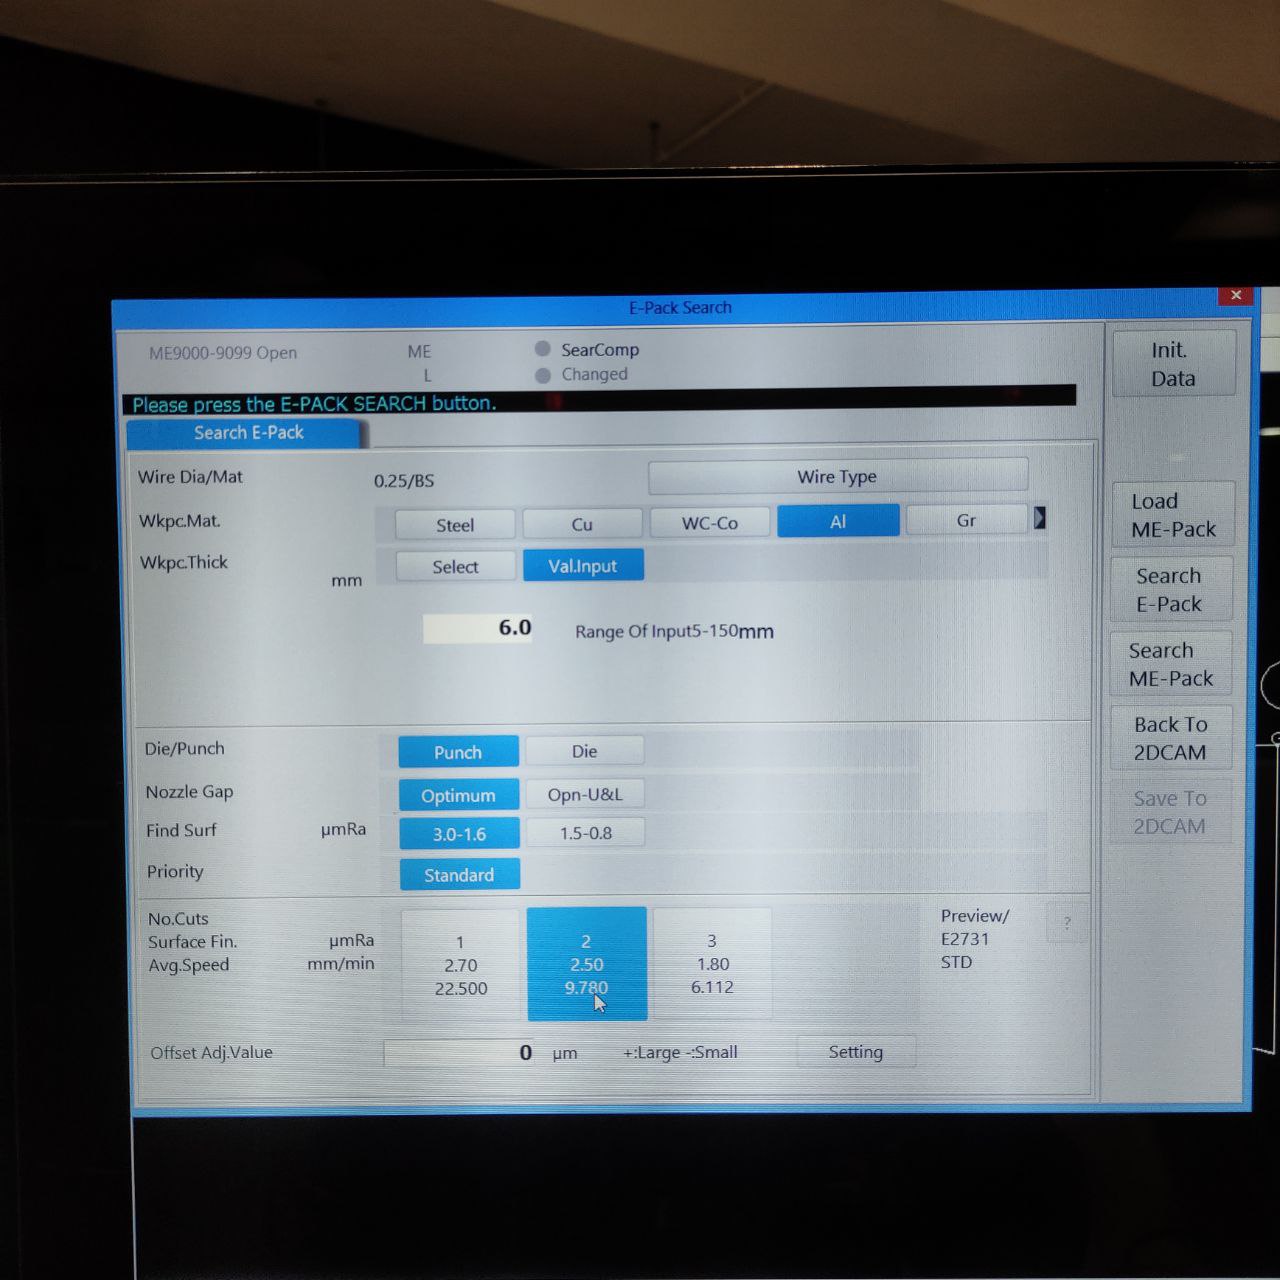
this window will be opened, here choose these settings for aluminum
the finishing required is chosen between 3.0-1.6 micro Ra
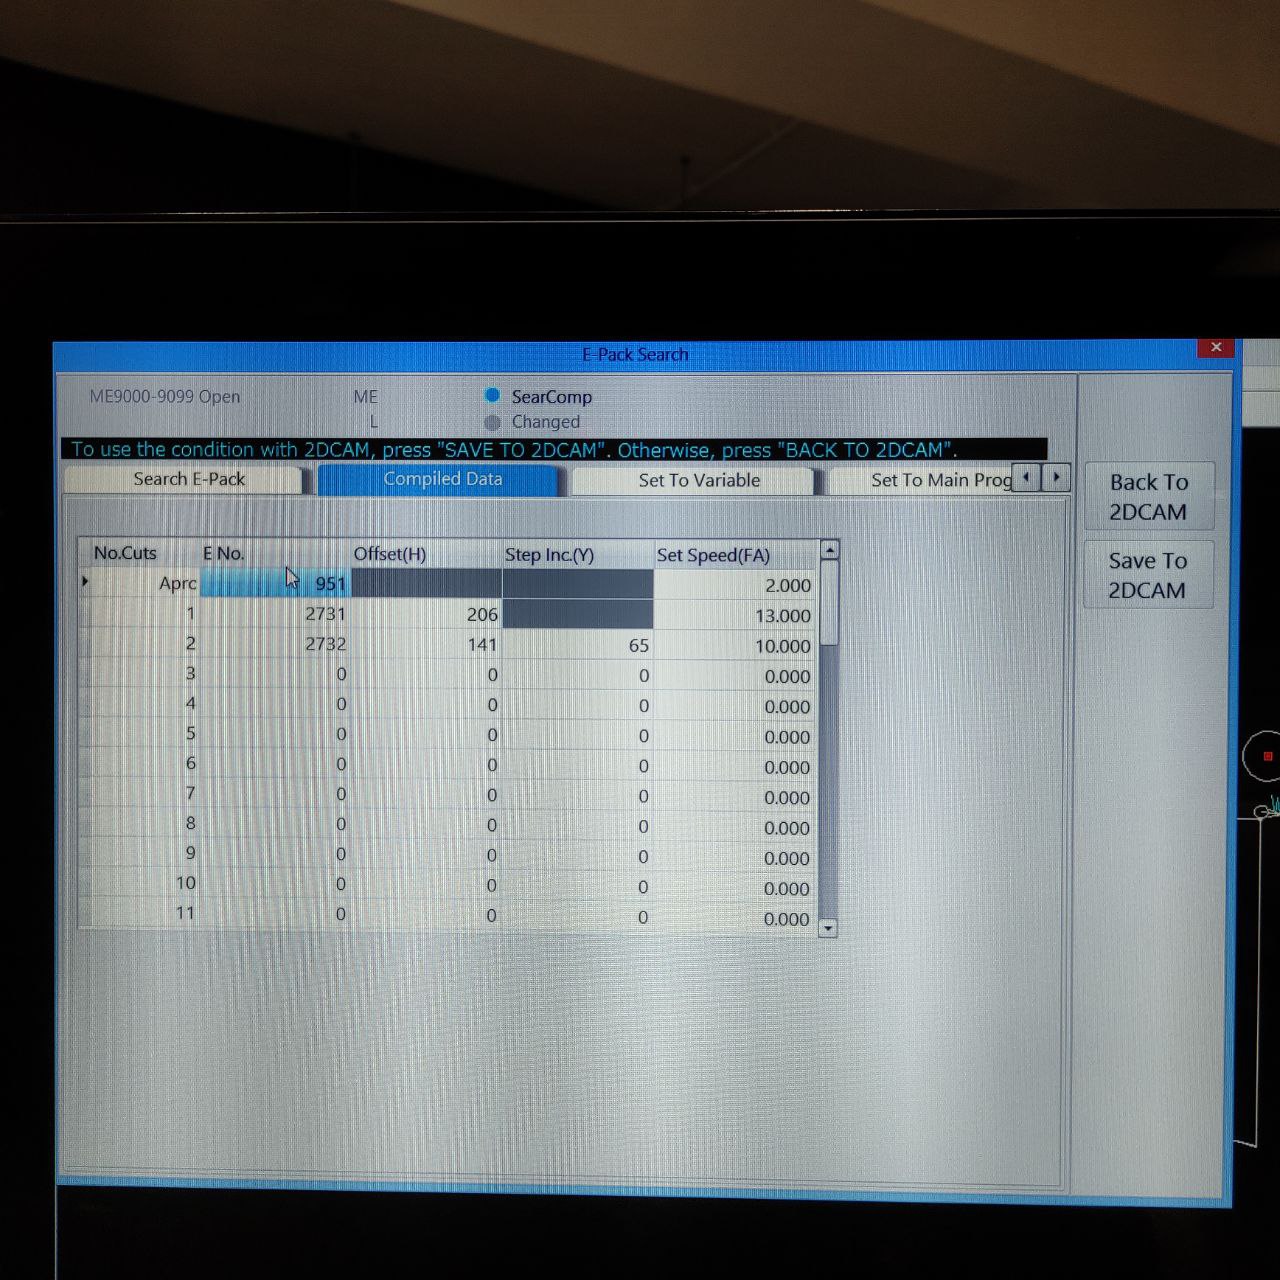
- now select the E-Pack here 951, as we are only cutting in a single pass.
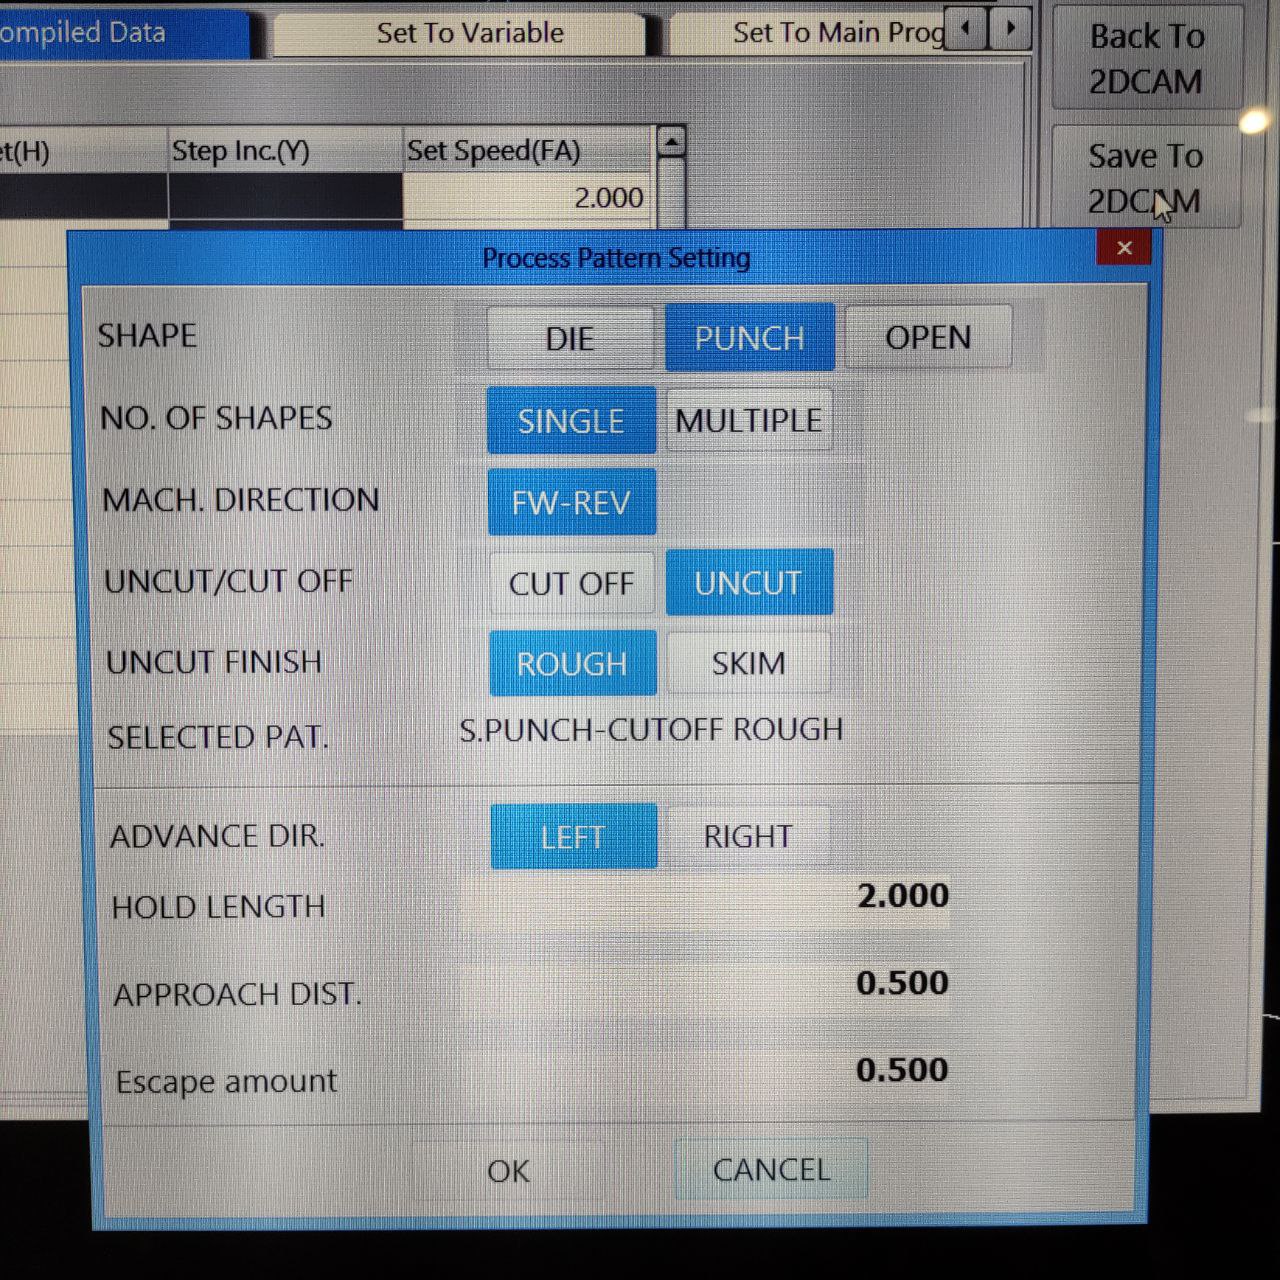
4. choose the hold length and uncut finish here.
- now the cam is almost ready, now press create to create the G code
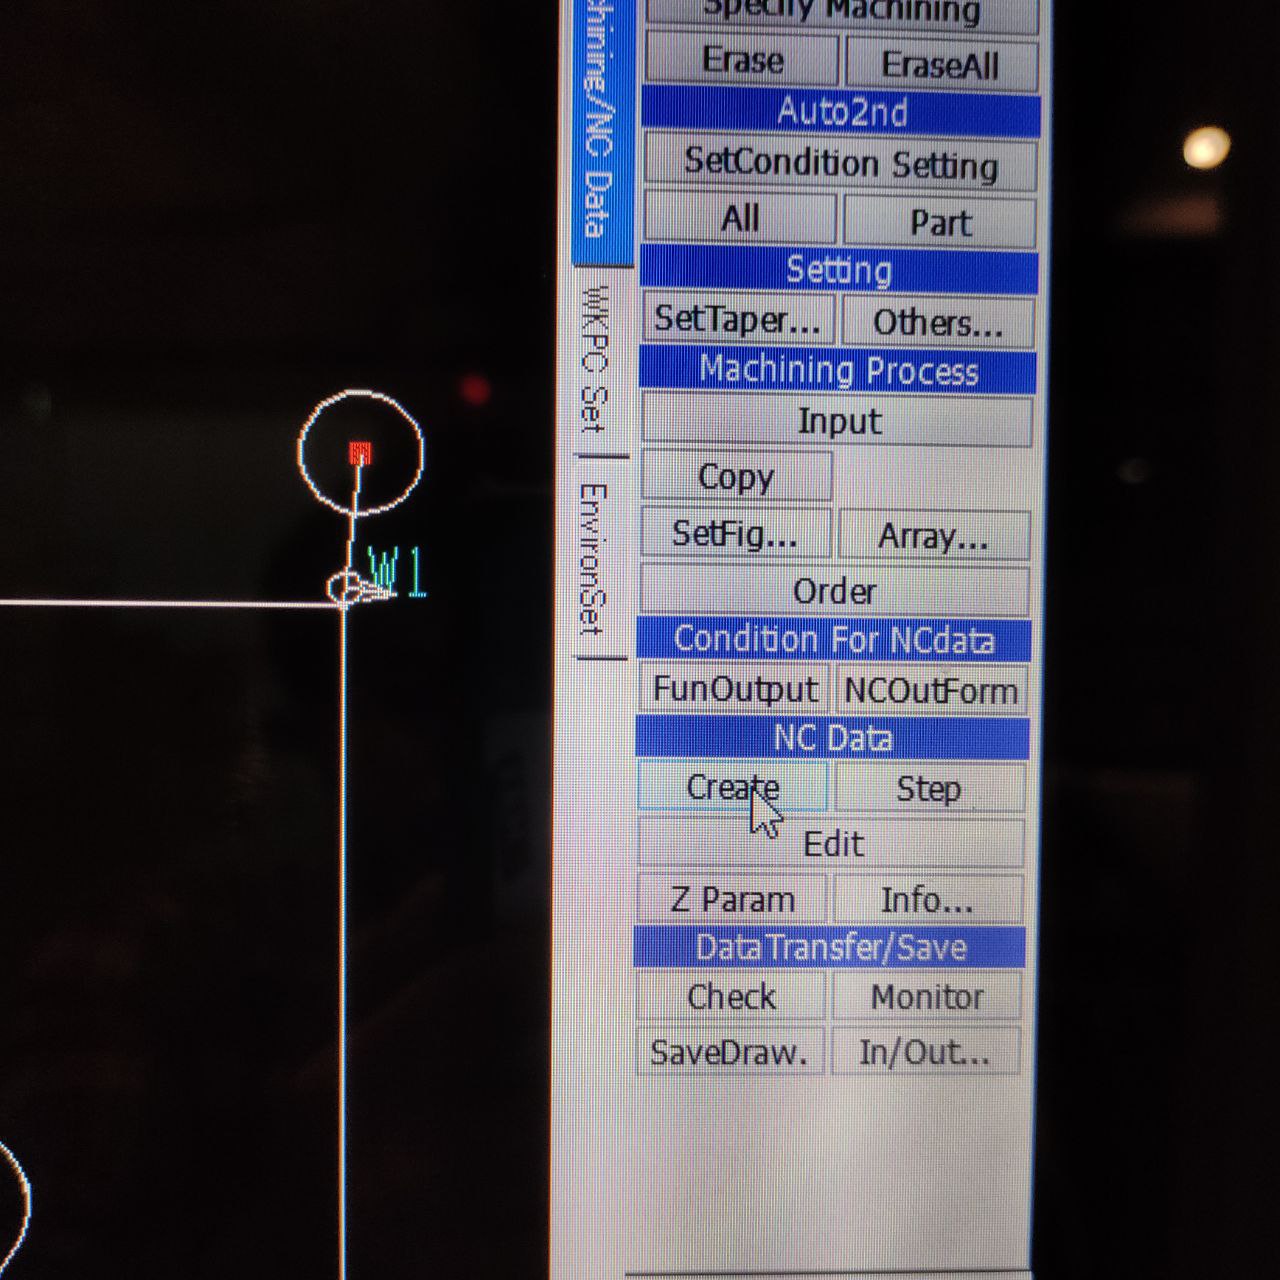
the CAM is now completed.
Opening the CAM
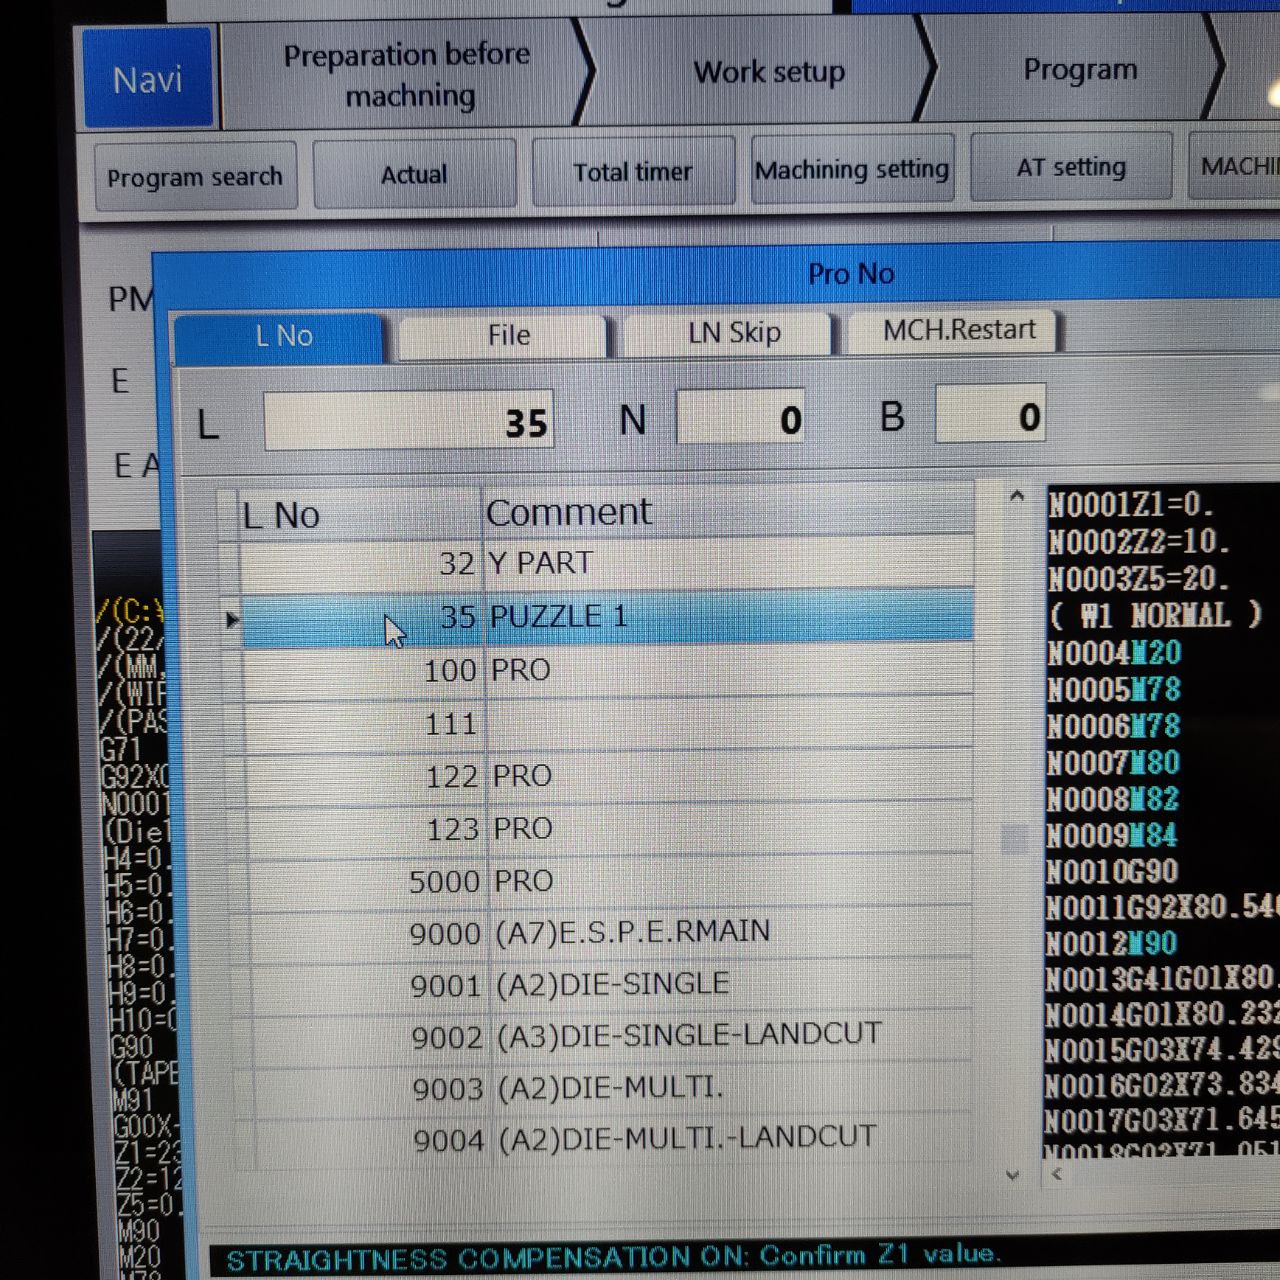
- open the CAM from Program search> “This window will be opened”
Here the CAM is saved as “L No: 35 PUZZLE 1” open that
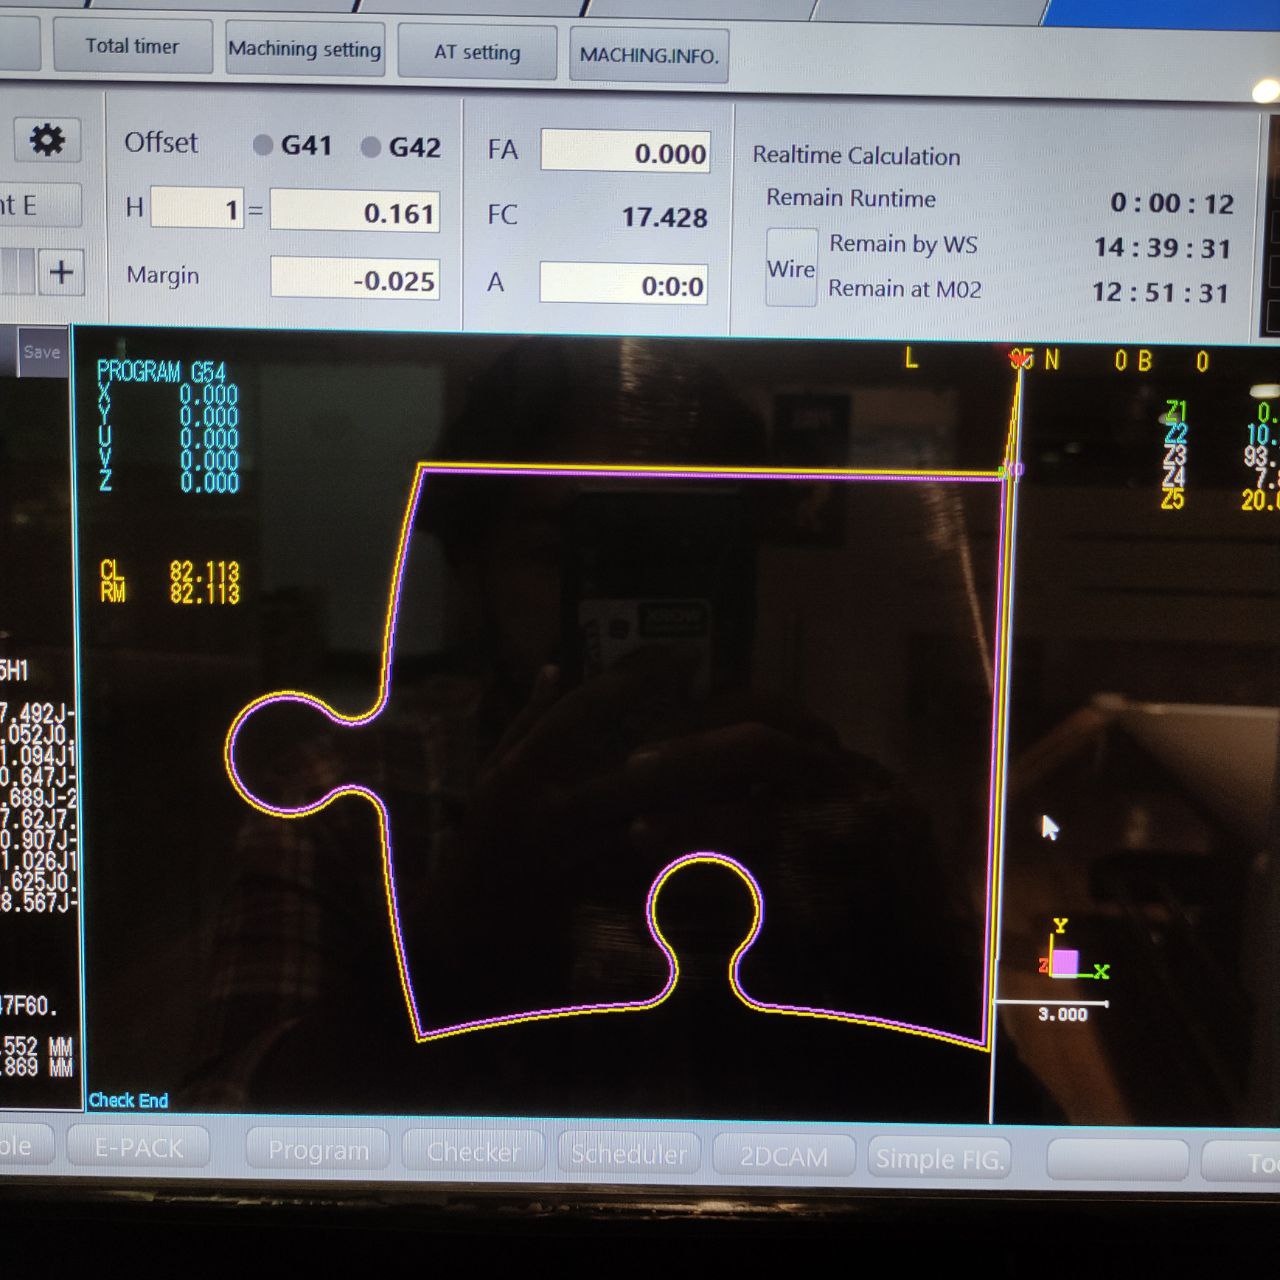
This is the output
- press and hold reset button is nothing shows up
Setting the machine position/ work setup position
Here there are different ways for work setup, here I am using the edge method, as the part can be cut from any portion of the work piece
for that Work setup> WKPC. pickup > Edge
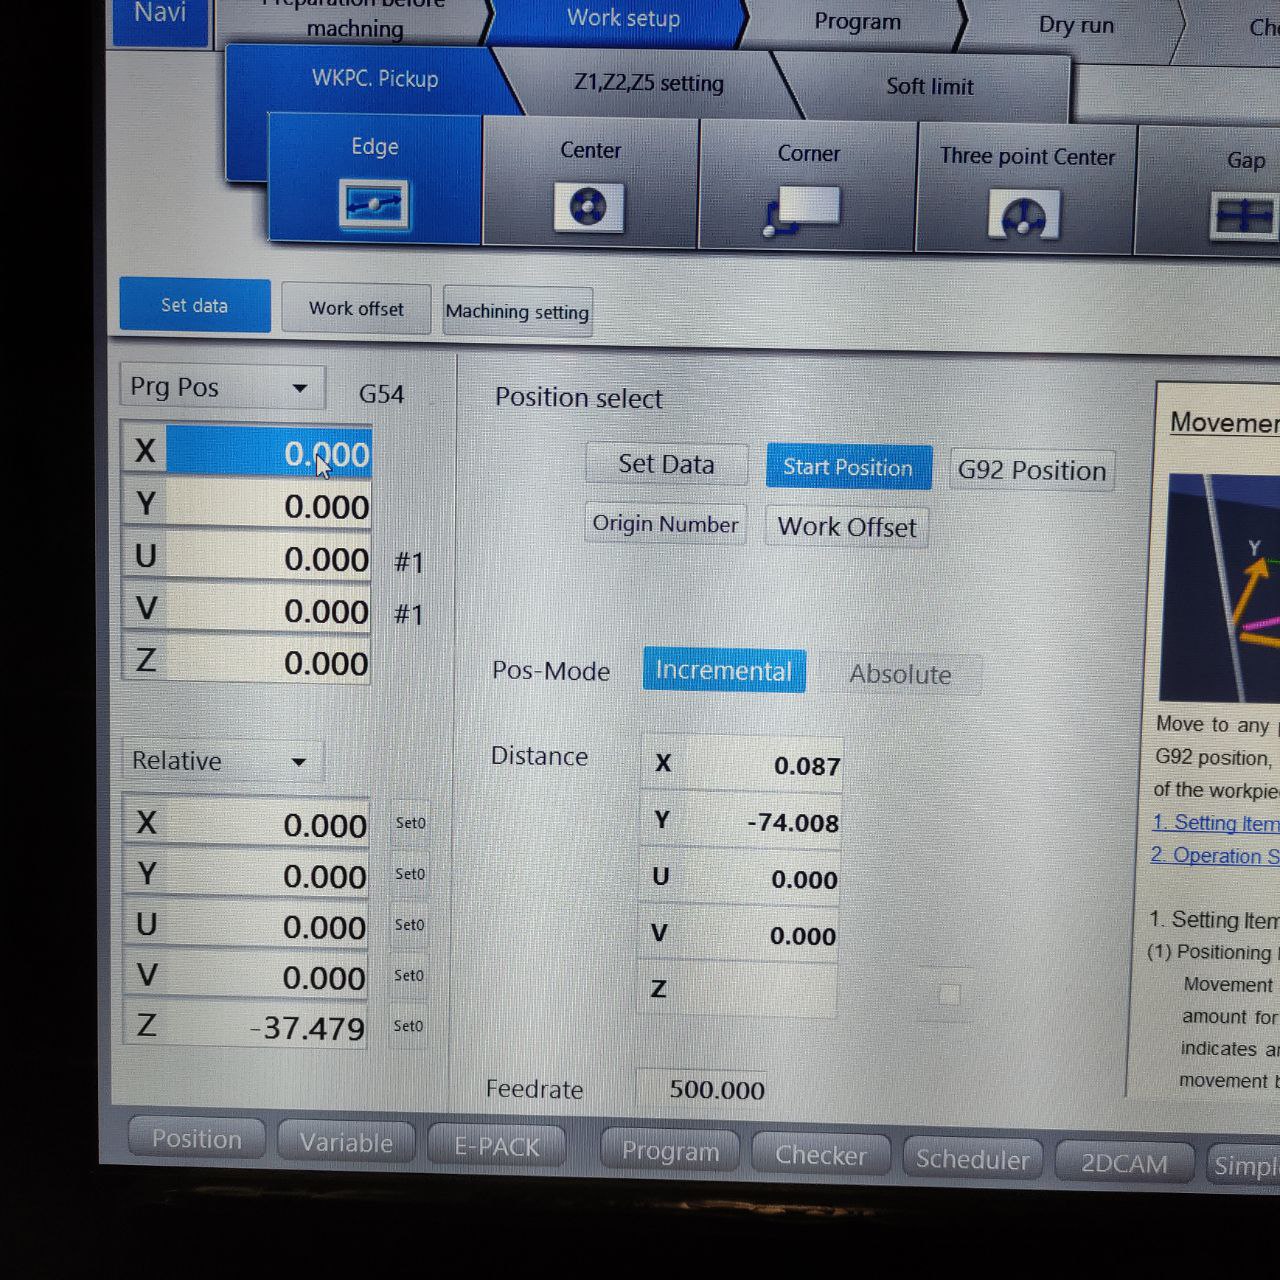
- this window will be shown,
- now place the wire in the position the cut to started,
- and change the relative and machine positions in this window to zero “0”
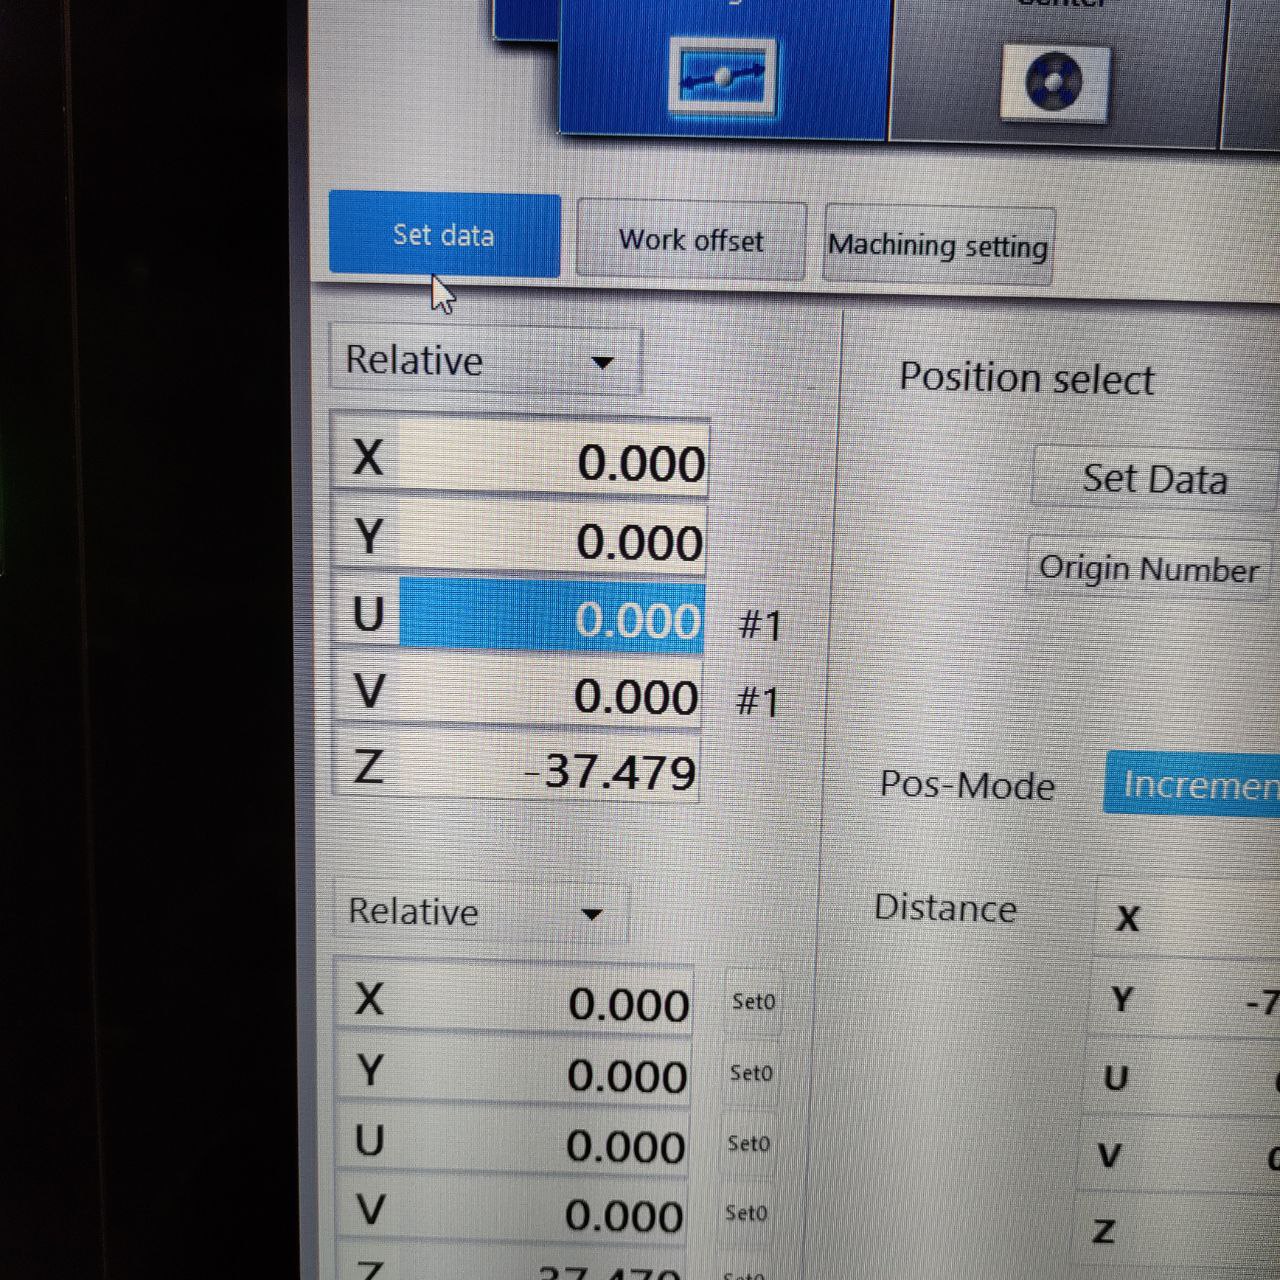
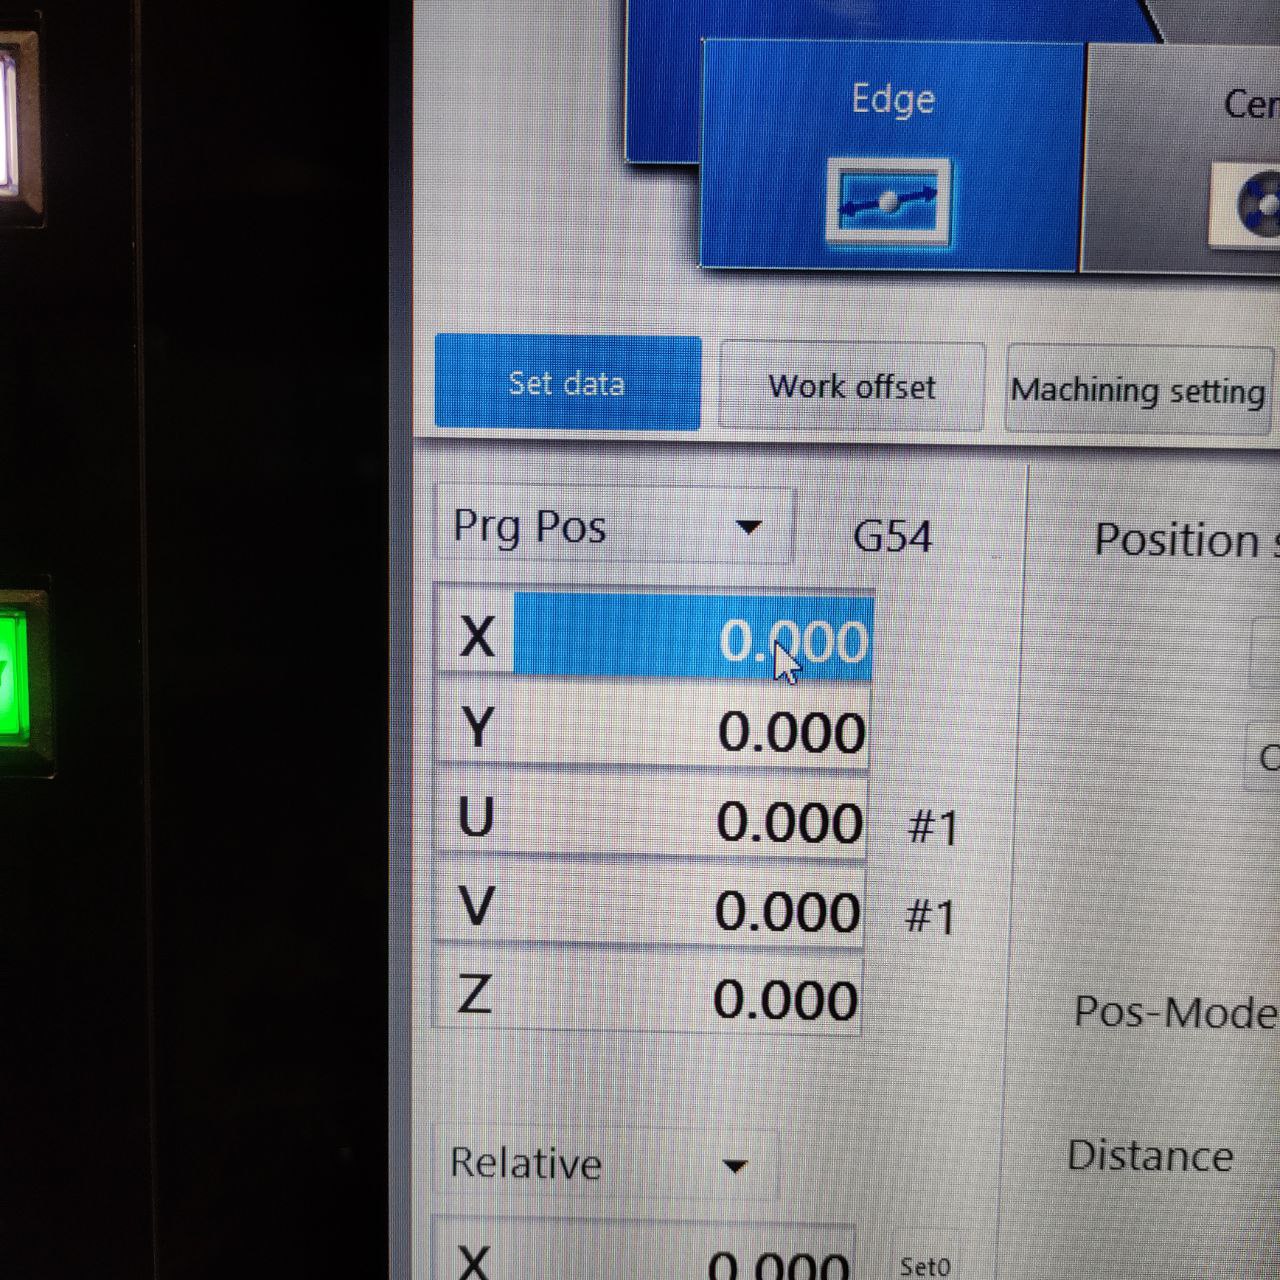
- now click set data
- and without moving the machine axis's go to the main window and press start—>
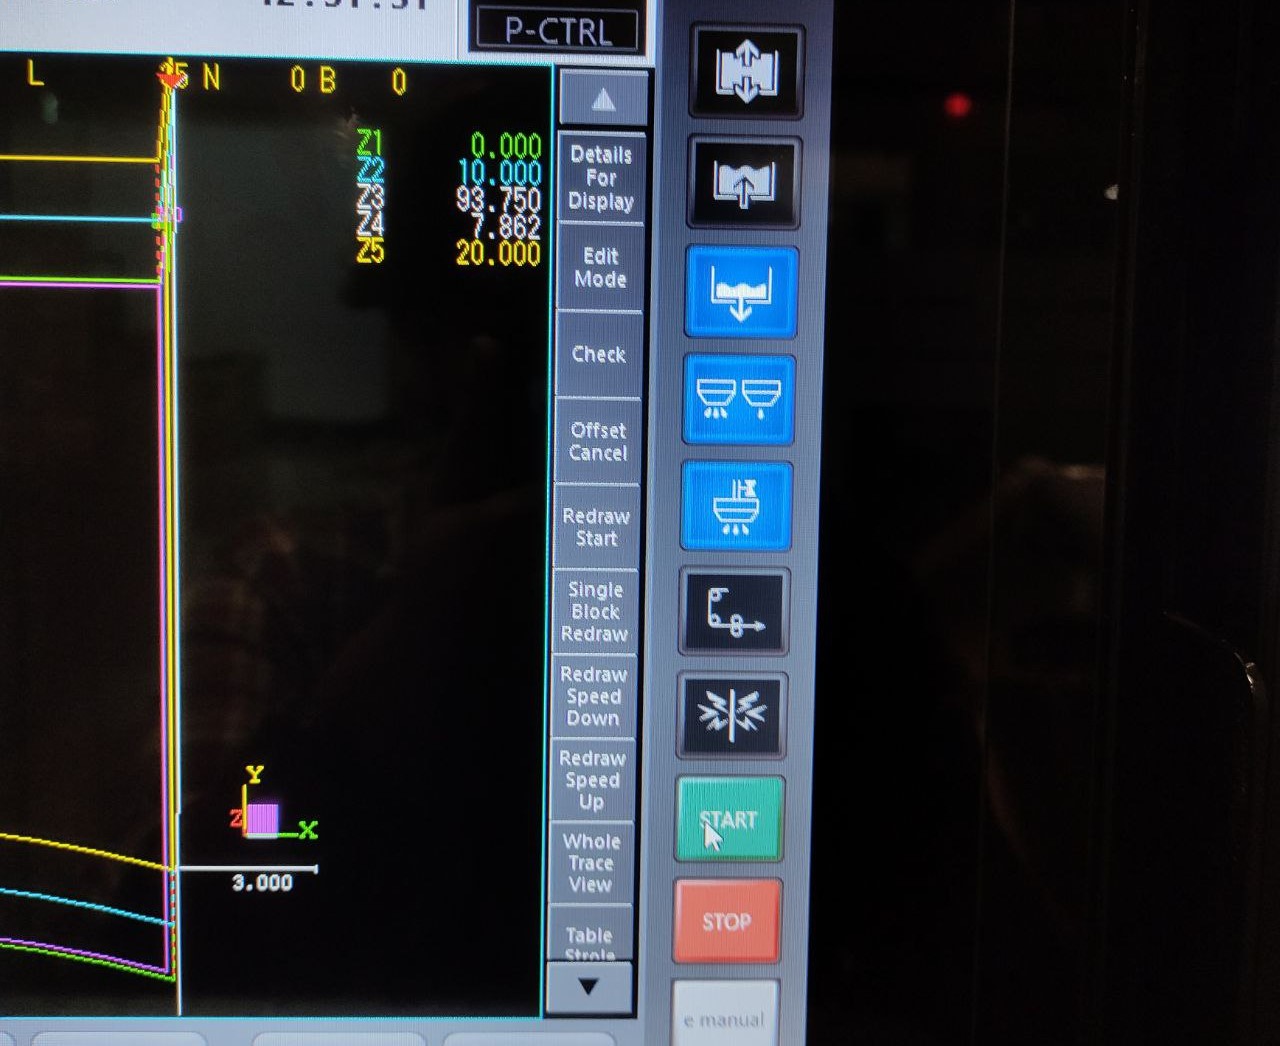
- the machine will be now started, and initially the water will be filled up-to the top of the nozzle
Cutting:
the cutting process
- here we can see the spark when the metal is being cut
- removing the part from the workpiece
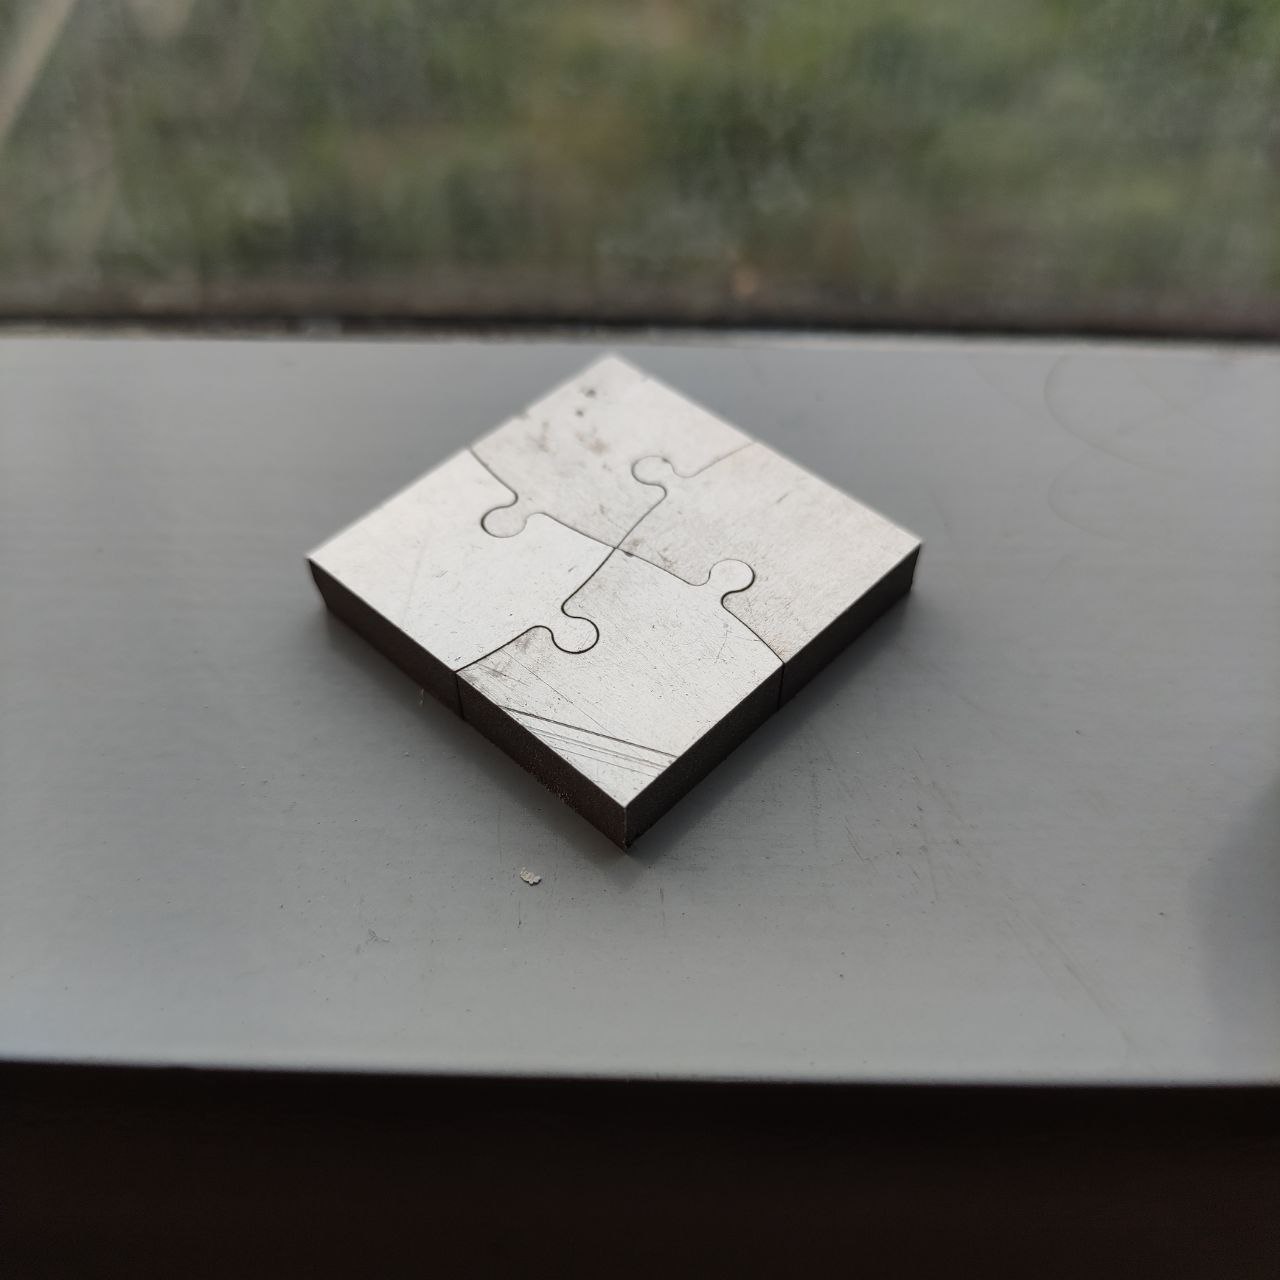
Finished part:
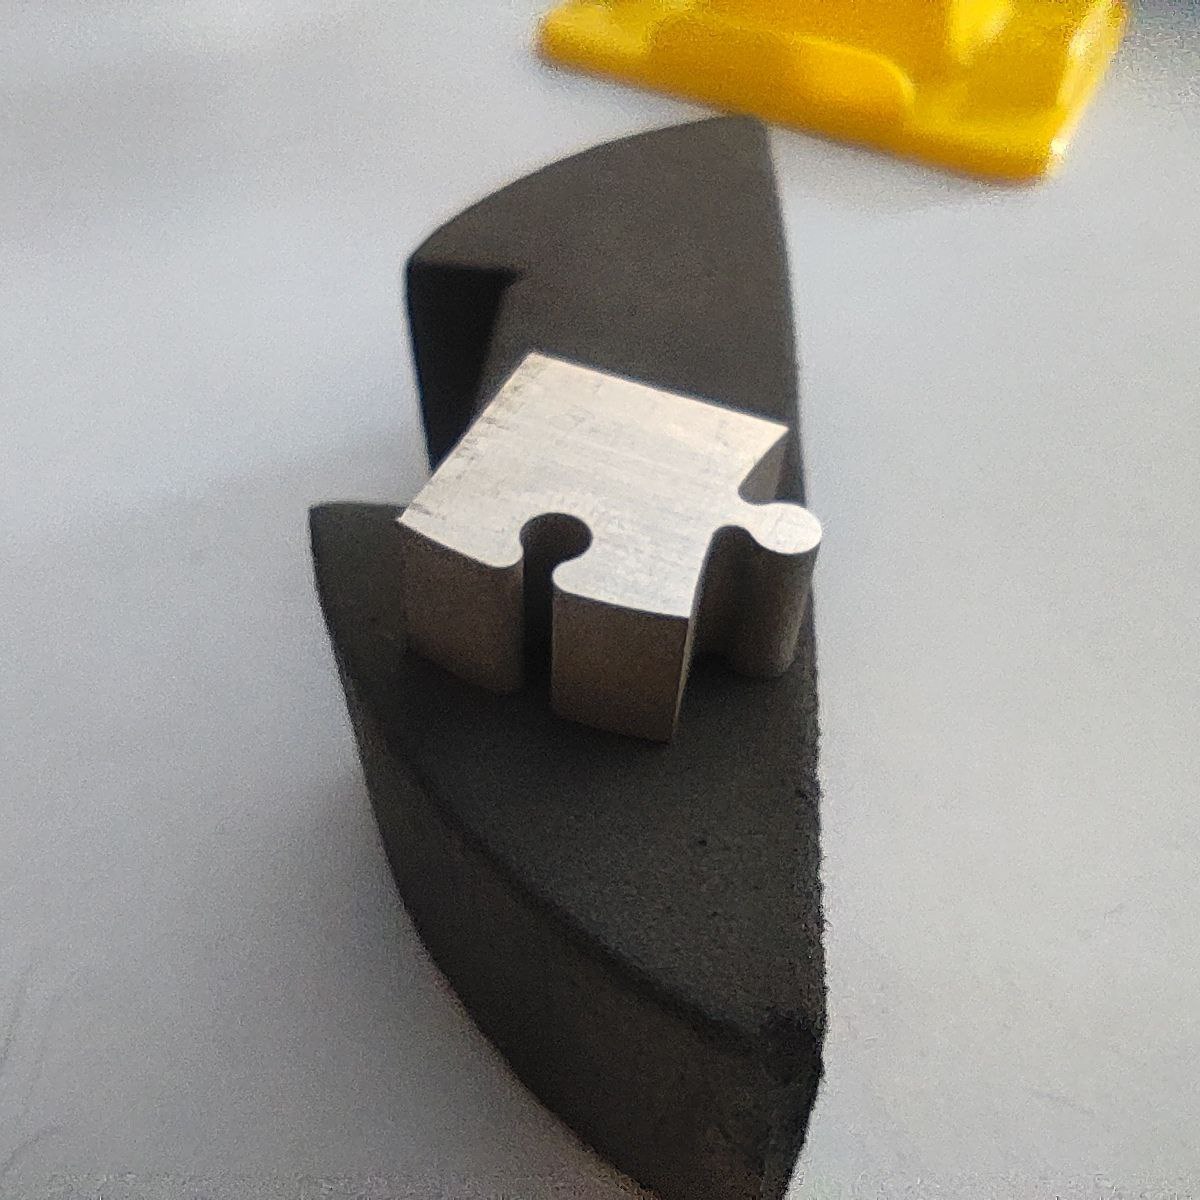
- this is the finished part, we can see the precision of the components
Now I tried cutting the 2-second piece
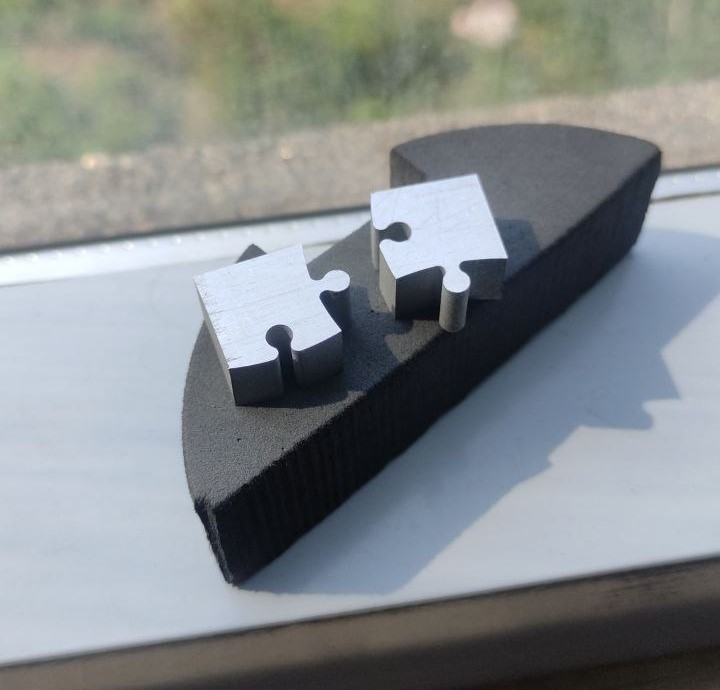
Here the parts are tightly fit, I actually had to use some force to connect them, it is an indication that the tolerance is way less, so the design has to be optimized.
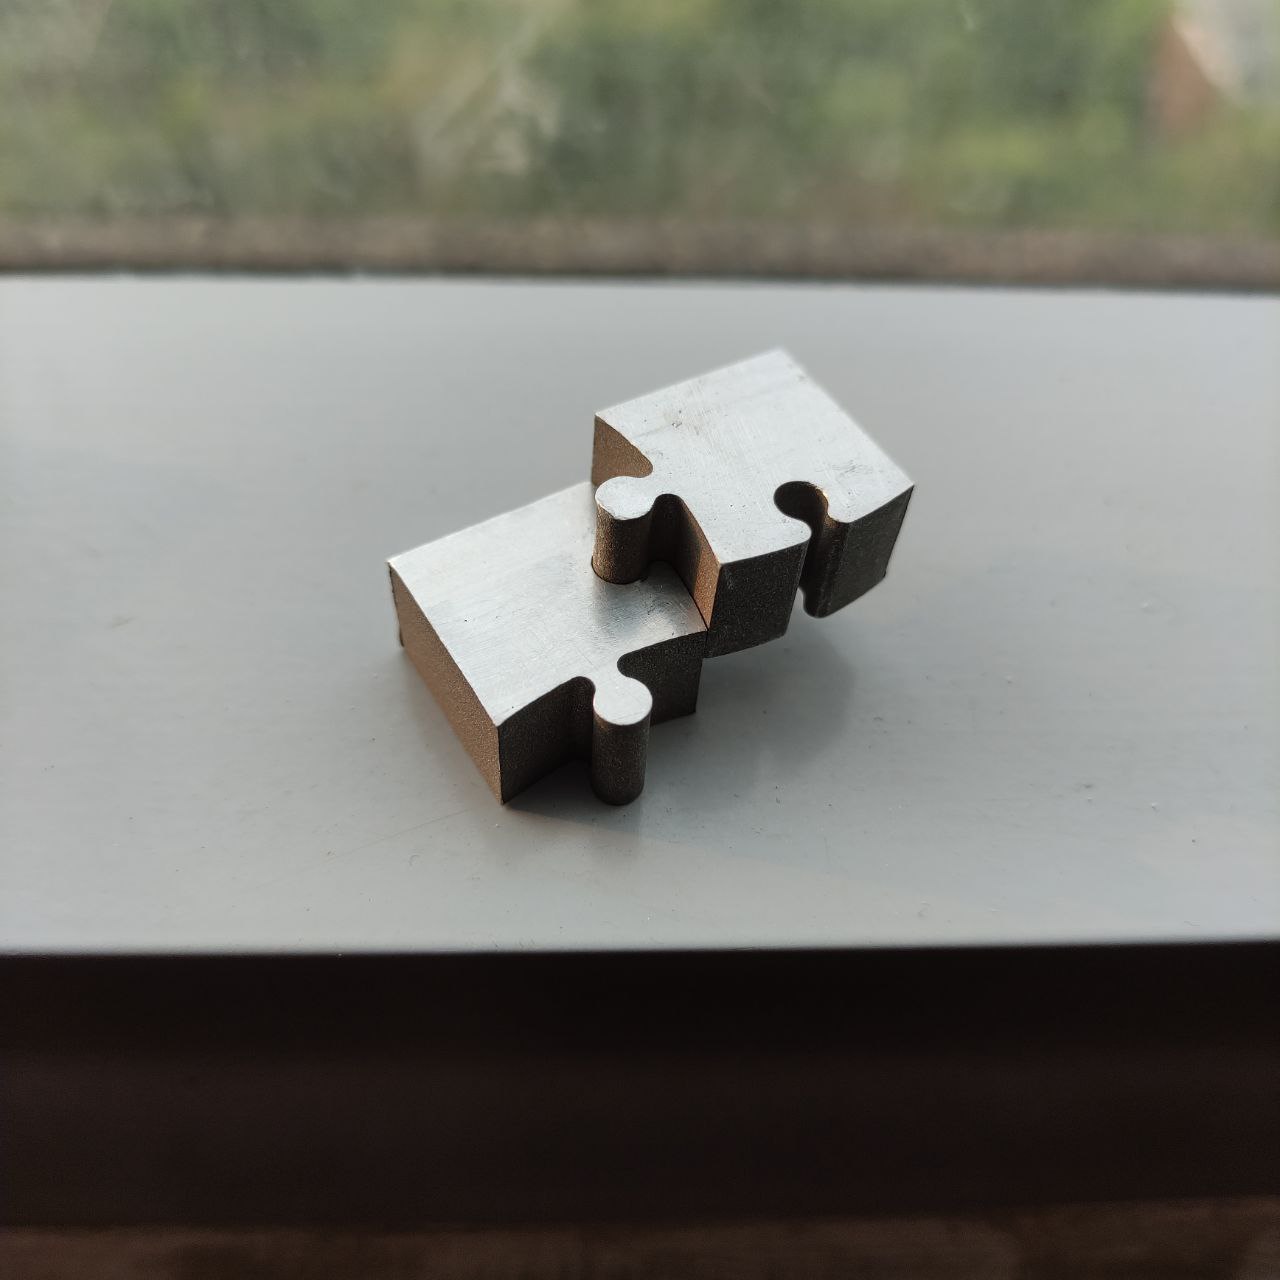
Update:
- now I changed the tolerance to 0.006mm
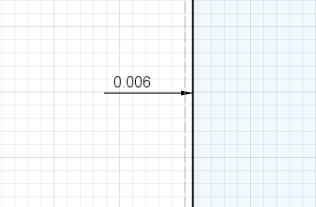
- and it was cut again
but unfortunately, it’s still tight, but lesser than the previous one
- so I have two assumptions here it is either because of the tolerance or because of not using different passes for finishing cuts.
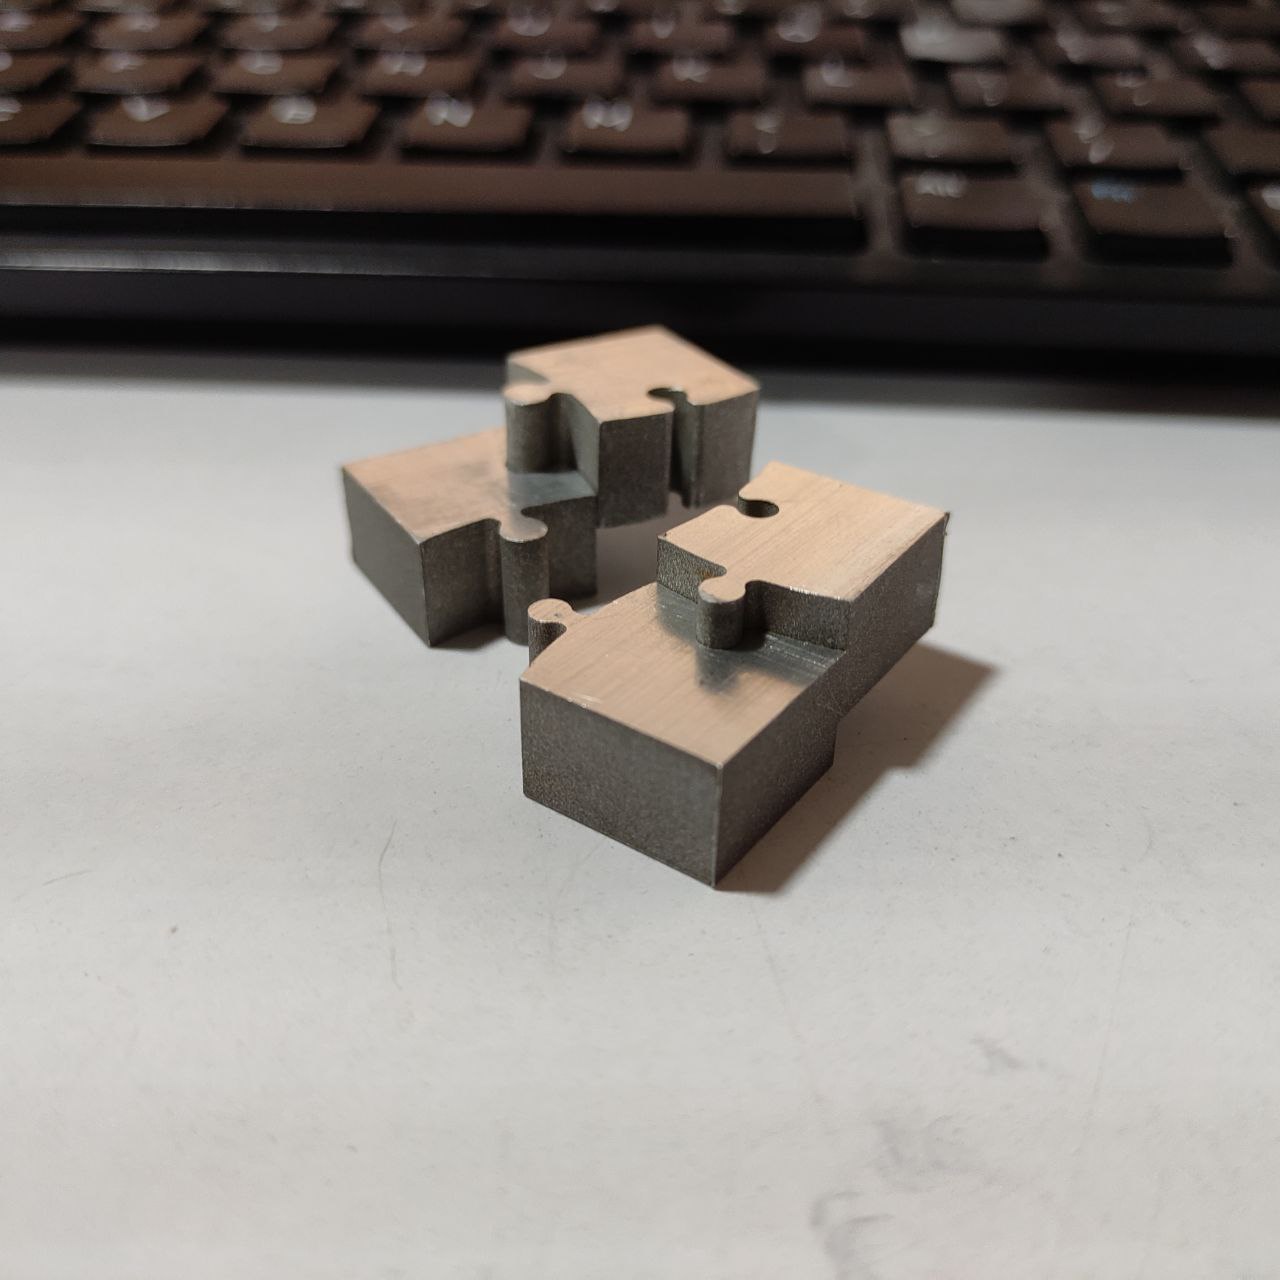
- so I tried changing the design as our instructor Jogins told me,
- and changed the tolerance to 0.01 mm
- this was the result, the parts fitted correctly, but the tolerance was not satisfactory
Design files:
DXF files for cutting in EDM :