Computer-Controlled Machining
Assignments of the Week
- 1.Complete your lab's safety training
- 2.Test runout, alignment, fixturing, speeds, feeds, materials and toolpaths for your machine
- 3.Document your work to the group work page and reflect on your individual page what you learned
Group assignment:
Group Assignment:
Individual assignments:
1.Make (design+mill+assemble) something big
2D design and development
Irst edition
Autodesk Fusion 360
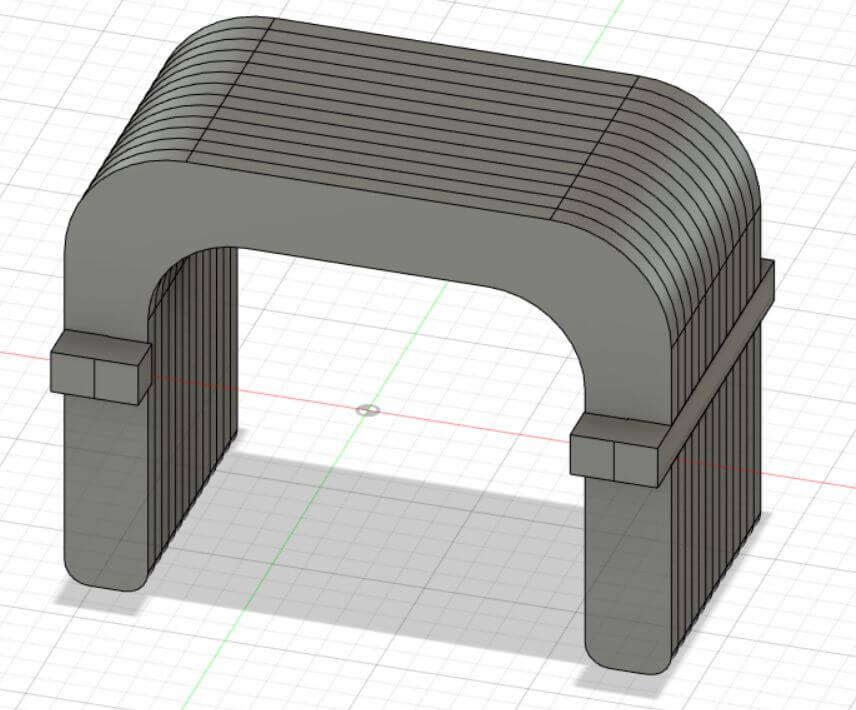
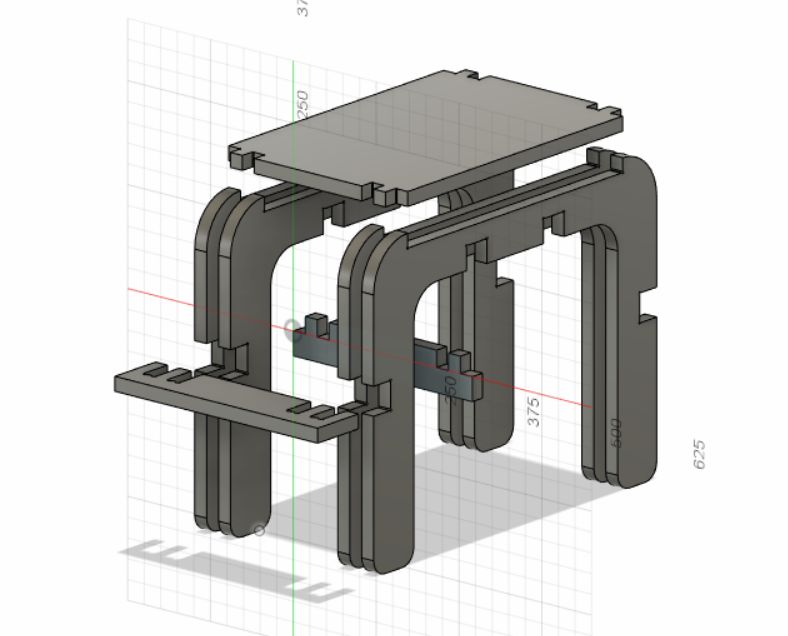
1. What the first version looks like in the software.
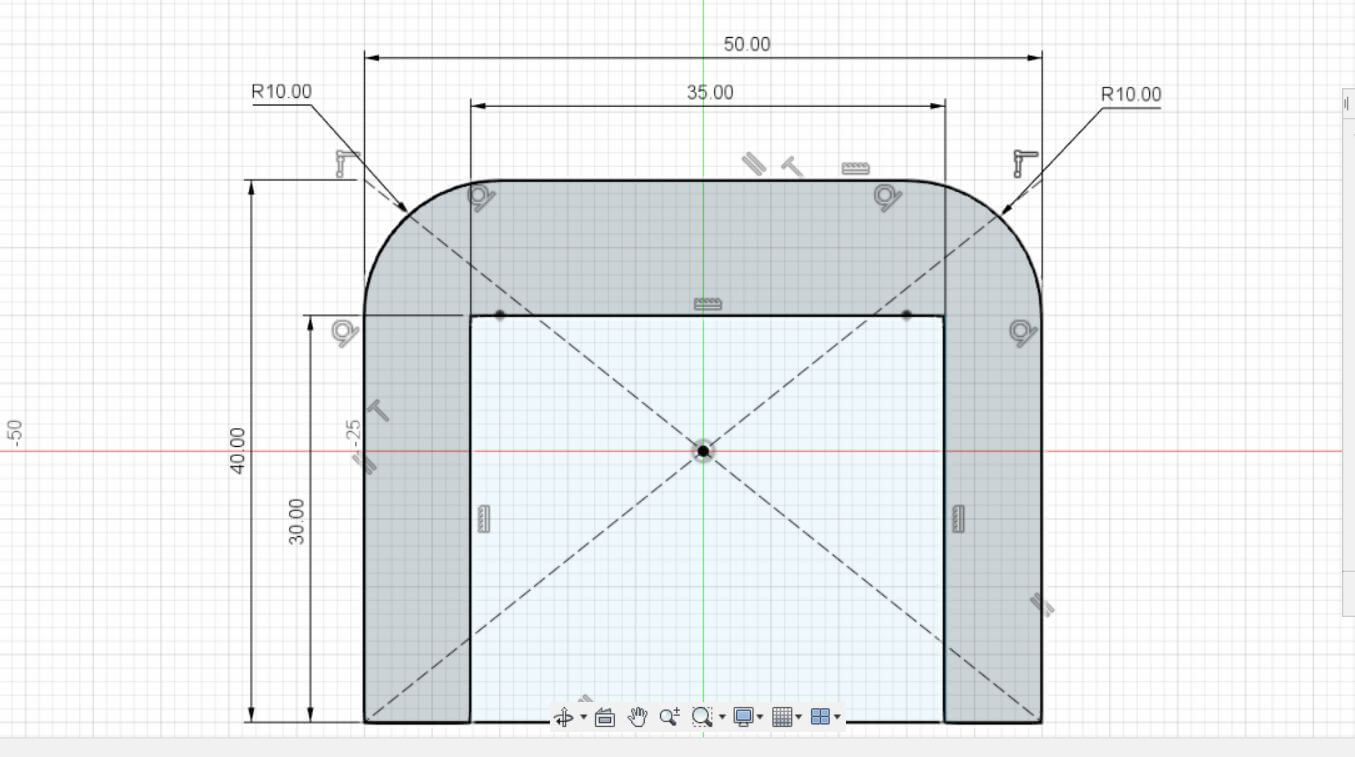
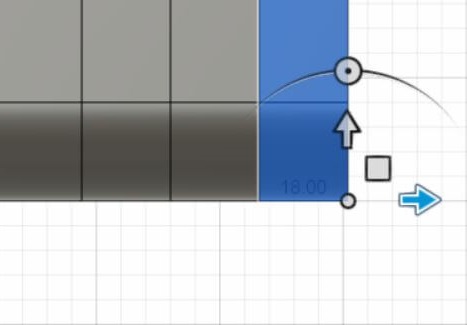
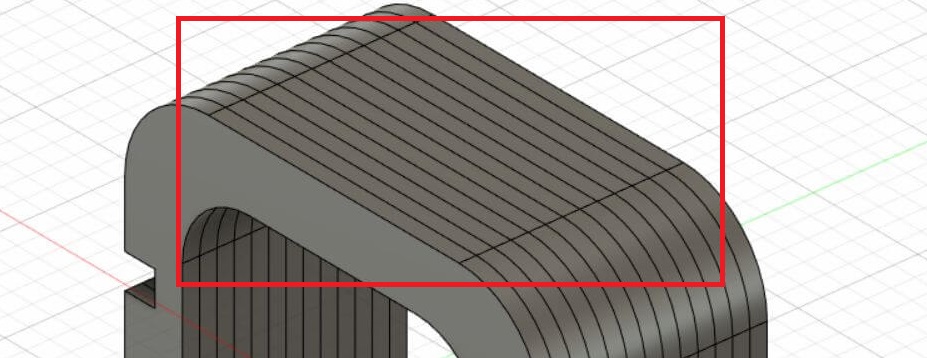
2. Determine the length and height of the stool and the size of the rounded corners
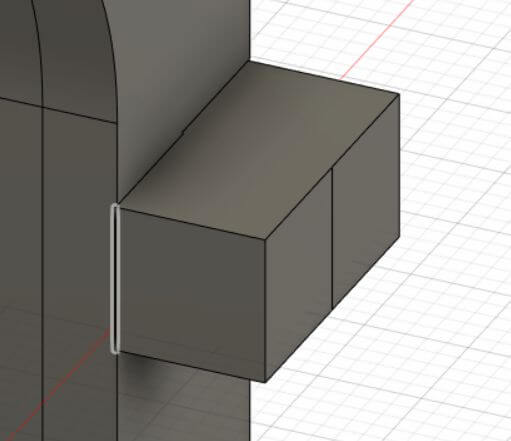
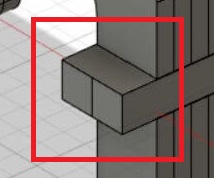
3. Duplicate the corner of the table to form a support.
4. Buckles for assembly of various parts.
5. Existing problems
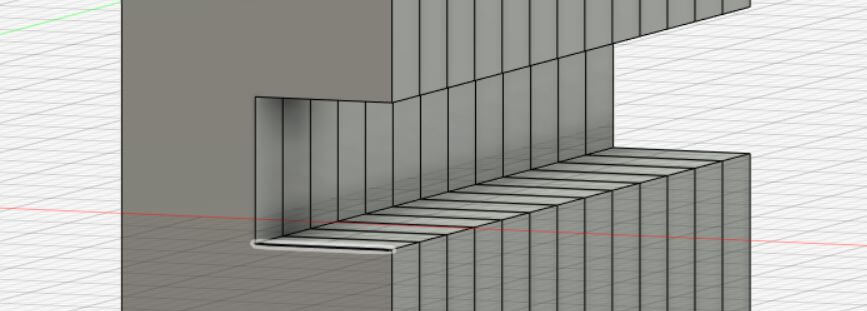
1. It has 13 stool legs, which increases its weight.
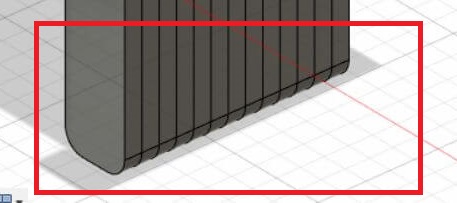
2. Its surface in contact with the skin is a cut surface, which is very rough and uncomfortable for the skin
3.The furniture was not strong enough, so I added some extra buckles to make sure the furniture was strong enough.
Second edition
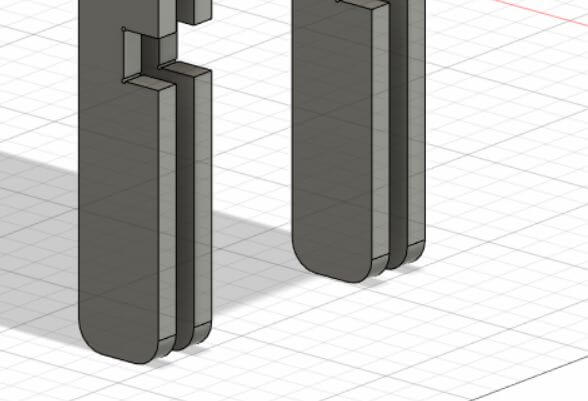
1. Remove 9 stool legs and lose some weight.
2. I added smooth contact surfaces where the skin touches
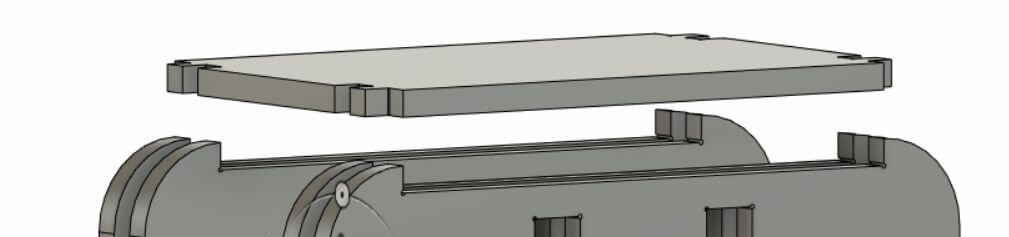
3. I added new bites.

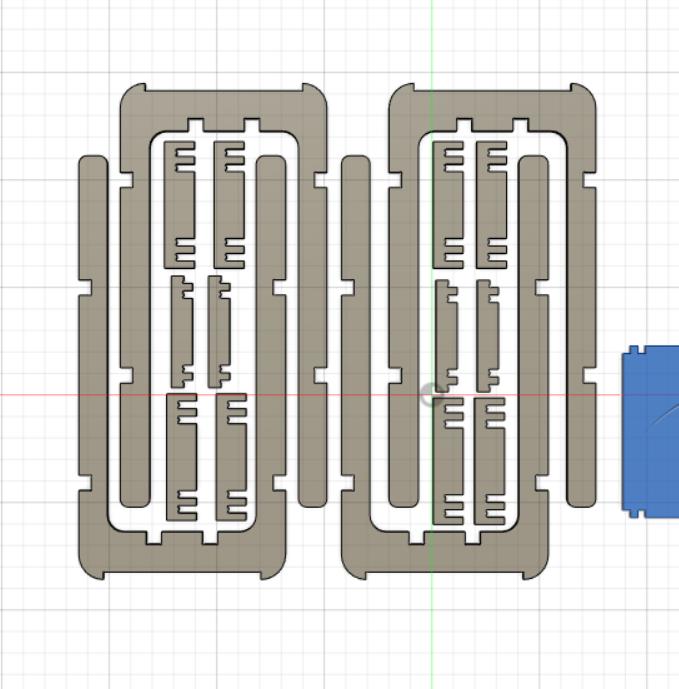
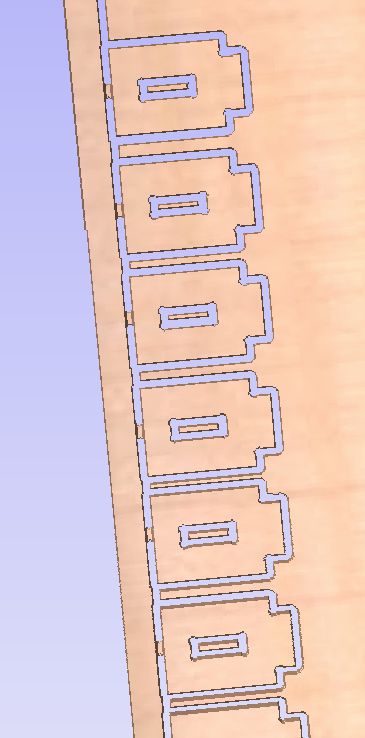
4.Separate the parts that need to be cut and arrange them individually.
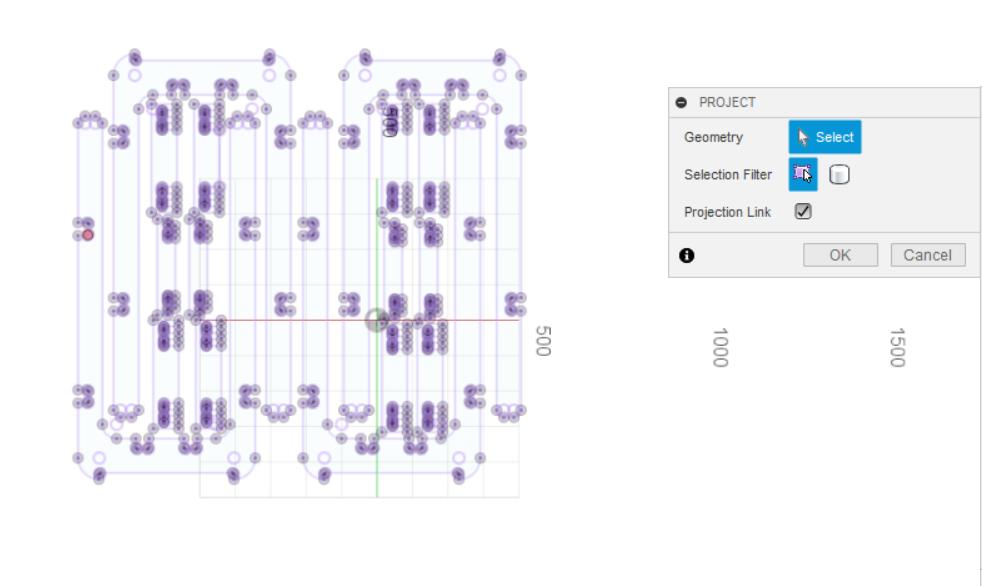
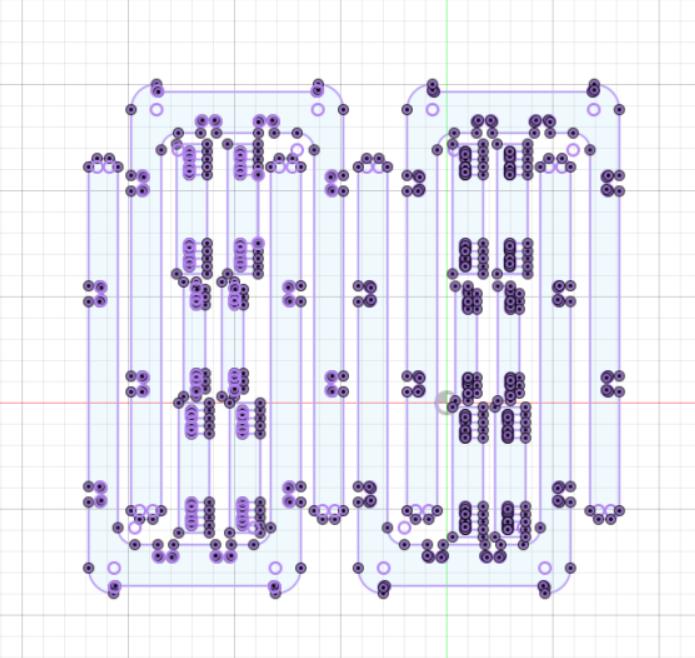
5.Utilize the PROJECT tool to generate pathways.
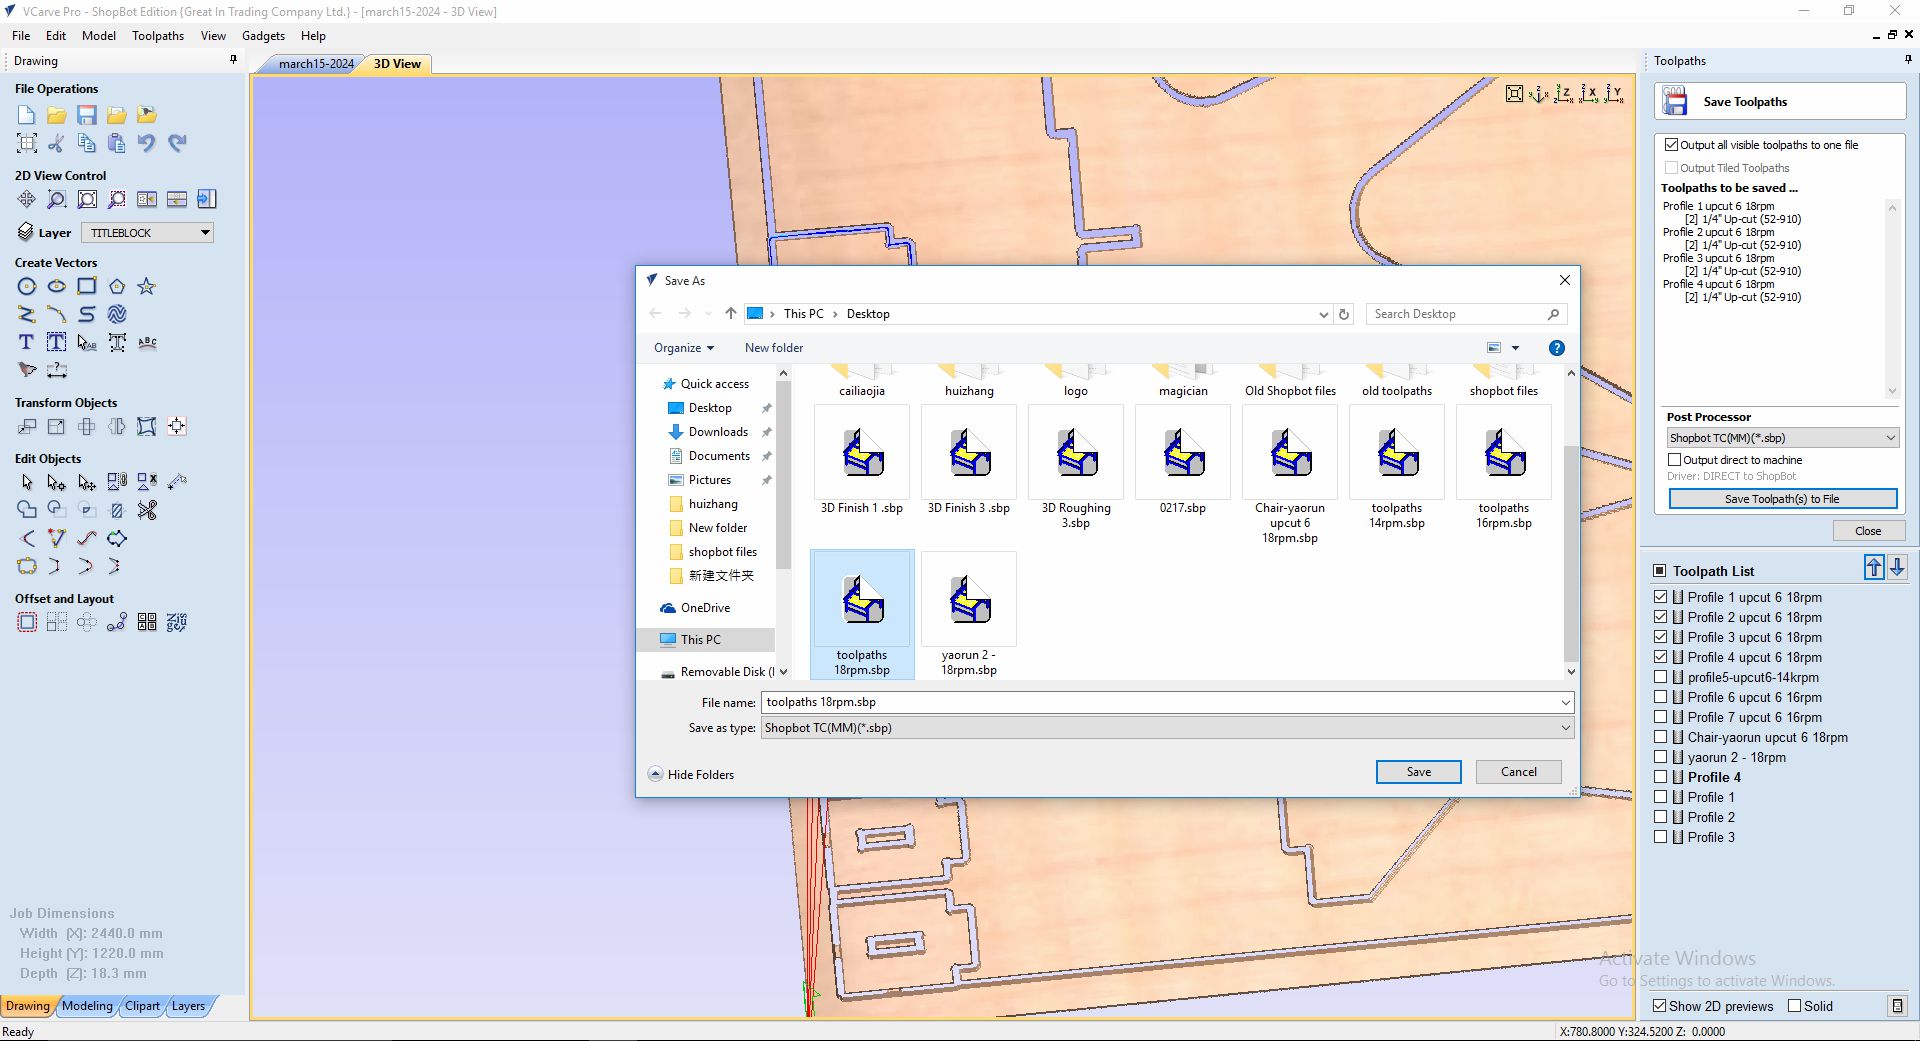
6.Locate the completed PROJECT file in the layers, then right-click and select "Save As DXF" using the mouse.
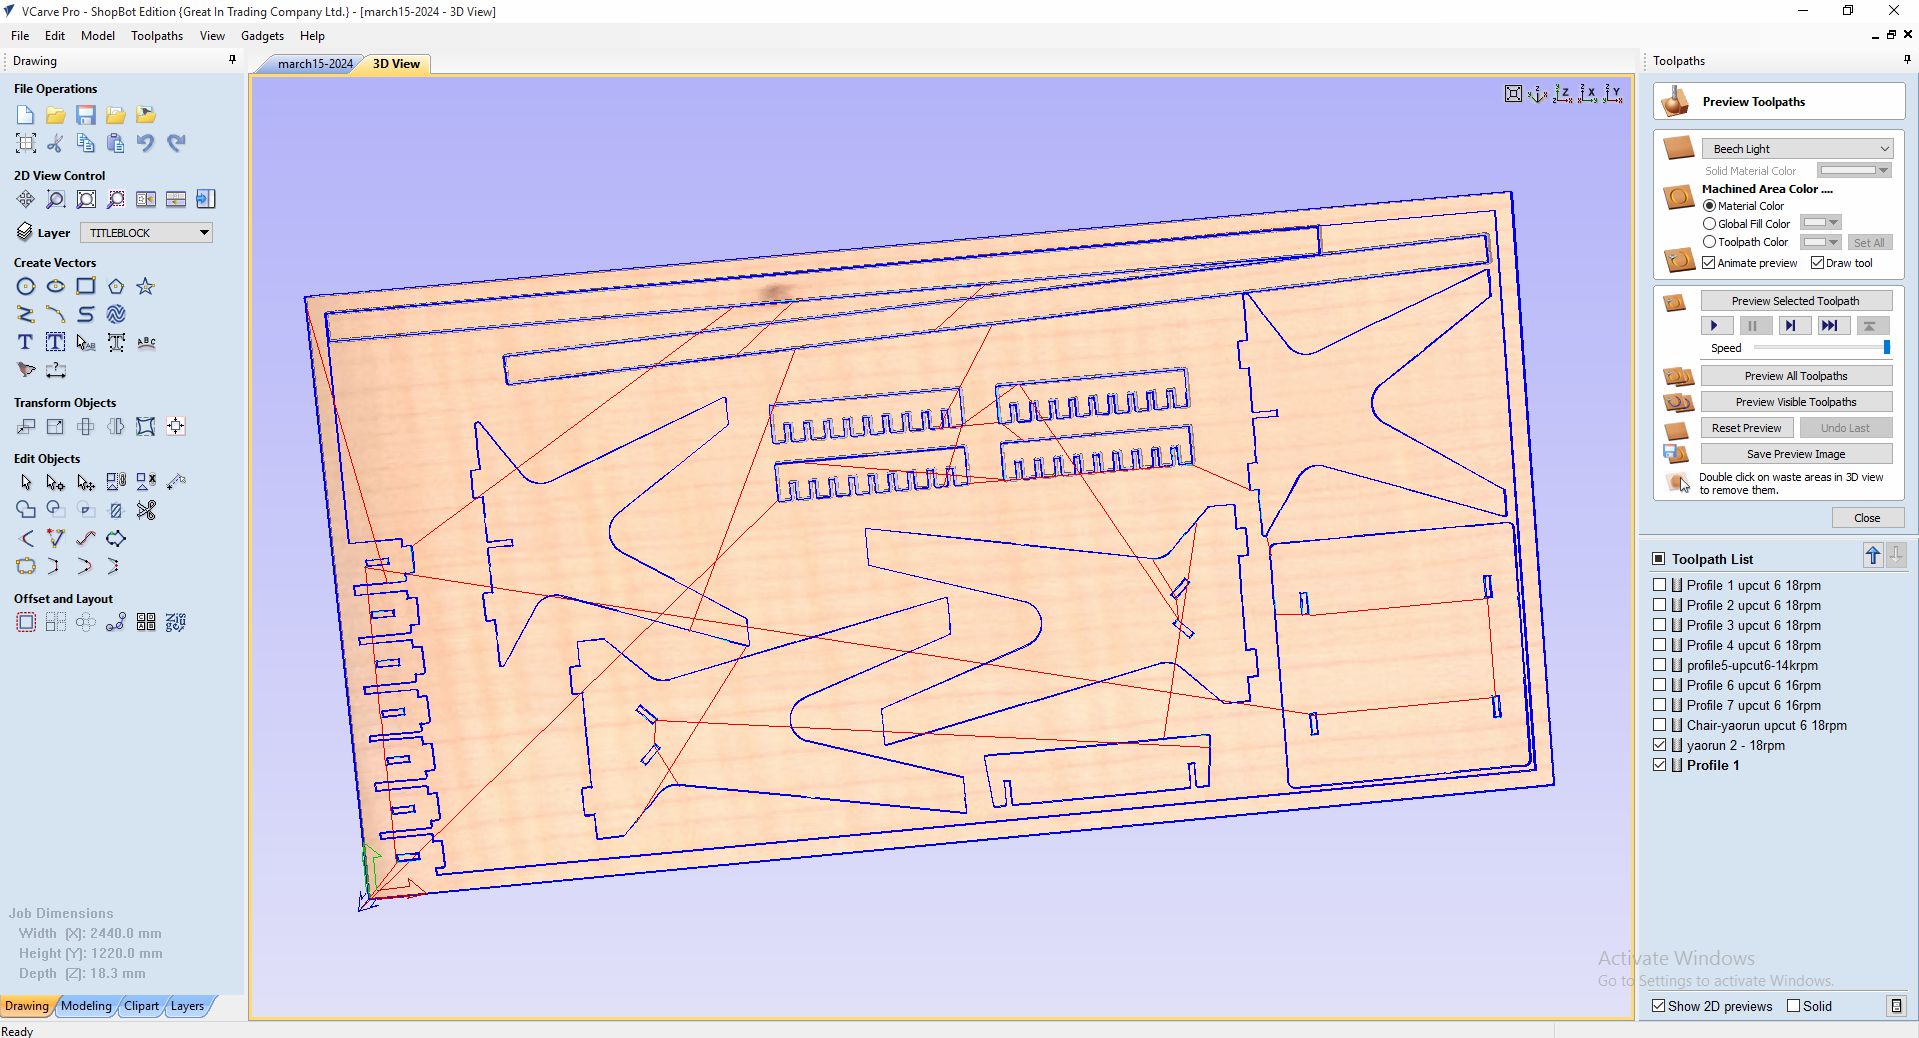
Generating CNC toolpaths within software.
Importing files.
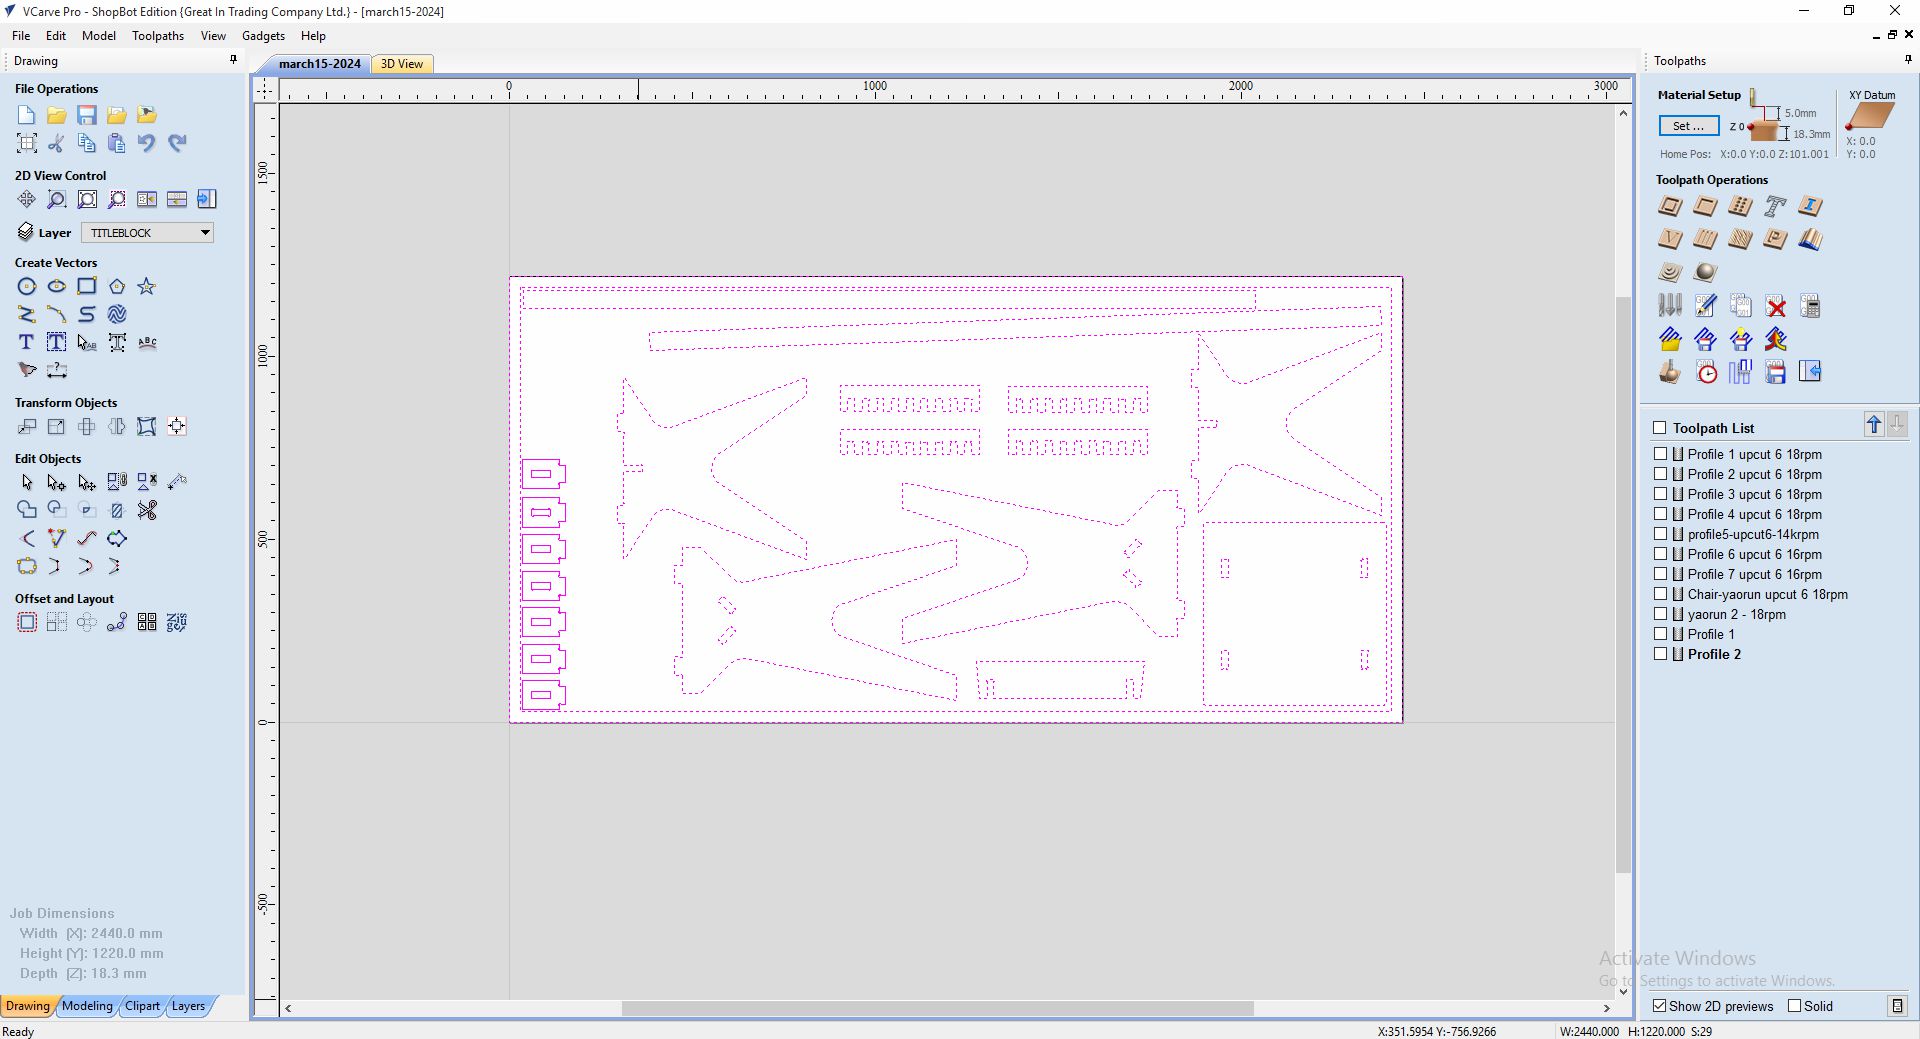
Arranging your works can help you save space for your own materials.
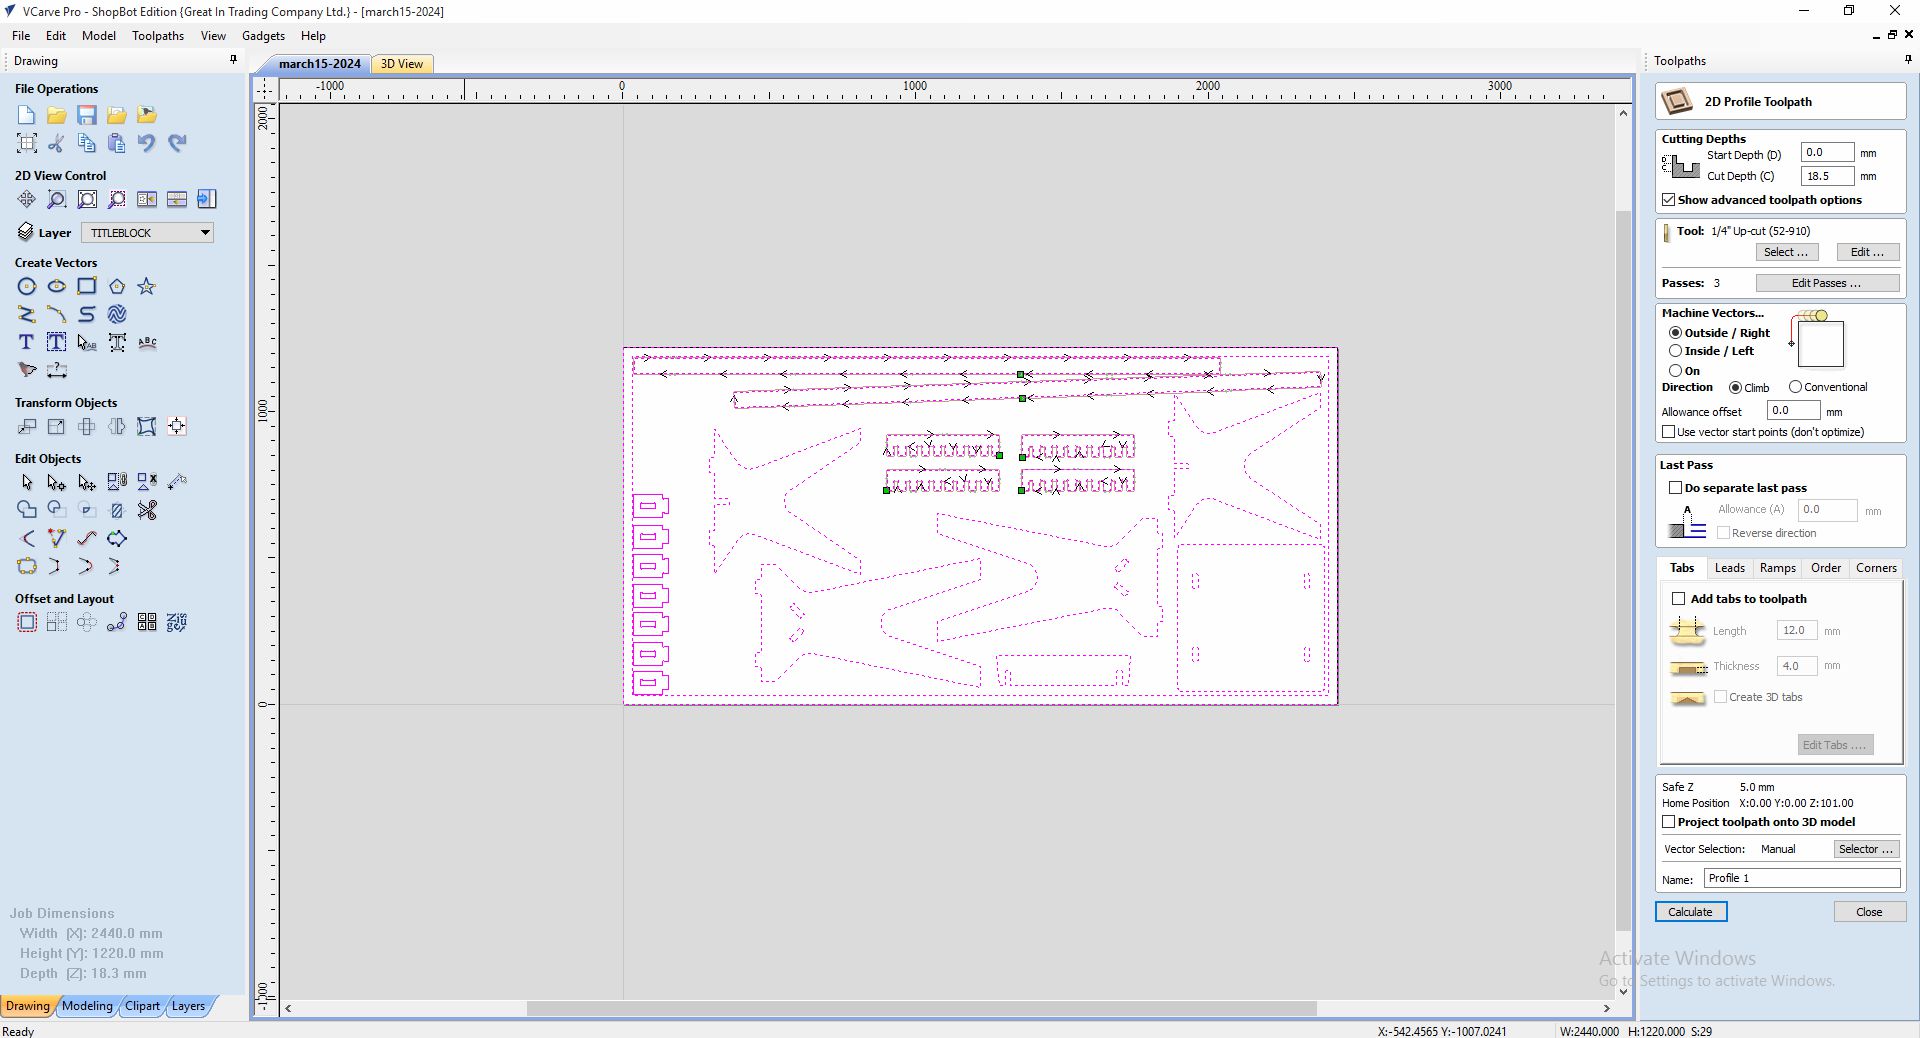
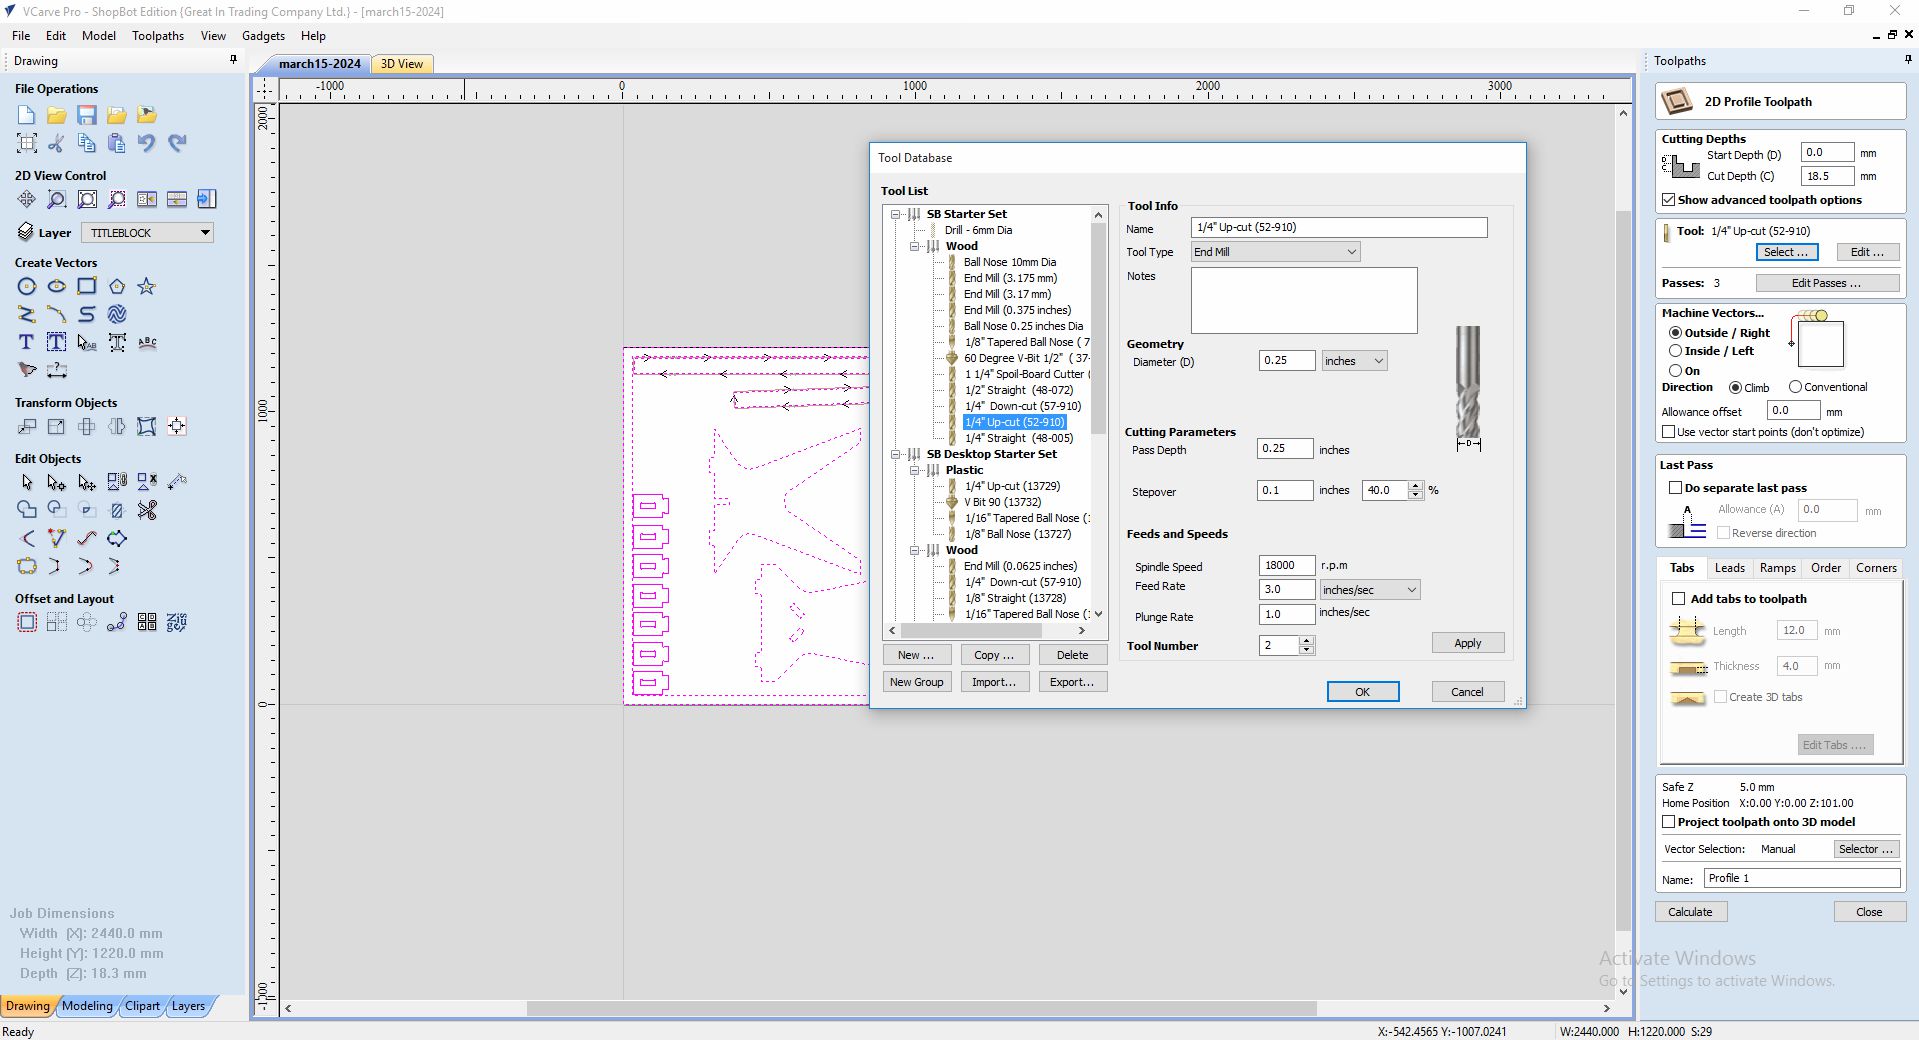
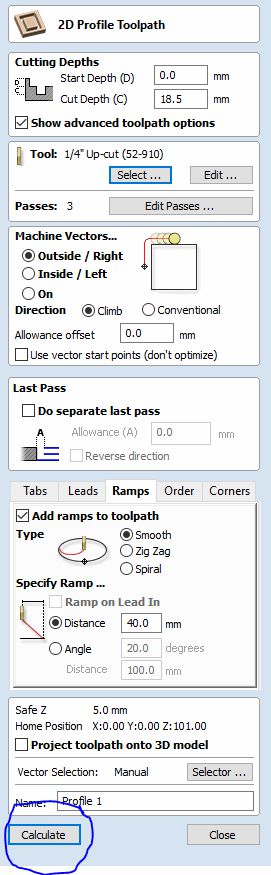
Setting the parameters of the tool.
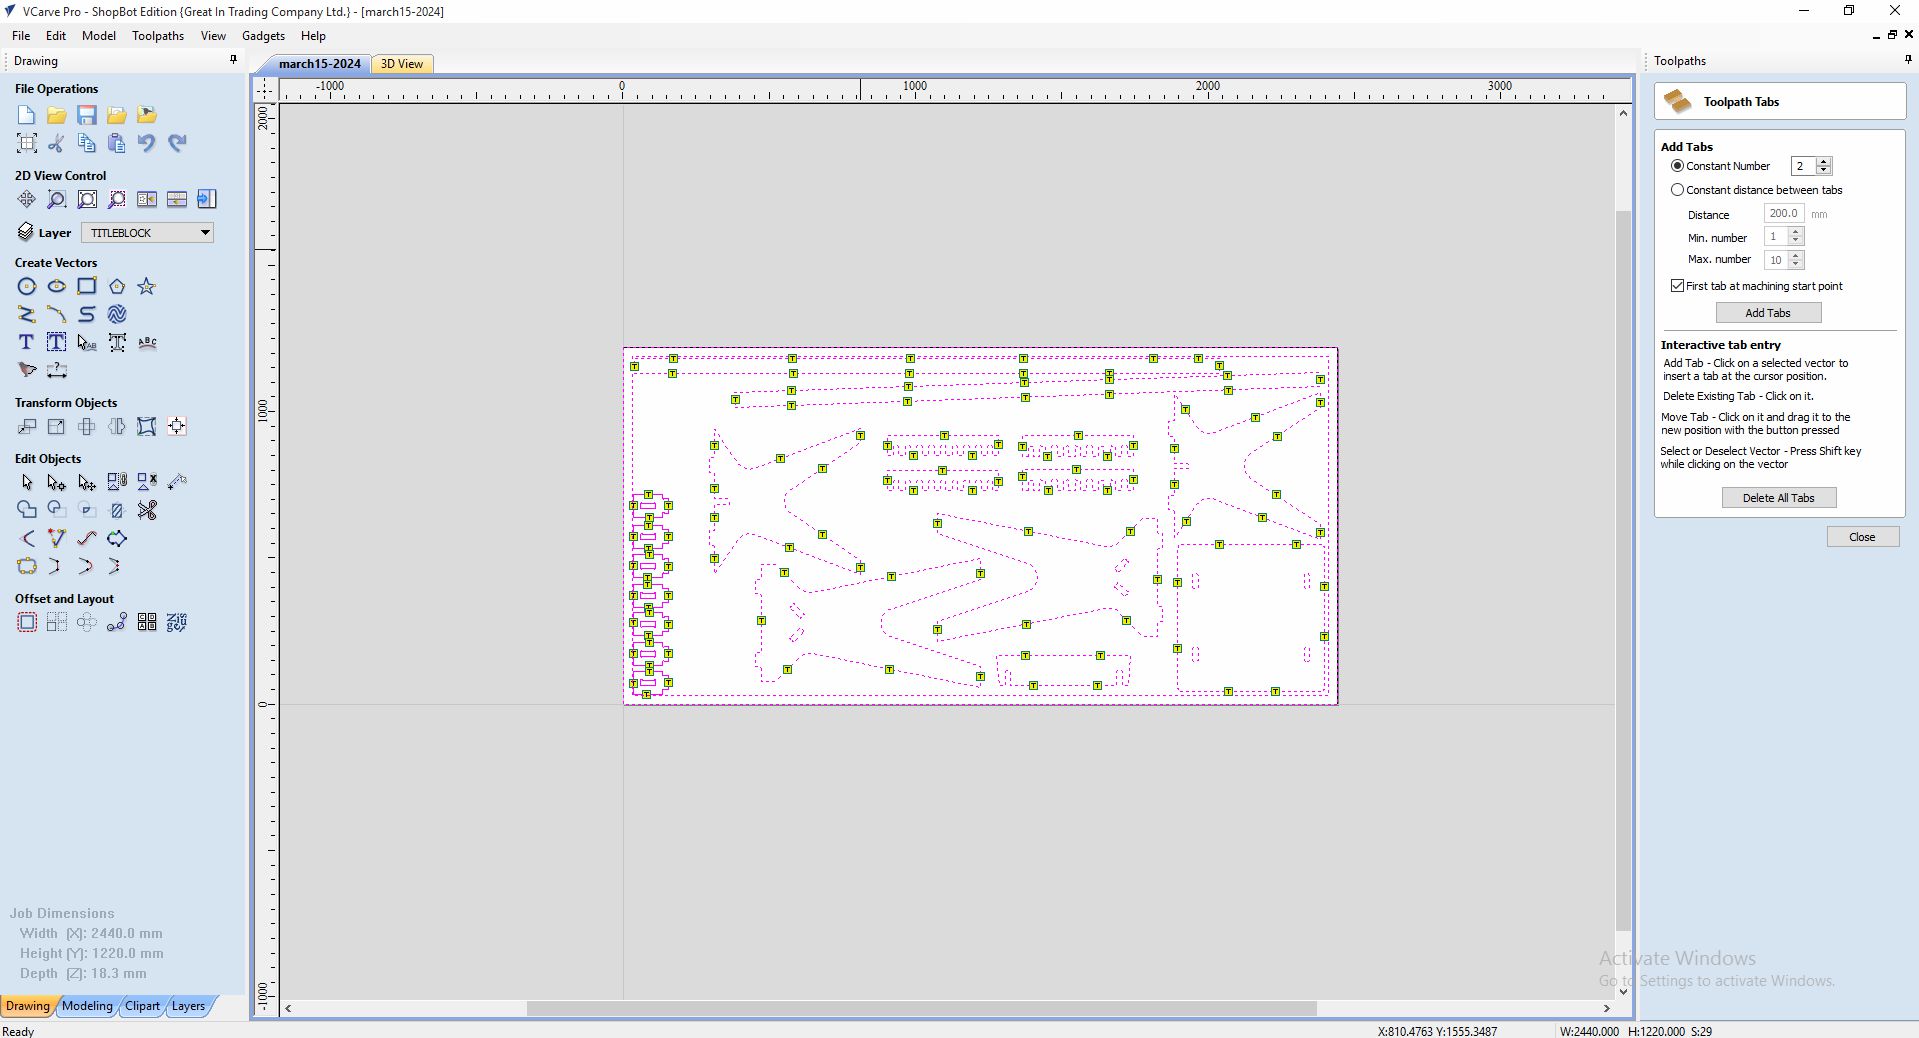
Setting the type and size of bone connection.
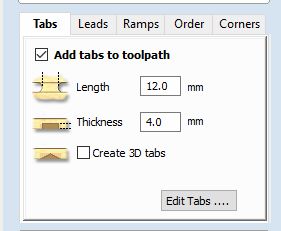
My bone connection.
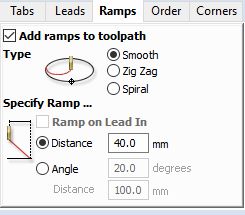
Setting tool entry type and path.
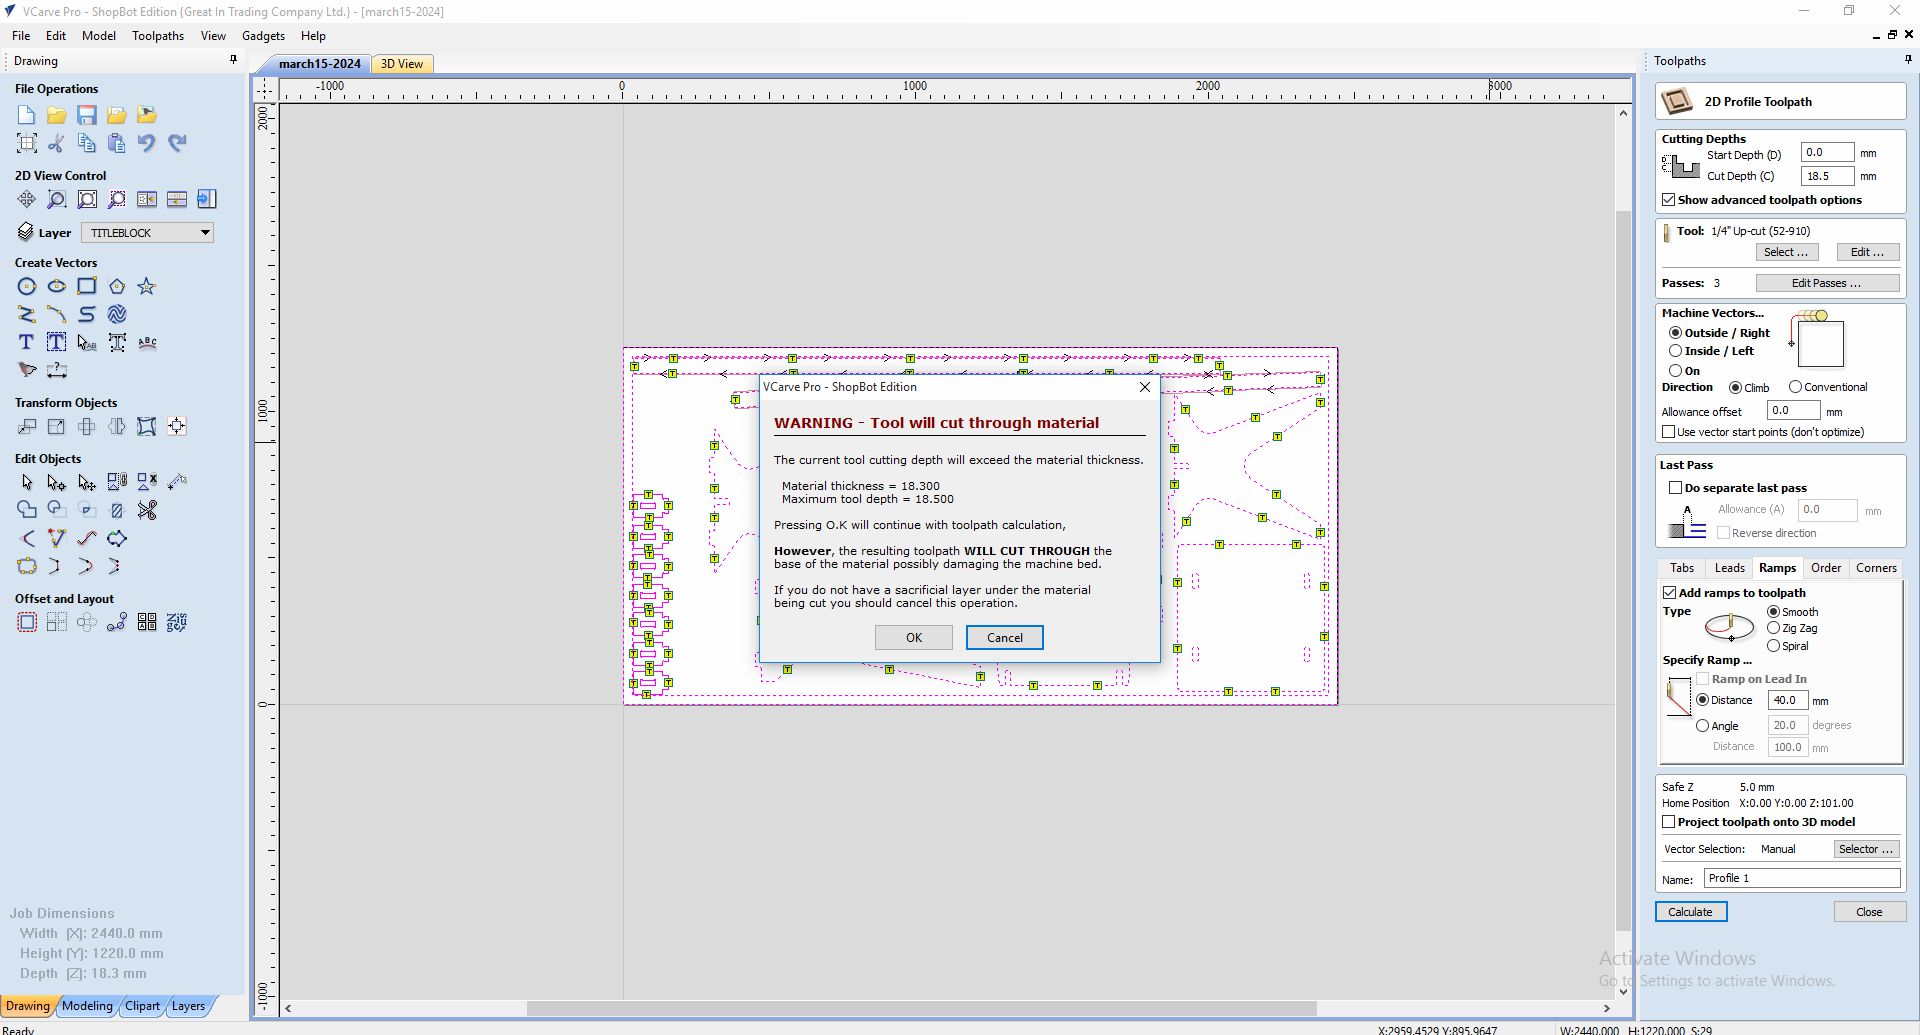
Click "Calculate" to confirm once you have verified it is correct.
iiiiiiiiiCheck your generated file and name it with specific parameters.
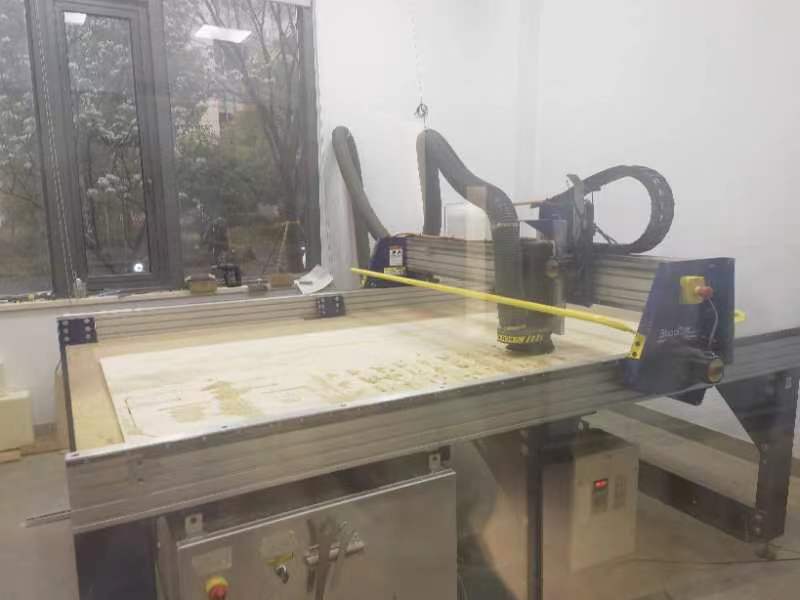
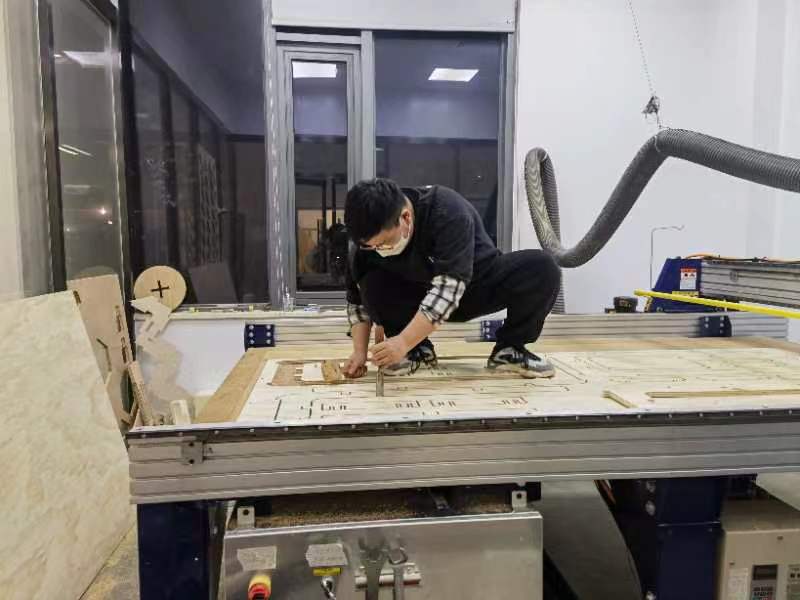
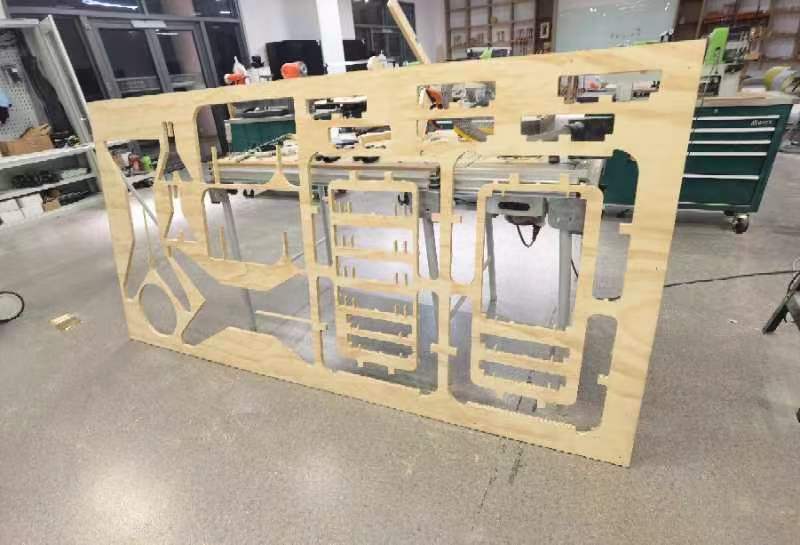
To cut
CNC is working
Disconnect
polished

stitching
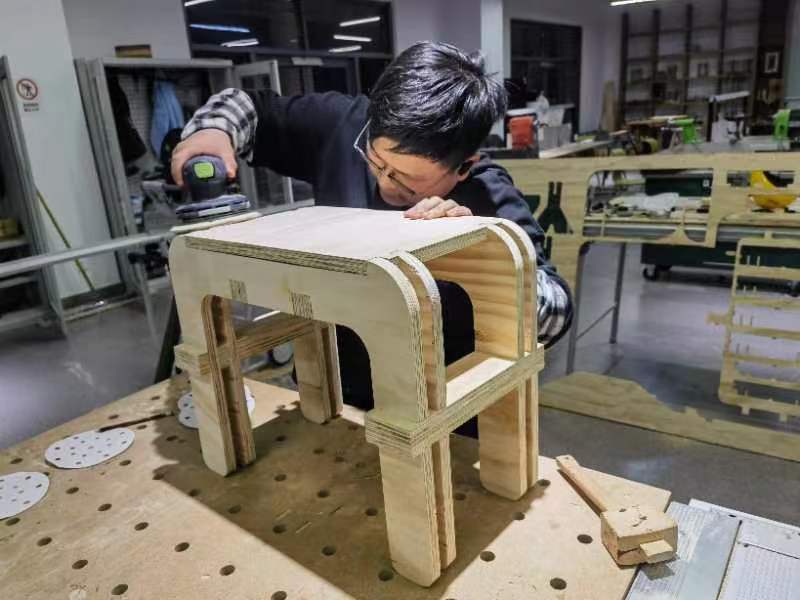
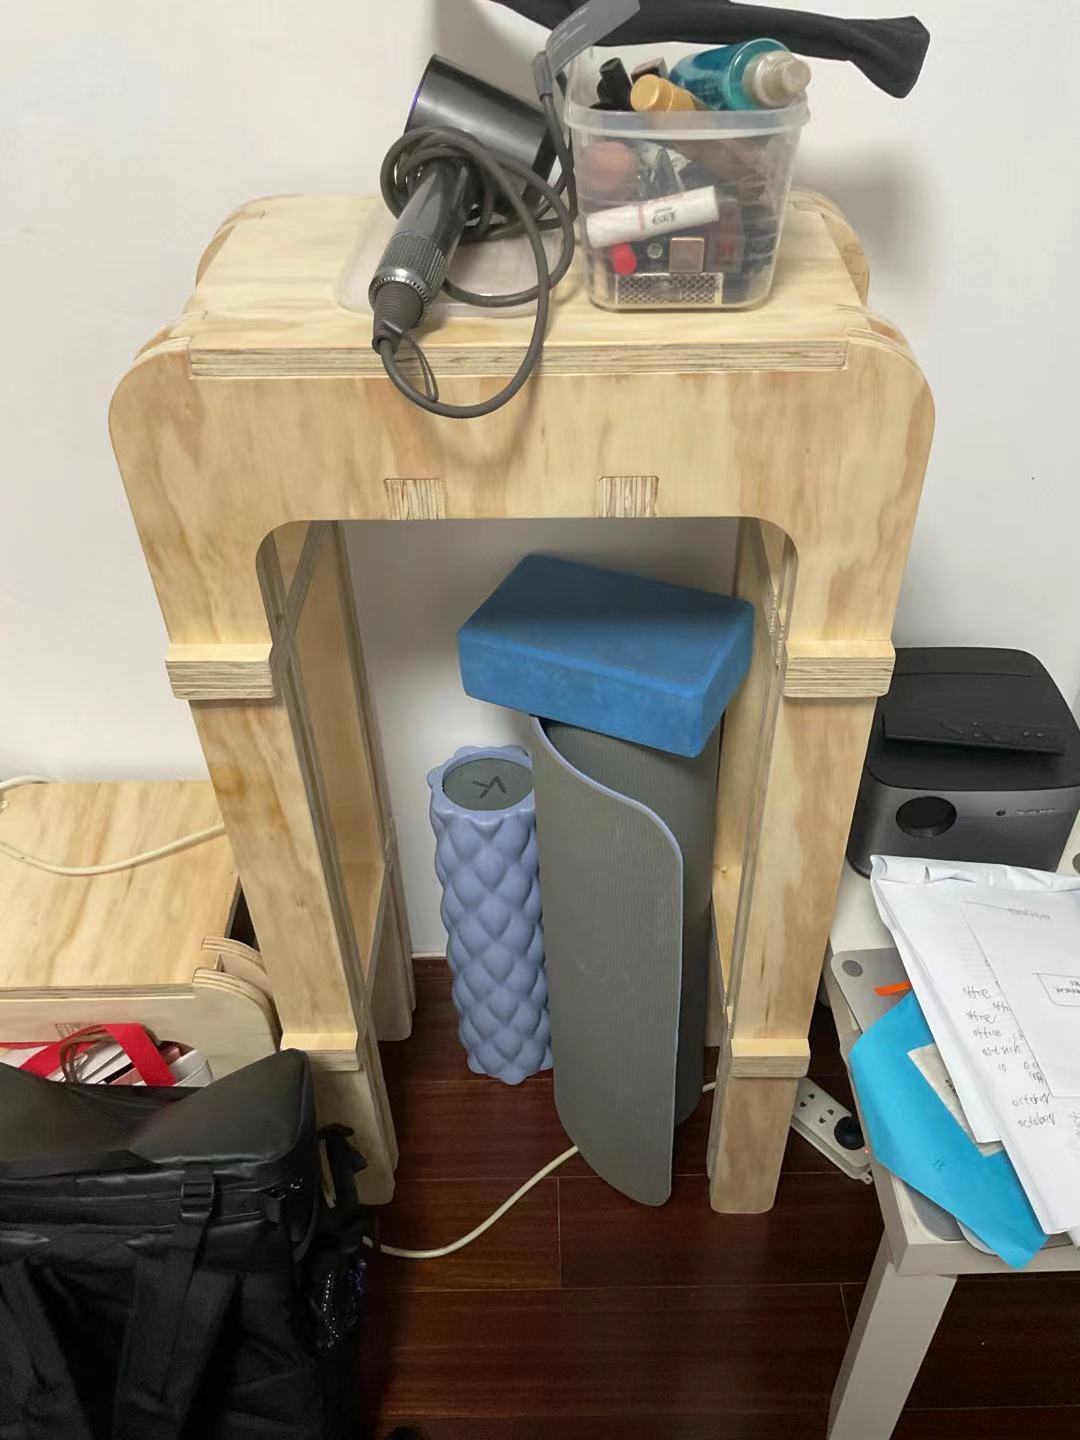
Final effect