7. Computer controlled machining
I fianlly can make me a shoe rack.
1.1 Assignments of the Week
- Group assignment:
- Complete your lab's safety training.
- Test runout, alignment, fixturing, speeds, feeds, materials and toolpaths for your machine.
- Document your work to the group work page and reflect on your individual page what you learned.
-
Individual assignments:
- Make (design+mill+assemble) something big.
1.2 Group Assignment
Individual assignment
I need a shoe rack besides my door.
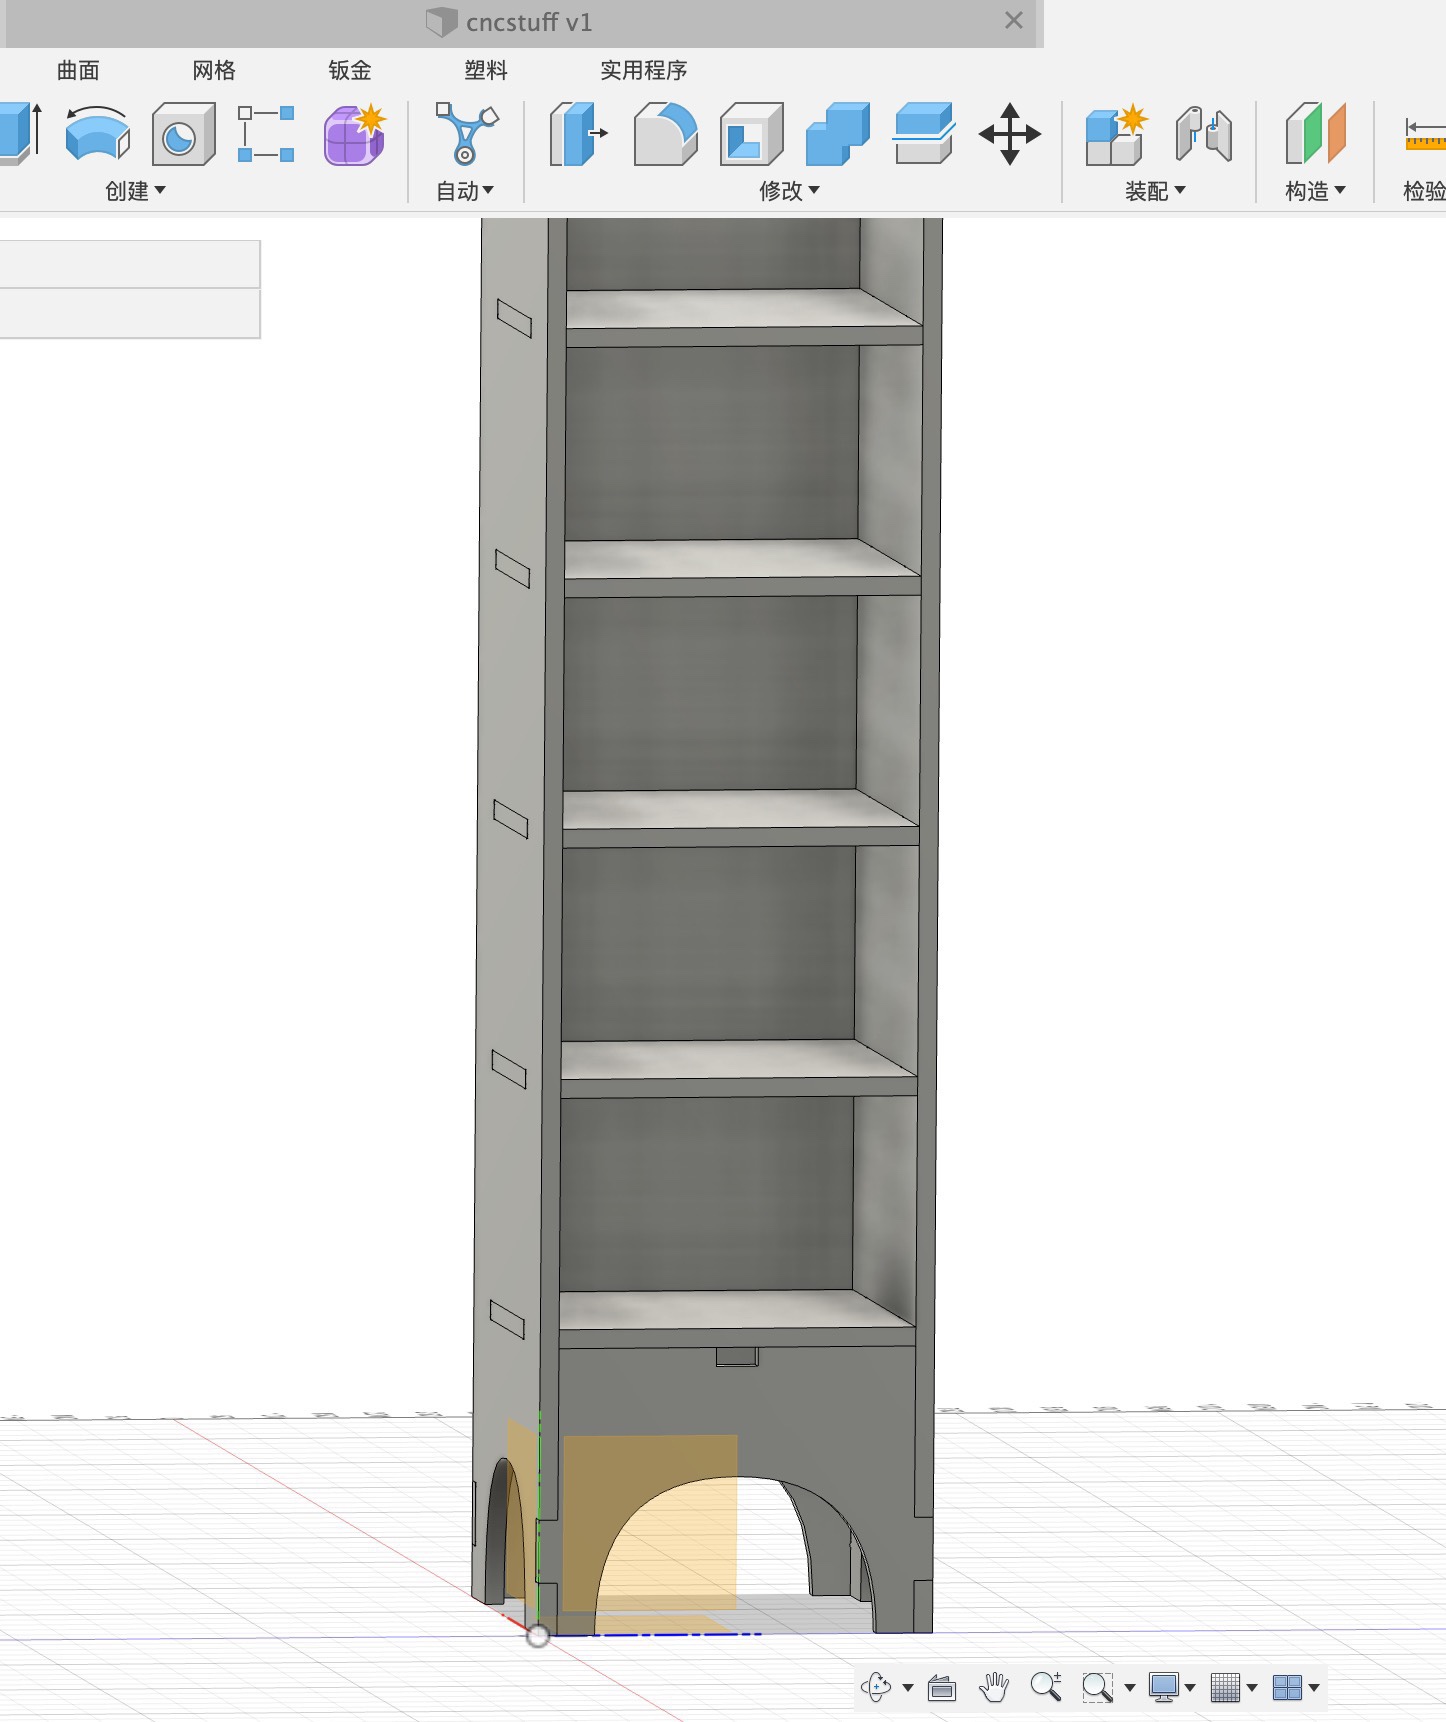
I firstly made a sketh with fusion360
I wanna make more details,later on I export step to Rhinoceros to deisgn more details.
It has a top layer for placing stuffs and some handle bars for hanging things.
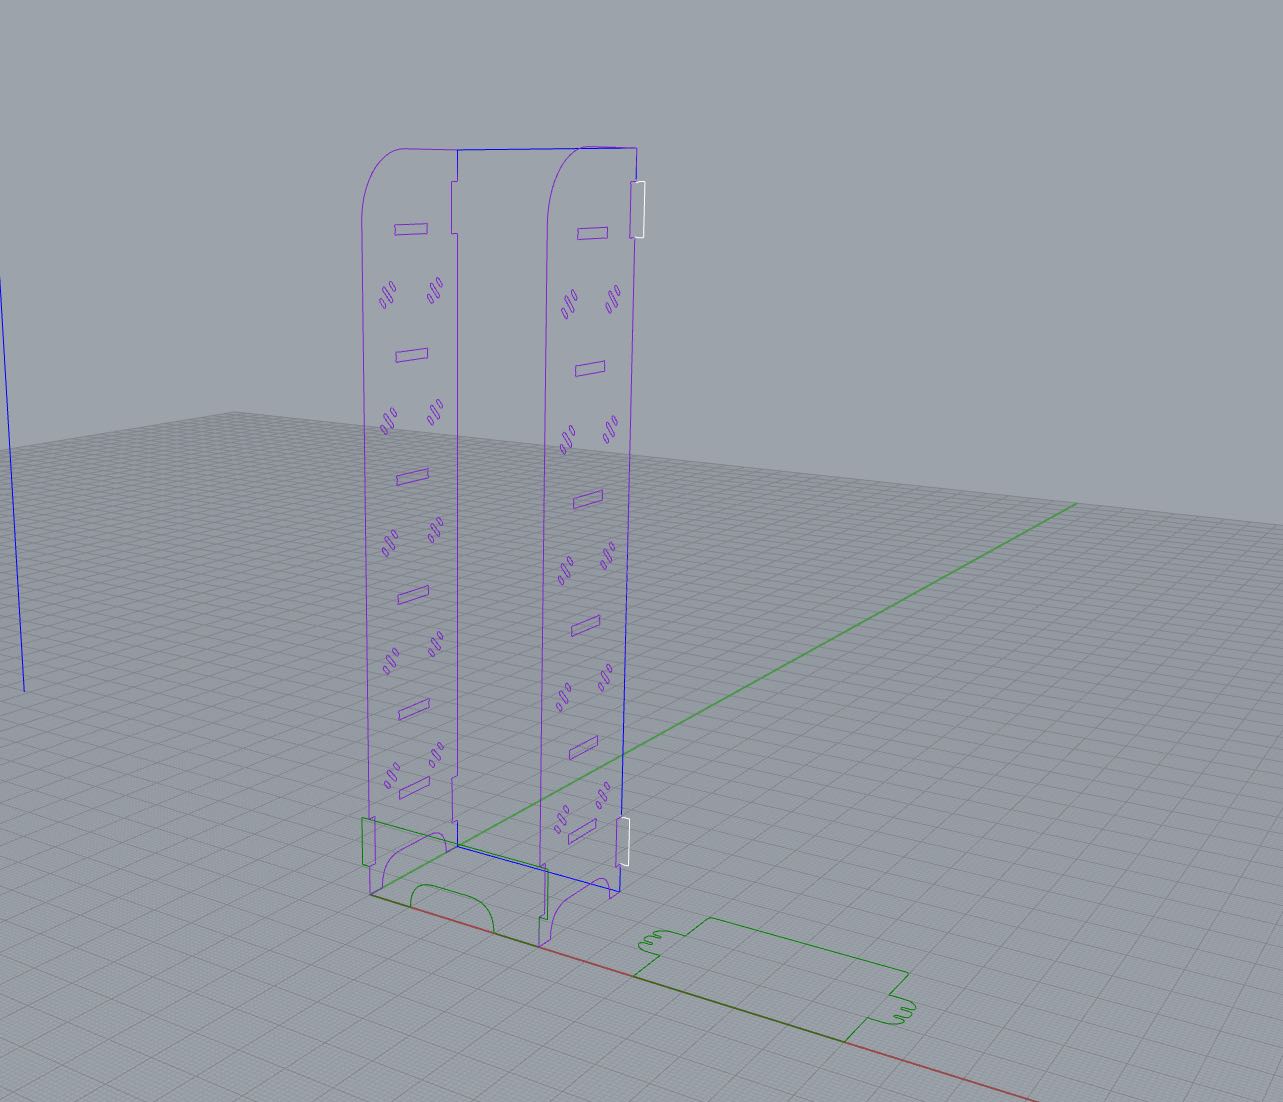
I make it flat to deisgn dog bones.

Dogbones
For dogbones as I knew we gonna use 7mm drill, I make it maually with 8mm dog bones.
VCarve to prepare
1 working area Our plywood is 2400mmby 1000mm.
2 Feeds and speeds As we trained in group assignment our end mill is 1/4" with spindle speed at 16k RMP and Feed Rate at 3.5 in/sec.
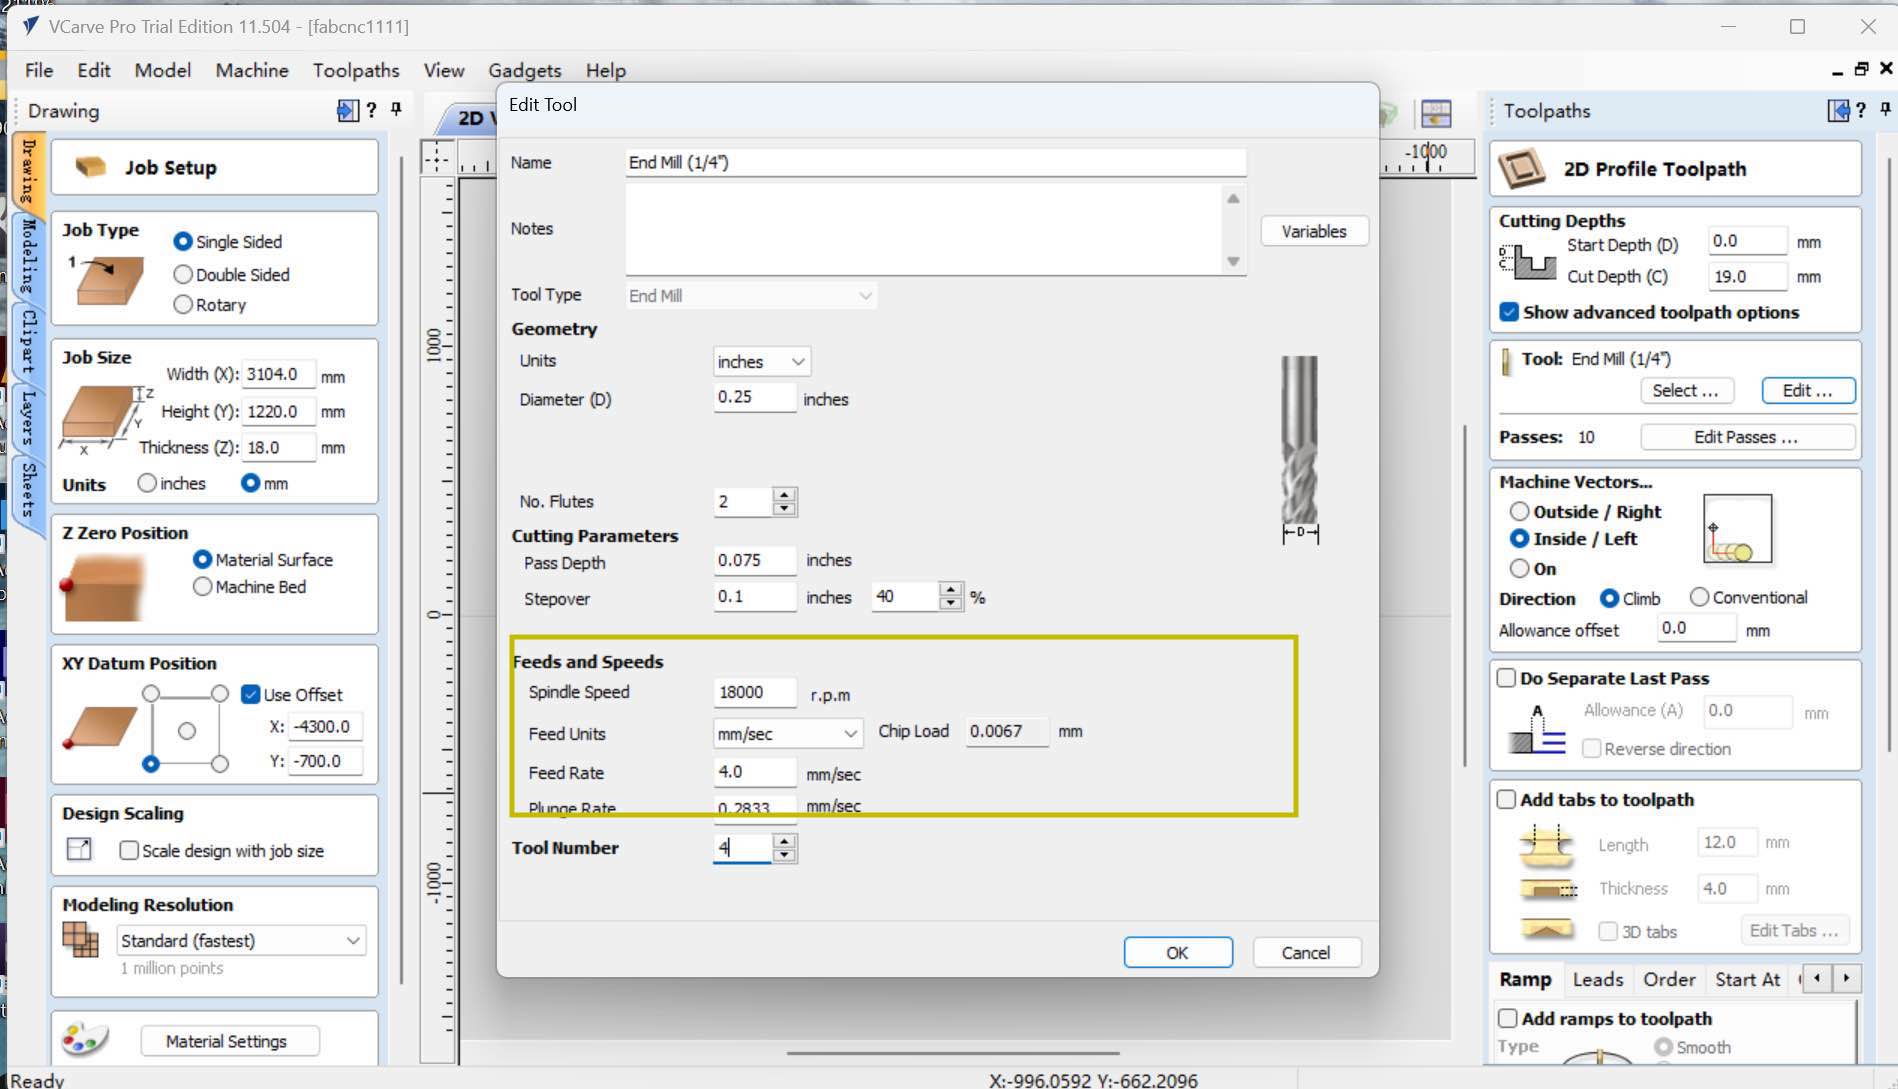
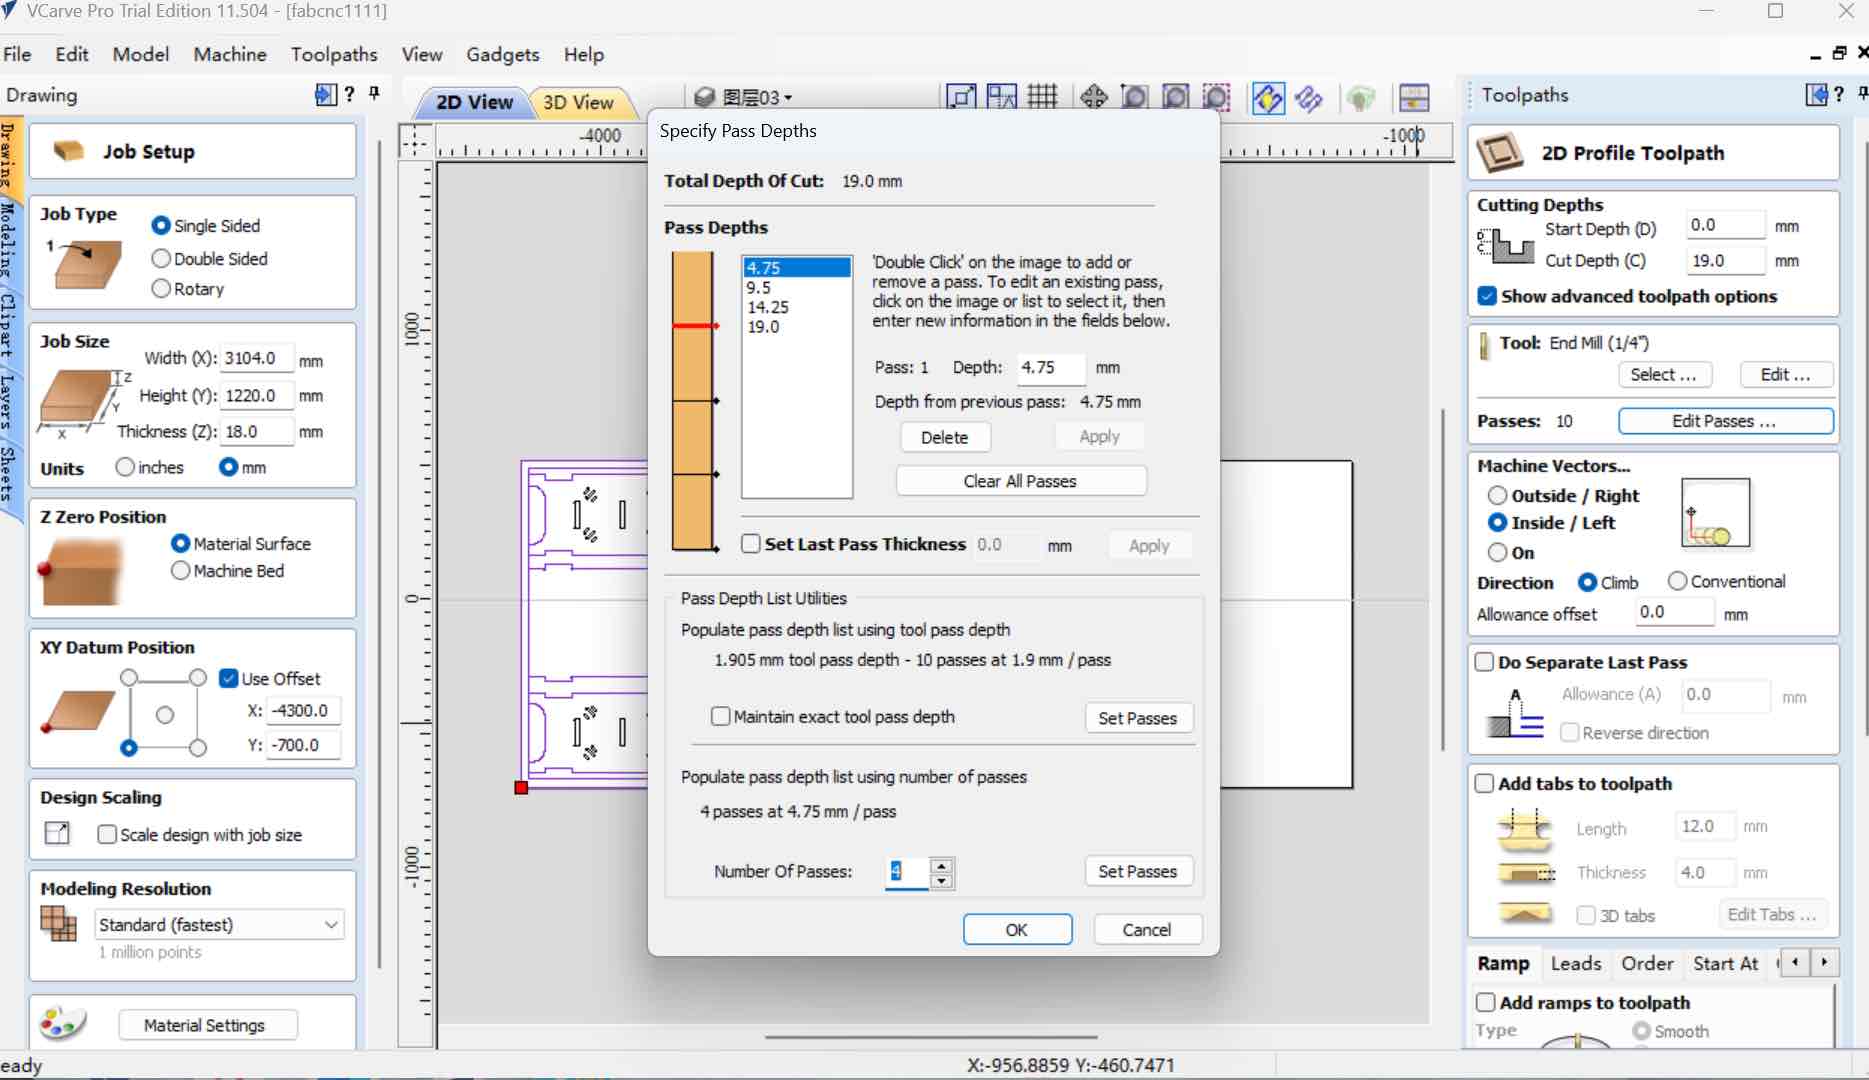
3 Edit Passes: 4 passes with 4.75mm per pass depth
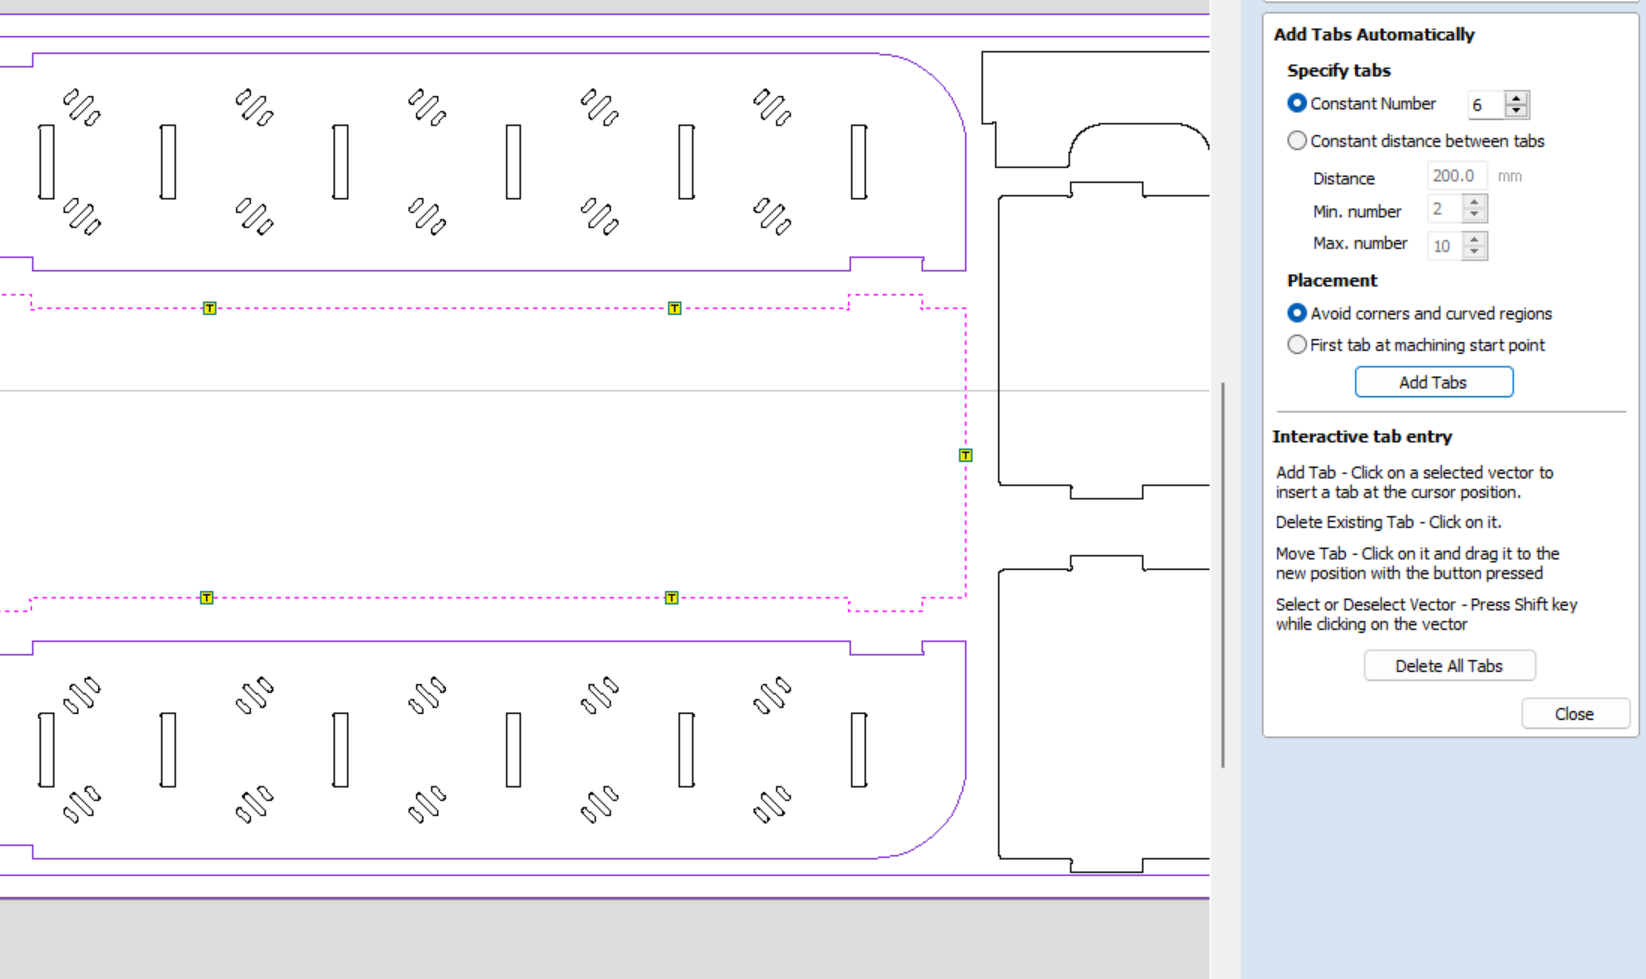
4 Add Tabs: click "add tabs to toolpath" and click "edit tab", and manually add tabs on the path.It is for holding your picese in to the borad not falling out wihle cutting.
5 Calculate and Save toolpath
Now we are ready to go to the machines
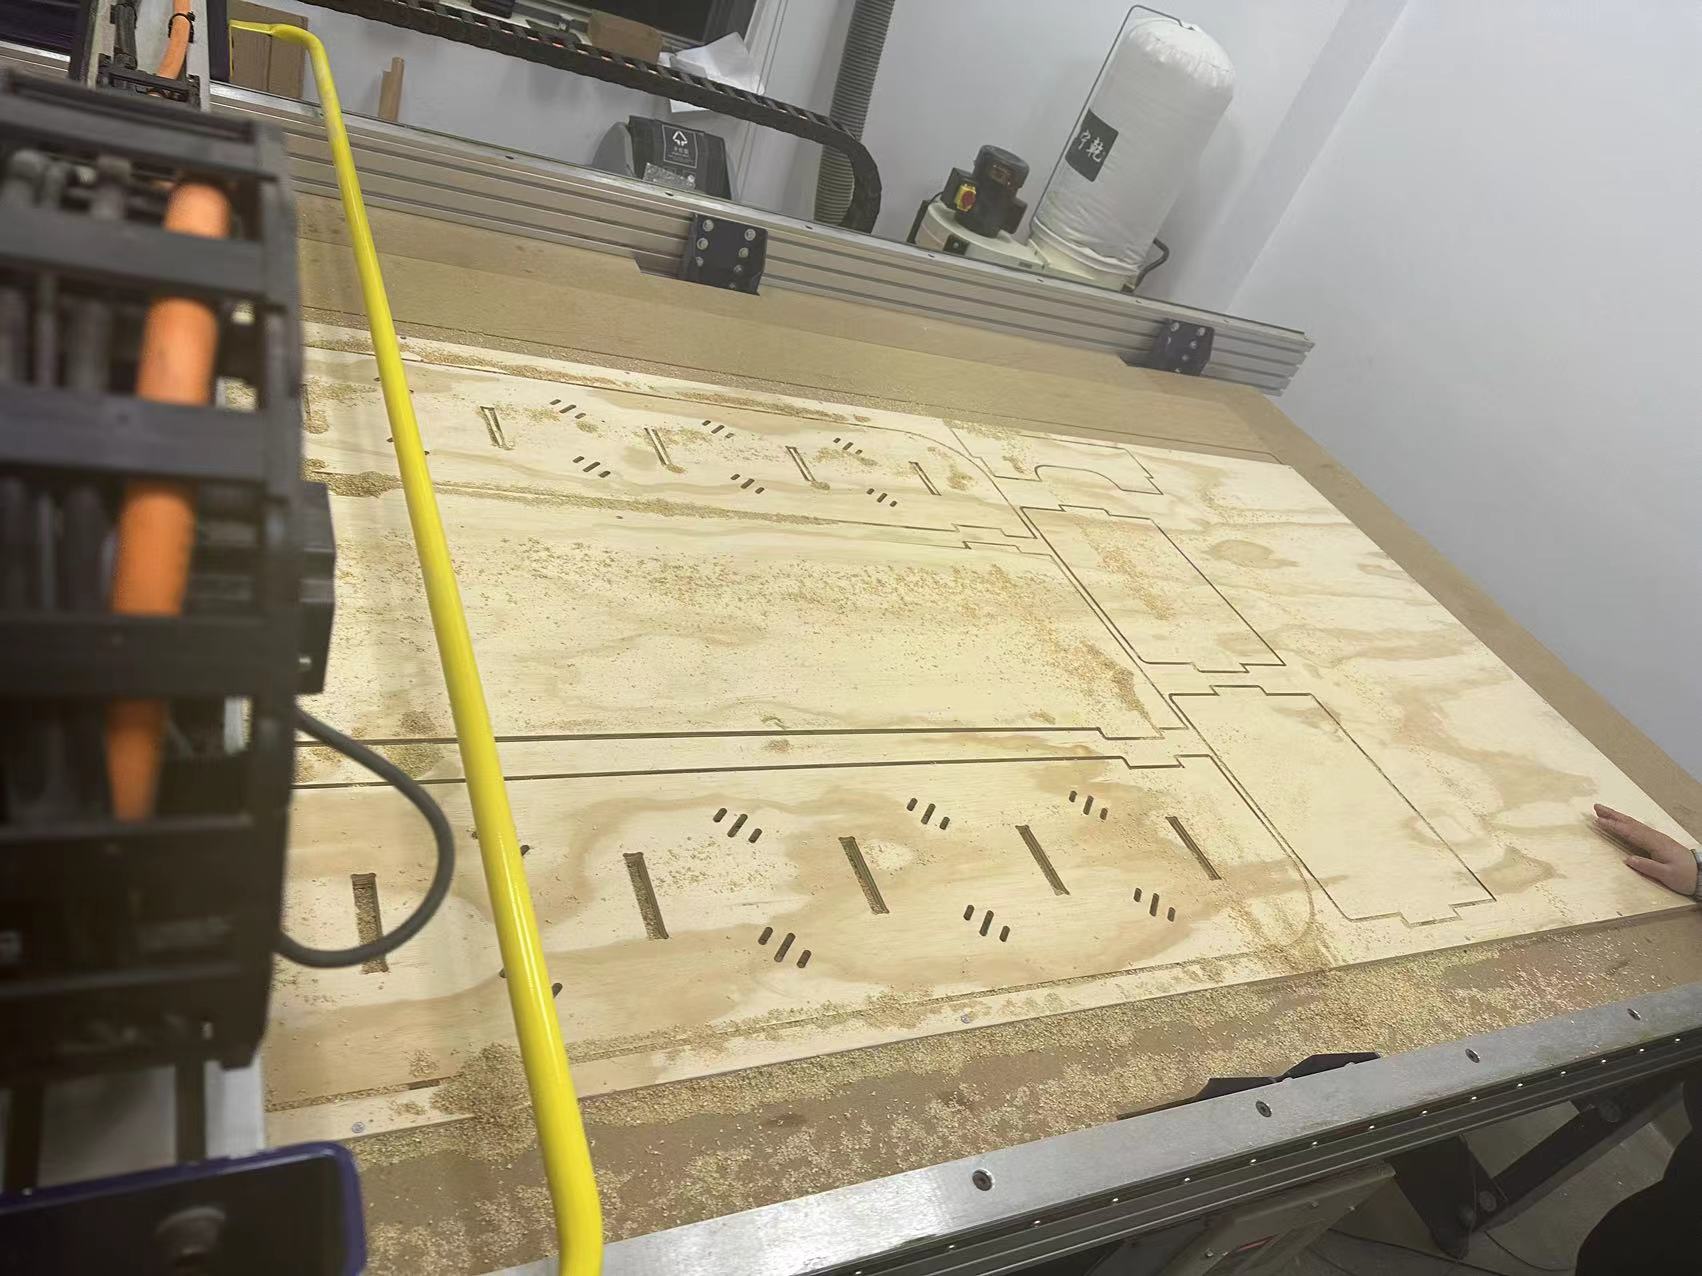
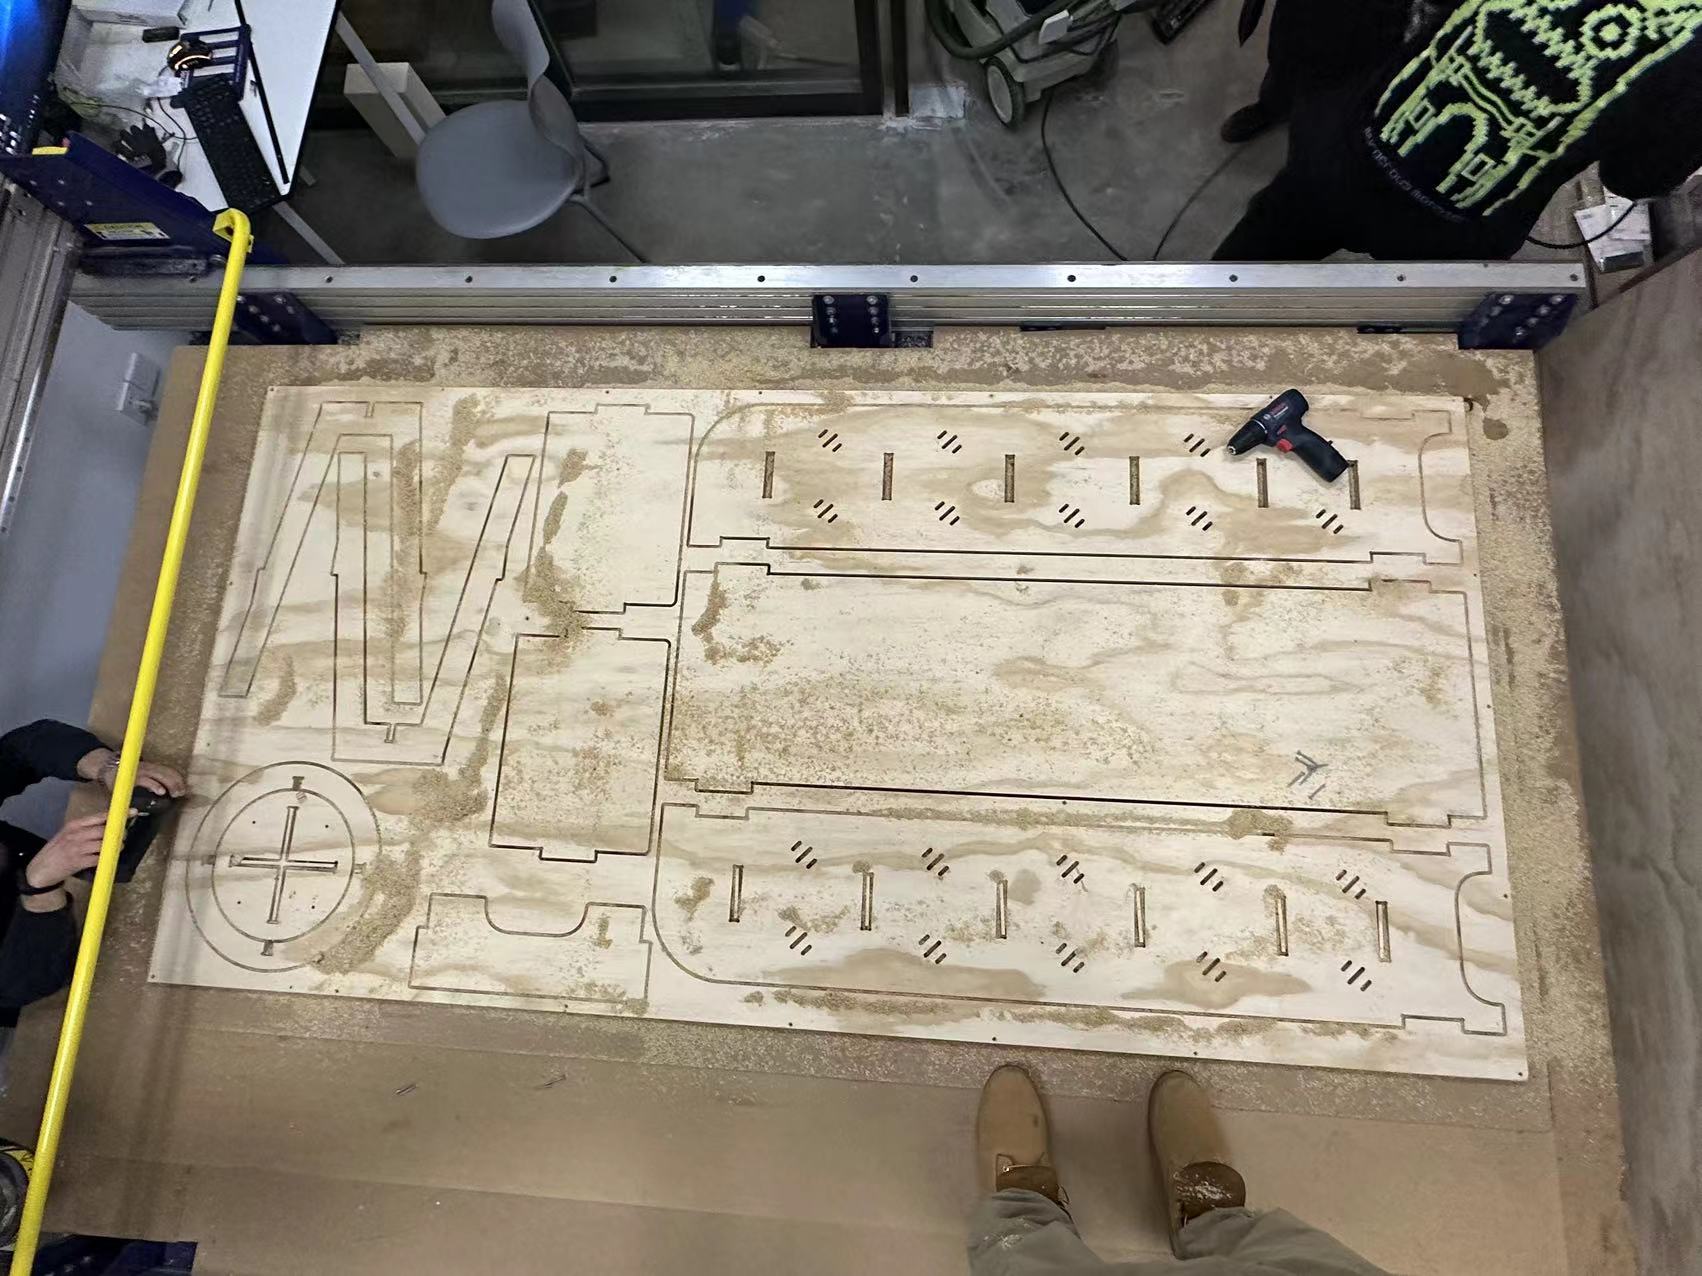
Machining
We install our material by screw the plywood to the sacrificial layer. It was not falt, we made a lot screws at the conner.
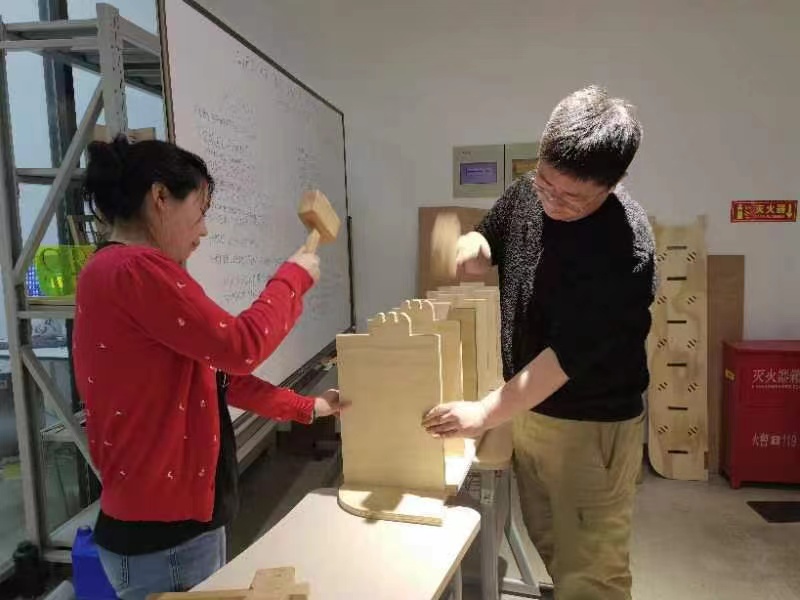
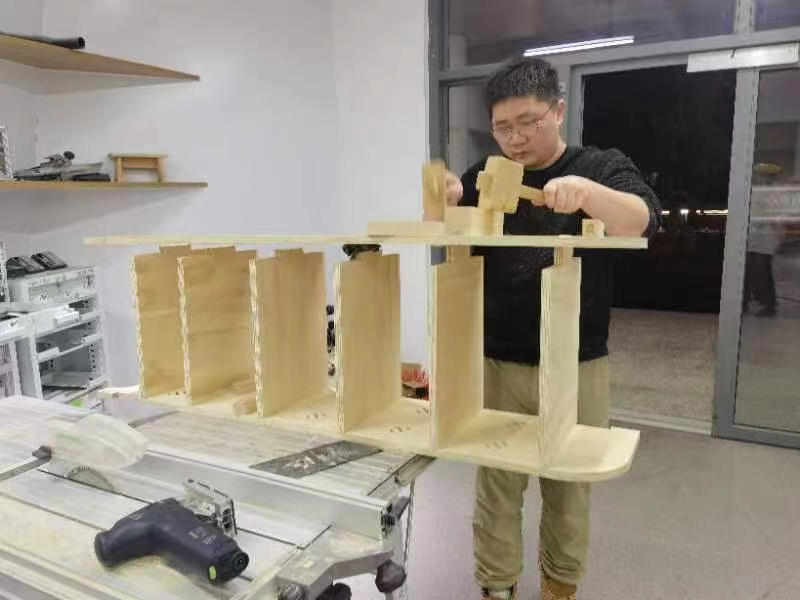
Breaking all the tabs I stat to assembling. The joint test we did in the group assignment is 1.85mm, it can be eassily connect, I want it more tight, I give 18.4mm.it take some strength to install.
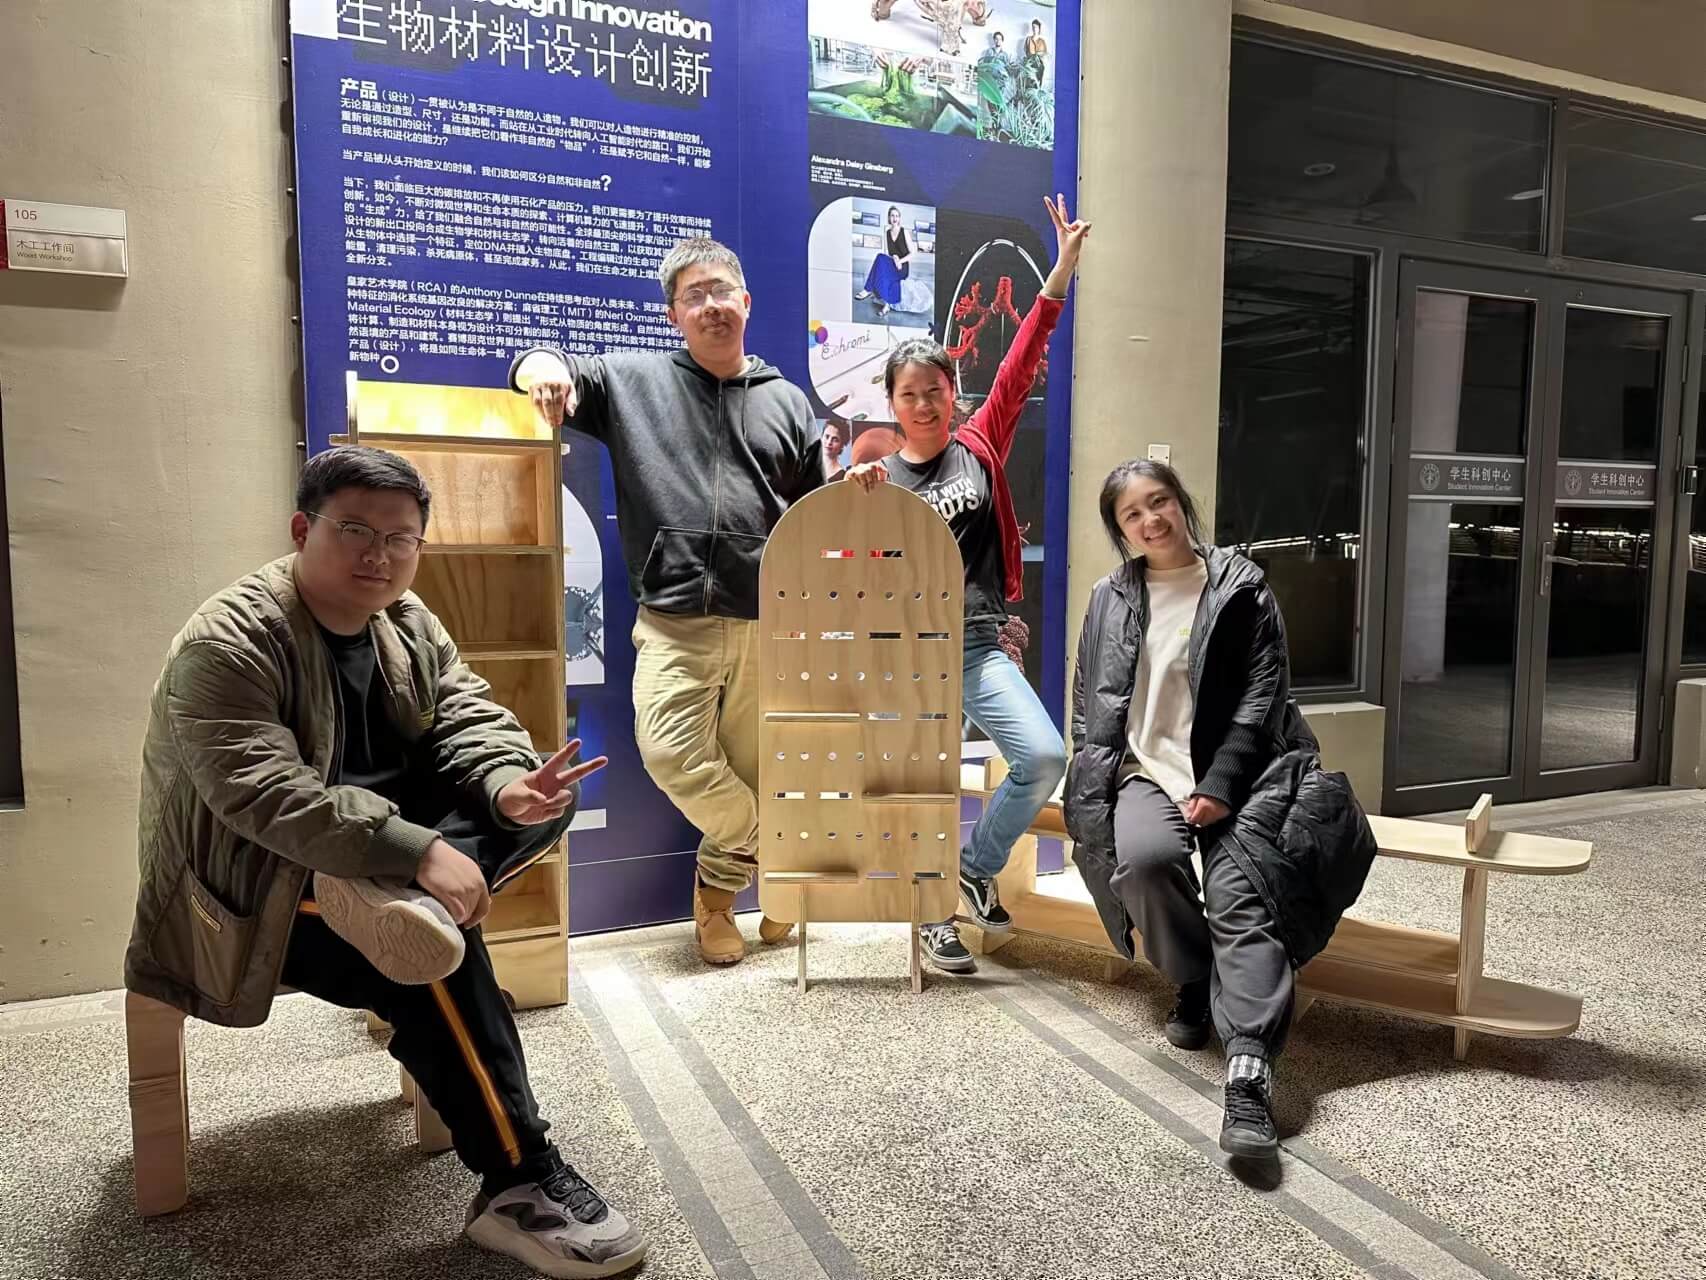
Final Loook: It's kind of good looking for me.

It's a happy week though I got back home at almost 5am.