5. 3D Scanning and Printing
It's been a pretty fun week to me.I had a bit experience with embedded programming,so that I cloud play with the seeduino XIAO rp2040 version which I haven't used before. And I build a cooling install to my prusa enclousure.
Group assignment:
- Test the design rules for your 3D printer(s)
- Document your work on the group work page and reflect on your individual page what you learned about characteristics of your printer(s)
Individual assignment:
- Design and 3D print an object (small, few cm3, limited by printer time) that could not be easily made subtractively
- 3D scan an object (and optionally print it)
Group Assignment
We tested the printers at our lab, and learn the design methods and work flows for 3d printing. It needed a lot experience and wroking hours.
The group assignment is documented here.
Individual assignment
The design an object which cannot be easily made subtractively.
-
Undercuts
-
Overhangs
-
Nested parts
-
Meshes
-
Very fast Curvature
-
Big draft angles
With the deisgn rules I had the idea that make a cure with fast curvature. The use SWEEP 1 RAIL function in Rhinoceros.
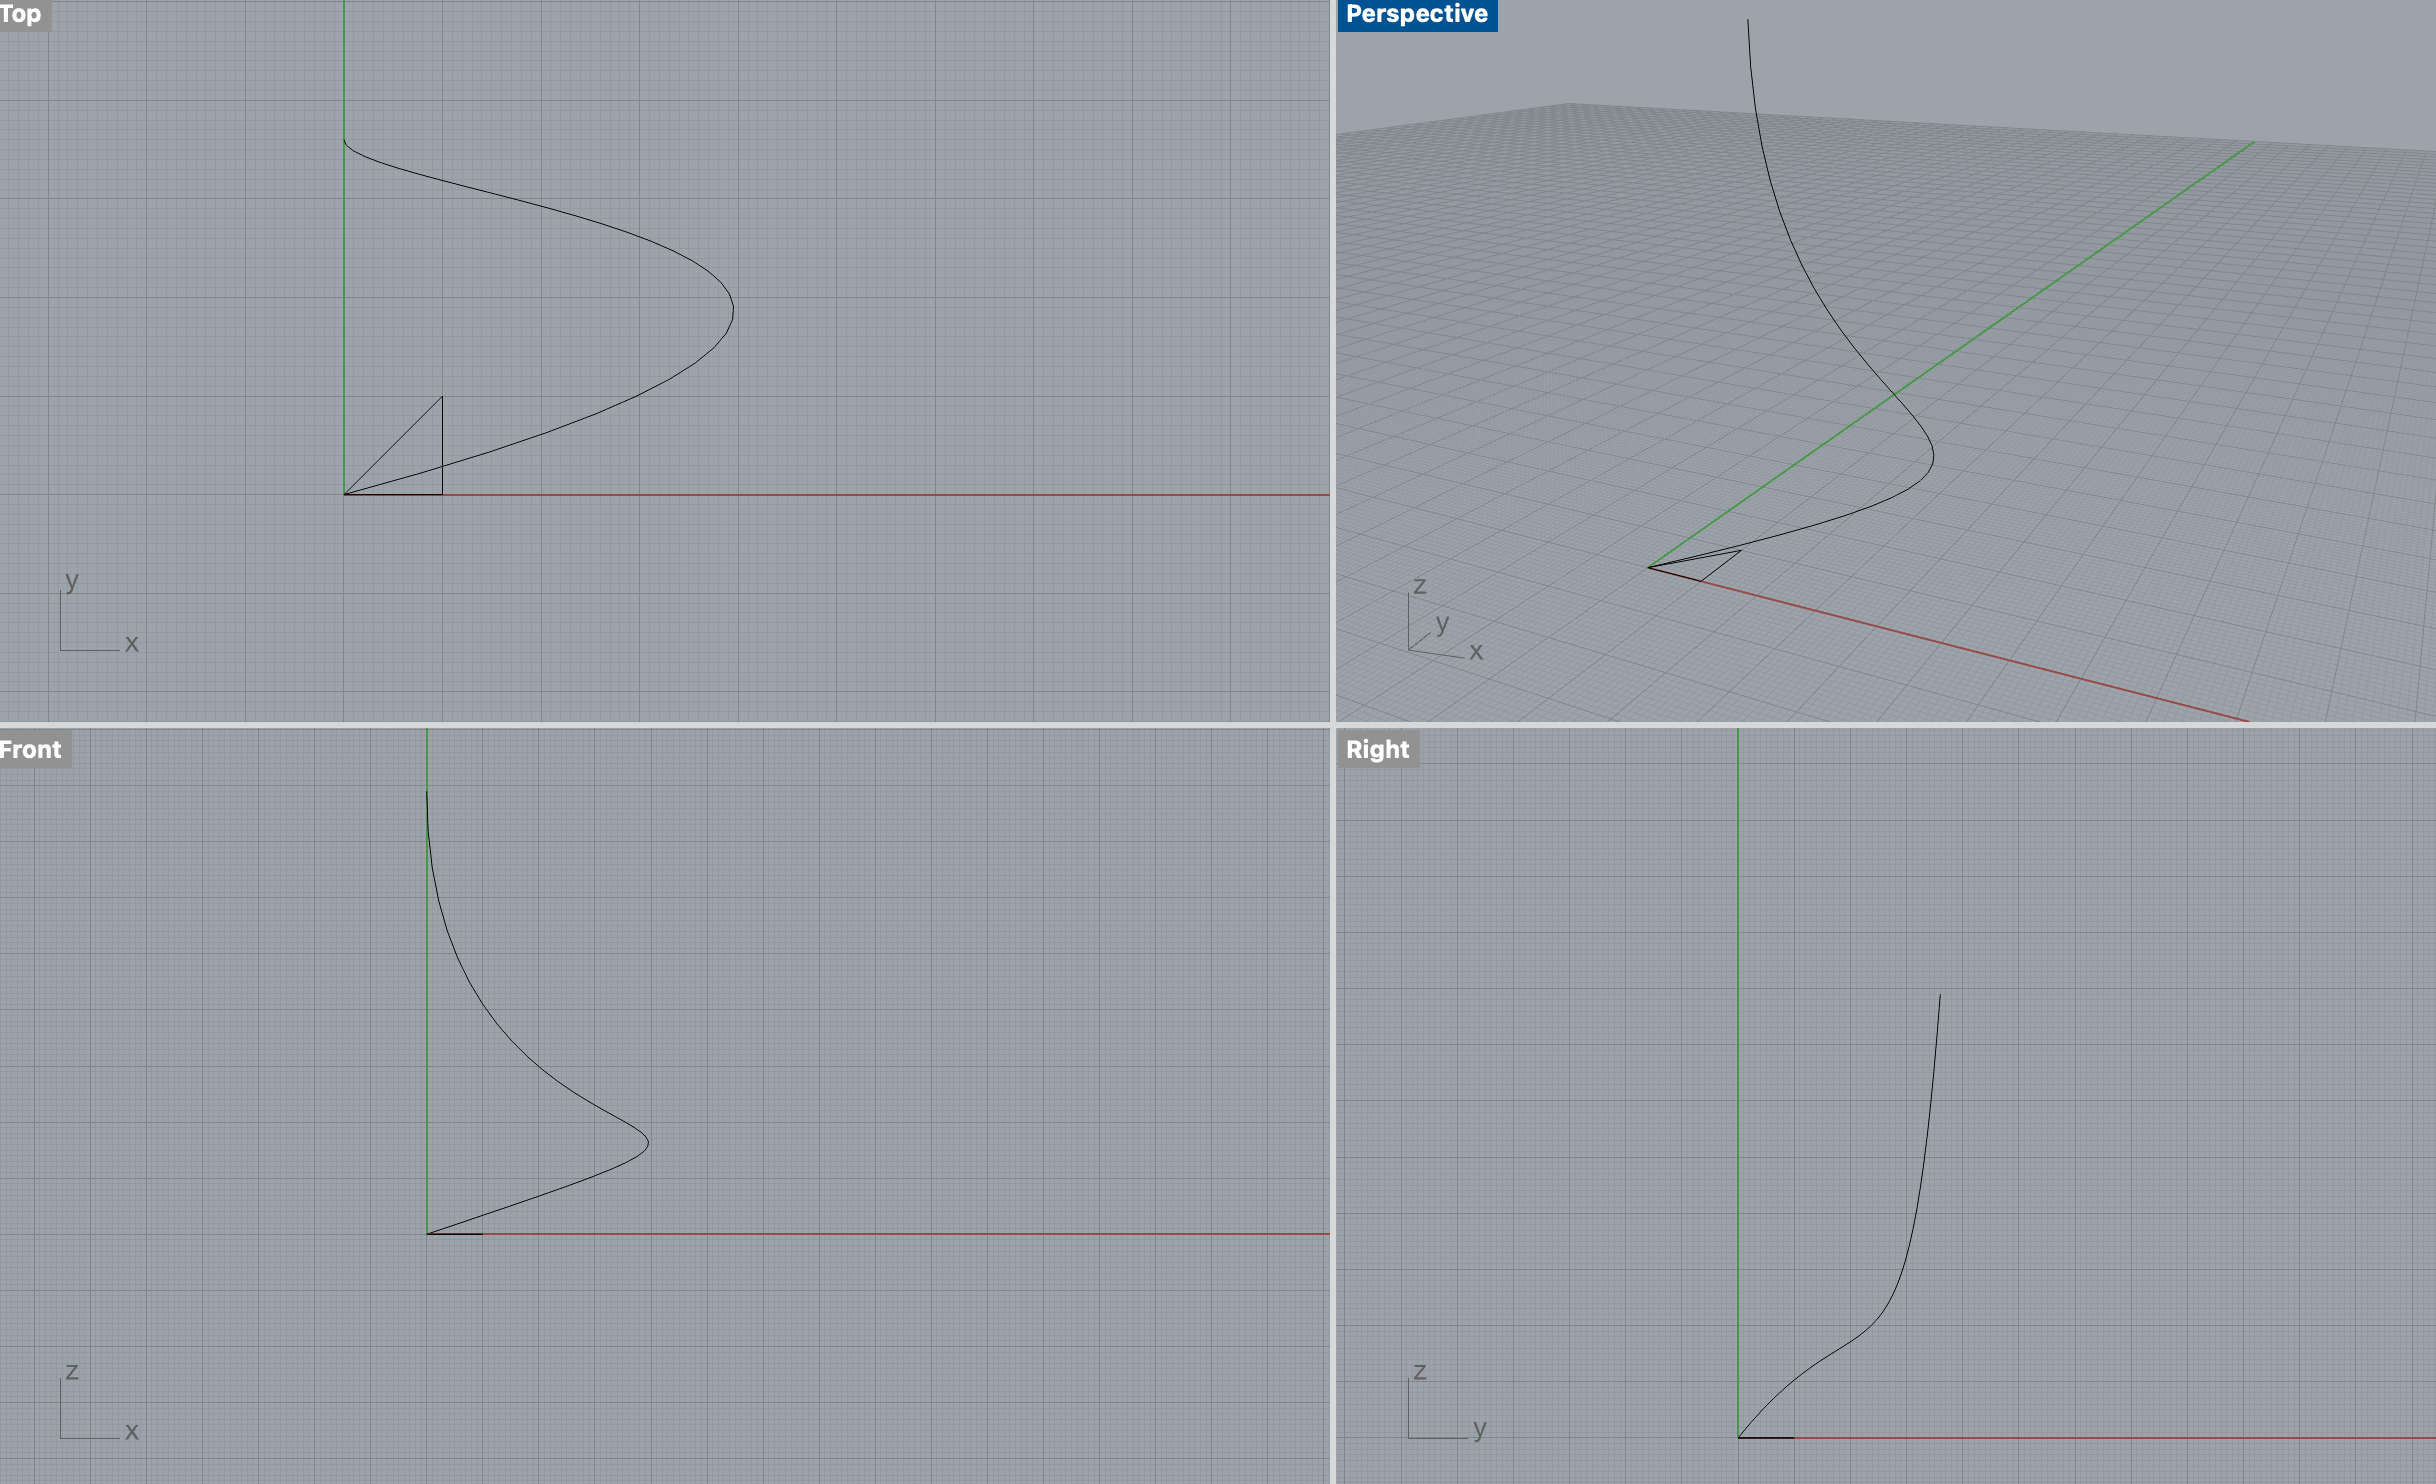
Seep it with a sharp trangle shape.
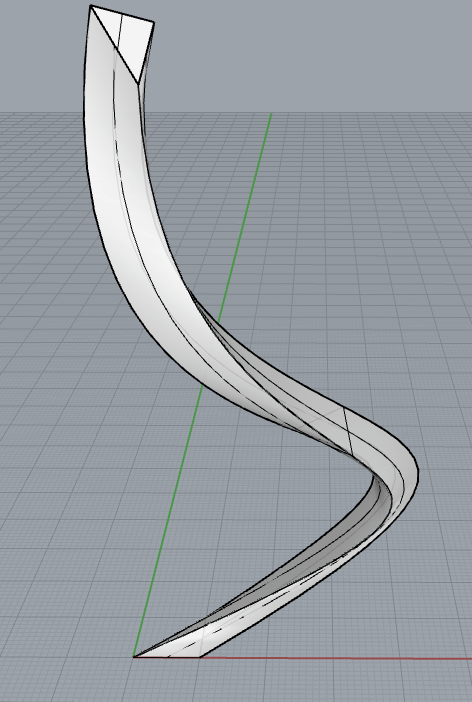
Use the ARRAY POLAR function to compose it at the center of 0.0.0 and CAP it.
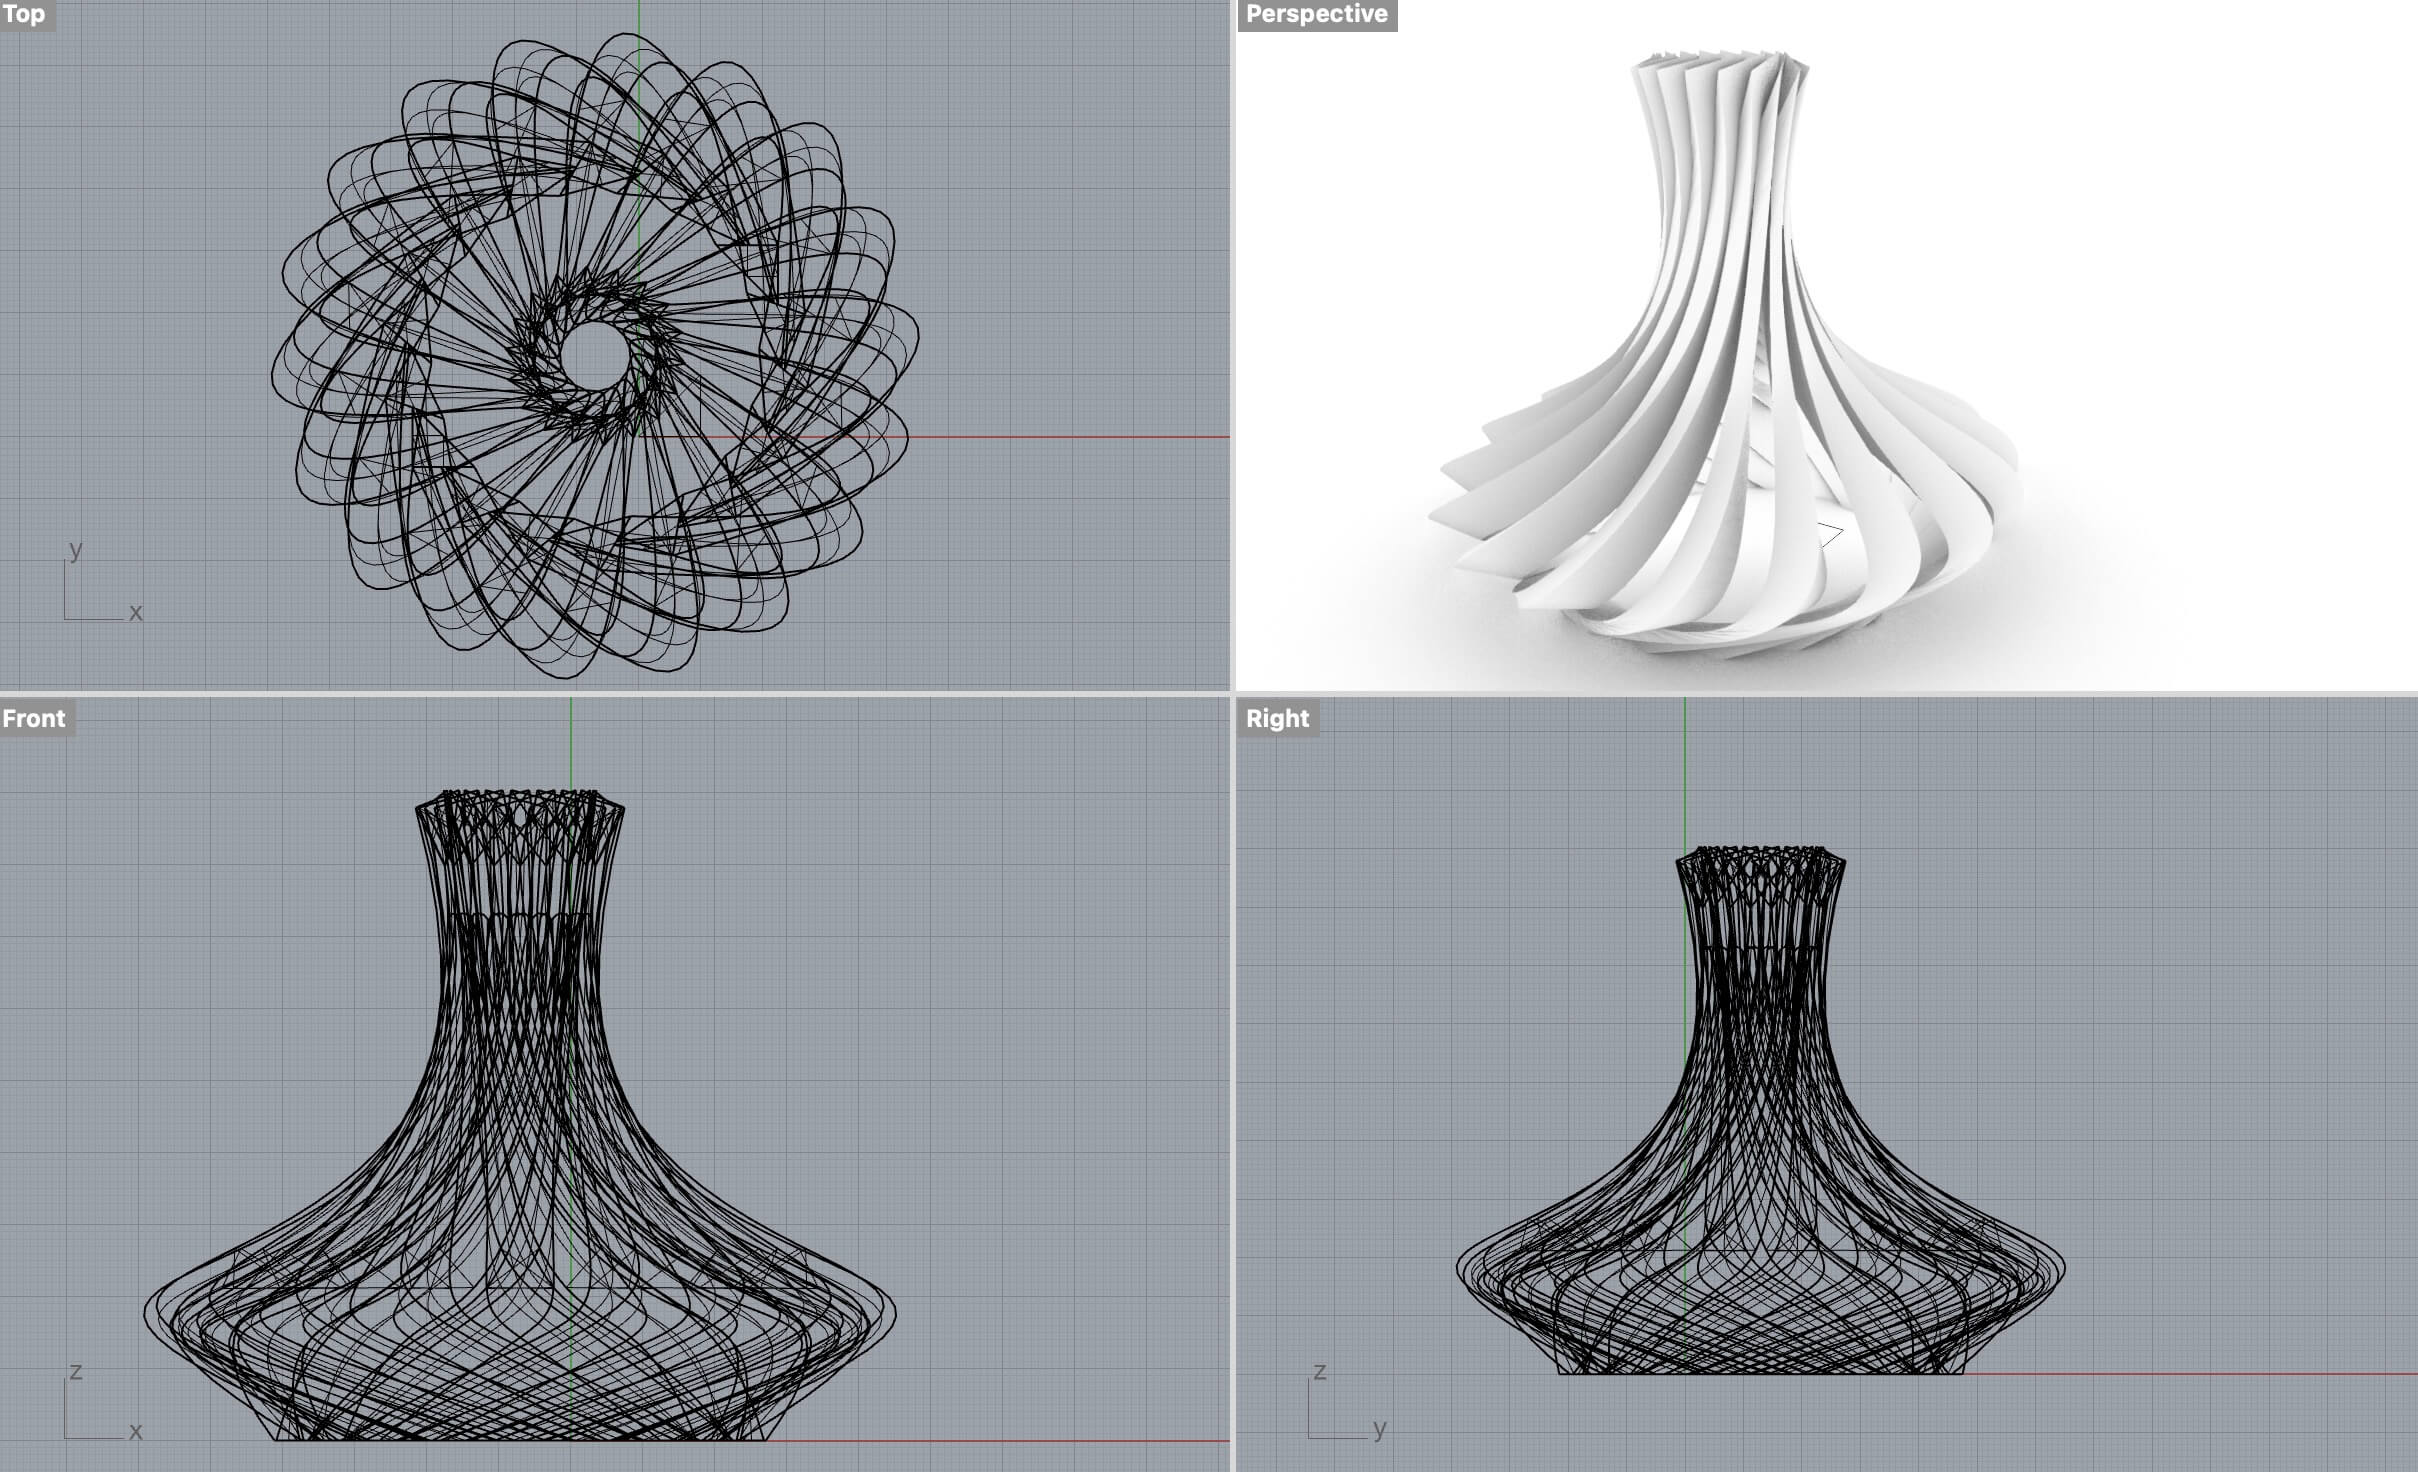
Export my design in STL form and drag it into Prusa slicer which we configed in Group Assignment.
Settings for my print.
- PLA printing at 195 Celsius for noozle and 50 for heat bed.
- 0.15mm layer heigh
- 15% infill
- No Support
- FAN on
- Retraction 2mm in 35mm/s speed.
- 0.4 noozle
Slice it
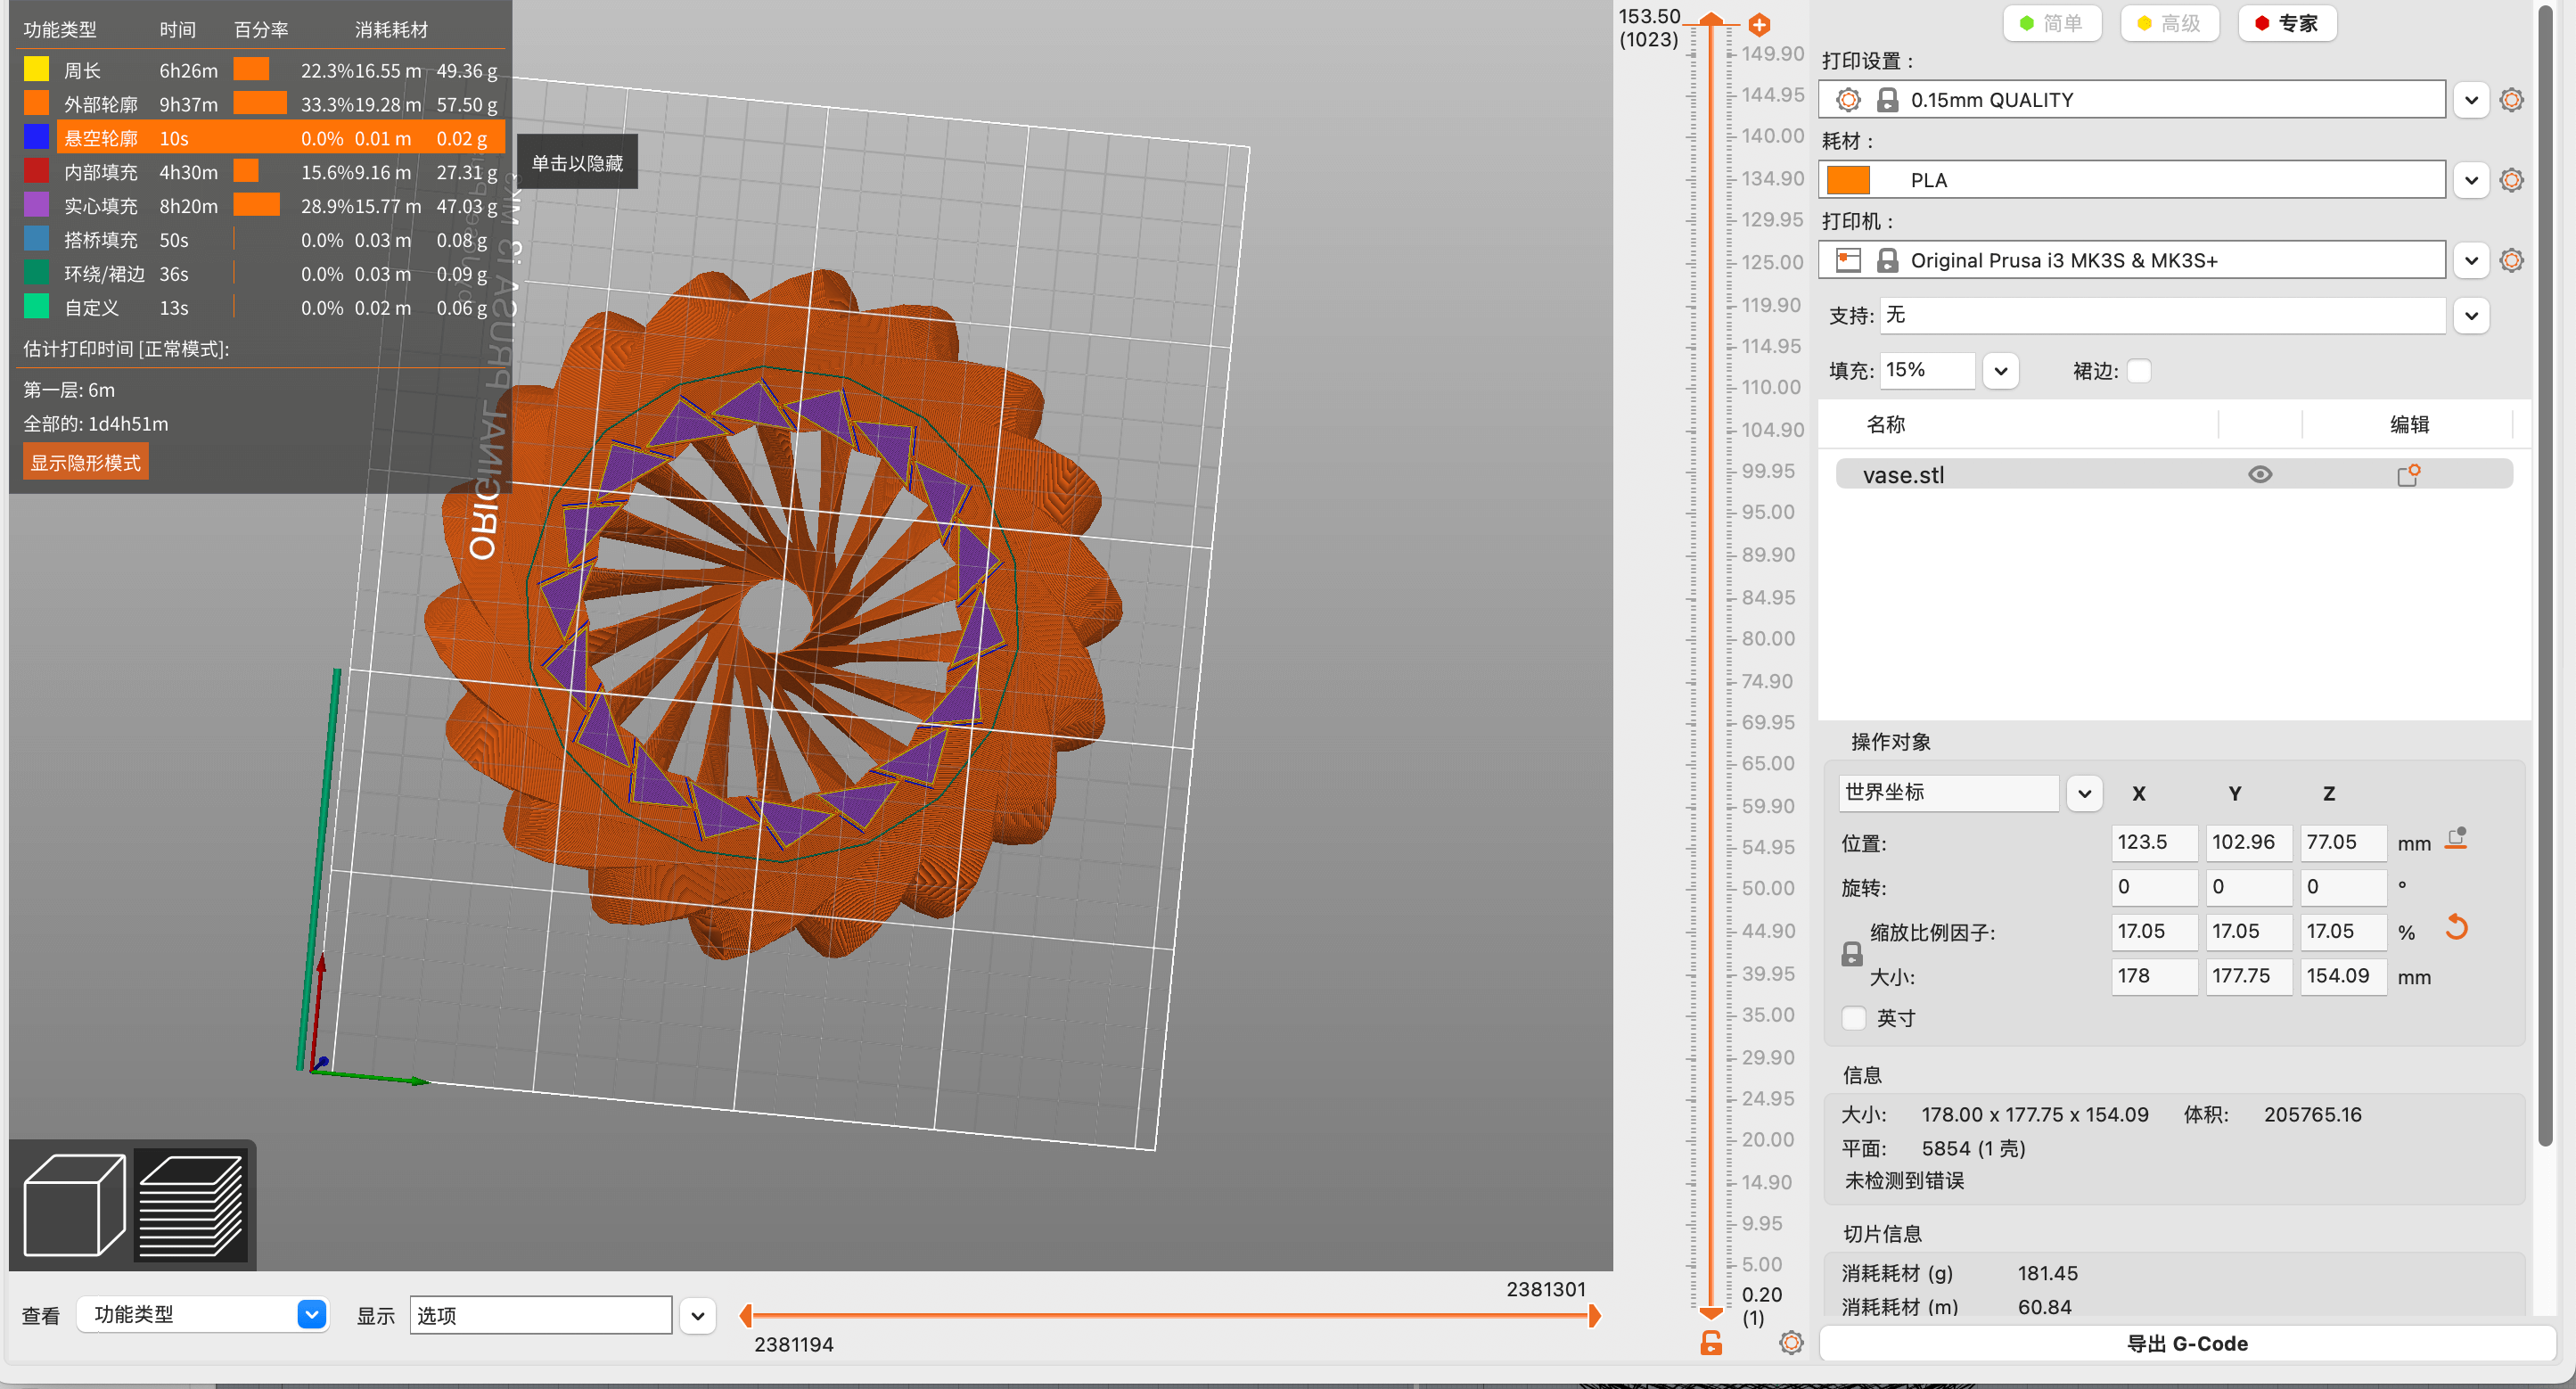
There is a problem with OVERHANGS. Let's take a look.
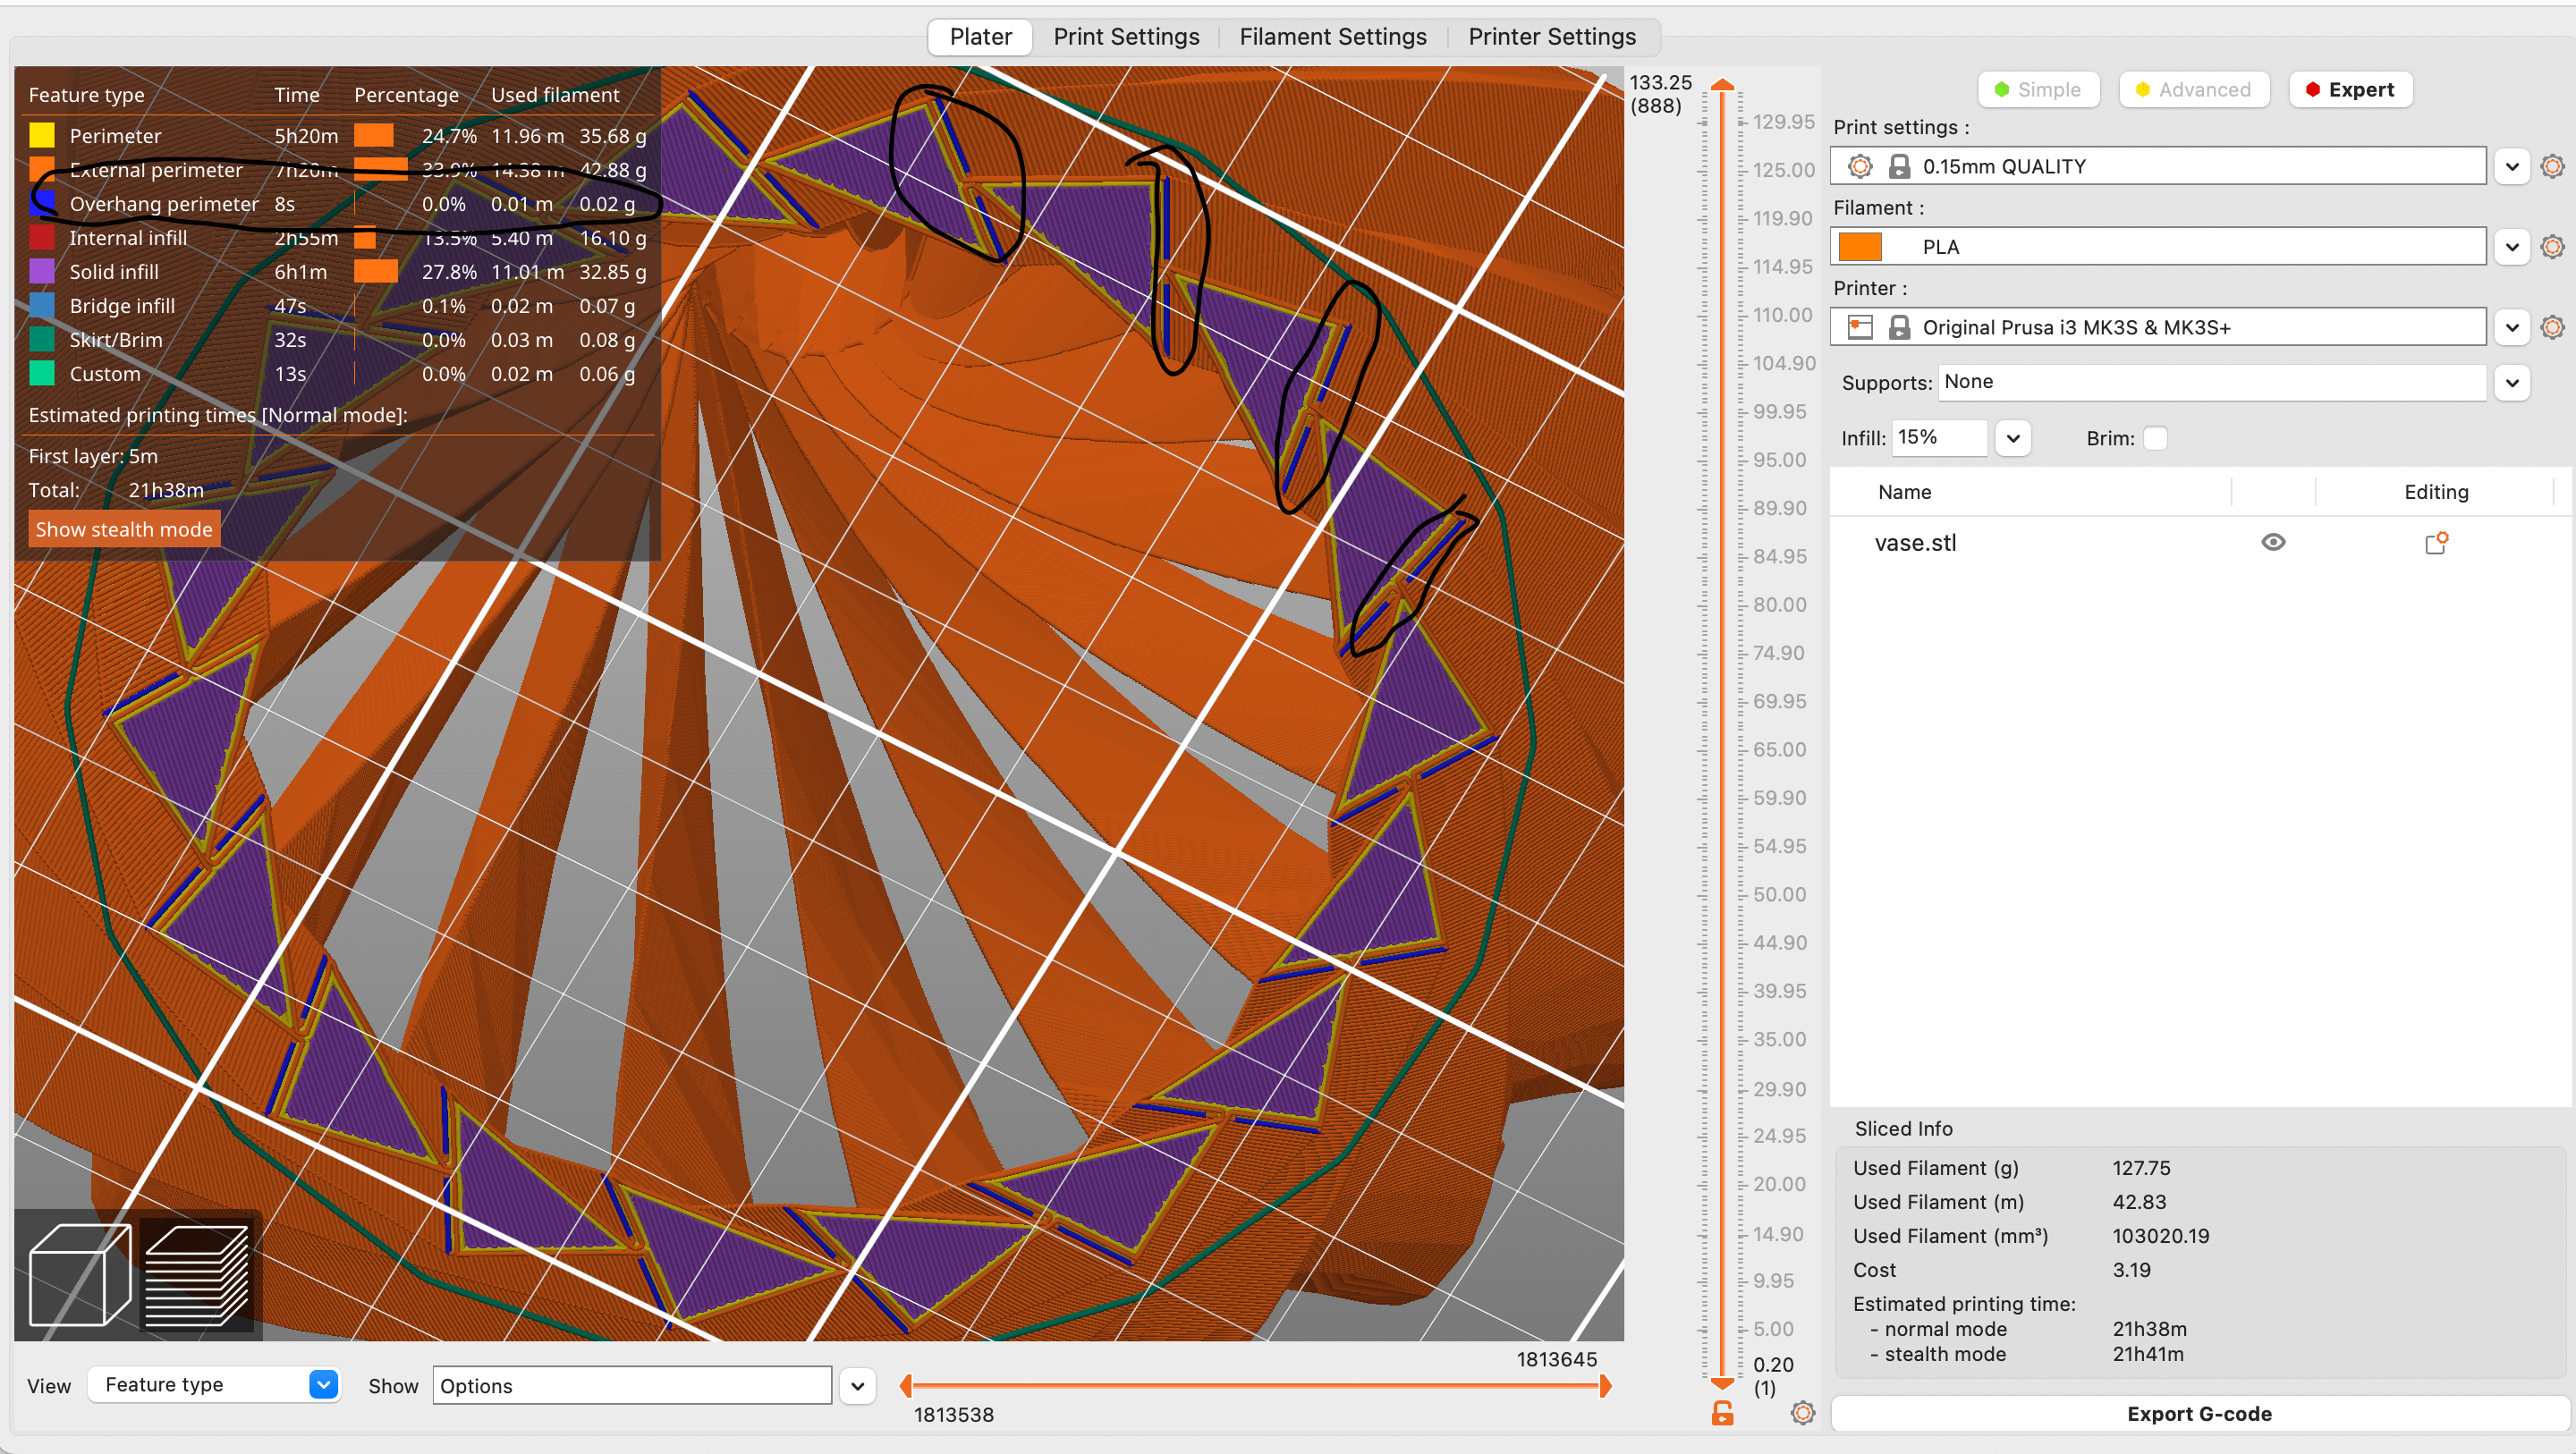
As we can see the OVERHANG PERIMETER,at the fourth layer it has the overhang layer. This the becasue when you have a fast curvature , the upper layer can't overlape. So that it hangs.
To sovle it I use the great functuon varible layer height function.
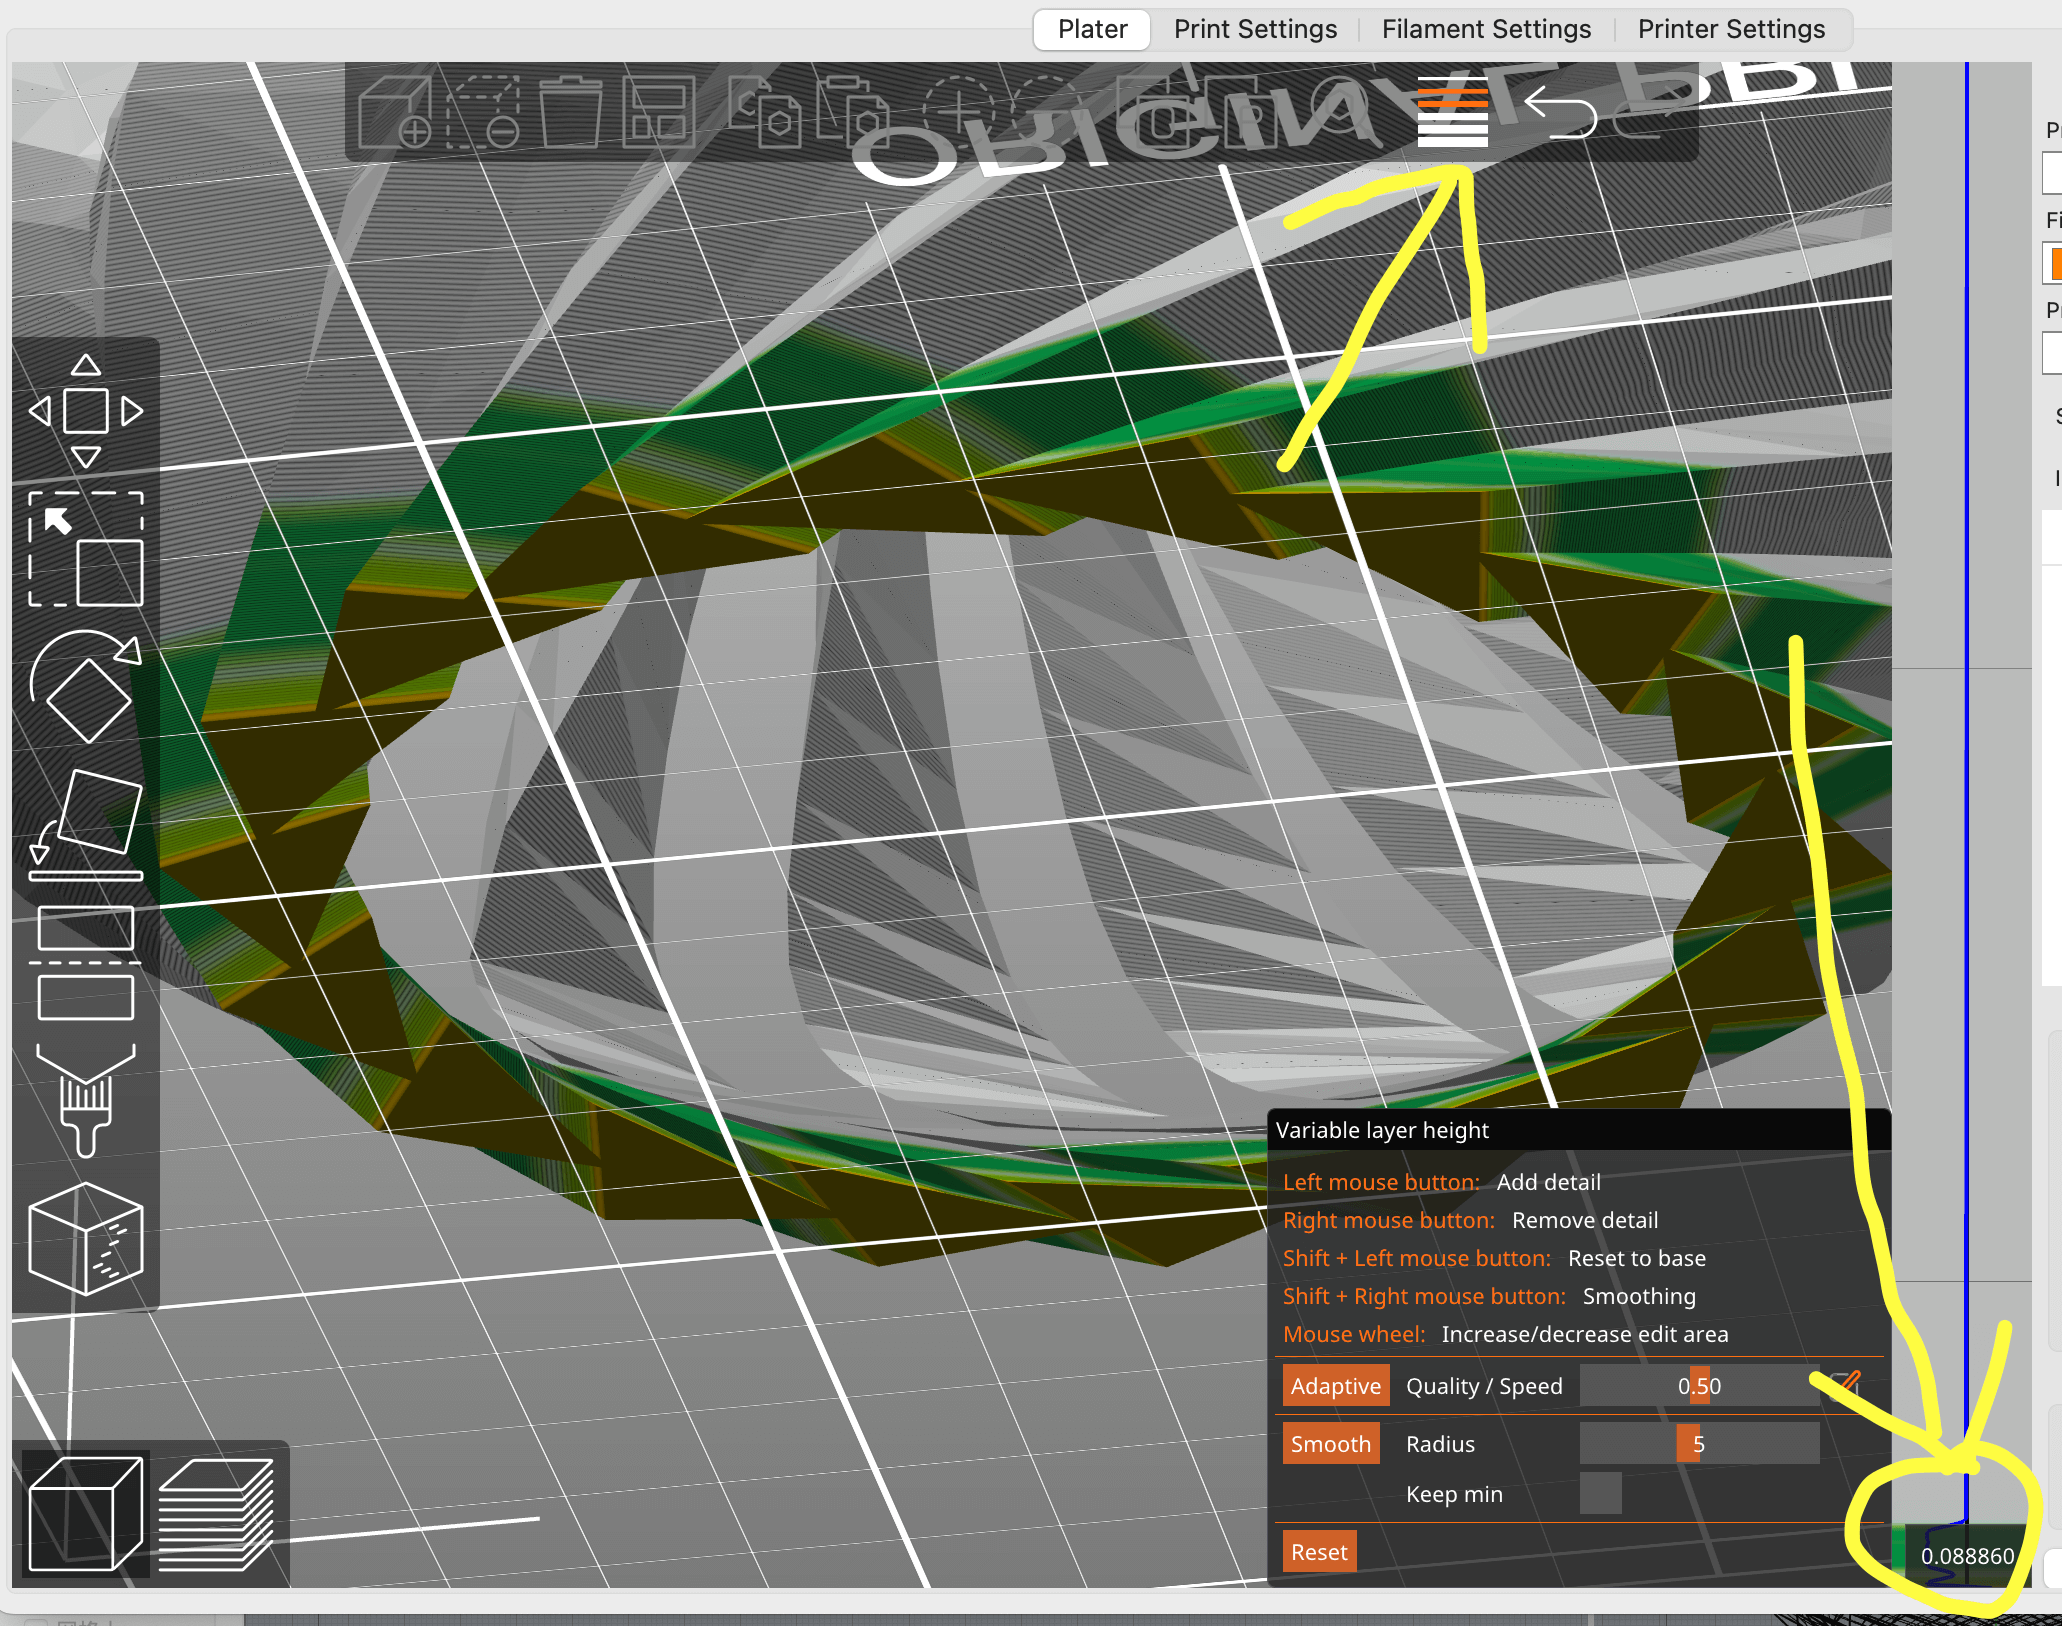
Click the functuion at the top, you have this interface, and just choose the position where the layer hangs. Left click and resize the layer heigh at just the layers you select. I made it around 0.08mm height.
When we have small layers heighs, the gap of curvature between layers gets also small.
Slice agin after change settings, we have just ok slice.
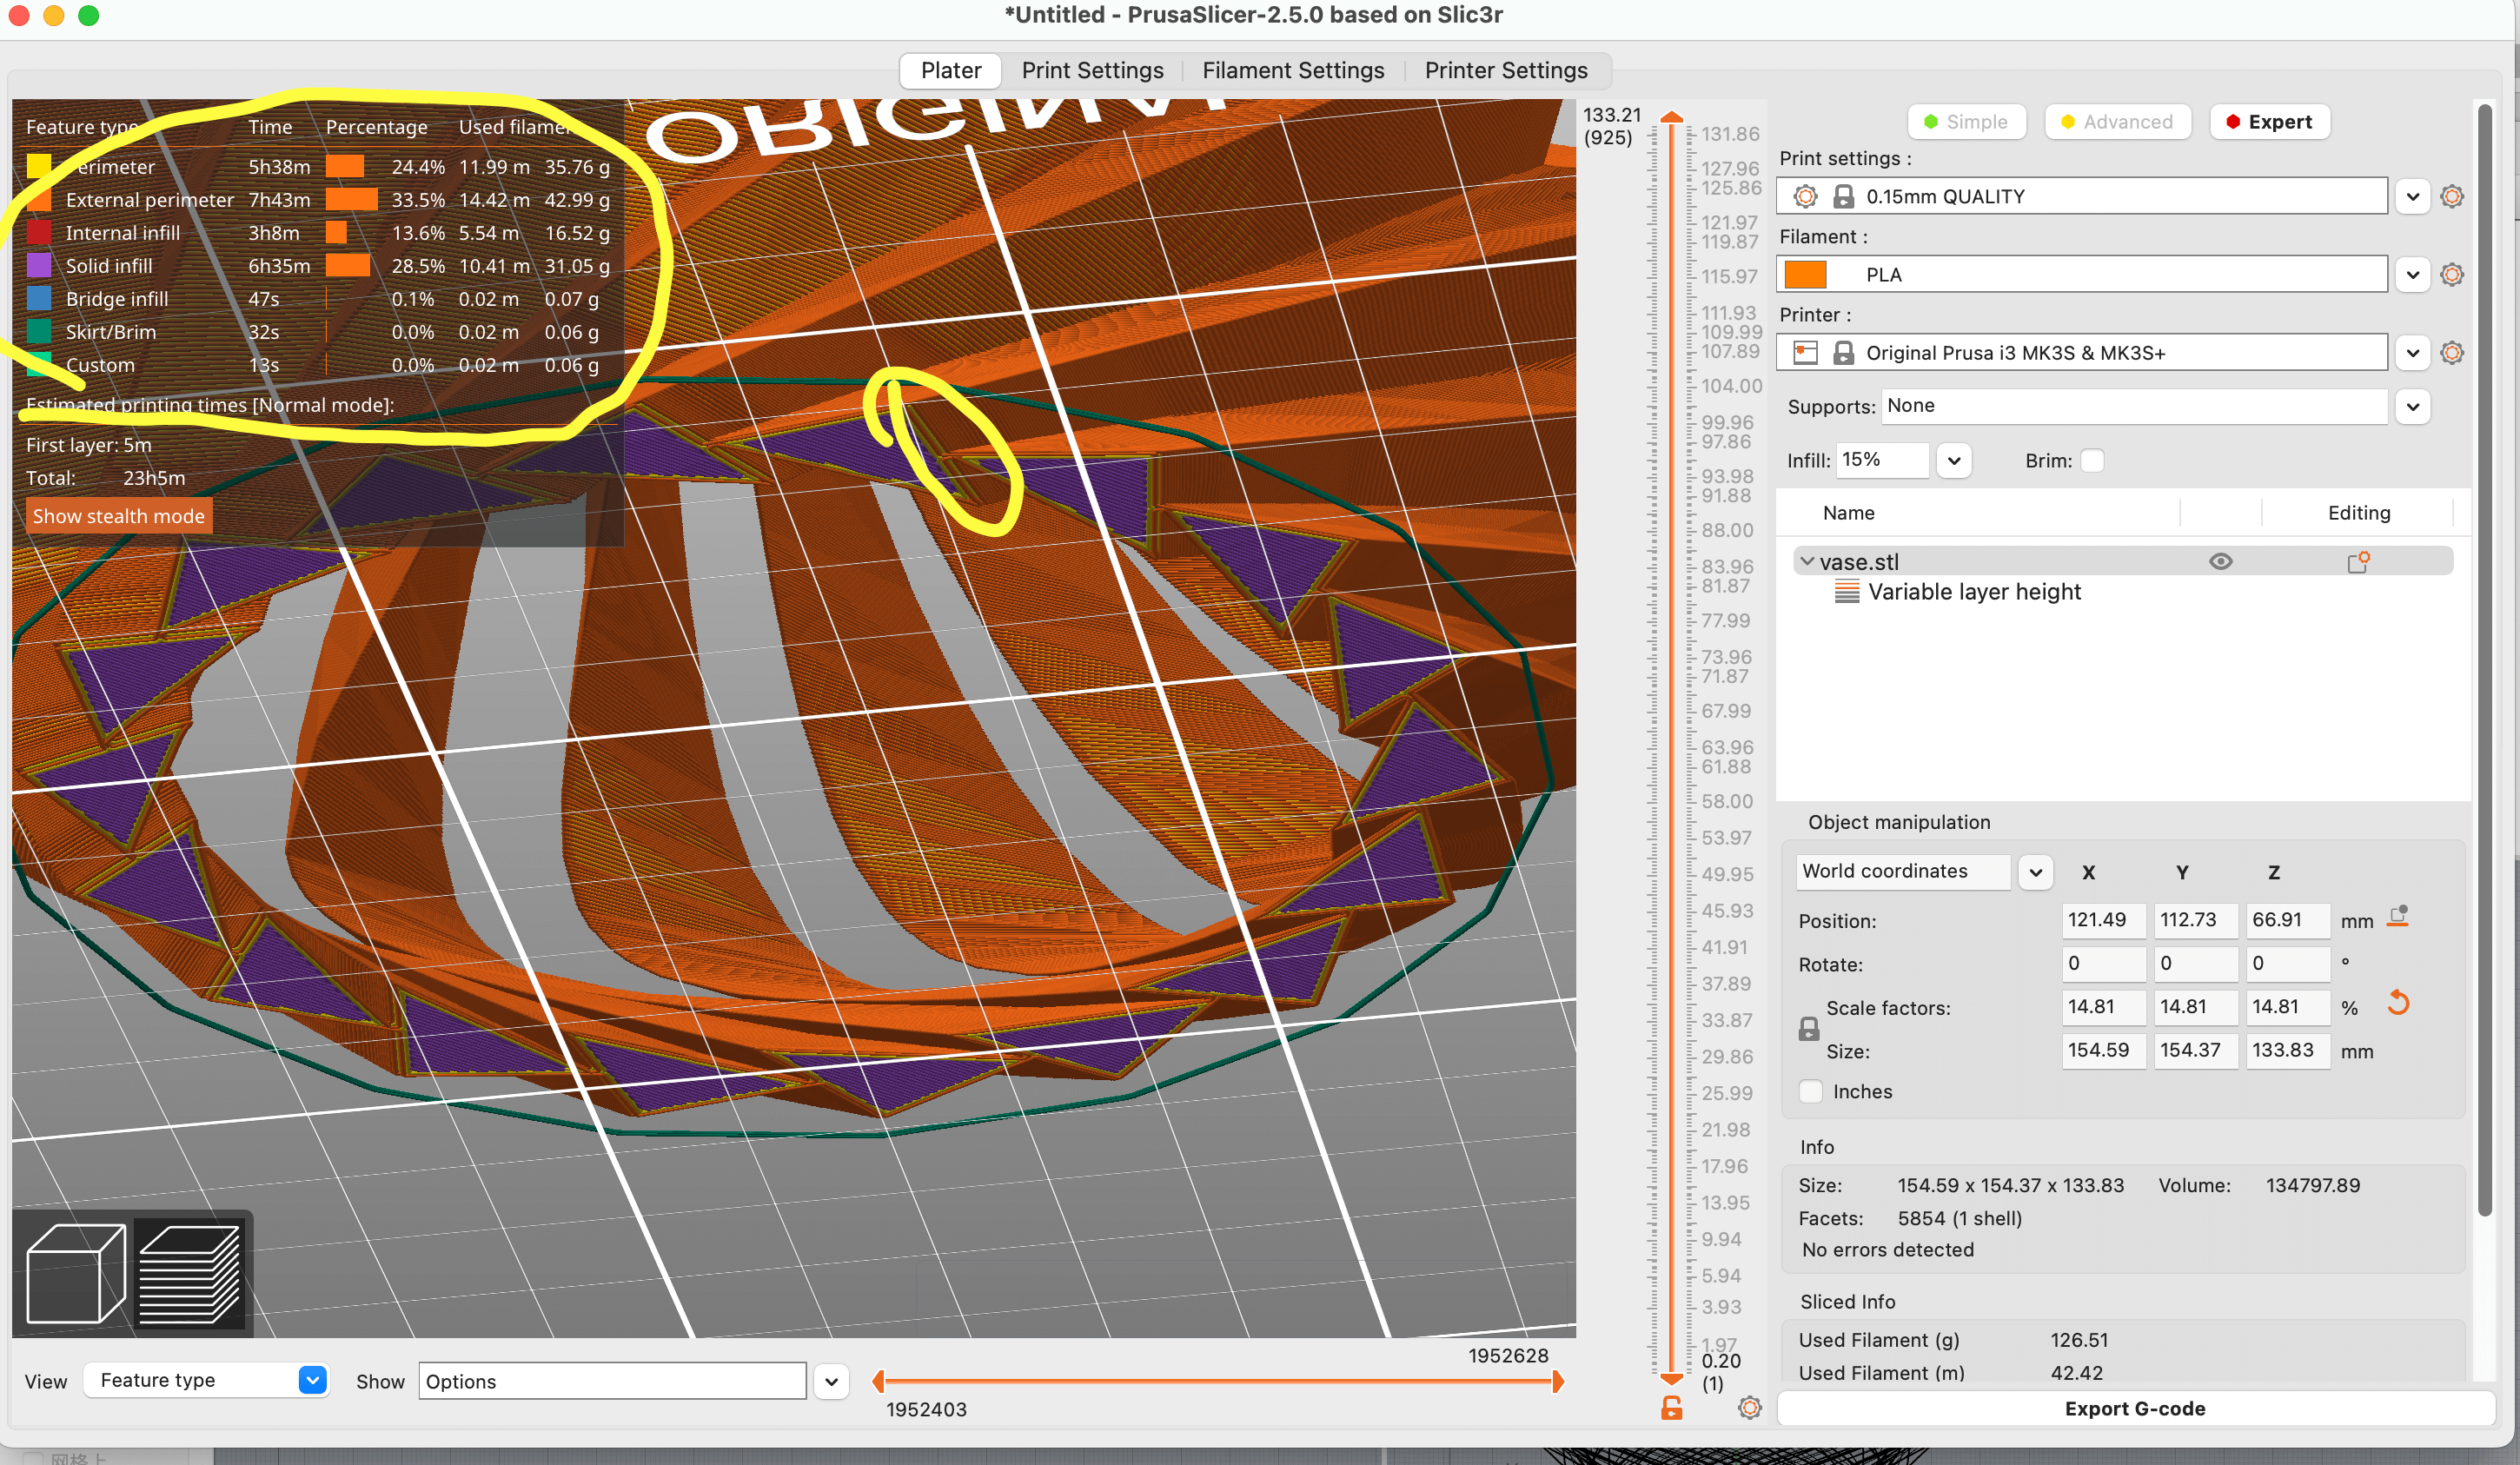
From the preview we are good to go.
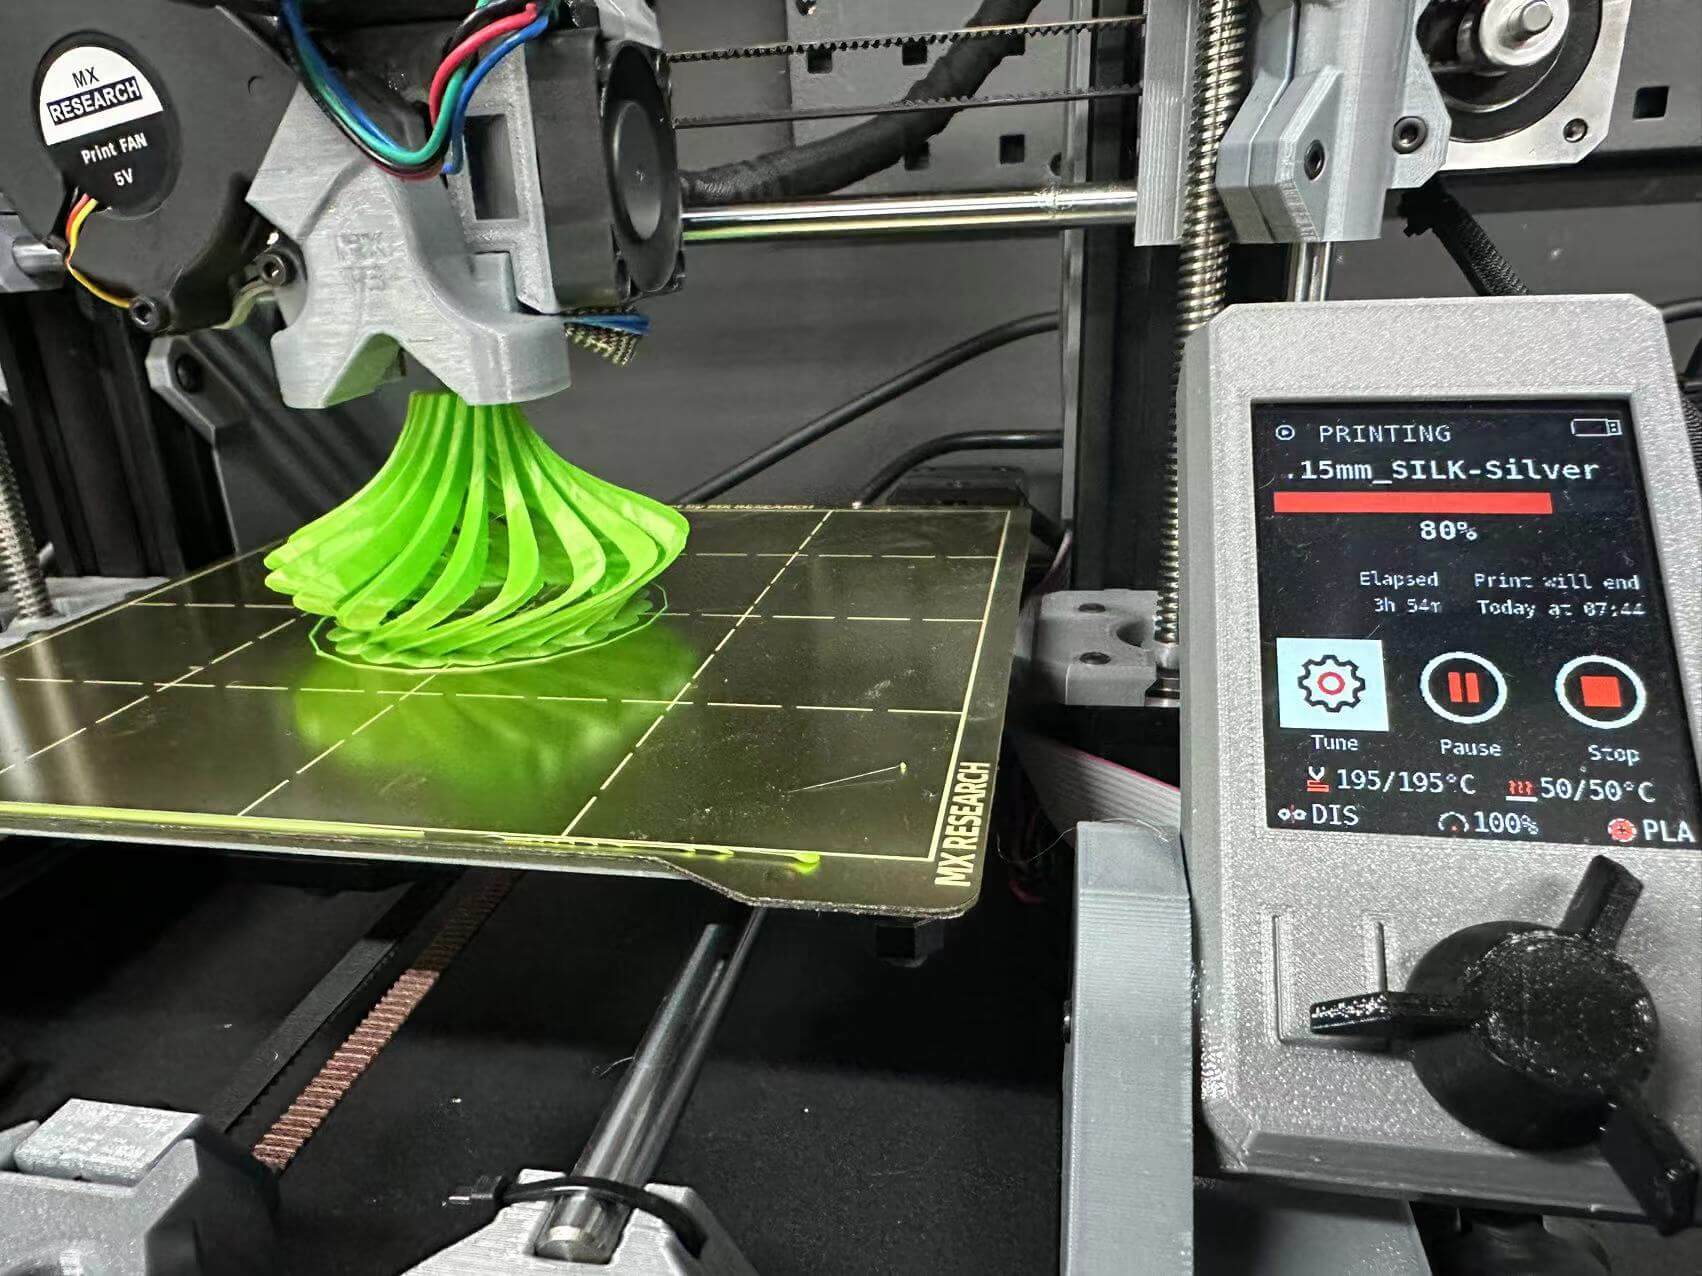
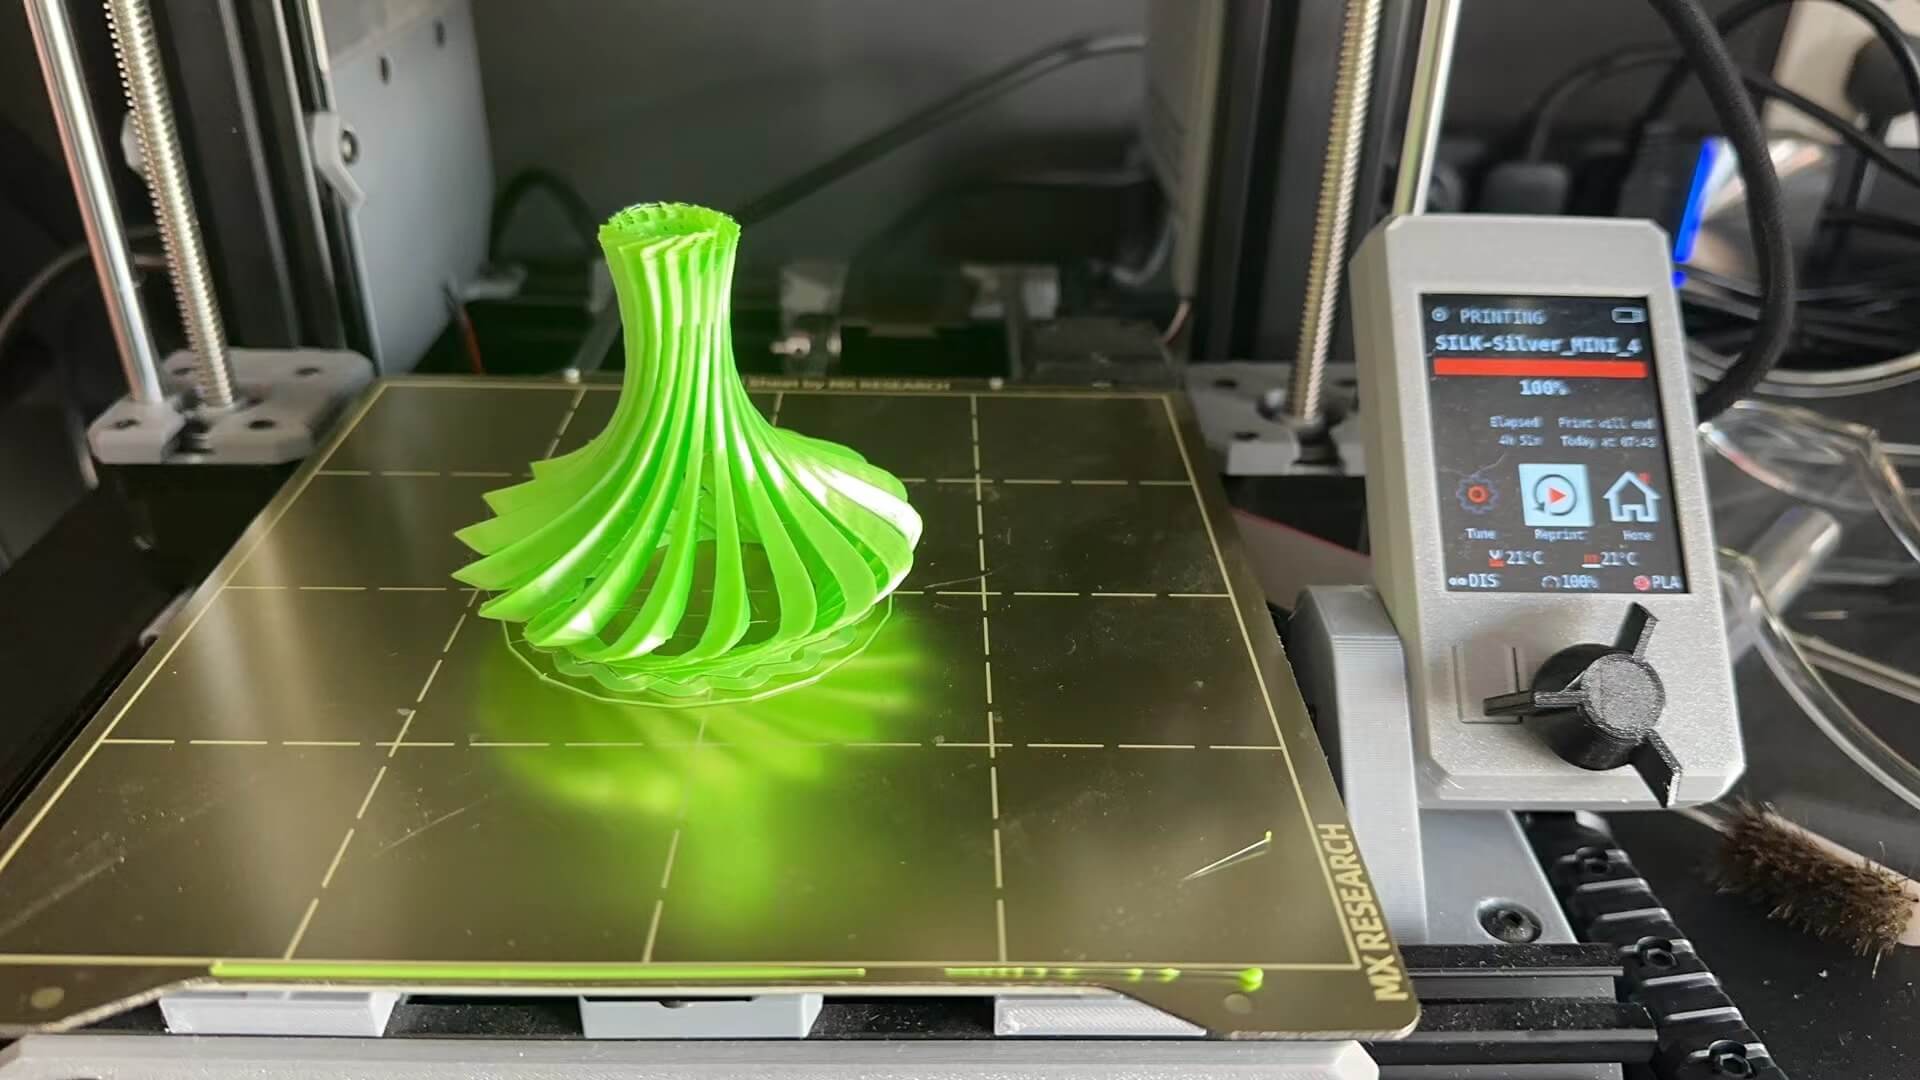
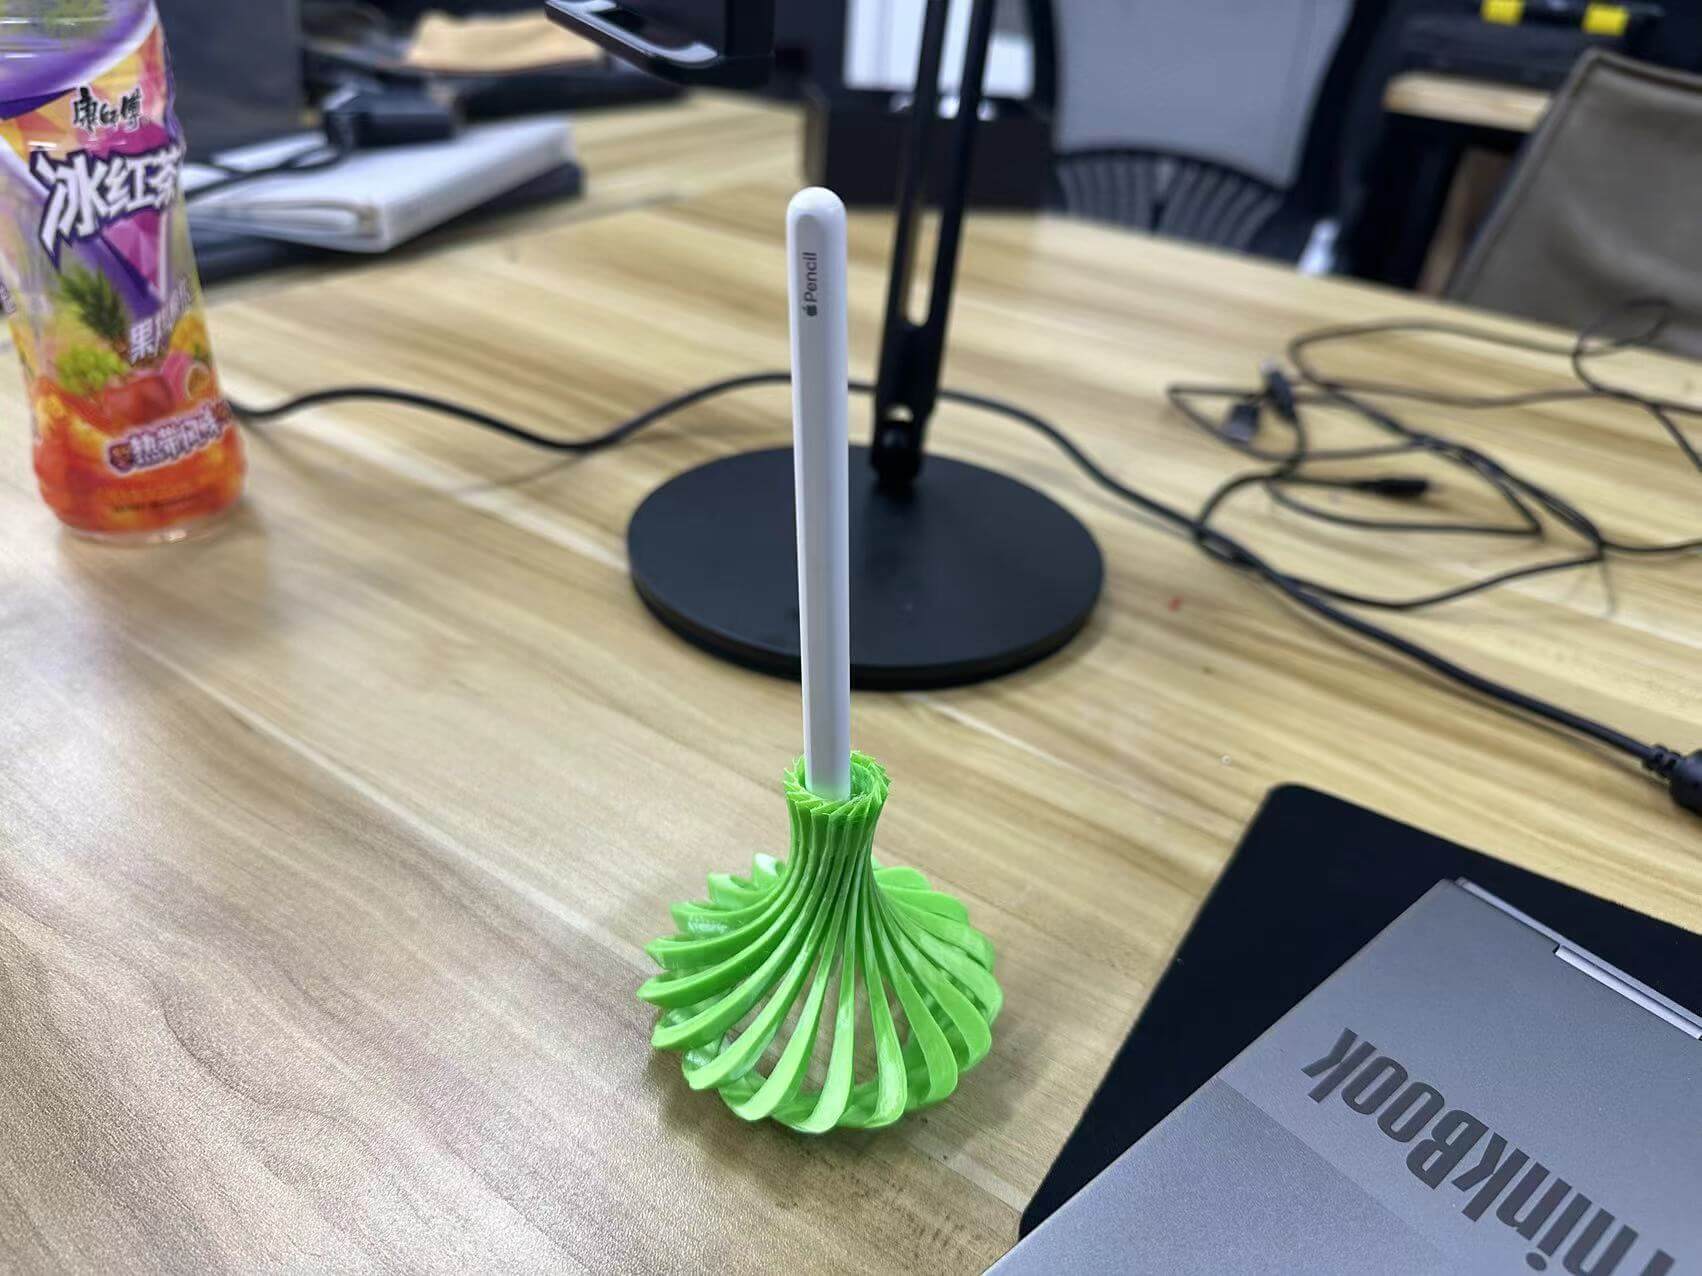
It went all well. It can be used to hold a pen.
3D Scanning
Apple device has lidar and the true depth front camera. It's easy to reach we deciede give a try.
The lidar jsut not work well with samll objects. It may good for scan factories.
I'm useing the app called '3D Scanner' from app store.
https://3dscannerapp.com/
The result for lidar scanning our lab. It look not pretty.
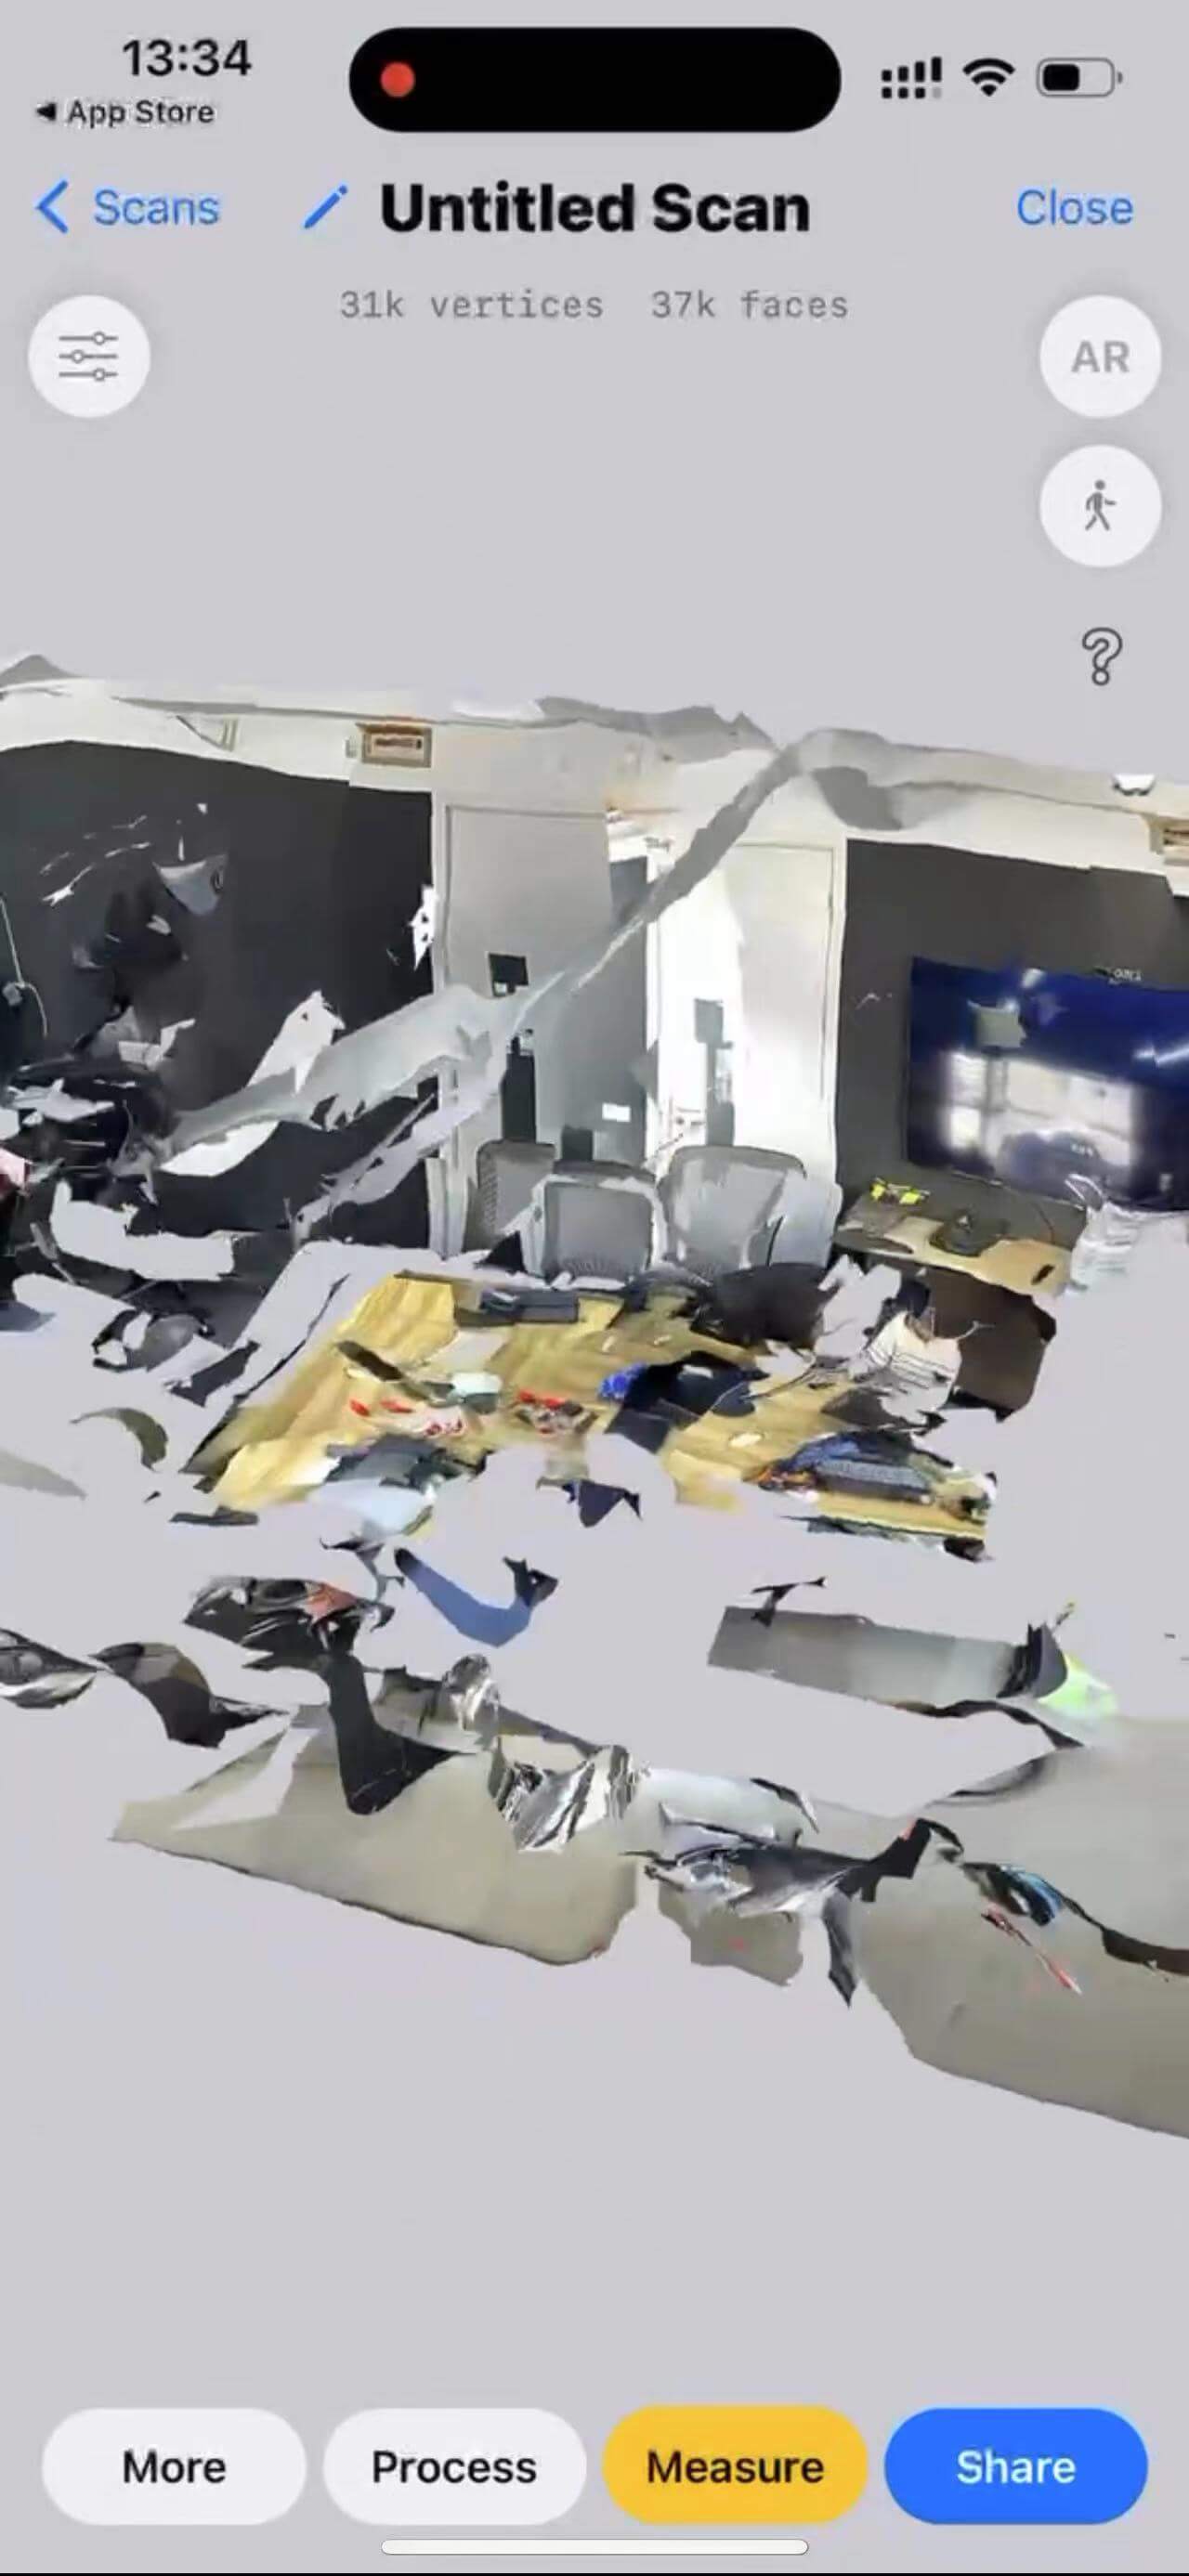
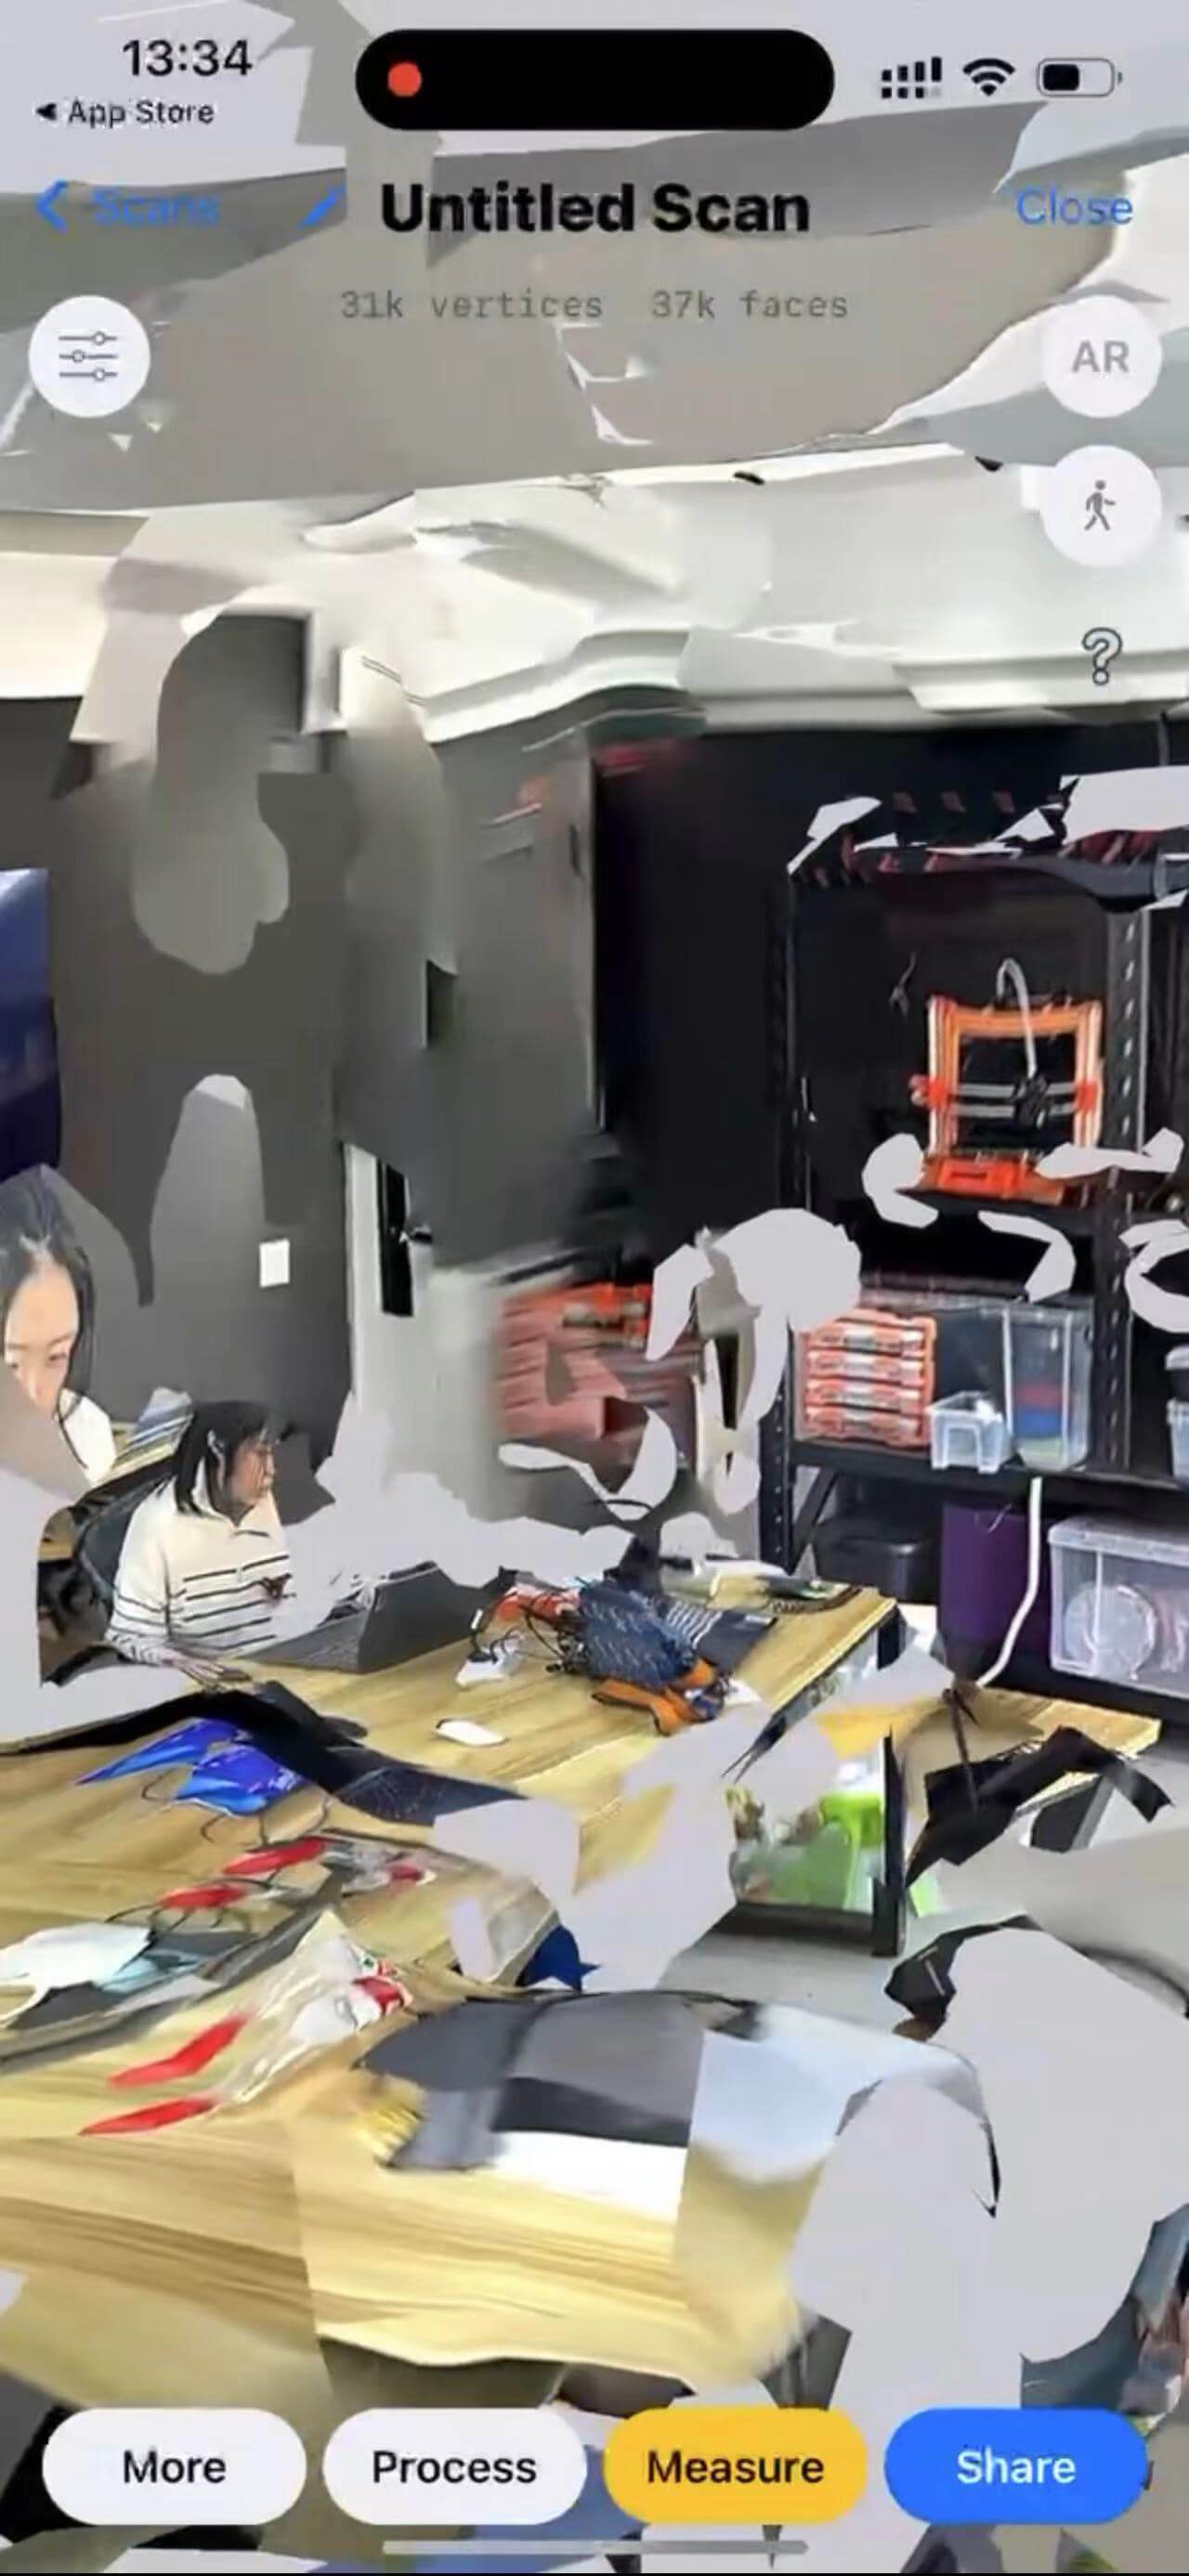
Then I switch to front true depth camera recommened by Saverio.
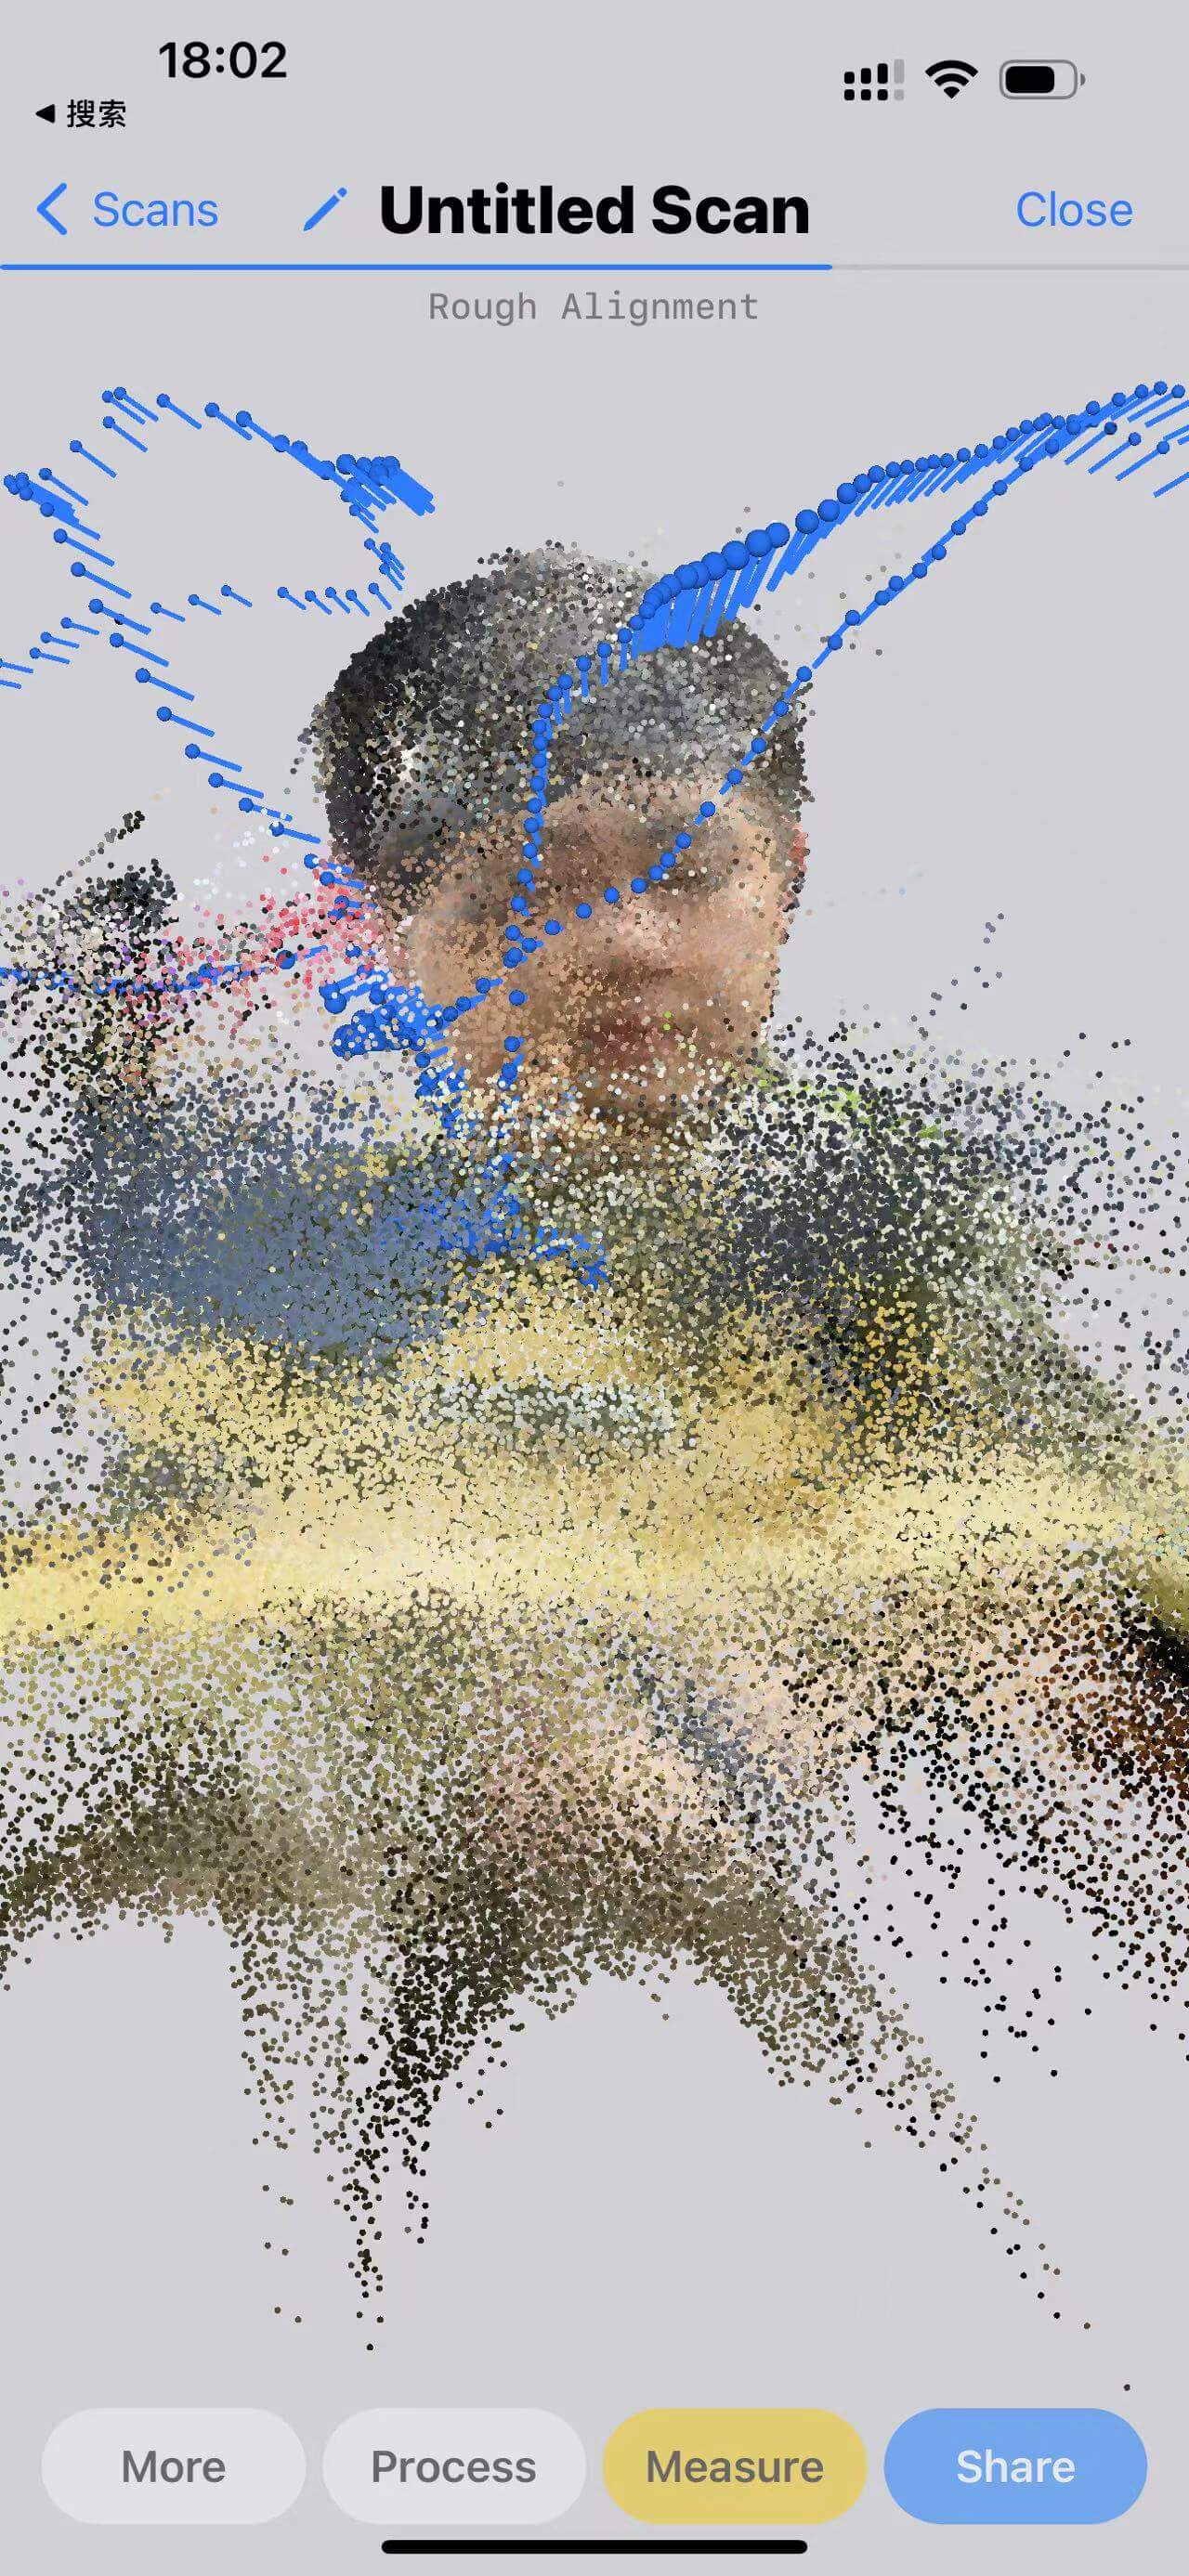
The process of the dealing with the point cloud.
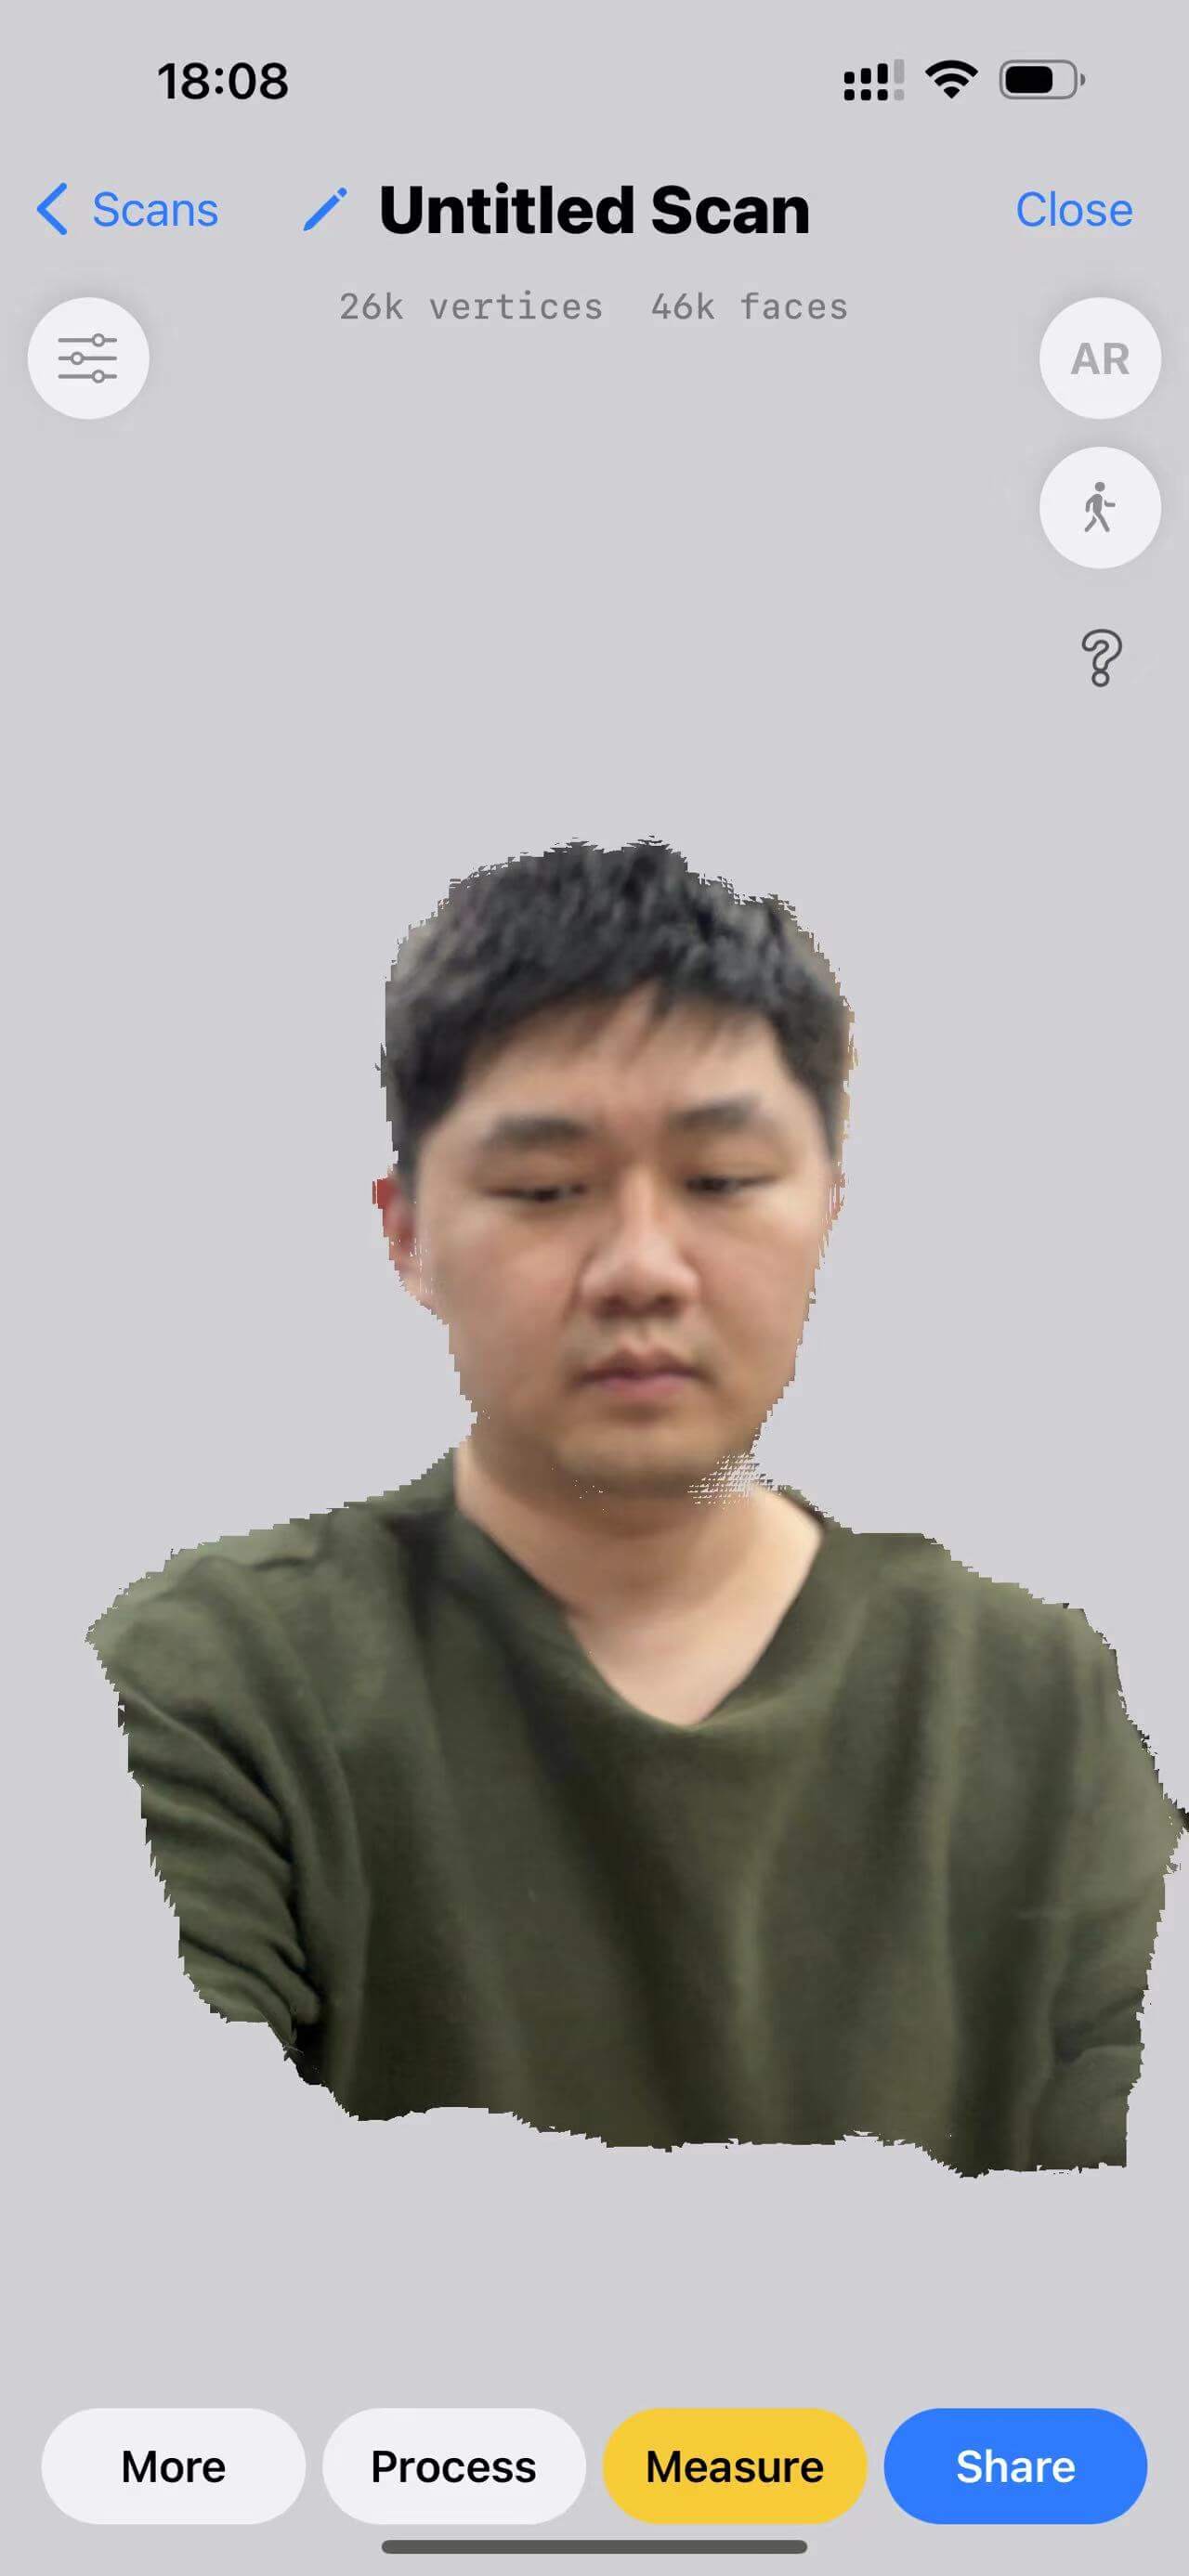
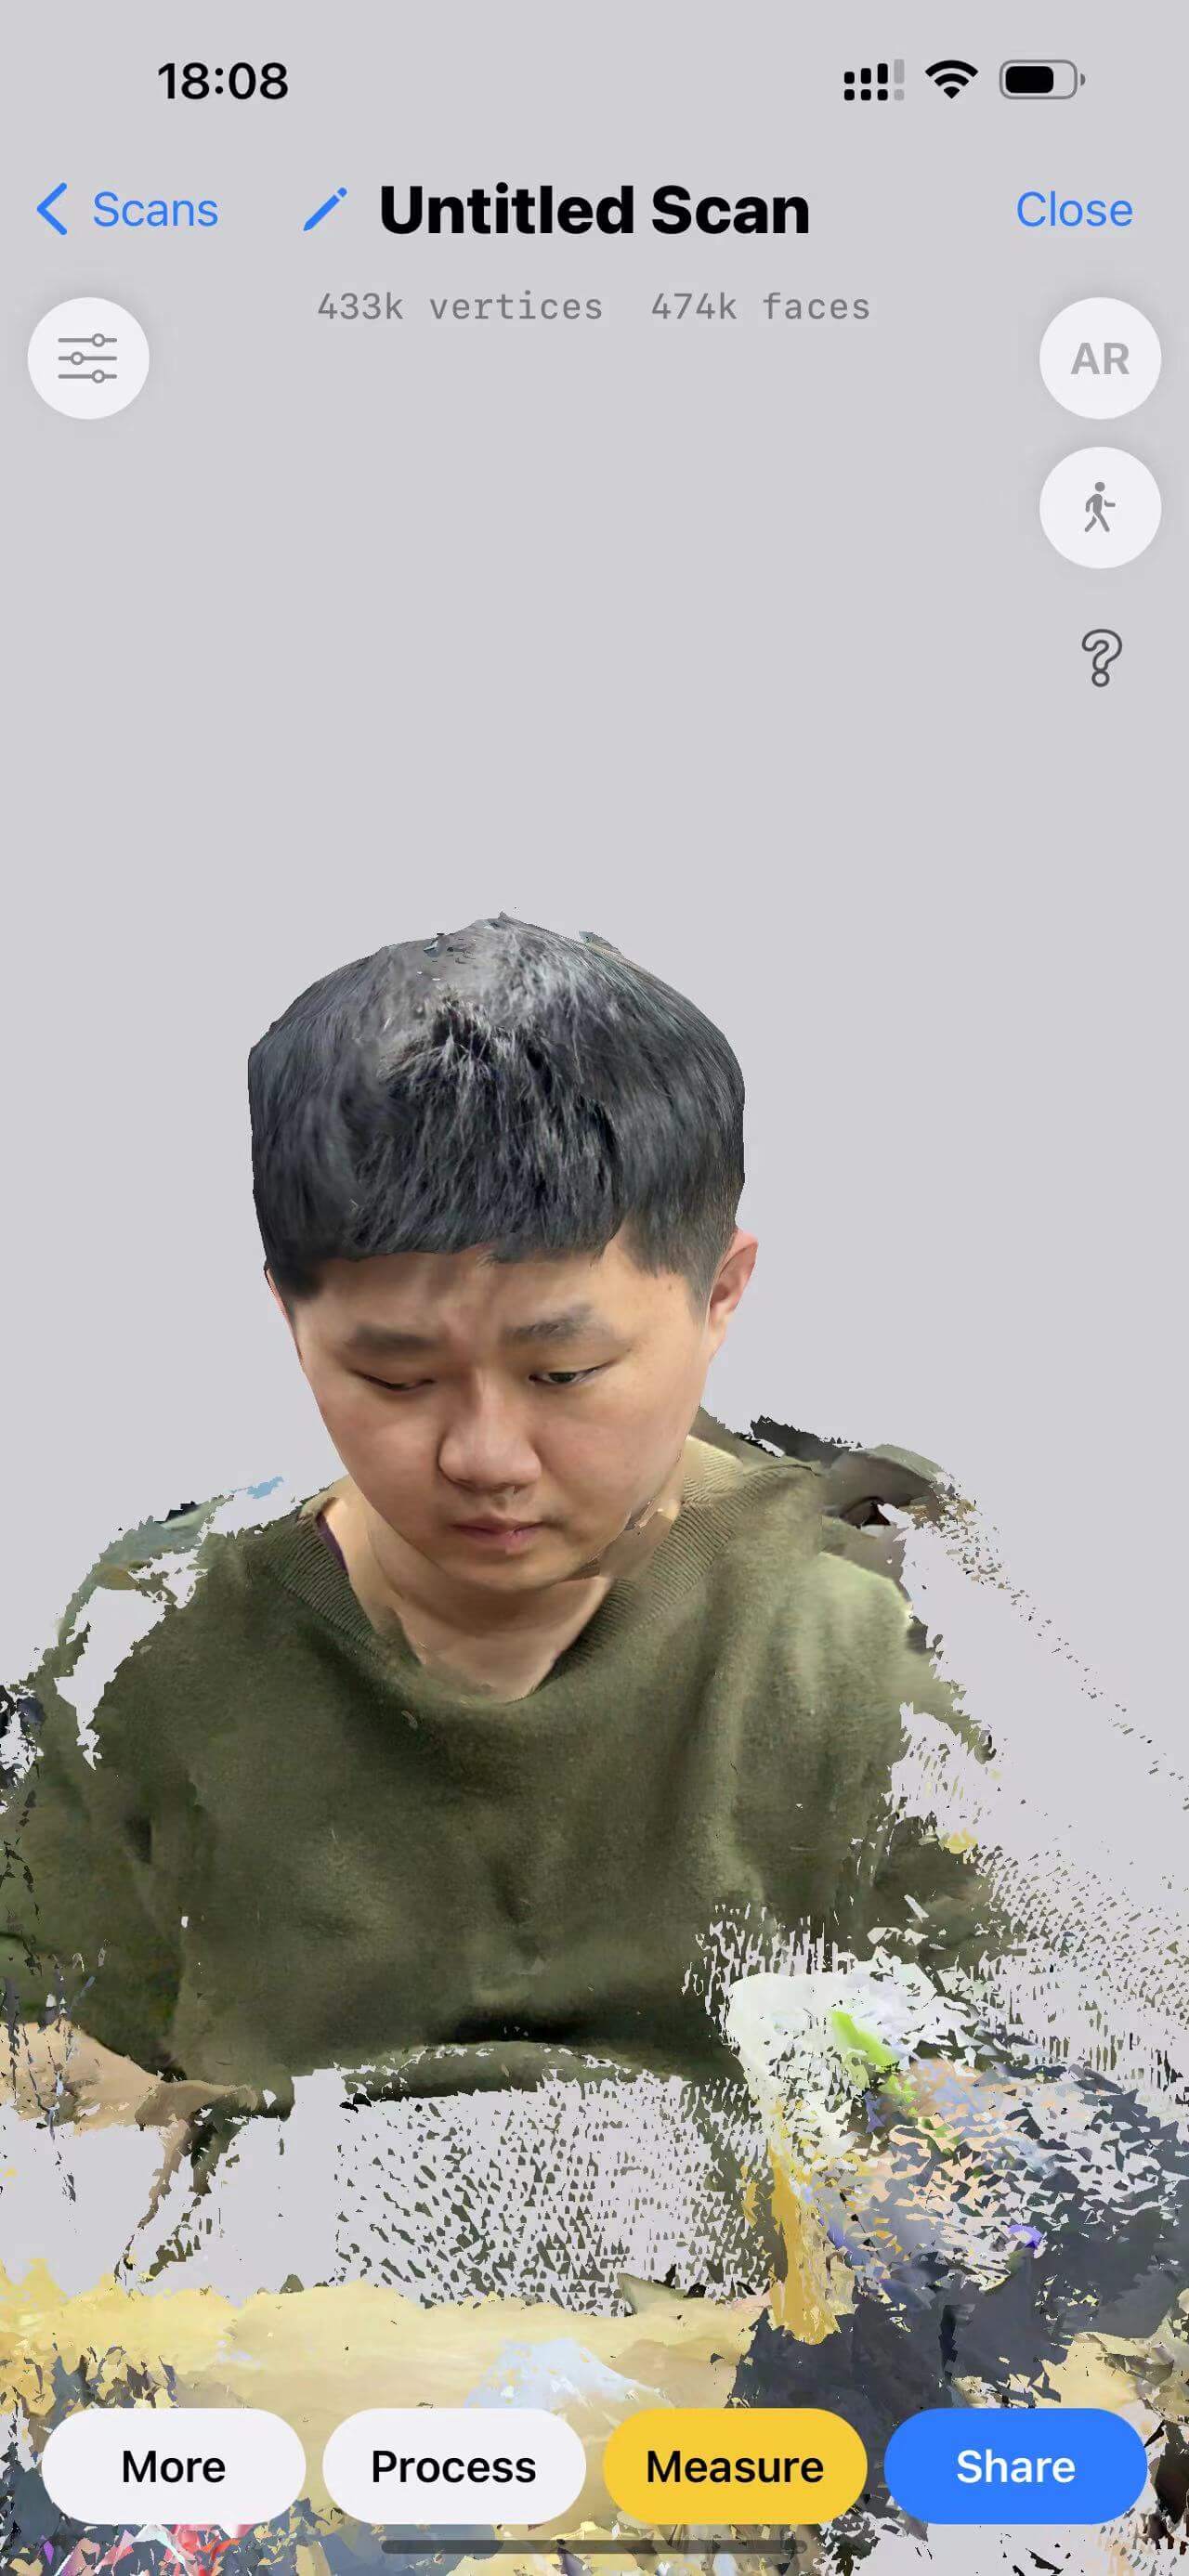
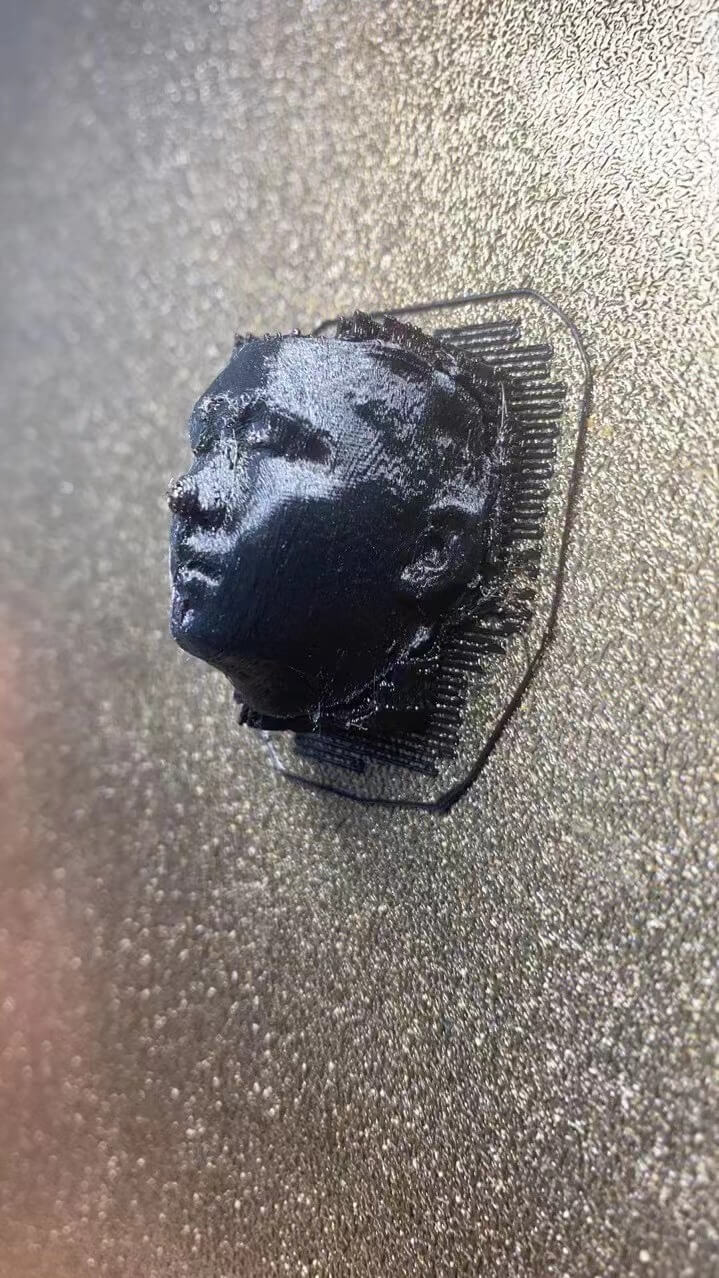
It looks like I have sth.
Photogeometry
Years ago I tried 123D catch, use around 80 photos and get pretty good result.
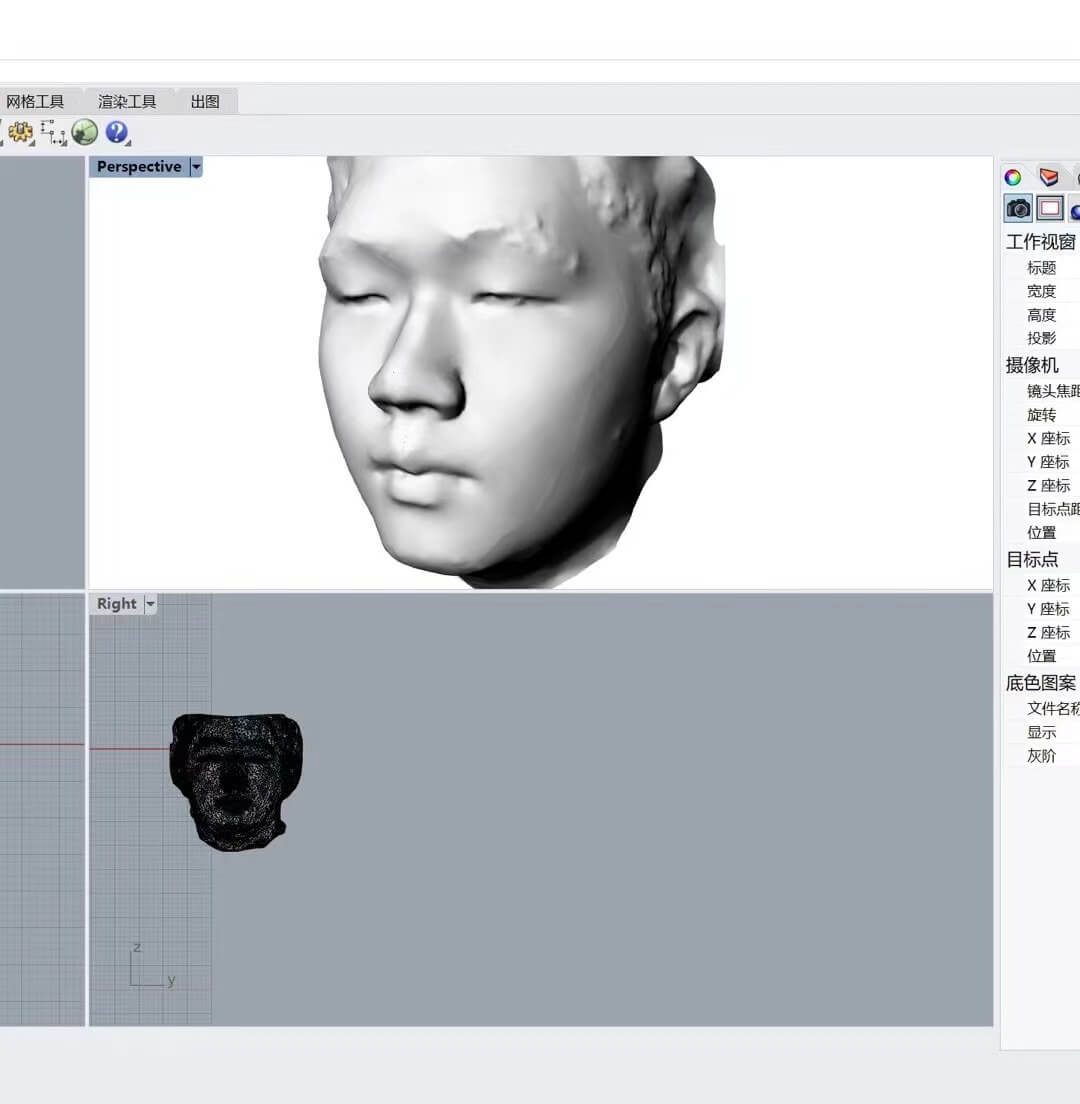
Printing with a lot supports.
Sum Up
happy week. >.<