3. Computer-Controlled Cutting
This week we get to work with laser and vinyl cutter at our lab.
Assignments of the Week
- Group assignment:
- Characterize your laser cutter's focus, power, speed, rate, kerf, and joint clearance.
- document your work to the group work page and reflect on your individual page what you learned.
-
Individual assignments:
- Design, lasercut, and document a parametric press-fit construction kit, which can be assembled in multiple ways.
- Cut something on the vinyl cutter.
Viny cutter individual assignment
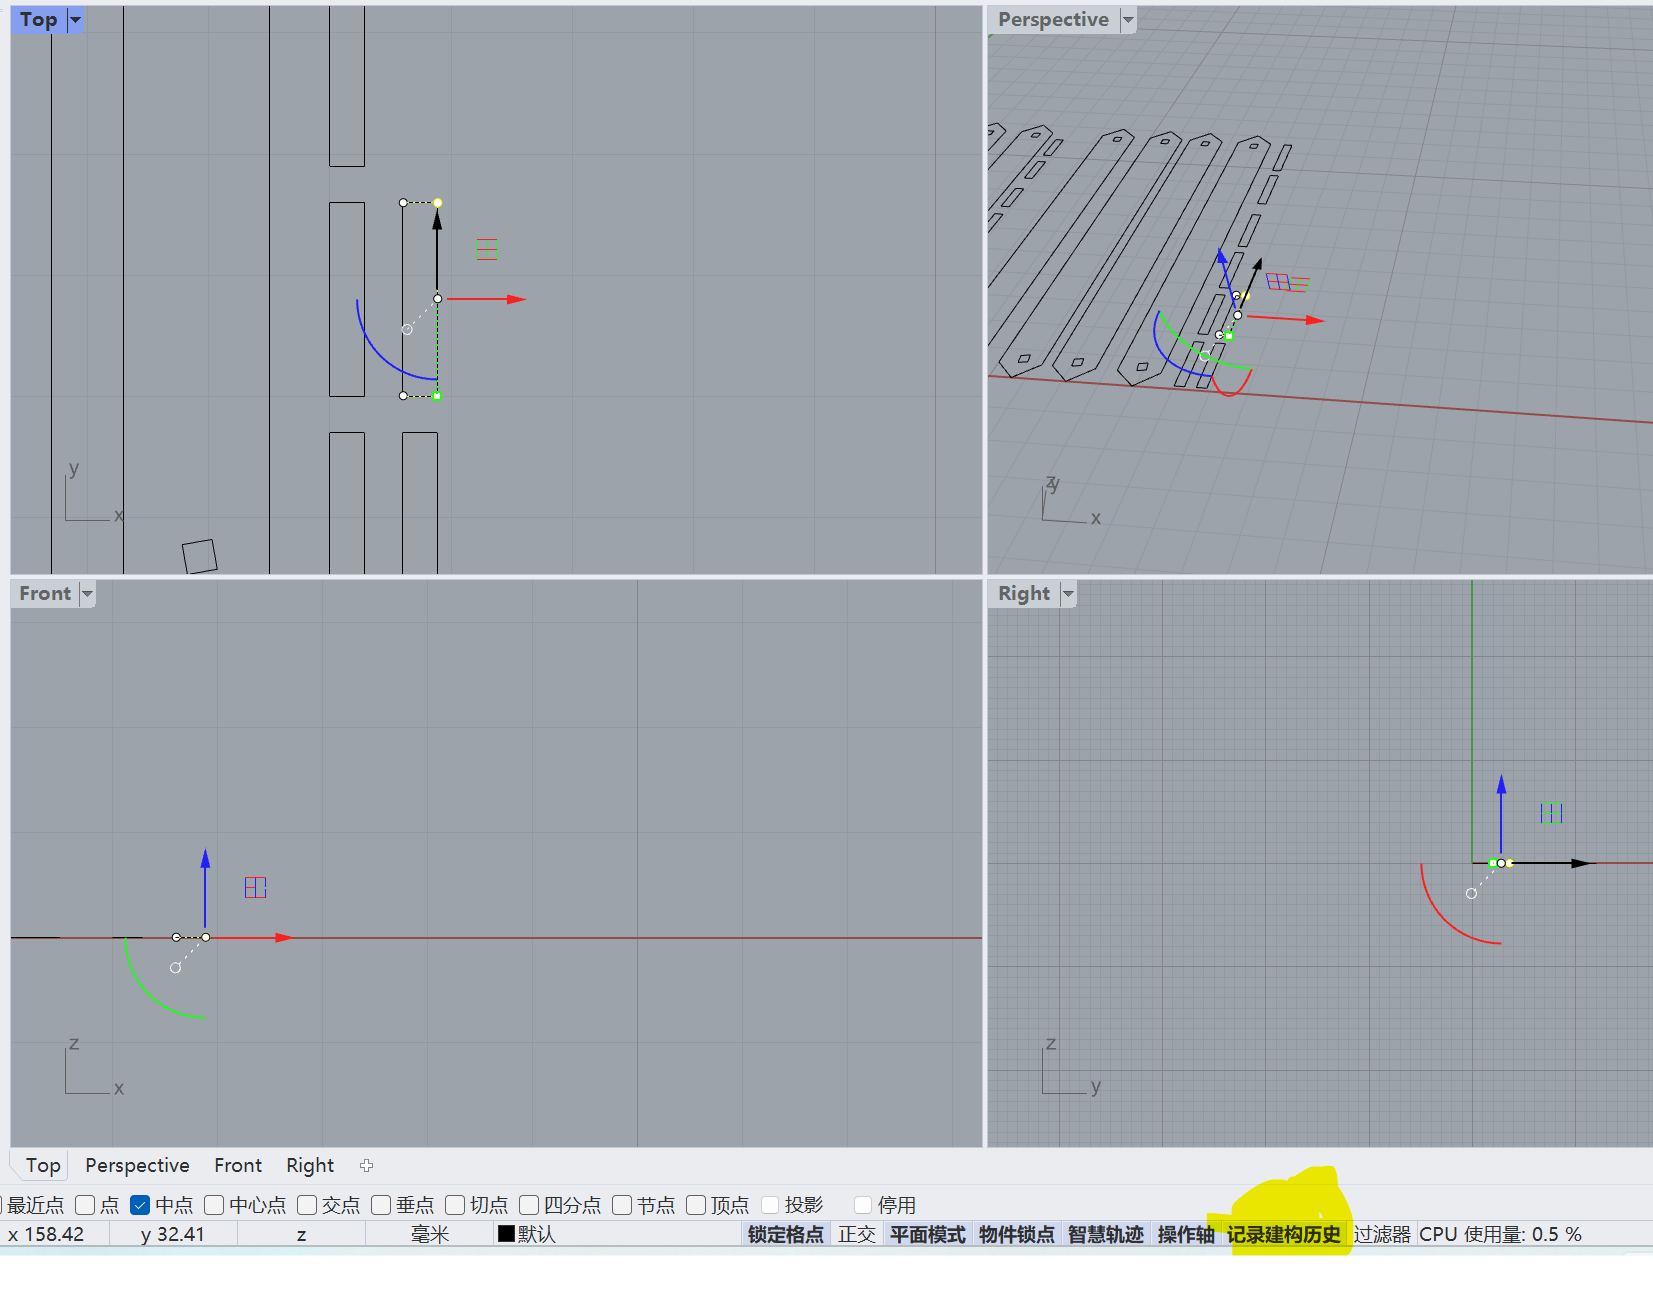
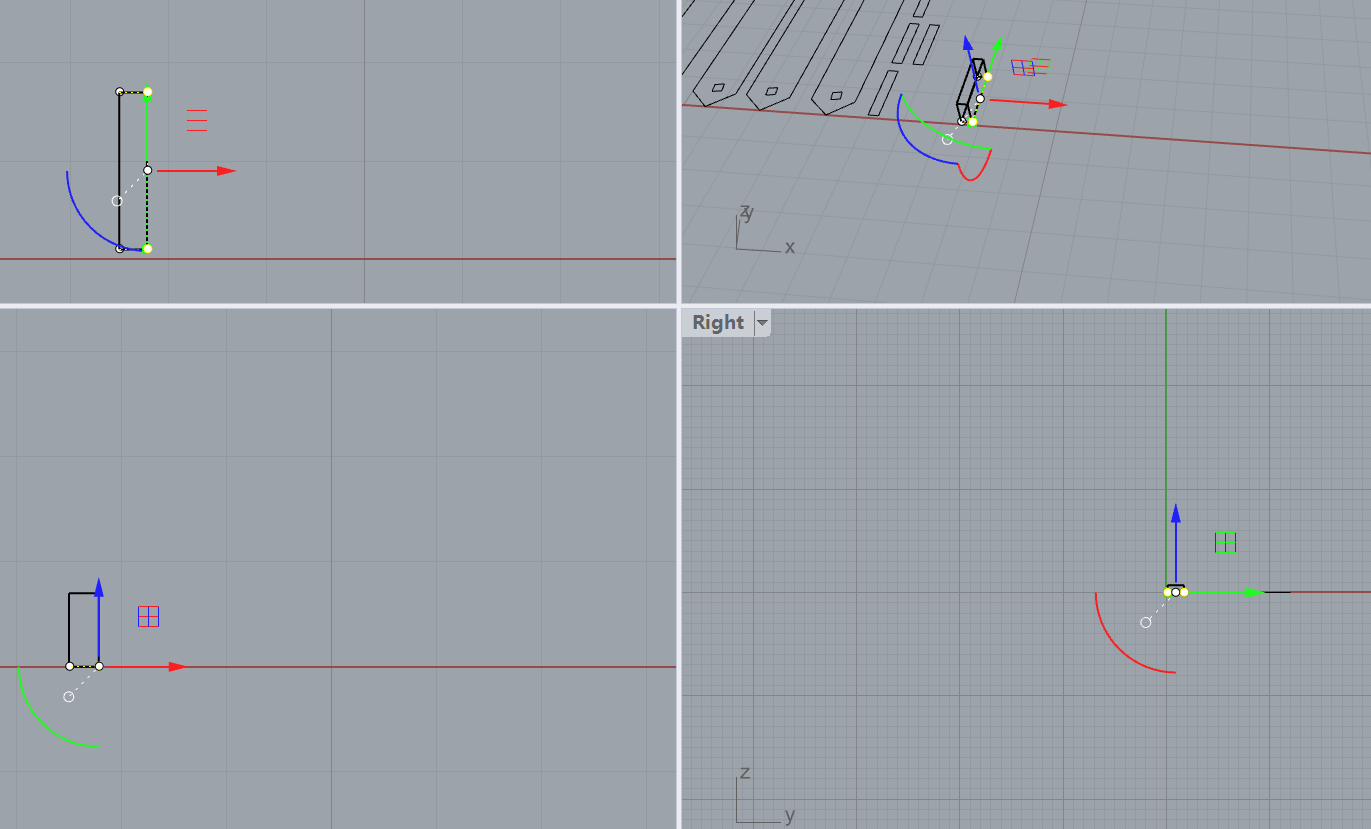
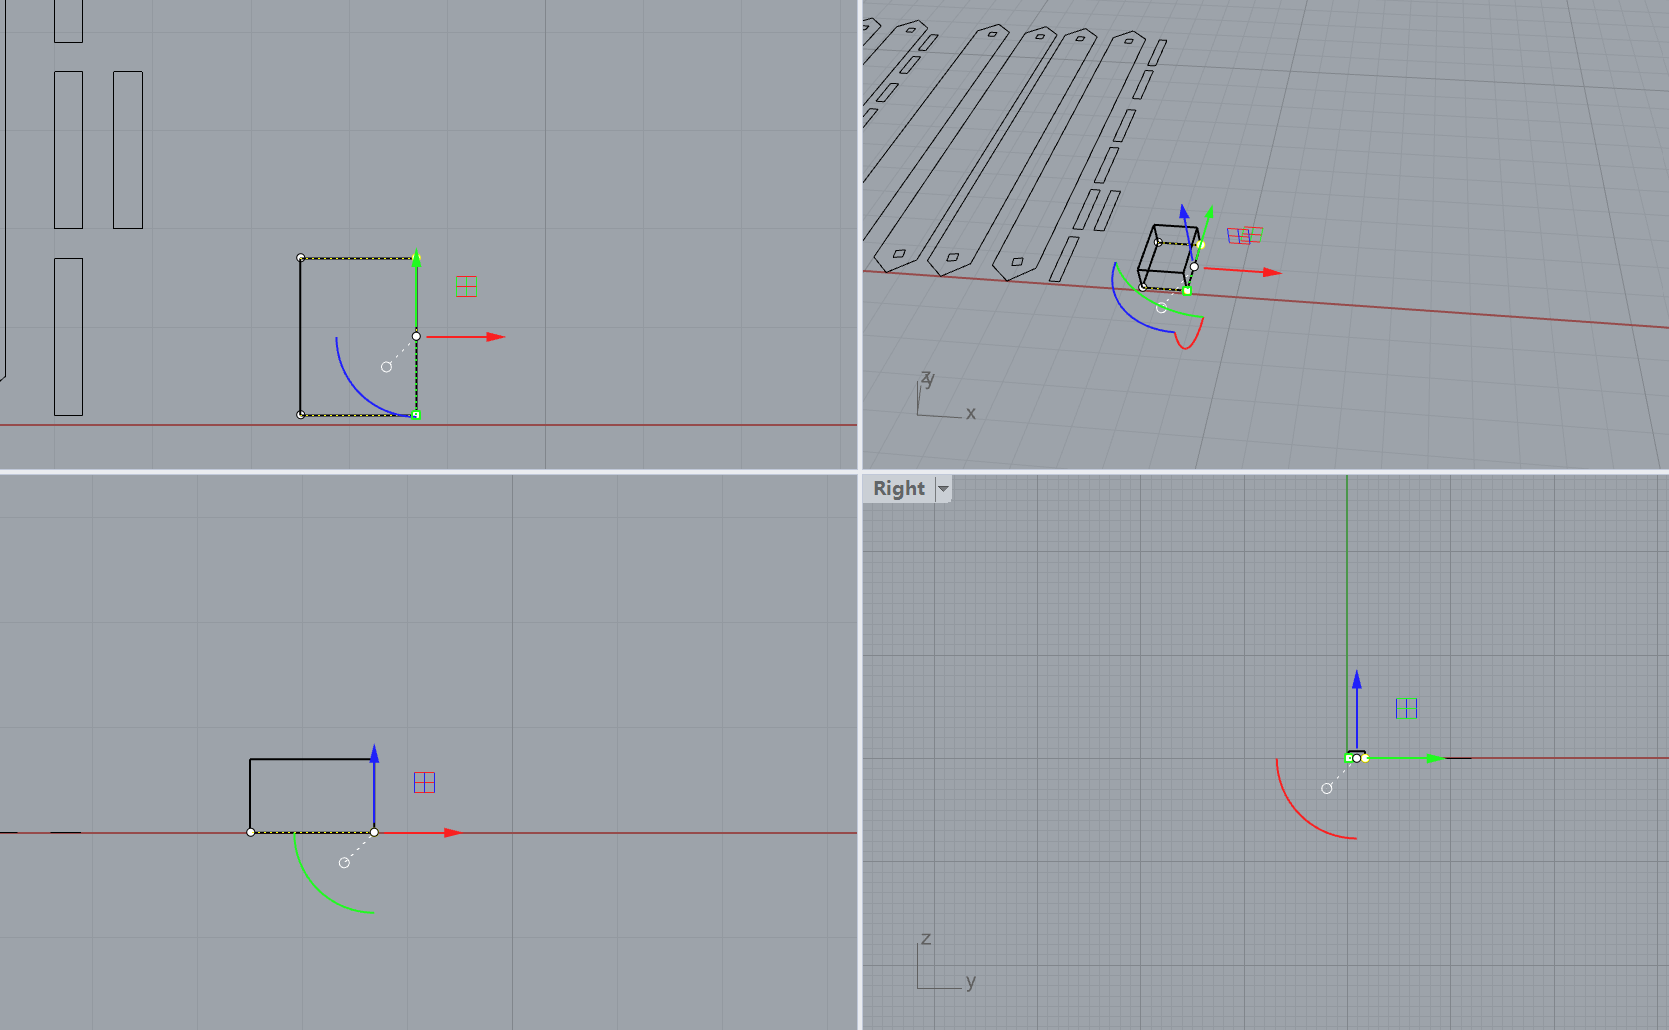
I tried to use Rhinoceros RECORD HISTORY fuction to do parametric design. It's the fucton i always want to try before. I make a stick size and extude to
solid. Record this history then just resize the square and the solid block will just follw the size.
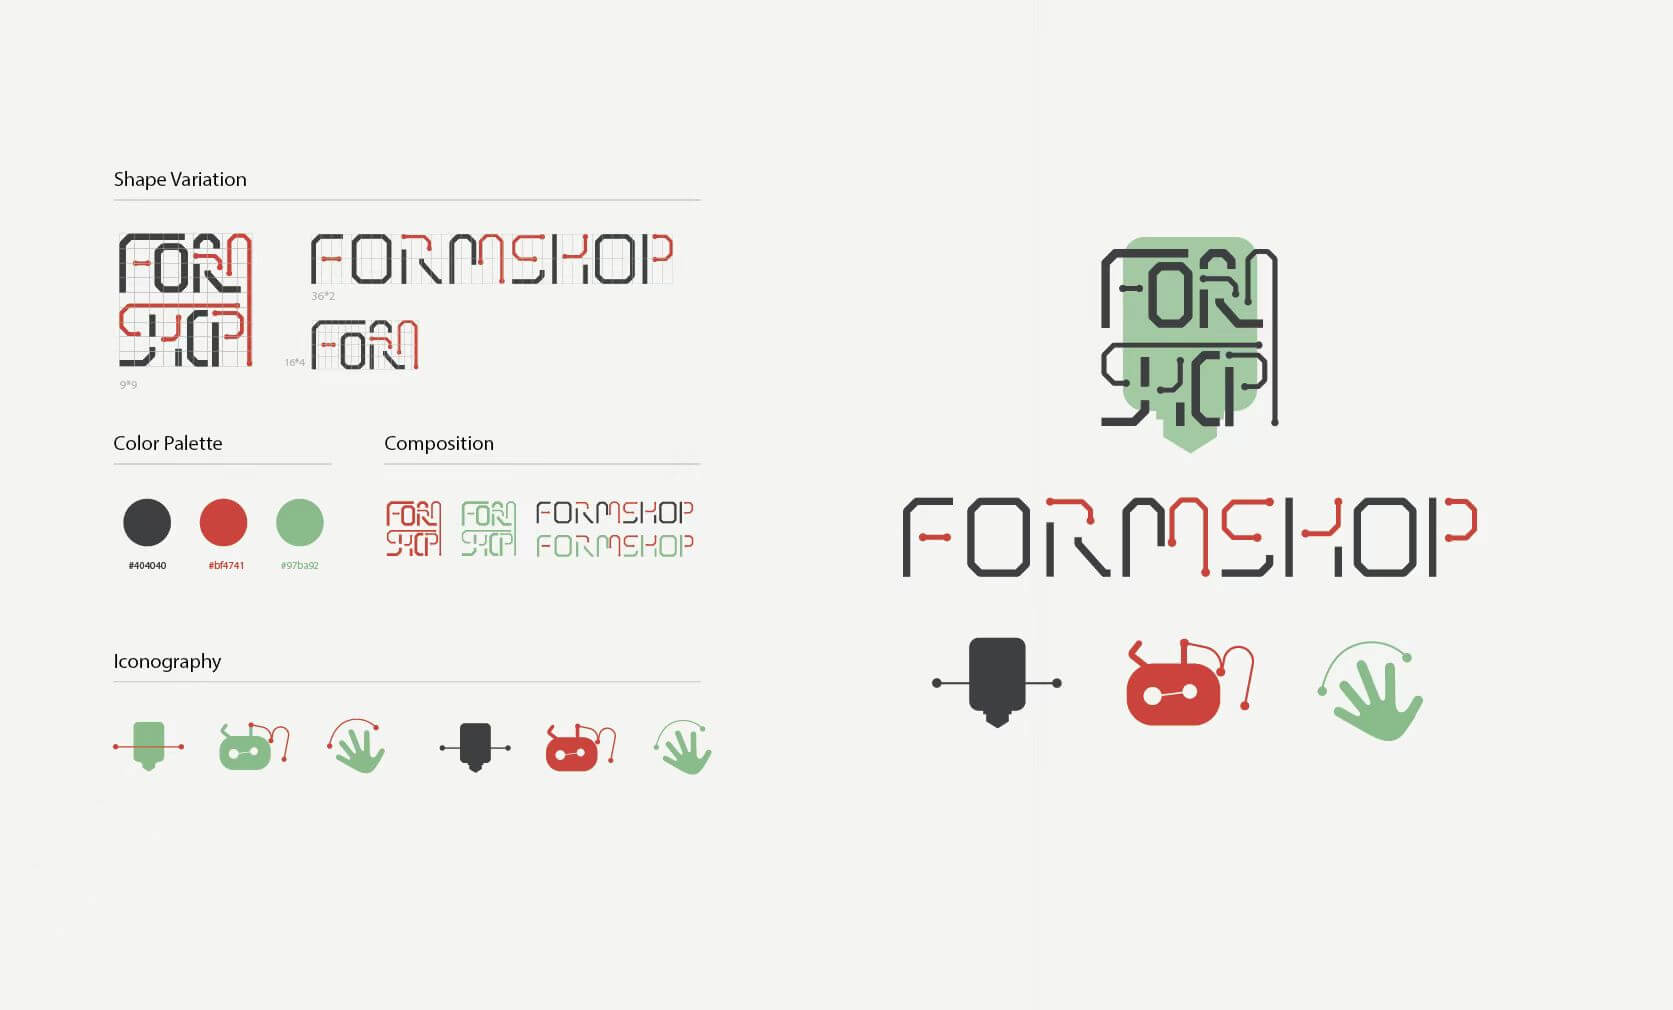
I choose our lab logo to Cut.
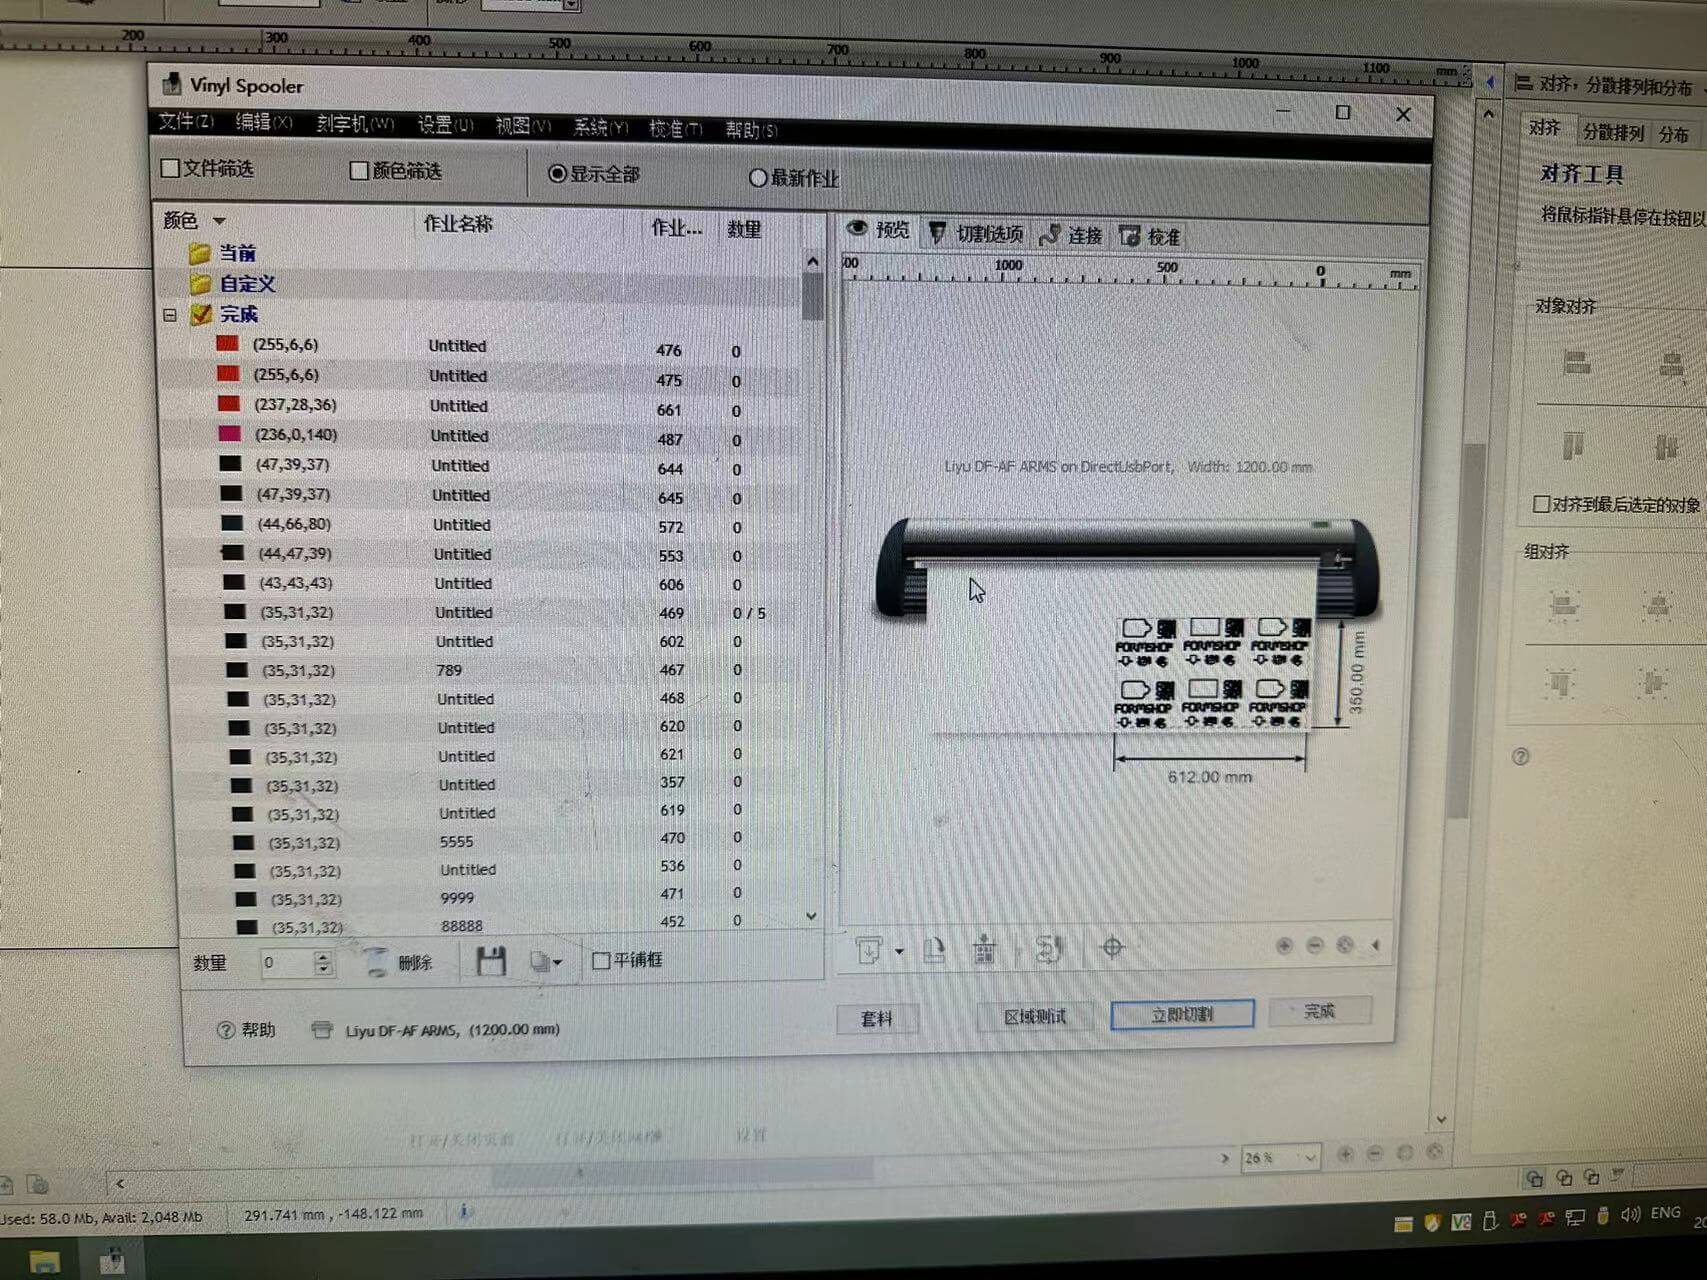
I put the file to the machine,and use the defult 800 speed and 100 knife presure.
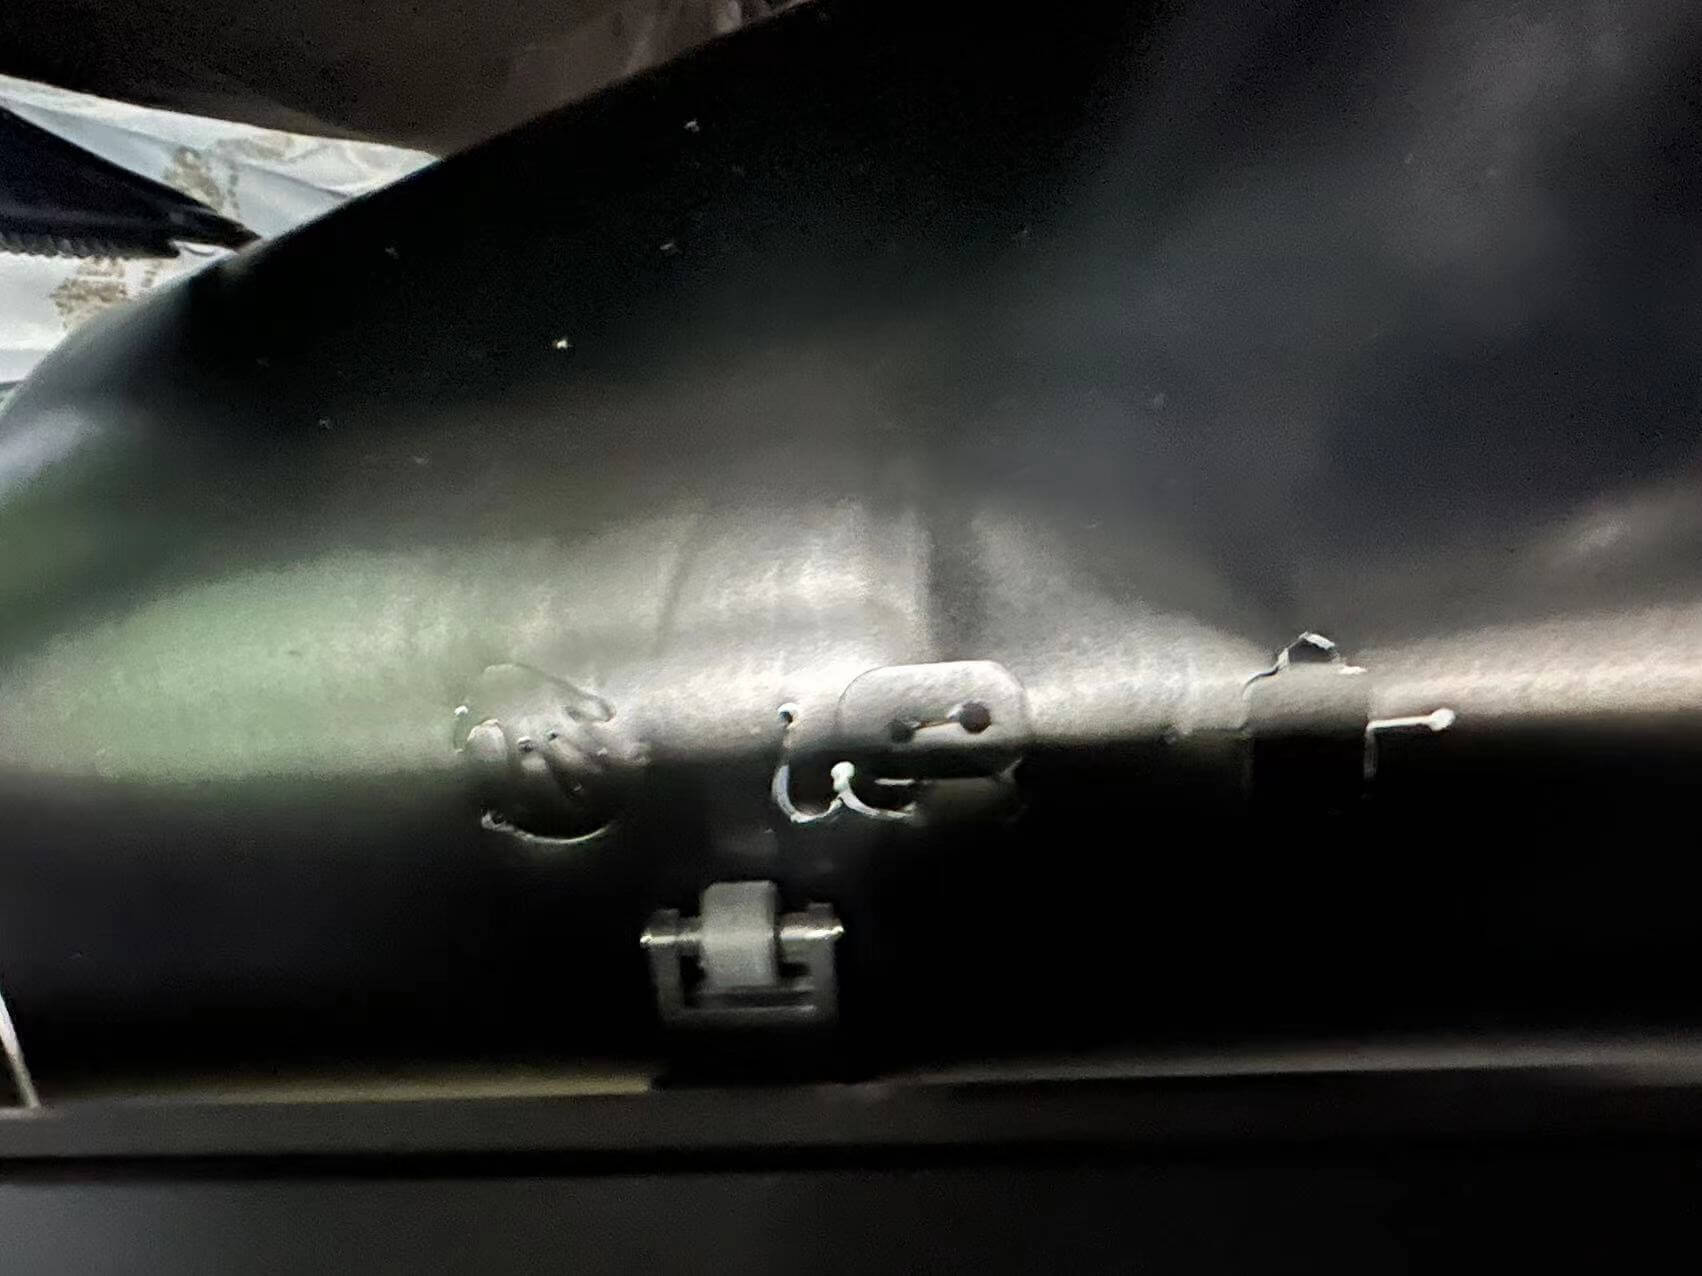
Turns out it's too much presure.
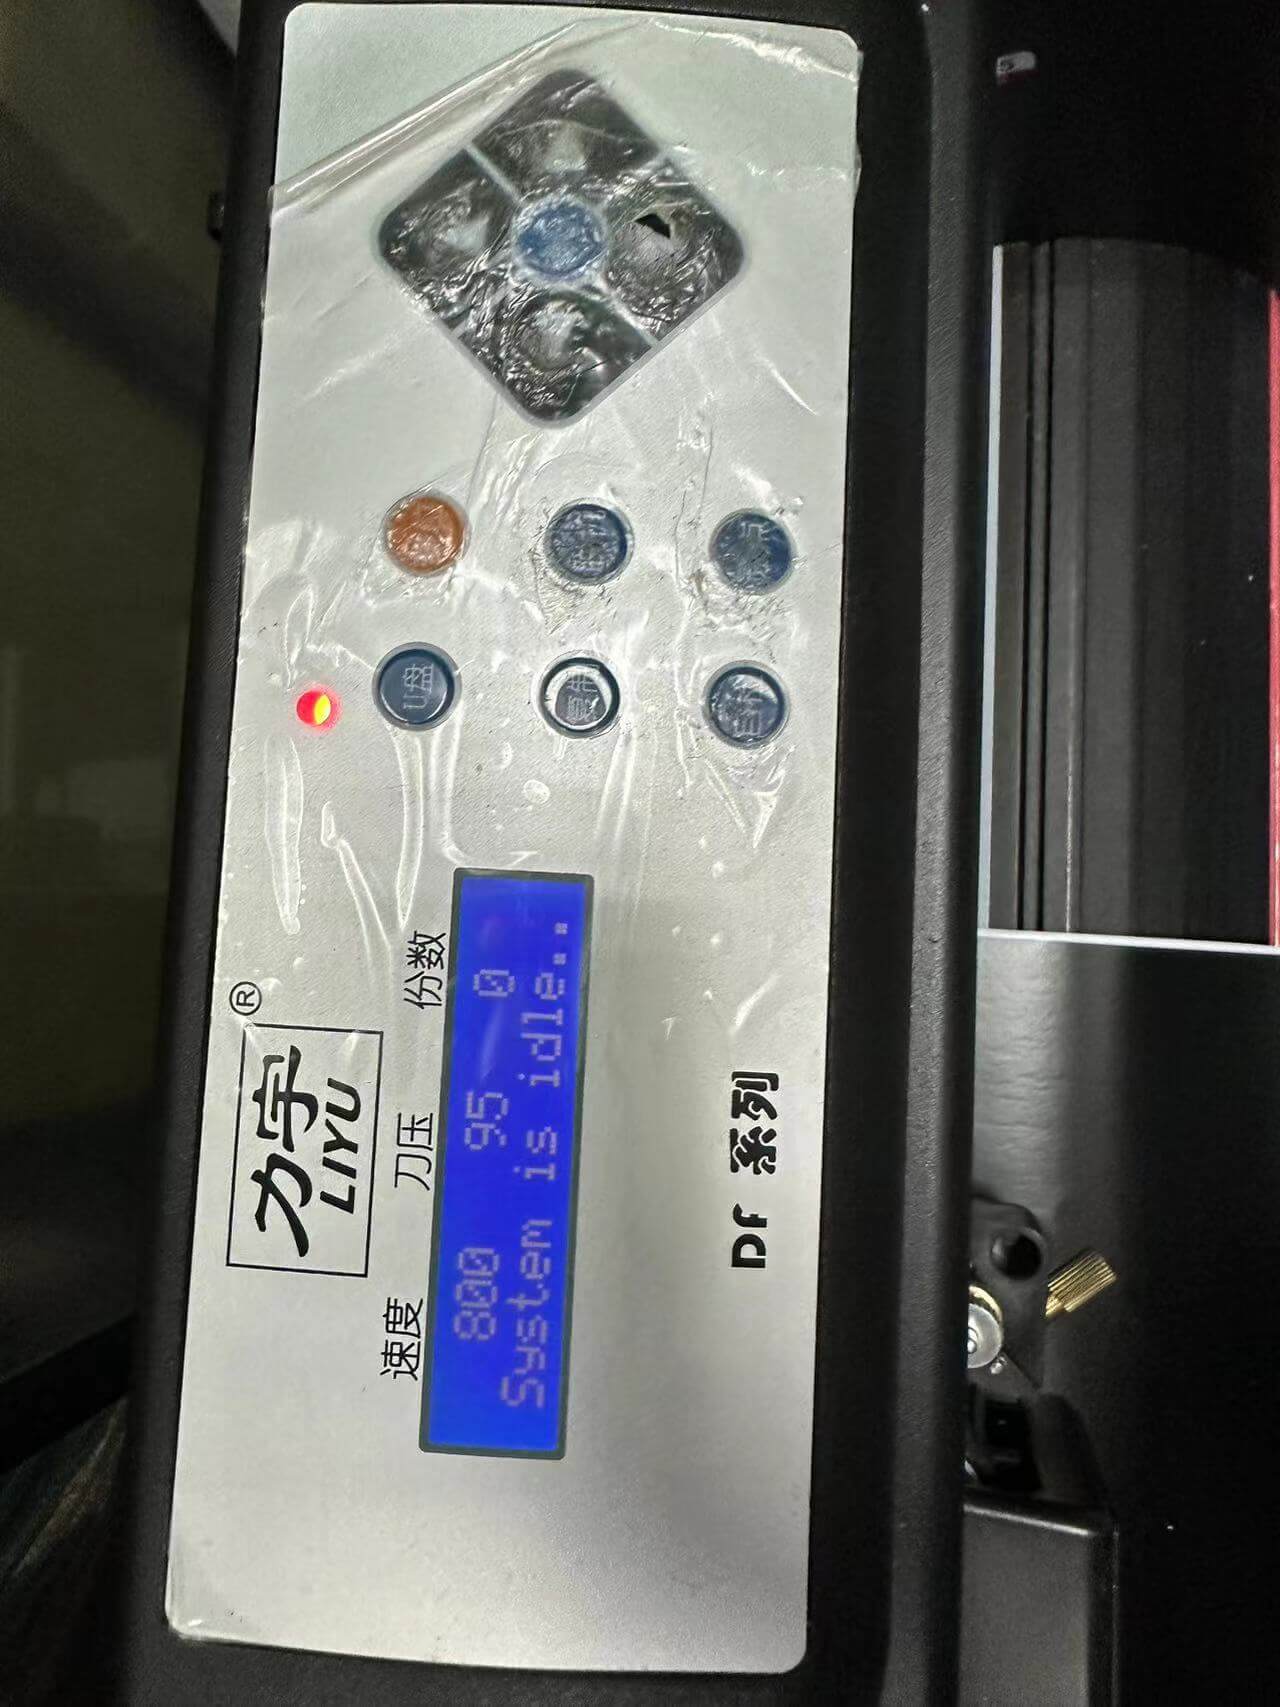
Change the presure down till the it just cut the top surface nicely.95 is all good.
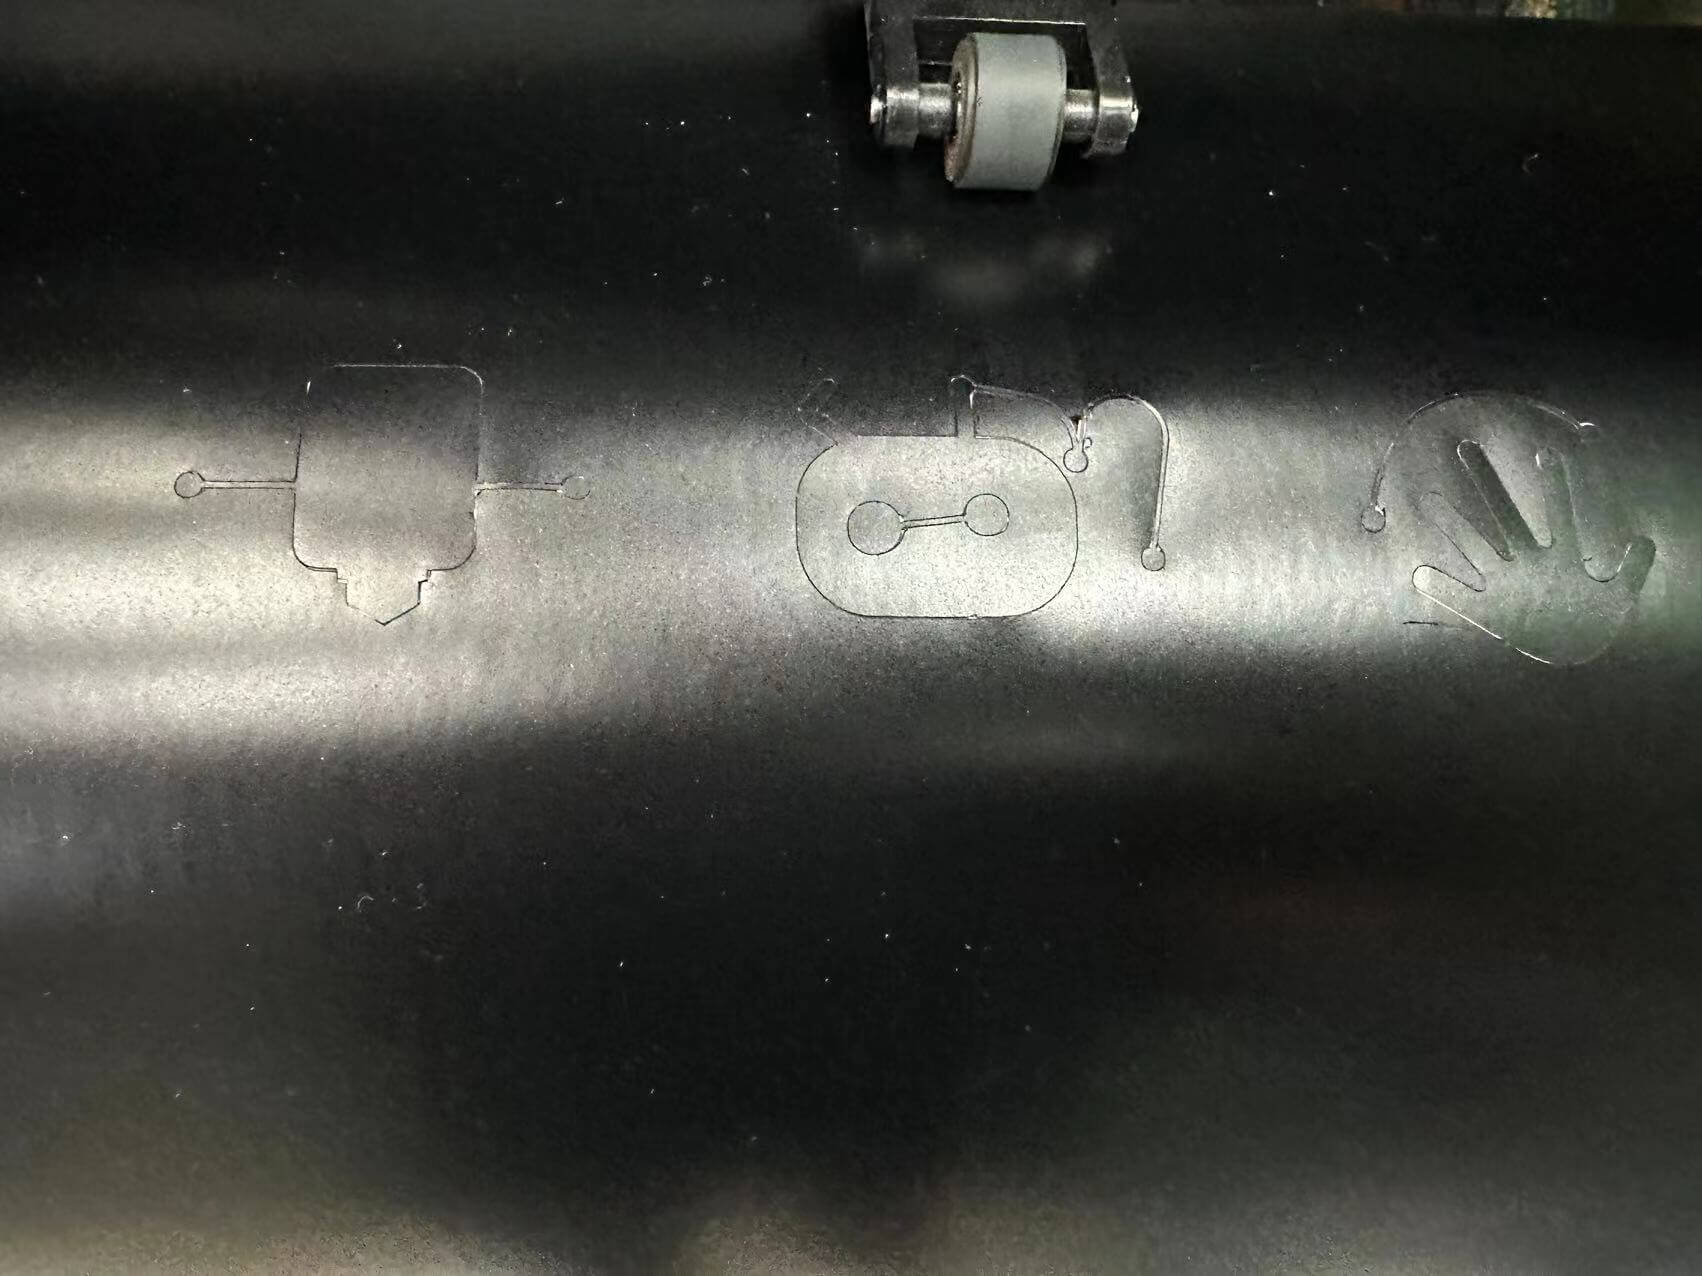
Now it is cutting just fine.

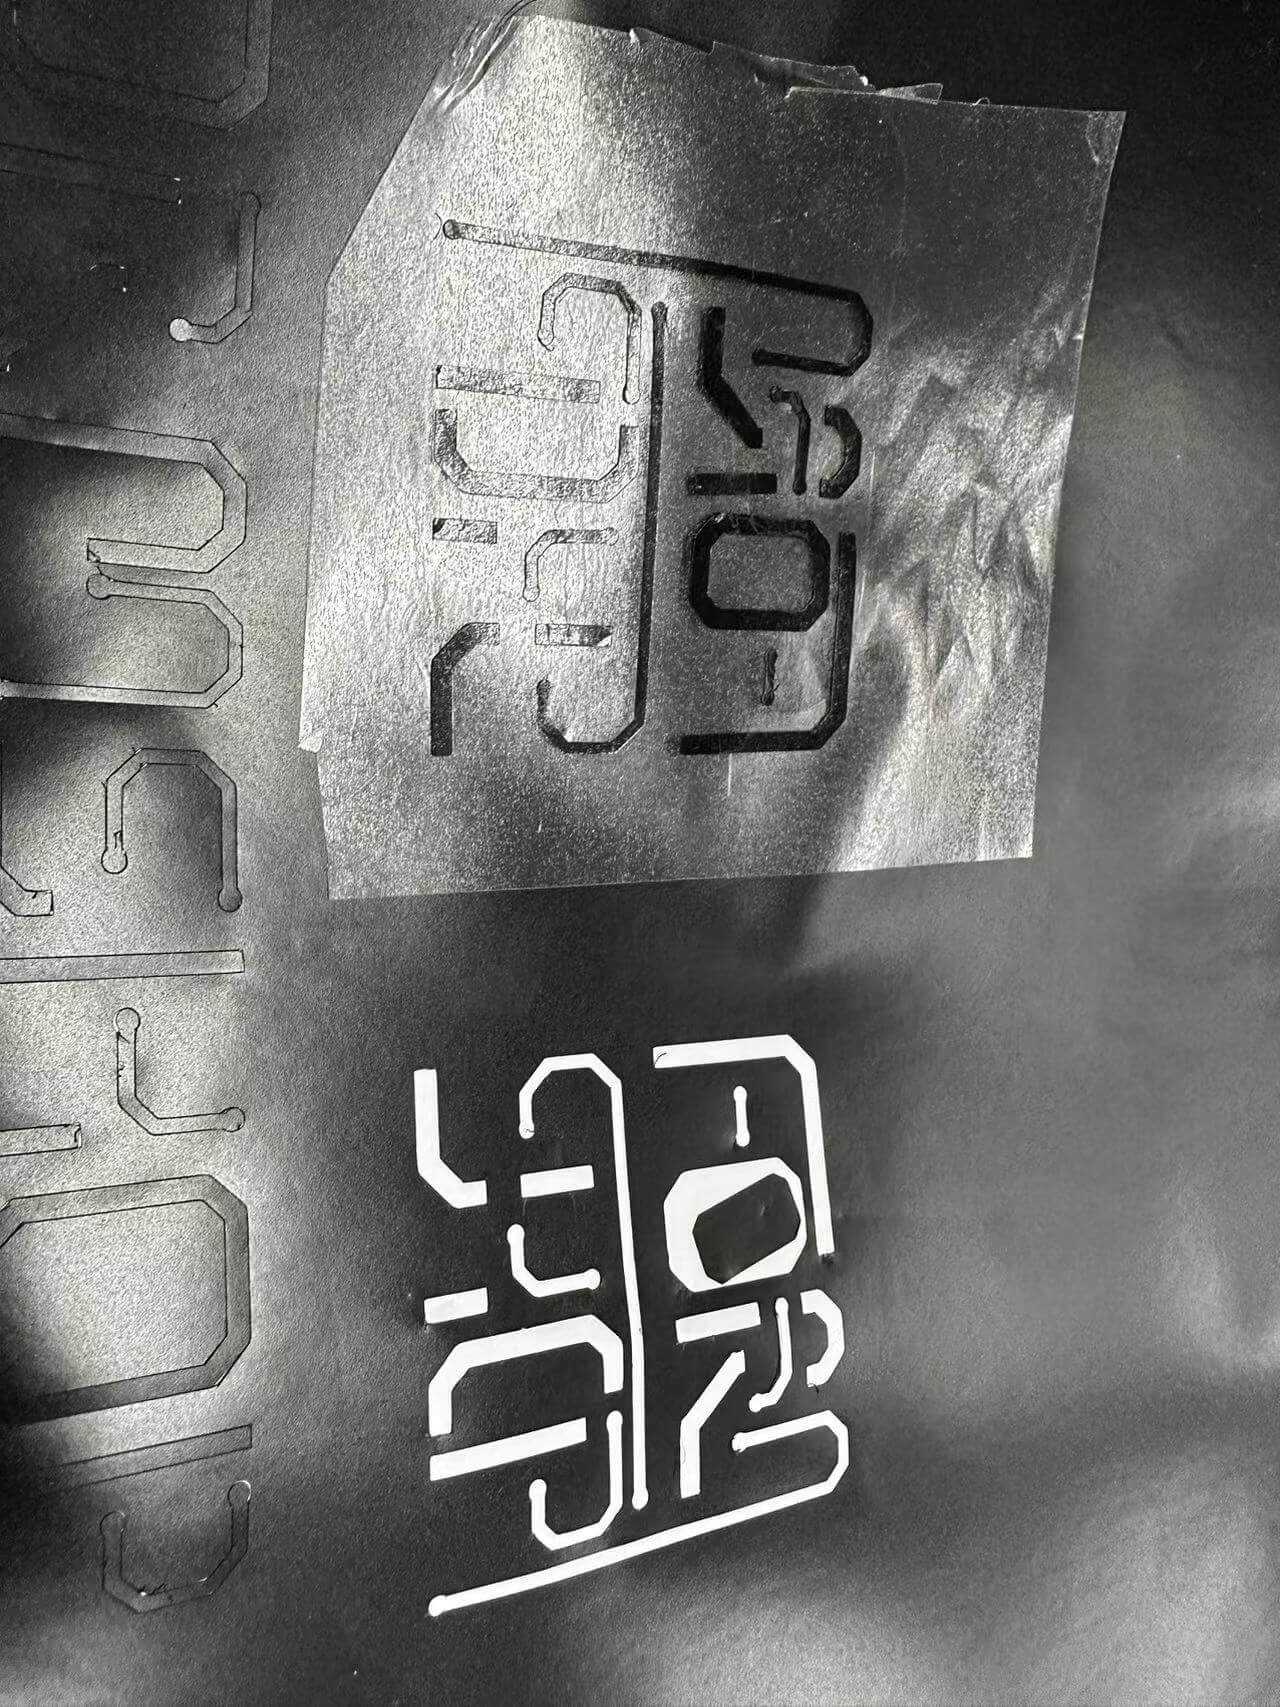
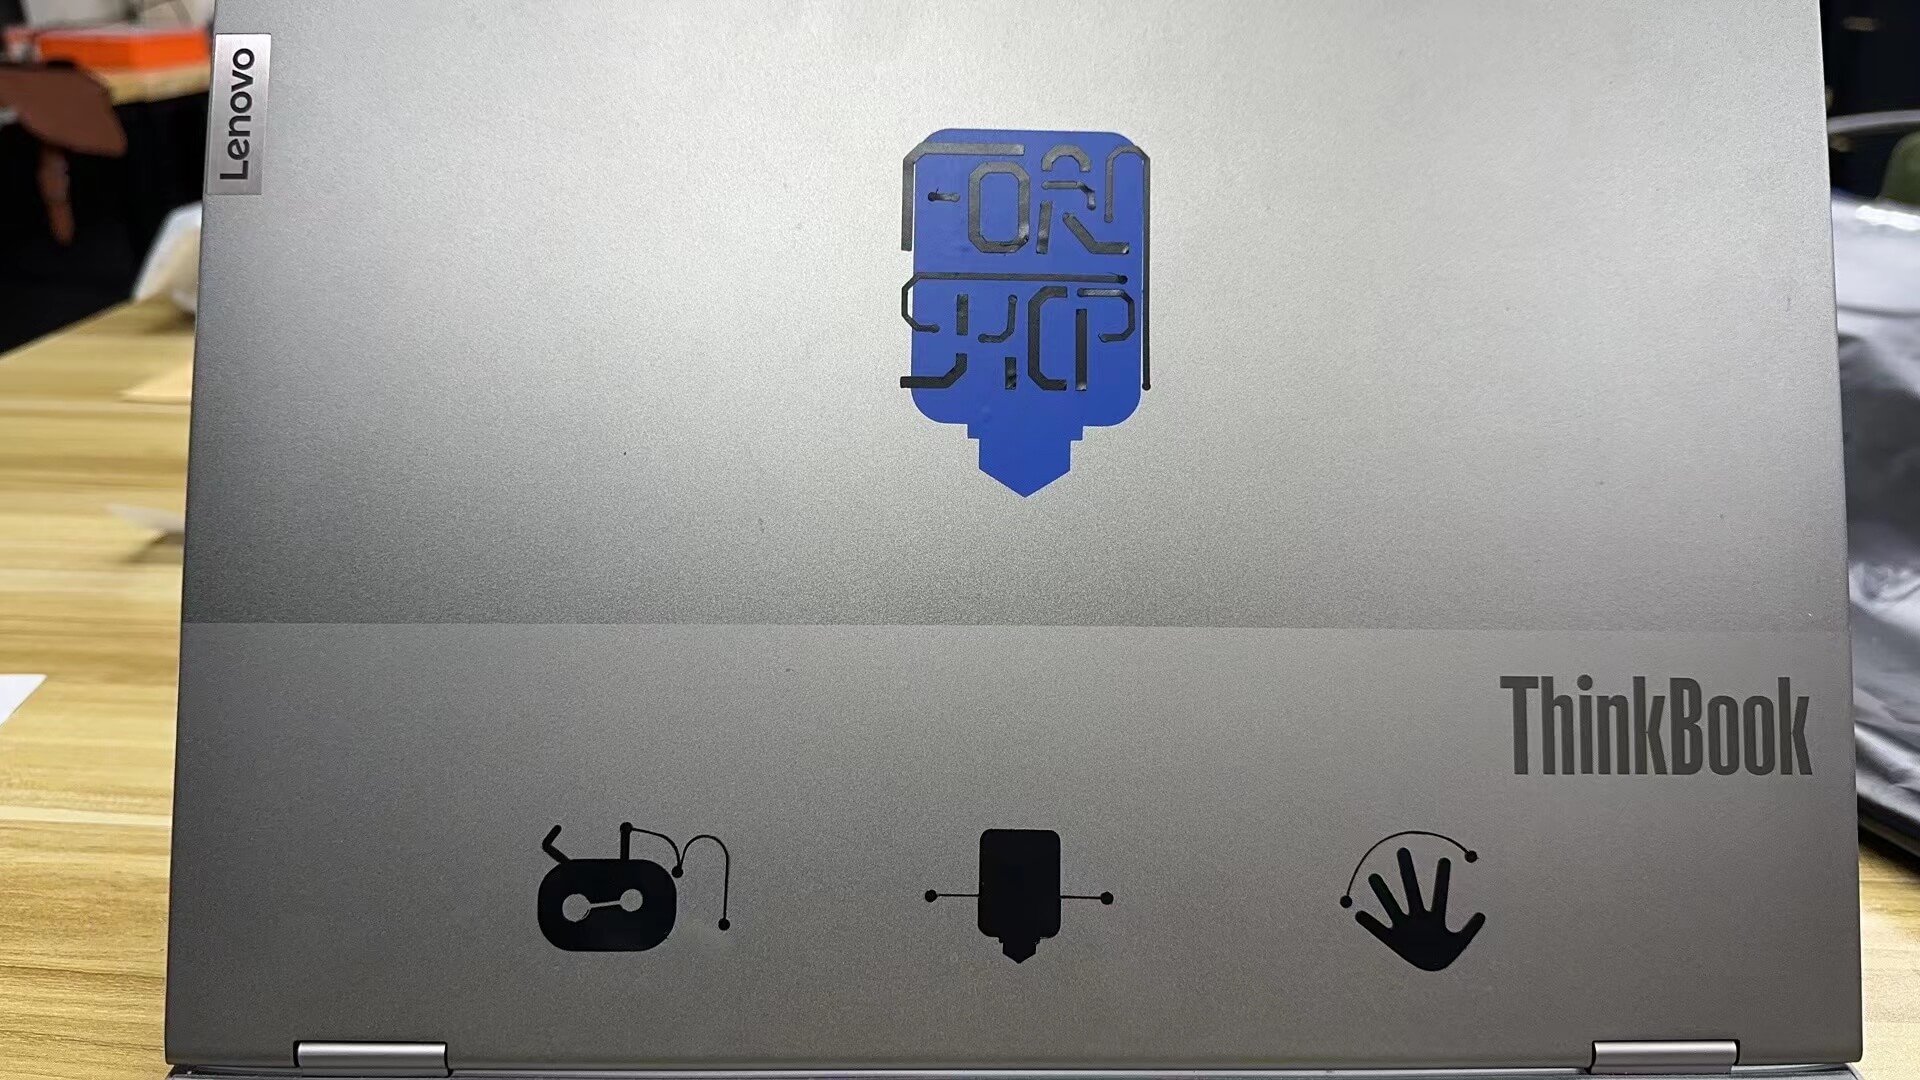
Gentlelly transfer the sticker to my loptop and it look good to me.
Laser cutter individual assignment
After the group assinment we already know the perfect cut setting for 3mm wood board is 30% power and speed of 18mm/s.
Now I use it to design my work.
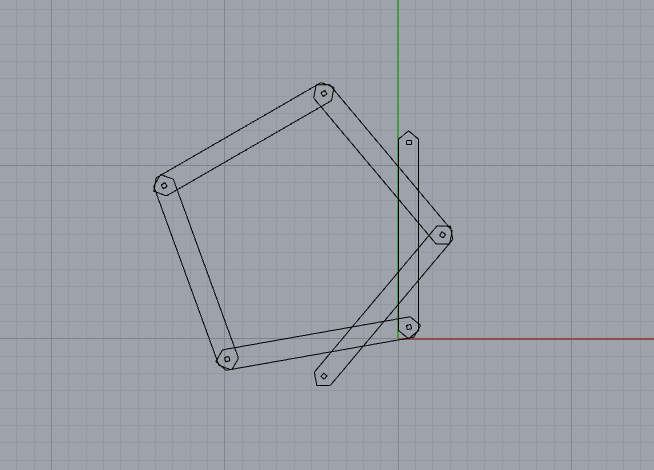
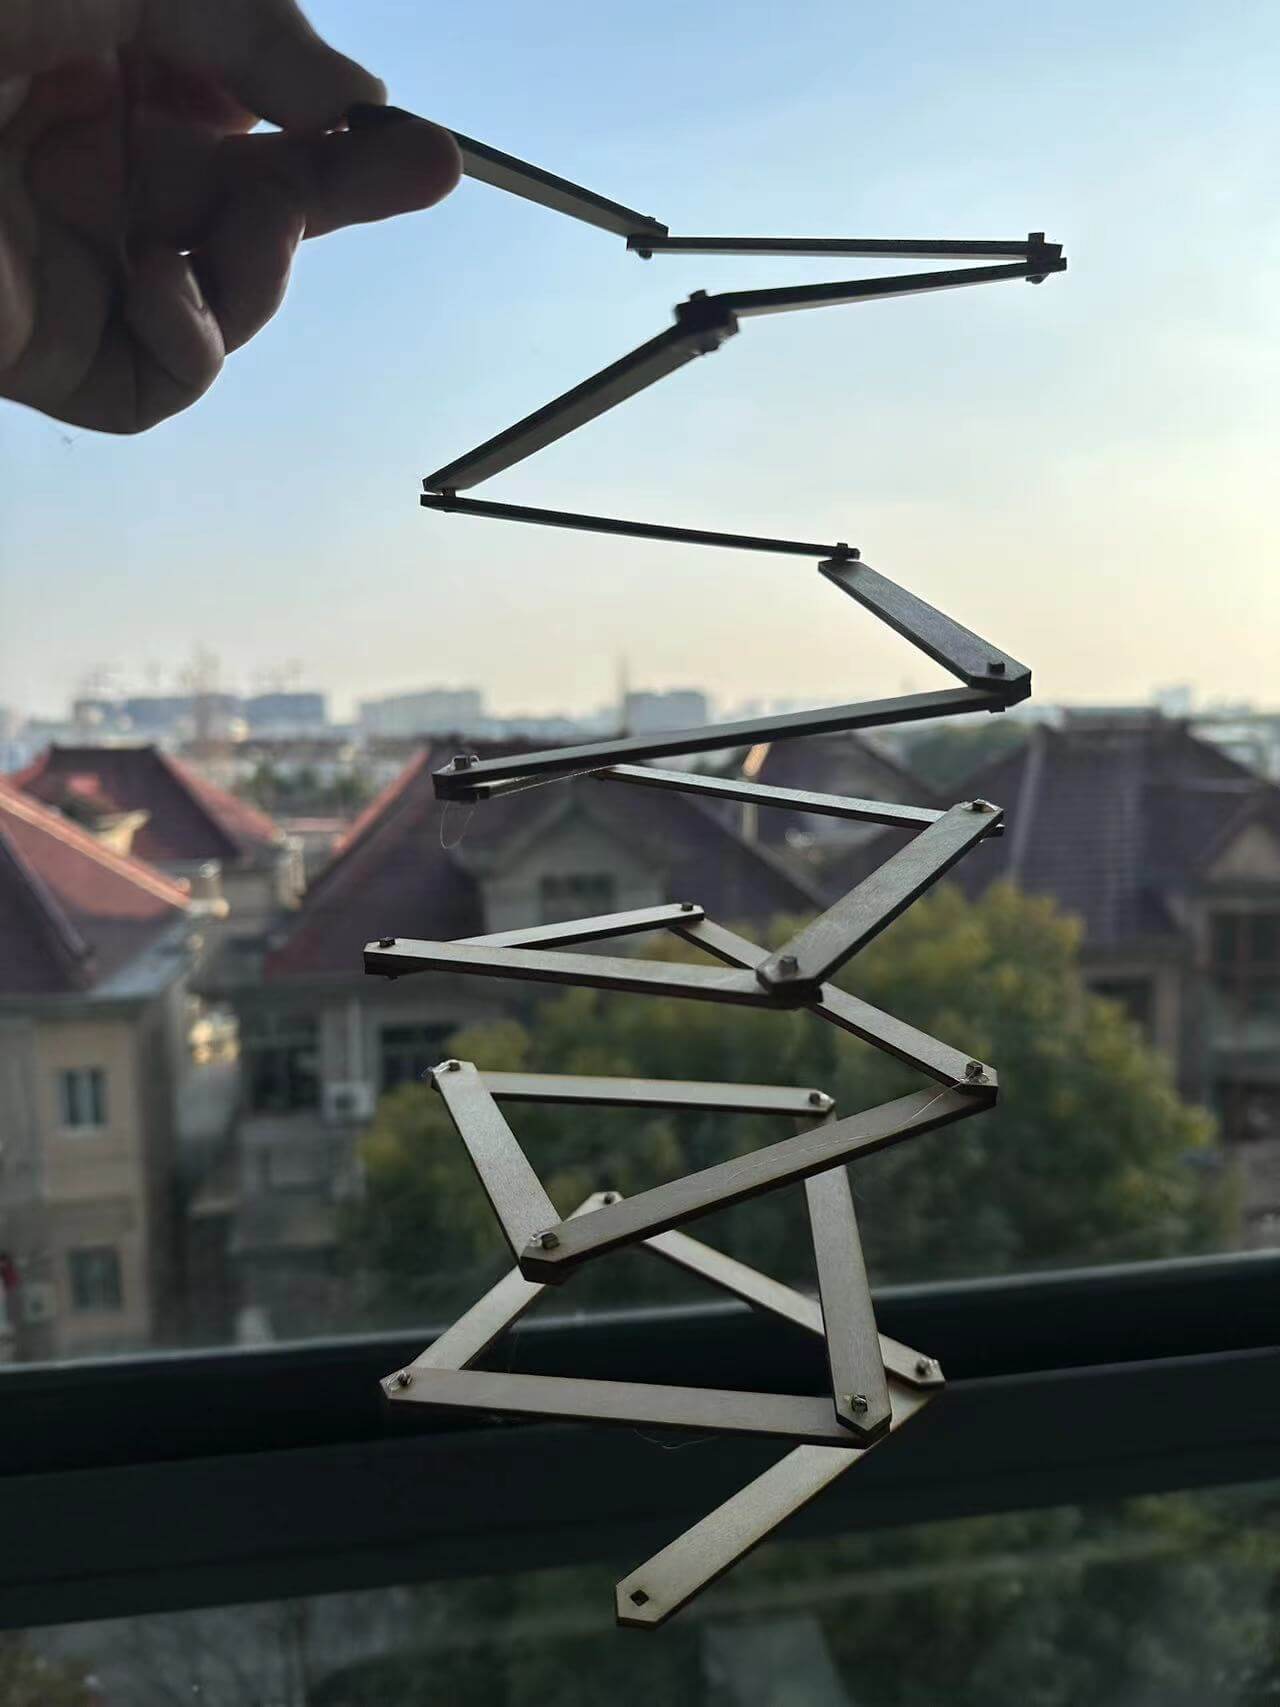
The idea is to my make a sets of sticks connect by another wood stick locker. And the position of The locker is 10 degree
rotation difference on both sides. So we join them togather it will move 80 degrees each turn.
You can also change the way they join.
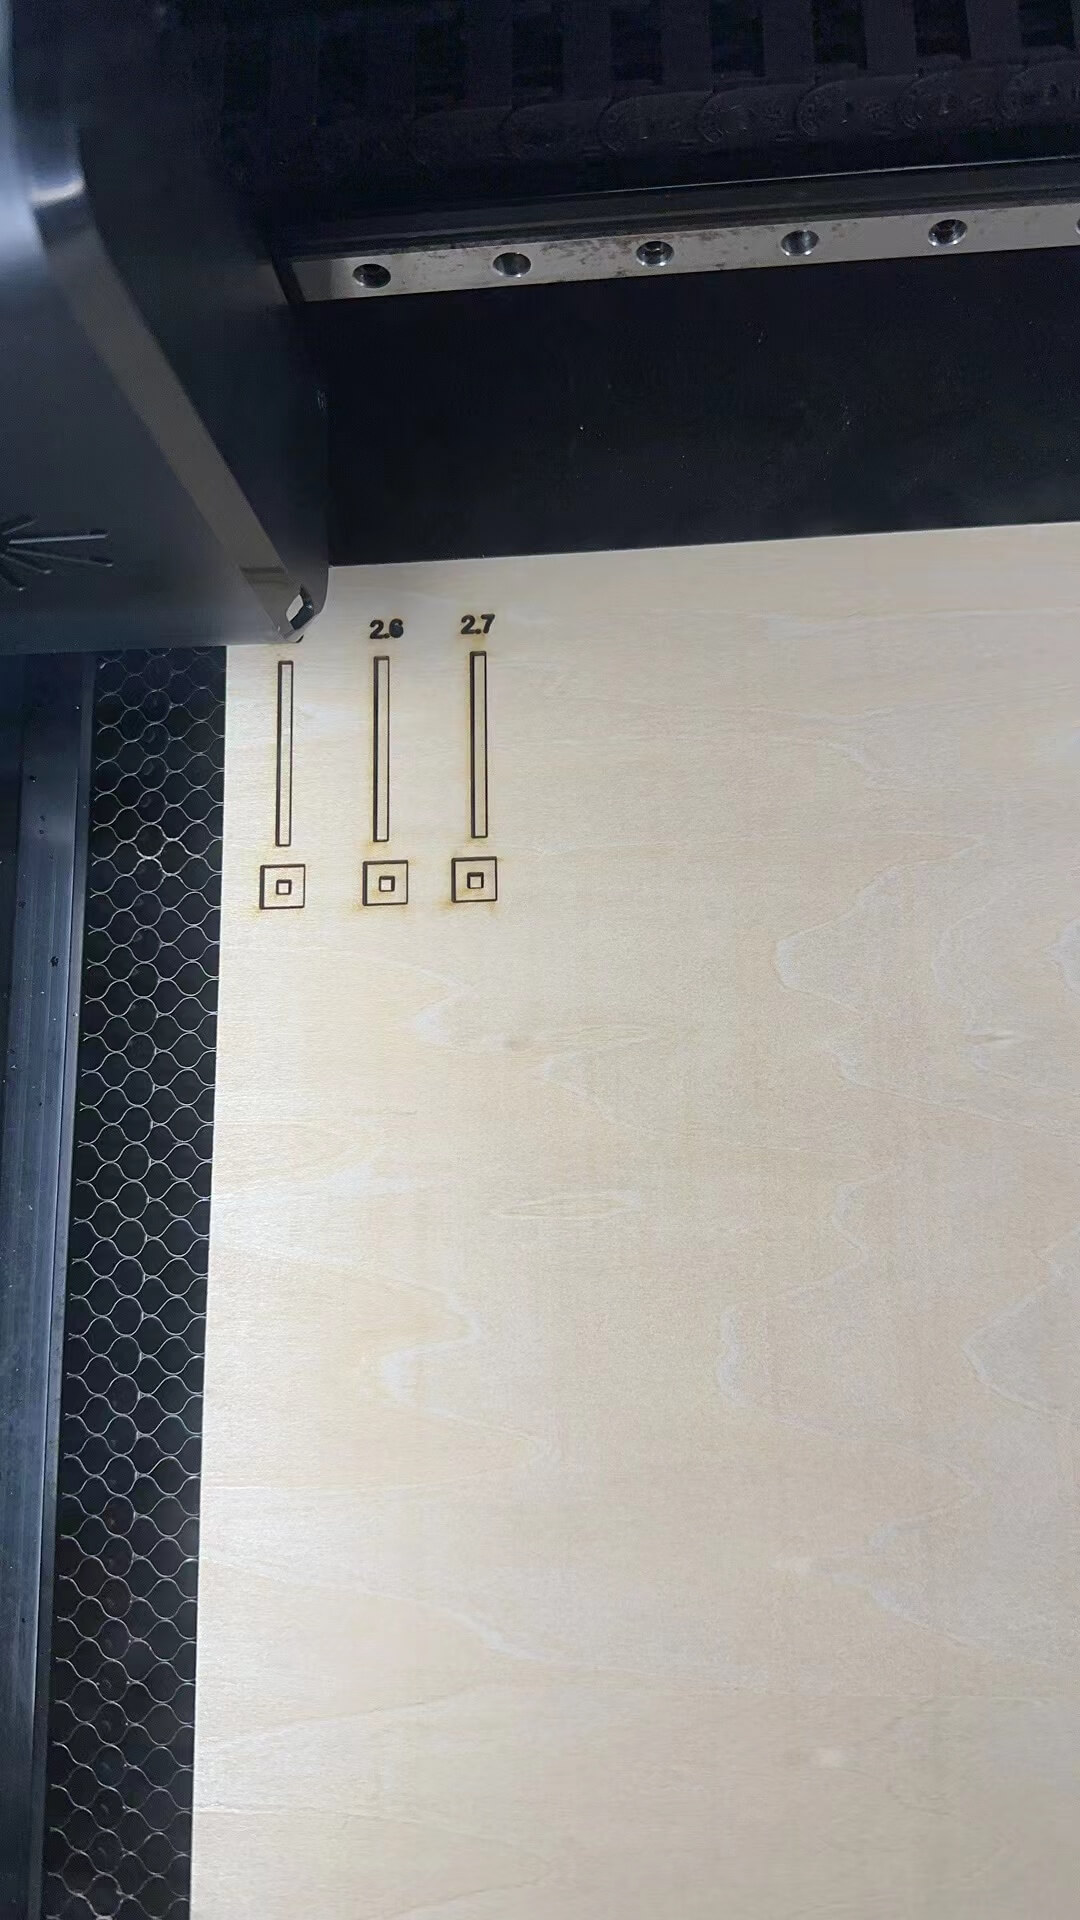
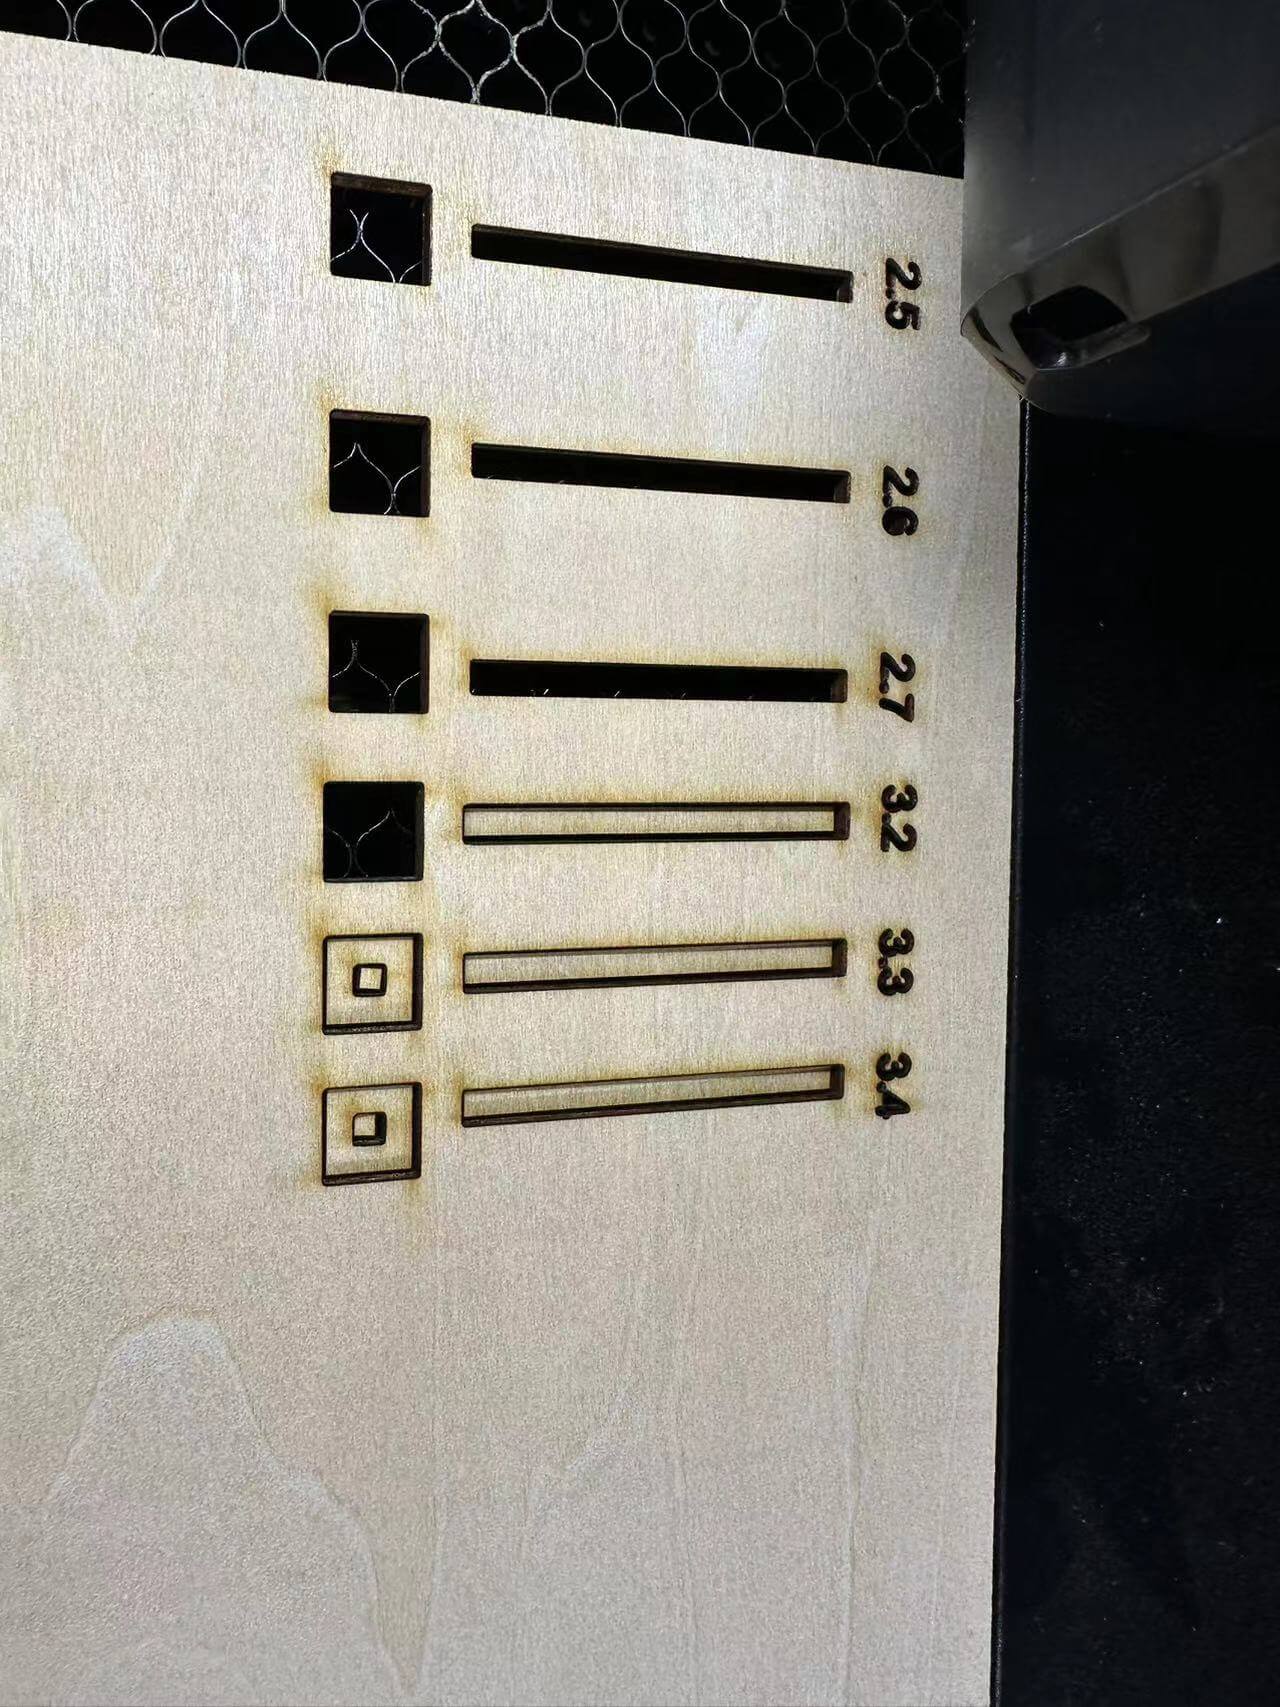
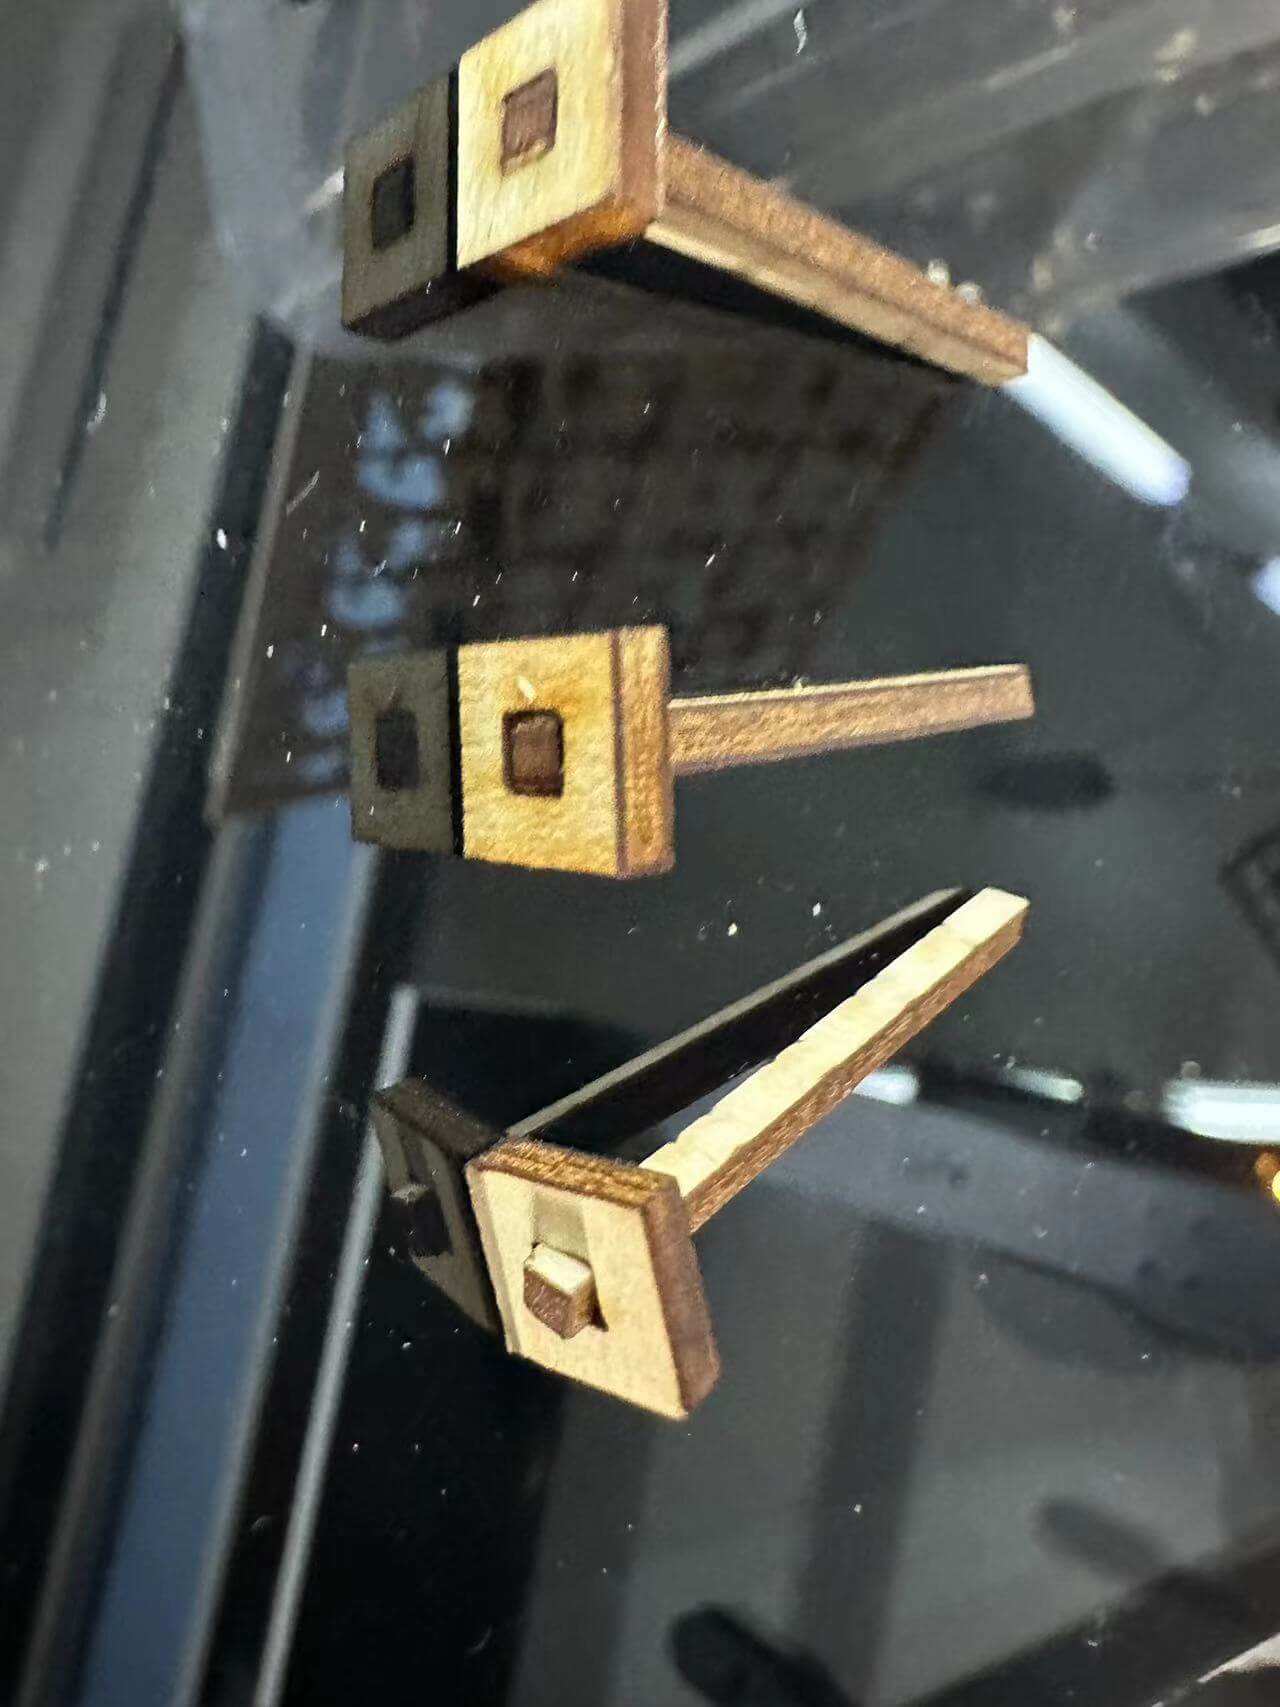
This part I was testing the best joint is strong enought to hold the strcuture.
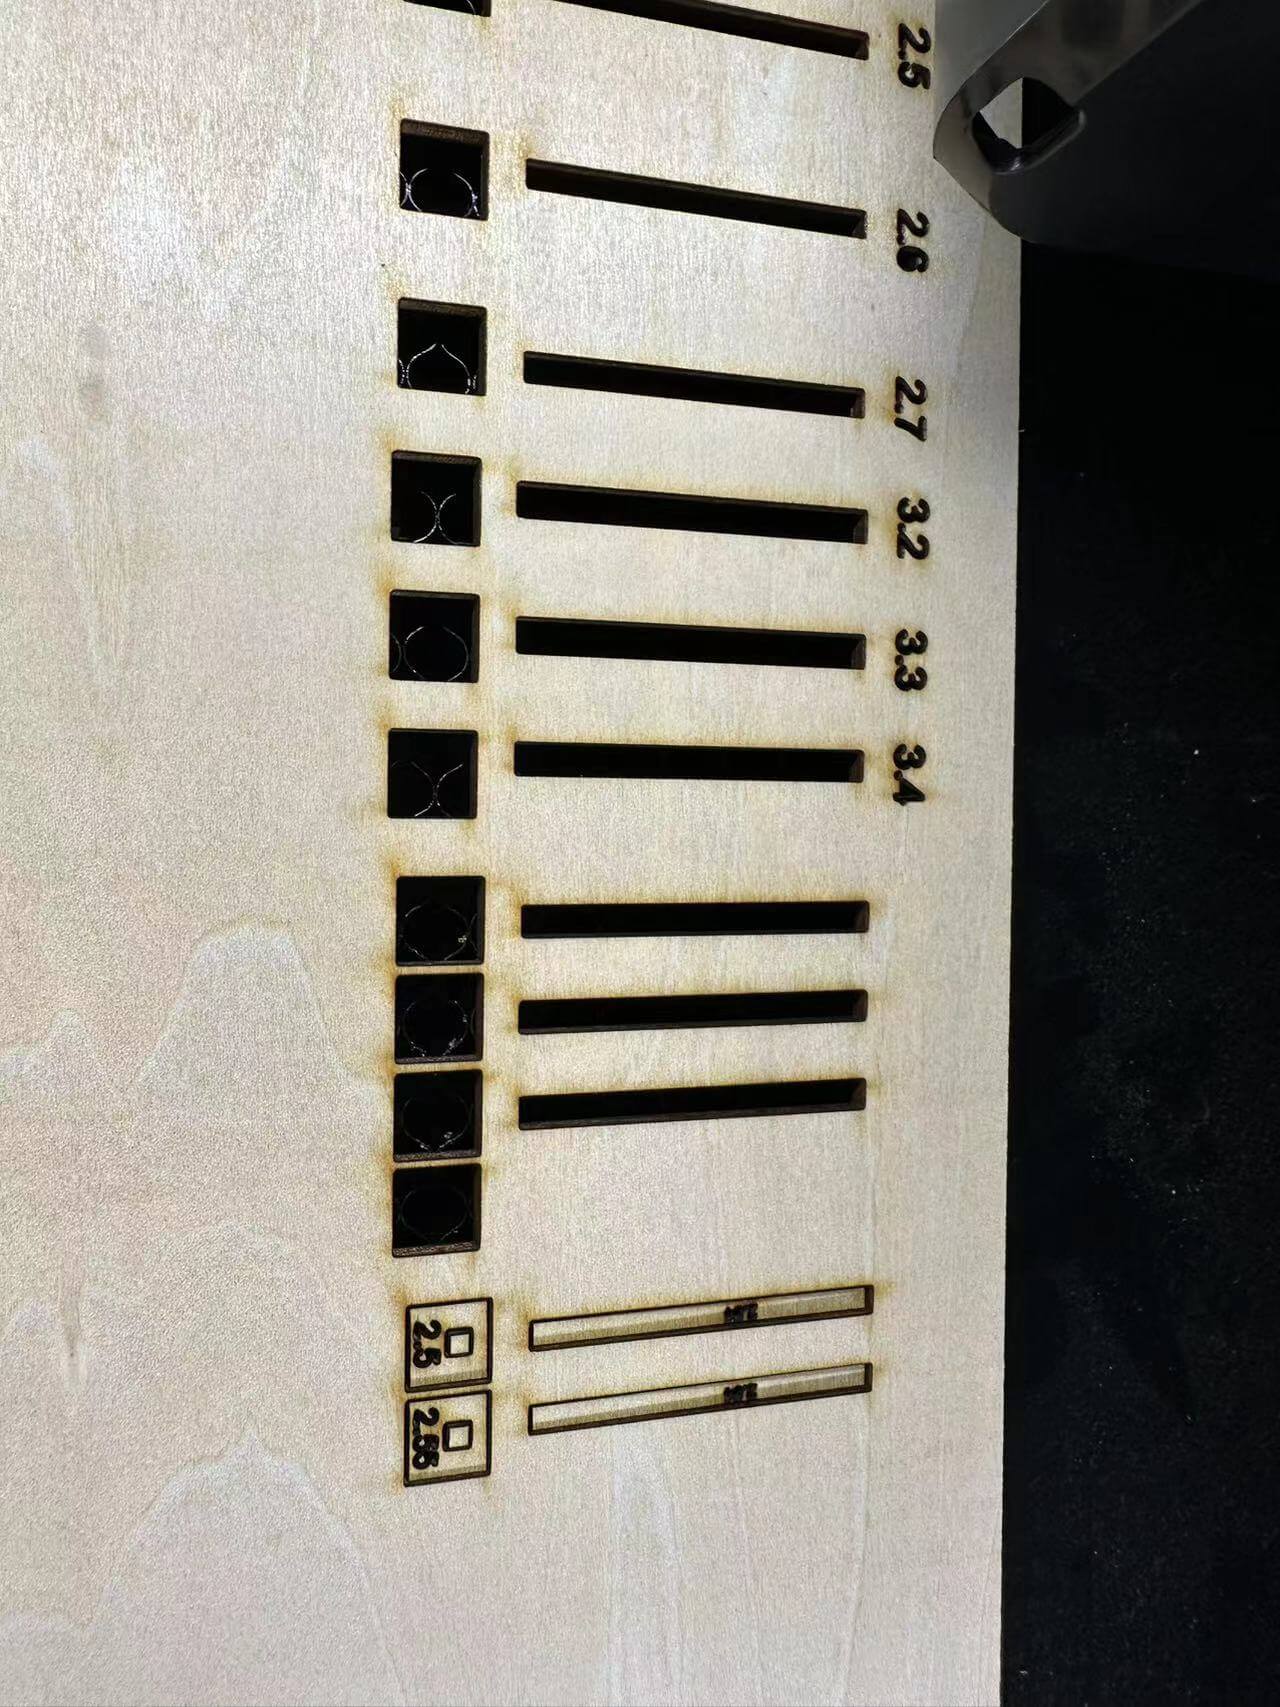
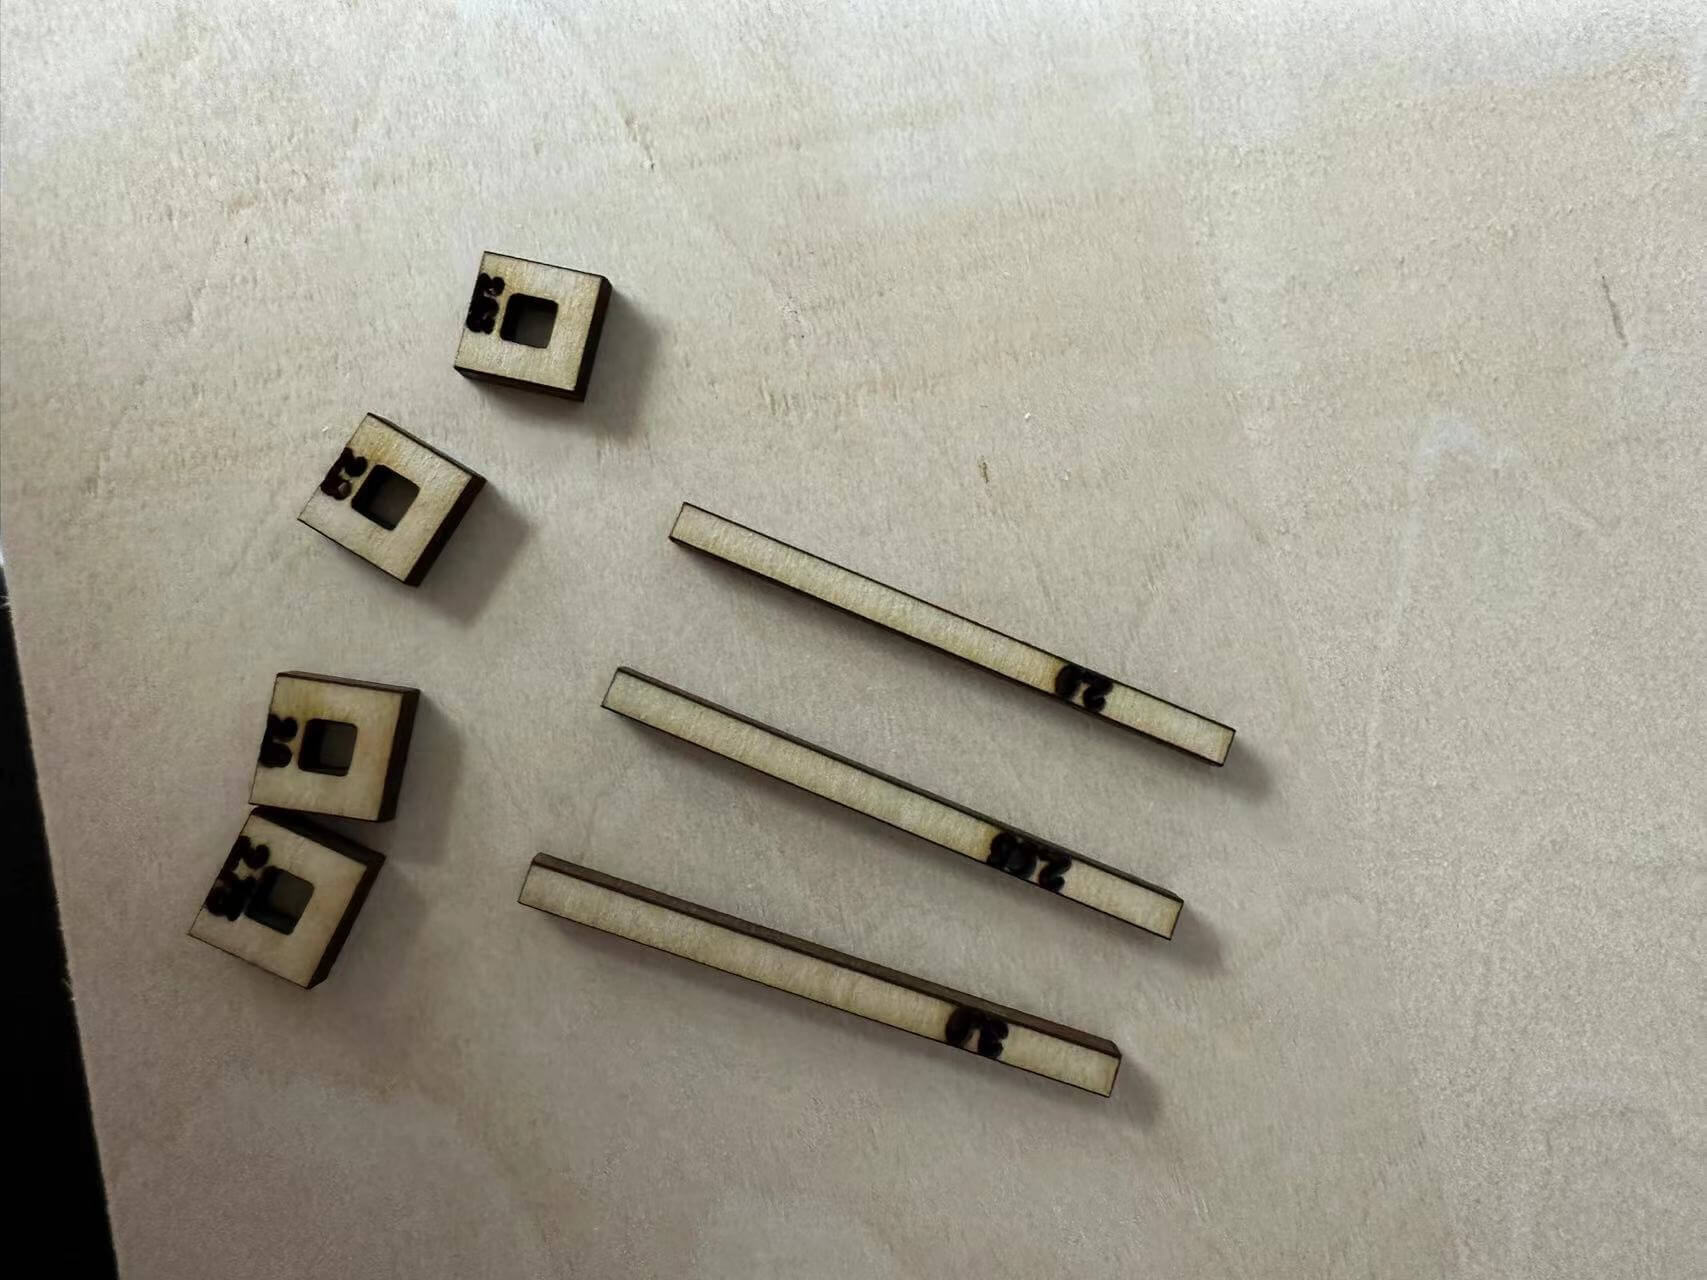
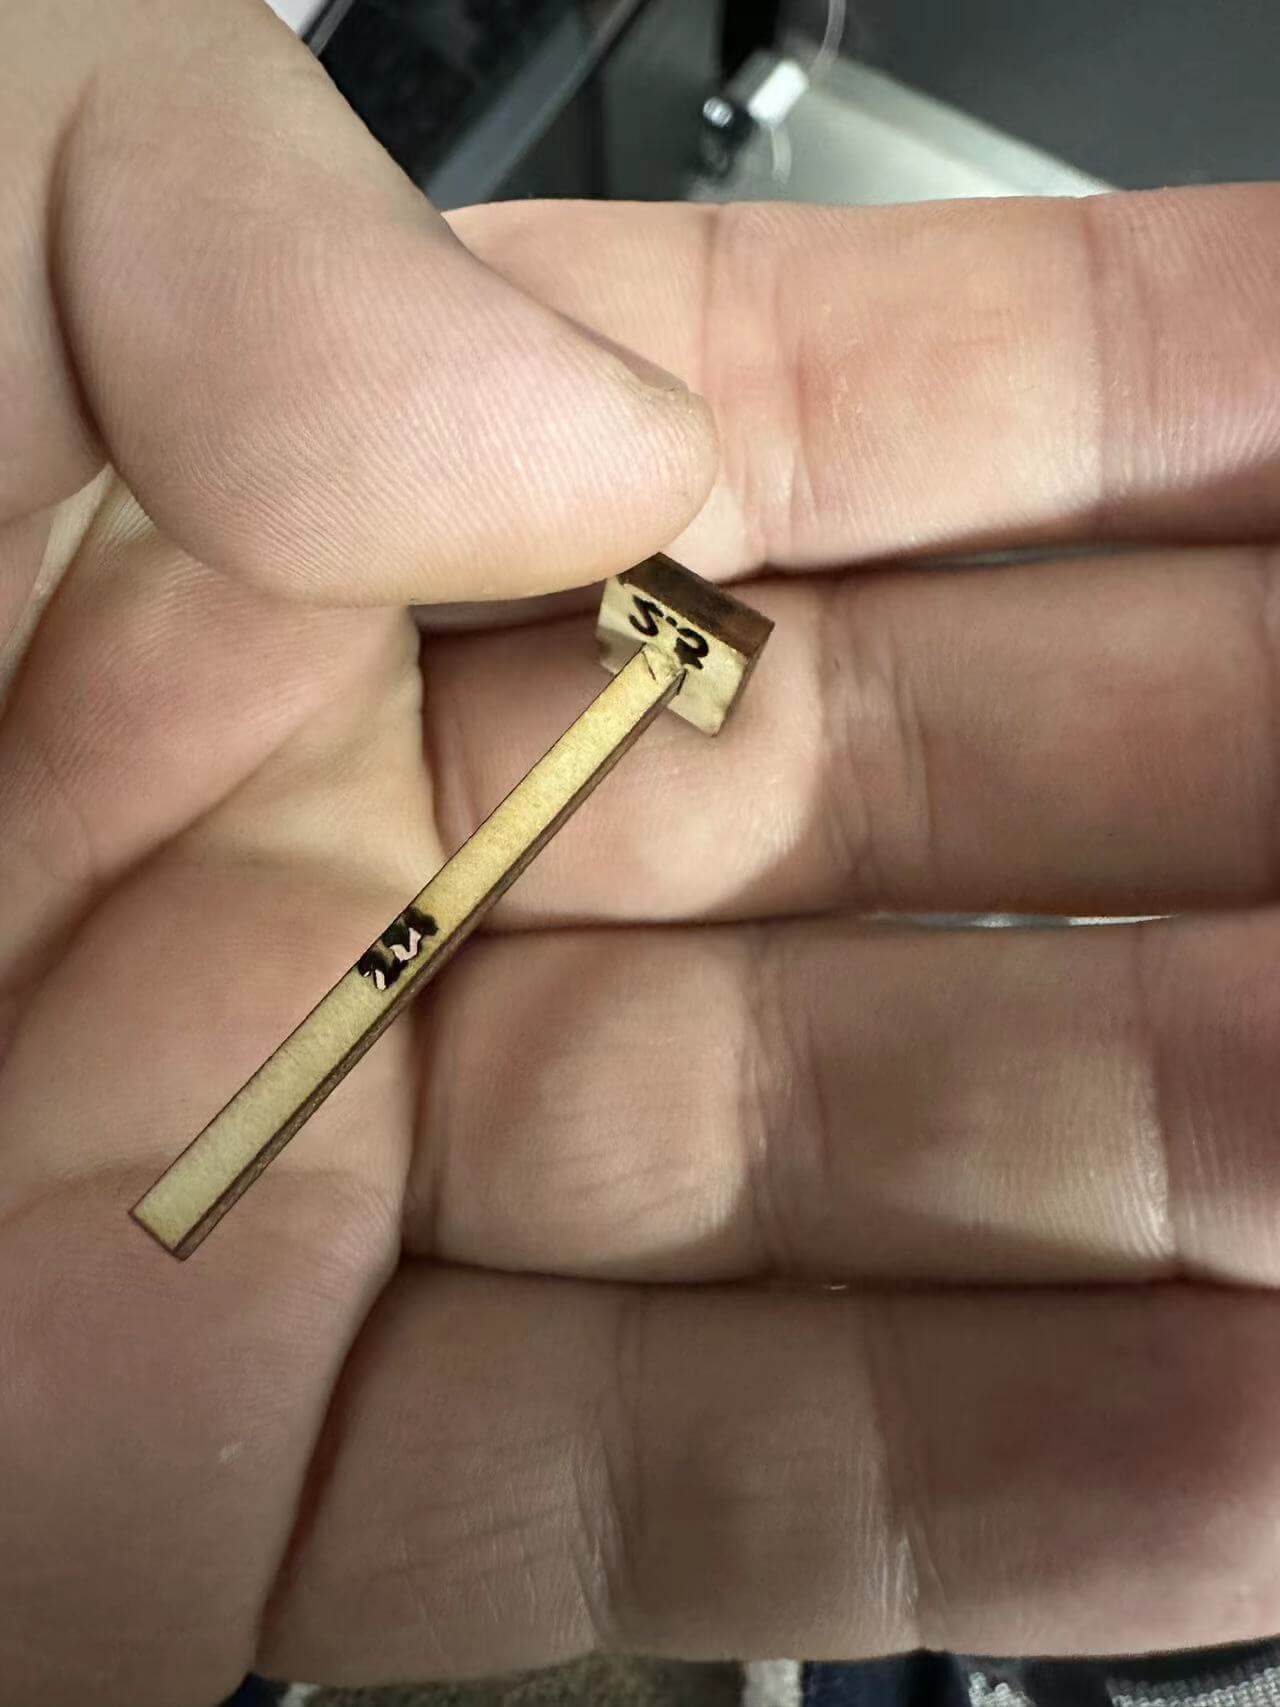
As the width of the stick set as 2.84mm and the locker setted as 2.5mm I have the perfect connection.
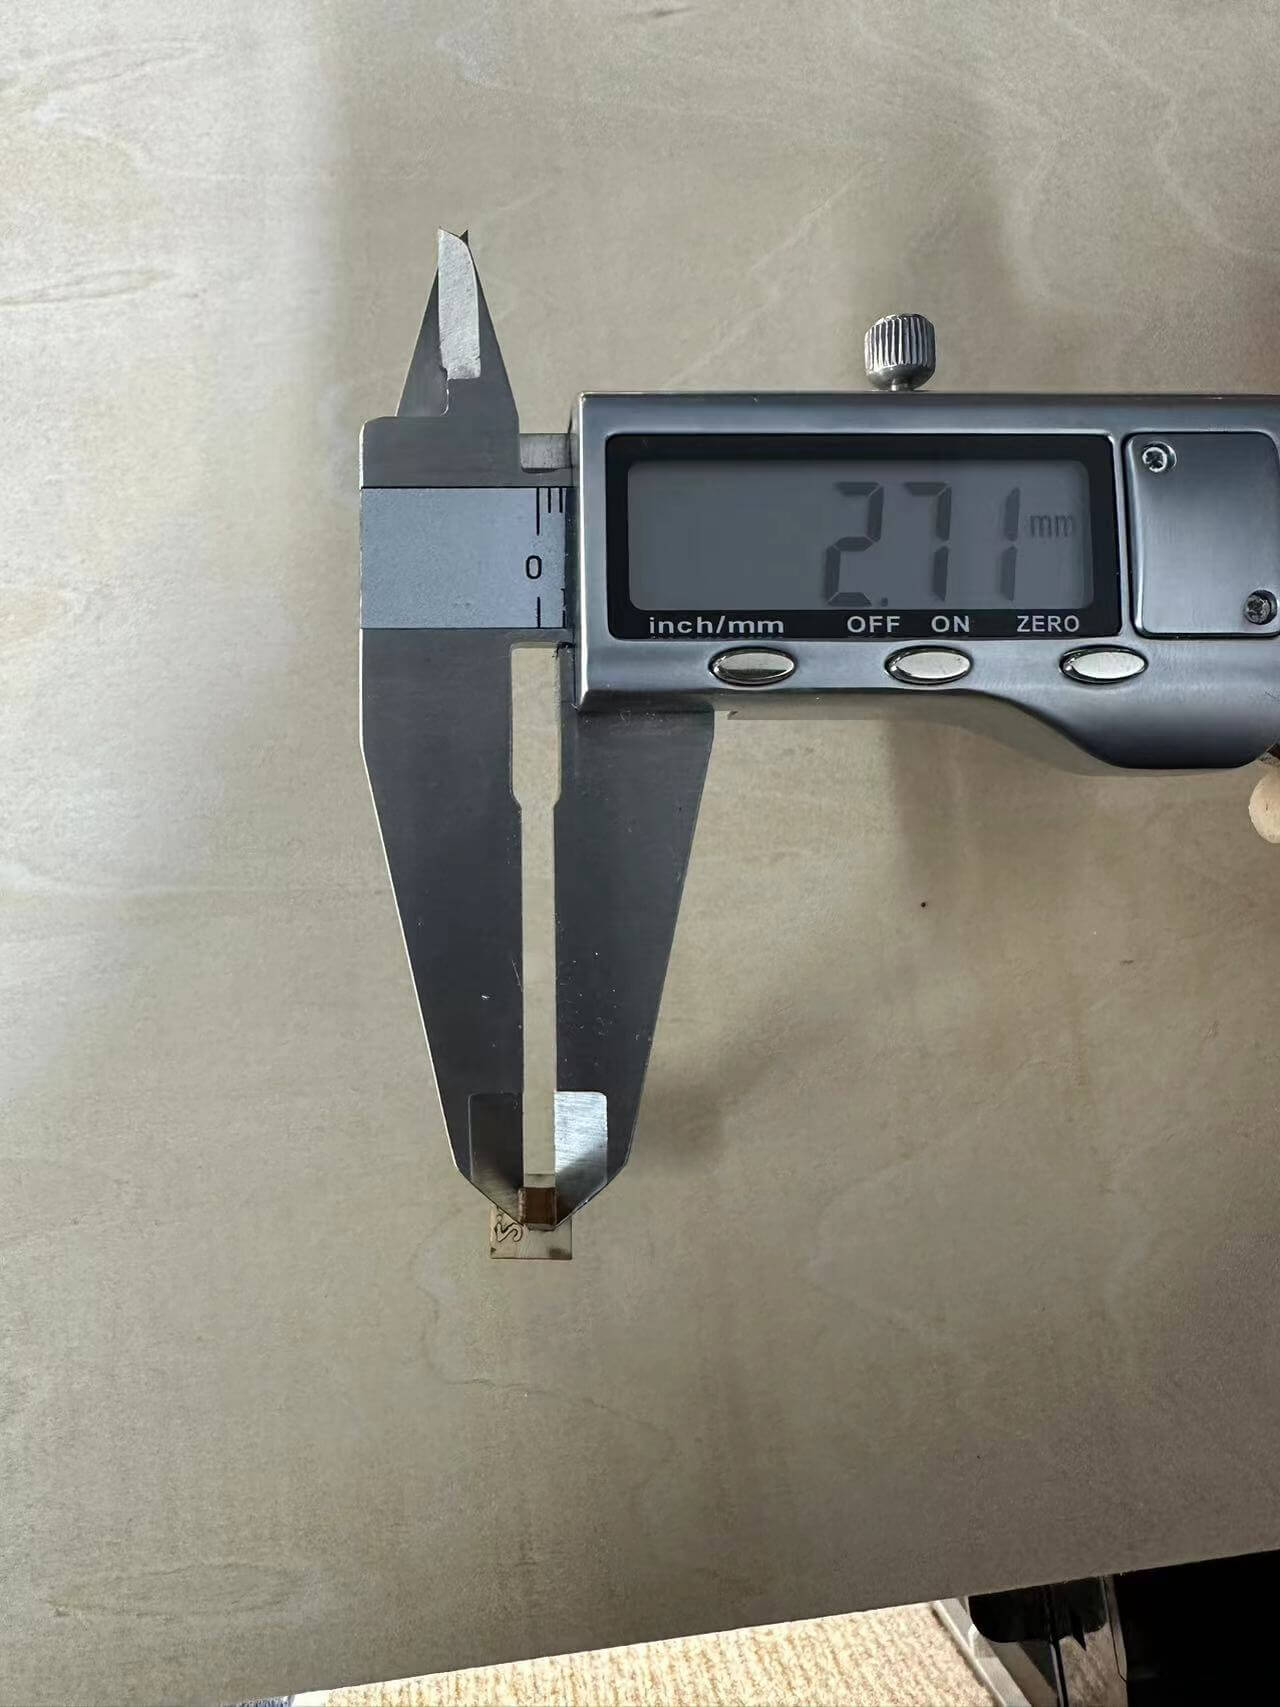
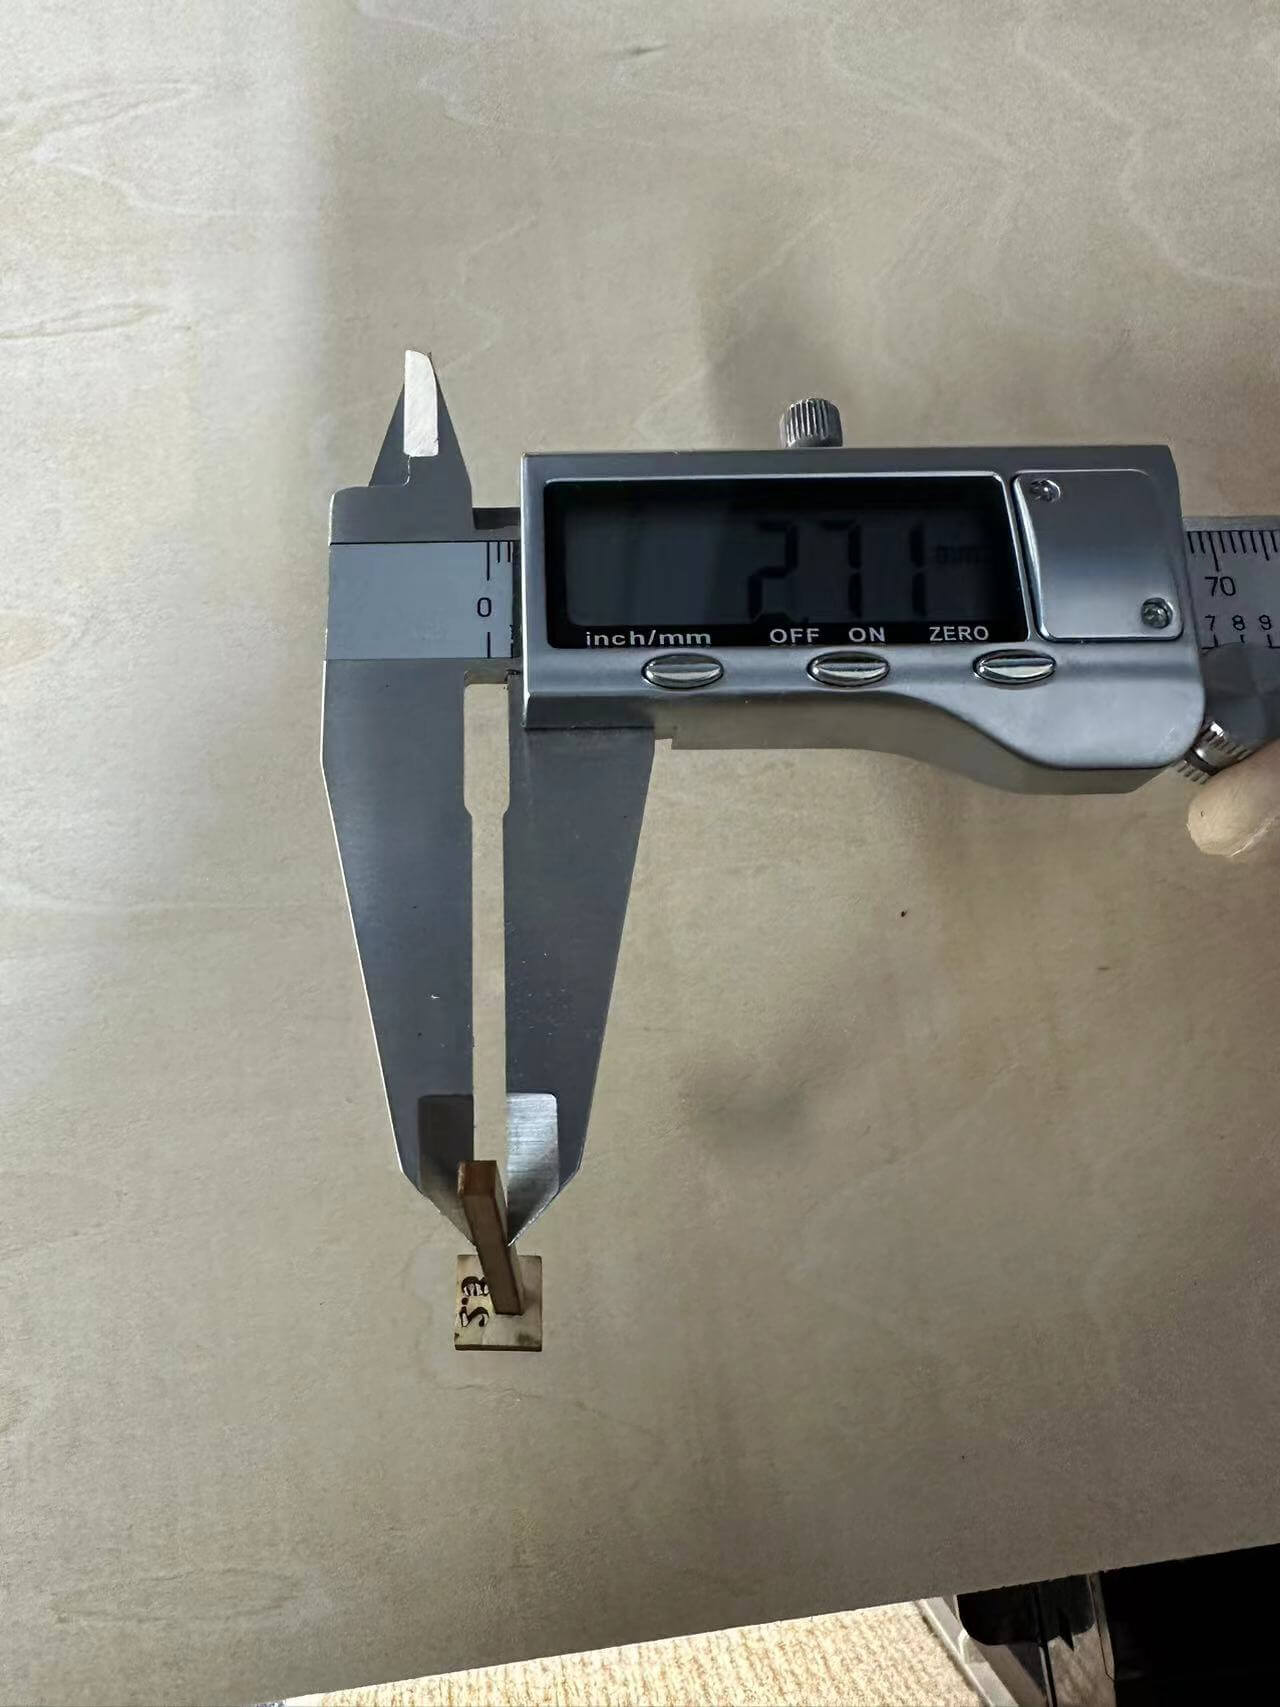
Here with the setting 2.84, after lasering I have a perfect squared stick.The width equals to the material thickness.
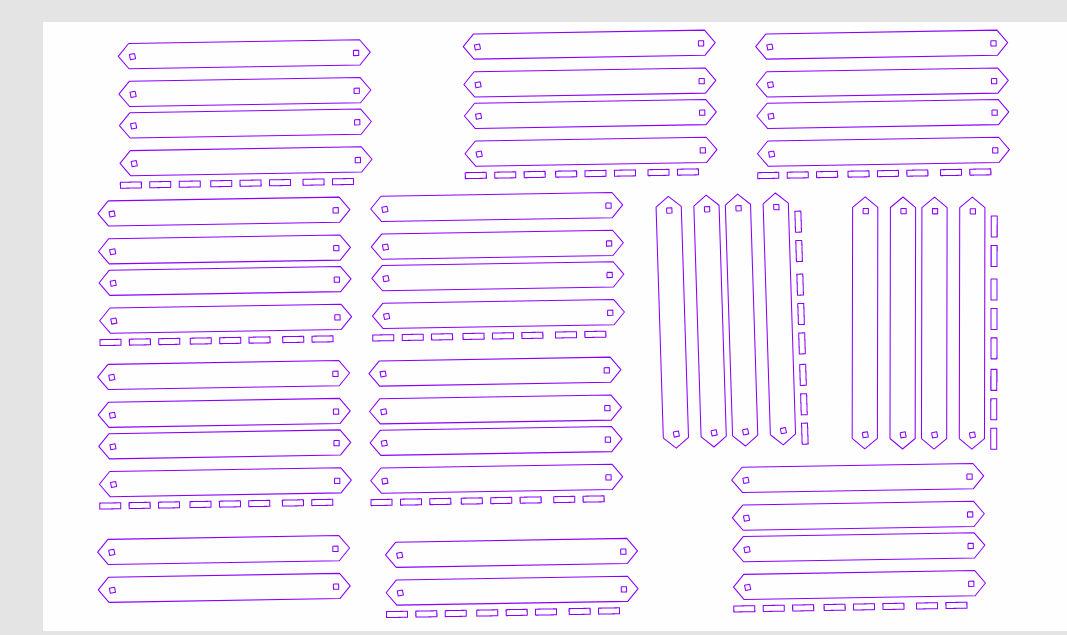
Composing the file I start to cut.
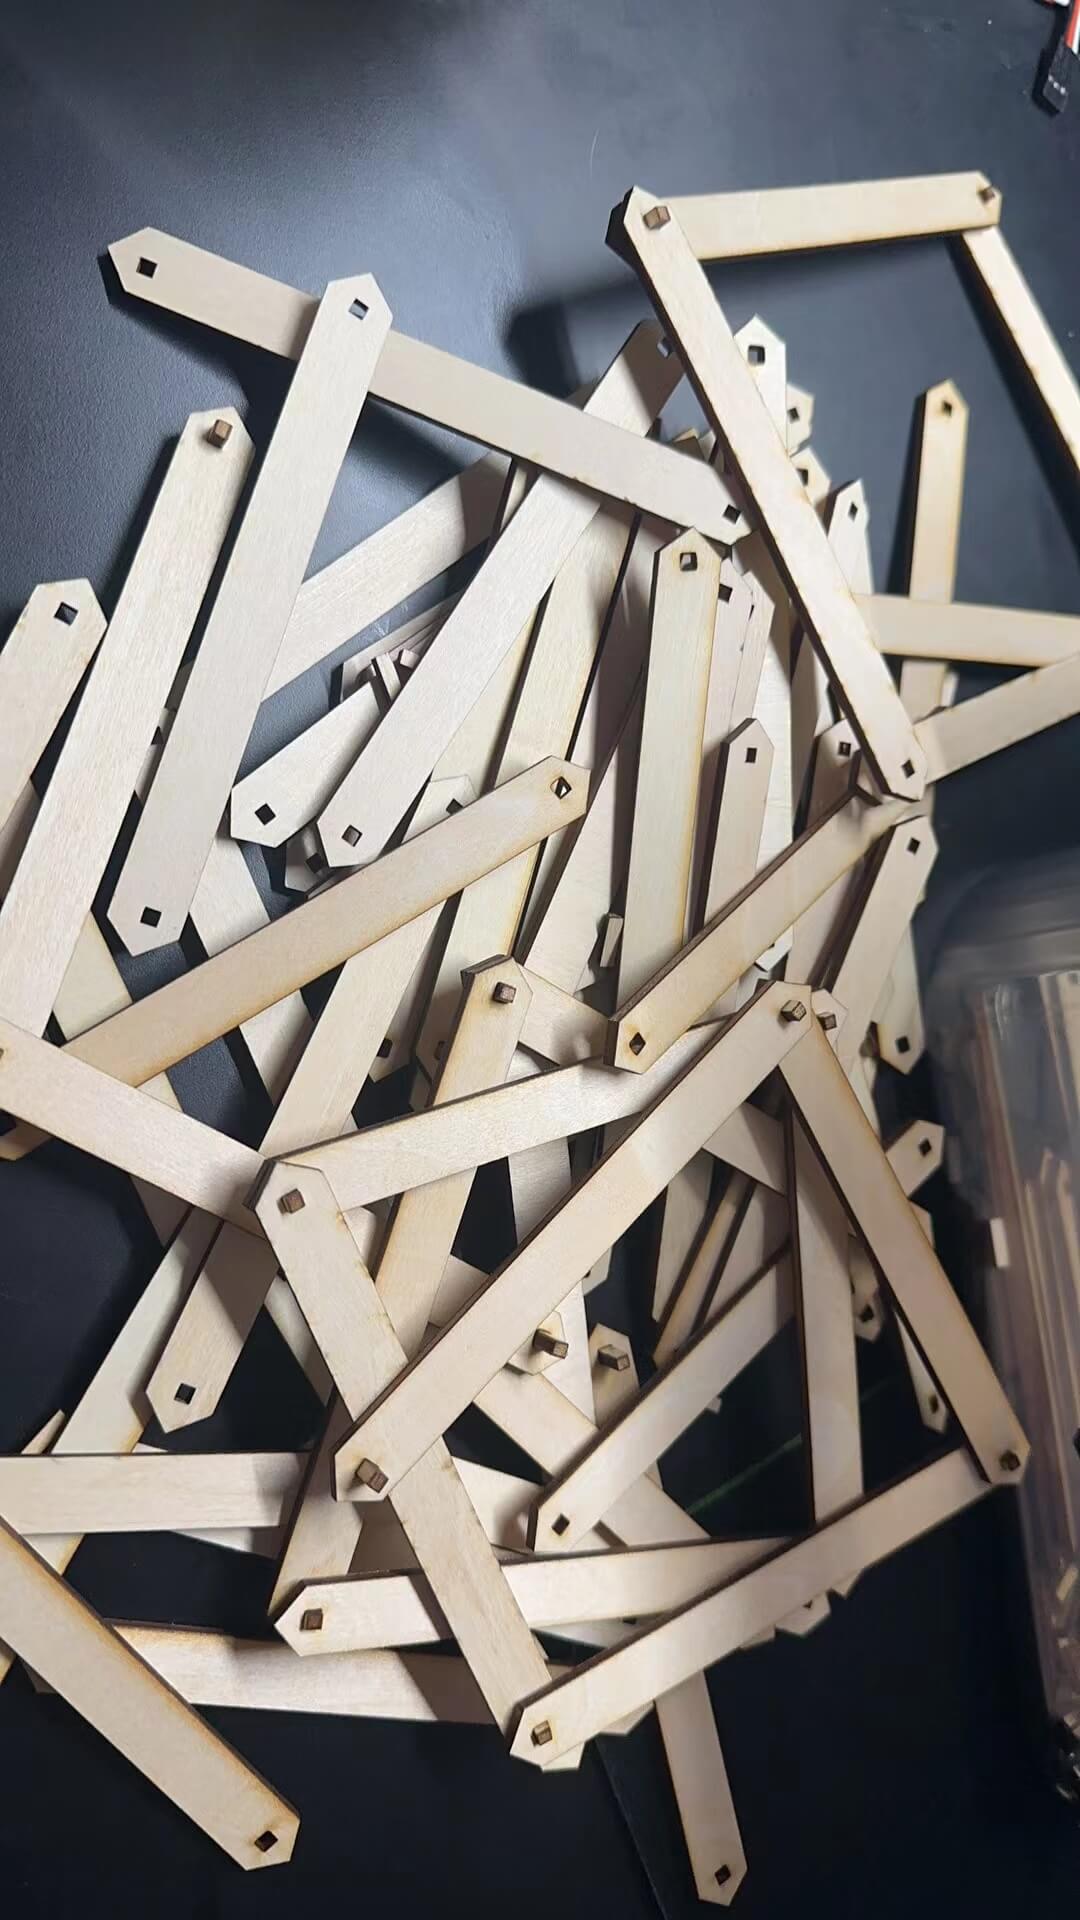
It's all good I start to connect them.
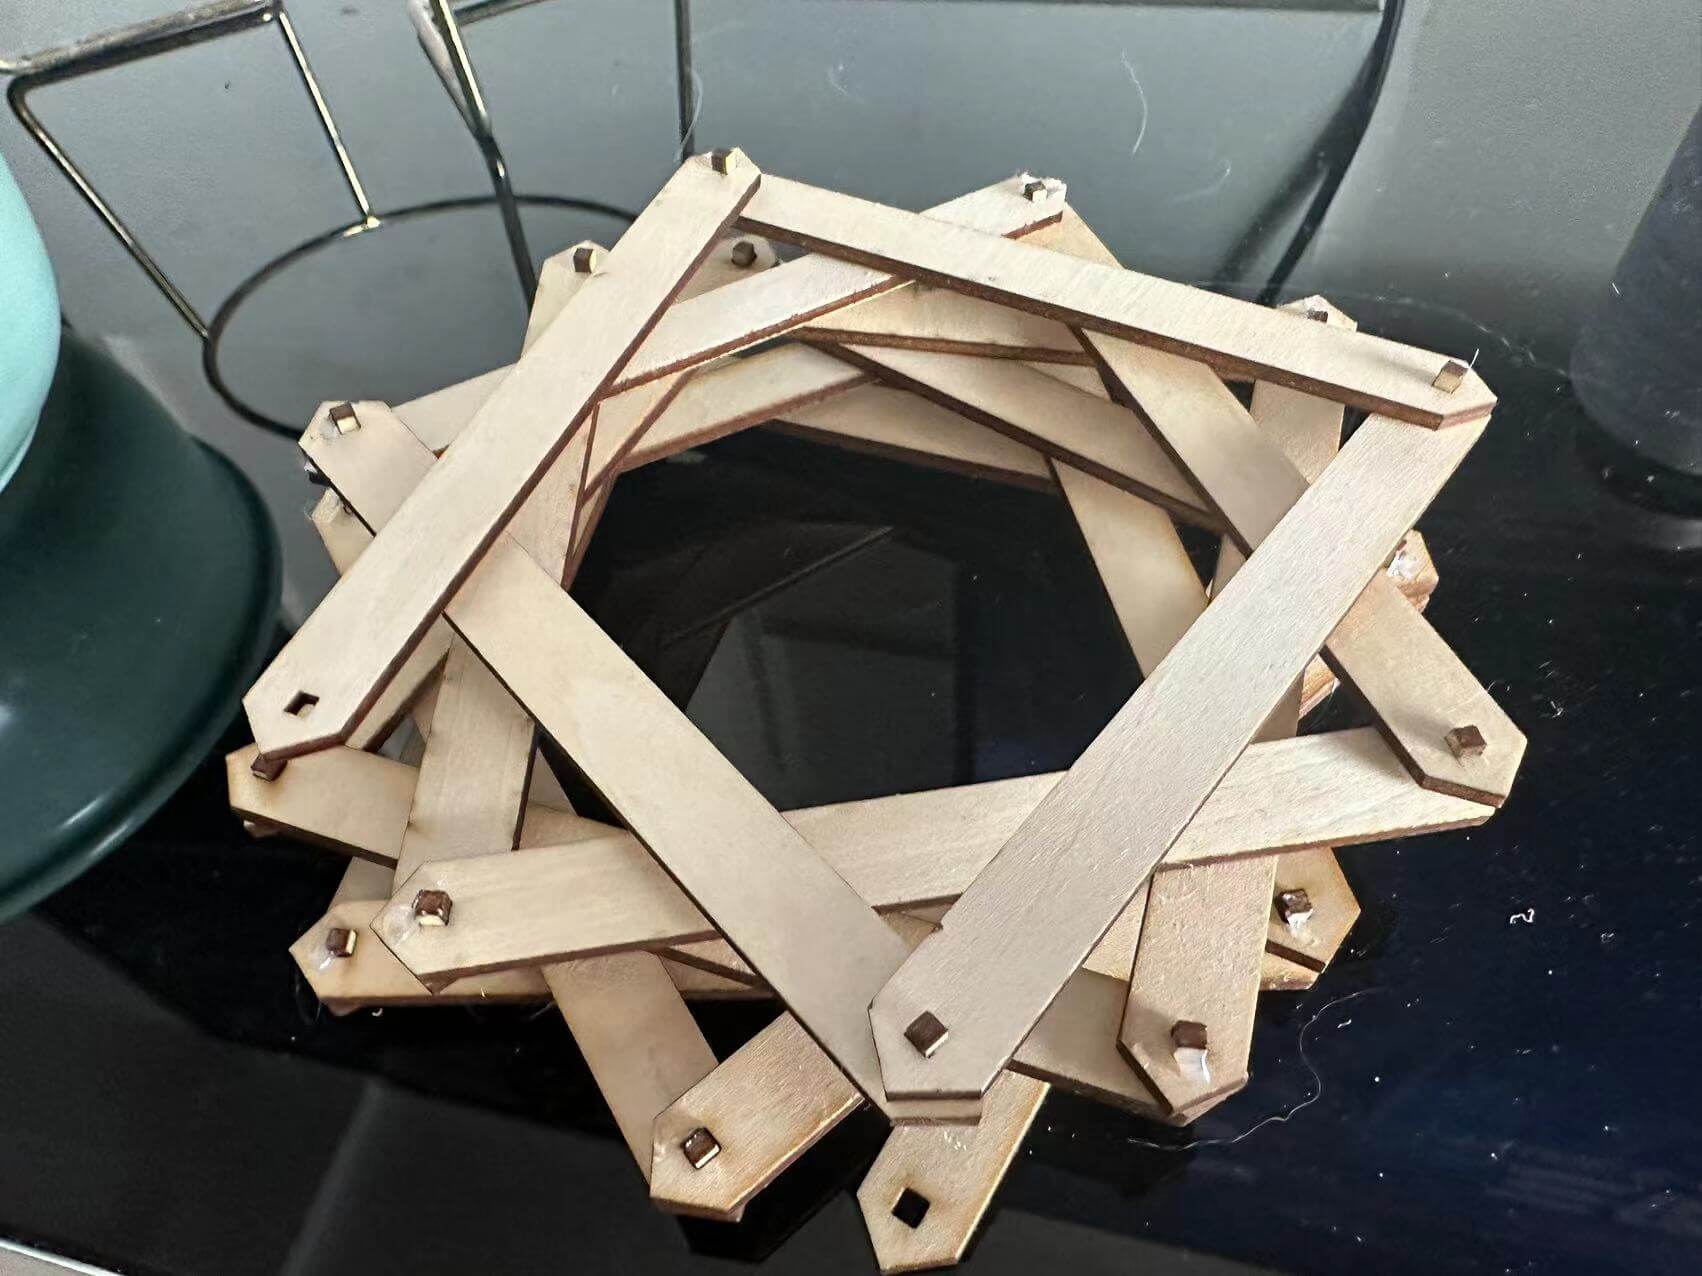
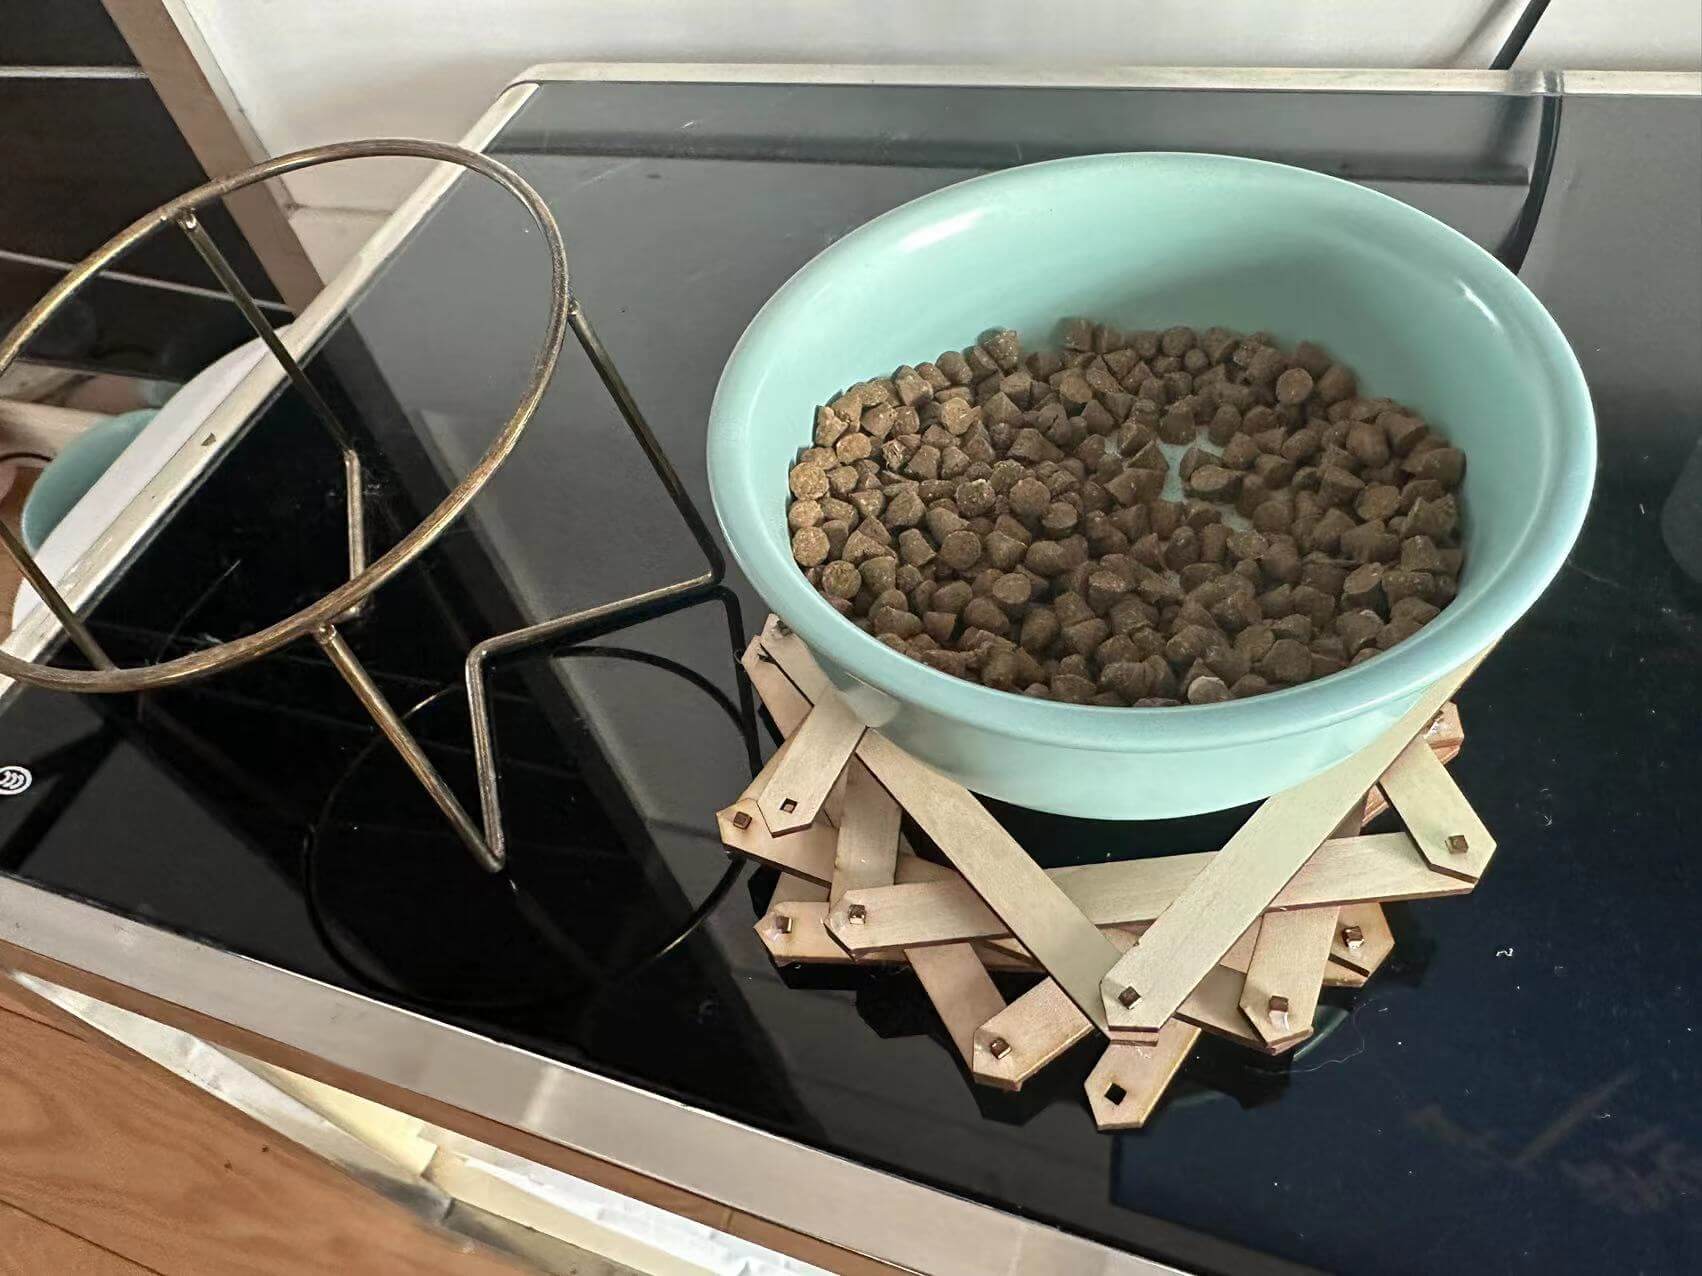
It's used for my cat's bowl now.
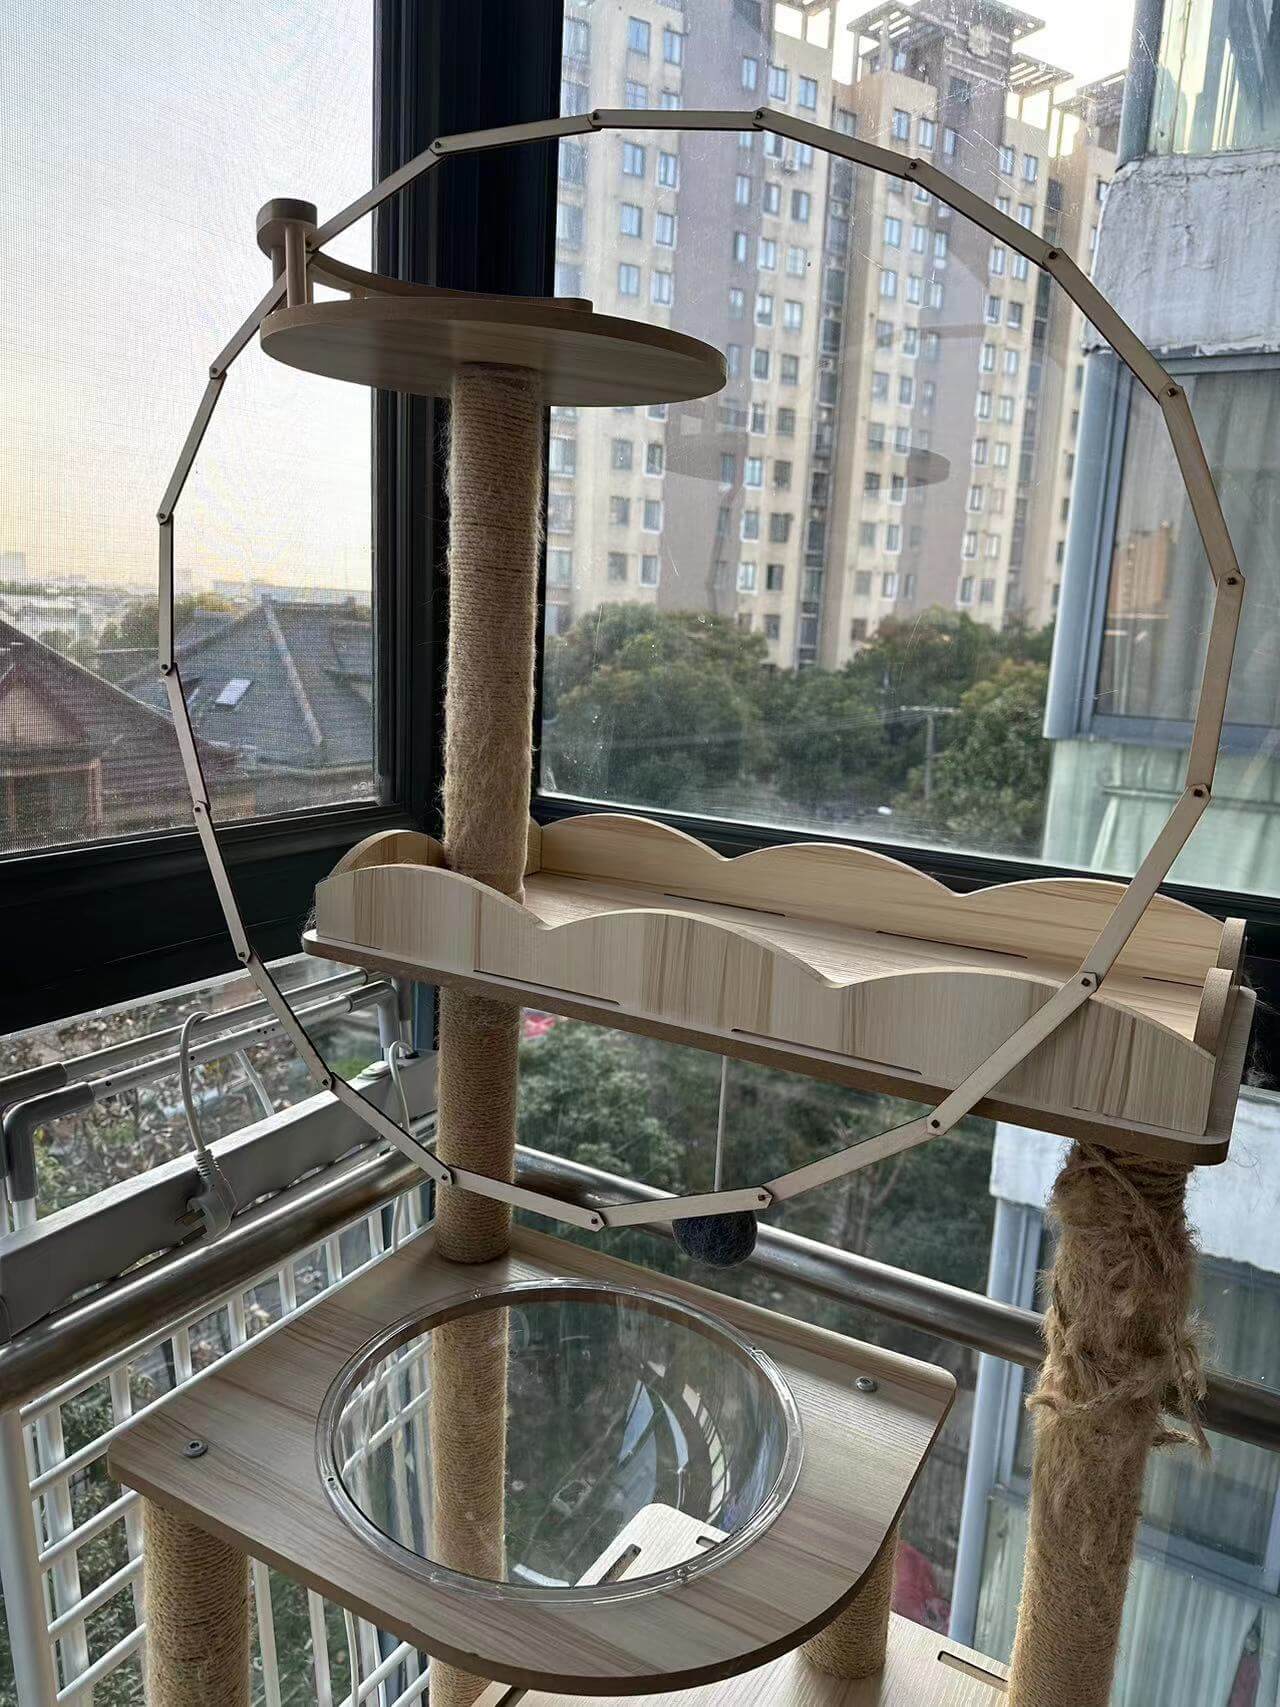
Another way to connect to please my cats to play around.