- Install Git Bash
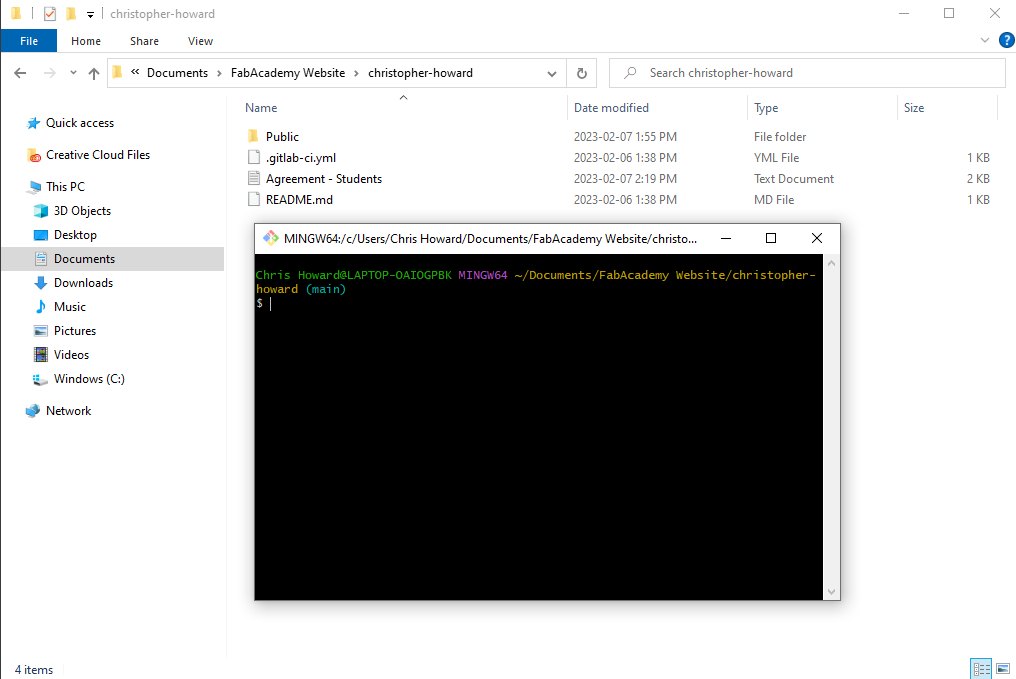
- Create a safe folder to use for GitBash connection
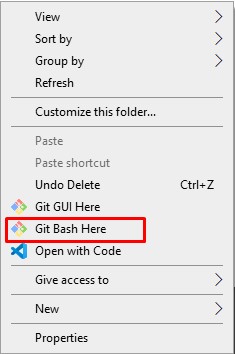
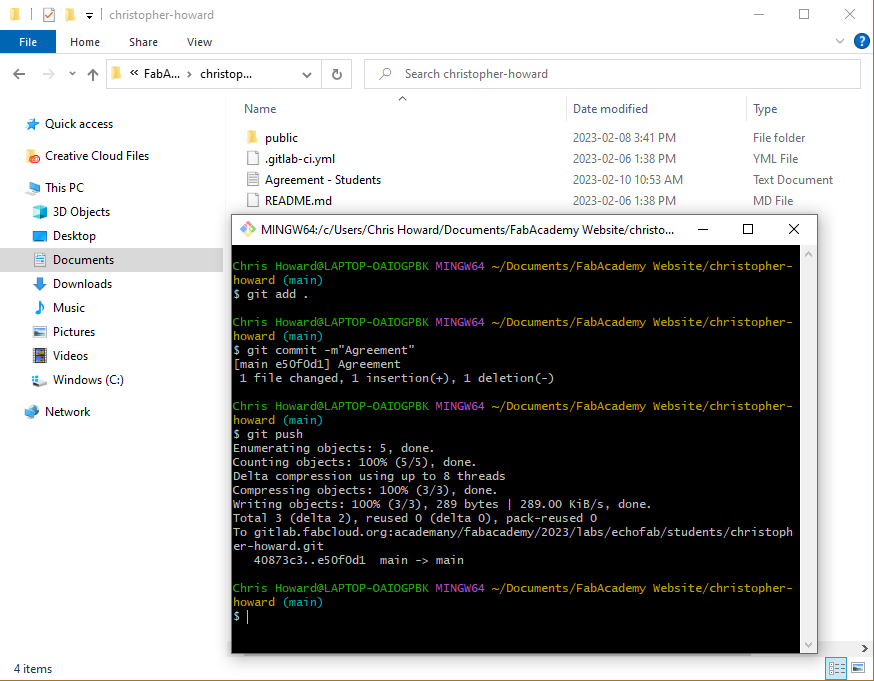
- Once created open Git Bash inside that folder, this will be used to connect and update our site and progress.
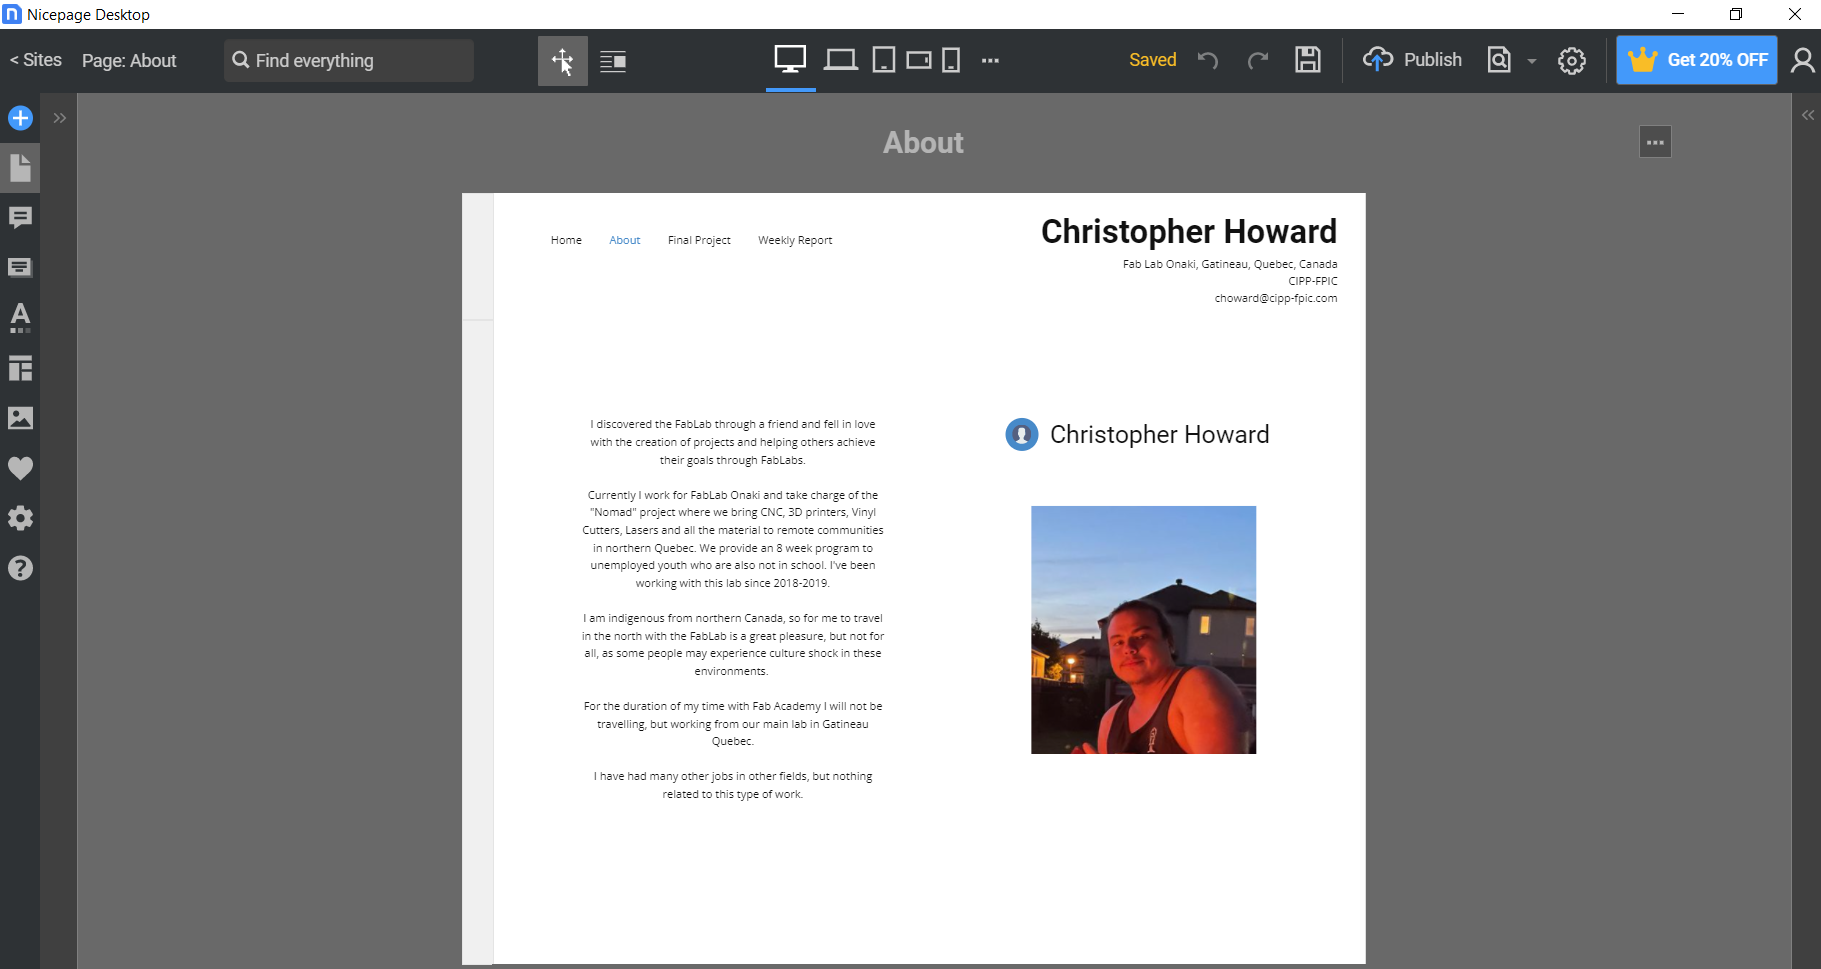
Fab Lab Onaki, Gatineau, Quebec, Canada
CIPP-FPIC
choward@cipp-fpic.com
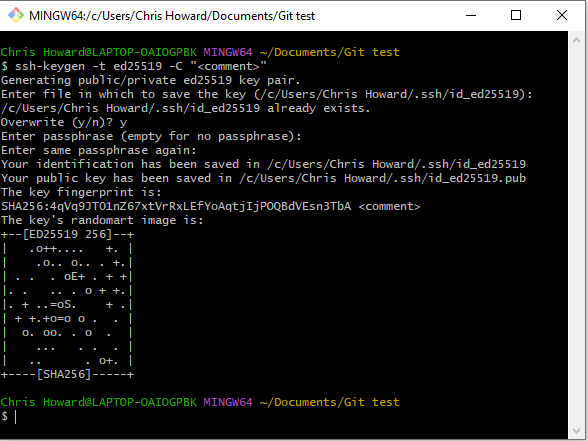
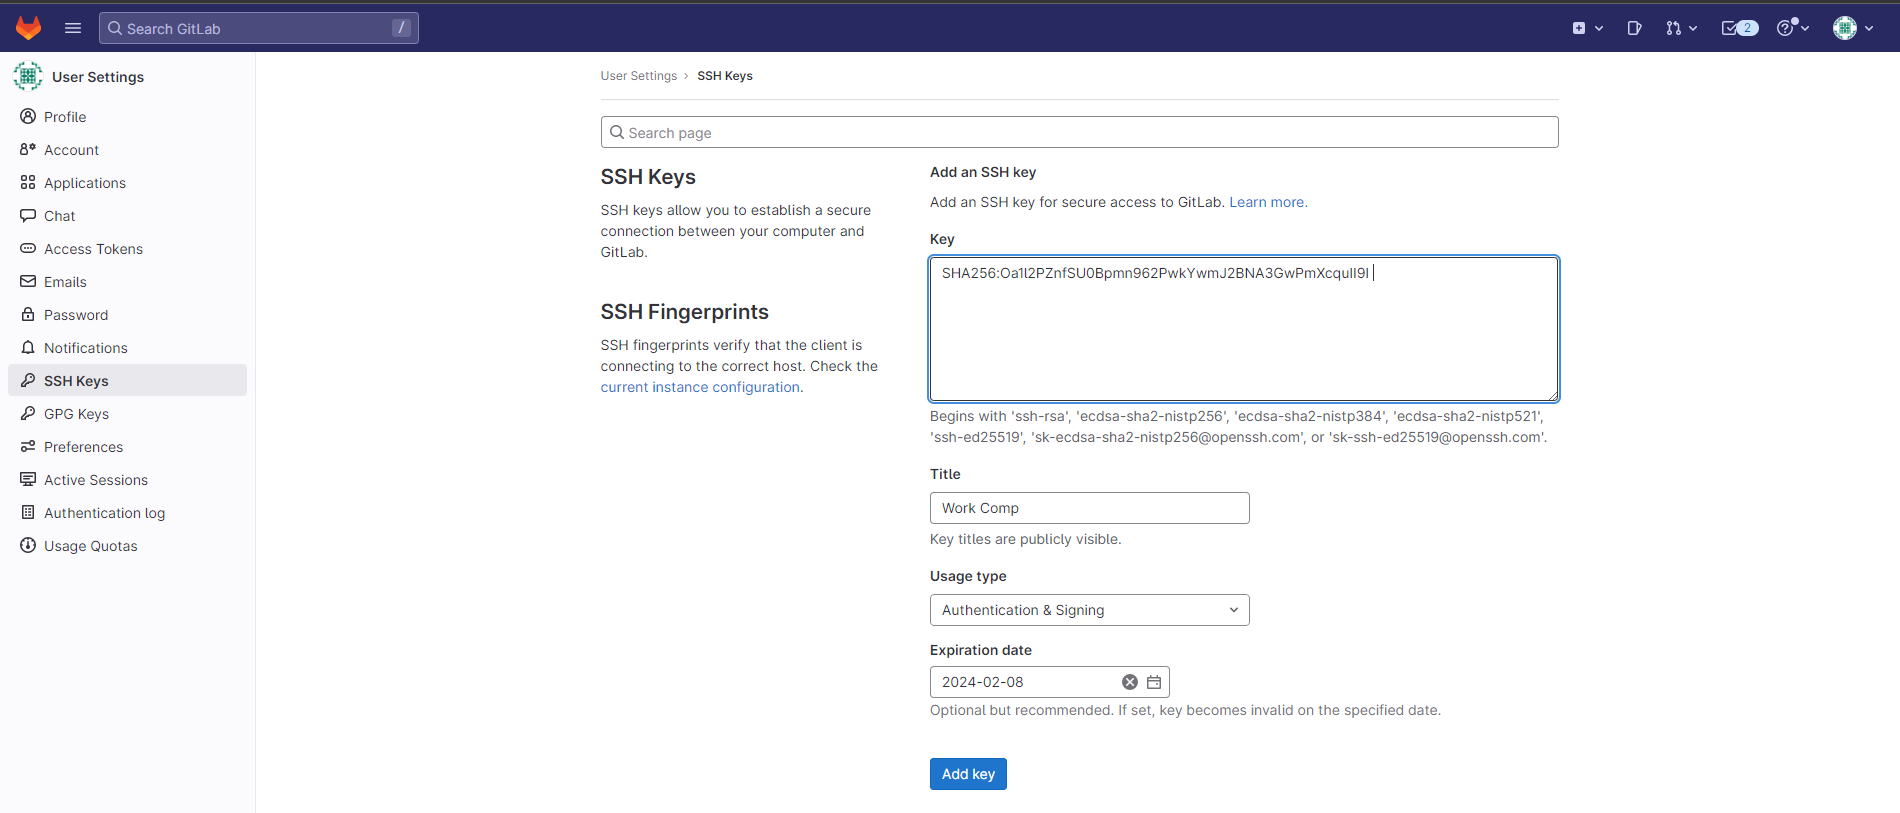
Connect and Link your laptop to the Git Lab


created with
Website Builder Software .