
WEEK 2: Computer Aided design
This week I have dedicated to know other programs and learn how to use them. Also to think and draw in 2D and 3D my project idea and start to shape gradually my project using as many software as possible.

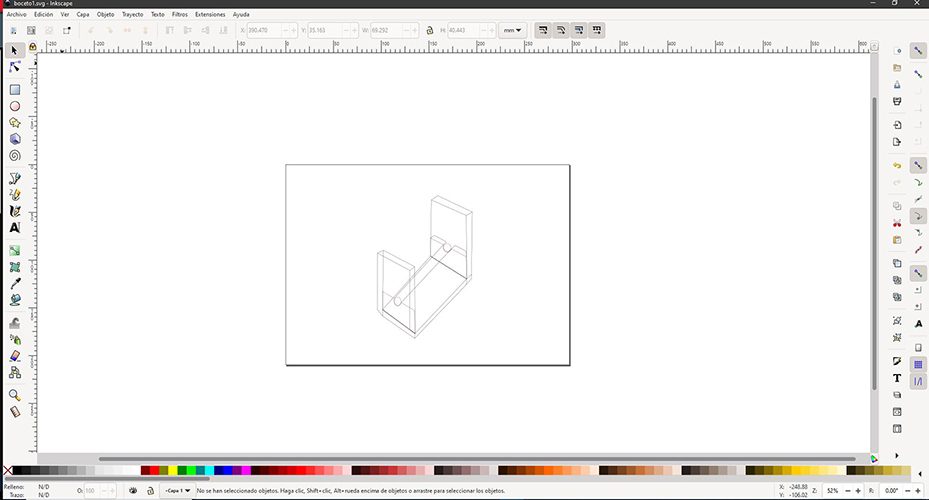
It is a very powerful tool that helps you, from this stage, to achieve a professional quality design, ready to be published on the web or in a printed medium. It has many functions, from creating objects to being able to manipulate them among many other things. I have started by designing in vectors my project in 2D using Inkscape, it is a very useful program and easy to manage, I have struggled to find out how it works, but little by little I have been knowing the options that it has. I made a little sketch of an initial idea I had.
Download

I have decided to use SolidWorks, I knew it for a long time, although I have not used it much. I have used much more Autodesk Inventor but I have decided to learn and use more other programs since I have the opportunity of it.SolidWorks is a CAD type software, mechanical design, which using a graphical environment based on Microsoft Windows intuitively and quickly allows the creation of solid 3D models, assemblies and drawings. I have been creating parts of the pieces corresponding to my project. Creating them in their respective planes and restricting the geometries well. After extruding the pieces, which is an example in principle, I will decide how much thickness to put on each one of them.
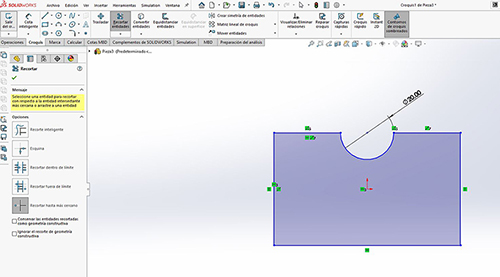
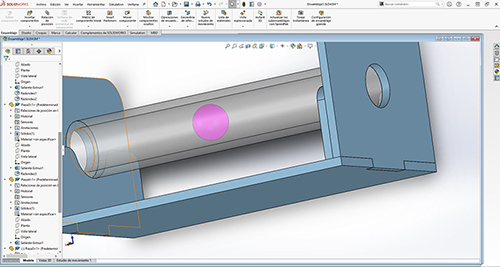
Here I show a detail of how I will use "pressfit" in the pieces so that they fit perfectly. To make sure, I will design small hinges to better hold the parts.
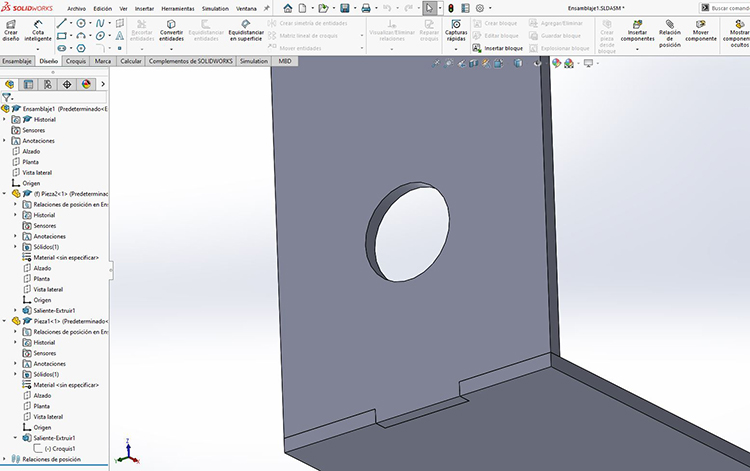
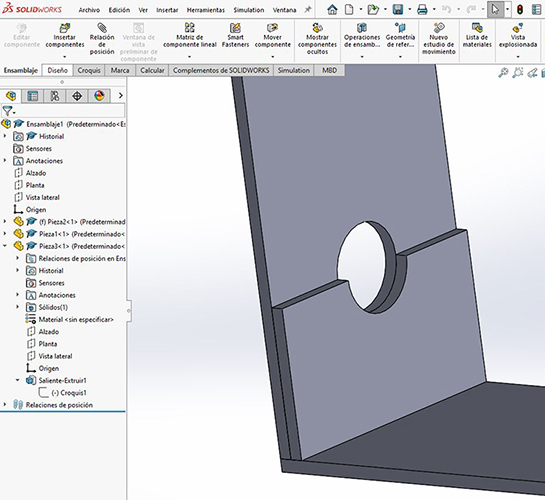
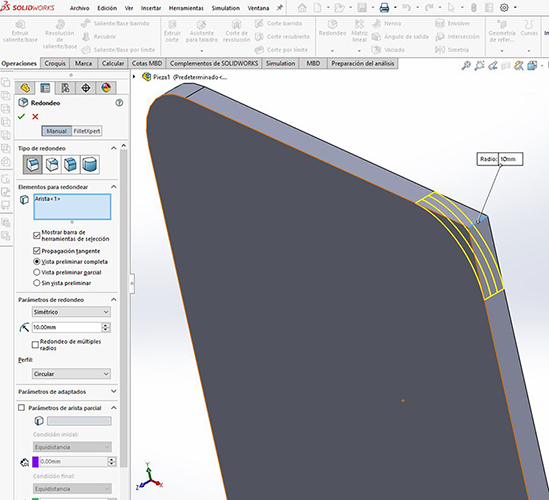
The hole matches the parts, so that the fans can be placed. I will also use the rounding tool.
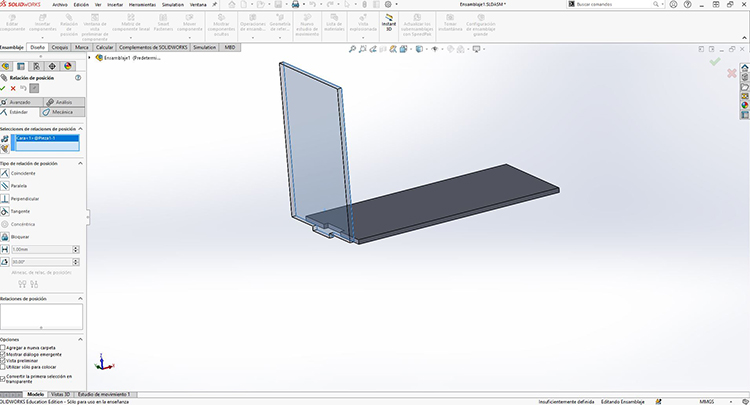
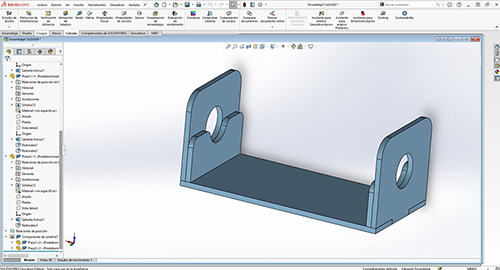
Once each one is ready and bounded correctly, I proceed gradually in creating the assembly. Inserting the components by mounting gradually starting with the base and the sides walls. Using the "position relation" tool we make the program understand how to place the pieces correctly.
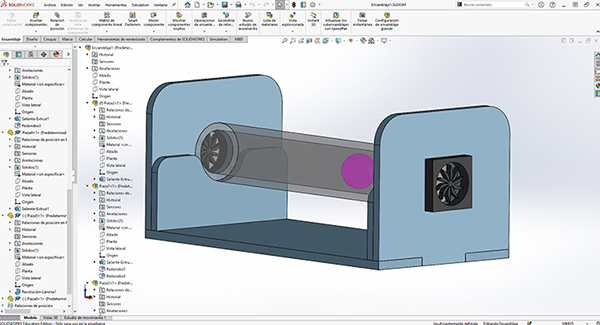
Finally the fans are placed that will be fastened with screws at the ends and I will have to define later those small details.
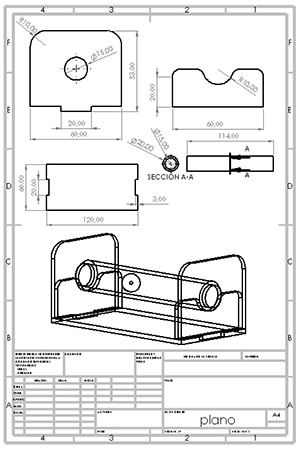
I have also created the plans of these pieces to know how much they measure the pieces and to have everything clearer, although later I will modify them and I will do in a more suitable size and make some improvement. It’s an example of how my final project is going to be more or less. But I will probably improve it later and add more design.
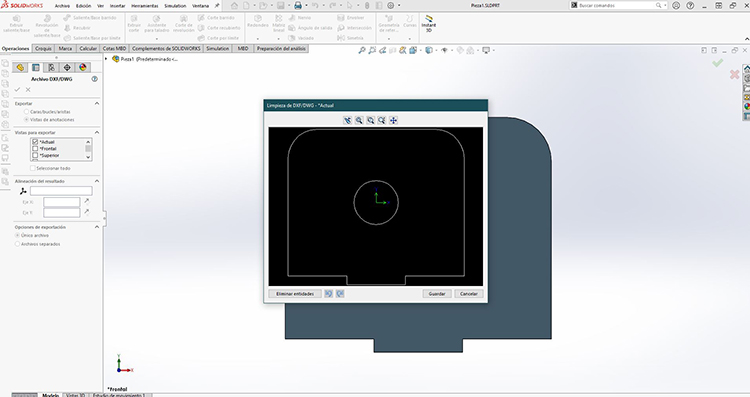
In one of the pieces I have left prepared in dxf in case I want to make partial cuts and engraved in it with the logo of DeustoFablab.
Download

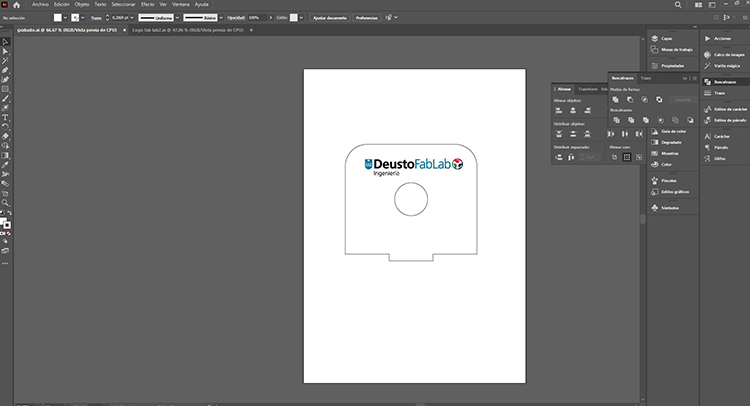
I have used Illustrator because I love it and it is very good to vector photos and create drawings, in my case I have downloaded the Deusto FabLab logo I have created a layer and with the Bézier pen I have been vectorizing the logo. You can also make an image copy, expand and then ungroup to work with it. Then either make an engraving on the laser cutter or leave it as a vinyl cut, maybe you choose that last option so you can use the machine that I love and give a little color to the project. I will use different colors, corresponding to the logo. With adhesive vinyl. Perhaps I will also do some more detail in the project with vinyl as for example in the glass tube where the ball will be inside, make a meter to know where the ball is and match the monitor.
Download
Download

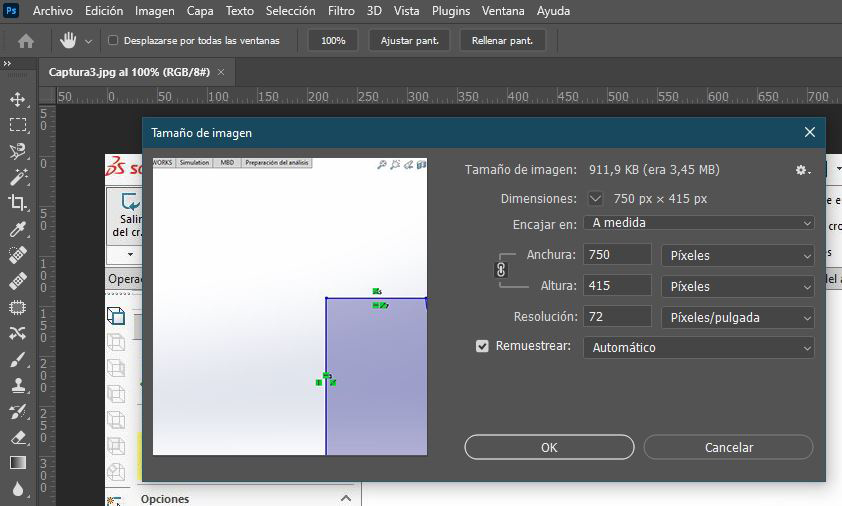
Photoshop can edit and compose raster images and supports various color models: RGB, CMYK, CIELAB, solid colors and semitones. Photoshop uses its own PSD and PSB file formats to support these features. Being a photo editing program, it works with bitmaps and any image format, allowing you to make montages, manipulate, modify, edit and retouch as much as you want thanks to all its tools.
Therefore I have decided to use this program to crop, retouch, and resize the images and their resolution so that they do not occupy much in my repository, and that the page is faster.
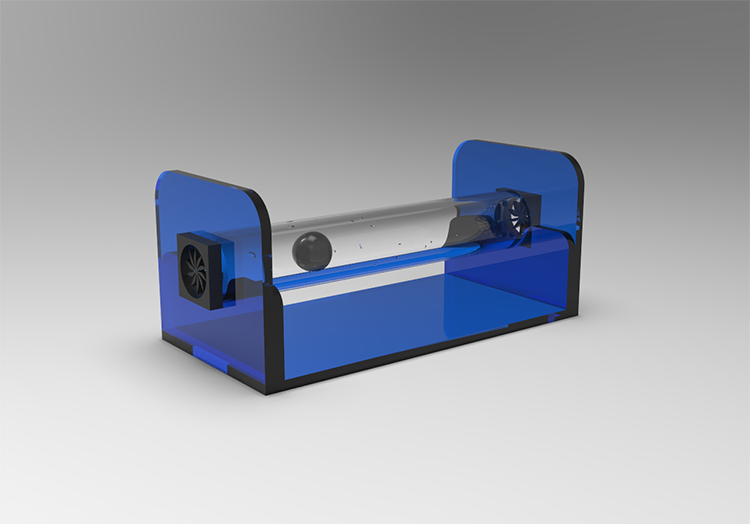
Keyshot is a rendering and lighting program that allows to obtain photographic images from 3D models and has been designed to eliminate the complexity of representations of realistic images.
It is a program that has never been given the opportunity to use it and I love it. I wanted to get to know him well and learn and use him to give realism to my project and create an expanded view. The first thing I had to do was go to the assembly I created in solidworks and save it to a compatible extension so I could open it with Keyshot. (IGES) or (ASM).
Once I did this I proceeded to retouch the appearance of my final project.
I had never used it before and I love it. I created a render with the final project to give it realism and have a nice presentation. Playing with different textures and appearances and then putting an hdri background to render. Of course failure to put the electronics that will be placed on the base.
Download
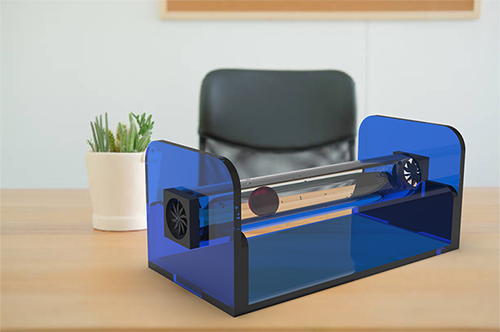
Keysoot can also make animations and expectacular videos, I have been researching how to make a small example of how my project will be. Of course failure to put the electronics that will be placed on the base. You will have a monitor that indicates the power of the fans and you can control by programming the power so that the ball goes to the direction, or to the point we want. In the glass tube you will have vinyl where it will indicate where the ball is located and also match what it shows on the monitor.