WEEK 15: Wildcard Week

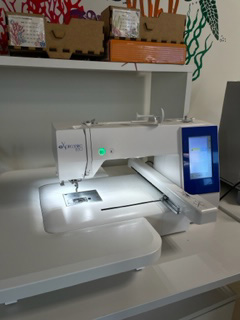
This week I am going to use the embroidery machine. I know my mum will love having my pet embroidered on a t-shirt. The embroidery machine we have is Expressive 830, and the software used is Digitizer V5.5 Embroidery.
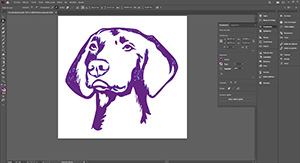
I have drawn my pet in Illustrator like the week where we used the vinyl cutter. I've modified it a bit and I'm going to export it with EMF extension to be able to open it in Digitizer V5.5 Embroidery. It can also be saved in PNG format. In the manual of the software there is more information, it is where I'm being guided to carry out the work. Attached is the PDF for downloading.
These are the steps I have taken to create and embroider the design on the T-shirt.
Download

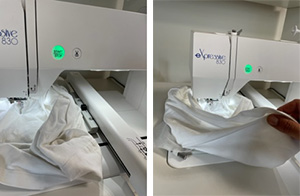
I'm going to do the first test on an old t-shirt I have to see the first results. Once I get it right, I will do it on my mother's t-shirt.
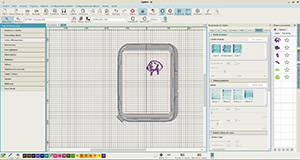
I have placed the image in the frame.
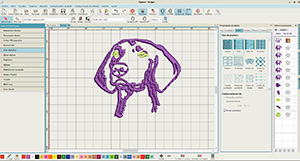
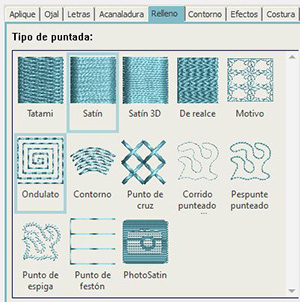
I have selected the drawing to have a satin fill without any effect and a simple Outline.
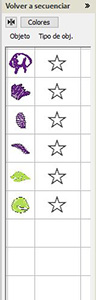
In the sequence you can arrange the parts of the design as you wish. I will place the two eyes at the end and in a different colour so that the embroiderer knows the difference and stops when the colour is finished.
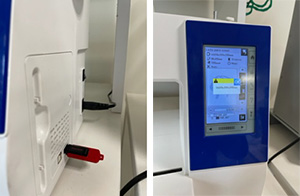
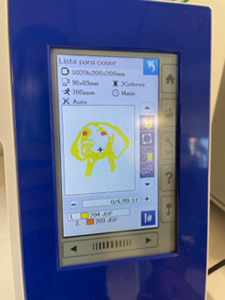
I save the DST file on the embroidery machine's USB, turn on the embroidery machine and browse for the file and select it. The carriage will go to its initial position. It is important that the hoop is not placed on the carriage.
Let's leave the embroidery machine ready for now and I will prepare the material, for this I will follow the following steps:
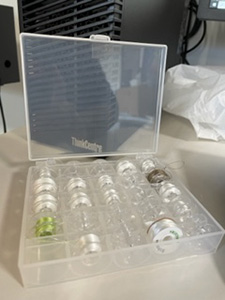
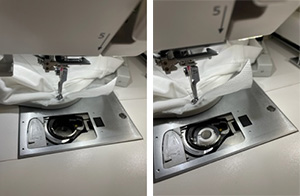
1.- I check if there is a tap. Press the lock button. Place the bobbin with the thread counterclockwise as shown on the cover of the lid. Guide the thread into the notch number 1 and into the notch number 2 and the thread will be cut correctly. Then we put the lid on to close it.
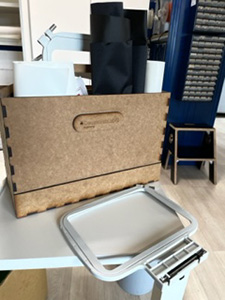
2.- Choose the frame, in this case as the drawing is small, the small frame will do.
3.- Place the interfacing under the garment on the frame. It is important to stretch the garment well and that it is correctly tensioned. Tighten the screw so that it is well secured. Then we place the inner frame and some clamps to ensure a better hold.
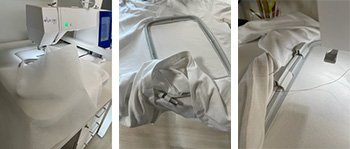
4.- We place the frame on the carriage pins, and operate the lever in the direction of the arrow and insert it. It is important not to move the trolley or touch the trolley while it is moving.
5.- Threading the machine. To thread the machine, follow the steps with numbers that are shown on the embroidery machine and follow the instructions. Thread the thread into the needle. the video shows the route.
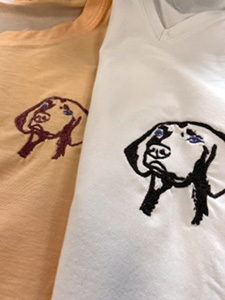
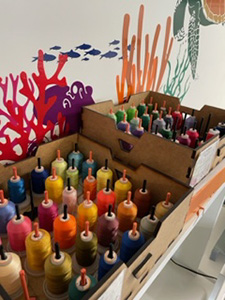
The machine would be ready to start embroidering. I will choose the brown colour for the dog figure and the purple eyes. We have many colours to choose from.
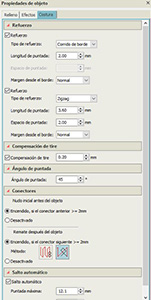
The result was great and I love it. Now I will follow the same steps, but with my mother’s t-shirt and choose some more parameters to improve the design. I will select in Satin.
In the "effects" tab I will select the radial fill.
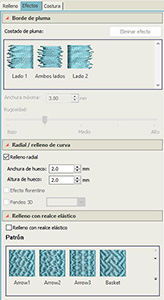
The type of single run

With a zigzag reinforcement, pull compensation and a stitch angle.
I place the shirt correctly on the frame and following the steps mentioned above how to place the material and then on the machine, I will start embroidering my mother’s shirt. I hope everything goes well.
The end result is incredible. I love how it turned out. I’m sure I’ll use it more in the future. I just have to give the shirt to my mother. I’ll give it to her this weekend as a mother’s day gift. Although it has been a week, I am perfect and will be very excited.