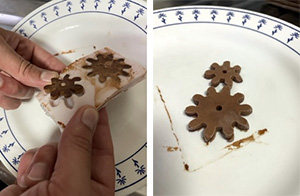
WEEK 12: Molding & Casting
This week we have to make a mould and then use casting materials to make the mould. I will make a 3D mould, then I will mill it with the Roland MX and I will use the casting materials to make the mould.
GRUPAL ASSIGNMENTS
Once I knew the basic material available in the FabLab for this week's work, I analysed all the casting materials I could use to cast the mould. We have available:
I have used Smooth-Sil silicone in combination with Cogelsa release agent, I have read all the material data sheets, which can be downloaded.
Download
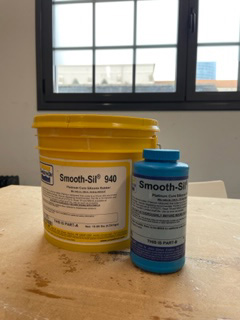
Also known as addition-cure silicone, platinums exhibit the lowest long-term shrinkage and have the longest shelf life of all mould rubbers. While good for making moulds for casting a variety of materials, platinums also have applications and physical properties that other rubbers do not. As a result, they are used for other applications. For example, some are certified as "skin safe" and can be applied directly to human skin. They are also used to manufacture prosthetic and orthopaedic devices, skin-safe appliances and effects, etc. Some are certified as "food safe" for culinary applications.
I have selected "food save" silicone for making chocolate bonbons. Smooth-Sil 940 is suitable for food related applications.
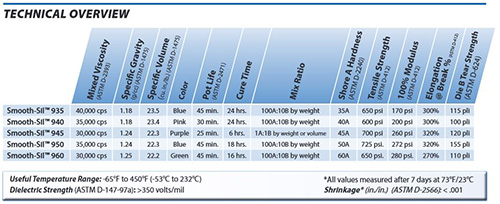
Smooth-Sil Platinum silicones cure at room temperature with negligible shrinkage. Shore hardness 40A in our case, as you can see below:
These silicones have good chemical, abrasion and heat resistance. Materials such as plaster, concrete, wax, low melting point metal alloys or resins (urethane, epoxy or polyester) can be cast into these silicone rubbers without a release agent.
Smooth-Sil Platinum silicones are used for rapid prototyping, wax casting (foundries and candle makers), architectural restoration and concrete casting. More Info
It is also important to understand the safety considerations : it is necessary to use in a properly ventilated area, wear safety goggles, long sleeves and vinyl gloves to minimise the risk of contamination.
The mixture to be made is: 100 silicone (part A) + 10 catalyst (part B), and beware of its shelf life: the working time of this mixture is 30 minutes only. Although generally not necessary, a release agent will facilitate release when poured on or over most surfaces.
The only drawback would be that degassing systems are not available and vacuum degassing is recommended to remove trapped air.
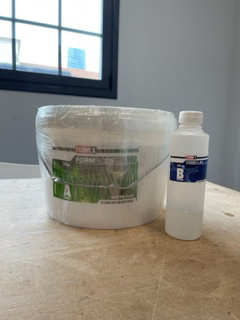
It is a flexible silicone for pouring moulds. If required, it can be thickened with THi-Vex thickening agent. Its hardness is Shore A25 and its colour is white. FormSil 25 has a low viscosity and pours easily without outgassing.
The mixture to be made is: 100 silicone (component A) + 5 catalyst (component B).
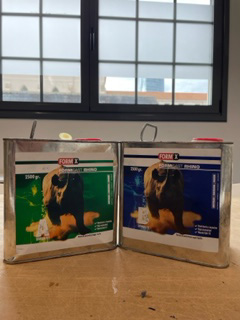
FormCast Rhino is an easy-to-pour, thin-flow polyurethane casting resin that is suitable for many applications, such as: decorative objects, prototypes, vacuum drawers, support caps, etc. A paste-like resin can be obtained by adding fillers.
For this material, the working method is: Stir the individual components well before use. Weigh or measure both parts accurately and assemble in a clean, dry container and mix for 30 to 60 seconds (for the mixing cup, best use a PP or PE plastic cup). Avoid contact with moisture as this will cause foaming of the resin.
It is also important to understand safety considerations : Avoid contact with skin and eyes. It is recommended to wear protective clothing such as: long-sleeved shirt, lab gloves, safety glasses and carbon foot mask. More Info
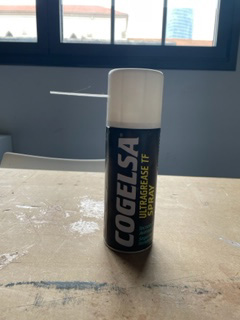
Teflon spray grease, non-toxic. High resistance to water, steam and high temperatures (tips up to 200°C). NSF H1 certification for incidental food contact (this certification PDF is also in the RAR file of the data sheets).
I have used it as a release agent when casting Smooth-sil into wax machined moulds.
INDIVIDUAL ASSIGNMENTS
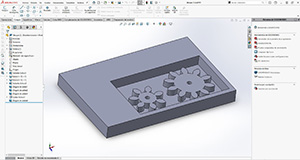
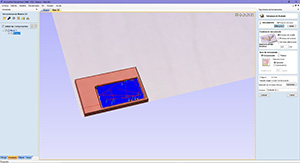
This week I tried to make gears using moulding and casting. I used parametric design. Using this model, I designed the counter mould using solidworks. I then exported it in STL format to go into the Vcarve software and then manufactured it on the Roland milling machine.


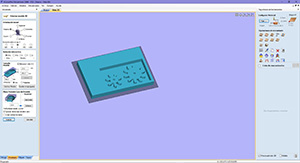
Open the Vcarve program and open a new file, then import the STL. Place the workpiece on the work area.
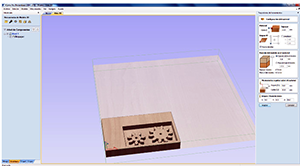
Then we must choose the following in the tool paths. For roughing we click on the icon:
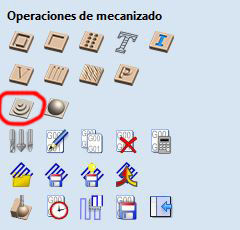
And we select the type of milling cutter we will need in our library.

In the material configuration set the thickness and position the part properly in XY. Also the position of the model in the material and the fast movements on the material. Then calculate and save
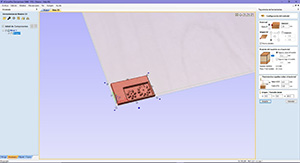
For finish we click on the icon
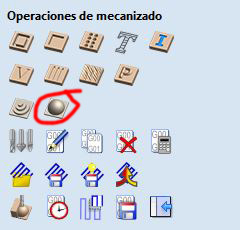

Then we select the finishing strategy, the type of milling cutter we need, the moulding boundary, the machining area. Then calculate and save.
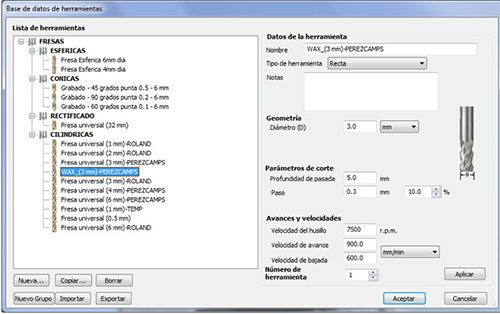
In the following image, the tool selection, choosing 7500 rmp and 900 mm/min speed.
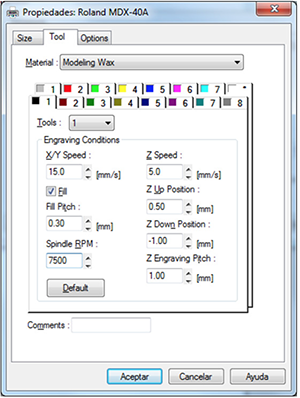
The following figure shows the parameters of the roland milling machine.
I will prepare the Roland MX40 machine, setting the coordinates x, y and z 0. As in previous exercises.
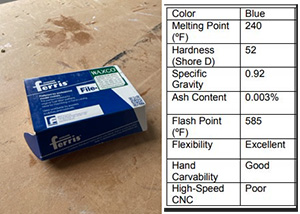
The material I will be using to mill the moulds will be a machinable wax, in this case a blue Ferris File-A-Wax.
Machinable wax is an extremely hard wax with a high melting point that has been formulated to provide exceptional machining properties with high resolution detail. There are small but important differences in machining waxes for certain applications. In my case, I am going to use blue, which has a Shore 52D hardness, the softest of the petroleum hydrocarbon block wax blends that Ferris has.
It is a block of wax of 454 g, and it will be enough to learn how to work with this type of material and to get to mould our moulds.
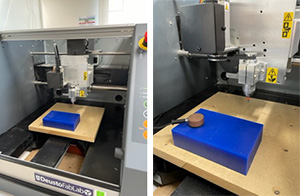
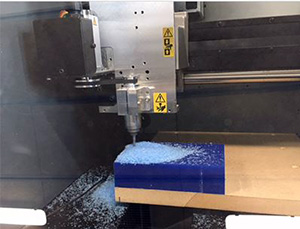
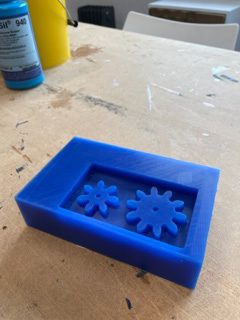
Once the milling process was finished, the result can be seen in the following figure. I decided to make the kit in chocolate, so I used SMOOTH-SIL 940 silicone.
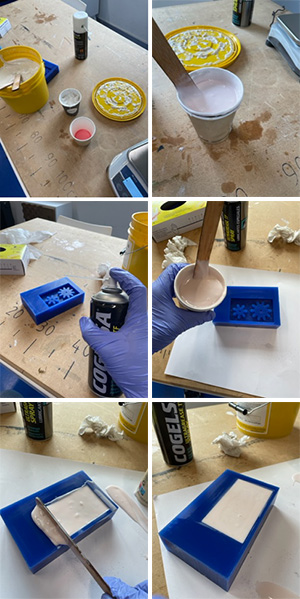
The following pictures show the mixing process of the silicone components, using ten parts of part A and one part of part B.
As you can see, in the pictures, our silicone is not as fluid as it should be, as it has been opened more than two years ago, so it was difficult to control its pouring into the mould. I will wait 24 hours, and unmould them carefully.
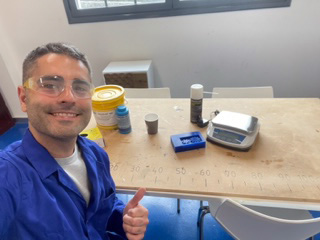
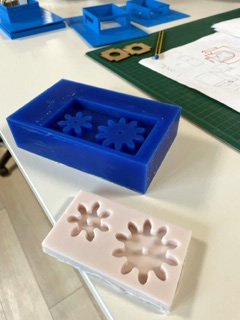
The mould came out as I wanted it to and it looks great. I will take the mould home to make chocolate and make the chocolates.😊
The next step is to make chocolate and pour the chocolate into the mold and wait for it to cool.
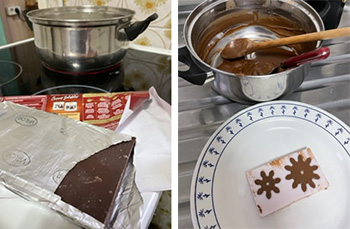
Once the chocolate was cooled, I could unmold it.
Yummy!😊😊
