WEEK 1: Project management
This week we were taught to use a version control system called GIT. Git is a free and open source distributed version control system desiged to control all jobs and designs quickly and efficiently. Personally I have never used it. Step by step I got what I wanted.
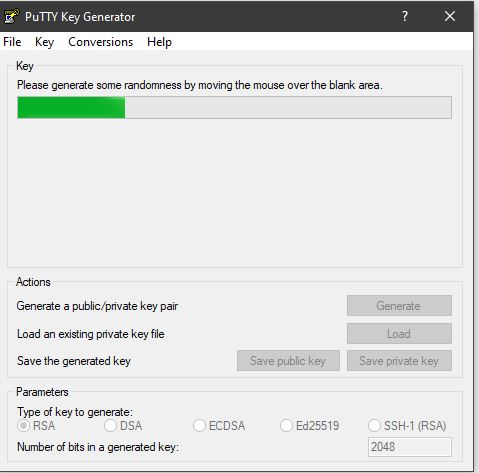
The first thing I did was generate a code using puttygen, this code serves to identify you in the gitlab platform of the fabacademy.
SSH (Secure Shell) is a protocol for securely connecting to a remote computer. It provides secure encrypted communications between two untrusted hosts over an insecure network. SSH is commonly used to log into a remote machine and execute commands, but it also supports tunneling, forwarding TCP ports and X11 connections. It is typically used to log into Linux or Unix-based servers, but it can also be used on Windows. SSH uses public-key cryptography to authenticate the remote computer and allow the remote user to authenticate himself, thus eliminating the need for a password.
add the Git username: git config –-global user.name “NOMBRE DE USUARIO"
Configure the email to load: git config -–global user.email “p.badiol@deusto.es”
Check if you have the SSH KEY: cat ~/.ssh/id_rsa. Pub
Generate the SSH key: ssh-keygen -t rsa -C "$your_email"
Check out keygen: cat ~/.ssh/id_rsa. pub
I copied my password: Your SSH keys
I followed these steps that helped me copy the SSH key: www.youtube.com
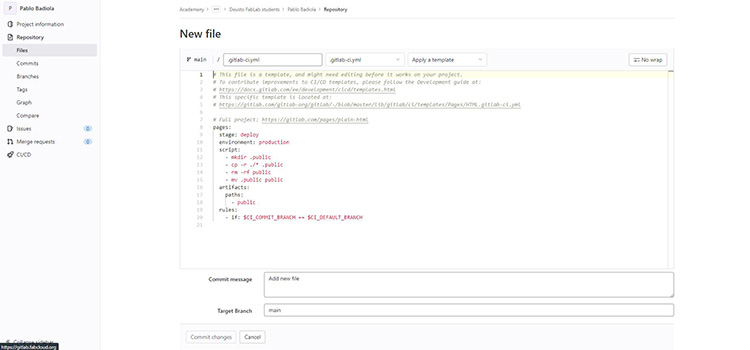
Copy my GIT repository
It should look like this:
git@gitlab.com:FOLDER_NAME/REPOSITORY_NAME.git
Create a folder on my computer where I will save my website. A good tip is not to put it in a folder to delve into your computer, so browsing through the terminal is easier.
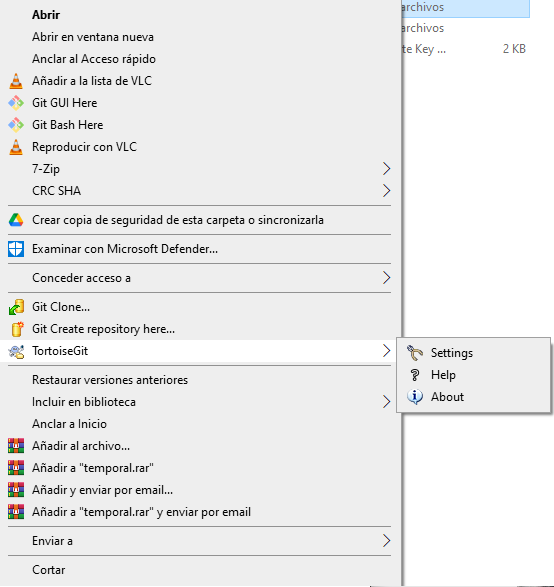
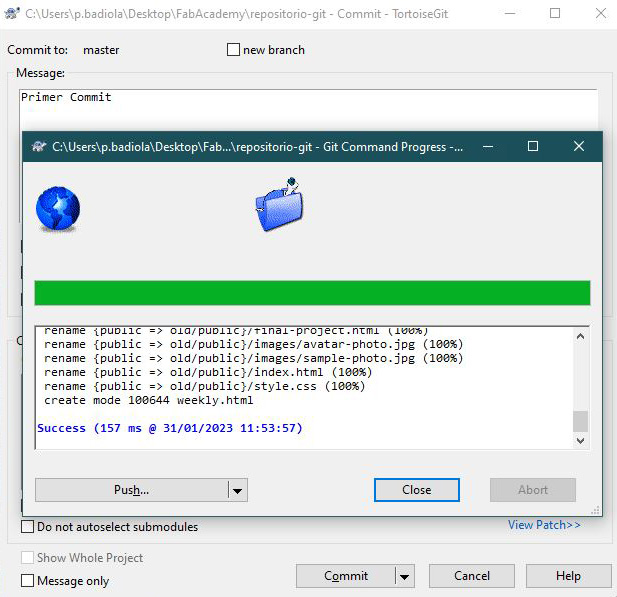
Once the certificate is added to the gitlab platform with the program Tortoisegit helps us upload the information to the gitlab platform. I also had to register with fablabs.io to be able to create an account in Gitlab.com with my email.
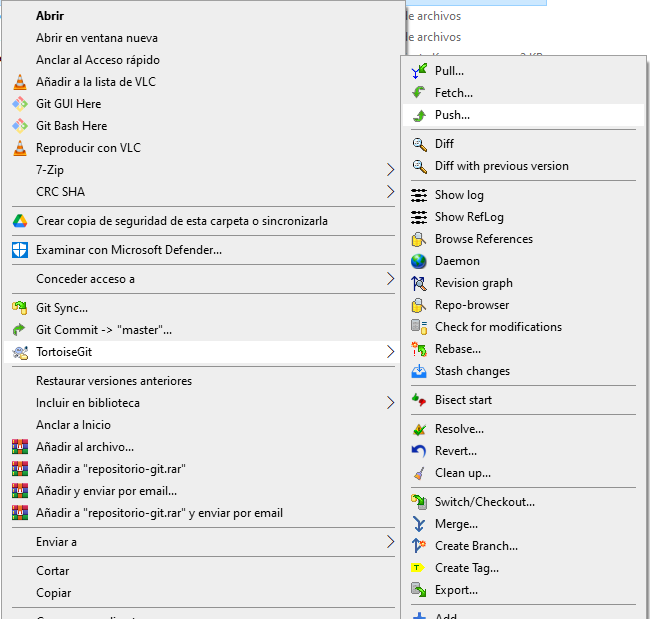
After all this correct I started doing a pull to be able to rearrange the folders created by the fabacademy. The "old" folder I put in all the files that I’m not going to use and also to avoid conflicting the template for the website suggested by Neal and my own website created in dreamweaber. so I can upload my own files with more comfort and organization.
Then I made a push to upload all my documentation to the "GITLab"
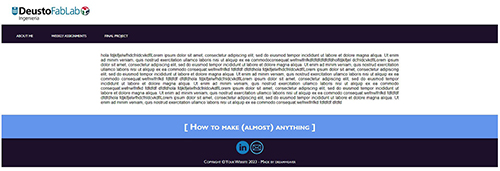
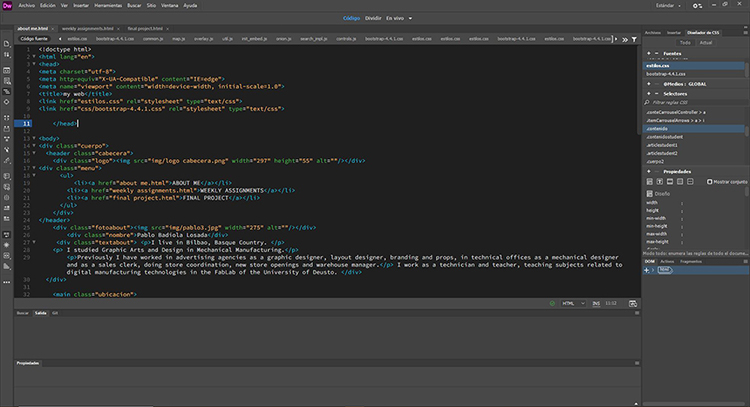
The next thing was to think and design a simple, static website in Dreamweaver. A year ago I took a course on Web development and digital content, and I have managed to acquire the necessary knowledge to create my own page.
The program that I have used is very good to design, since it allows you to do it with both code and design, I have been able to alternate these options and little by little I have managed to create it. Dreamweaver offers a flexible environment for working with a wide variety of web documents. In addition to HTML documents, you can create and open a variety of text-based documents, including JavaScript, PHP, and cascading stylesheets (CSS). You can also adjust the document preferences.
I started by creating the "About Me" page. Starting with "header" for the menu and logos. "Body" for the photo and a little explanation describing me, a location where I work. "Footer" where I placed two buttons to send me an email and another to see my linkedin profile. All this with HTML and CSS code.
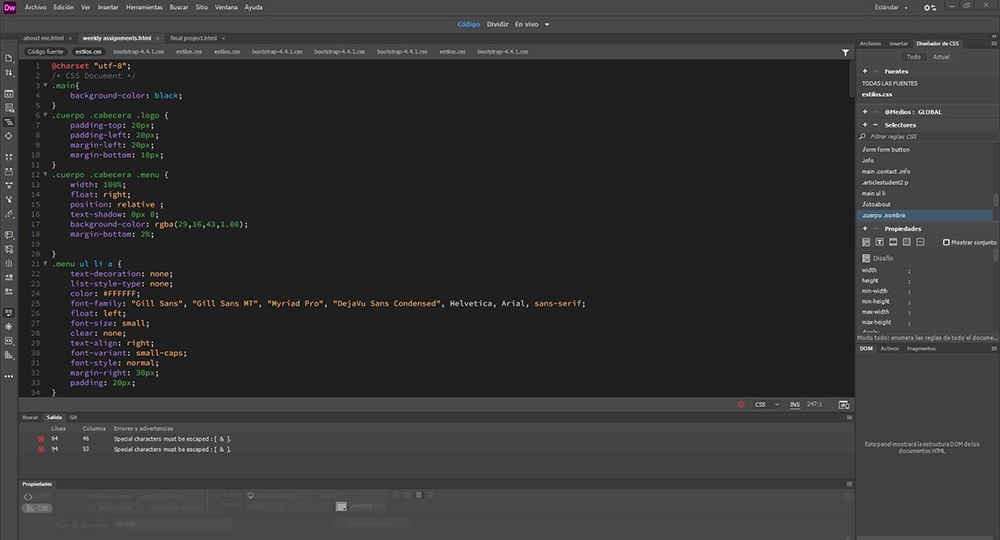
Next, I have prepared a page for "weekly assignments" where I will go every day and week introducing information about explanations, photos, videos, files and the development of weekly tasks. The menu on the right is designed to click the desired week and automatically the page shows it. This makes it easier and more comfortable to identify things and enjoyable to use. I had a hard time doing it as it did not stay fixed while you use the scroll. I still have to keep digging because it doesn’t exactly stick.
Finally, the "Final Project" page where I will enter every day information about my final project.