9. output
Mosfet N, our savior
This time, i need to design and make an output device that is compatible with my final project.
Because my project is a heater device, and i want to manage a greater current than the usual in my board to generate enough heat, i choose to make a module that can handle this differences.
In our stock of parts there is a Mosfet N that can manage 5 volts/12 volts and can manage up to 50v.
Mosfet datasheetFirst, i design the new board to interact with my first one.
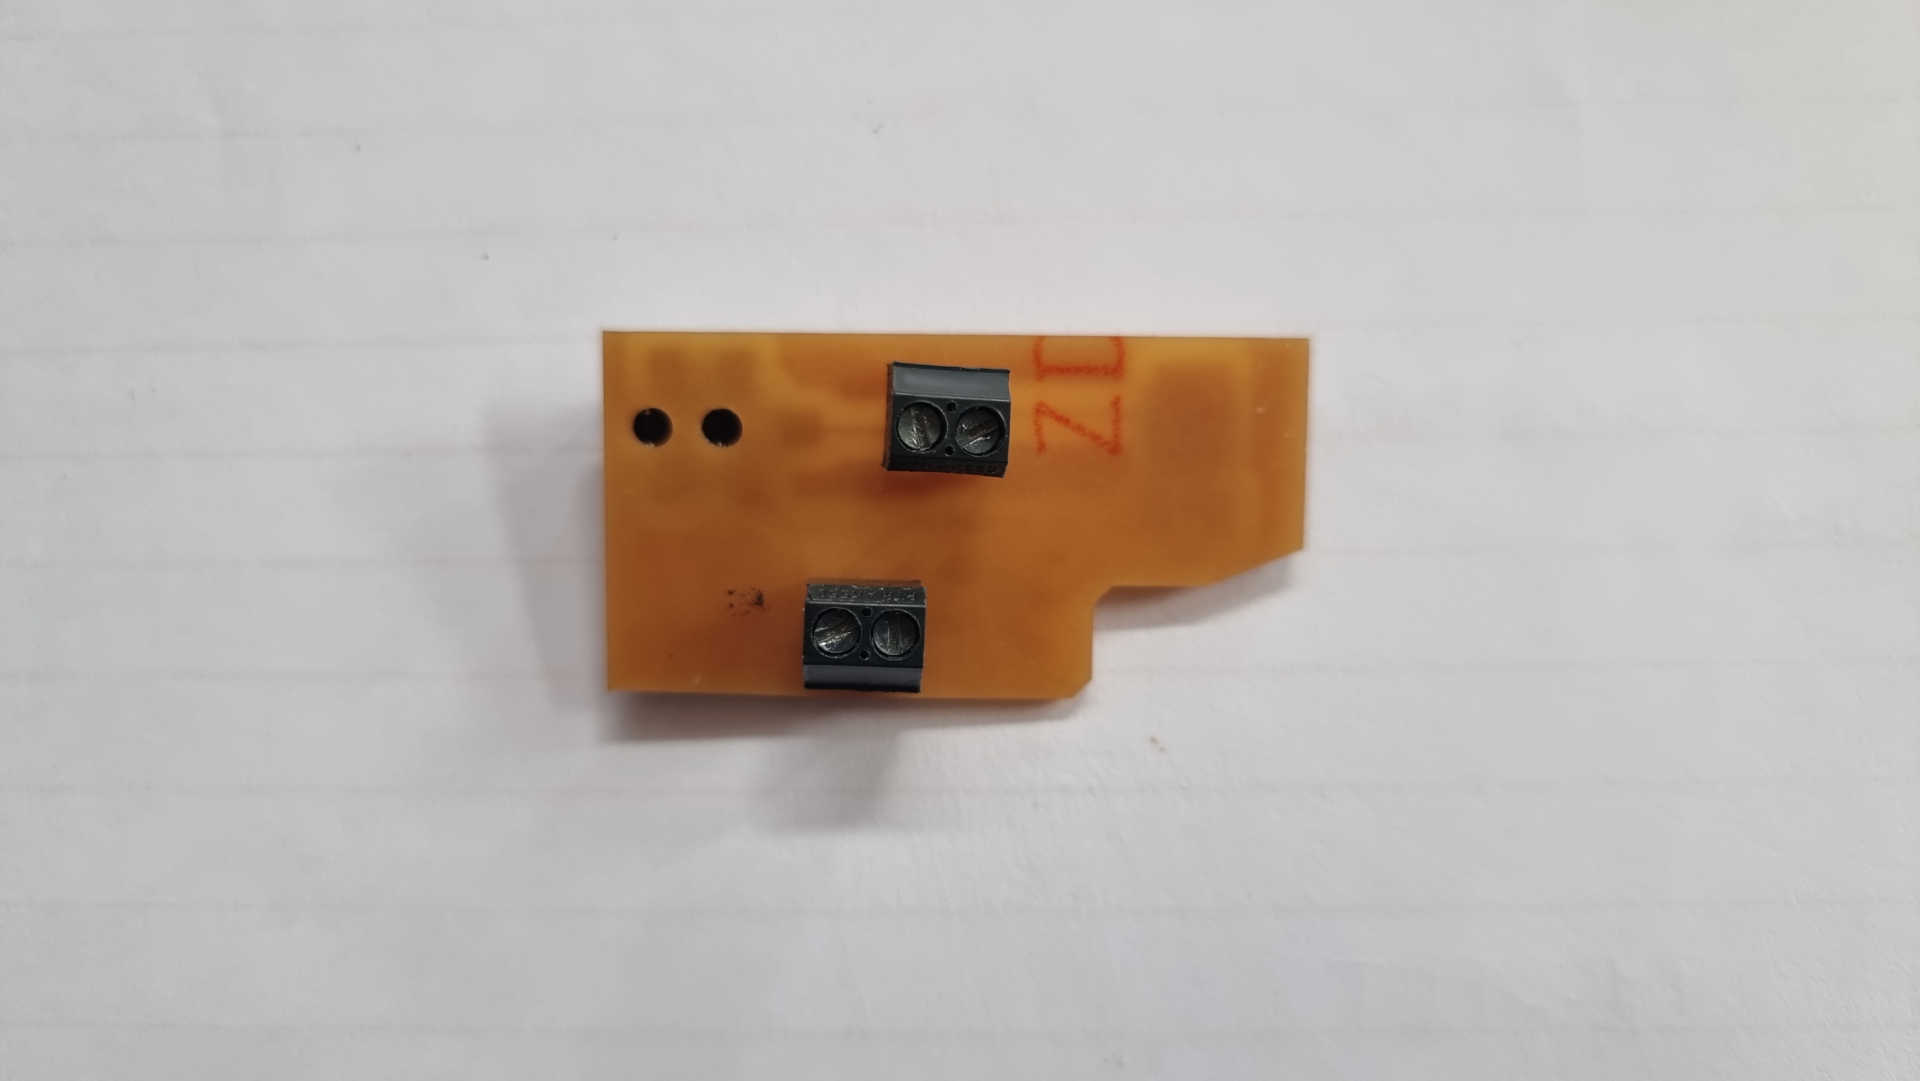
The mainboard
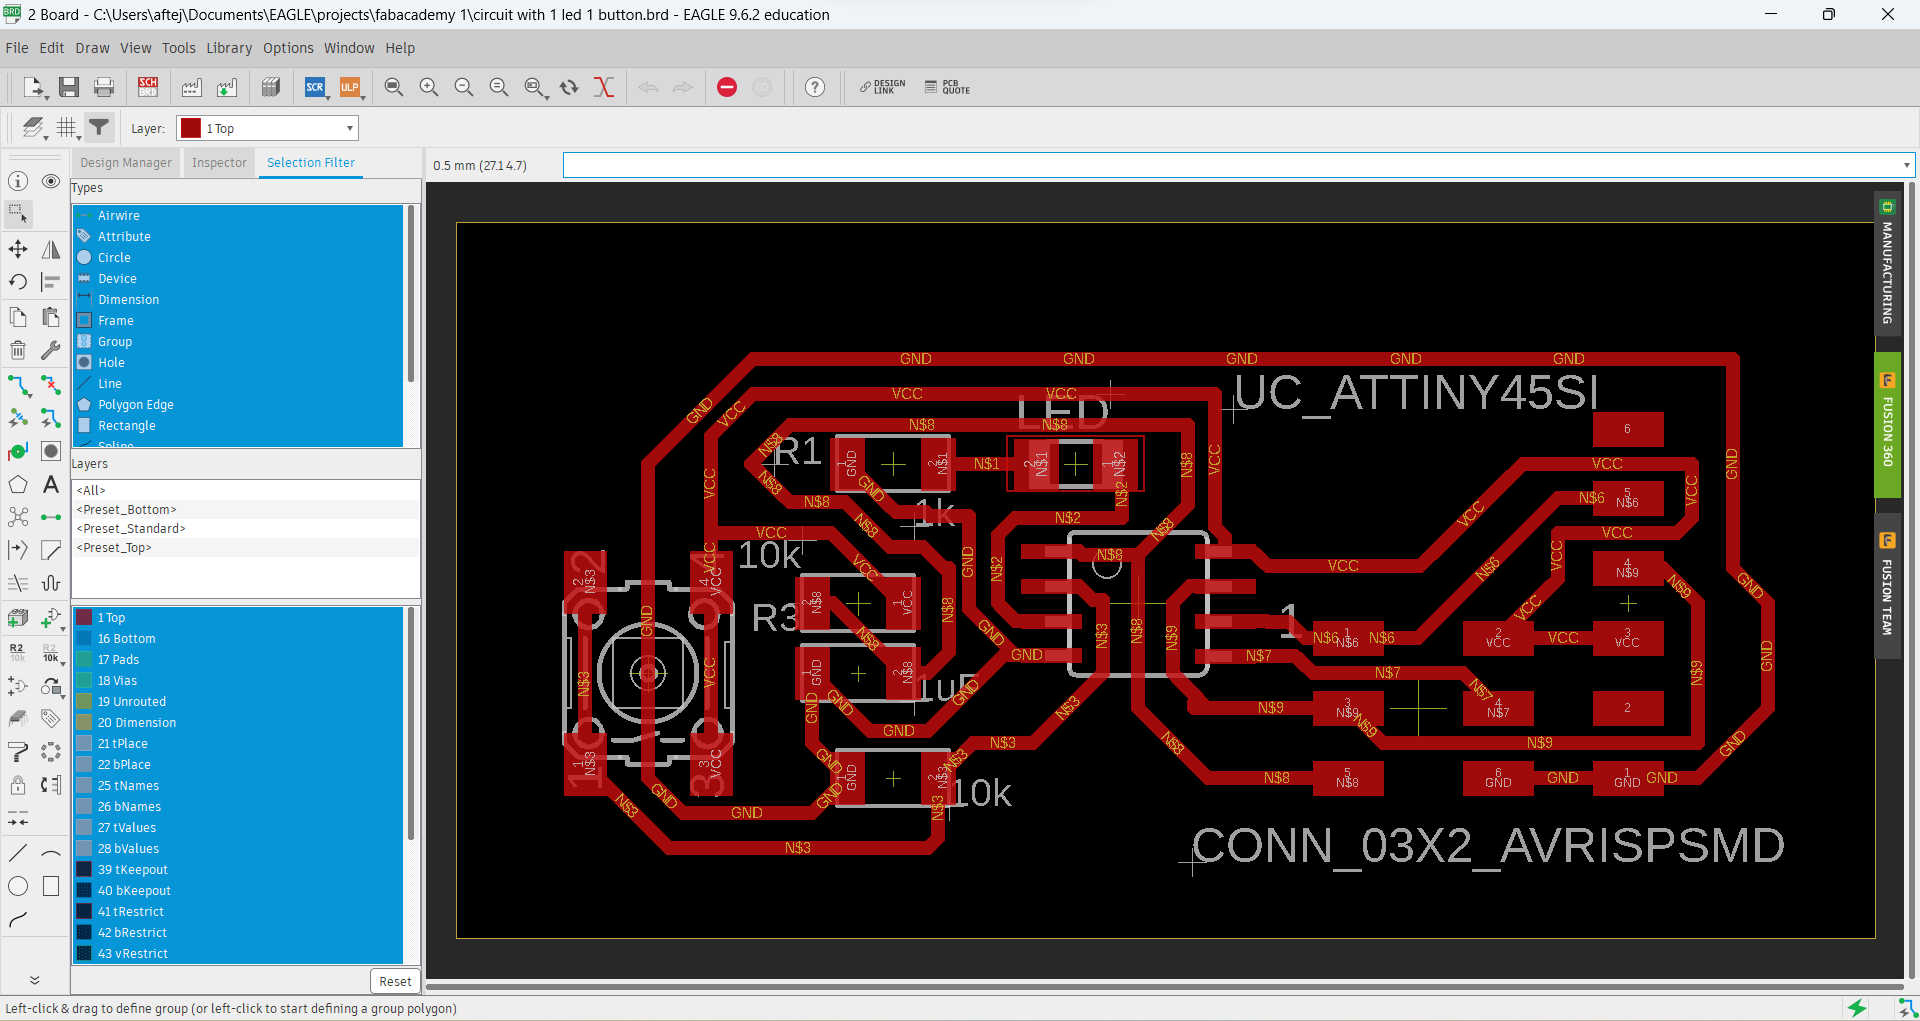
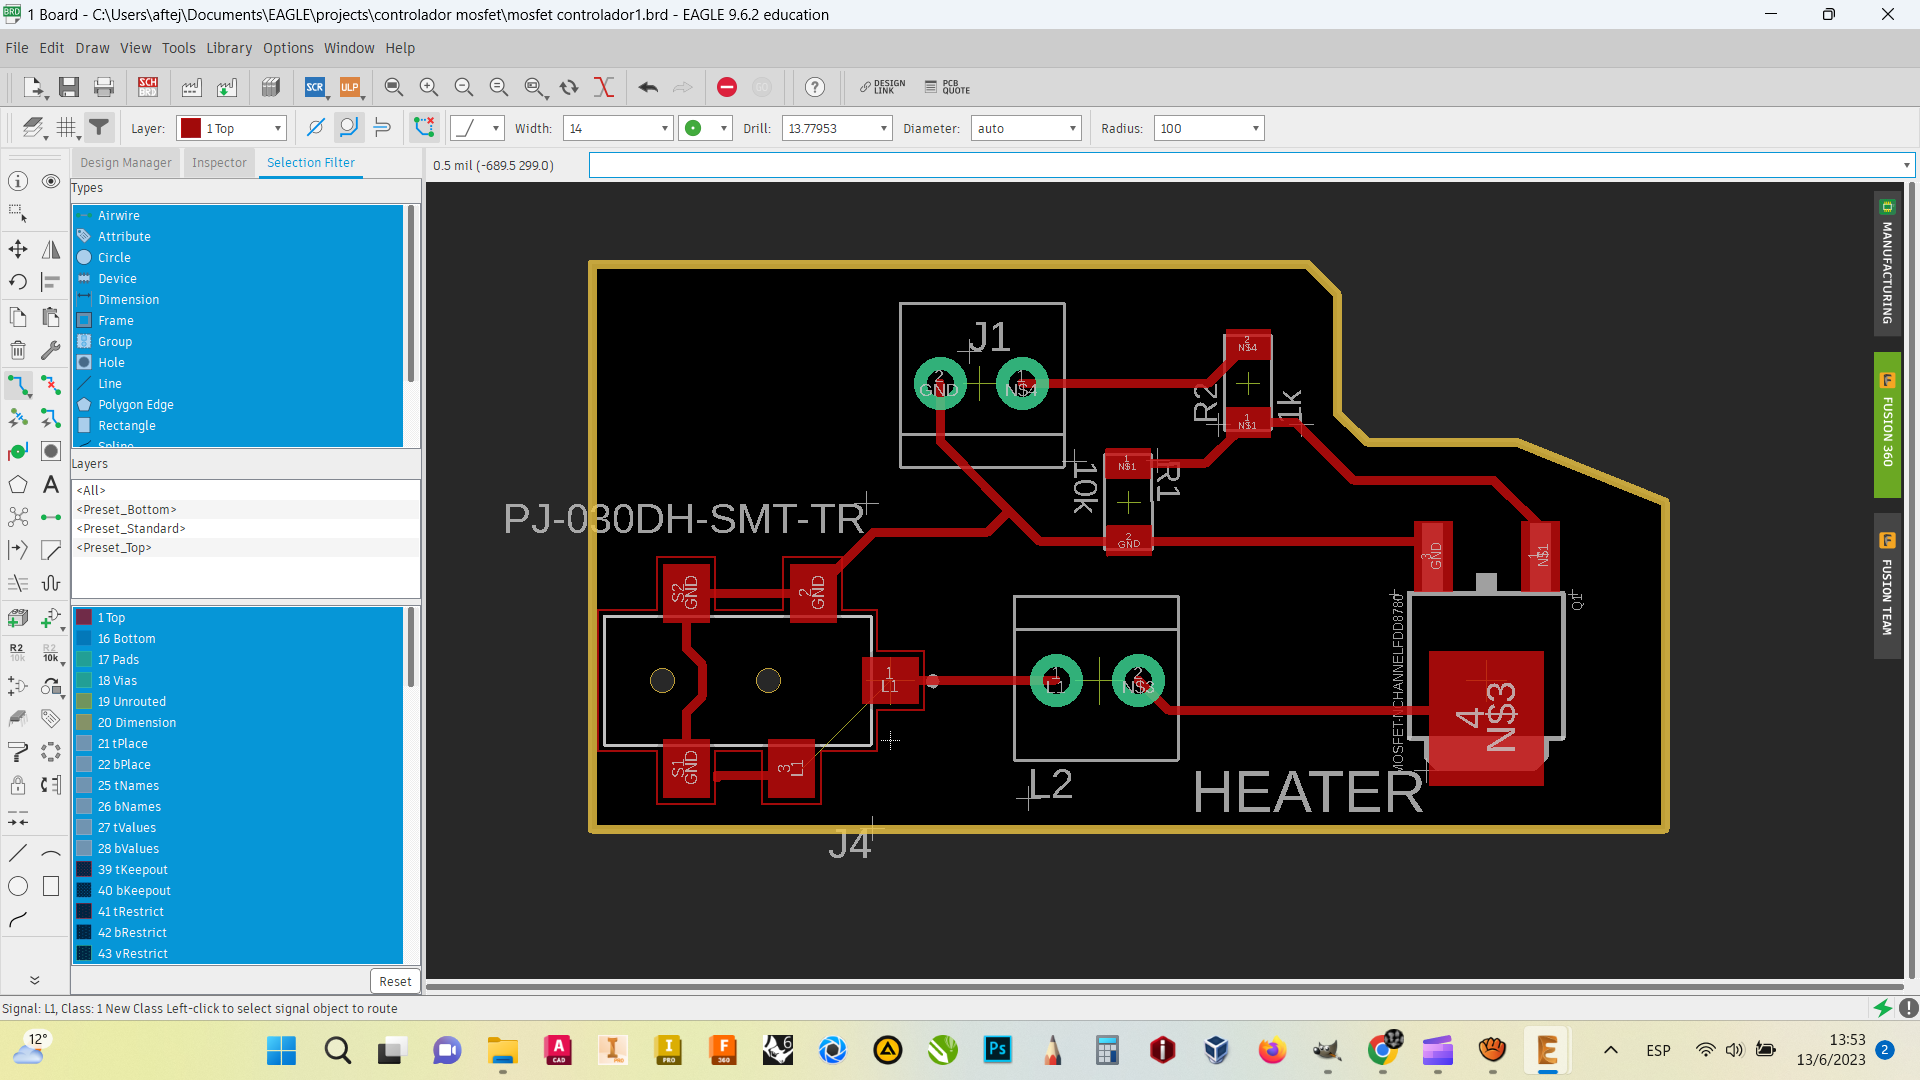
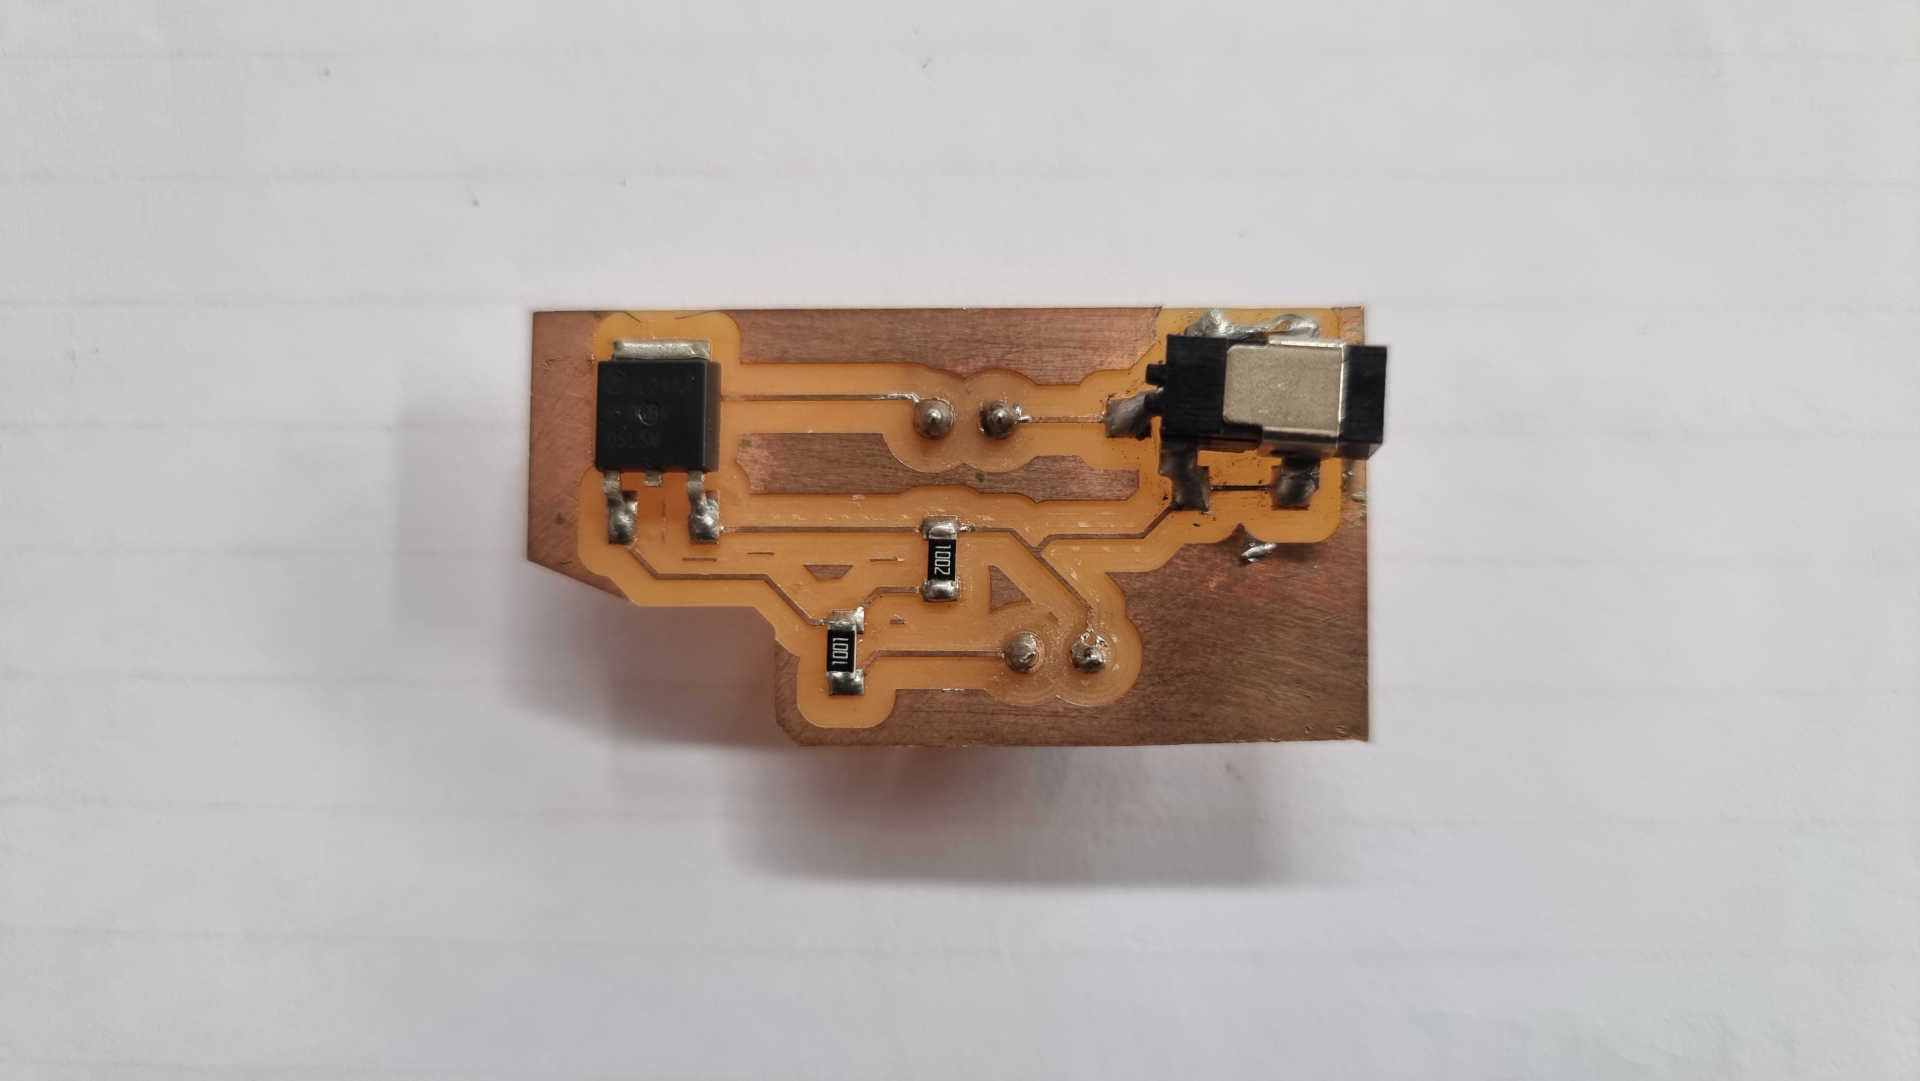
The mosfet board
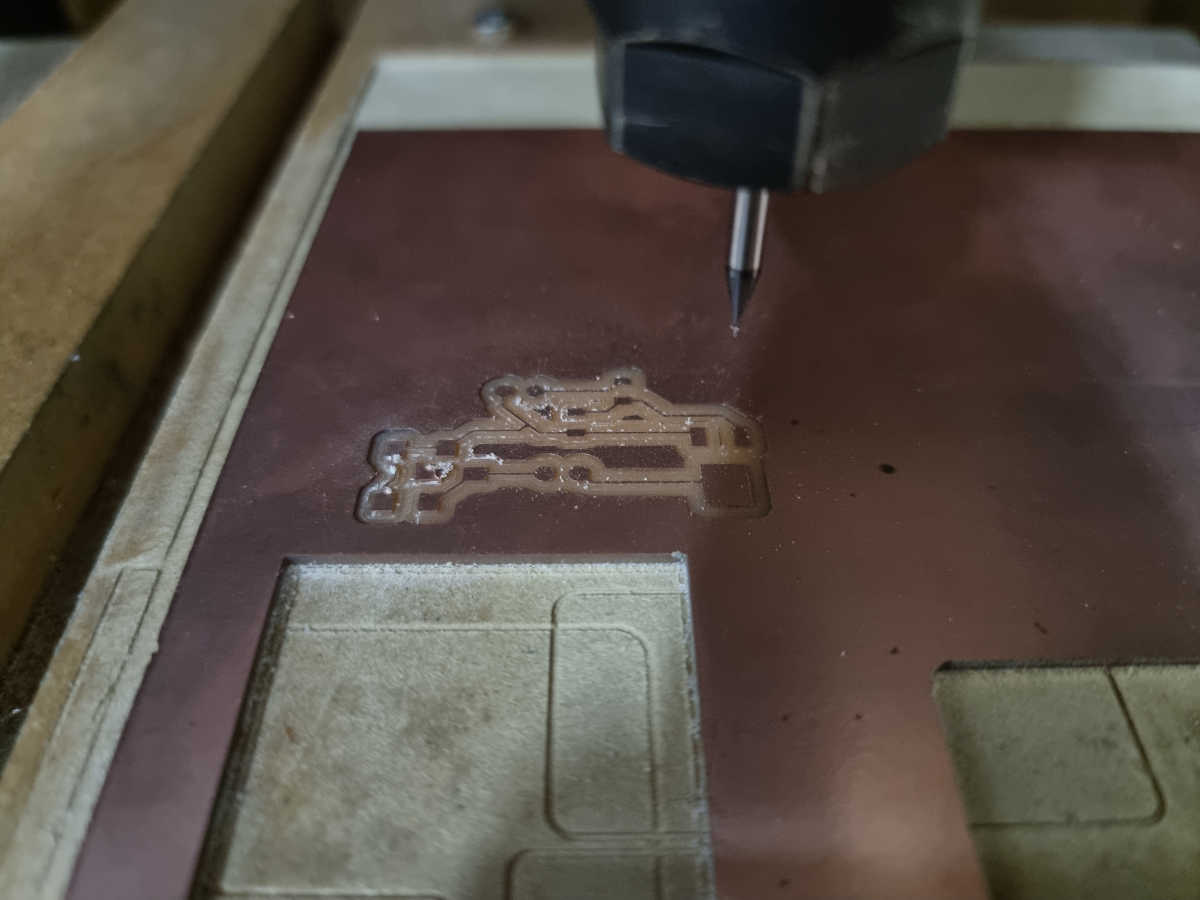
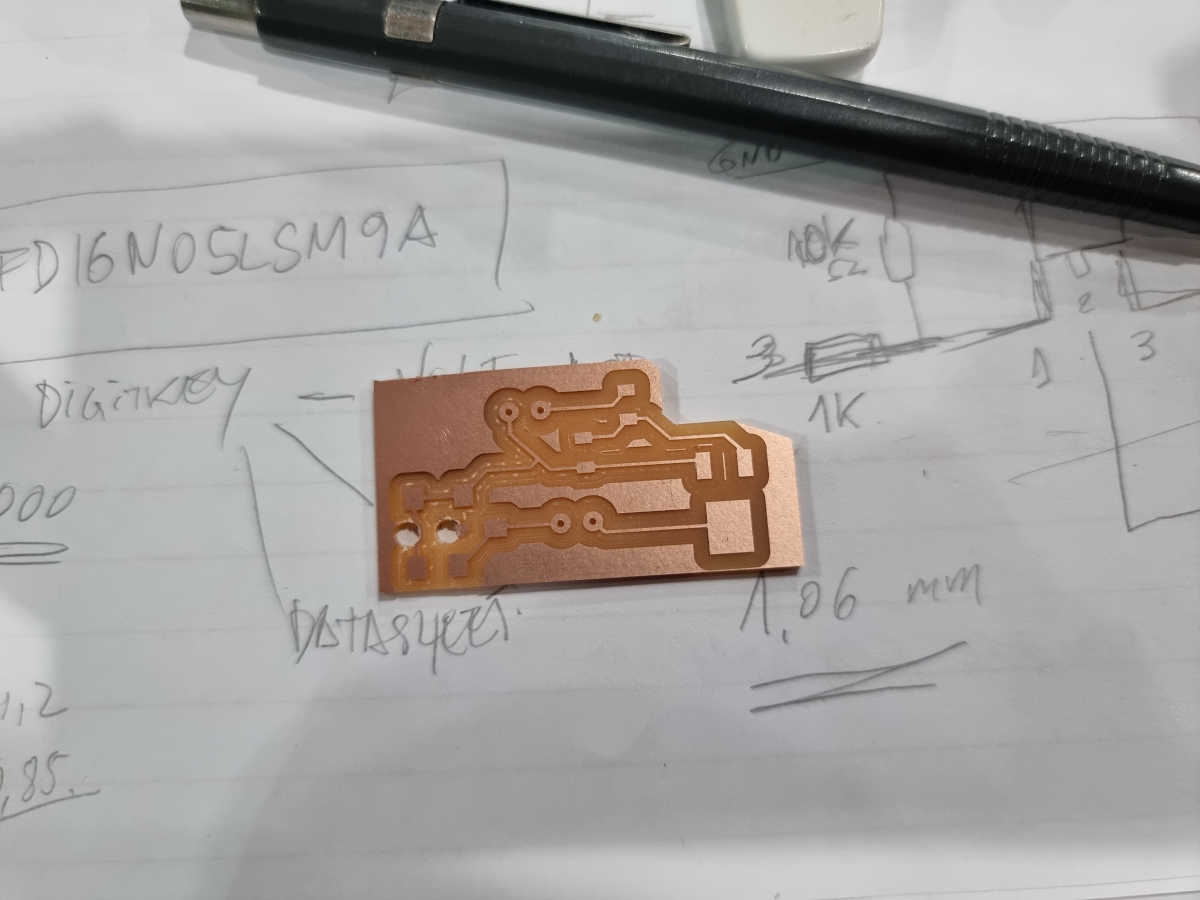
Machining the board
The board after soldering
The programming
After testing the board to see if it has any shortcut, the programming session starts.
I made 2 versions, one with delay and the other with a push button to start and stops the heater.
Because this time i didn´t have a good heater to test, i used a motor instead.
The result

What i have learnt?
I learned how to make a mosfet work, how to manage differetn currents with the same board for different aplications
Mosfet Eagle archives Arduino sketch 1 Arduino sketch 2 link to group assignment