2. Computer Aided design
Second assignment, CAD...also Raster
This time i try different softwares of 2D, 3D and raster, as a sneek a peek to see which one is the chosen one to model my project
I am a frecuent user of corelDarw and Photoshop, so this time i use Gimp for my scanned and edited images.
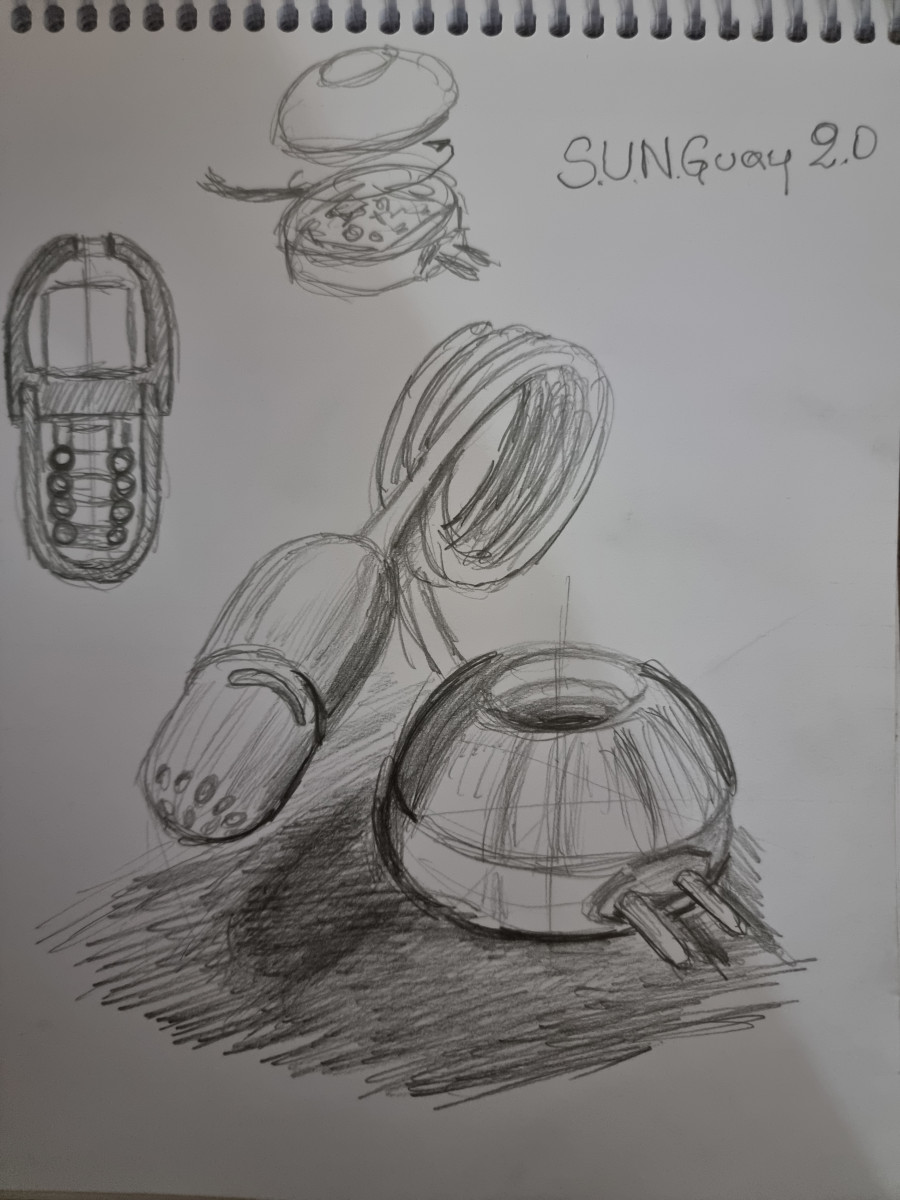
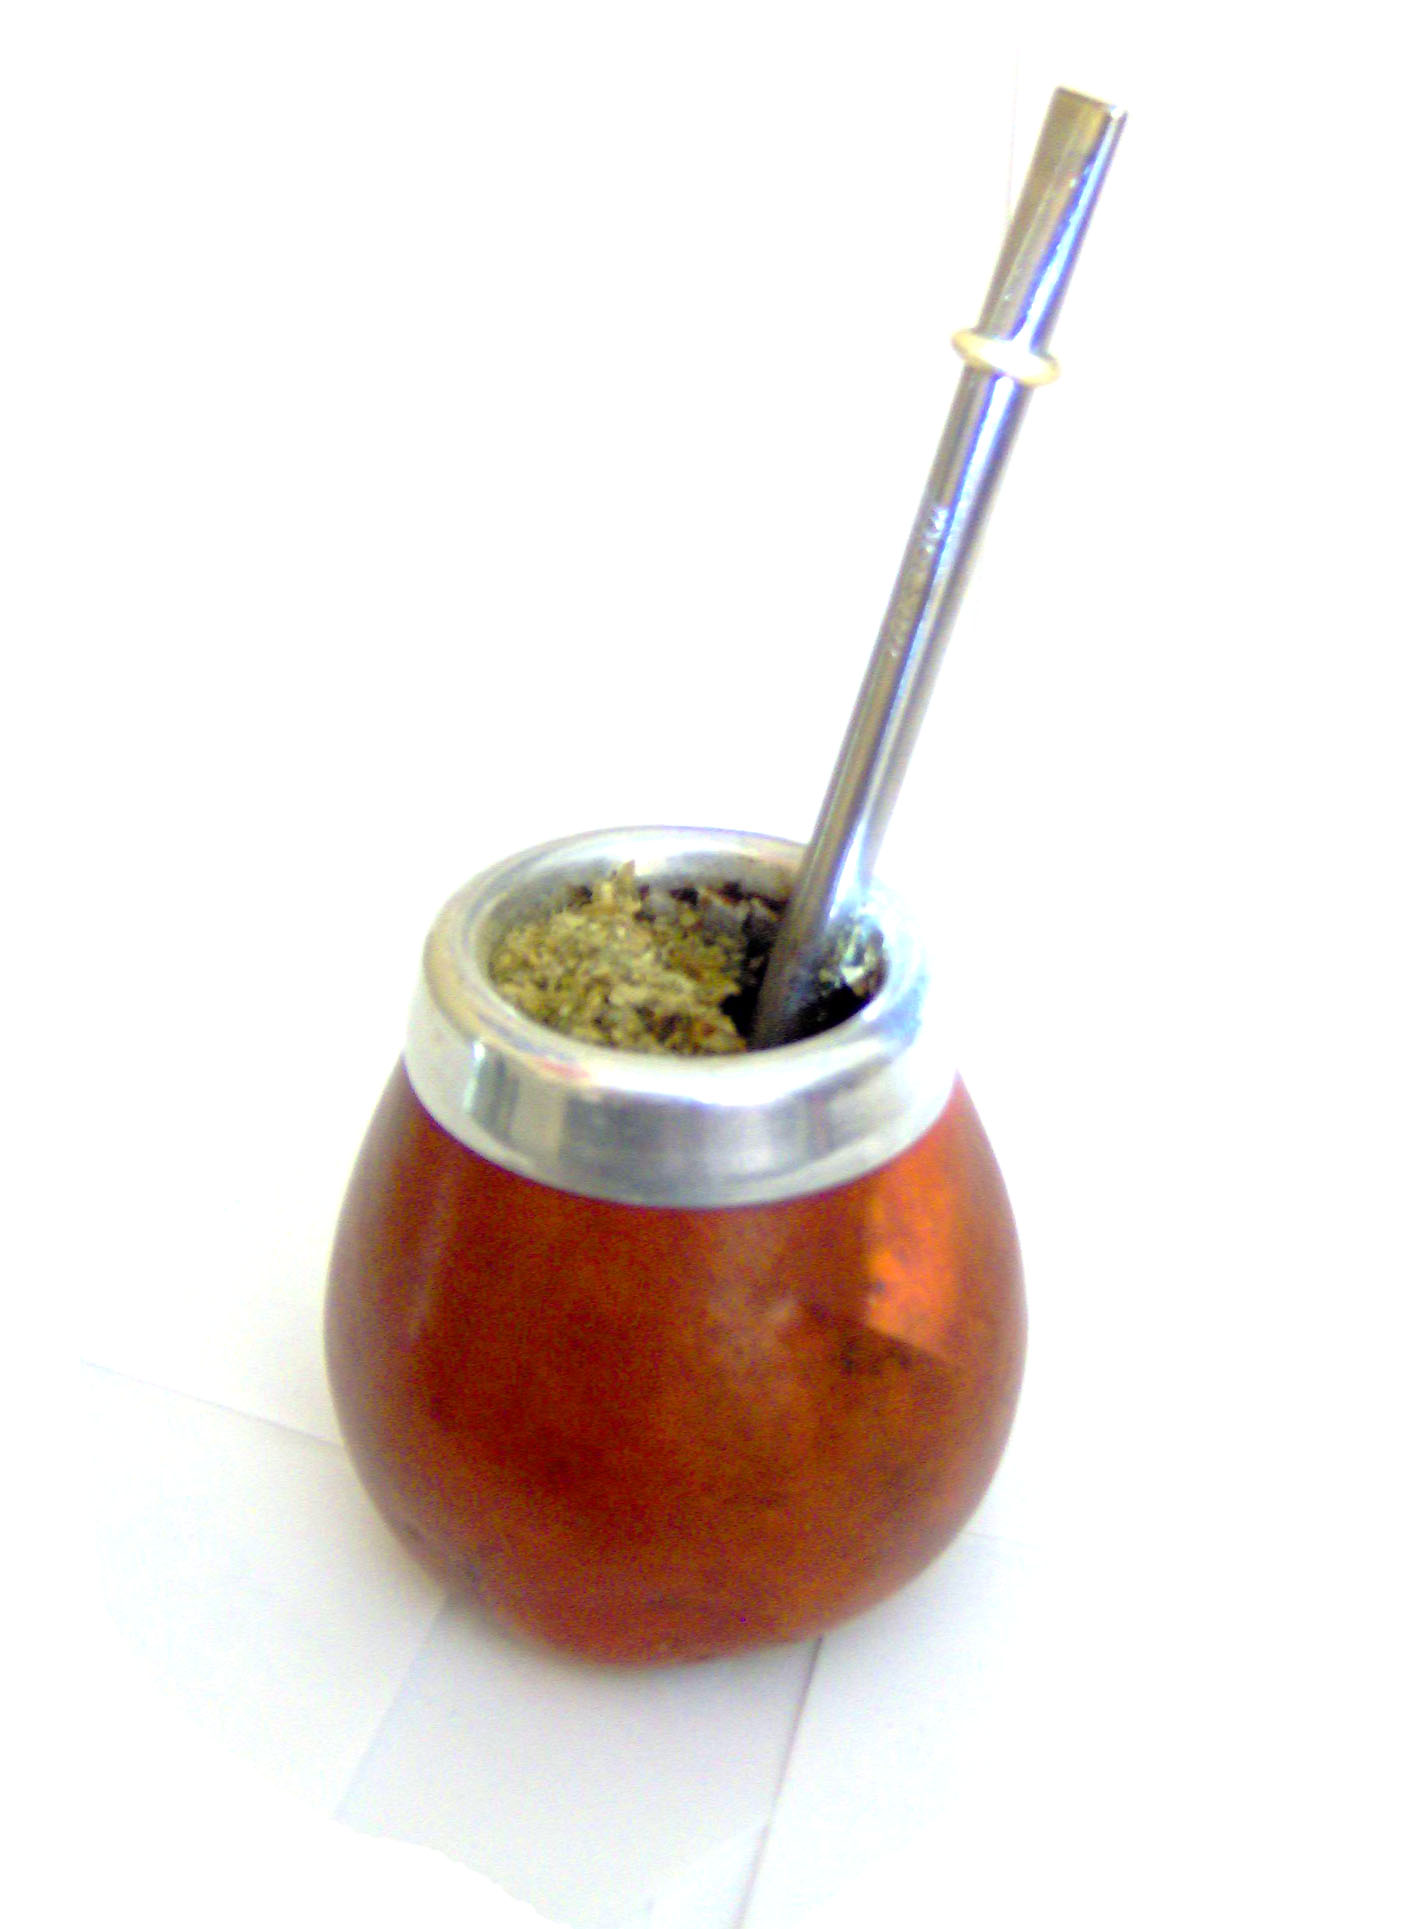
Here is an example of my sketch and i downscaled to fit the correct size for my webpage.
Gimp
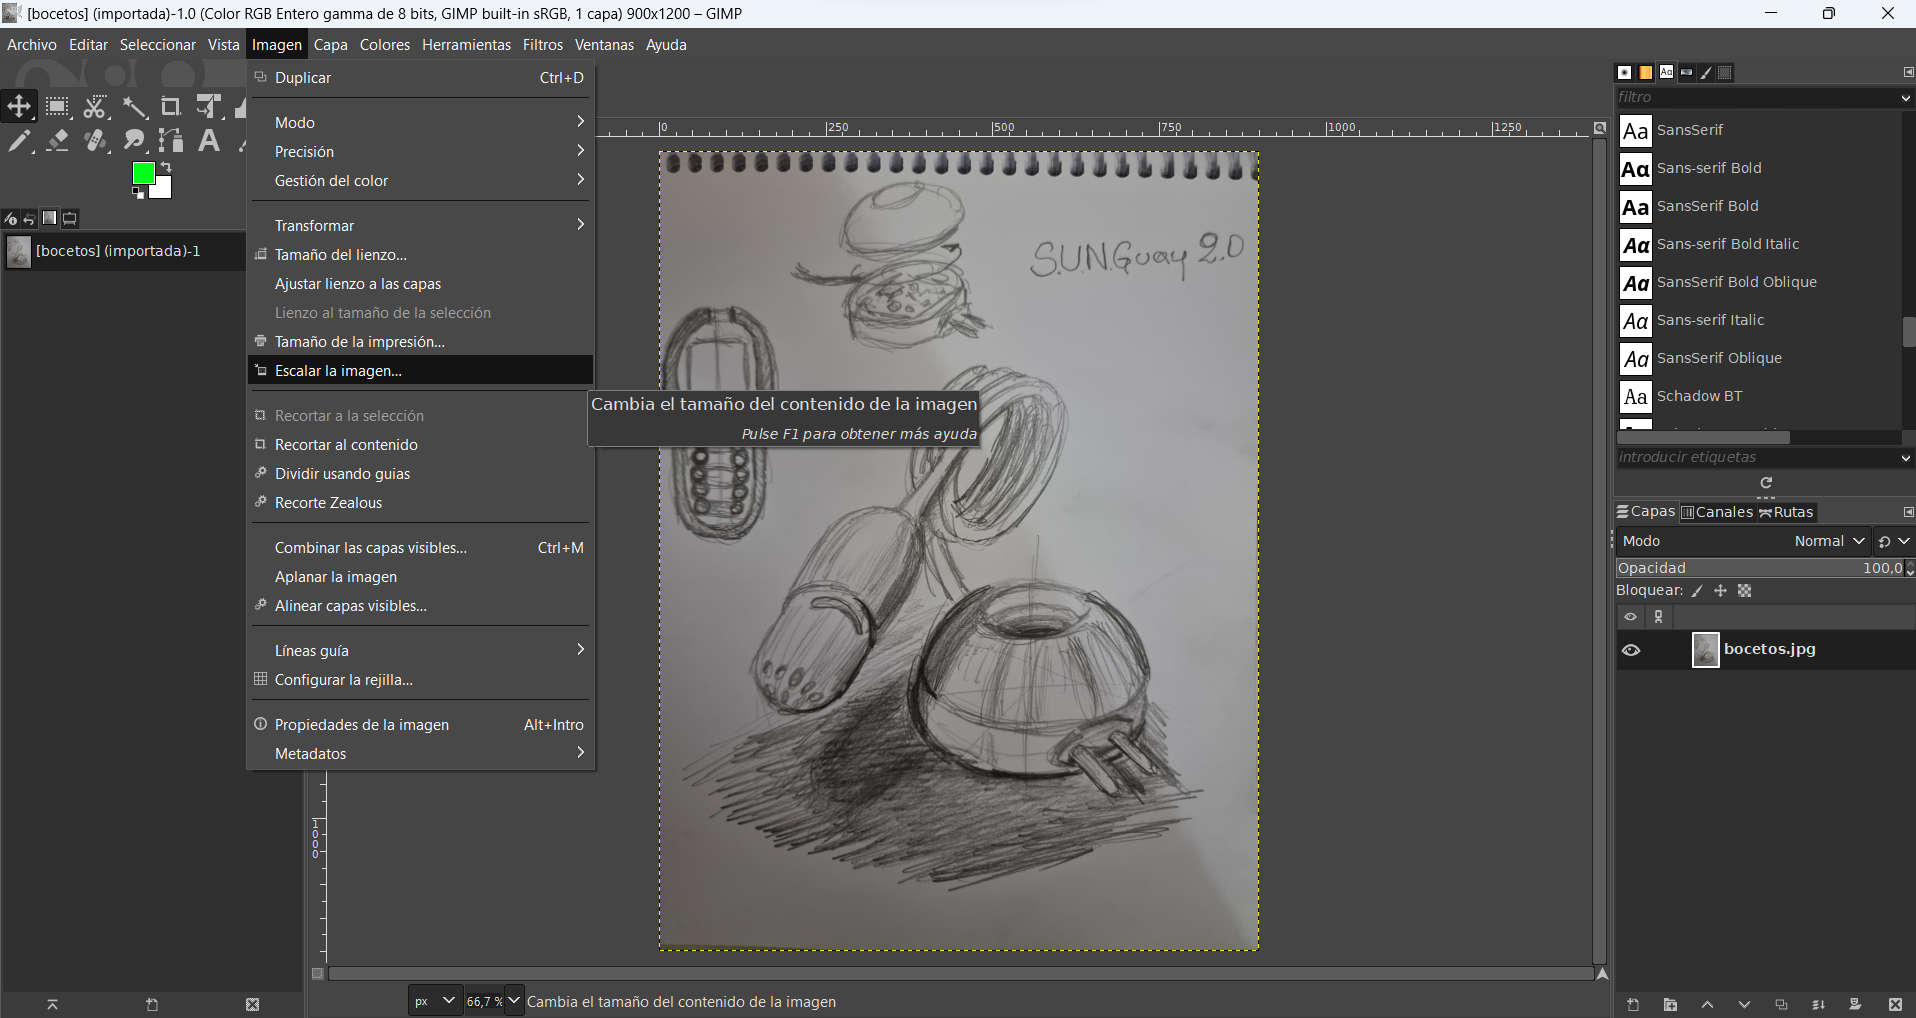
After import the scanned image, i need to scale down the image to fit the desired size to be able to upload it.
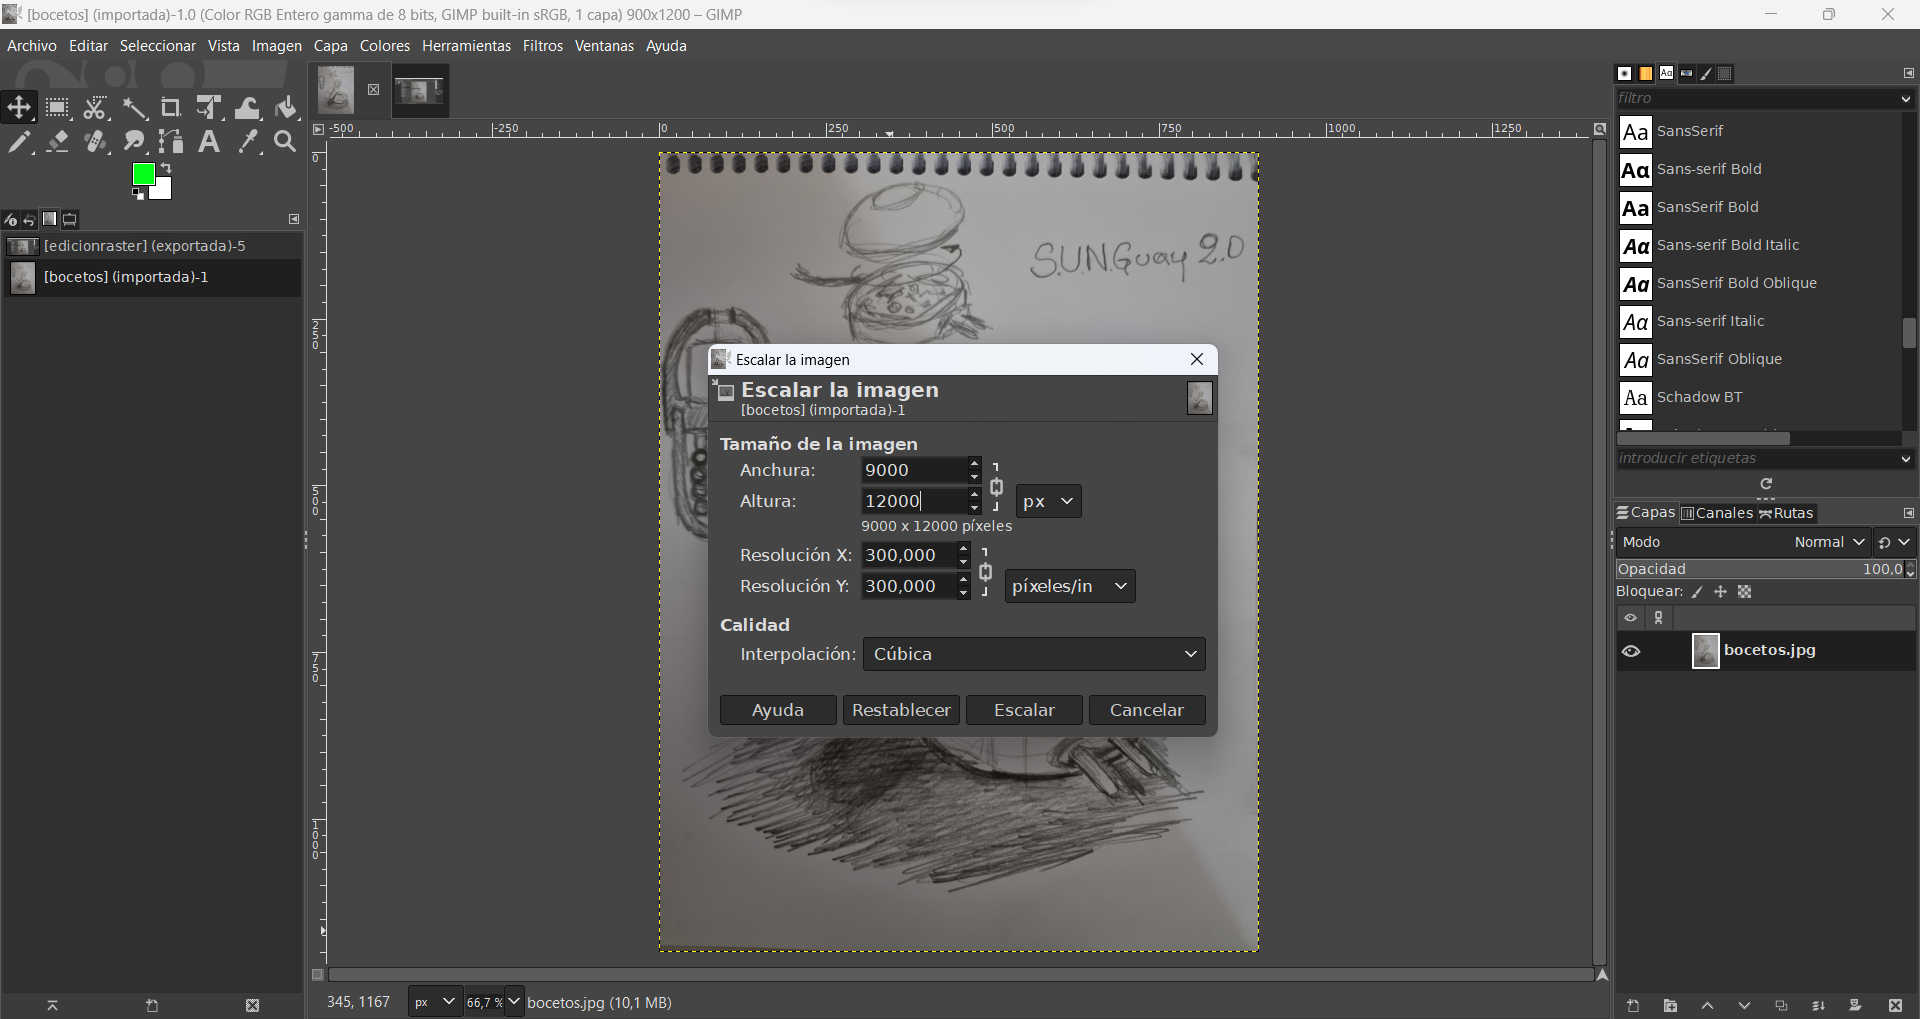
The image window unfolds and give you choices of size and resolution.
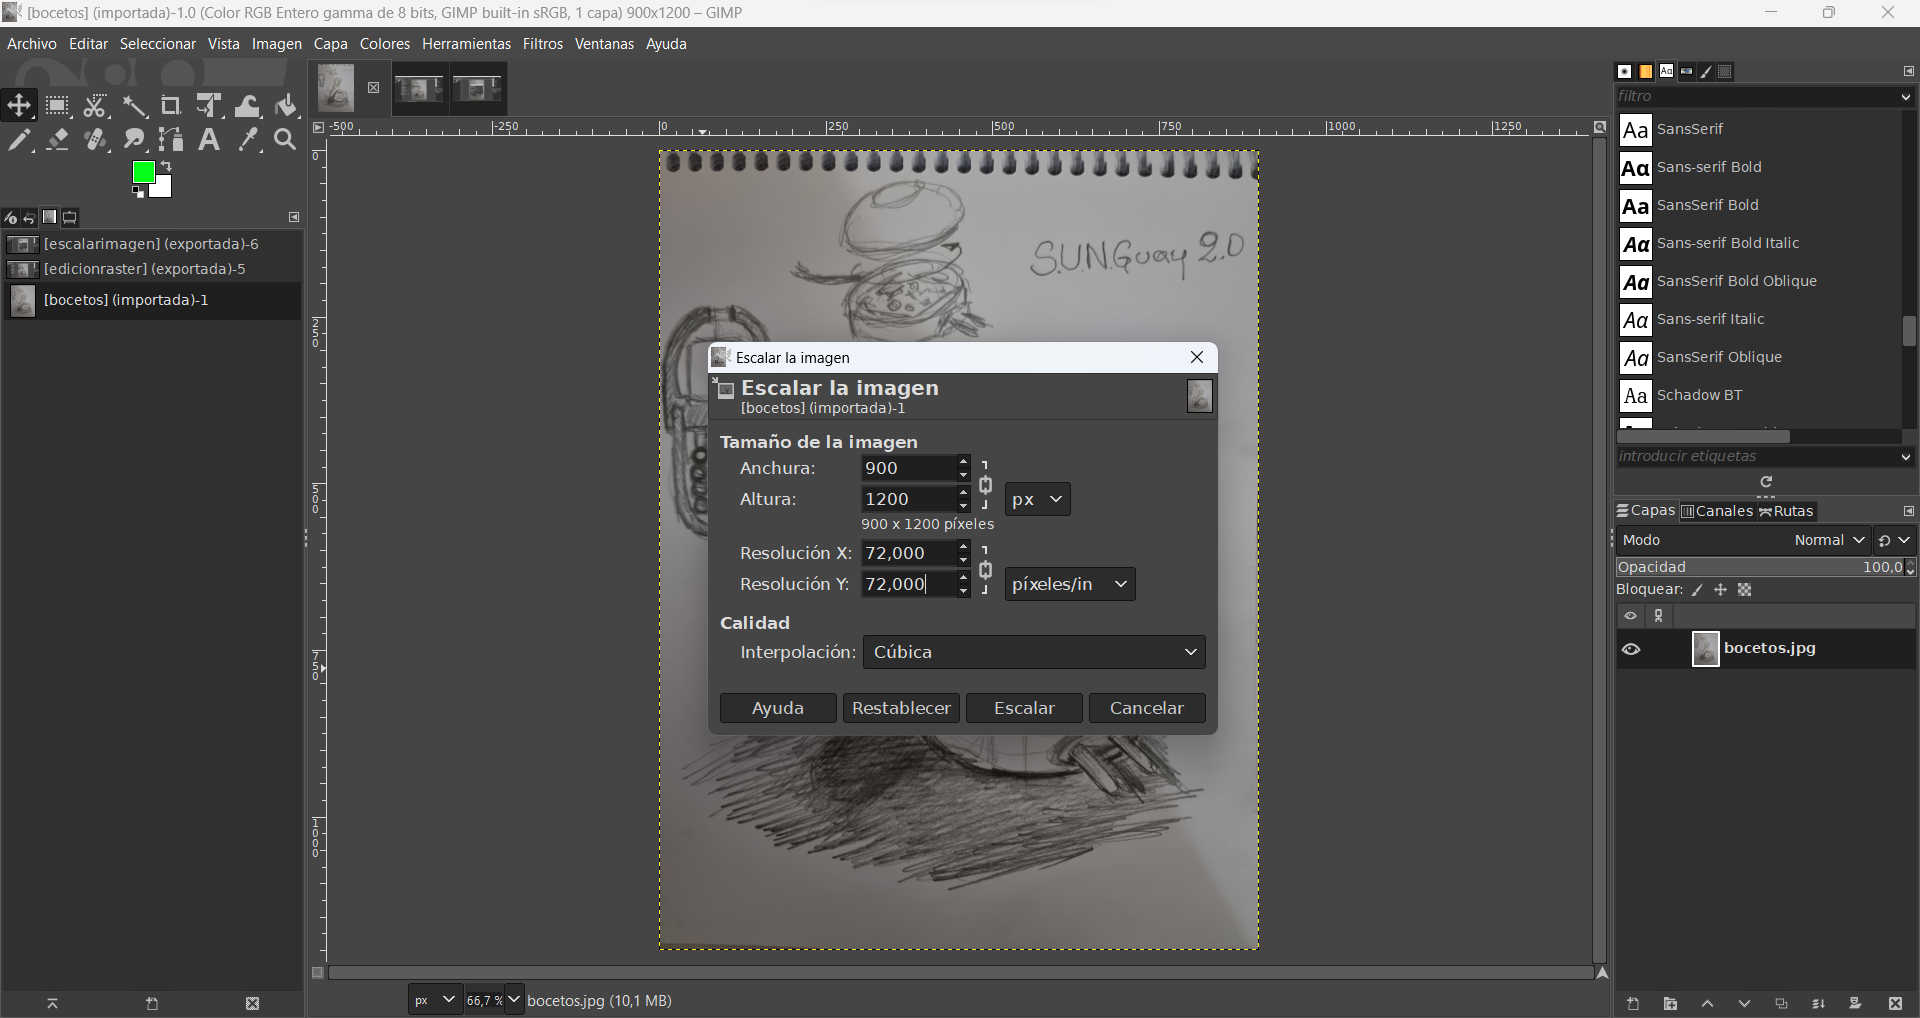
To make it useful for my web page, the size should be 1920 x 1080, and have a resolution of 72 dpi.
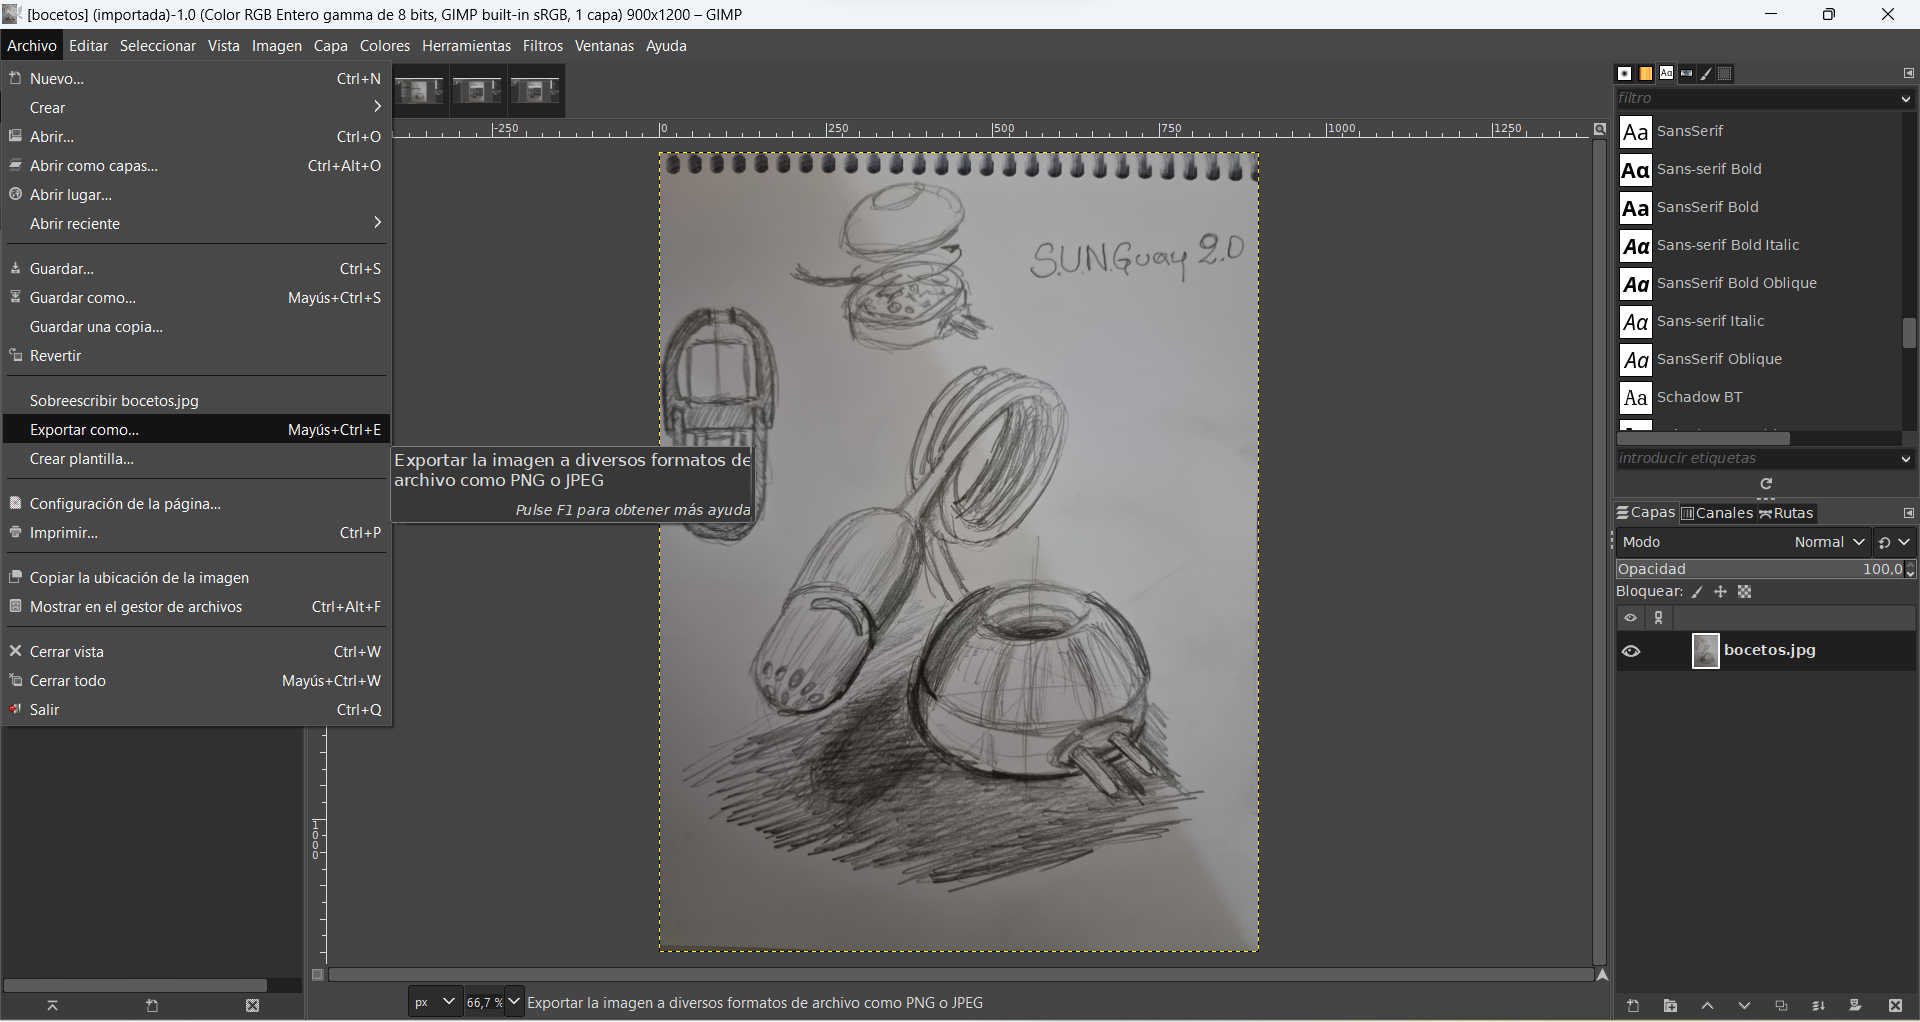
After that, i need to export it with the file extension .jpg or .png.
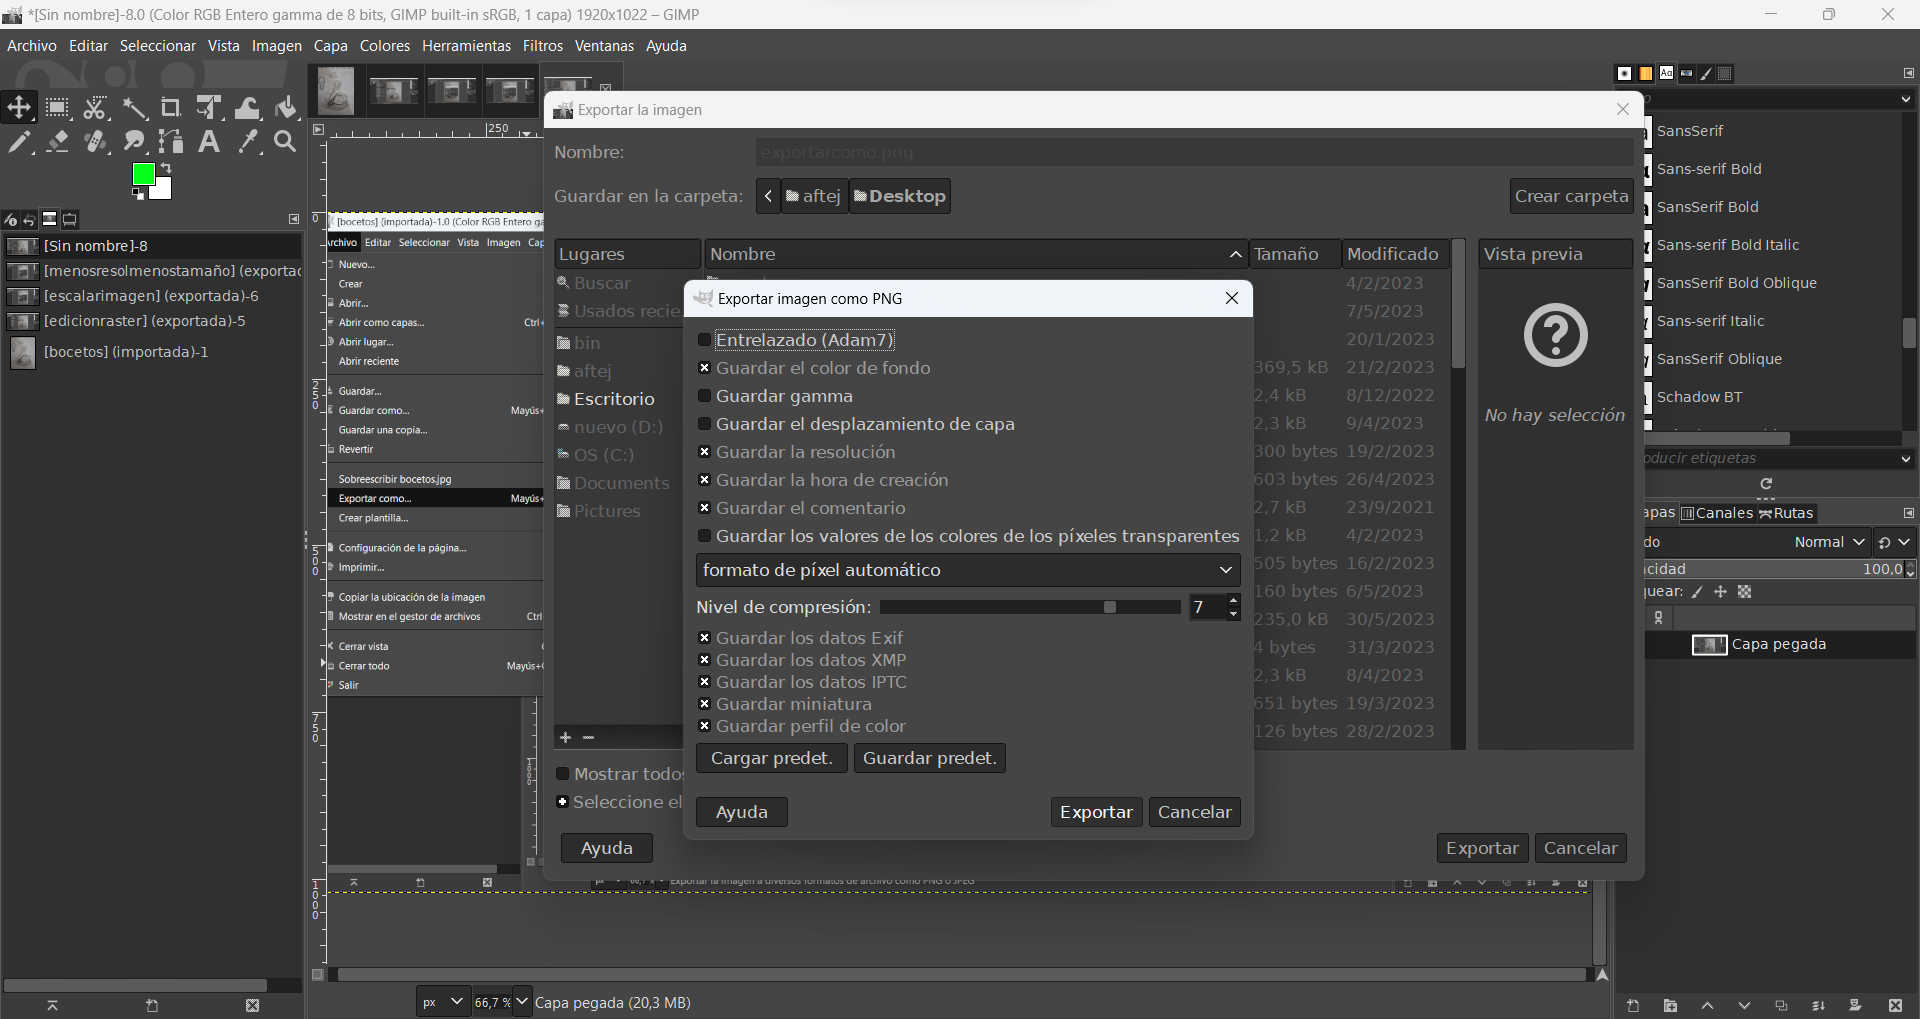
Right here, i can also downscale the level of resolution for my image, to get a smaller size.
Corel Draw
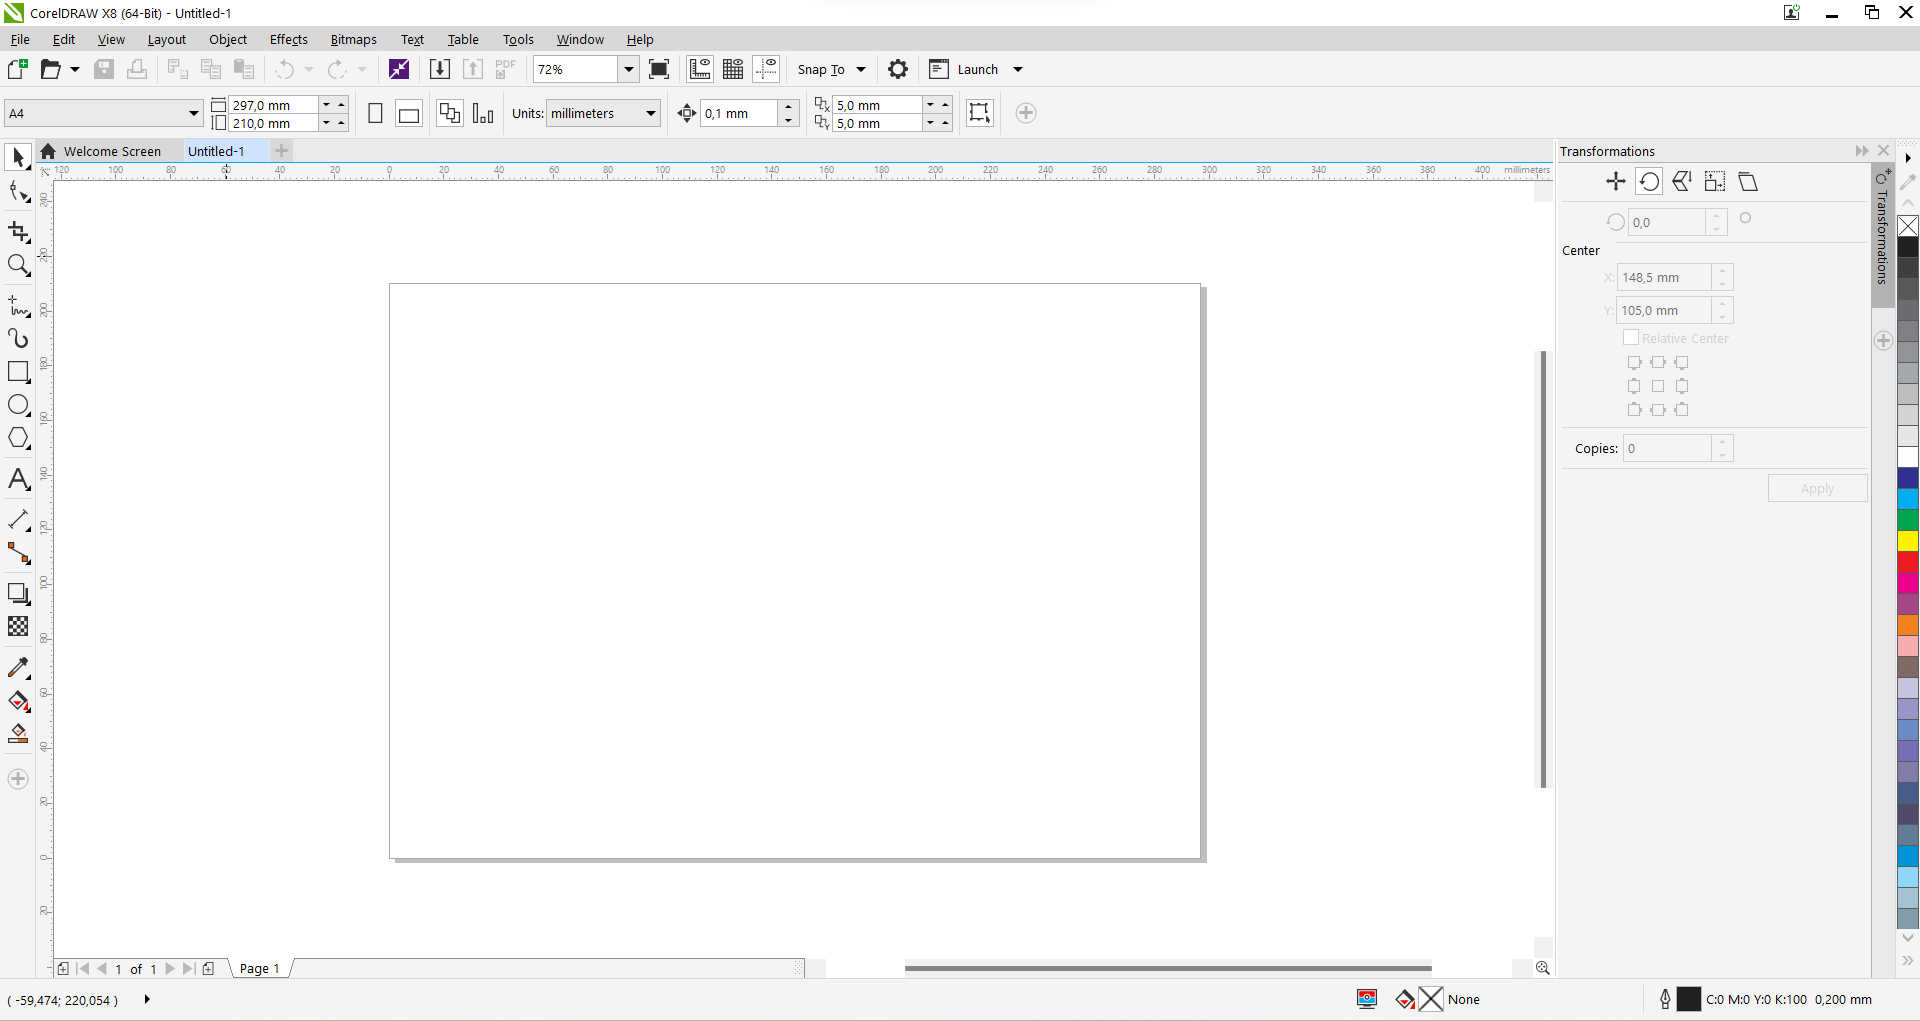
Now i want to show how to draw my "MATE" from an image imported.
For this task, i started to import my image in the workspace.
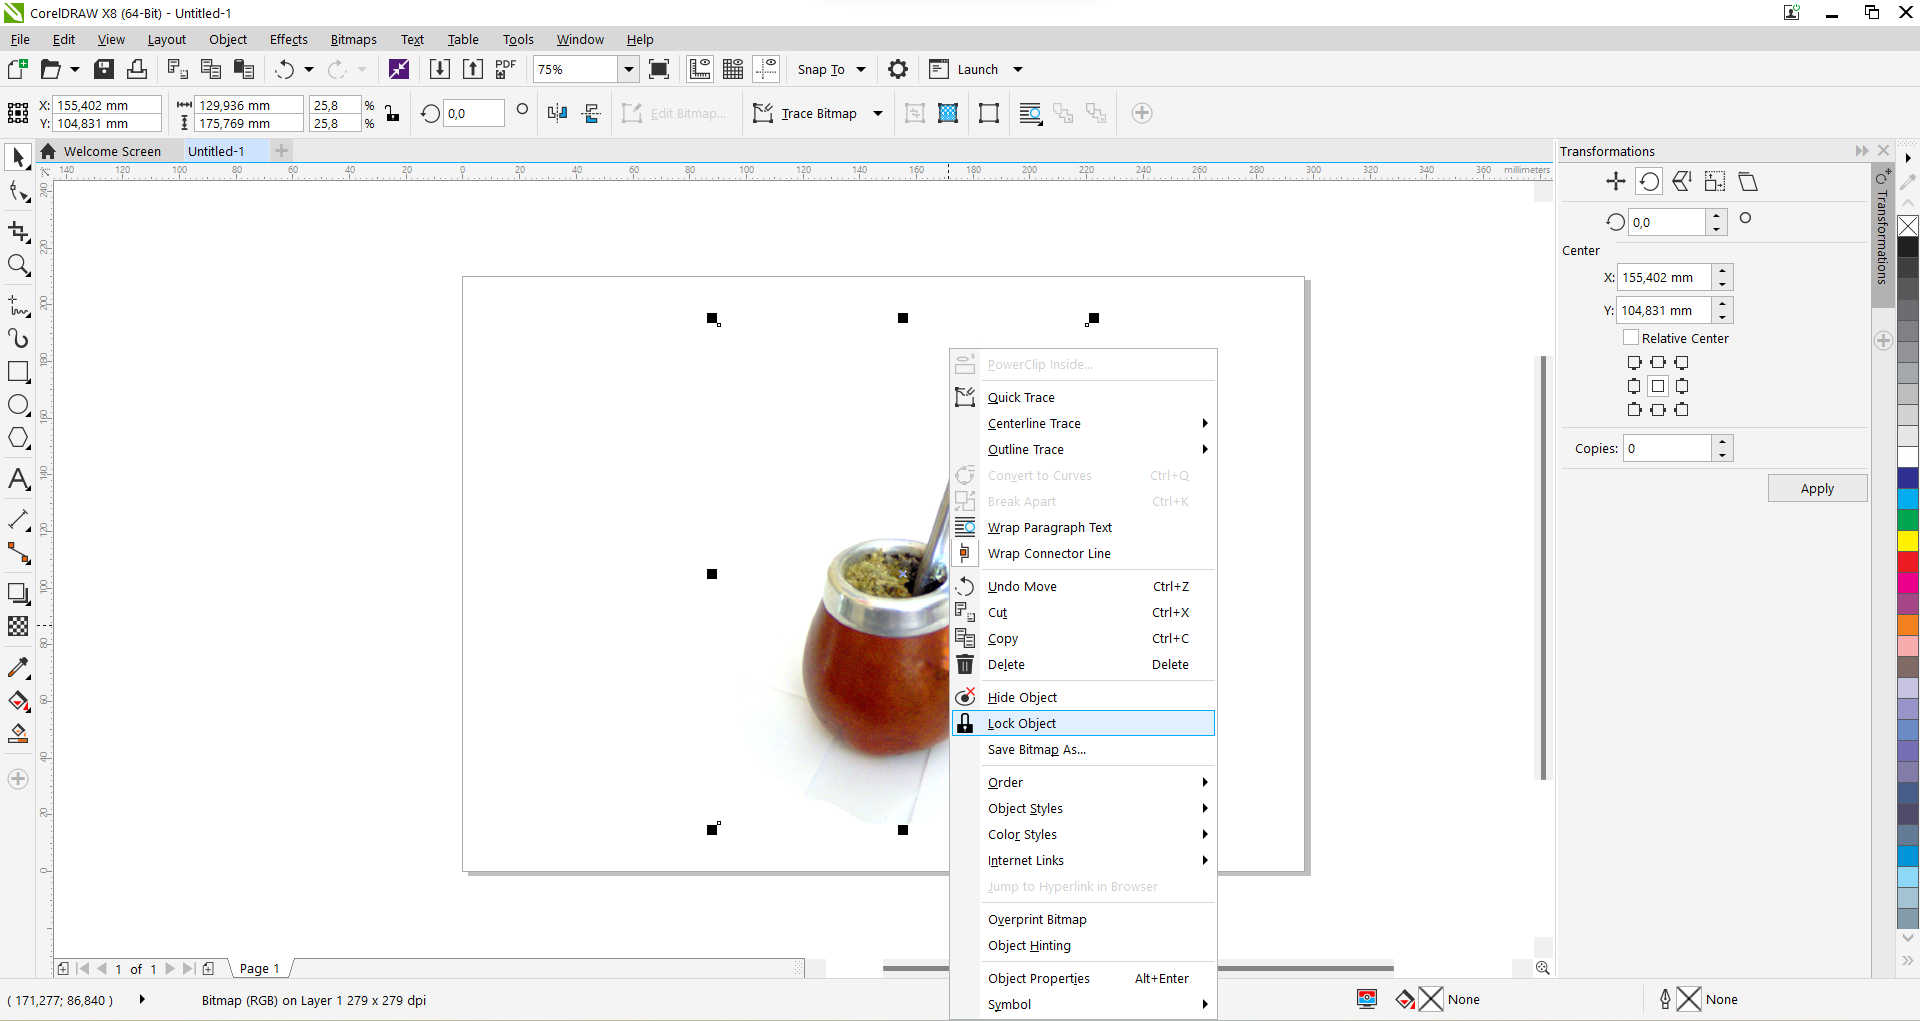
Locked the image, because i will draw over it and i don't want it to move away.
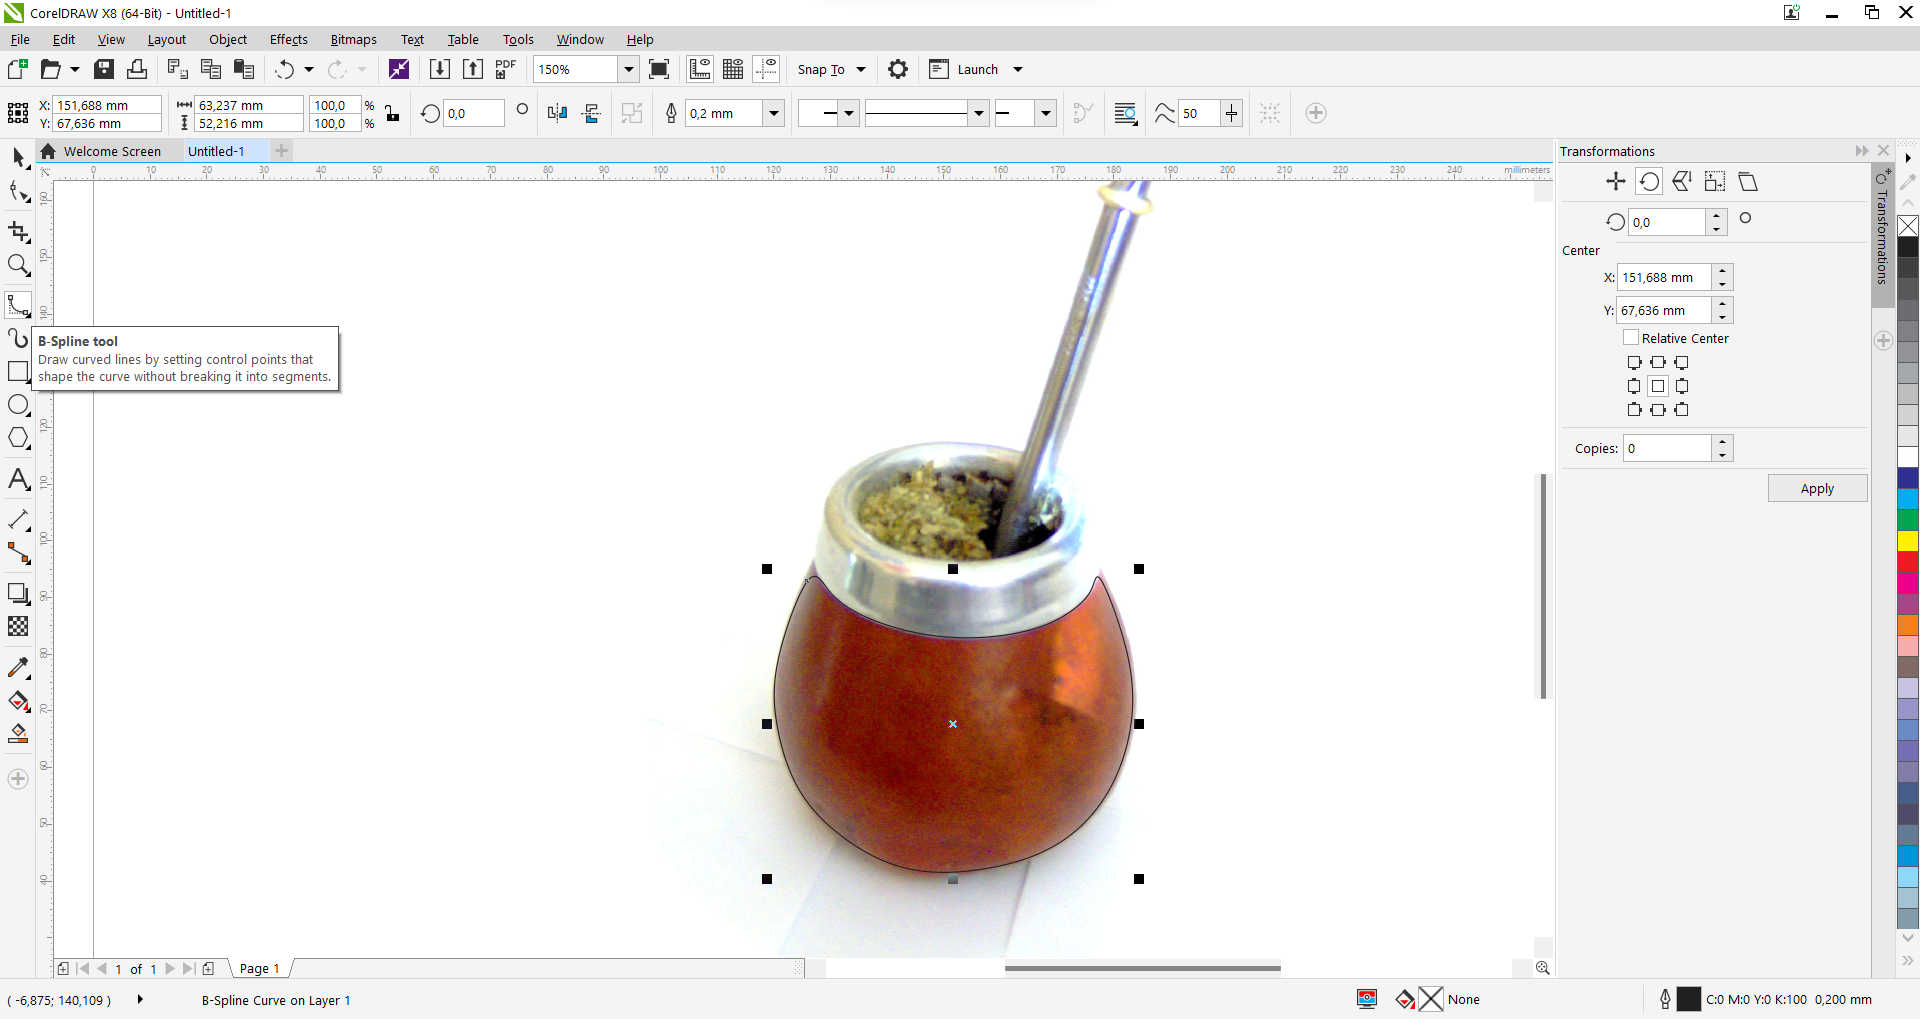
For the drawing, i used spline to make the curves.
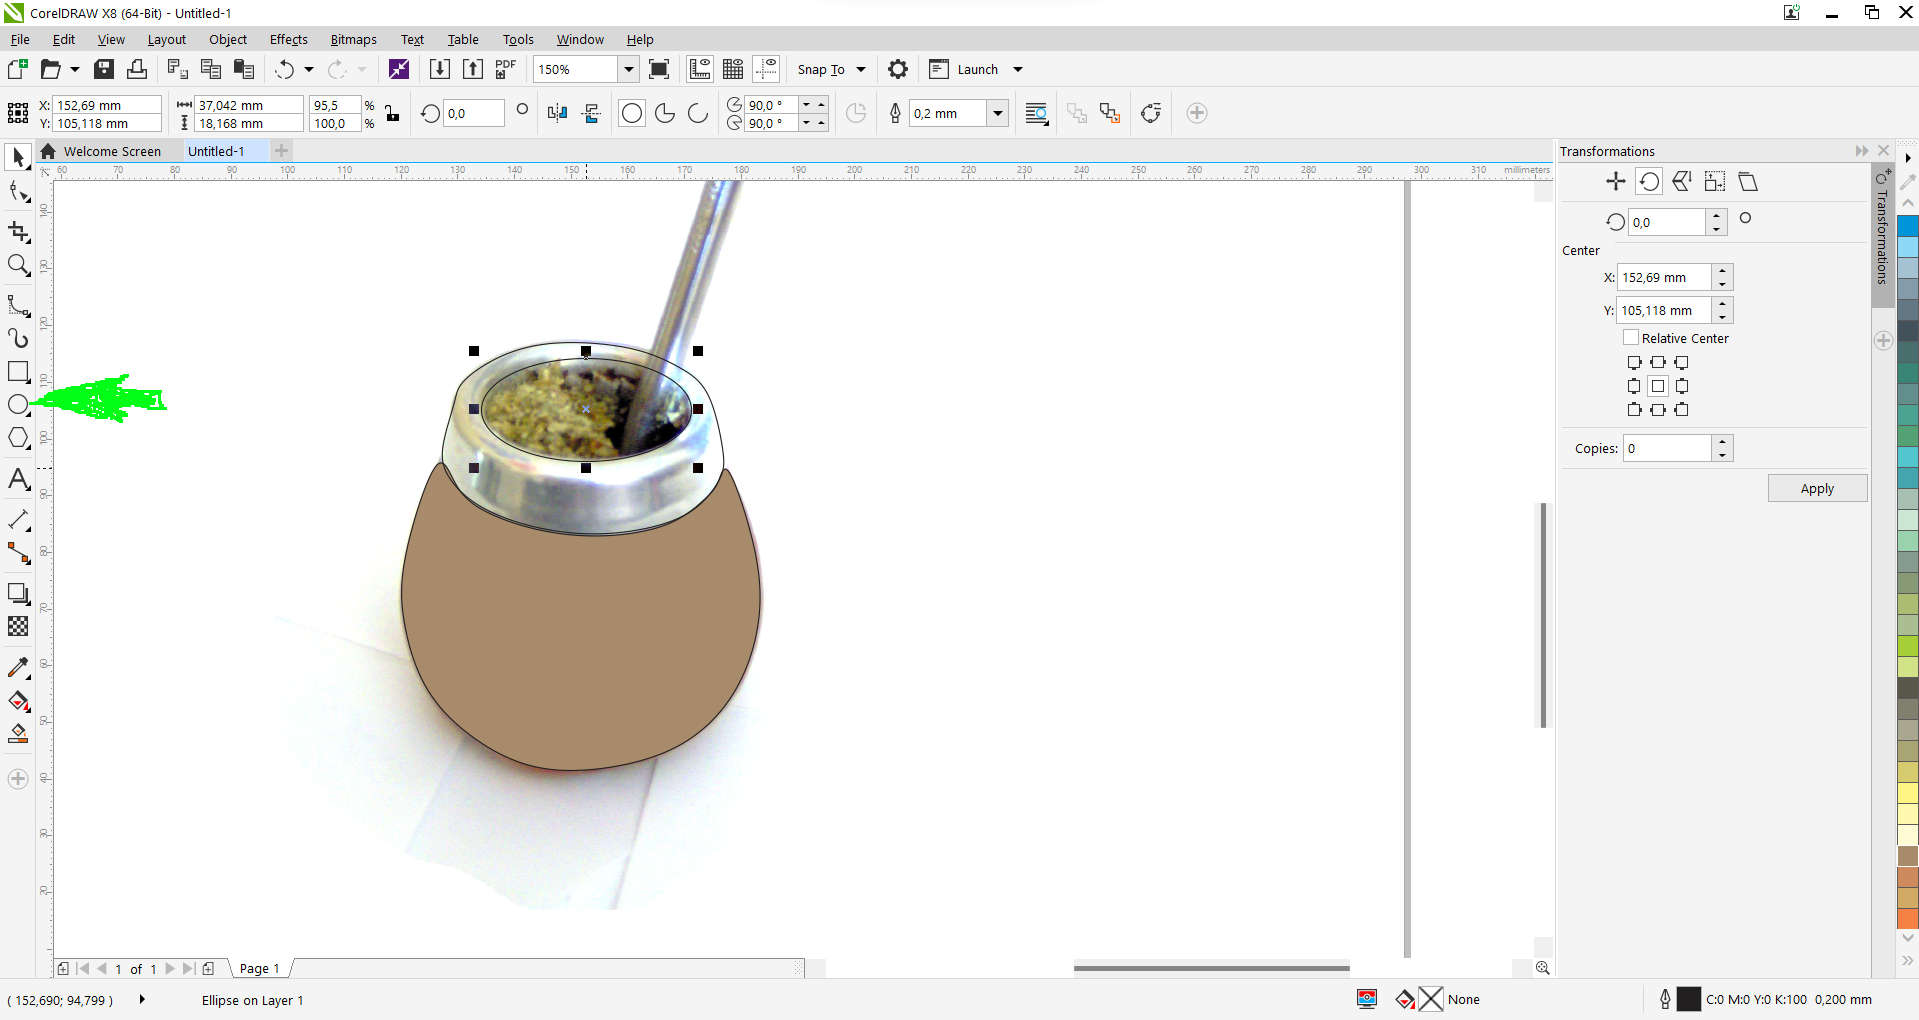
After the curves, i made one elipse to simulate the hole of the MATE.
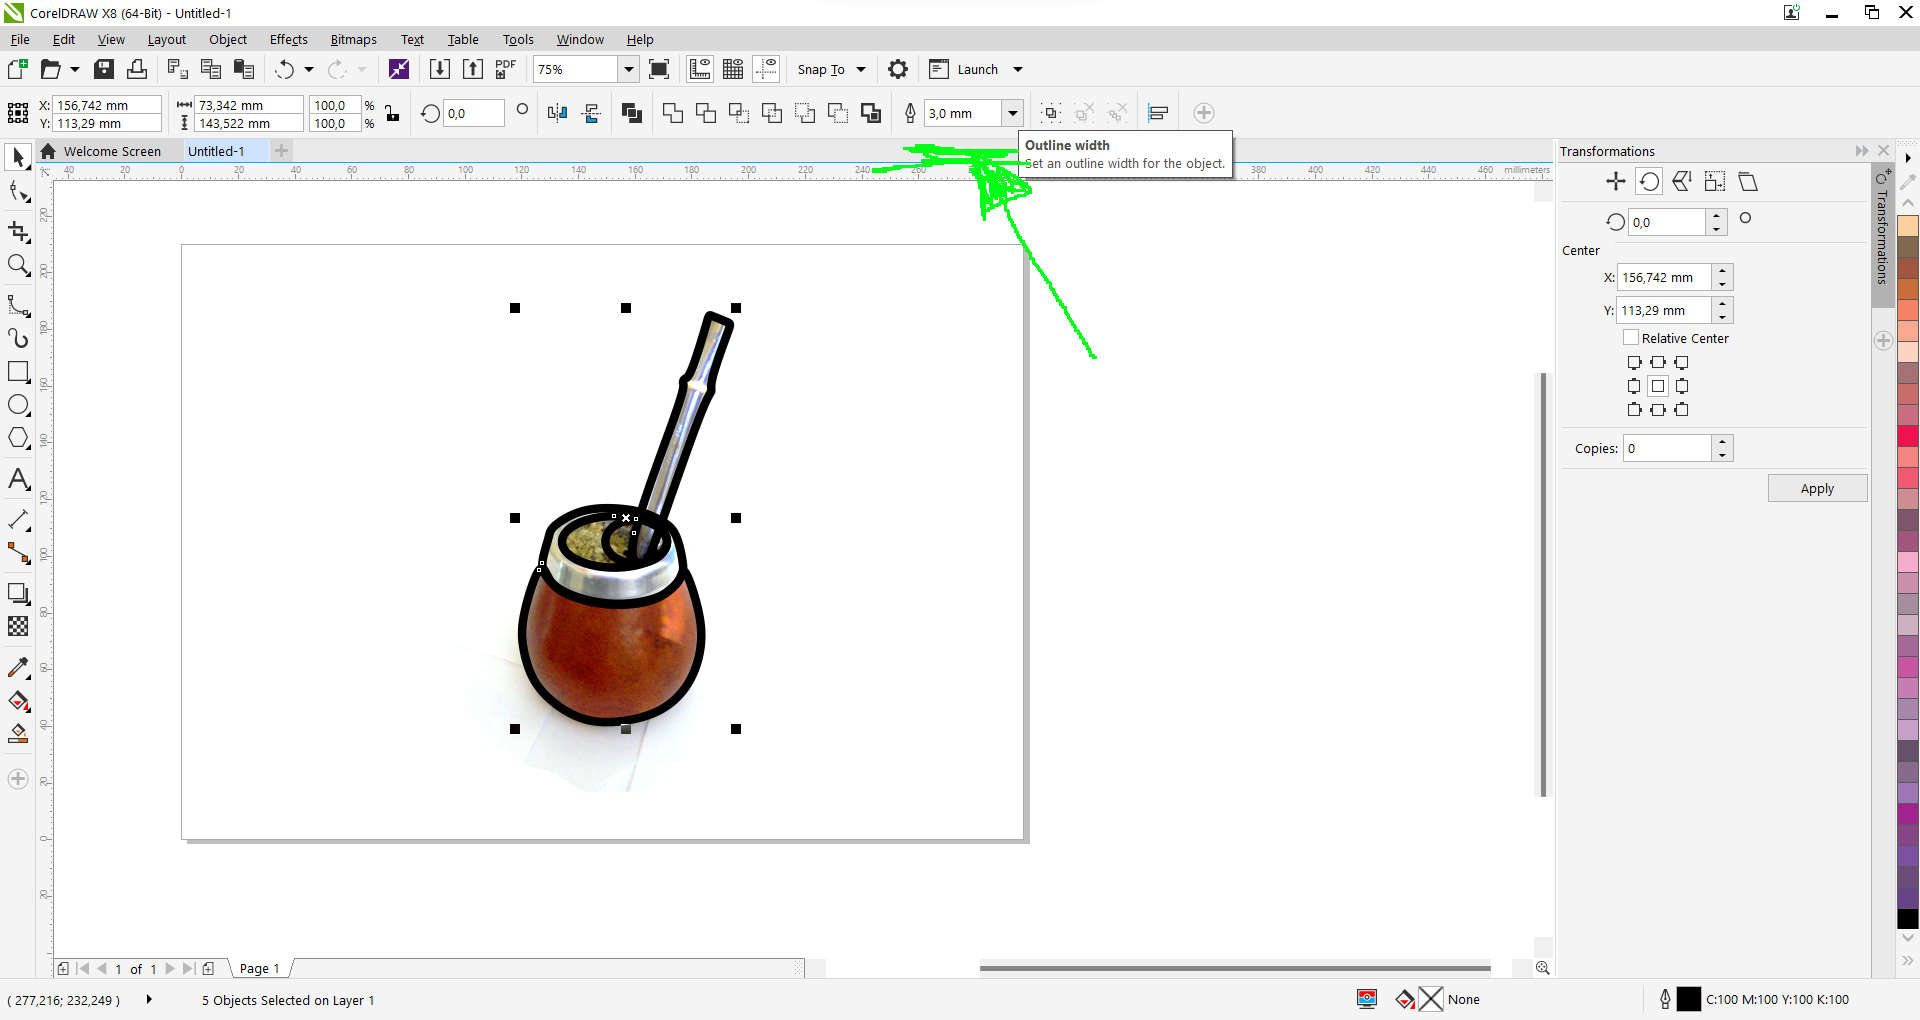
For a better definition i made the outline wider, modifying the thickness of the line.
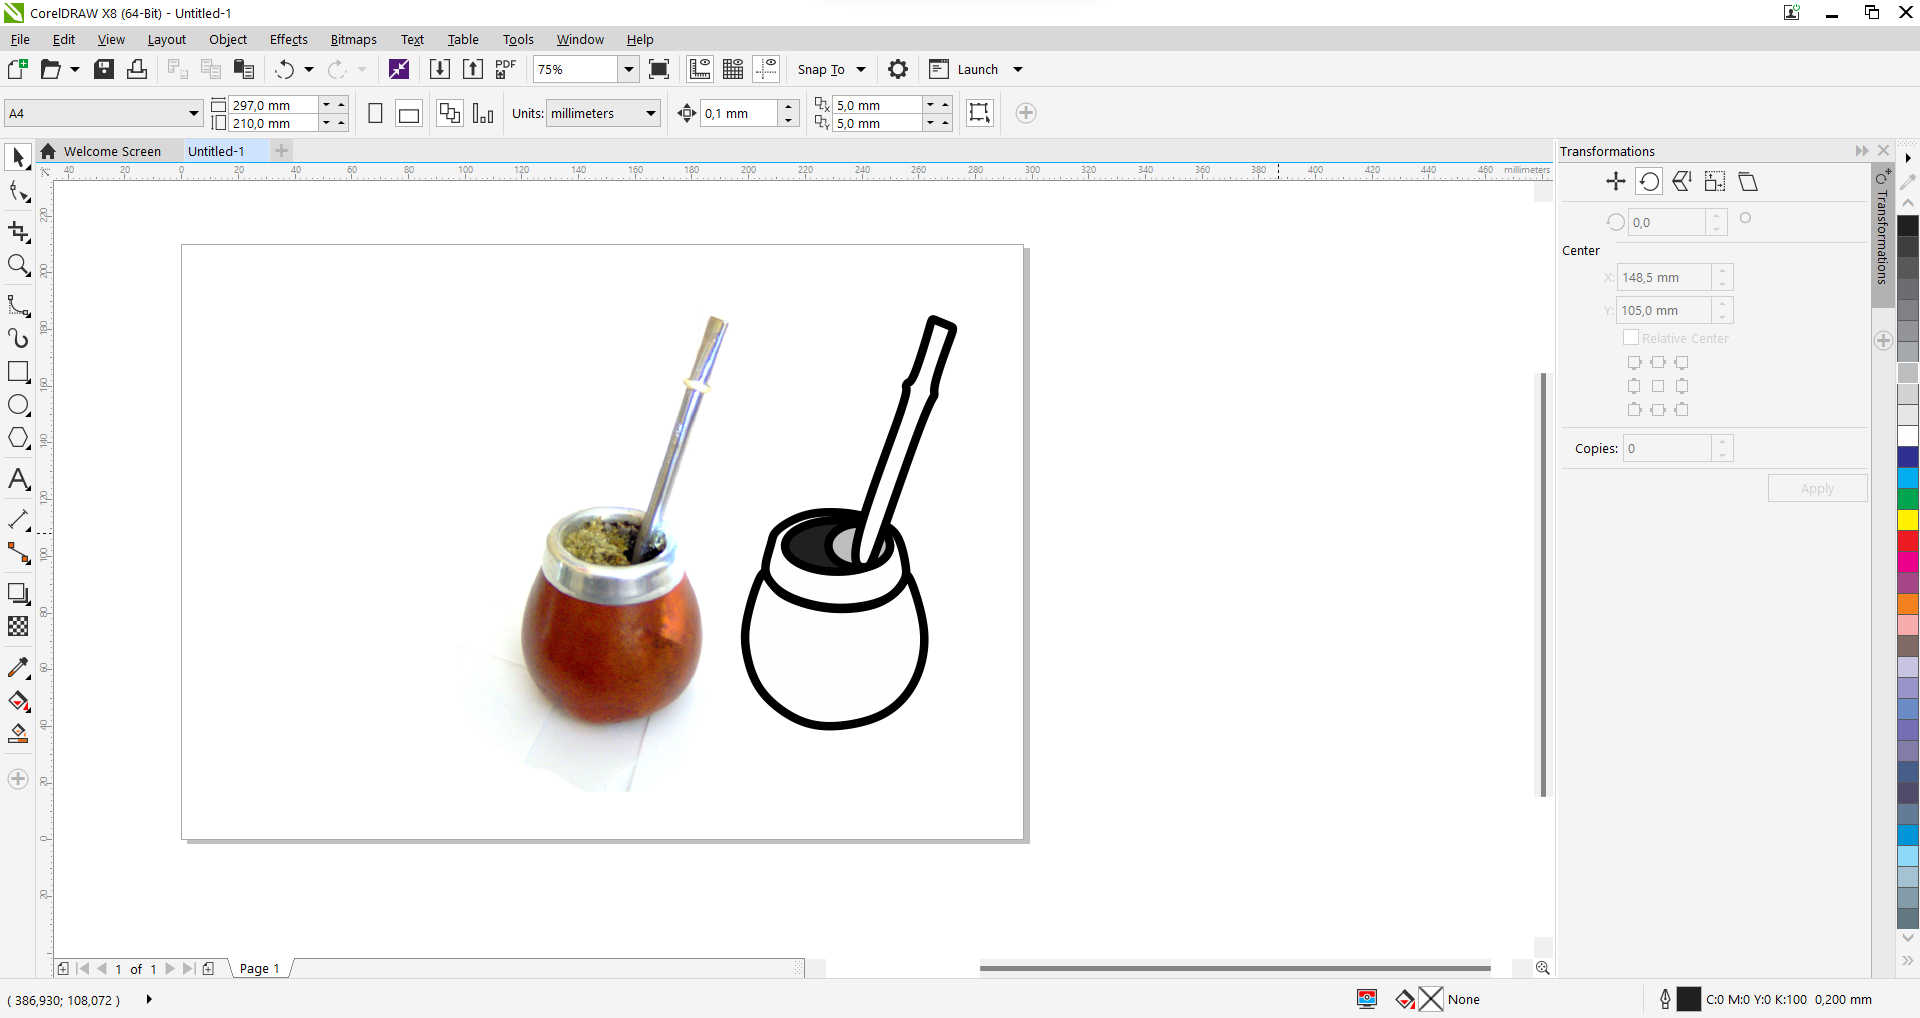
Move away the draw to make it esay for selection and export.
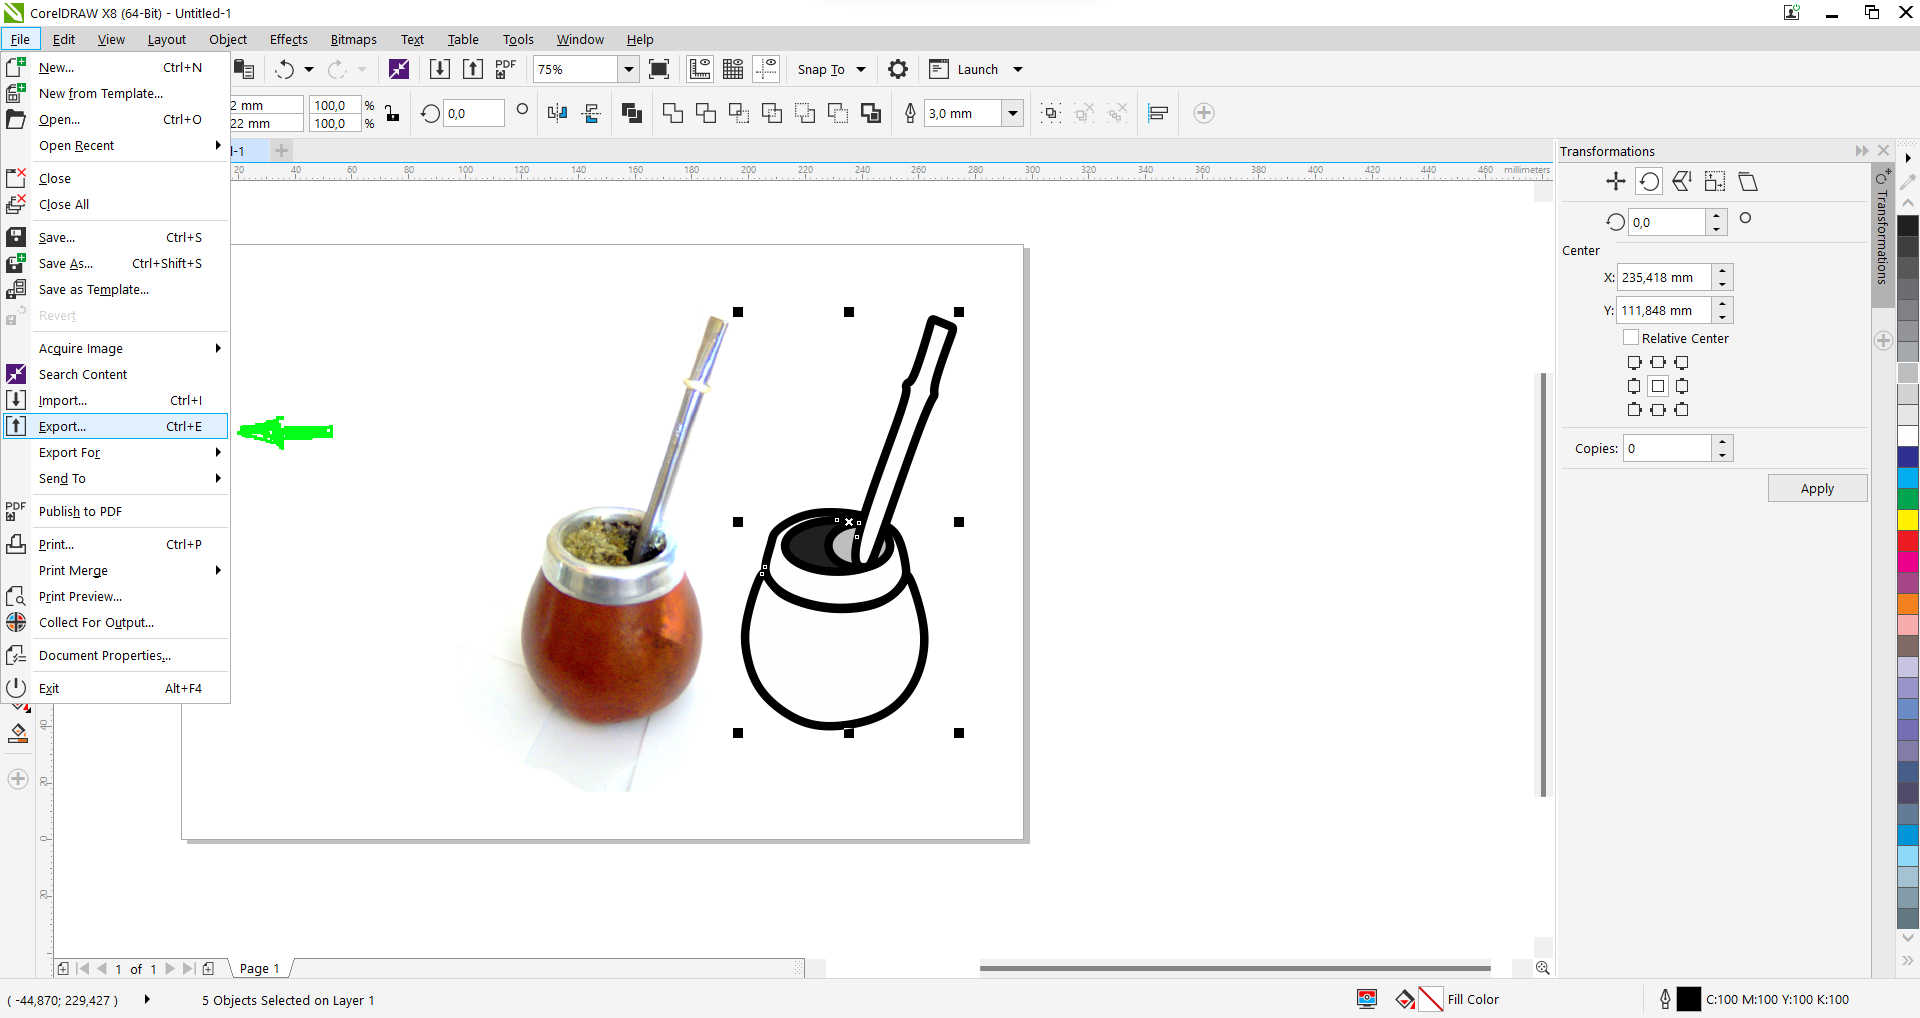
Choose the option of .dxf and export it for laser engraving or vinyl cut.
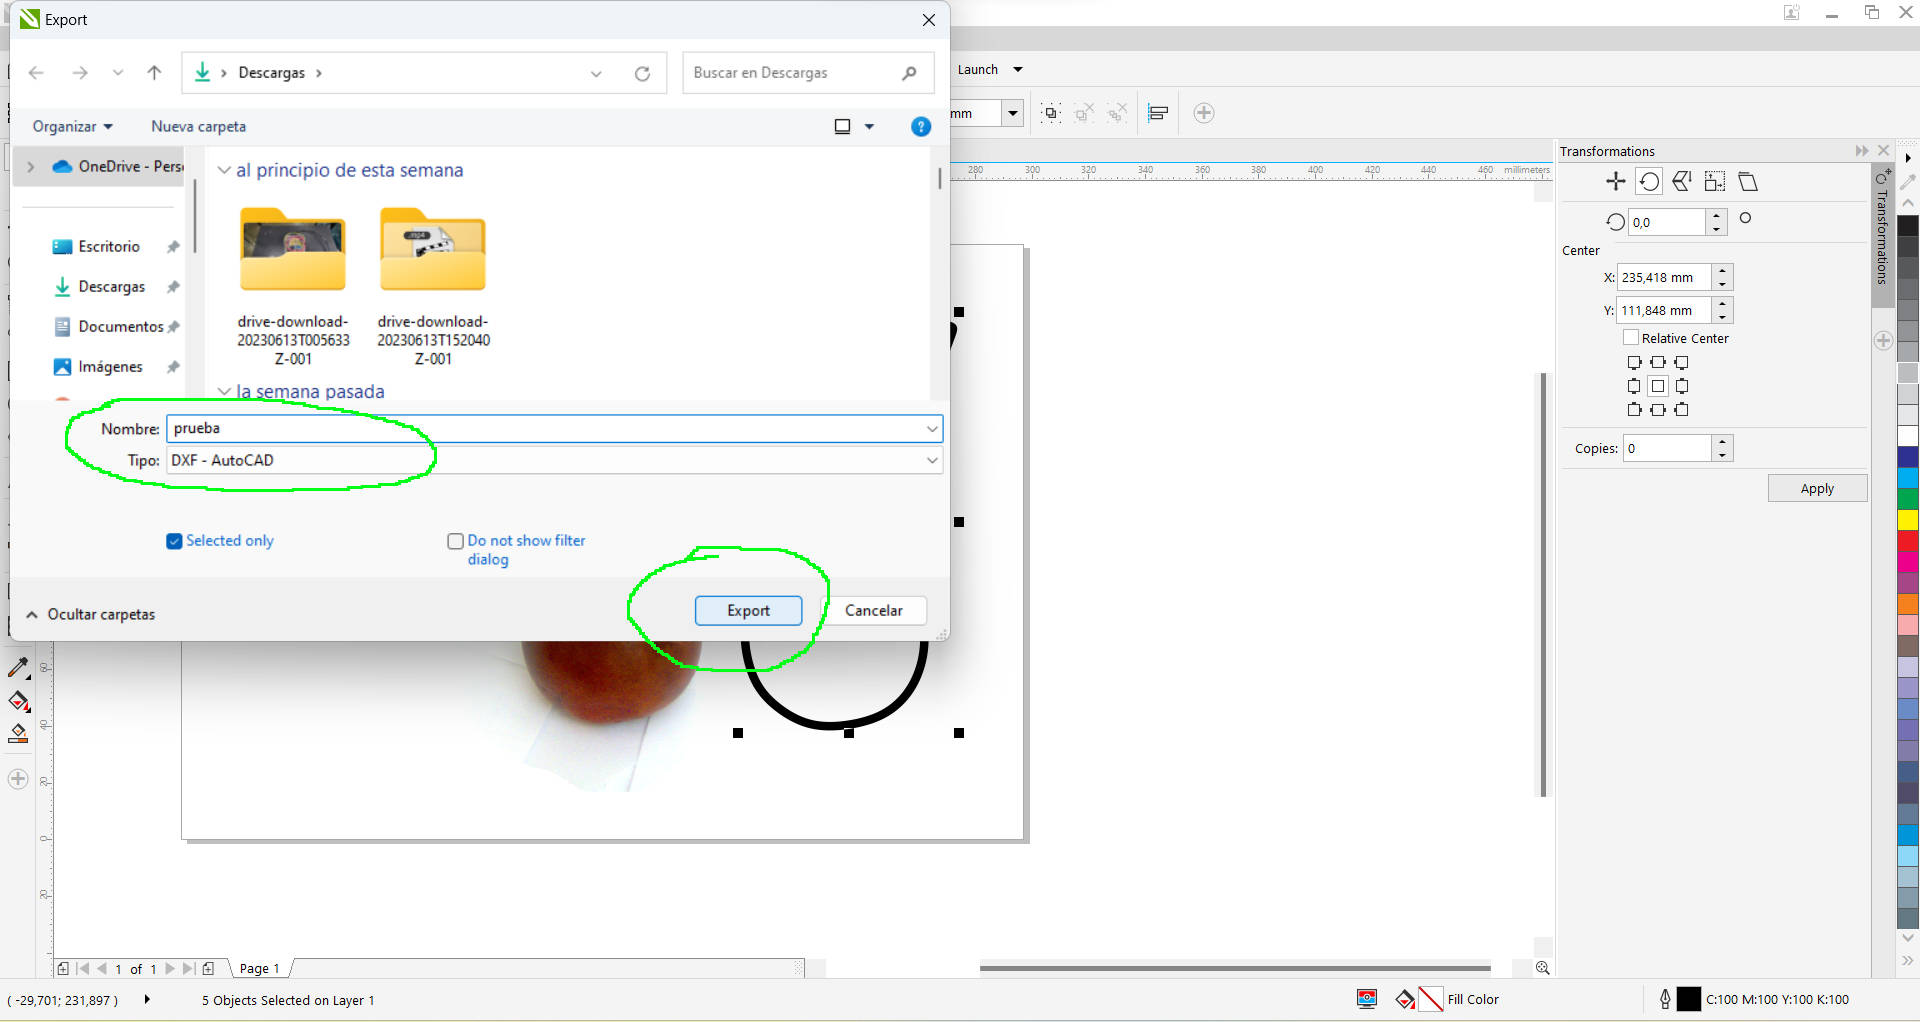 MATE file
In 2d and 3d, my options are more vast...Rhinoceros, Blender, https:Fusion 360 and finally Inventor.
Here i show you some easy models i made in those softwares.

Rhinoceros
Blender
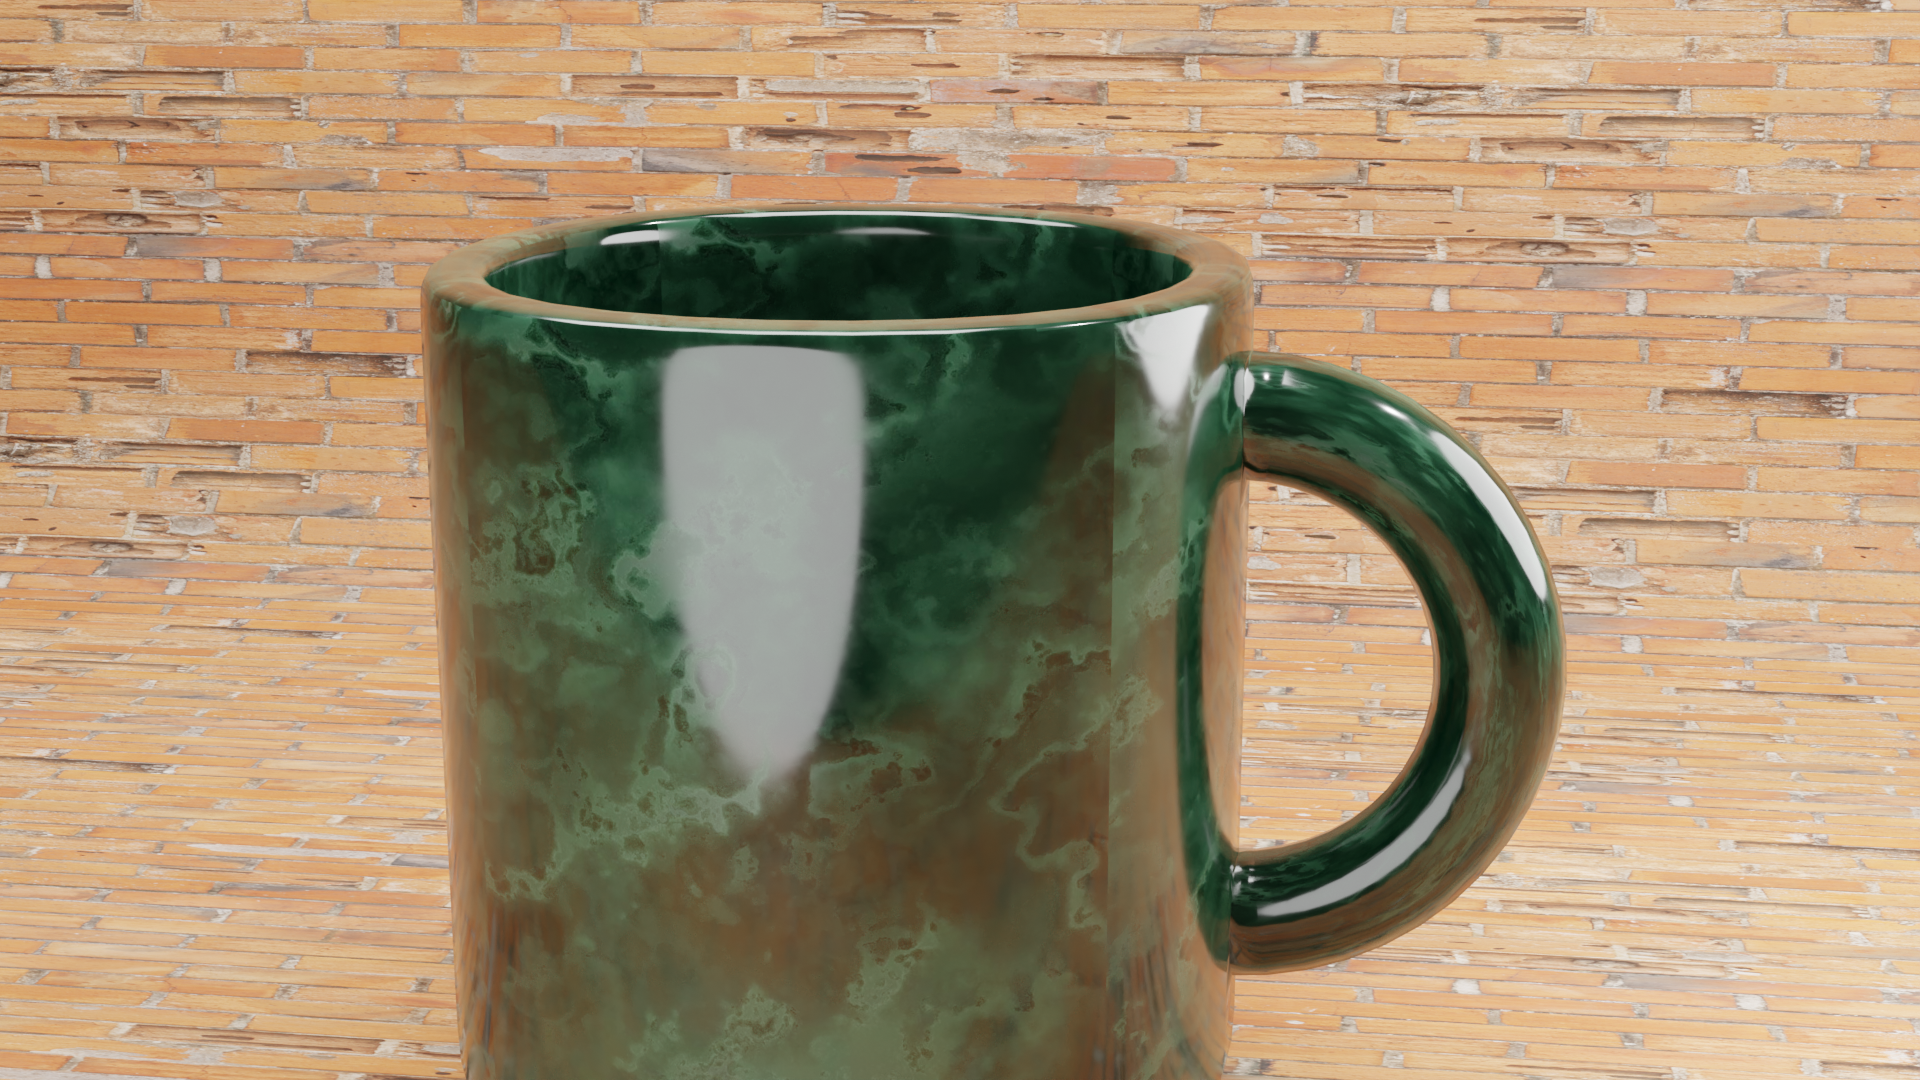
Blender renderer
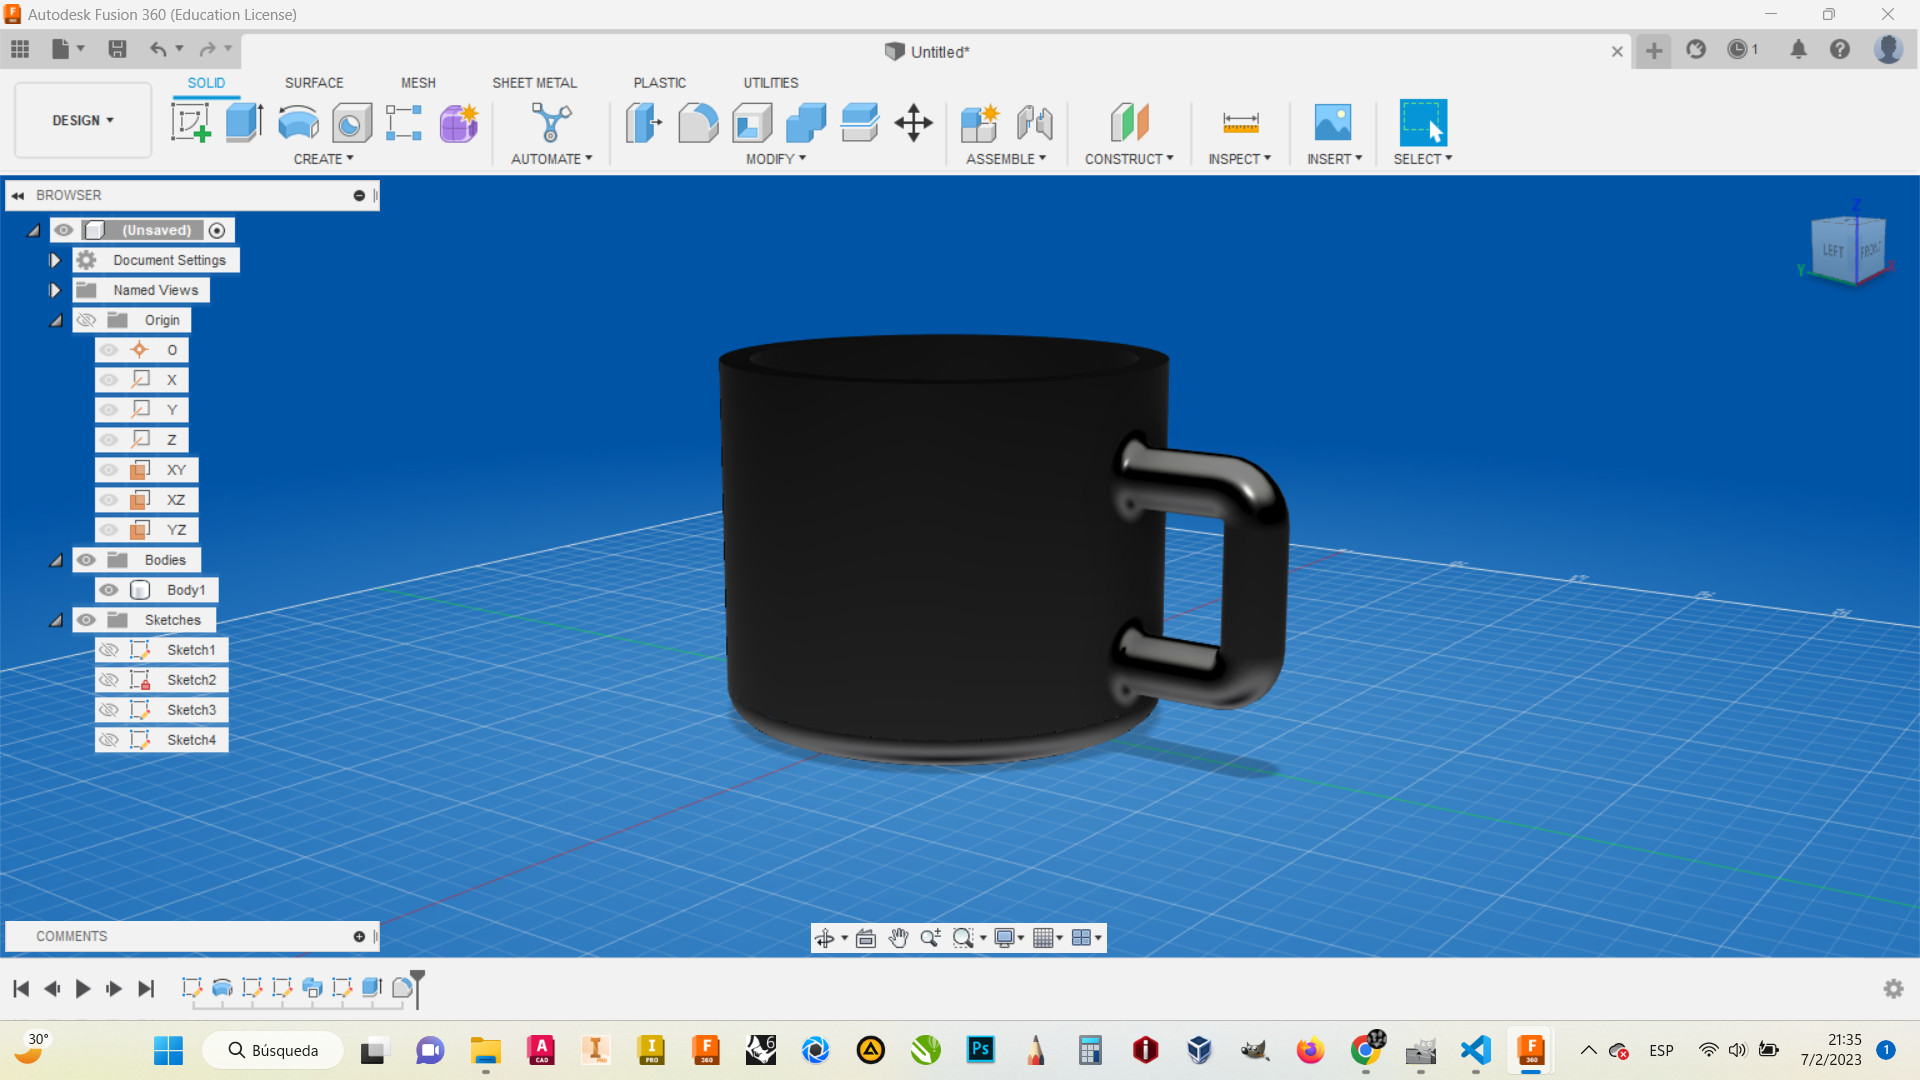
Fusion 360
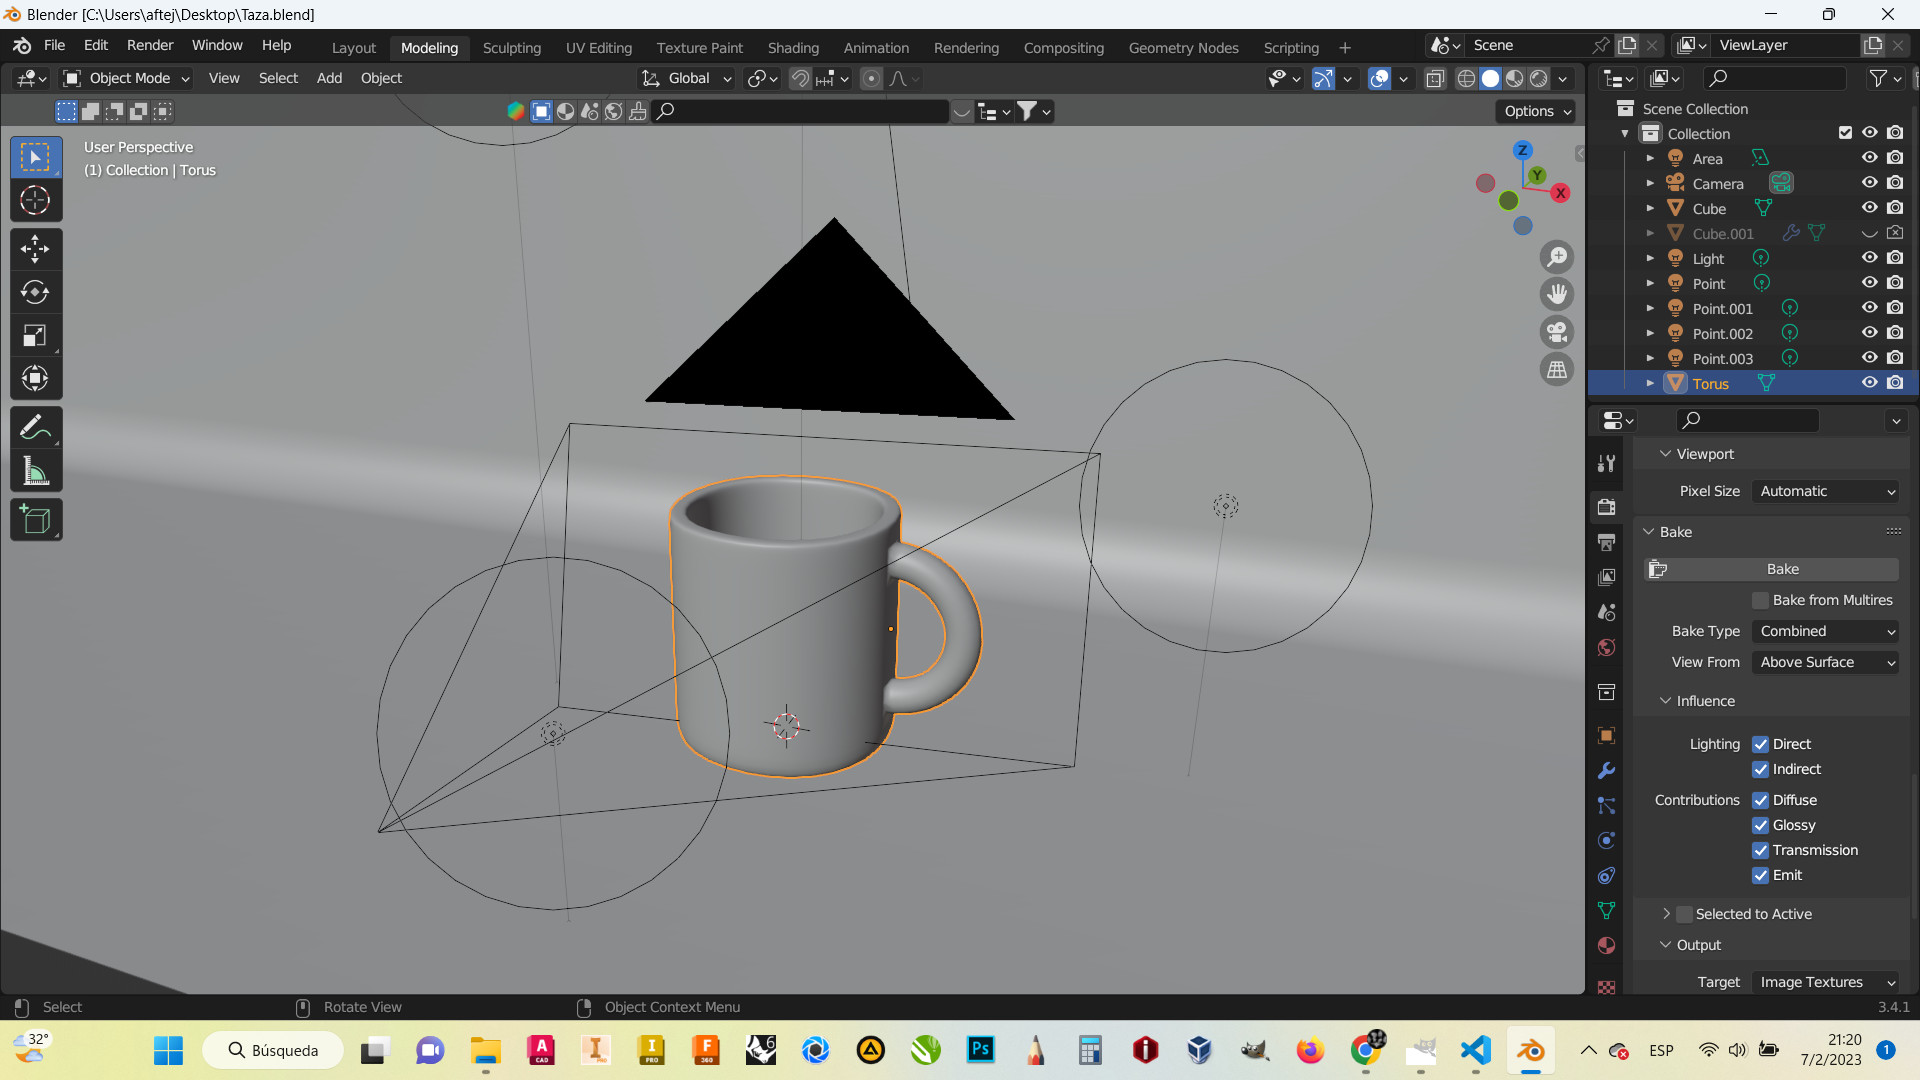
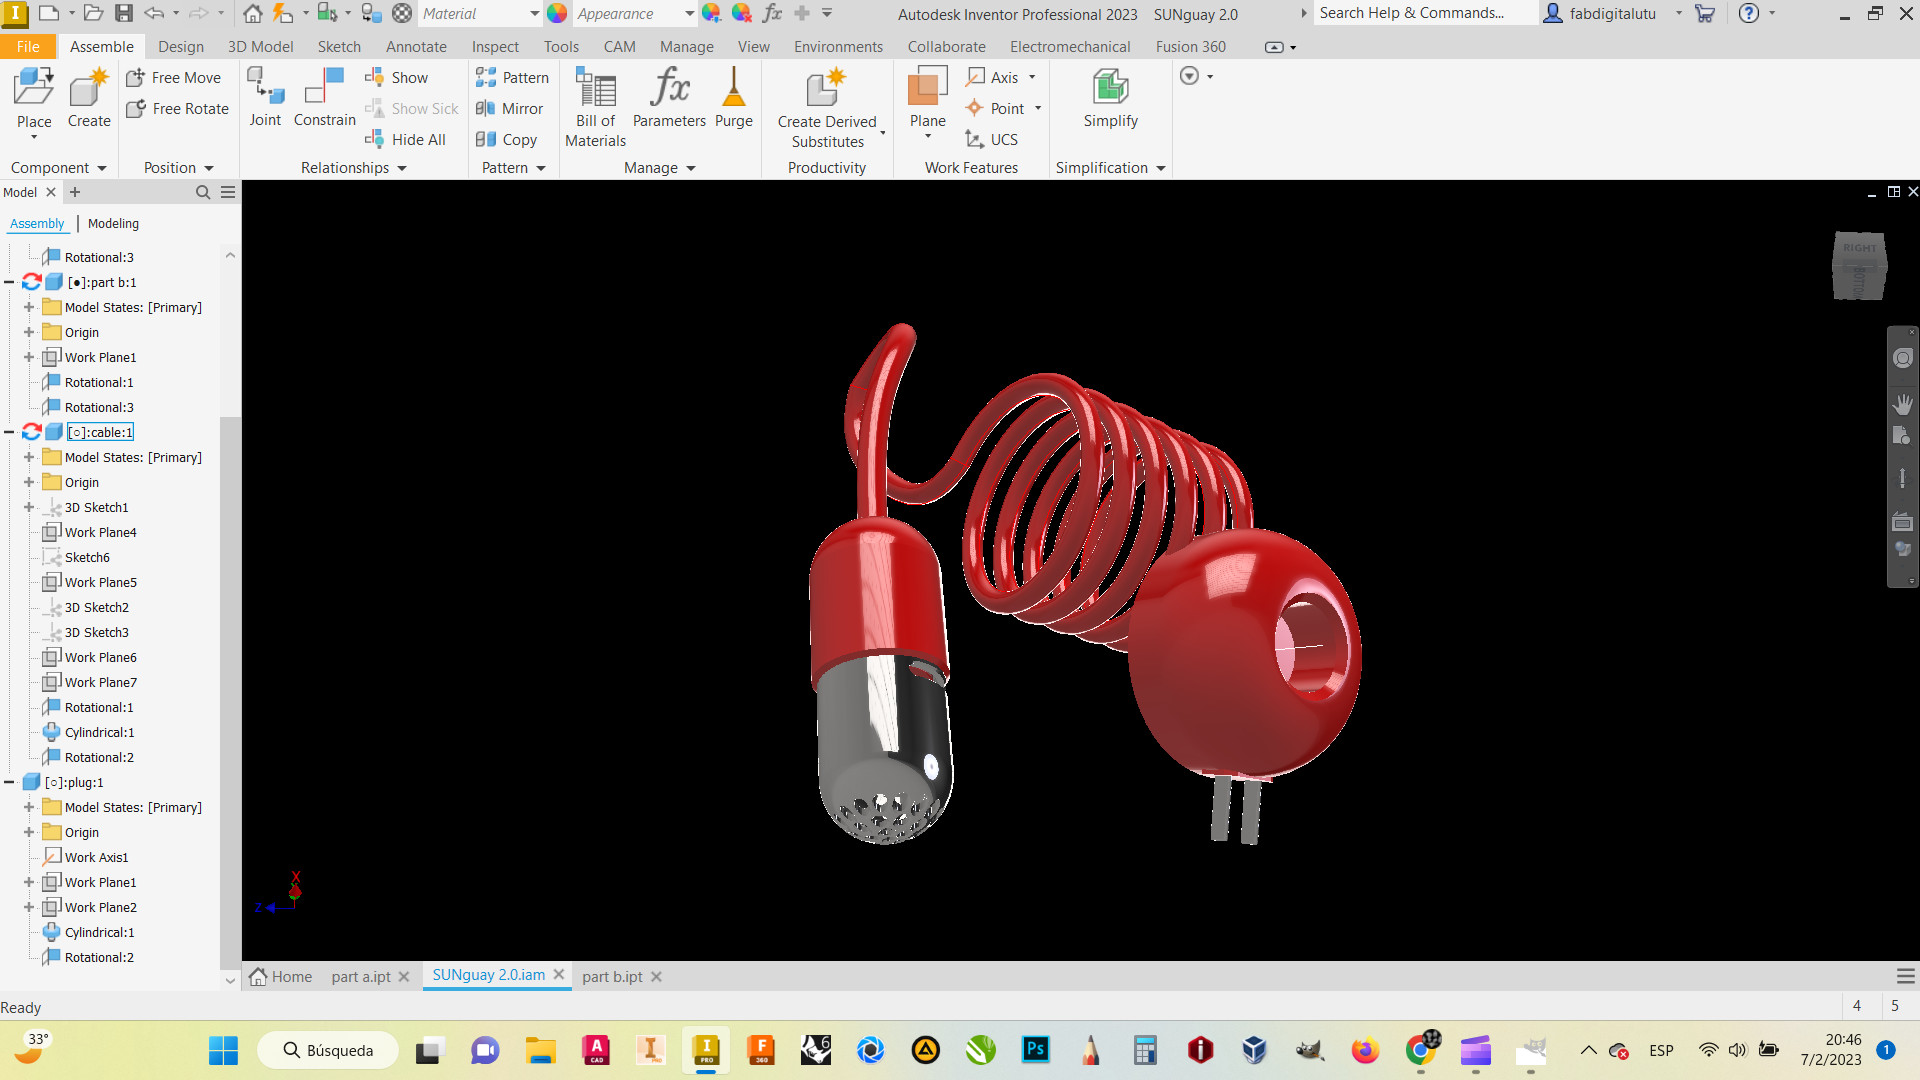
Modeling my project
For modeling my product i used Inventor
Why i choose inventor? Because is the one i liked most.
i started drawing a 2d view of my object, because some of the parts are made from a revoluted section, i only need one half of the view.
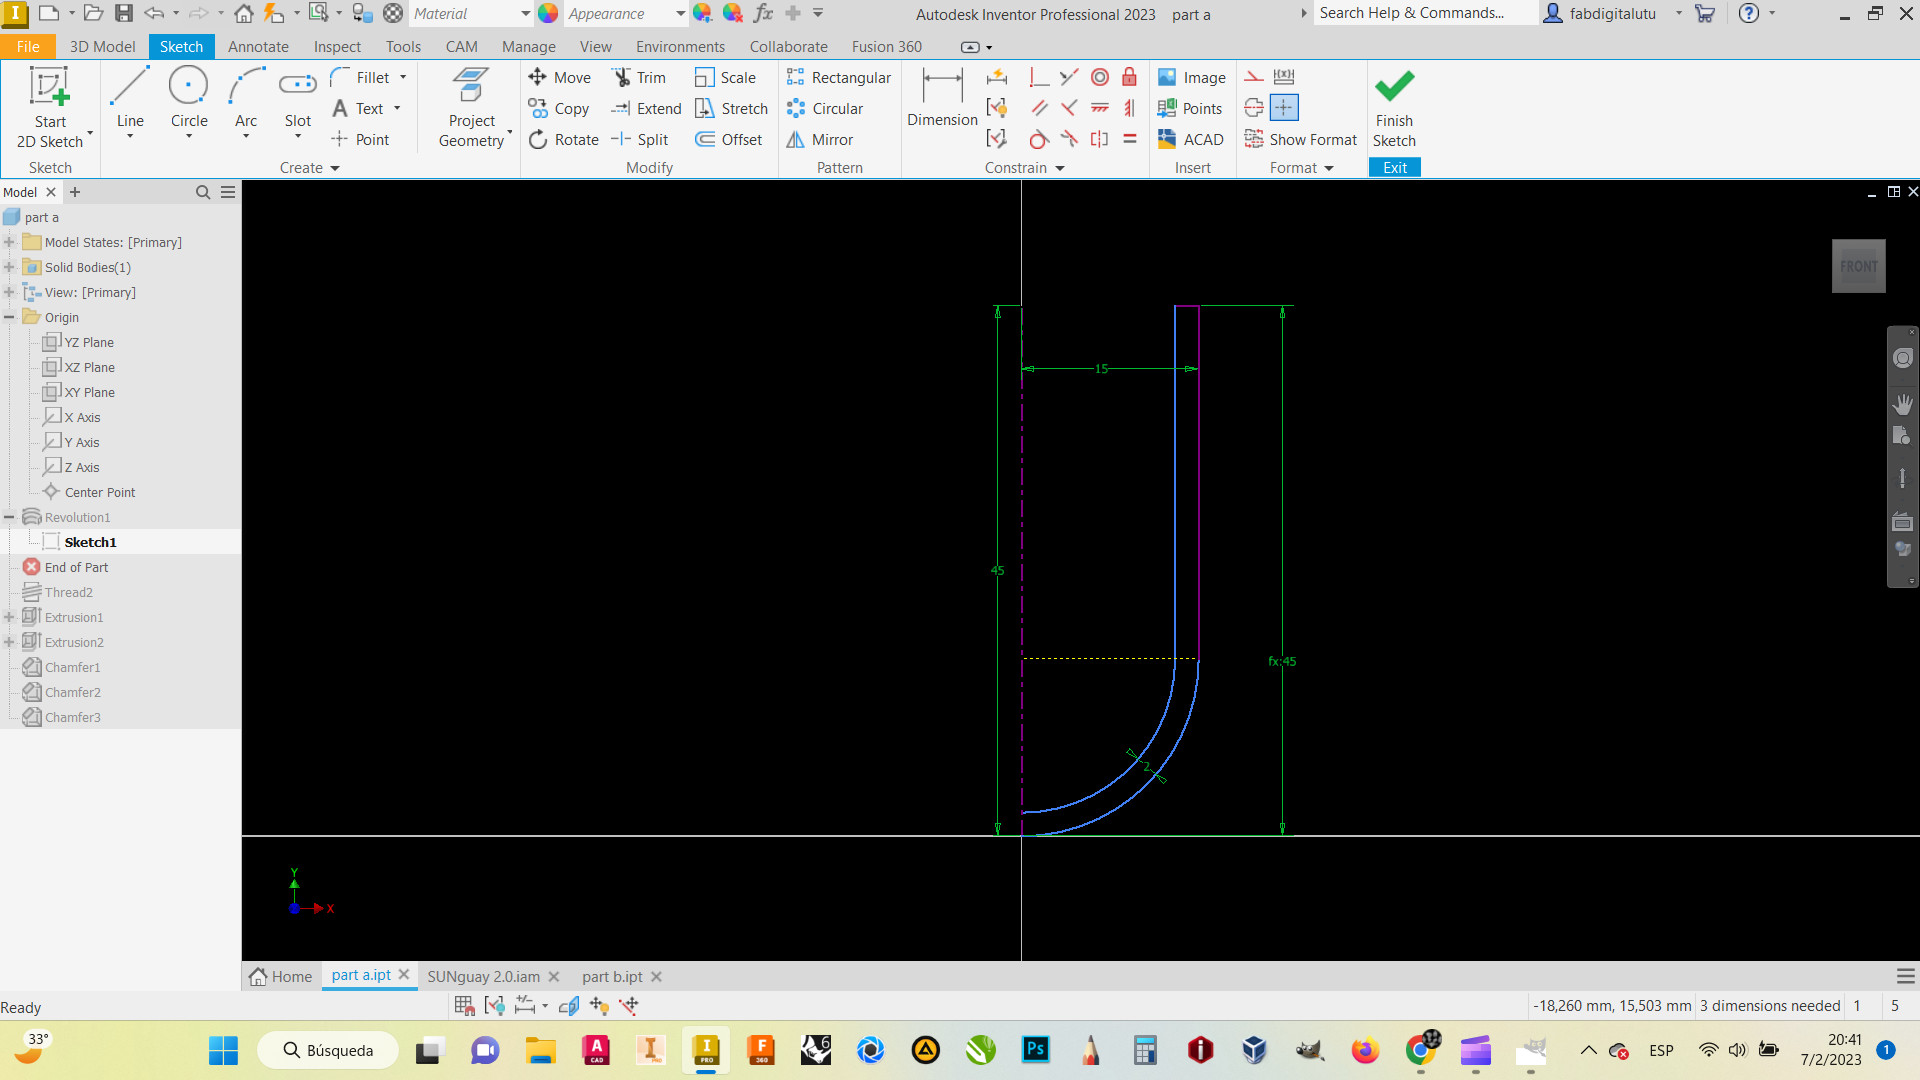
Section of the object
Then i revolved the section..
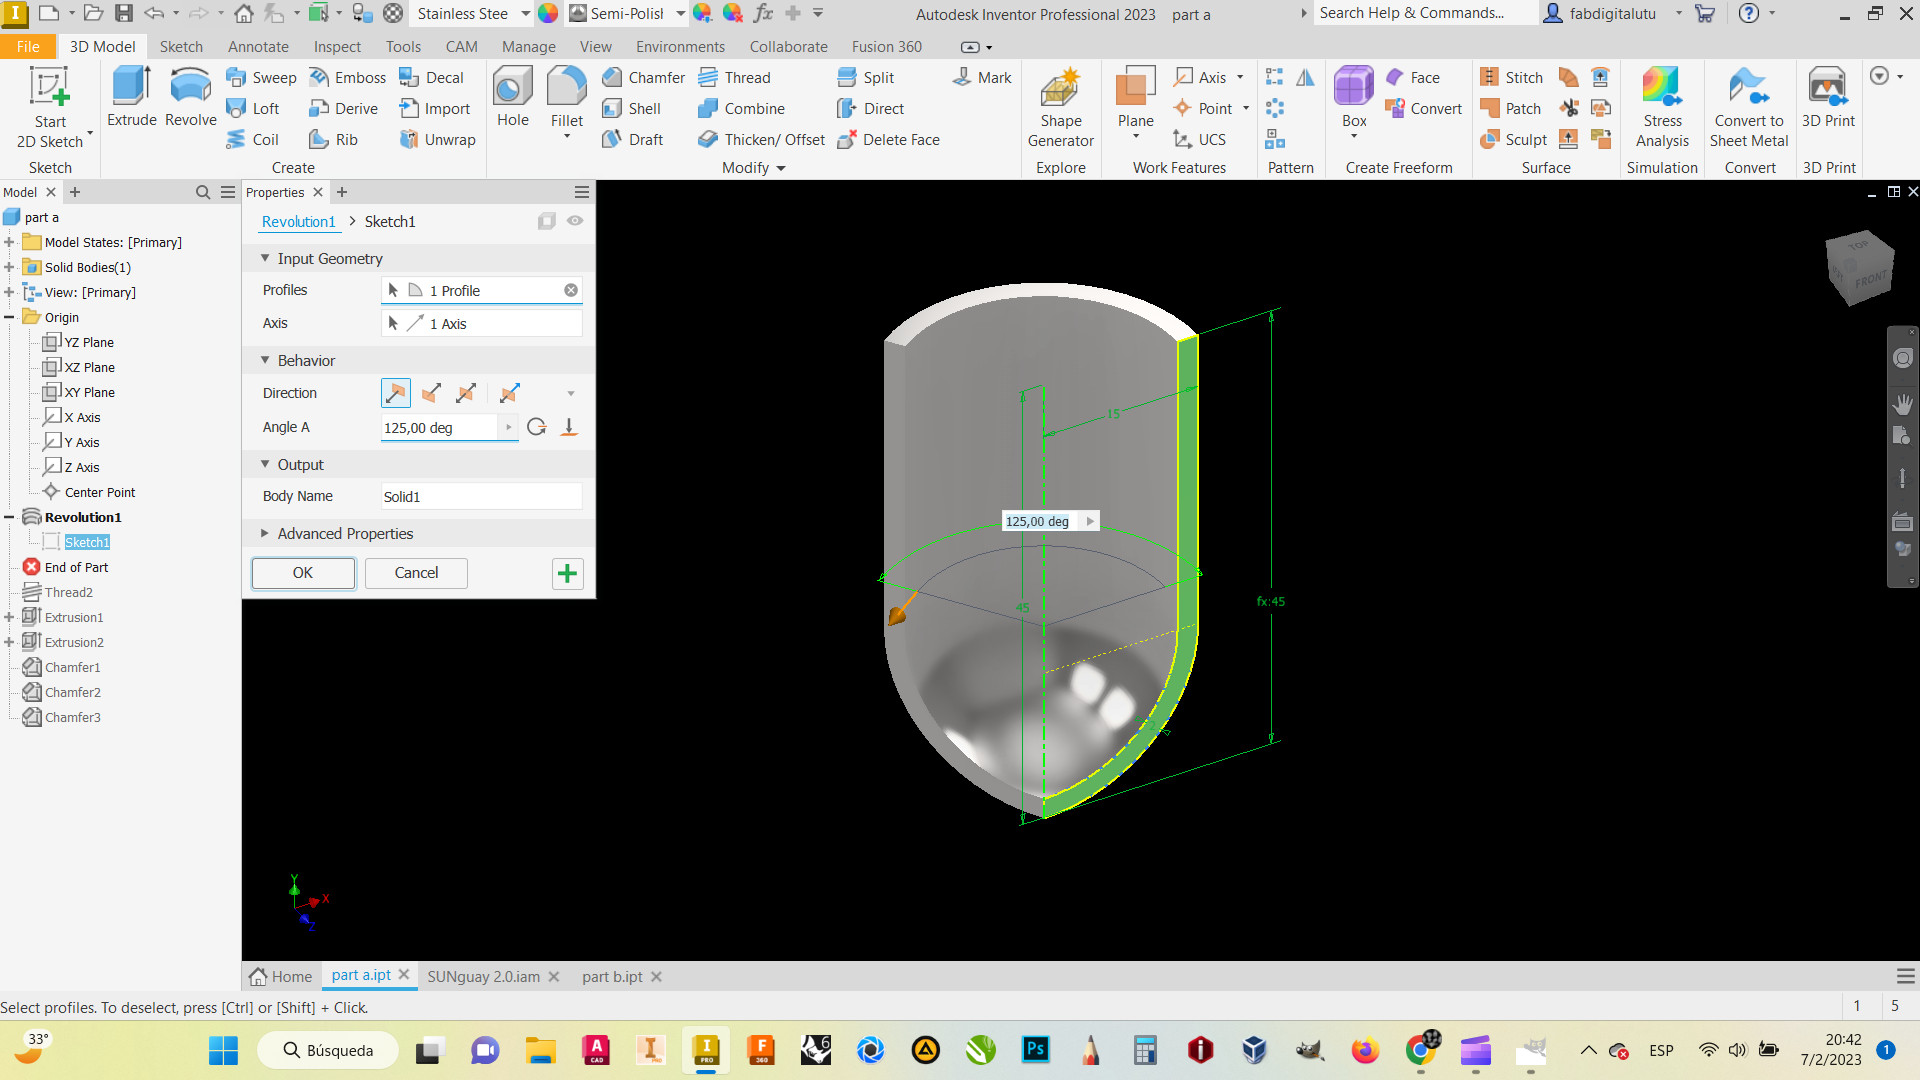
Revolution of the section
I make a thread, to connect with the future part B
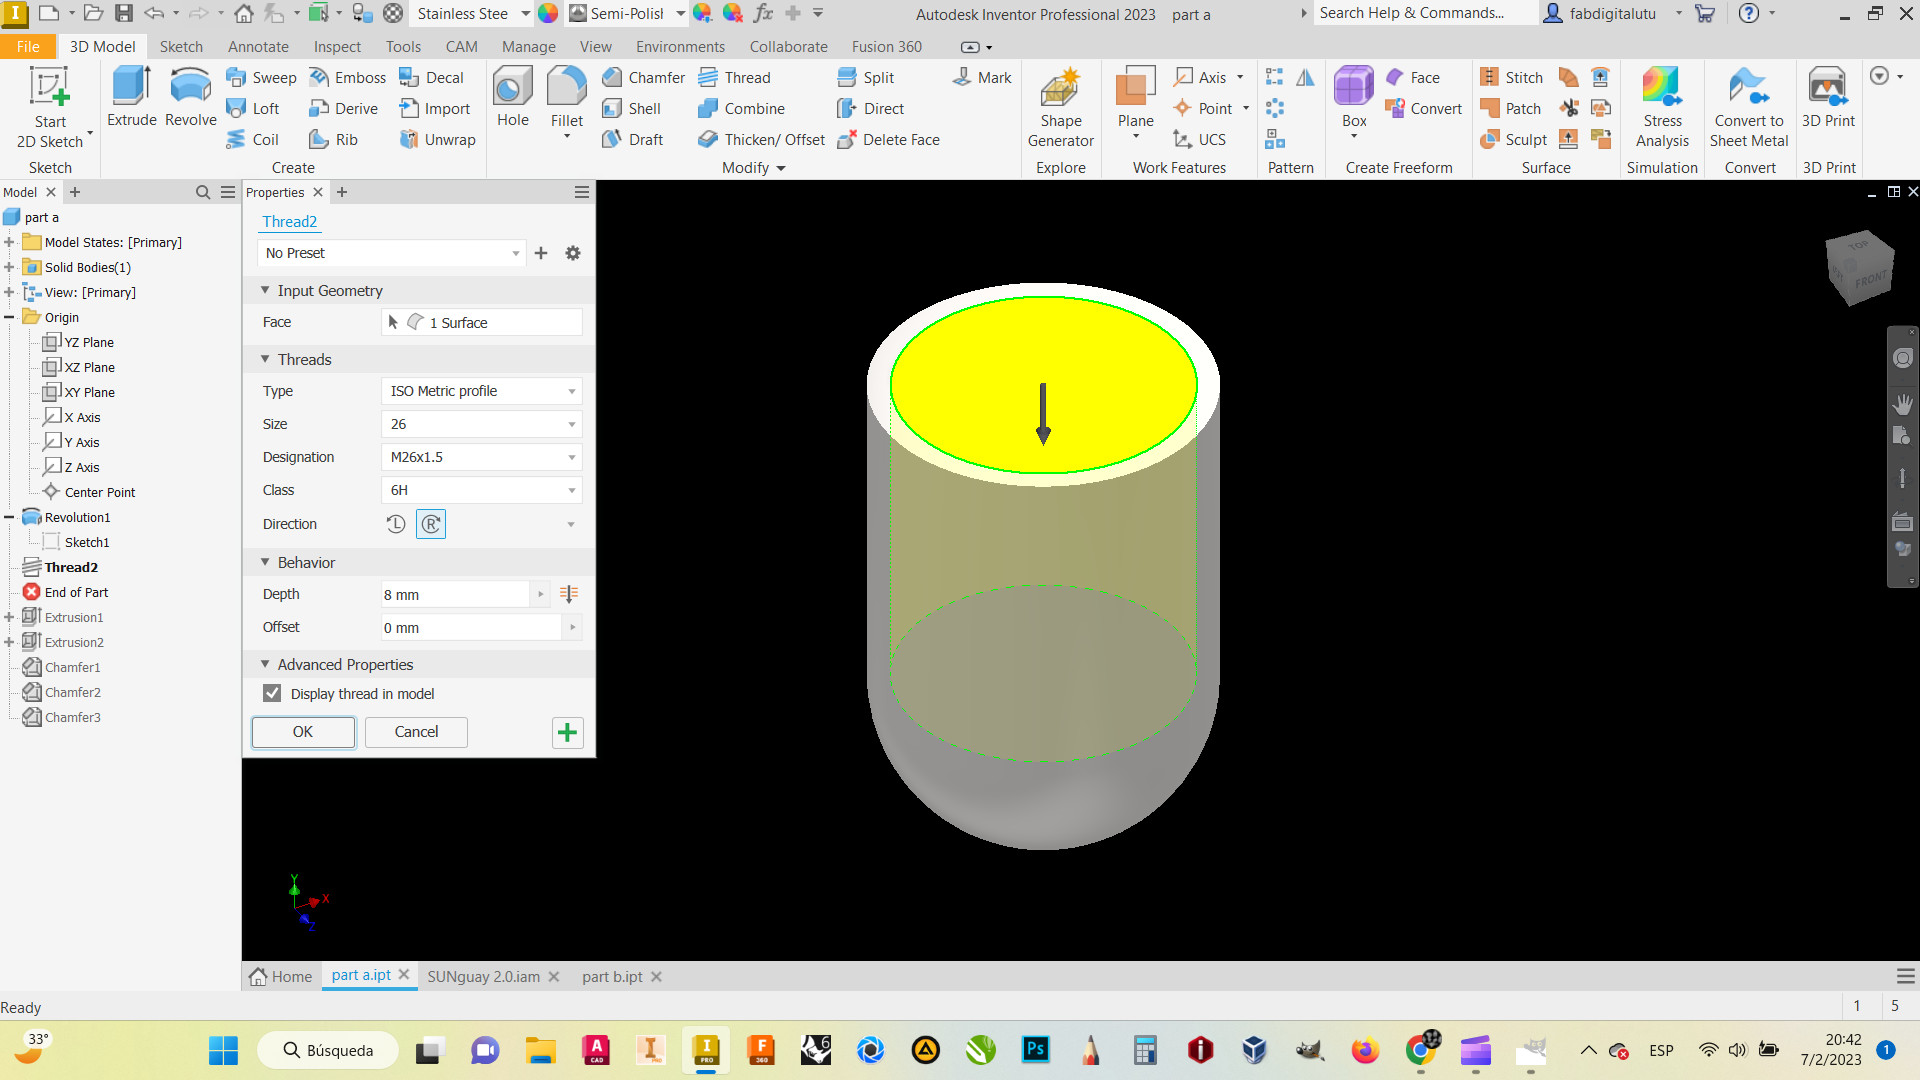
Thread inside
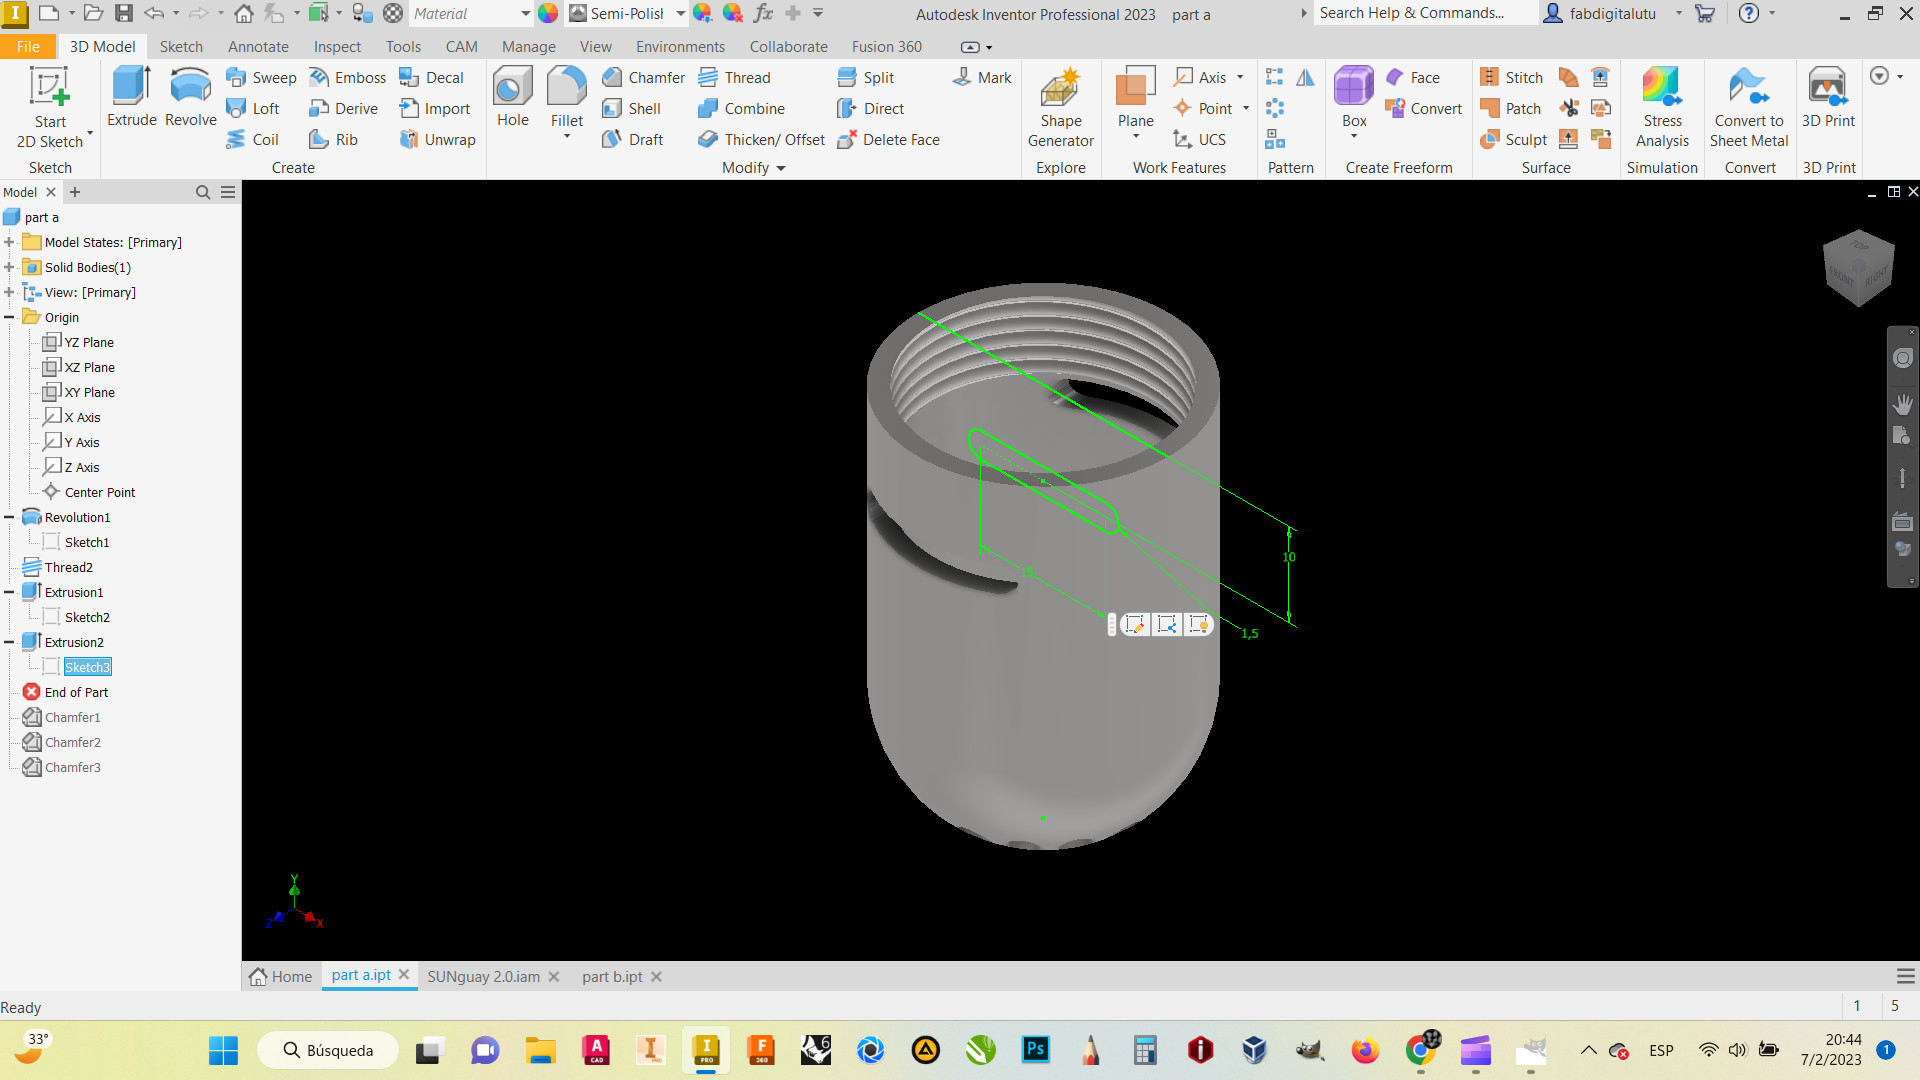
I draw some circles in a perpendicular plane to cut some holes in the part and then some profiles
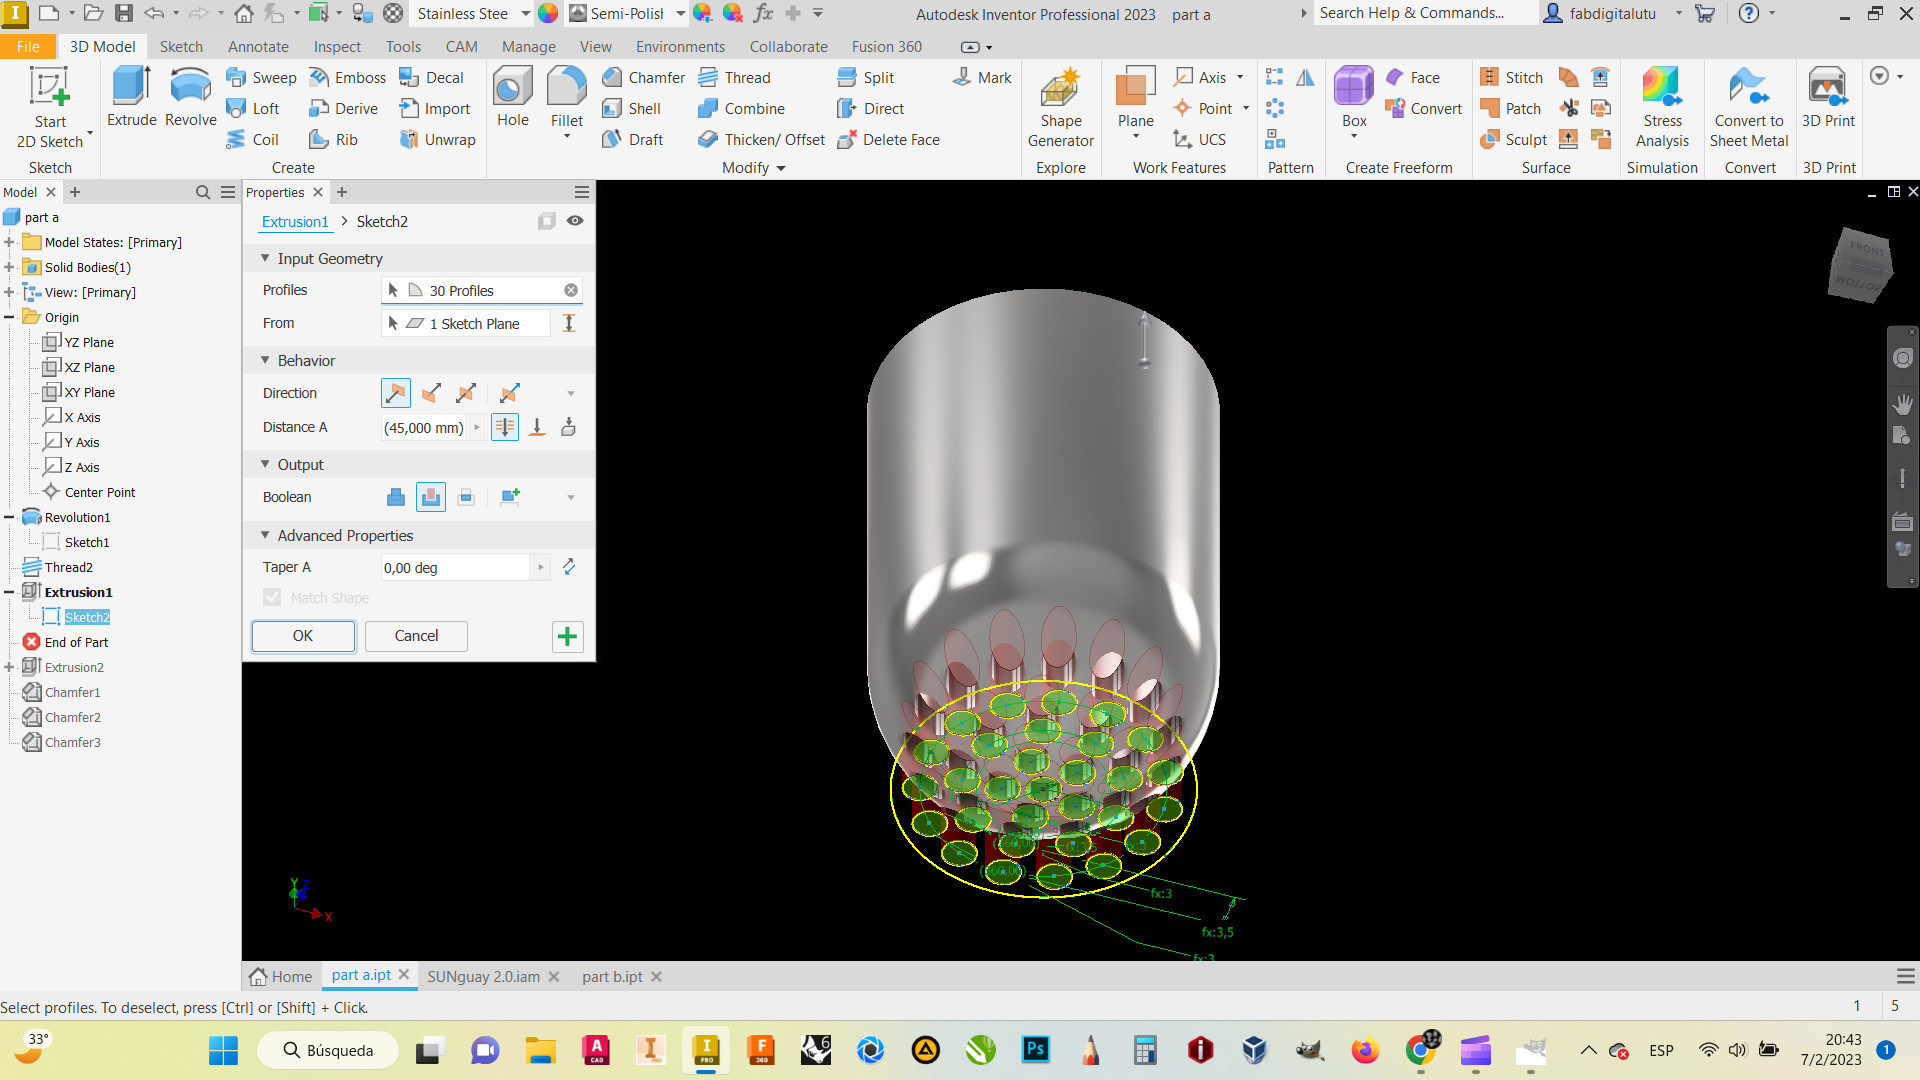
Extrusion for other profiles

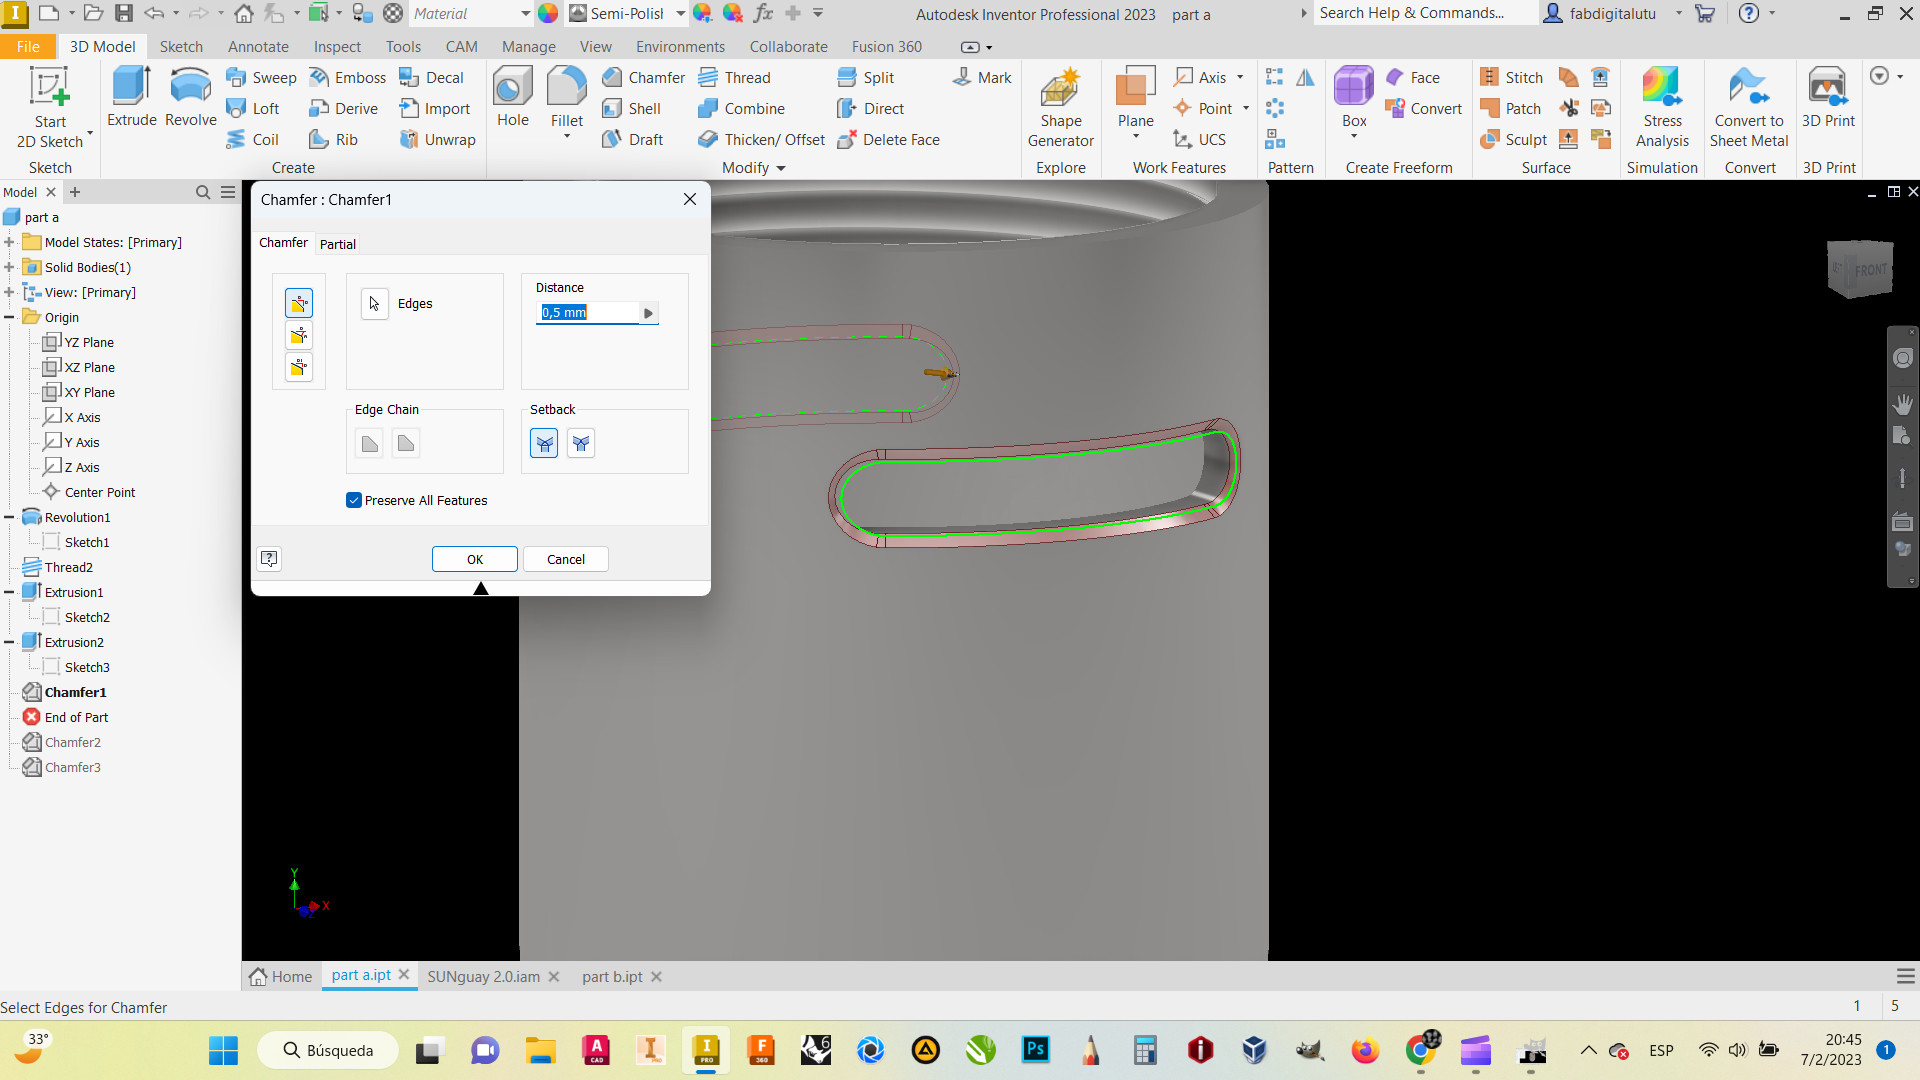
I make some chamfers to make my product look more real.
I used a lot of tools after that and here is my assembly
After that, i make a short video from the renders of my assembly.
For this instance i used ClipChamp.
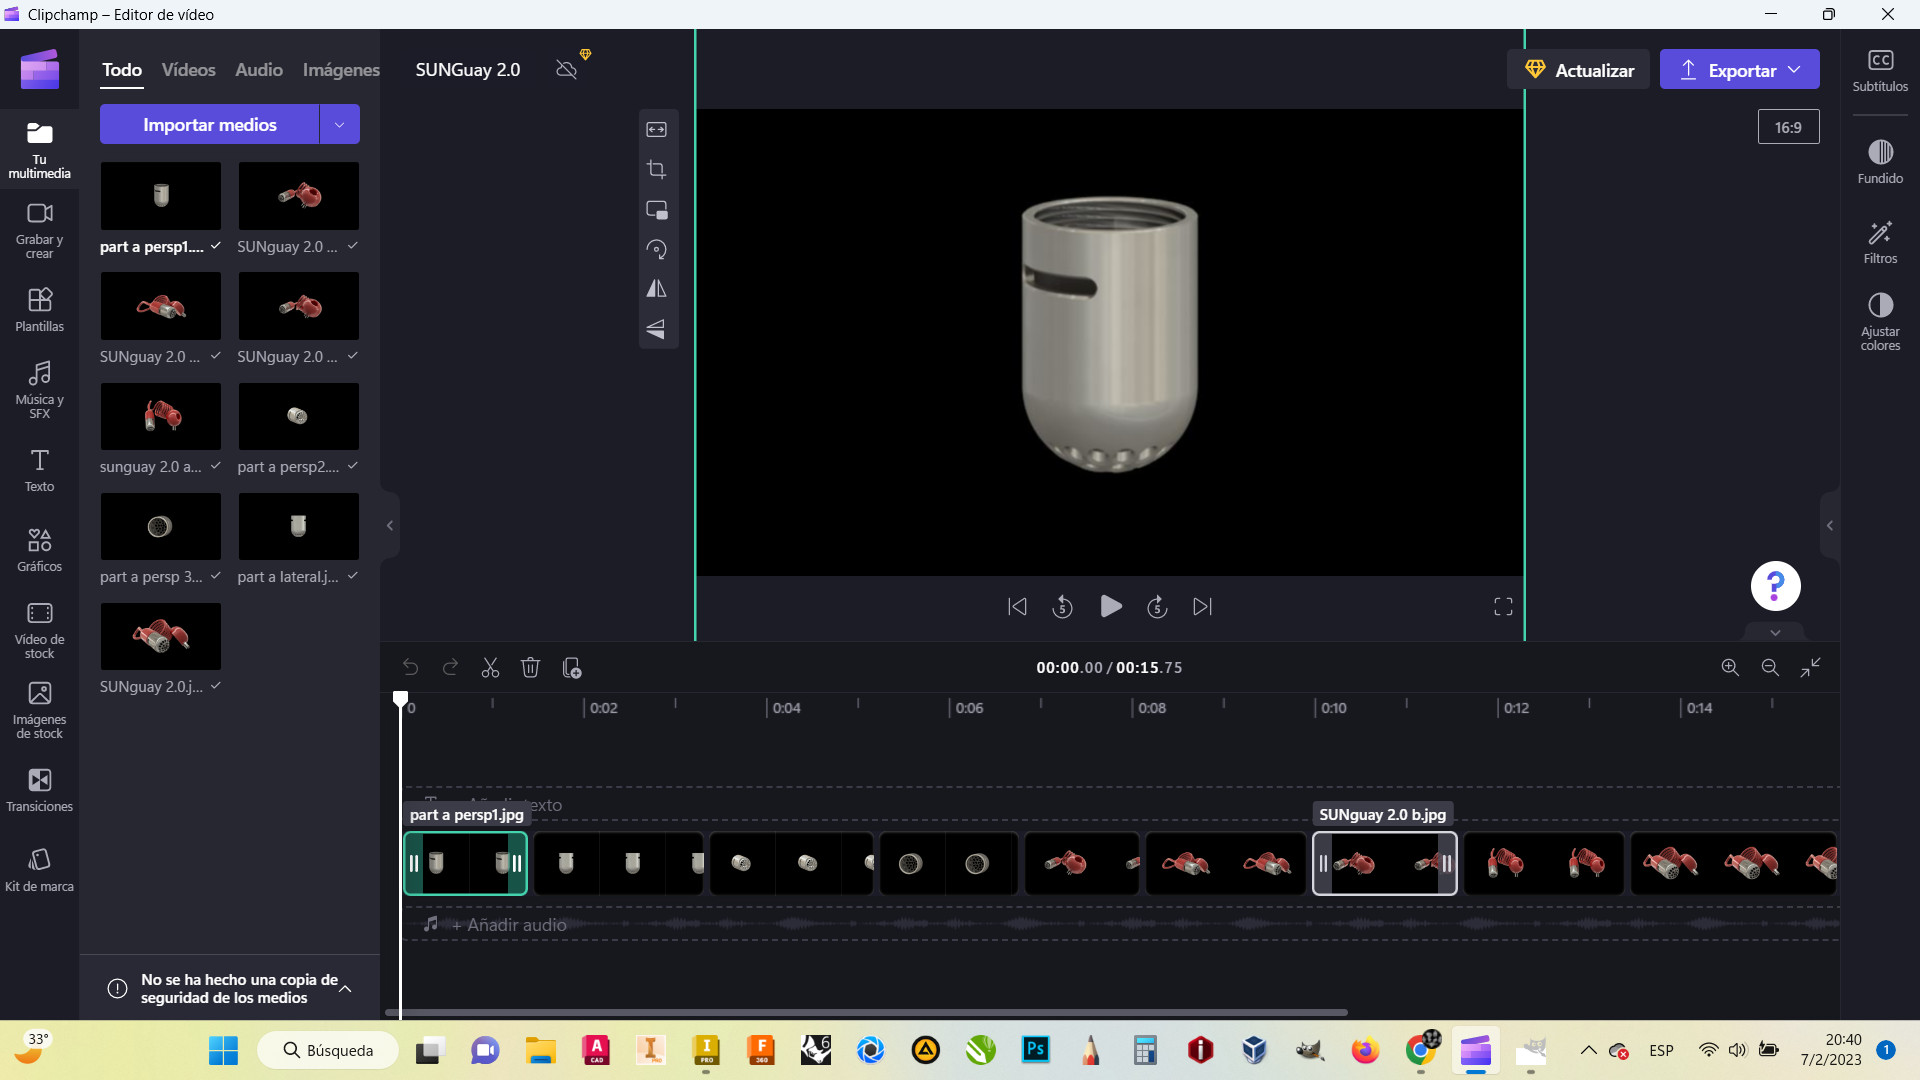
And here is the result....
