Applications and Implications
Final Project Proposal: The Mini-ful MIDI
| The Mini-ful MIDI is a 12-key MIDI controller that emulates standard piano based MIDIs. The idea behind this is to design a simple, barebones modular design that can be easily expanded upon, customized and easily recreatable by others. Potentially, in the future, multiple Mini-ful MIDIs can be "combined" or attached to one another to create a larger keyboard. Each Mini-ful MIDI will cover one octave, and adding more can increase your octave ranges. This should hopefully be a great way to get people to try making their MIDI controllers one step at a time, without having to worry about the size, price and time complexities of a larger project. Ideally, this project should be used as a base and expanded upon to make more interesting and complex projects. |

|
Sources of Inspiration (What's been done before) |
|
|
|
MIDI controllers are not instruments, as they don't make their own sounds. Instead, it must be connected to a computer with a DAW (Digital Audio Workstation) installed such as Apple Logic. The controller then tells the DAW which note is being played, and the DAW will play that note on synthetic, digital instruments. At its heart, a MIDI controller is a box with buttons and knobs connected to a controller which tells the DAW what to do. 
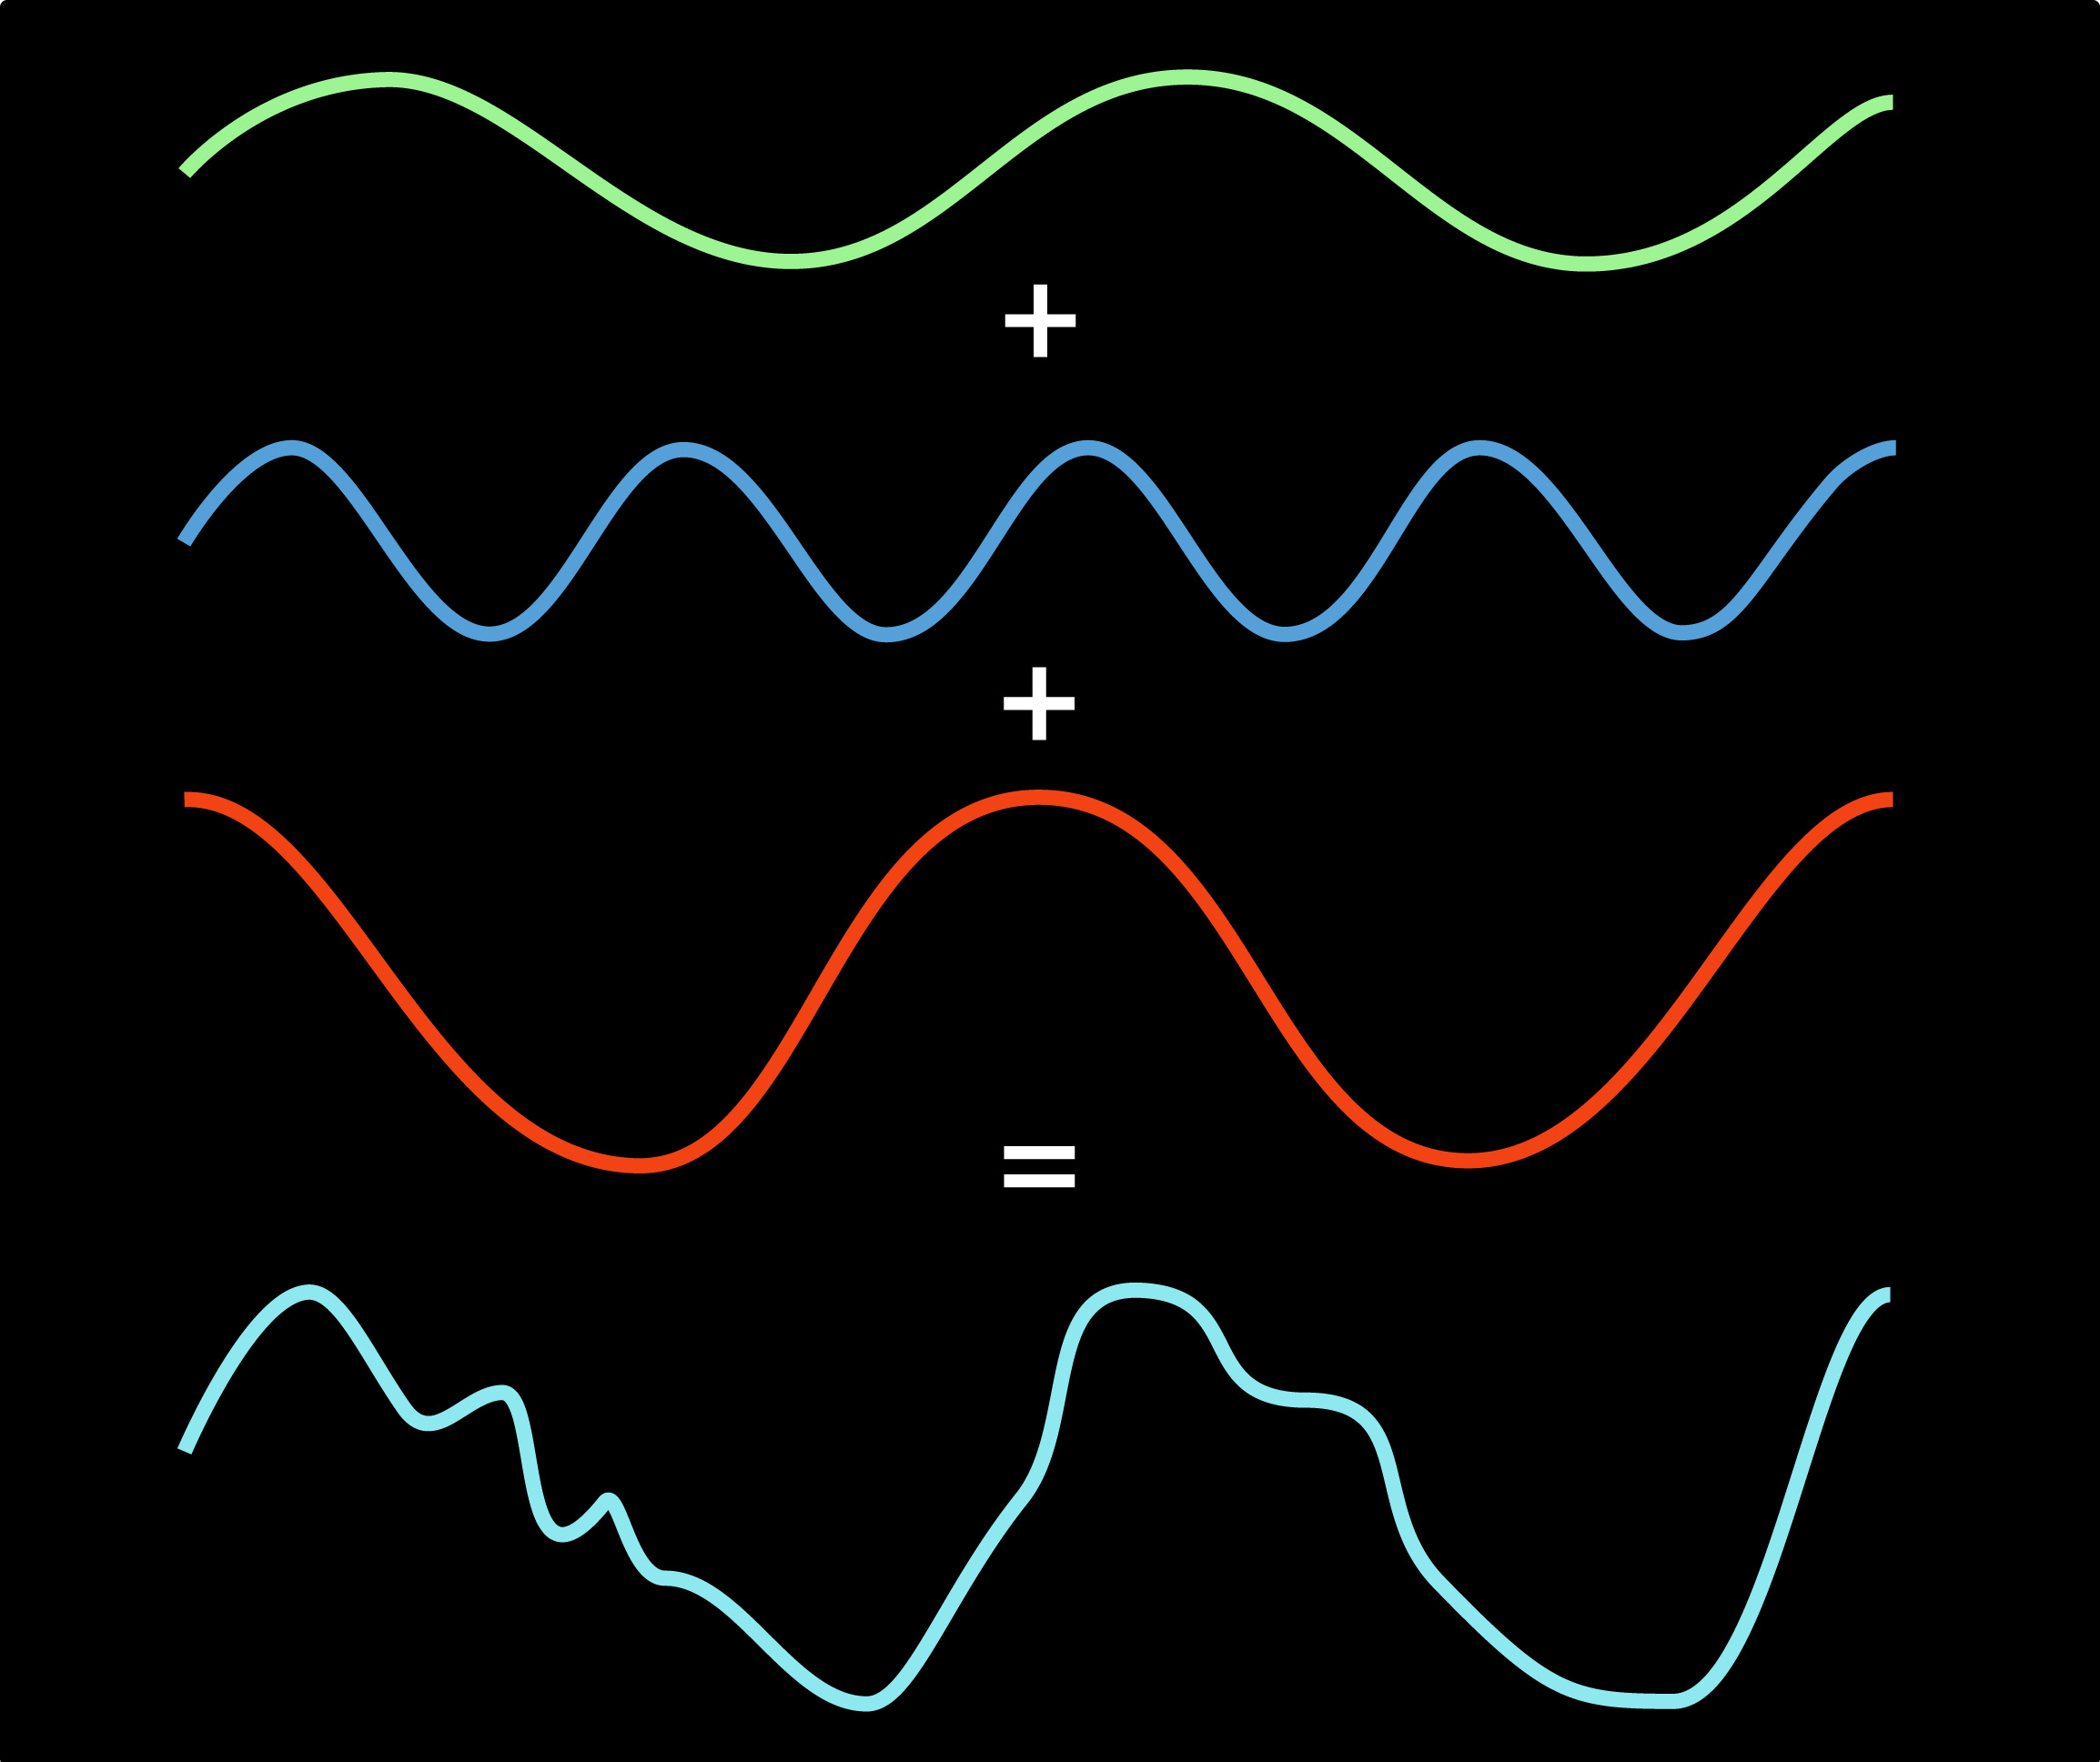
The Fast-Fourier Transform is an algorithm which improves upon the efficiency of the Fourier Transform. The purpose of these algorithms is to take a wave, and then calculate the individual amplitudes of a range of frequencies. These individual frequency waveforms are then added together to recreate the original wave. During the intermediary step, after separating the waveform into individual sine waves, you can then selectively filter and adjust amplitudes of the derived sine waves. When combining the new sine waves, you will have a different but ultimately similar signal by filtering out or increasing the volume of different frequencies within the signal. This is different from how analog signals filter, as they use capacitors and solenoids to isolate and adjust frequency bands. The FFT method will give more fine control over individual frequencies as opposed to bands of frequencies. 
For this project, I want to encorporate the practice of creating many modules that combine to form one product. This will involve making independant systems for the audio processing, usb interfacing, power management, inputs, and receiving audio input. These systems will then communicate via I2C to abstractify the process of sending and receiving commands from different modules. Each module will then use a microcontroller to operate their circuit components based on commands received via the I2C bus, and output responses or its own commands via I2C as well. The main audio processor board will be the main controller in charge of telling the modules what to do, while the modules will communicate button presses and inputs with the main module. The main processor then extrapolates those messages to control sounds and interface inputs. |
What's in the Mini-ful MIDI?This MIDI controller consists of 2 main electronic components:- The main controller, which communicates MIDI commands via USB-C - 12 key controllers, which handle receiving inputs and communicating which keys are pressed to the main controller via I2C |
Technical and Hardware Specs:
|
Bill of Materials
What parts and systems will be made?
| Enclosure |
|---|
| The base structure of the Miniful-MIDI is constructed out of laser-cut 1/8" acrylic sheets, and 3D printed PLA support bracket corner pieces to hold it all together. This makes resizing the design for a variety of layouts easy (editing the vector file) without the need to 3D print new brackets. I wanted to minimize the amount that needs to be printed, as it will only take approximately 45 minutes to print and cut out all the parts needed for the enclosure (assuming you can use the laser cutter while printing the corners). |
| Keyboard Key |
| Main Controller |
What processes will be used?
| Manufacturing Process | Project Component |
|---|---|
| Laser Cutter | Faceplate |
| PCB Mill | Circuit Boards Button Mold |
| Molding and Casting | Buttons |
| 3D Printing and Design | Enclosure, Buttons(design) |
| Vinyl Cutter | Signature Sticker |