13. Molding and Casting
This week, I wanted to work on creating some physical components of the Song Sonic, aka my final project.
For the interface, there are a variety of buttons and knobs that the user can interact with to adjust different settings, navigate the GUI and execute functions.
By creating custom molds for buttons and knobs, I can make sure the hardware fits into the overall aesthetic and dimensions of my project, and be able to test a variety of materials to get buttons that look, feel and function in a pleasing way.
I am planning to use pulse-response based buttons, so the button will just sit on top of a pcb.
The sturdiness and "squishiness" are going to be the most important aspects for my buttons.
View our group documentation on the comparisons between different molding and casting materials we have at our lab:
Molding and casting
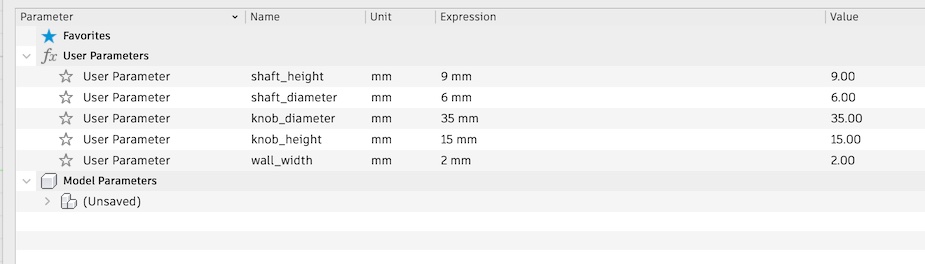
Designing The Knob
|
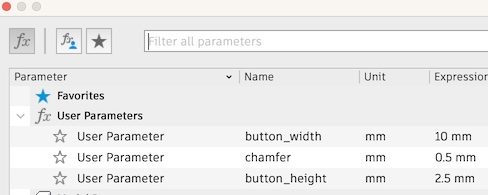
To design the knob, I started with defining some dimensions.
I wanted it to be somewhat sizeable, but not too tall either, as I didn't want the Song Sonic to have a bunch of buttons and knobs protruding out of the top of it - thus reducing the size to be more compact.
I decided a 3.5 cm knob with a 1.5cm height would provide a good size for this to start.
I will decide if I need to resize once I test print it.
|
|
|
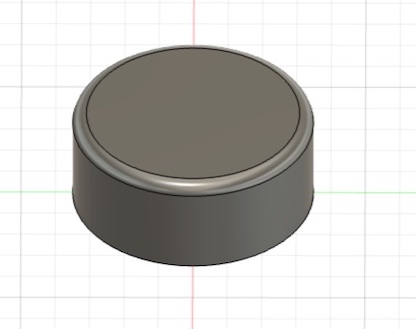
This knob is designed to work with a potentiometer that has a shaft diameter of just under 6mm.
I measured this using calipers.
The shaft section of the knob is also tall enough to cover the ~9mm of the potentiometer as well.
Ideally, this would fit snugly onto the potentiometer since its slightly wider, but I gave it an inside chamfer to help it be pressed on more easily.
I also applied a rounded lip to the edges to make them smoother to the touch, and easier on the eyes.
I plan on updating this model in the future to have a lip where I can apply vinyl accents for more color.
But this basic design leaves a great base to mess around with different ideas.
I gave the knob a slight 1 degree angle inwards to help it be removed from the mold later on.
|
|
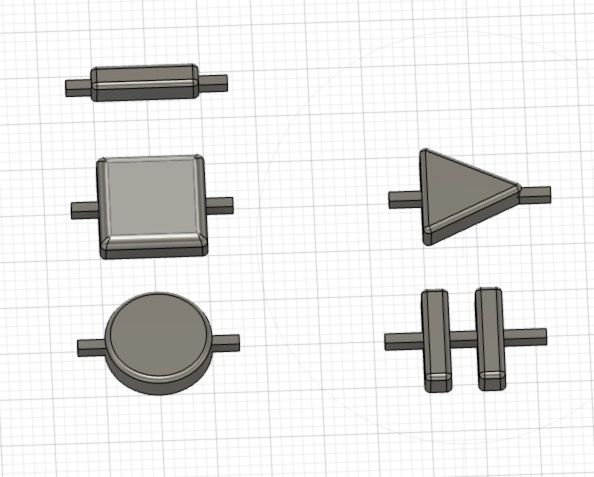
Designing Buttons
Generating GCode
|
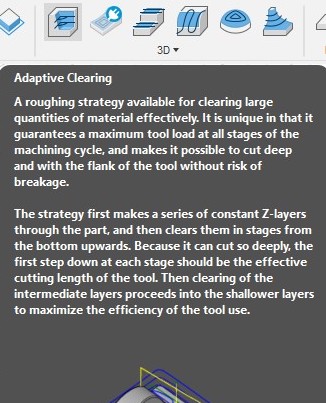
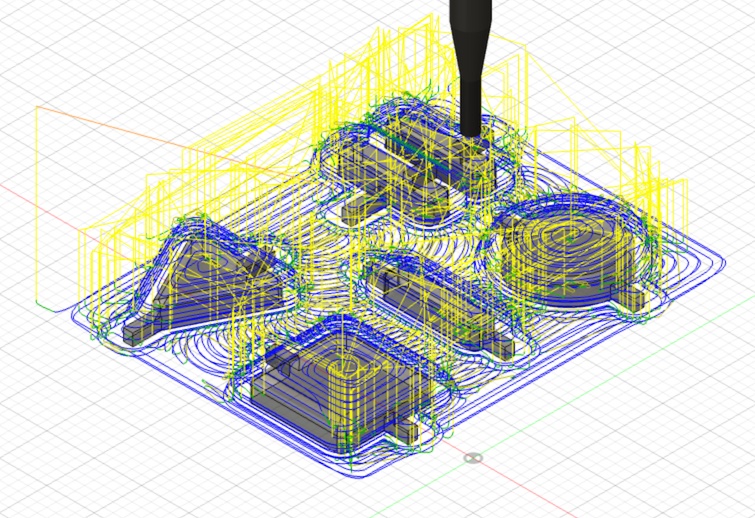
For milling, I created 2 files, a rough cut using adaptive clearing, and a finishing cut using a contour path.
At this stage however, I made a slight mistake in using the ball endmill to do the adaptive clearing.
It ended up working, but definitely left a bit of waveness, which got cleared up by the finishing path anyways.
For the finishing path, I used a flat endmill to get tighter corners than the ball endmill.
|
|
|
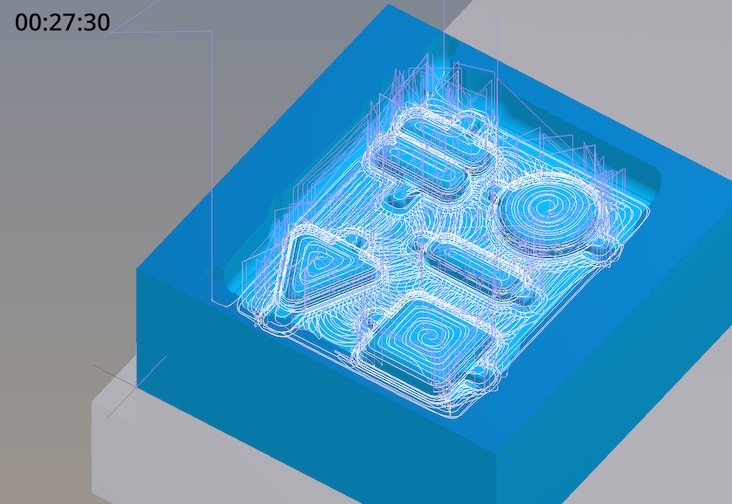
Fusion even let's you see a nice preview of your mill before you export the gerber file!
|
|
Setting Up Mill
|
I imported my gerber files into Bantam Tools.
From there, I inserted the 1/8" round endmill (specifically for wax), and calibrated the height by following their instructions on the software.
I set my material height by measuring my wax using calipers.
This measurement ended up being a little too low because my wax hit the collet on the higher edge, so I added a few mm to create some distance.
|
|
|
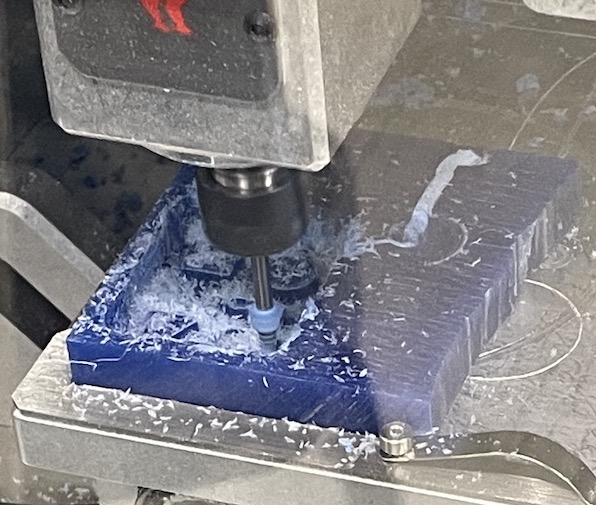
I then taped down my wax, and started the mill.
The hole on the right side is where I had set it my material height too low for the collet.
Using the adaptive clearing made quick but loud work of the wax.
I adjusted the spindle speed (generally increased it) and decreased the feed rate (generally decreased) so it would cut more smoothely.
They have sliders on the bantam tools gui while the mill is running.
After the 1/8" mill was complete, I attached my 1/16" flat endmill for the finishing clear.
|
|
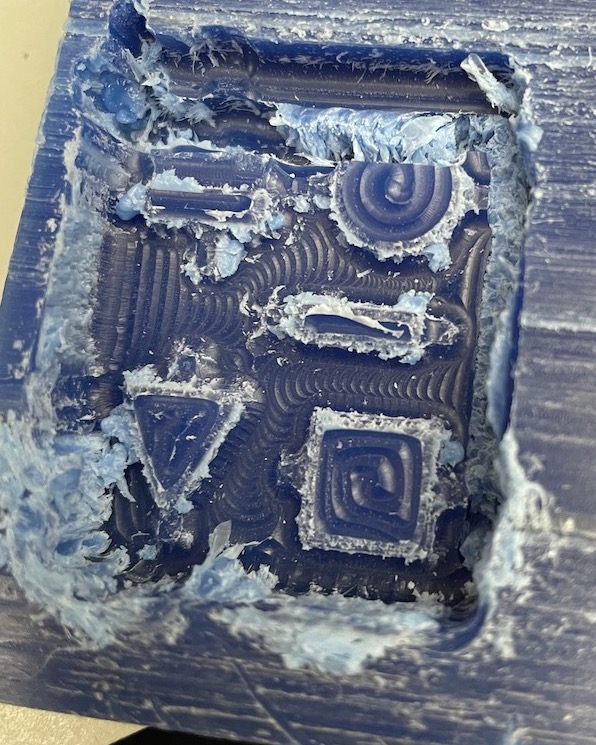
Milling Results
|
My first attempt was going pretty well, until the double-sided adhesive detached from the spoil-board and caused the wax to get brought along with the spindle.
Luckily nothing broke, except my first attempt...
|
Failed Mill
|
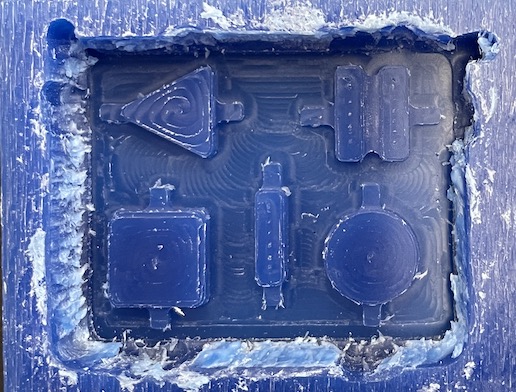
My spirits lived on! Huzzah!
After the first adaptive clearing mill, the end result looked something like the previous milling attempt - minus the large ravine.
The image on the left is the mill after the contouring.
The image on the right is after using an Xacto blade to clear out excess wax and to smooth any finer details.
|
Successful Mill
|
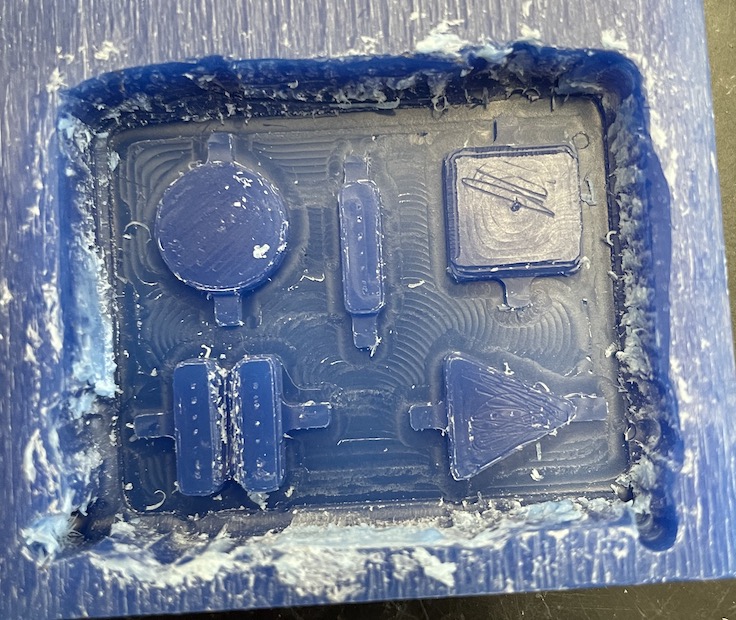
Pouring Silicone
|
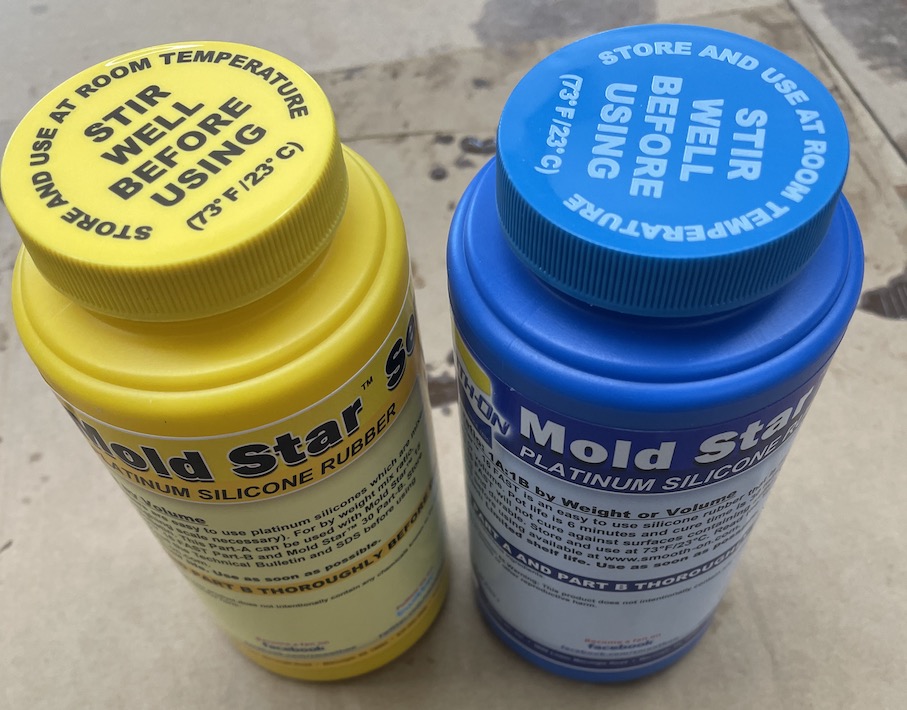
Here I used Moldstar 16 to create the button mold.
I followed the directions on the bottle, using a 1:1 ratio, mixing thoroughly, and smoothly pouring it into the mold as a drizzle to limit the number of air bubbles forming.
This has a short pot life of 5 minutes or so, so it is important to work quickly with it.
|
|
|
Once I had poured the silicone into the wax mold, I pounded the table to help air bubbles rise to the top.
This step would ideally be done on some sort of vibrating plate or even better - a vacuum chamber to squeeze out all the bubbles.
Small bubbles formed in my final cast, but they didn't create too much of an issue, just a few cosmetic air pockets.
|
|
|
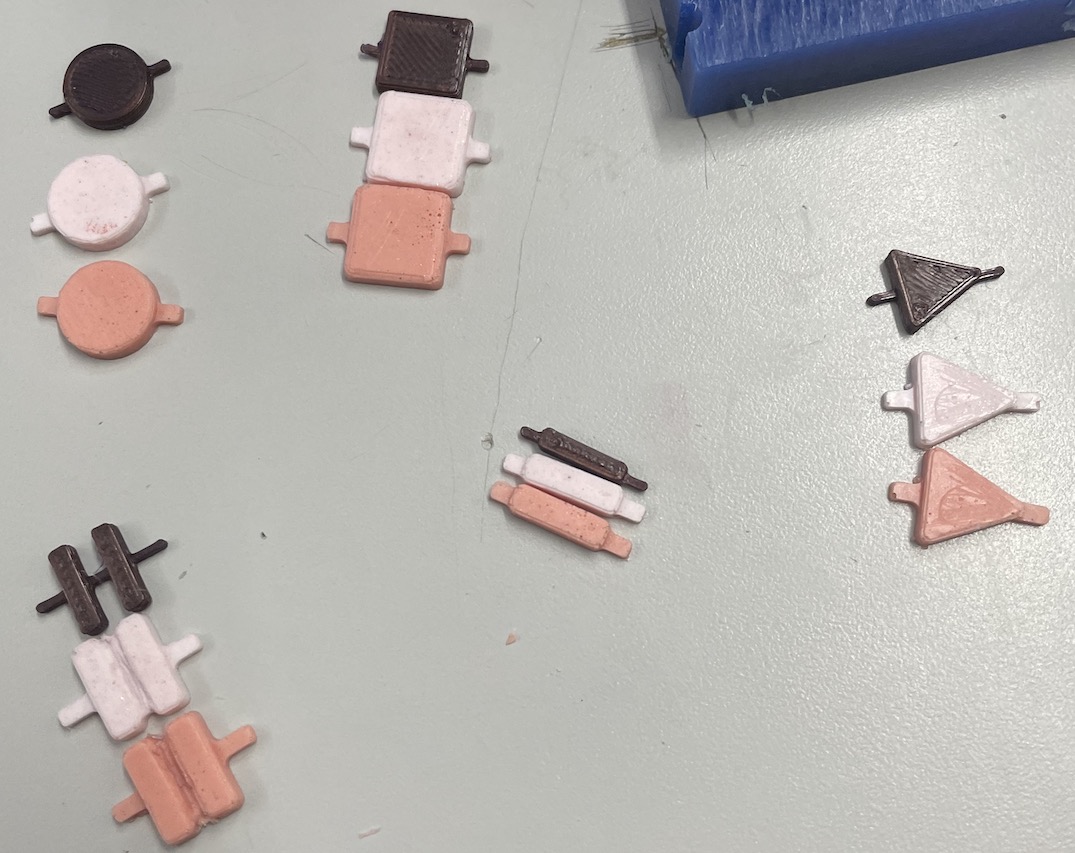
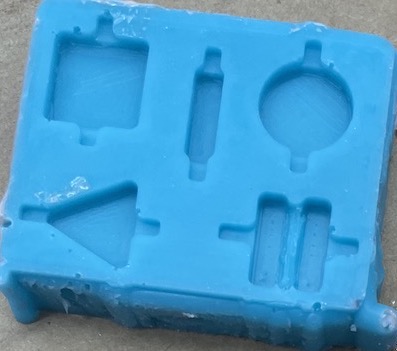
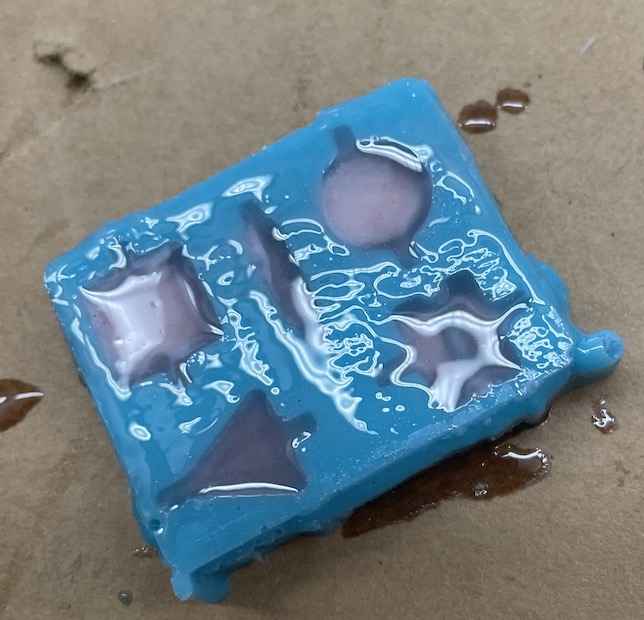
Here is the result of my button mold. It created a soft and malleable frame for pouring hard plastics into to create buttons.
|
Casting the Buttons
Semi-Rigid Resin |
|
|
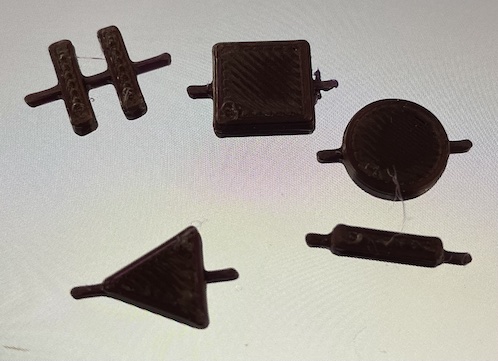
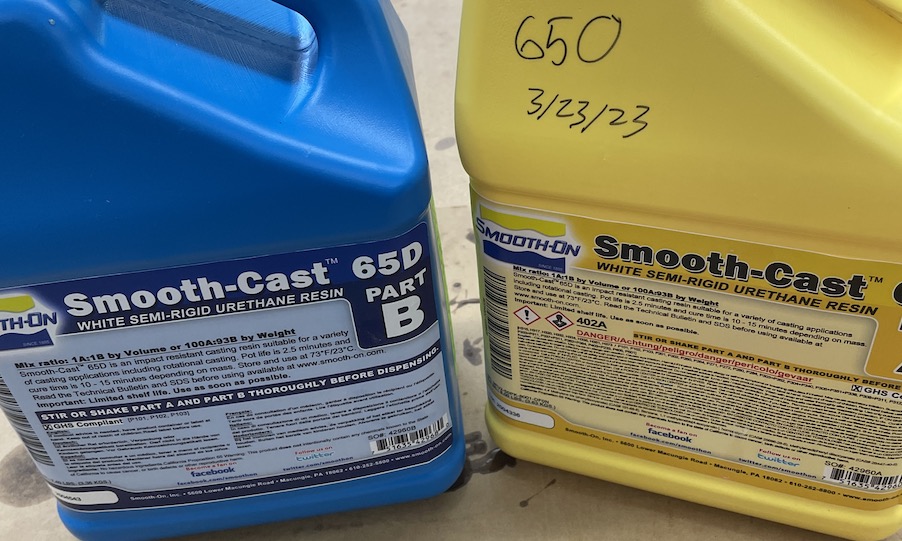
My first set up buttons was made using SmoothCast 65D, a 2 part, semi-rigid, urethane resin that cures quickly.
Making this mixture is very similar to the silicone-- 1:1 ratio, mix well, pour small stream of liquid to reduce bubbles, and it cures in minutes.
I attempted to add some bright red pigments to part A, then mixing thoroughly, and then adding B to distribute the color before it starts curing.
This material didn't seem to take the color very well though, and it actually turned a white color with a tinge of red.
Interestingly, this material seems to be able to bend and go back into its original shape.
It also has a slight "squishiness", so it is firm but soft to the touch, which makes this a great candidate for the final material I use for my buttons.
My only concern is that it doesn't take color very well, so a lot of pigment may be needed or a different kind such as dye instead of powder.
|
|
|
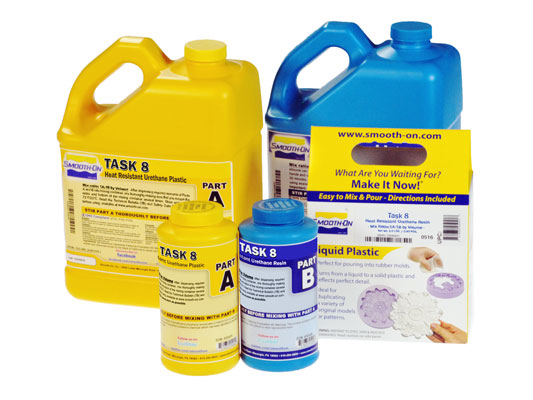
High-Temp Resistant Resin
|
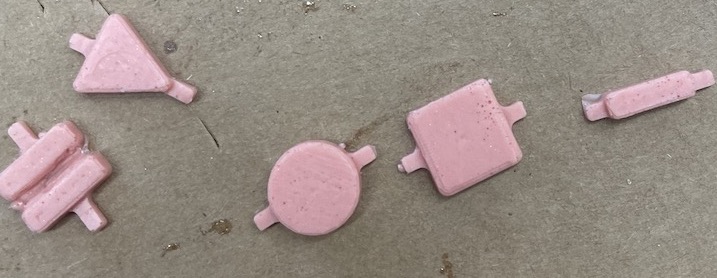
The process for mixing and pouring this material, Task8, is the same as the last 2.
Mix 1:1 ratio, drizzle in, and let cure for 10 minutes.
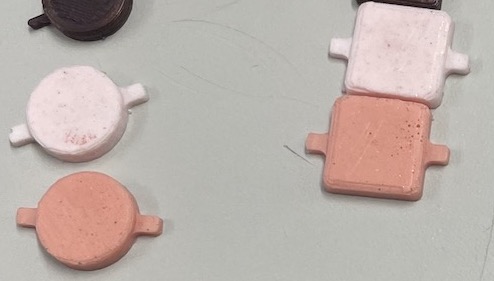
This one seemed to take color a lot better than the semi-rigid but still wasn't quite as bright as I had hoped.
Task8 creates a very hard and rigid plastic. These are not the properties I am looking for however, as a button should be more soft to the touch due to constant contact.
I will keep this material in mind for the future when I need to cast something more sturdy.
(Semi-rigid light-red on top, Task8 red on bottom)
|
UV Curing Resin
|
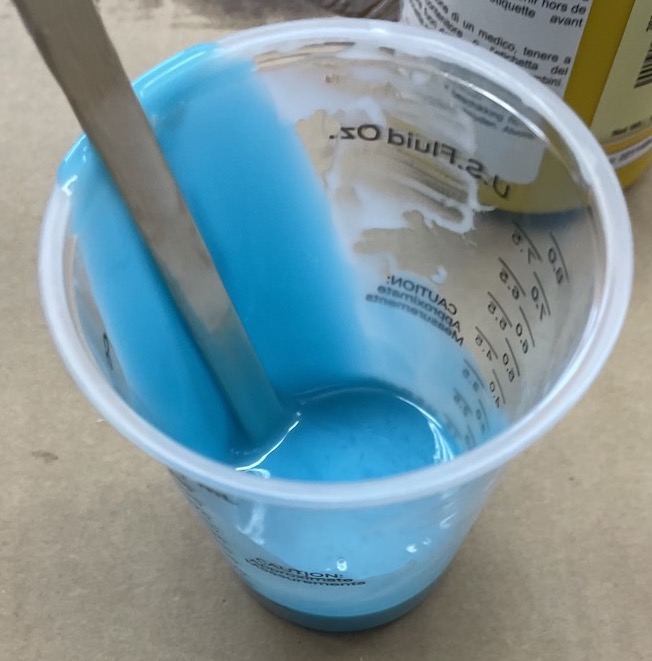
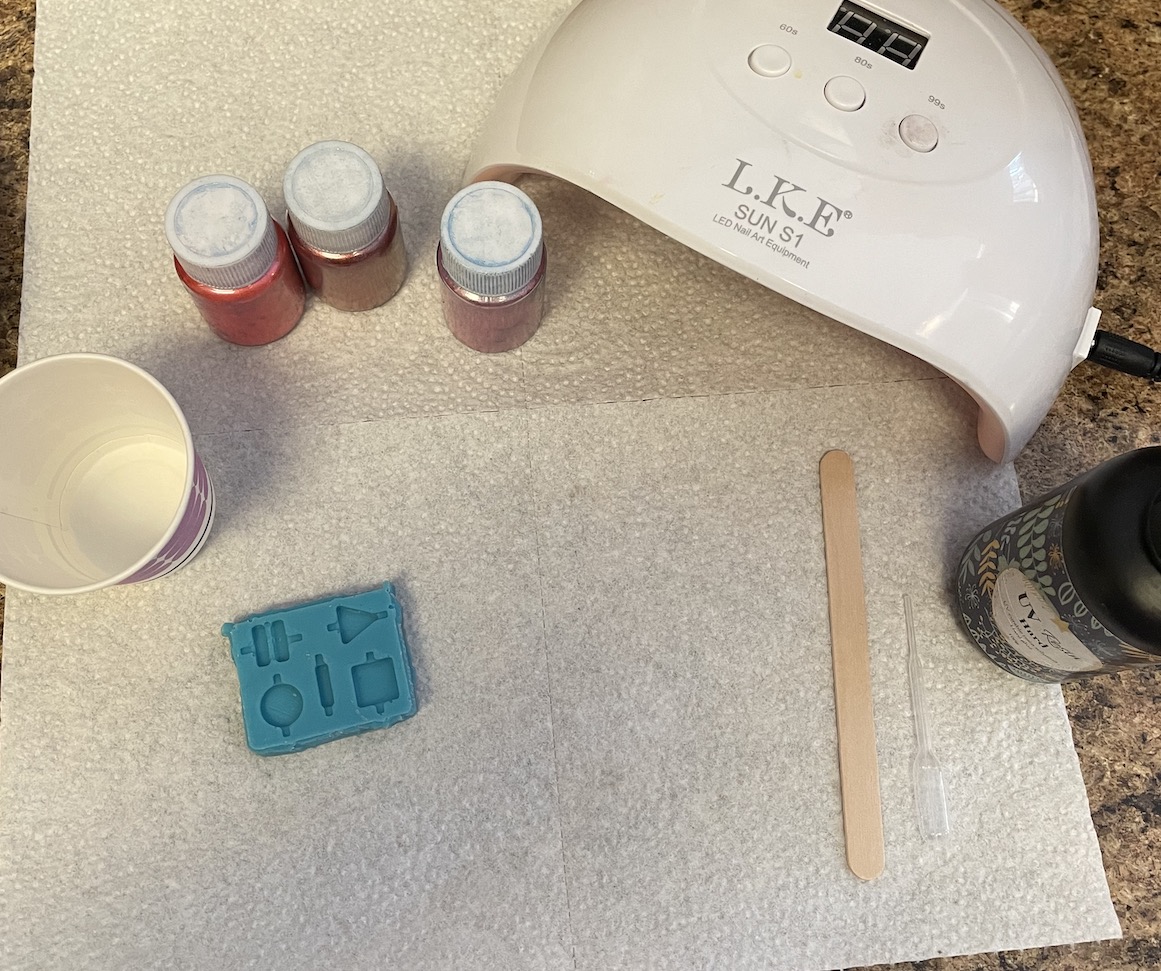
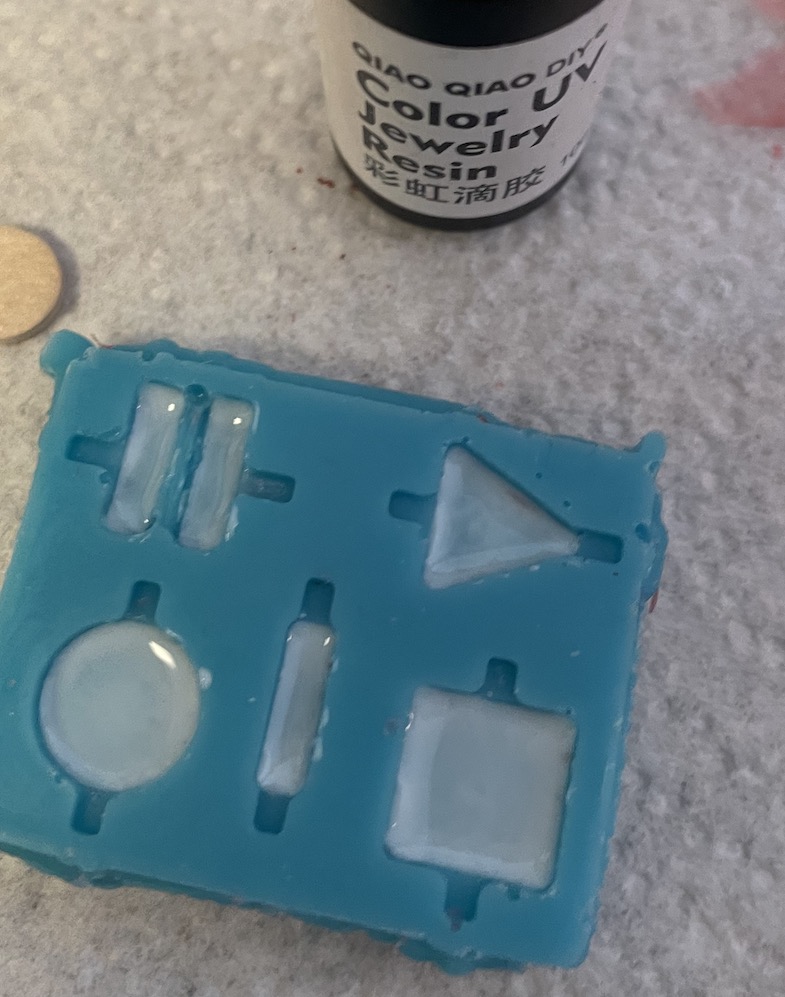
To cast with UV resin, you really only need the resin and a UV light.
I put down a paper towel to prevent any spills of the UV resin, and had a cup, popsicle stick and pigments ready for coloring the resin.
|

|
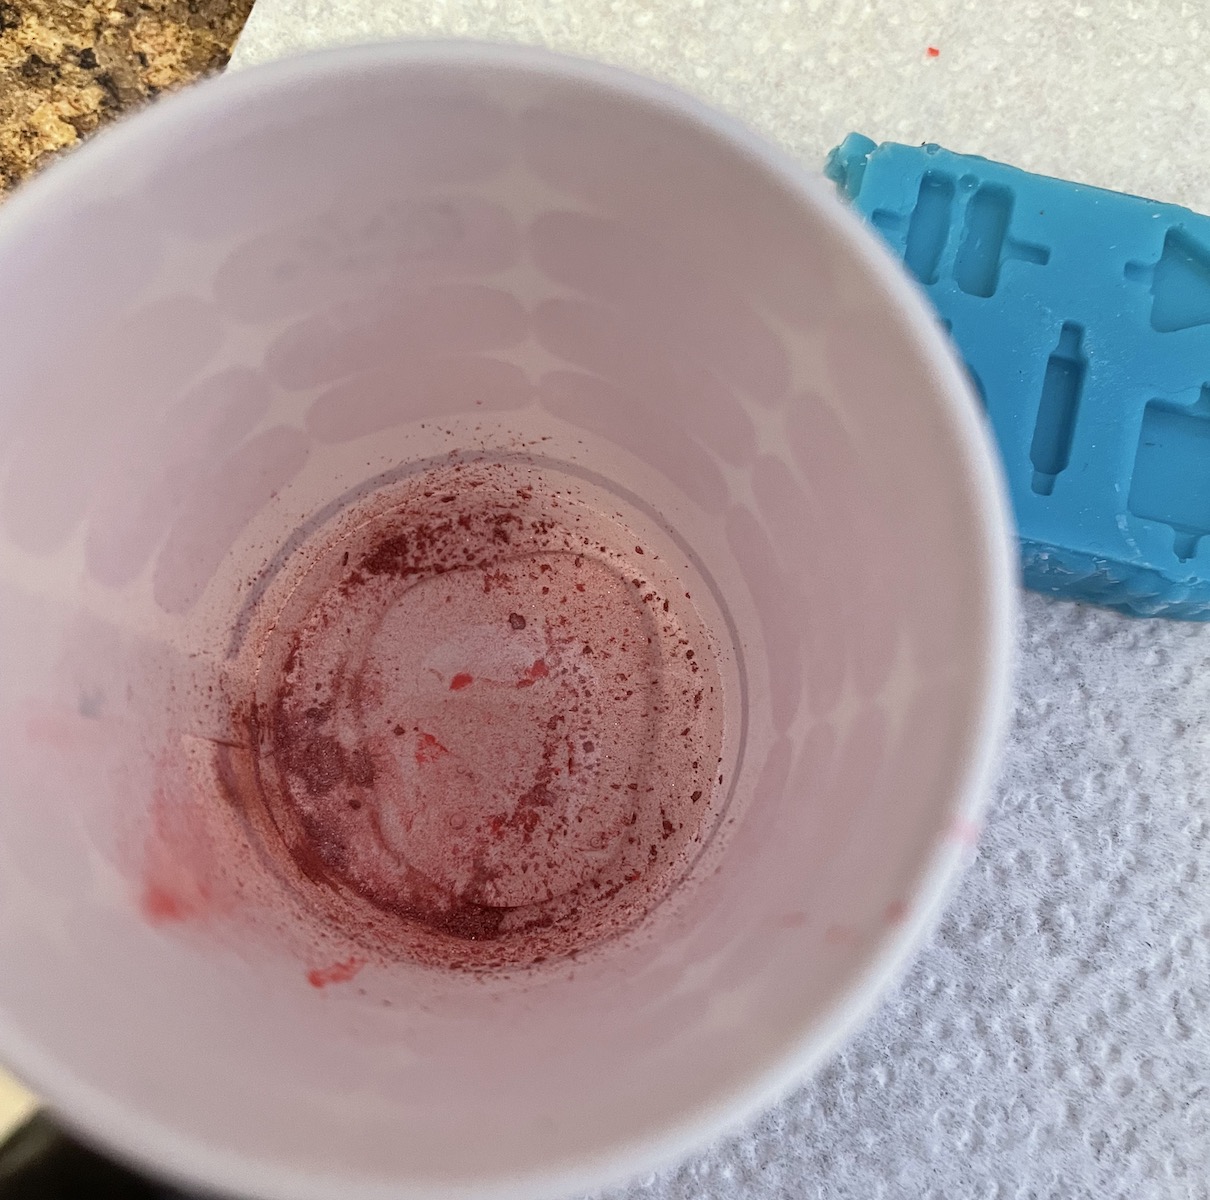
I started by adding resin into the cup, and mixing in red pigment with the popsicle stick.
This resin seems to take color the best out of all the materials I tested.
|
|
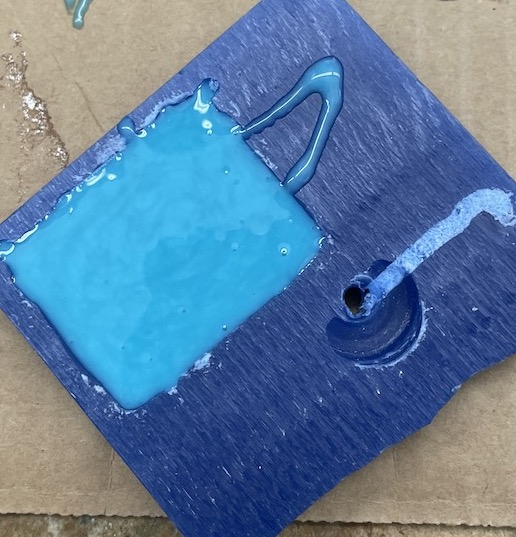
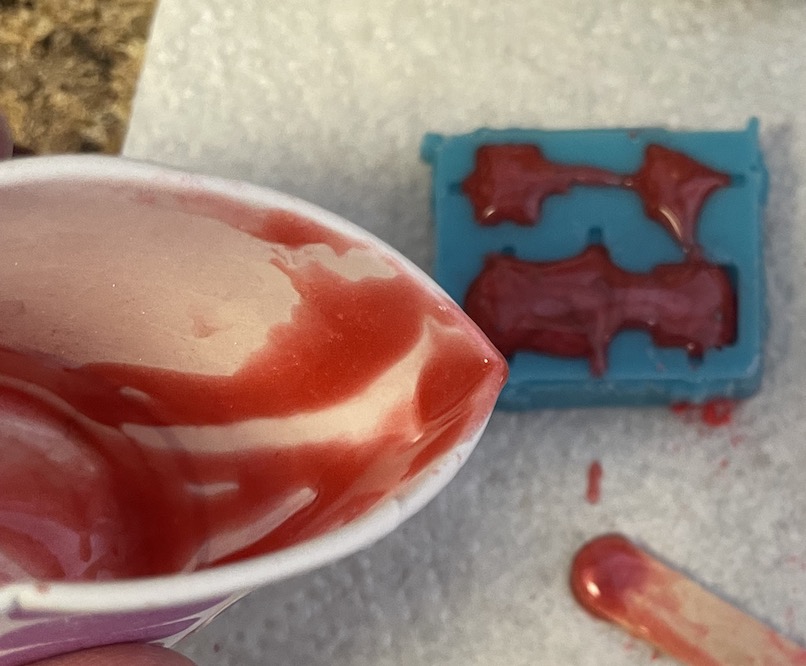
UV resin is kind of thick, so I tried my best to do a slow pour into the mold.
It ended up pouring too quick, so I smoothed it out with the popsicle stick.
This will later lead to issues, since the pour wasn't very smooth.
|
|
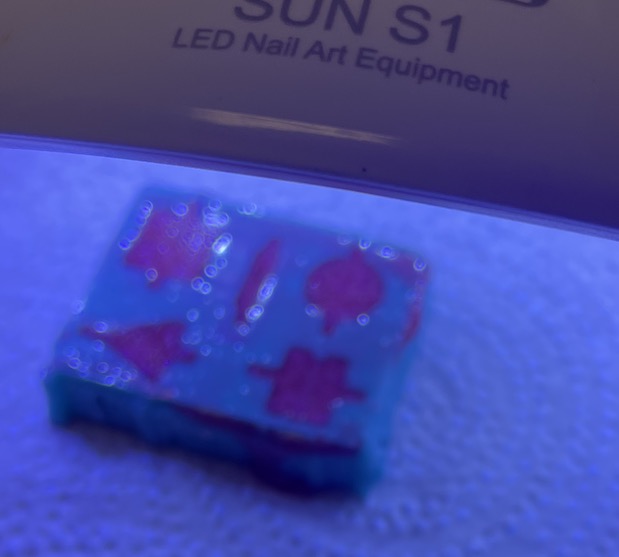
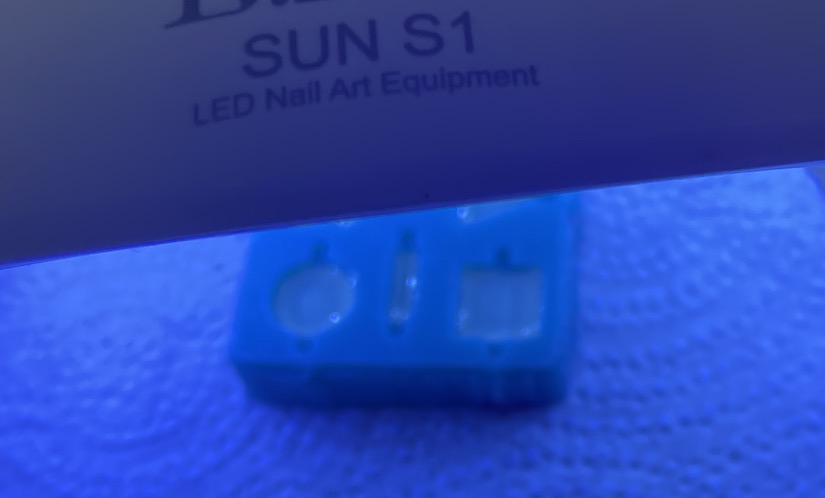
I left my mold with the uv resin underneath the uv nail curer for a few minutes.
|
|
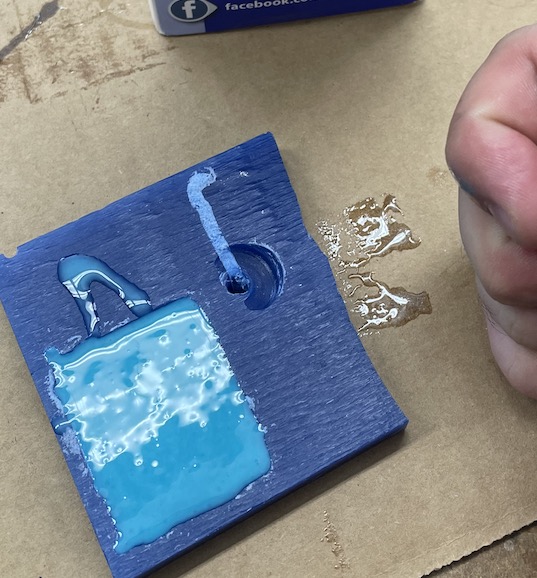
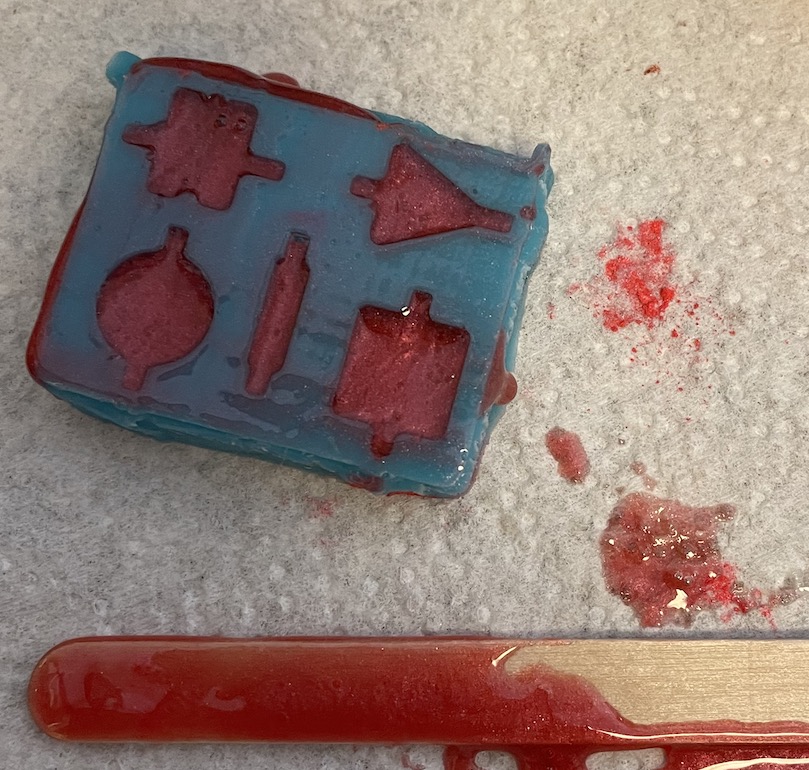
One issue with adding the pigment is that it actually blocks a bit of the UV light.
This makes it harder for it to cure towards the bottom.
Here you can see that the top is cured, but the bottom is not.
|
|
|
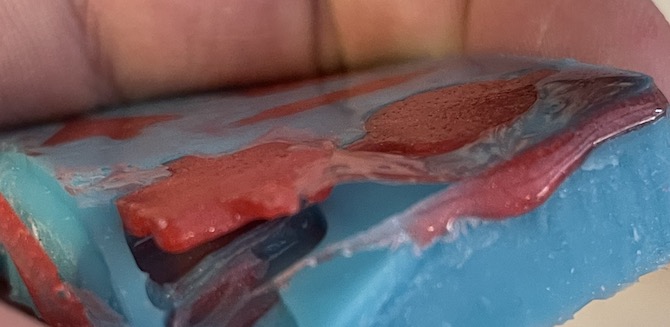
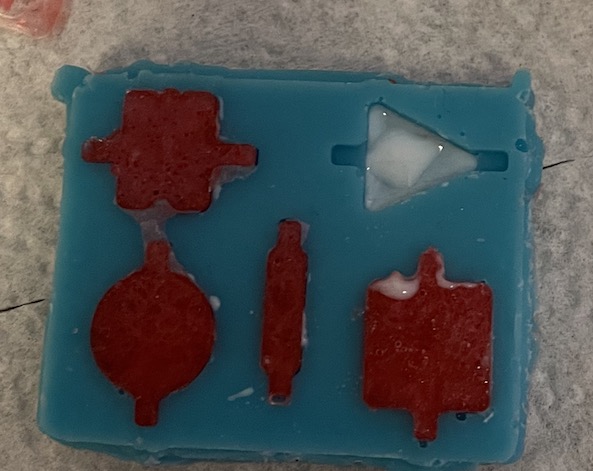
Also note the large air bubbles produced by my sloppy pour.
|
|
|
In attempts to fix this, I decided to create a thin white layer to top off each button.
I poured a thin white layer on the bottom of the mold, and cured it for a minute.
|
|
|
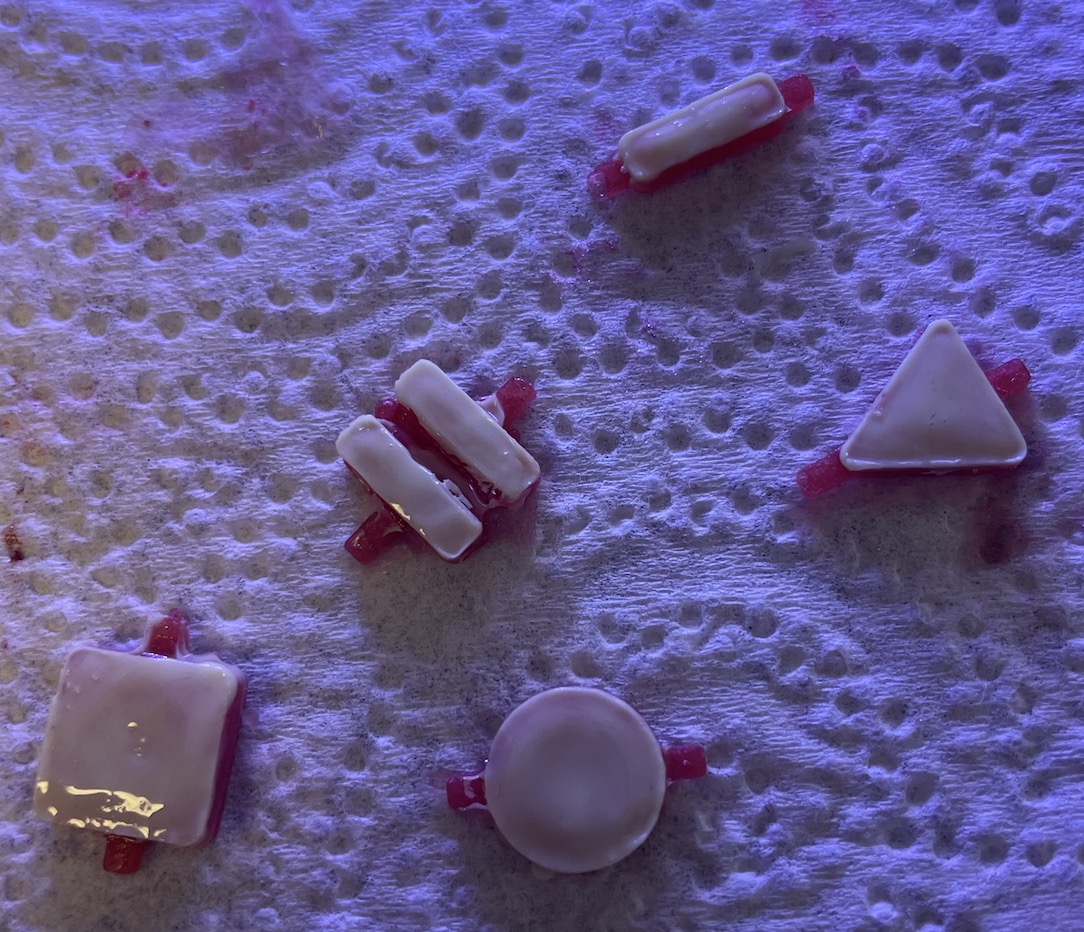
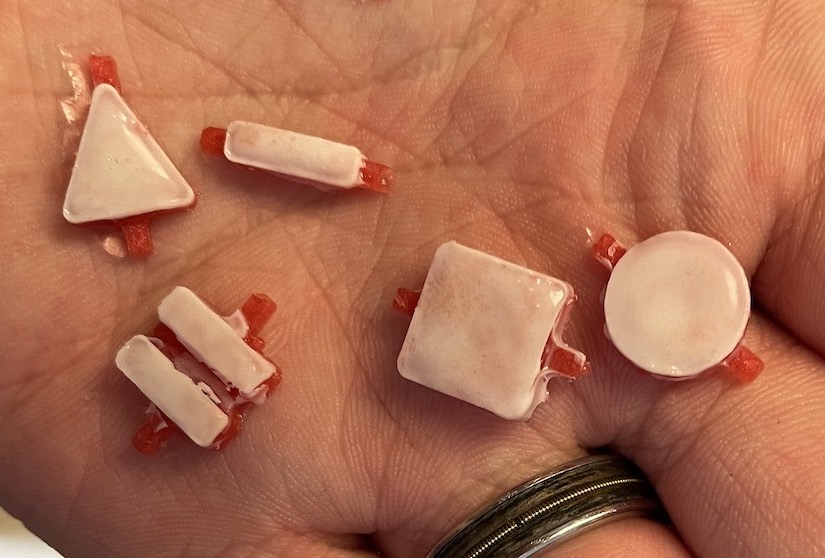
After the white cured, I added back in the red buttons from earlier, and pressed them together with the white resin using an extra bit of clear resin.
I set this to cure under the UV, but it still had some slight issues with fully curing.
I removed the buttons from the mold, and cured them in "open air" so more sides would be exposed to the UV.
This seemed to have worked.
|

|
|
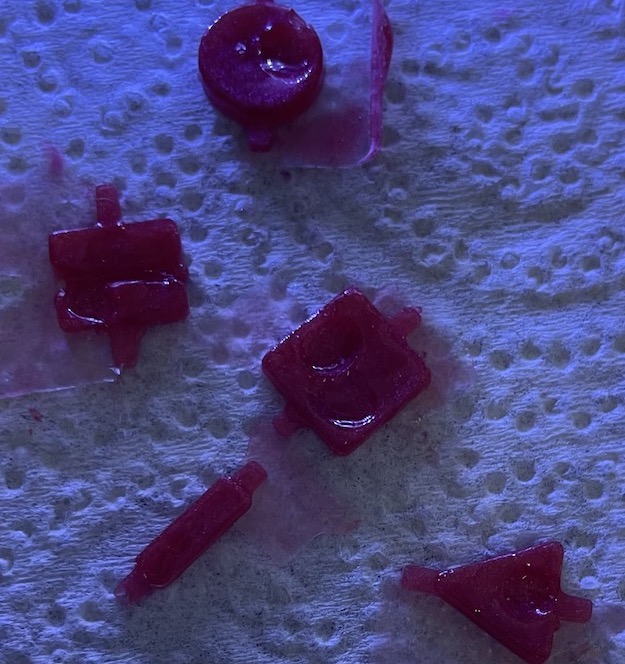
The final result came out looking pretty neat!
The UV resin really isn't as rigid as the other two resins, as it can bend a little bit, but over time (a few days) it seems to get more rigid with the prolonged exposure to UV.
While this was very easy, I think the material isn't the most ideal for standing up to wear and tear, and is honestly a bit "gummy" feeling.
This resin definitely took the color on the best, so maybe this would be more useful for decorative use cases such as inlays.
|
|
Reflection
For my project, I have decided to use the SmoothCast 65D, which provides the best trade offs between rigidity and softness to the touch.
The only issue is that it didn't take coloring as well, so other methods for coloration such as dyes or paint may need to be used.
The Task8 seems like a great material as well, just not quite what I am looking for in terms of tactile feel.
The UV resin, while easy and fun, is probably the least rigid, and has the worst tactile feel (a bit "gummy").
If I had to determine use cases for each resin type, I would say to use SmoothCast where you have skin contact such as buttons or pads.
For the Task8, structural use cases or small plastic parts seems to be its best use cases.
The UV resin, should be more so used for decorative things, where structural reliability is not a consideration.