10. and 11. Mechanical design, machine design
1group assignment - design a machine that includes mechanism+actuation+automation+application - build the mechanical parts and operate it manually - document the group project and your individual contribution 2group assignment - actuate and automate your machine - document the group project and your individual contributionIn this week we build a CNC mill: Here you find a video of the mill drawing with a pen:

CNC-mill after drawing the image.
Here you can download the design file:

CNC-mill drawing – the image was drawn with a ball pen placing the spring in the ball pen behind the ball pen refill.
By this, you can easily apply the right amount of pressure by lowering the z-axis, so that the ball pen writes on the paper.
But you have to raise the z-axis several centimetre to lift the refill from the paper, what we did not consider,
so in the drawing you also see the machine paths where the mill should actually not draw...
We planned to use an Arduino Mega with a RAMPS 1.6+ Board to control the CNC mill.
But we changed to an Arduino Uno with a CNC-Shield and A4988 drivers.
We adjusted the drivers to provide not more than 0.9 ampere.
Therefor, you have to adjust the reference voltage on 0,72 volt with the potentiometer on the driver.
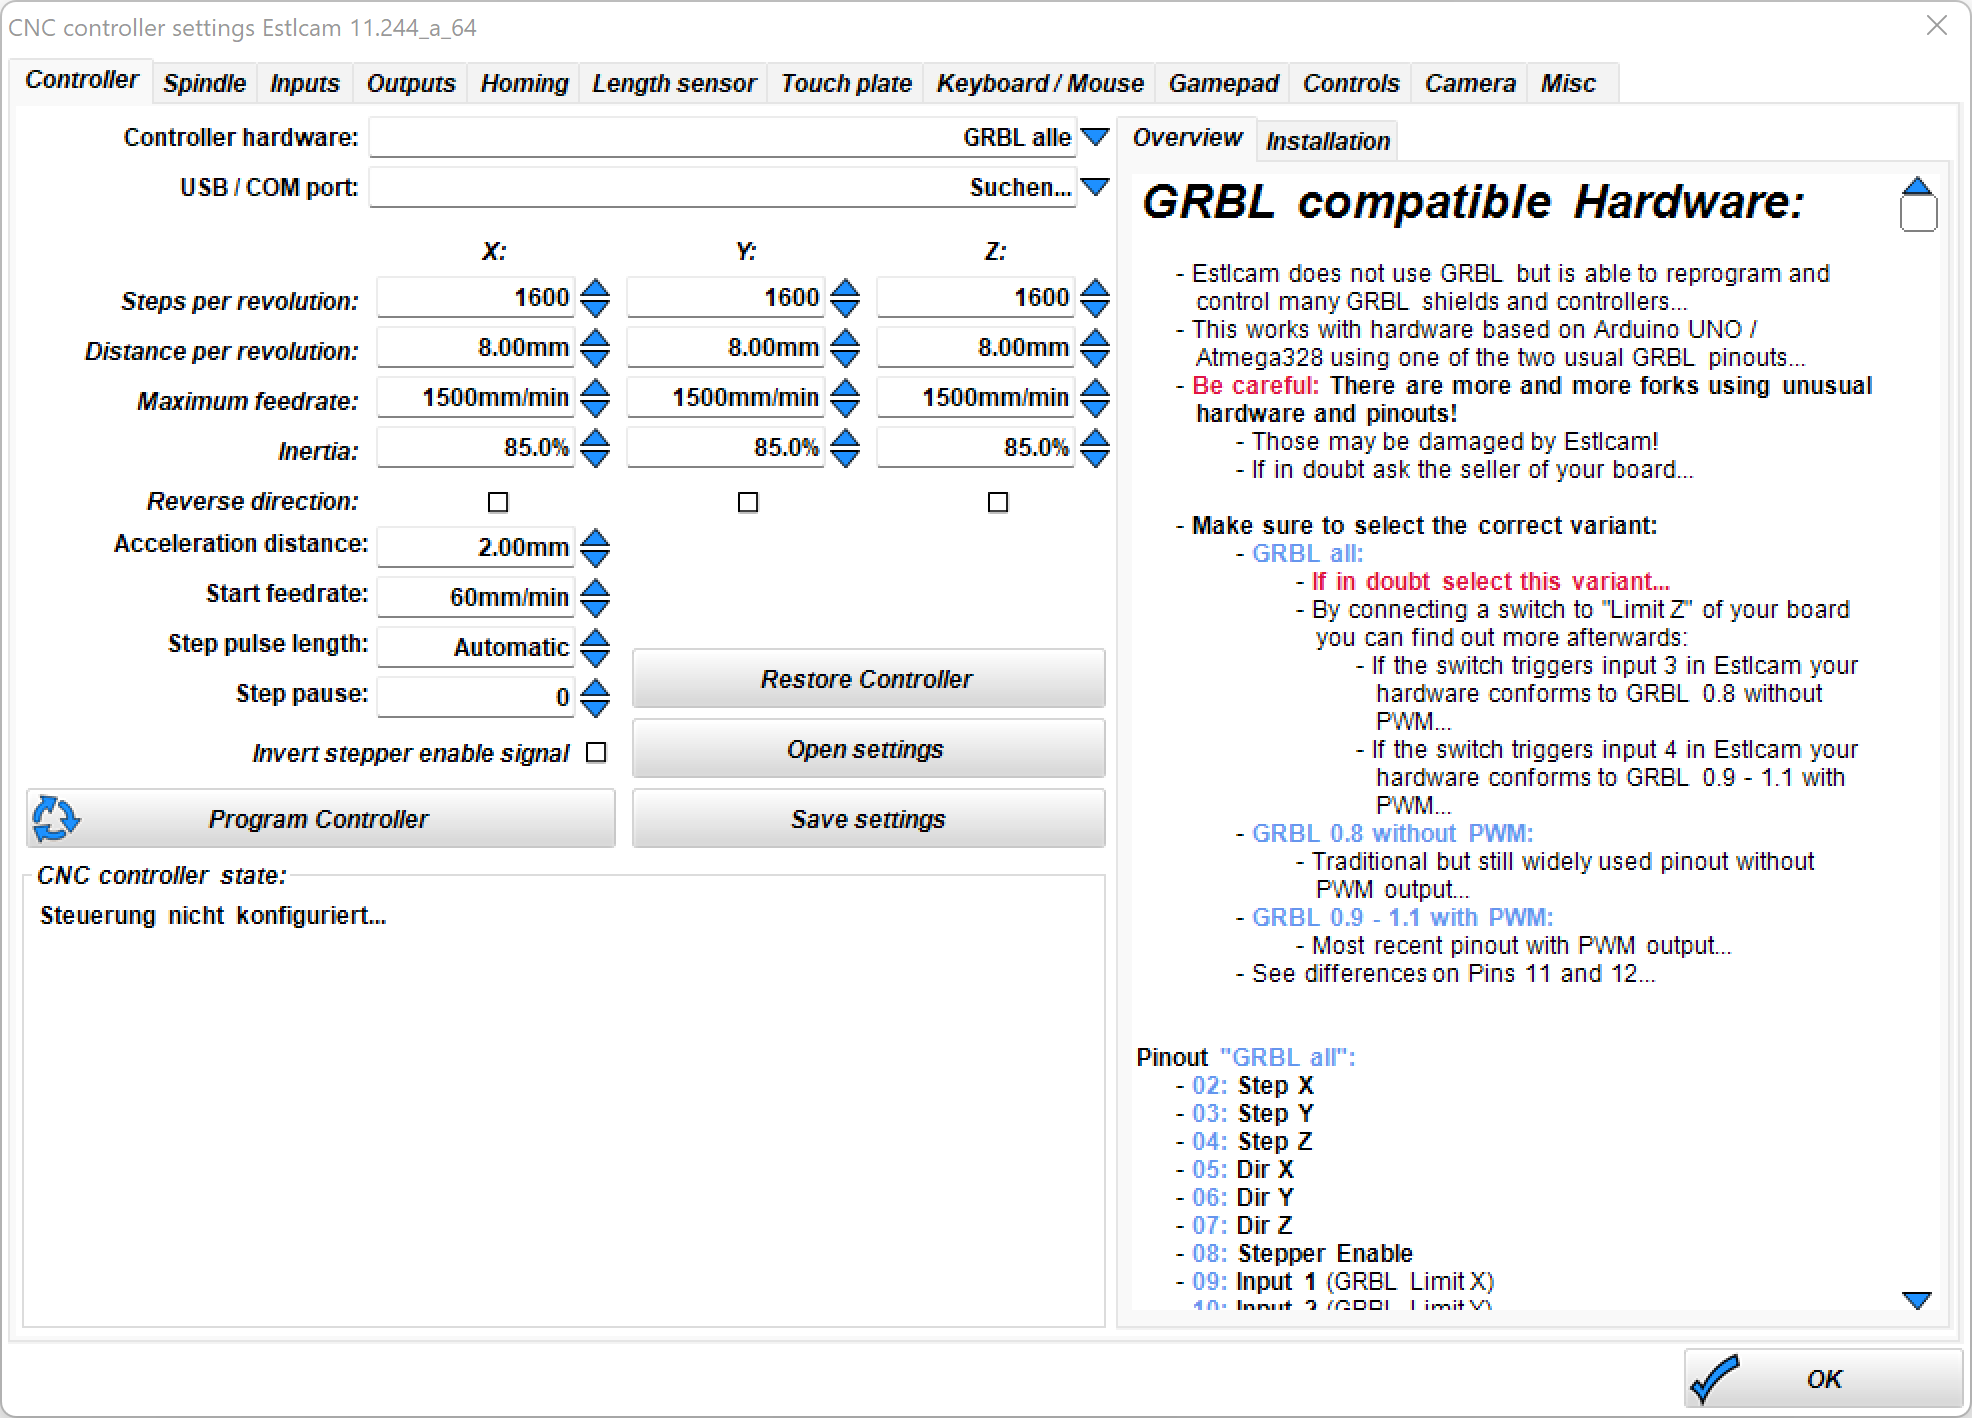
On the Arduino Uno we uploaded the software Estlcam (http://www.estlcam.de/).
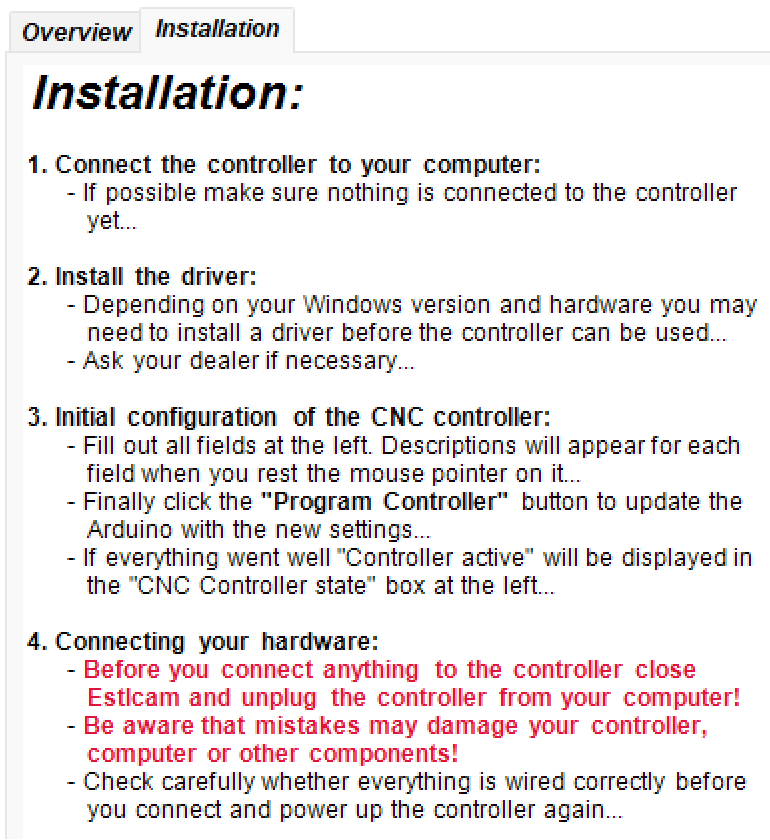
To upload the software on the Arduino: connect it to your computer with the RAMPS board/ CNC shield ontop, but nothing else connected.
Then open: Einstellungen – CNC Steuerungseinstellungen,
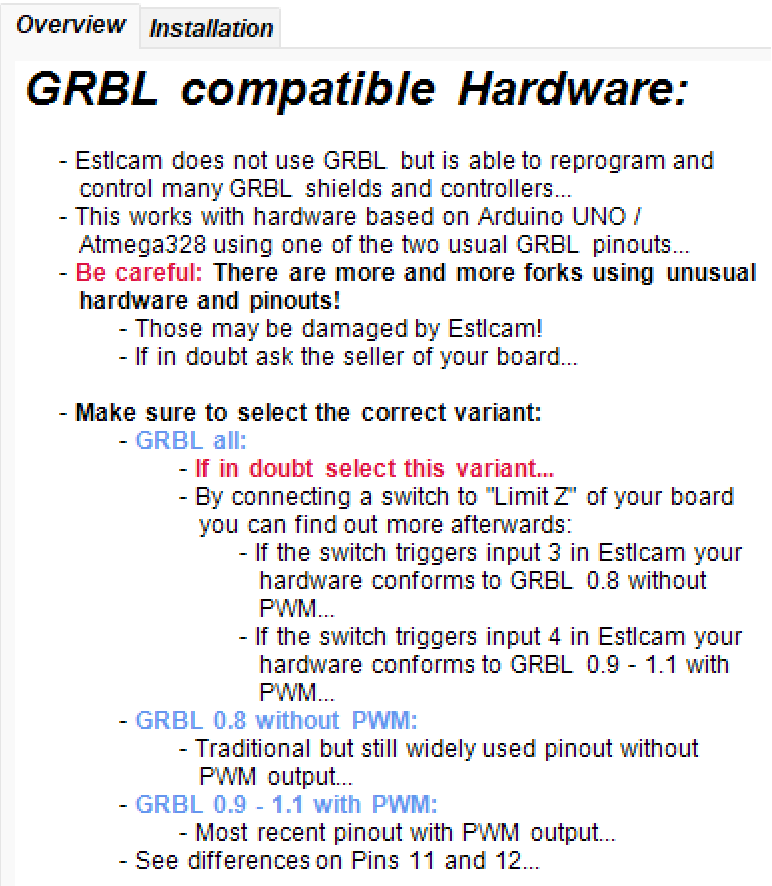
choose RAMPS/GRBL alle from the drop down menu and change the parameters on the left so that they fit to your machine.
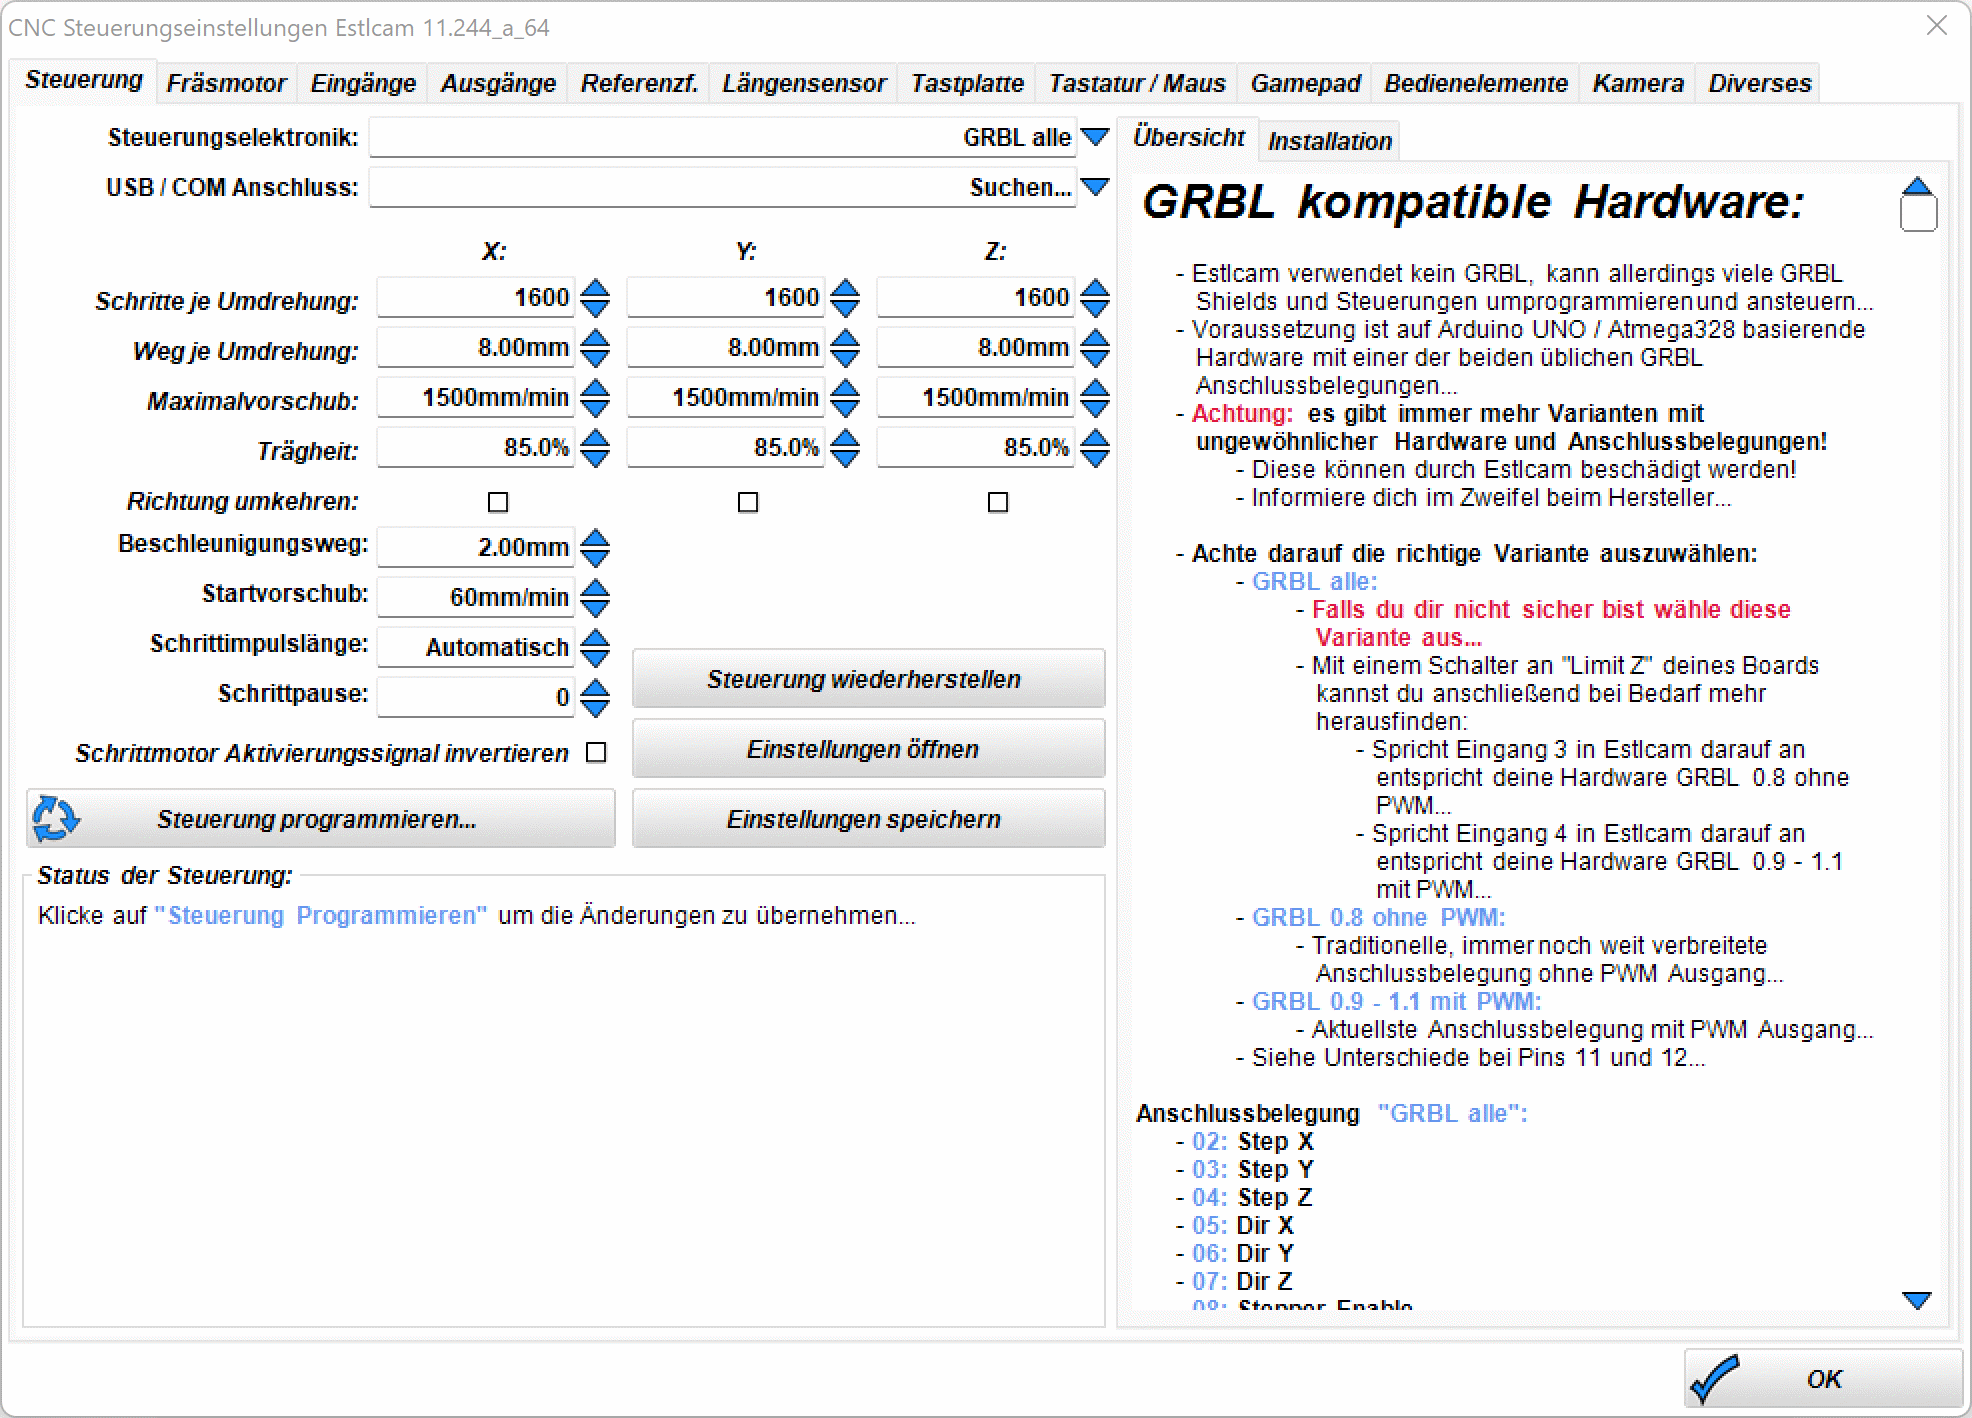
Be sure to read the notes to overview and installation on the right:here the same images in german:


There are many further tabs in which you can change stetting, but at the beginning its sufficient to make changes to the first window.
If everything is inserted right choose the COM port of your Arduino board and click on “Steuerung programmieren”.
The CNC mill was build out of four C-beam linear guides. Only a few adjustments to the bought parts are necessary to build the CNC-mill.
The CNC-mill is almost completely build out of metal (the anti-backlash nuts are made out of plastic).10. and 11. Mechanical design, machine design
I planned the design of the mill. Yassine and I did the assembly, programming and calibration together.
These parts we used (or are planned to be used later)
23HS5628 motors and TB6600 Stepper motor drivers (51,96 € for 3 each)
2040 Aluminium Profil (24,51 €)
https://www.ebay.de/itm/233949787857?var=533595557684
C-beam linear guide
2x 50 cm (35,06 €)
20 cm (29,62 €)
1 meter with motor (80,84 €)
nuts with springs (7,60 €)
mountings for the stepper motors (4,79 € x 4 = 19,16 €)
stepper motor holder (3,84 € for two)
couplings (2,65 € for 3)
spindle holder (11,43 €)
with this adapter for a dremel mill (and two sheets of 0,5 mm thick aluminium foil to get a tight press fit (9,99 €))
cable elongations (6 pc, 15 87 €)
aluminium profile connectors (10,04 €)
Ramps and Arduino Mega board (8,45 + ~48 €, or cheaper if you by a clone)
Screws to mount the stepper motors (9,59 €)
https://www.ebay.de/itm/323998342148?var=513616938418
emercency stop (3,08 €)
Limit switches (6 pc, 7,99 €)
https://www.amazon.de/gp/product/B07VWRS24K/ref=ppx_yo_dt_b_search_asin_title?ie=UTF8&psc=1
Screws for the limit switches (10 pc, 6,12 €)
screws for the vacuum table (120 pc, 11,30 €, optional)
Total costs of all components are about 400-500 €.