Molding and Casting.
According to google Casting molding is a process of creating objects by pouring a liquid material, usually metal, into a hollow cavity of a desired shape, which is made by using a model or a pattern. The liquid material solidifies and forms a casting, which is removed from the mold. The mold can be made of plaster or other materials, and can have one or more sections depending on the complexity of the shape.
Group assignment.
• So this week group assignment was to review the safety data sheets for each of your molding and casting materials, then make and compare test casts with each of them extra credit: try other molding and casting processes
Safety and Technical Datasheet
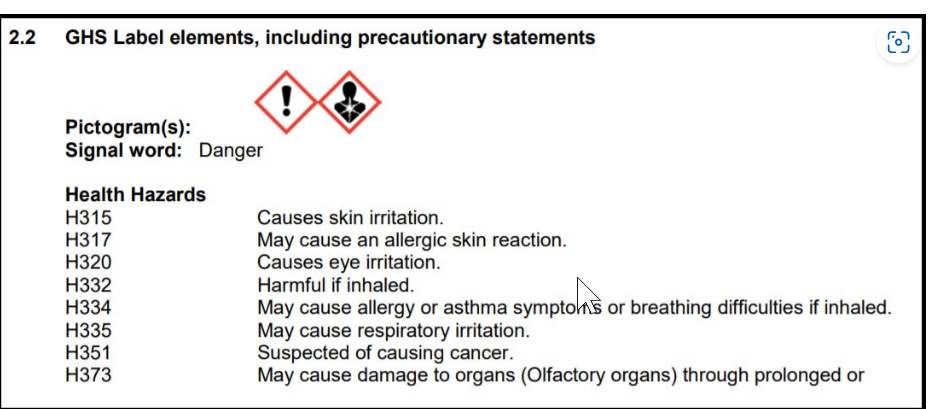
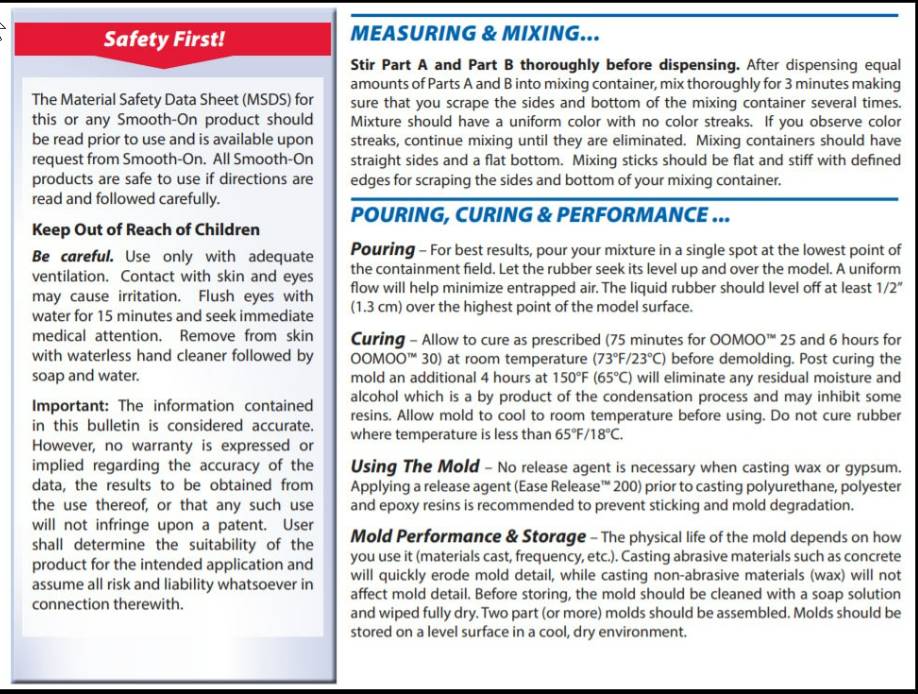
Some important takeaways for silicone molding includes using a safety glovest to prevent the mold from sticking to the object, let the silicone mixed thoroughly before pouring, and letting the silicone to cure before removing the object from the mold by giving it enough time.on the other hand It's also important to use a mold container to hold the silicone and create a uniform mold shape.Some safety measures to take before molding and casting includes wearing protective eyewear, working in a good well-ventilated area, and following the data sheet instructions for the materials as provided below. it is important to avoid skin contact with the materials and to dispose of the waste properly. The data sheet even provides that different hazards associated to the material and risk levels. Note that SORTA-Clear™ 18 is the only safe food material.source to the datasheet is here.

The Link to group assignment group here.
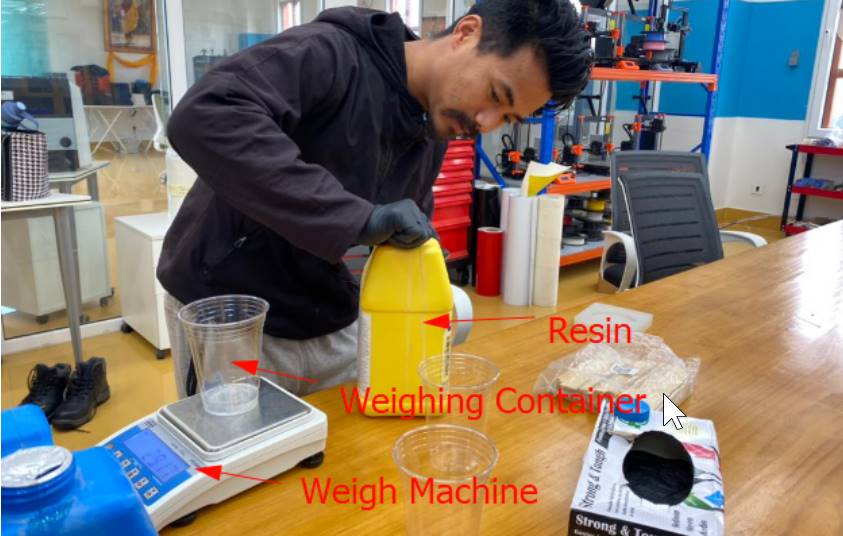
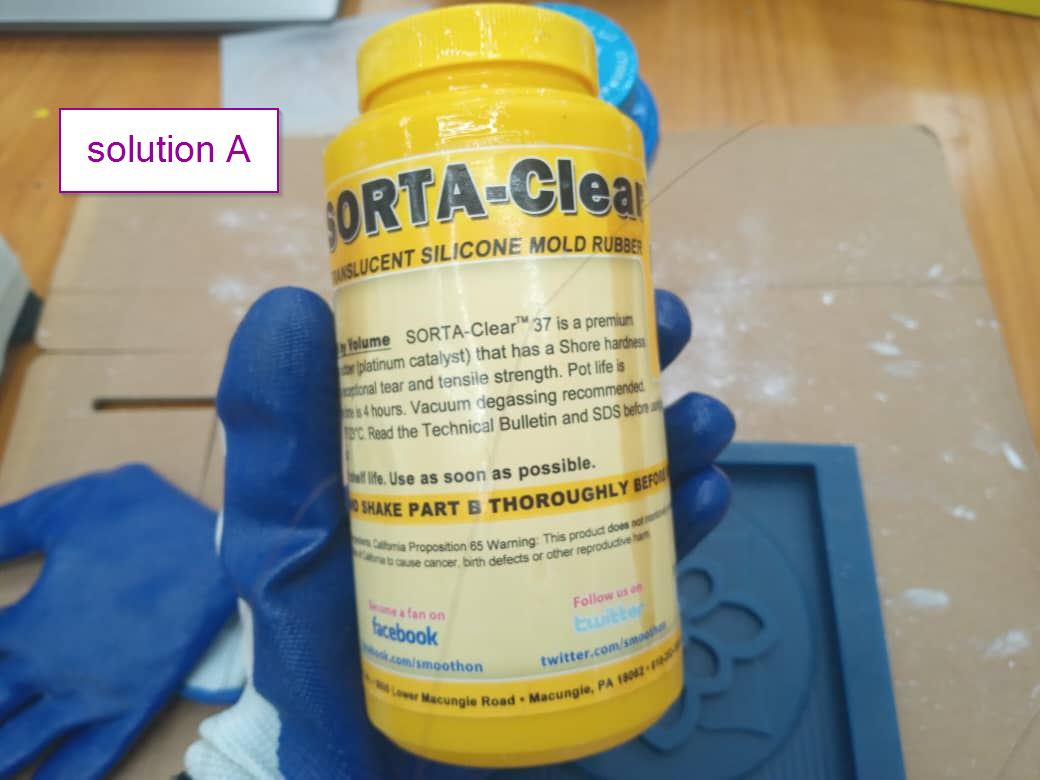
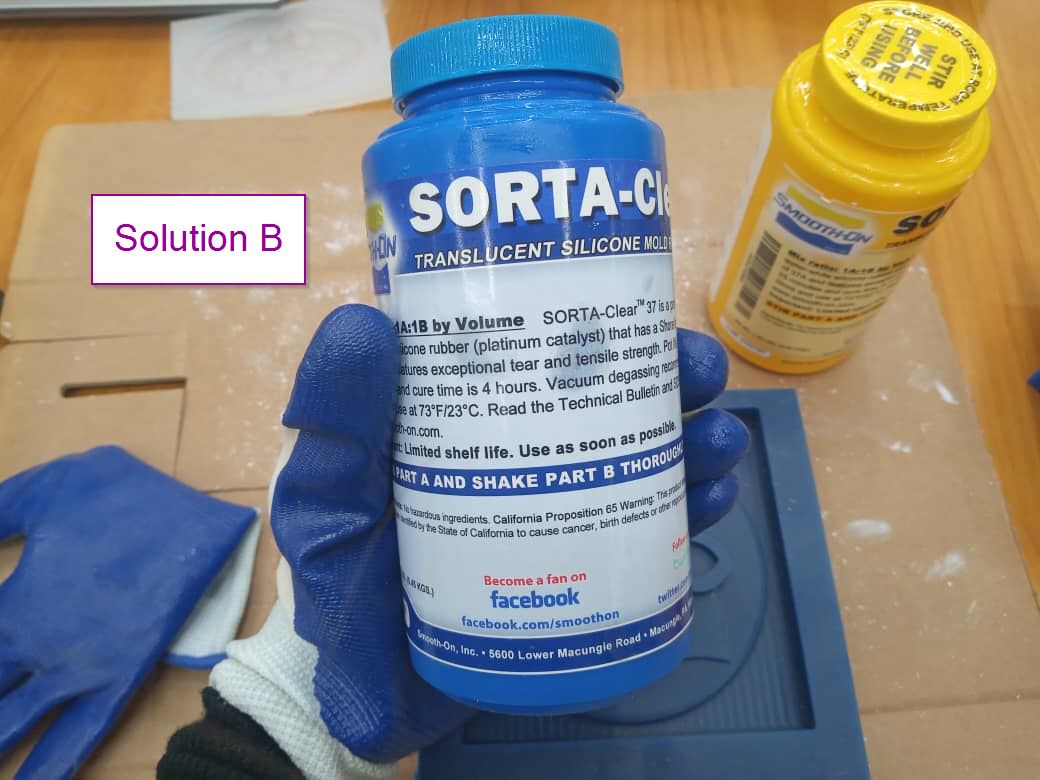
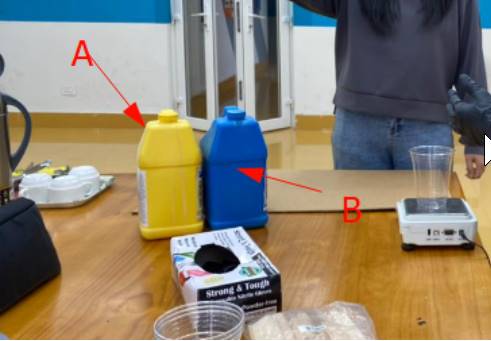
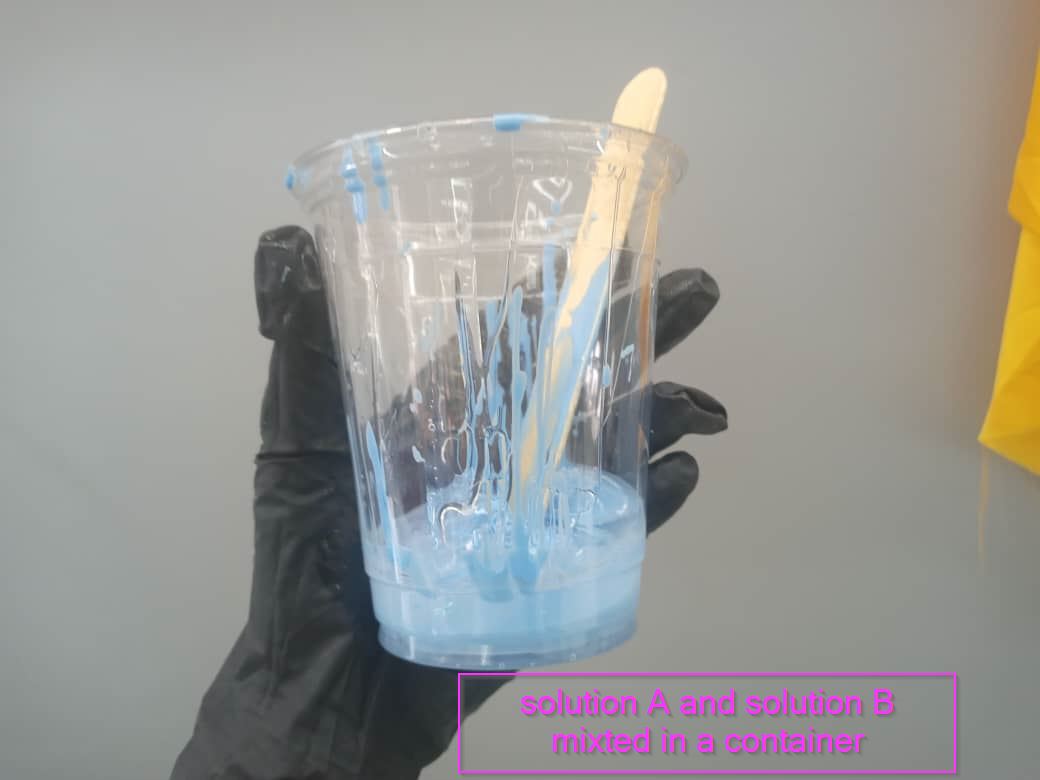
For group assignment we did casting with resin,We used two solution A and B. After that we mixed both the solution in a container. Before mixing the component we need to shake it well. So we added 29.15g of each solution as shown below.
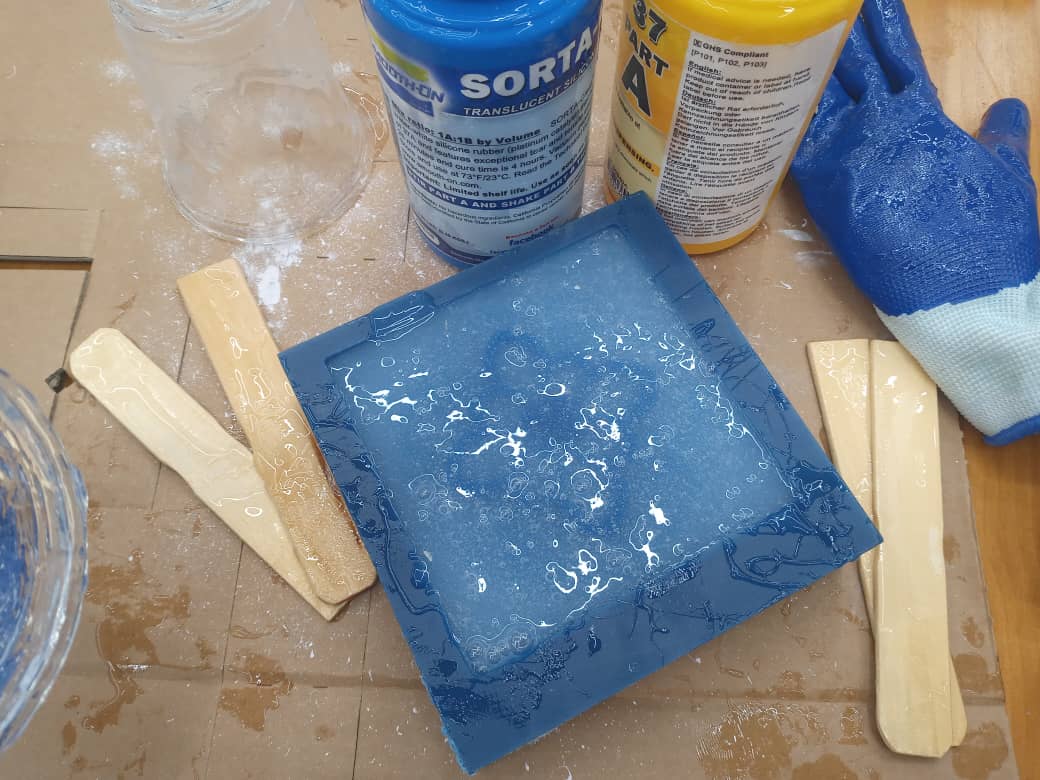
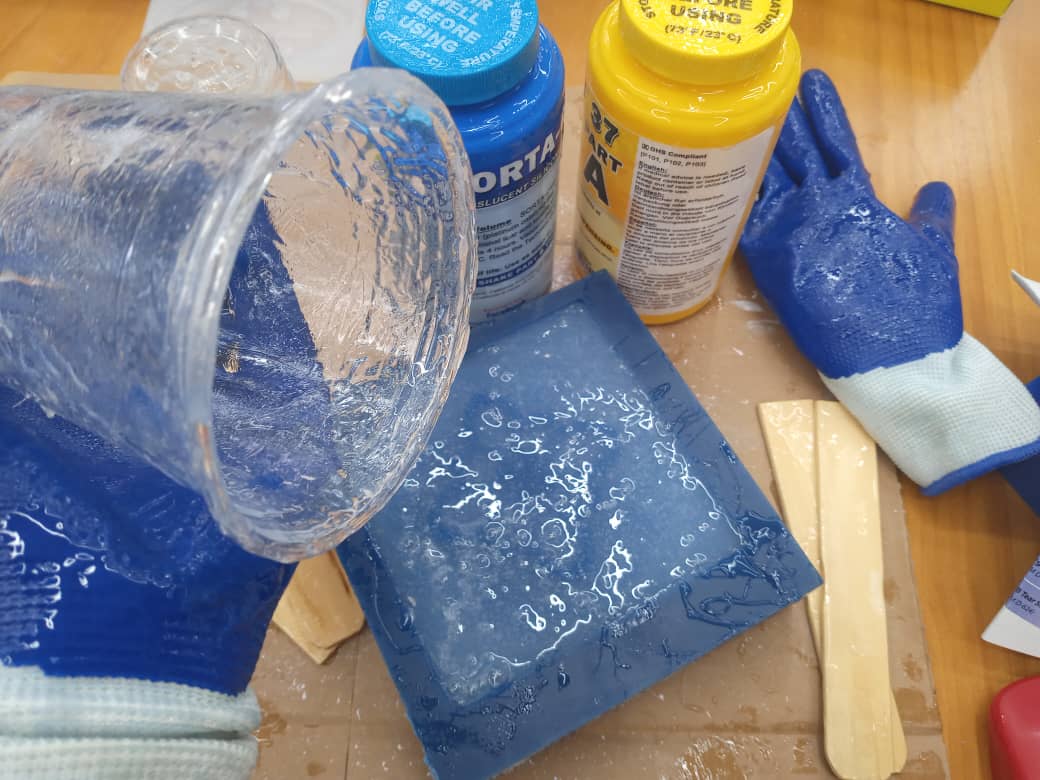
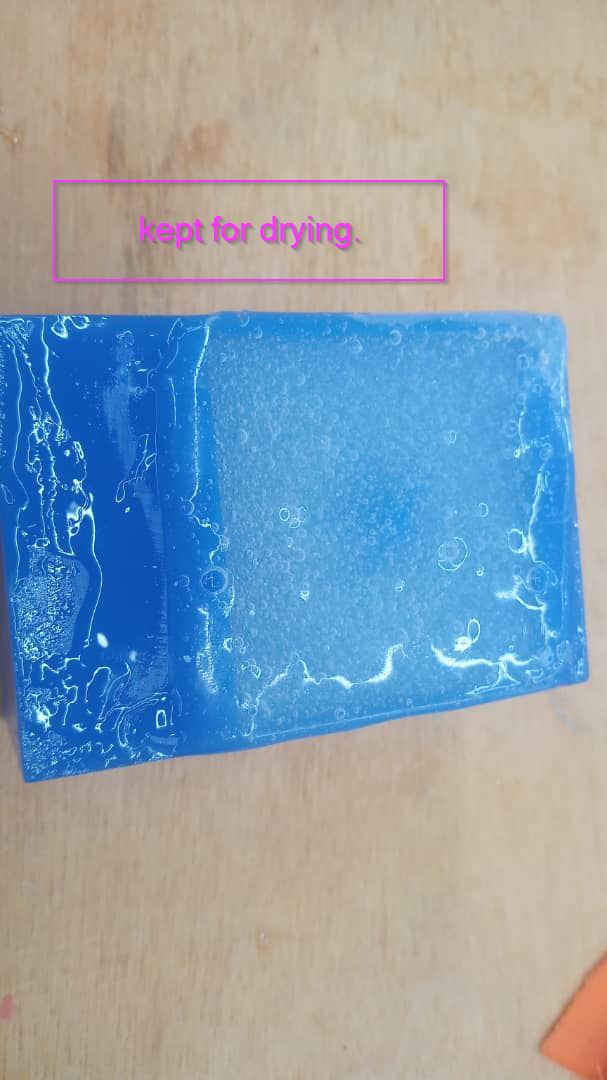
As shown below the mixture is poured and it has been kept for drying.
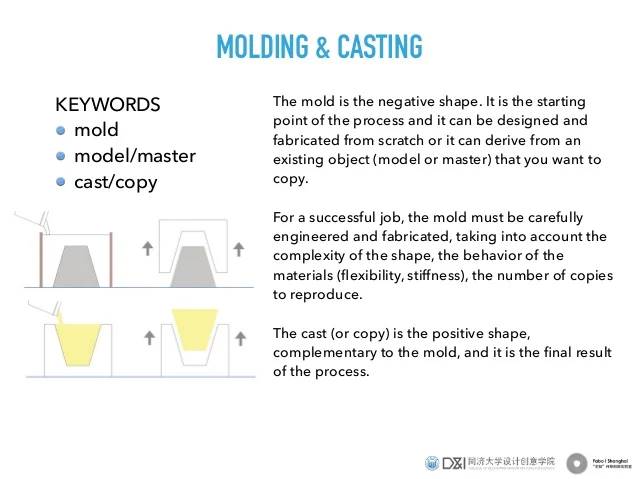
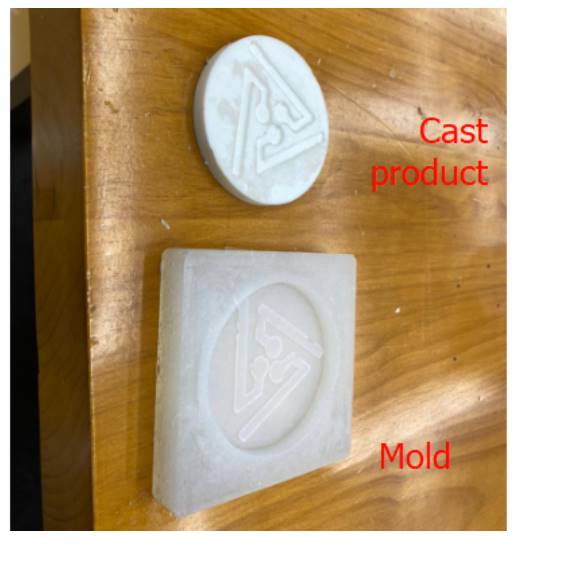 • Below here is the difference between mold and cast. below here is an image showing the differences between molding and casting. and the link for the image is here
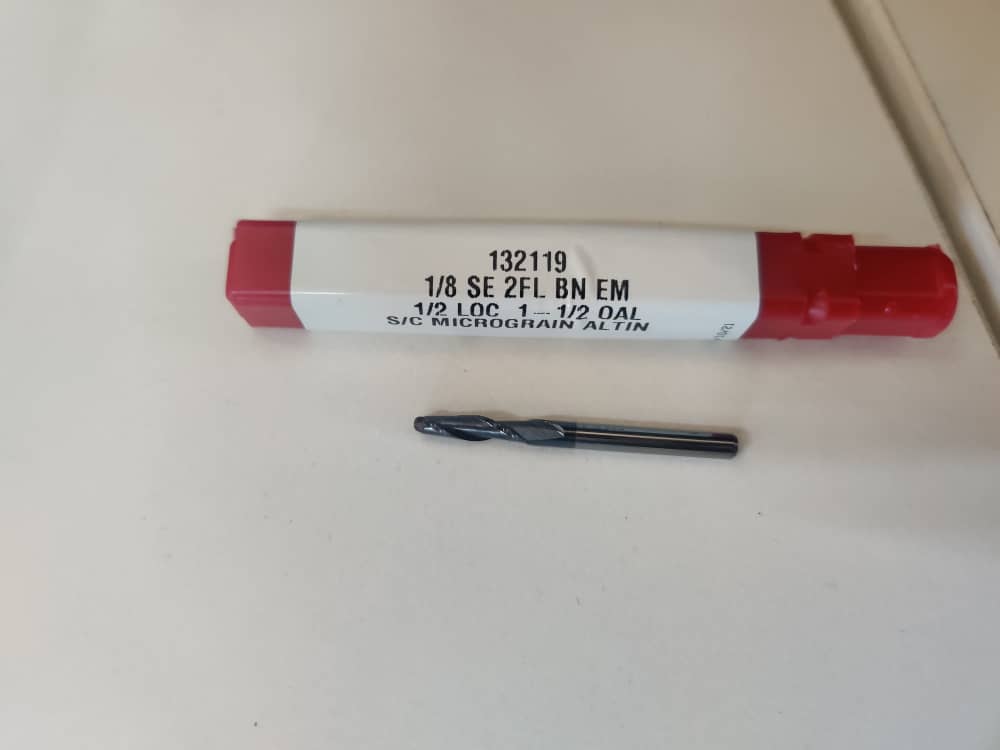
• Below here is the images of end-mill that we are going to use for roughing and finishing. For roughing we use 1 by 8 SE FL EM and for finishing 1 by 8 SE FL BN EM

Designing on fusion.
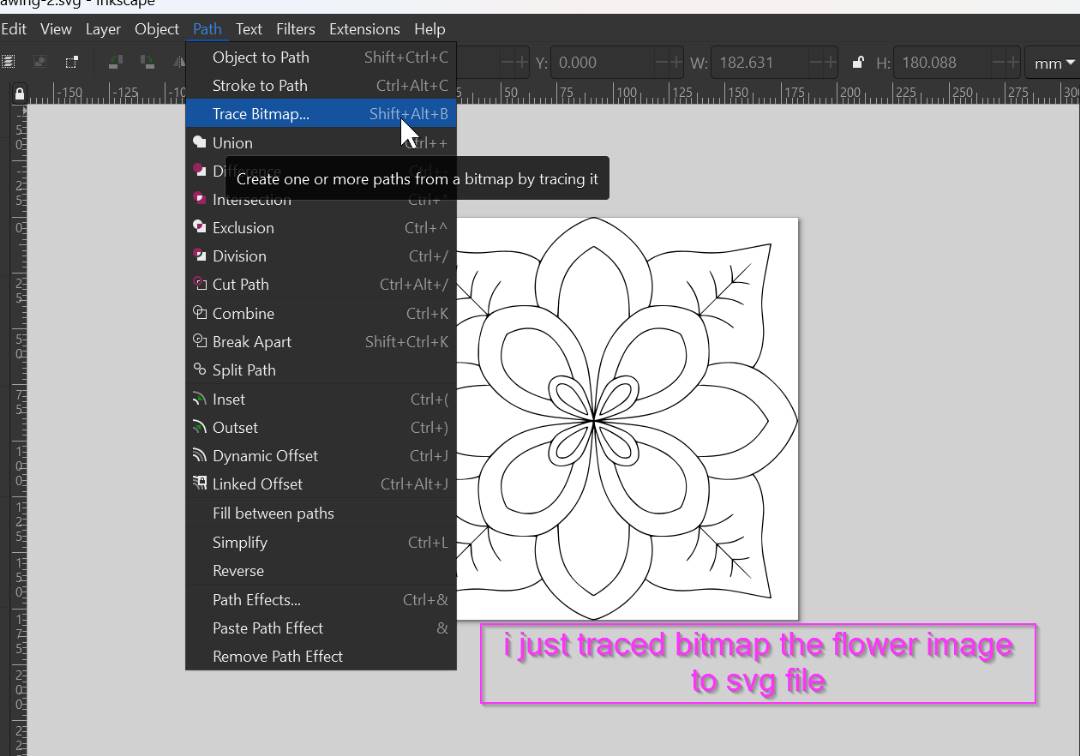
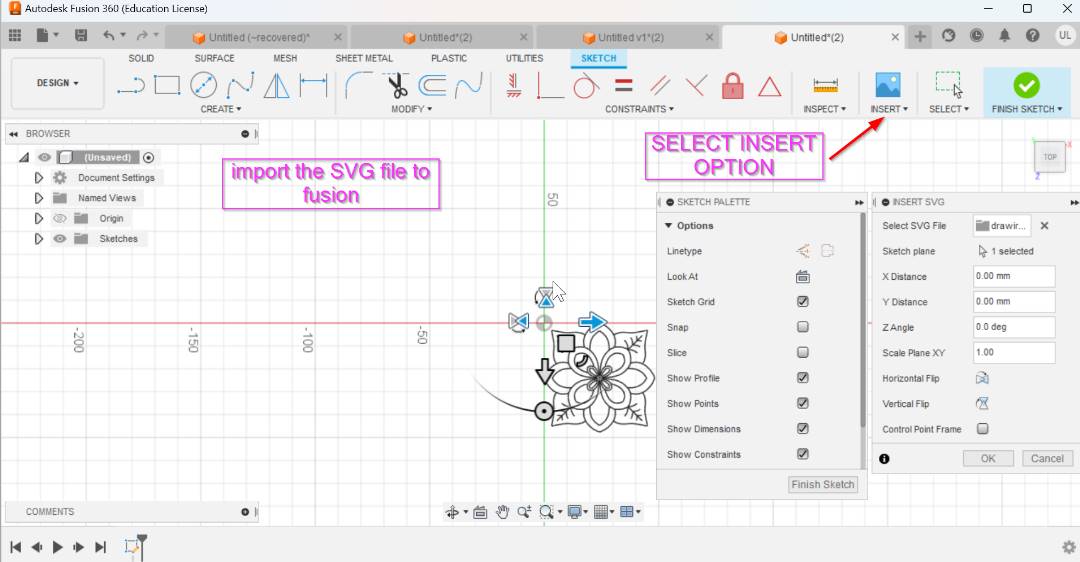
• Firstly I wasn't sure what knd of design should I do on fusion, and finally I came up with an embroidery design on google soI decided to work on that design.So firstly I converted png file from google to Inkscape and then converted that svg image to fusion and later on converted to stl file. So below here are rhe steps to do that.•Here is the image i got from google and converted from png to svg by trace bitmap.
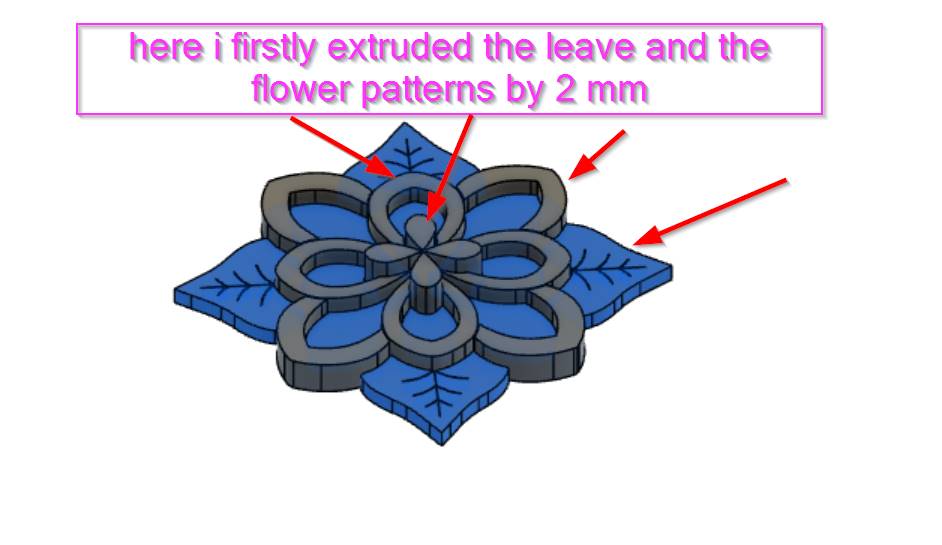
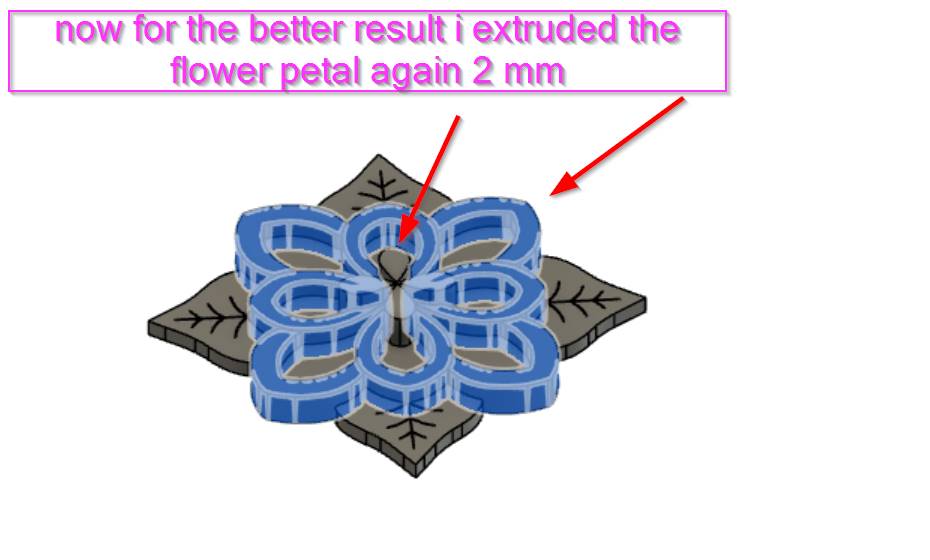
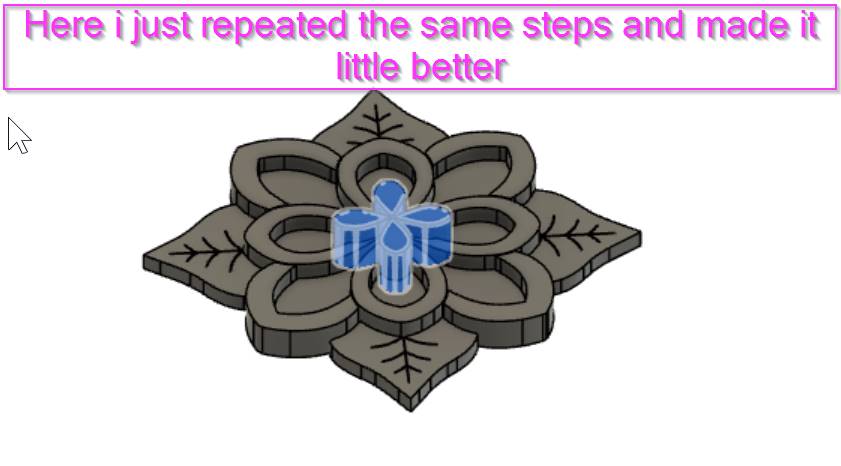
• After that extruding to your own desire.
Now milling SRM20
• We already milled our PCB in SRM 20 but this week we were to mill wax on SRM so for that I imported my design file which was in STL file and imported in Modela player.
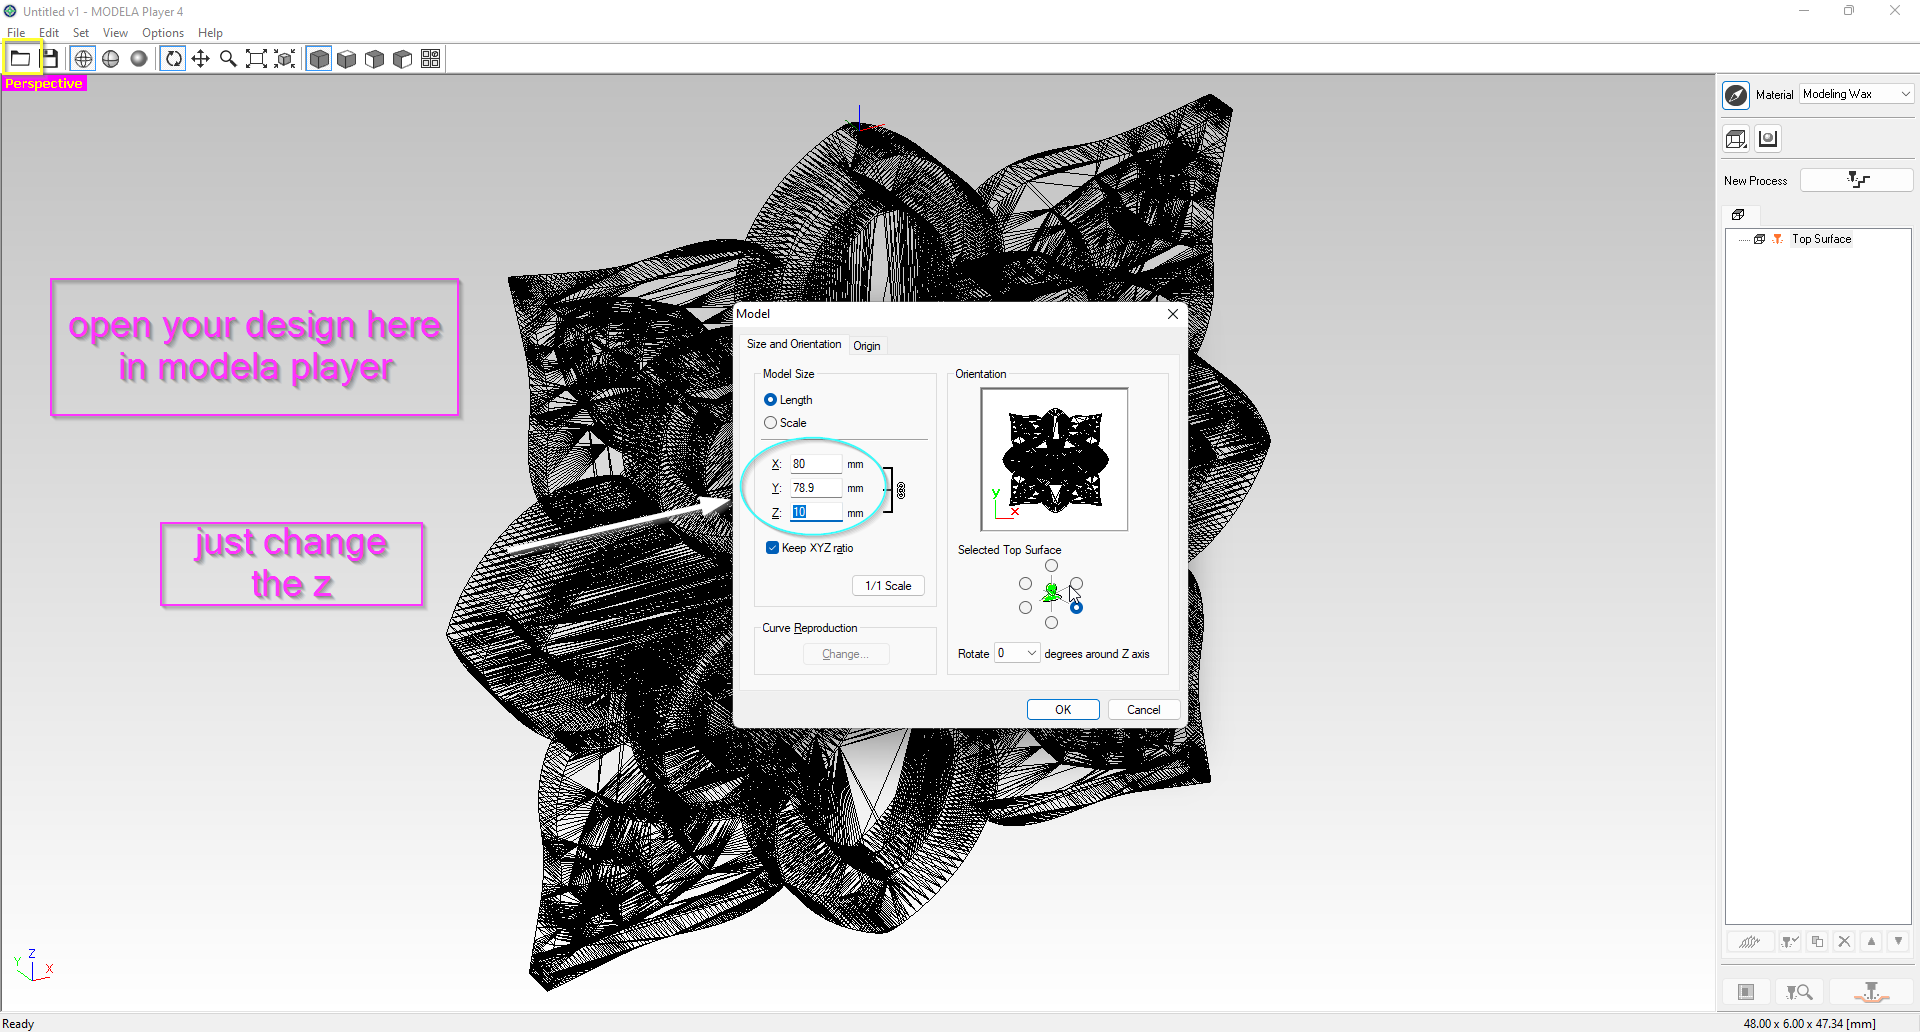
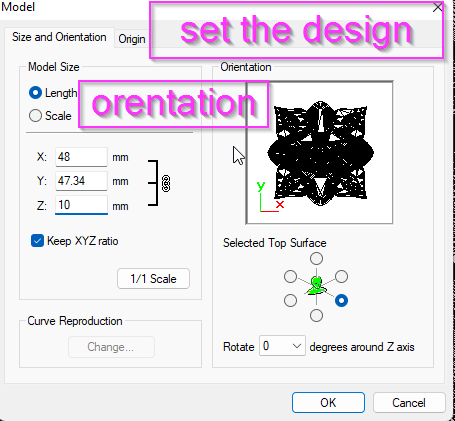
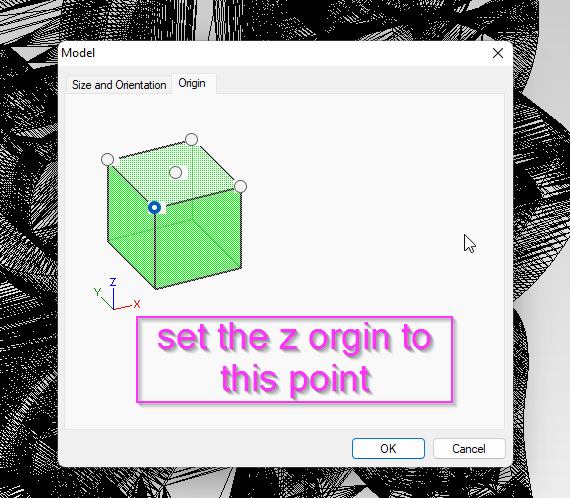
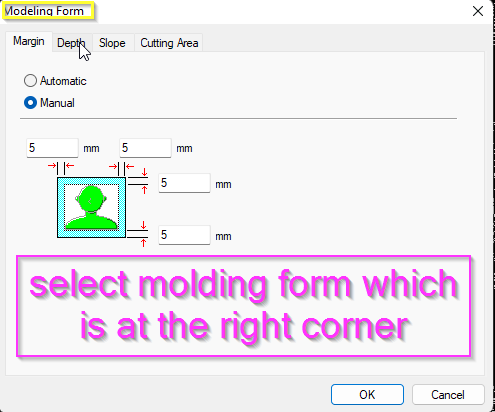
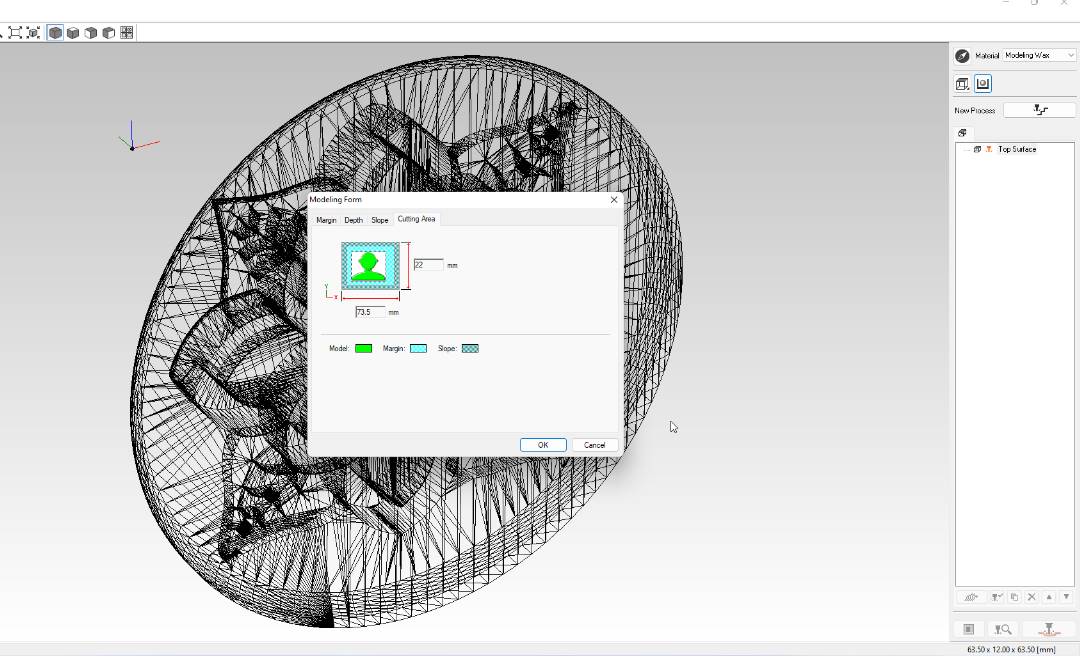
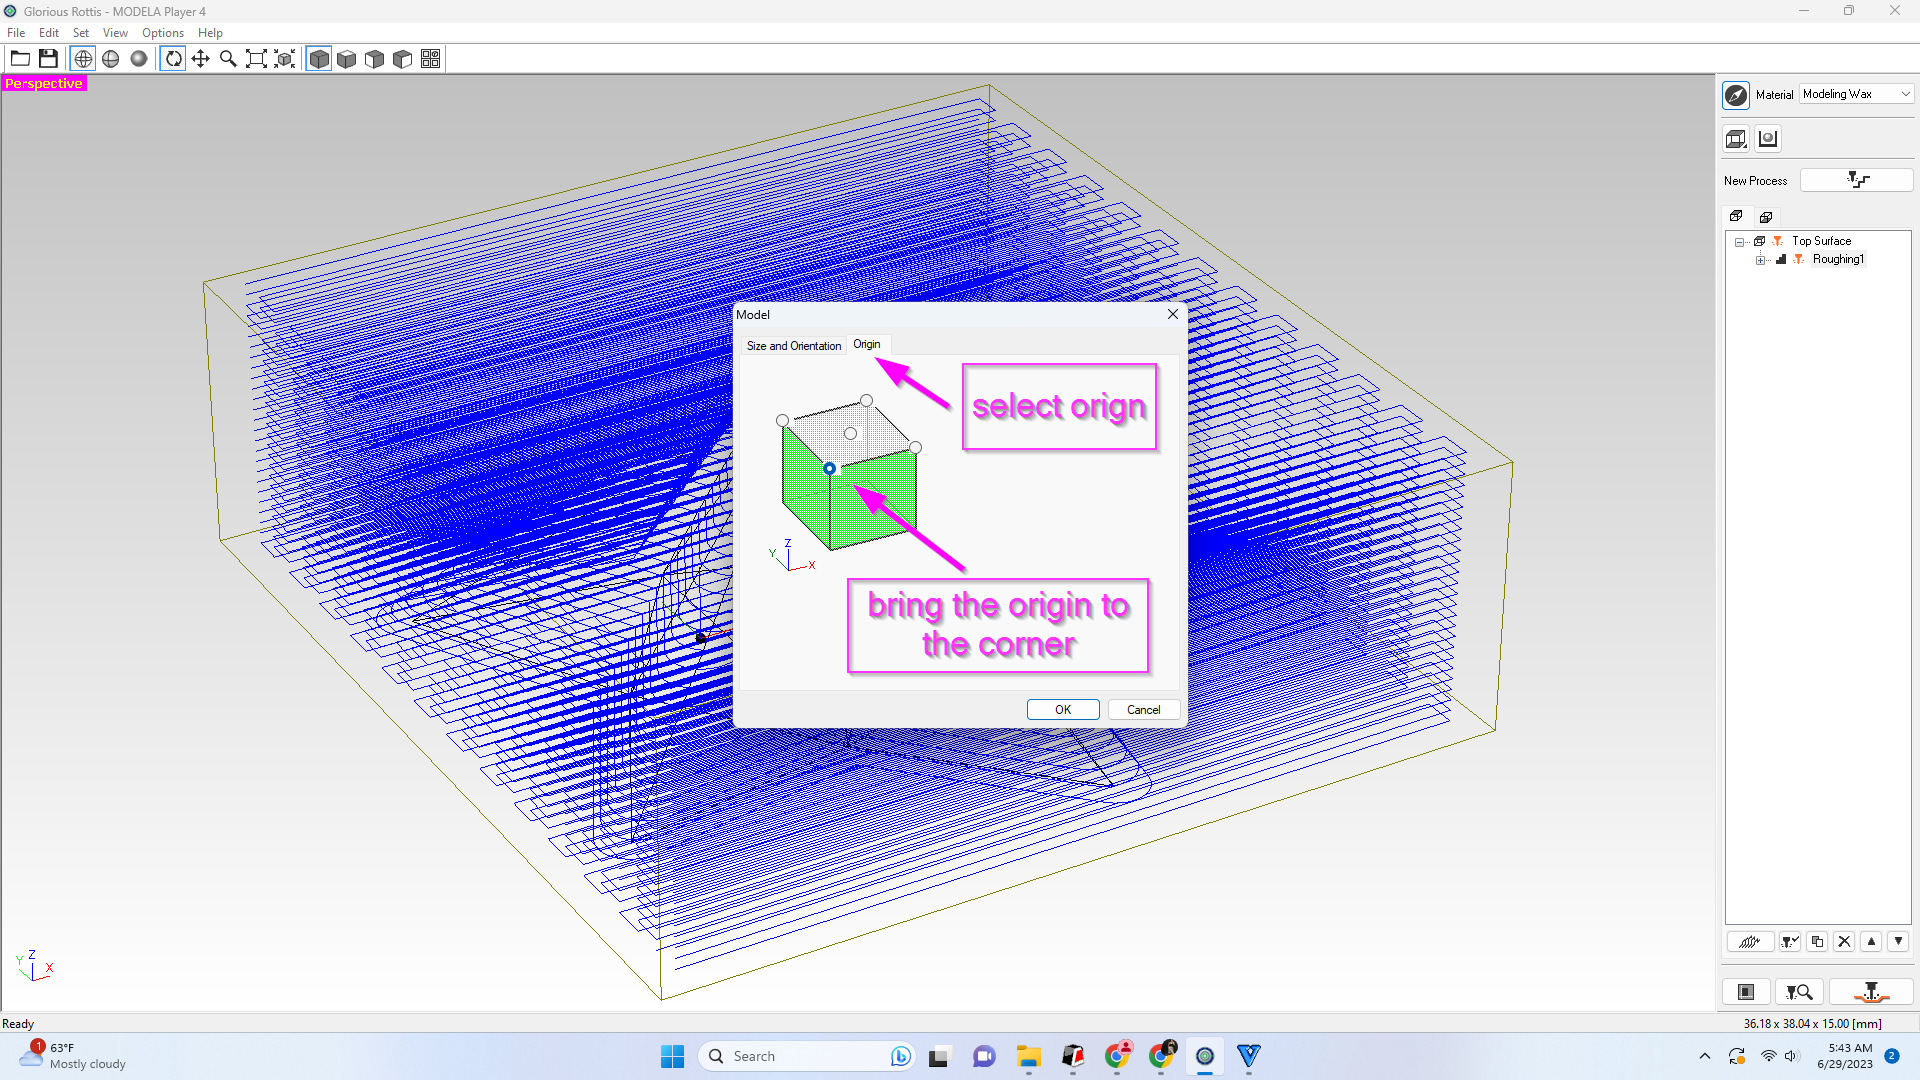
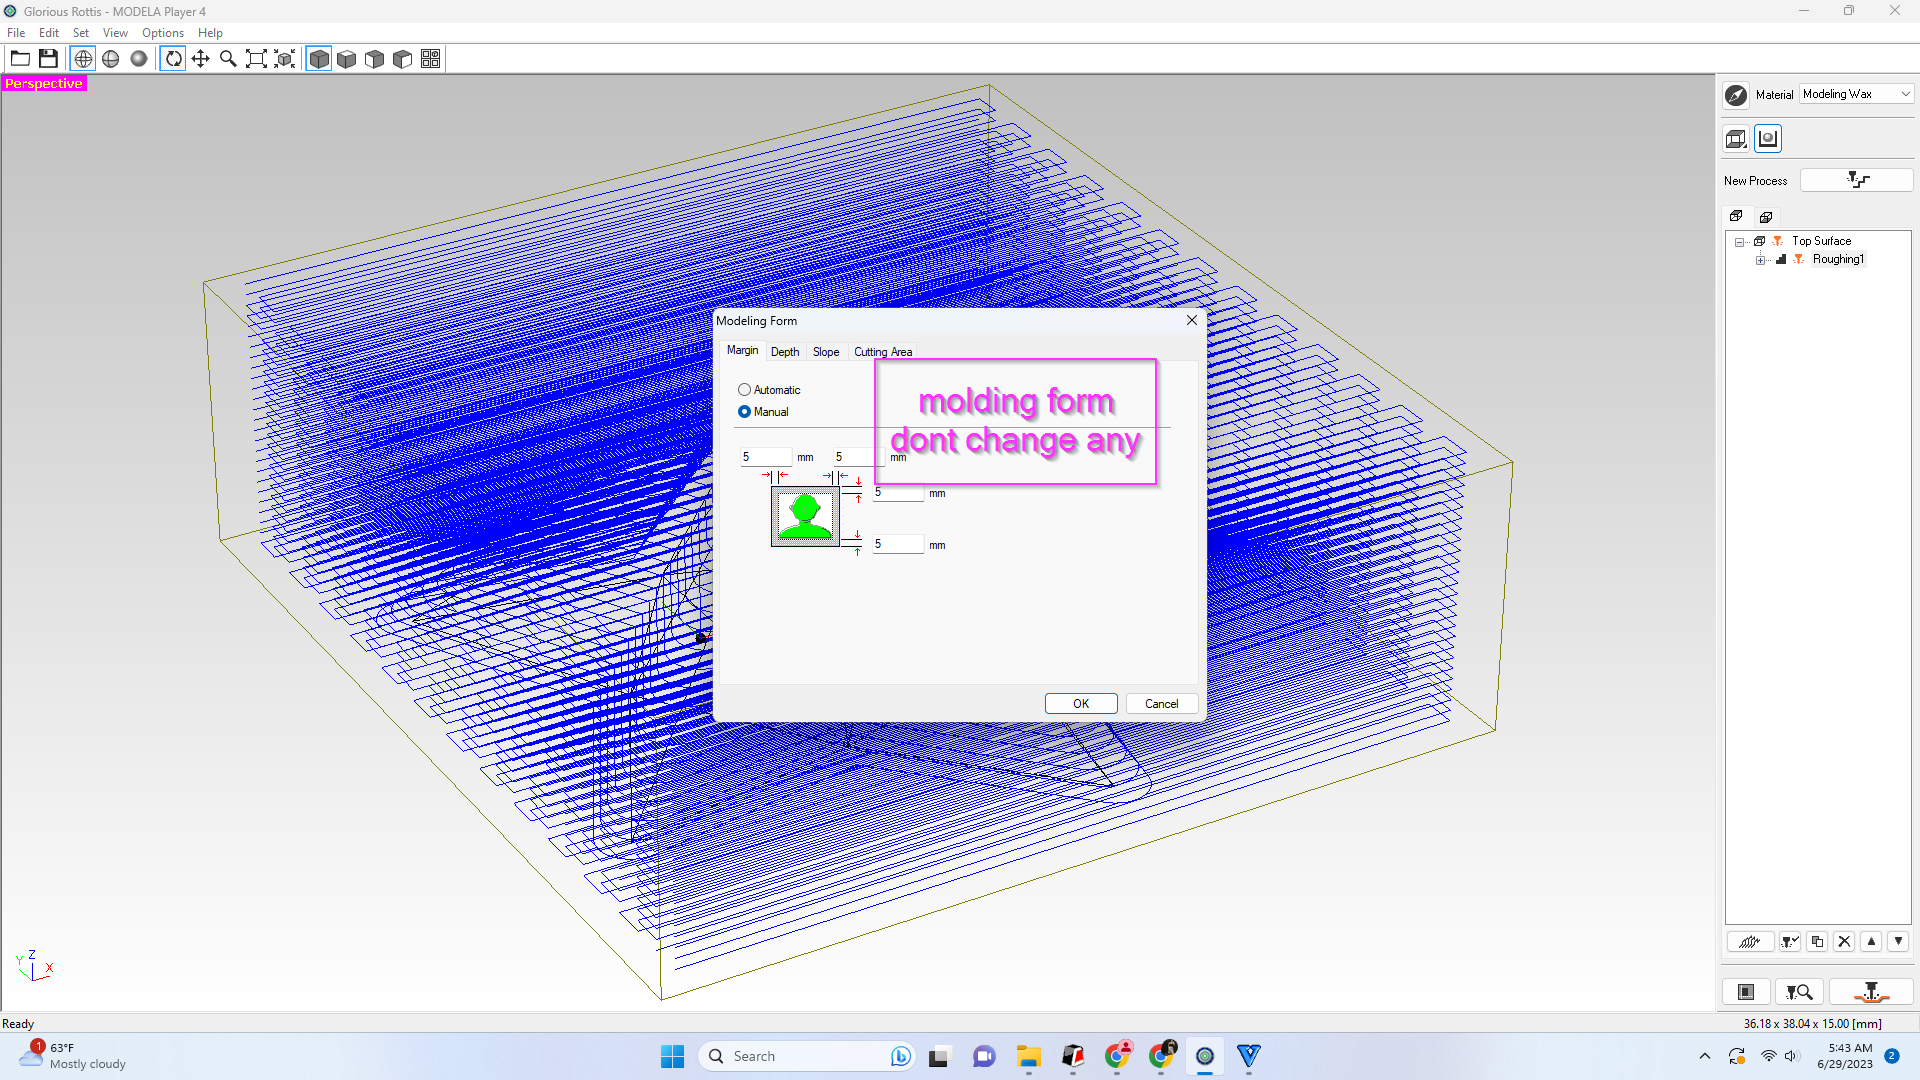
•Select the z- origin and select modeling form and keep the same measurement
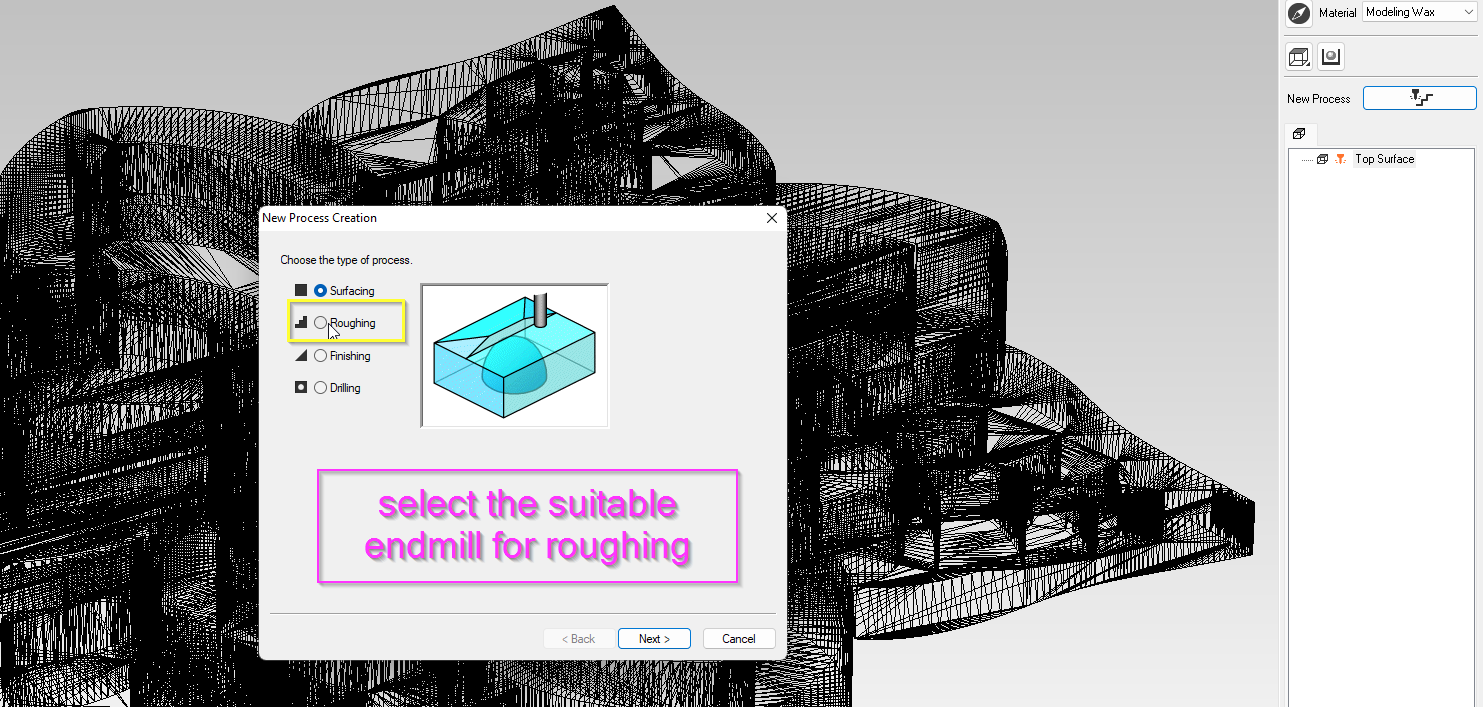
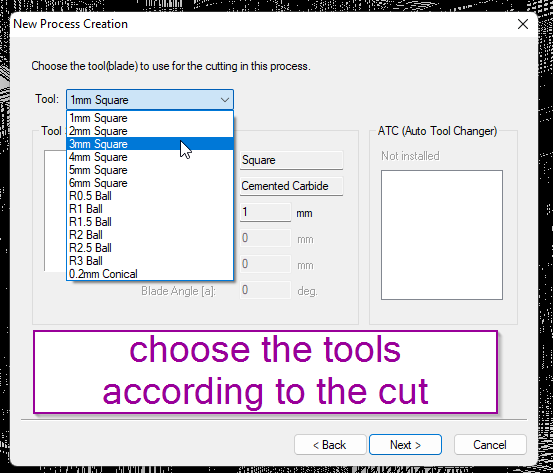
•Now select the end-mill for your design and the correct tools.
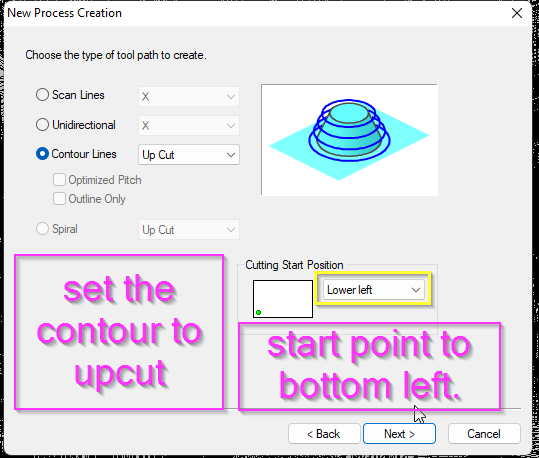
•Keep in partial without changing the heights and set the contour to up cut.
•Remember to keep the start point from the bottom left.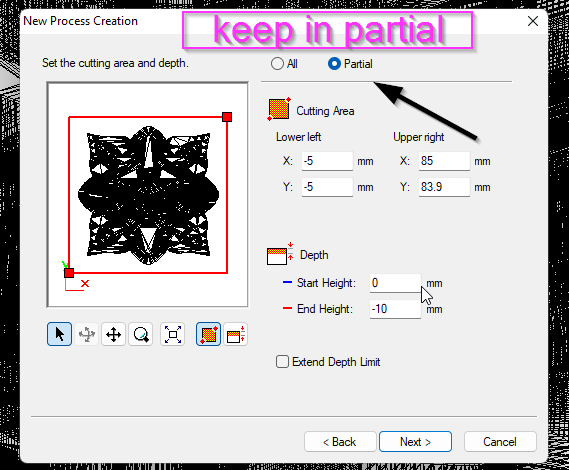
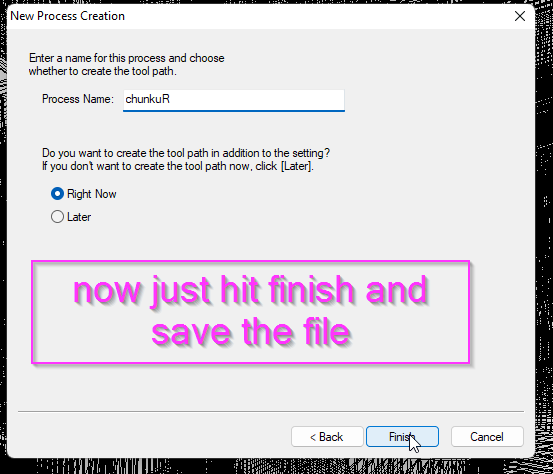
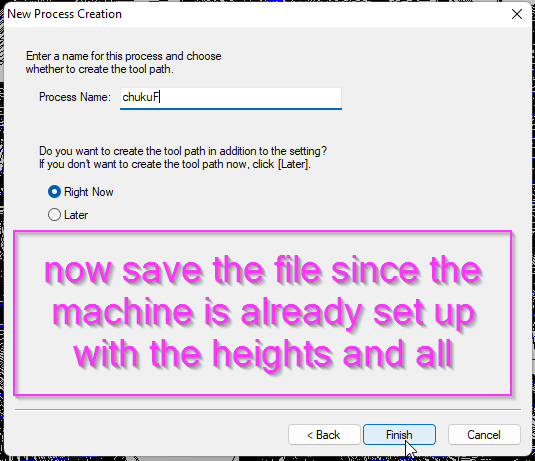
• Now rename and choose whether to keep create tool path or not.
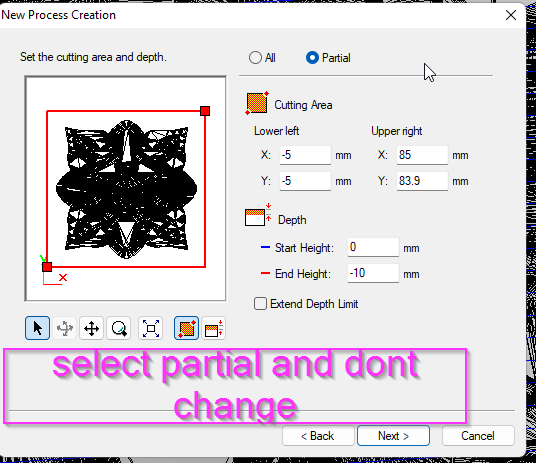
•For that keep it in partial and you shouldn't change anything there
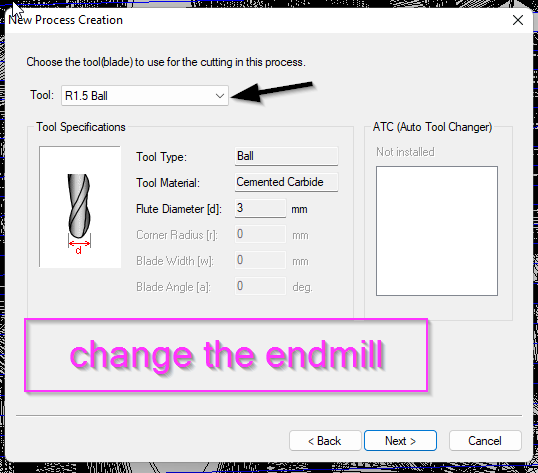
•After that change the end mill
•And you can check the preview.
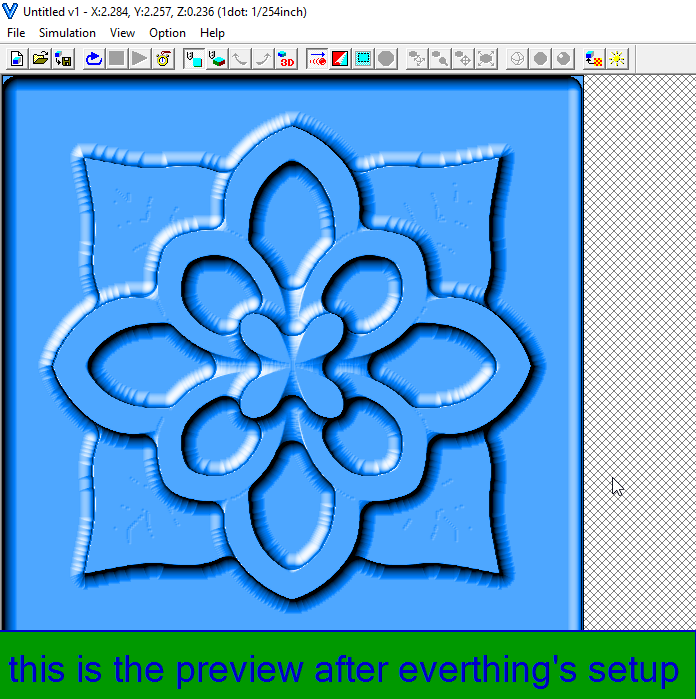
•now save your file with the name.
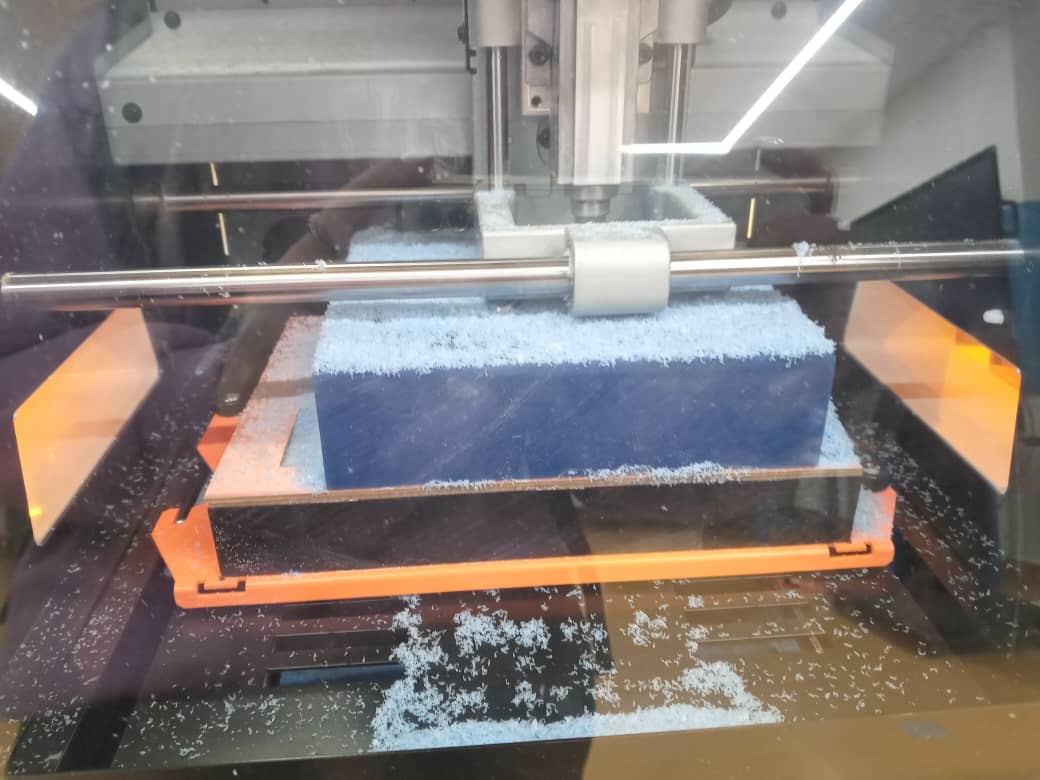
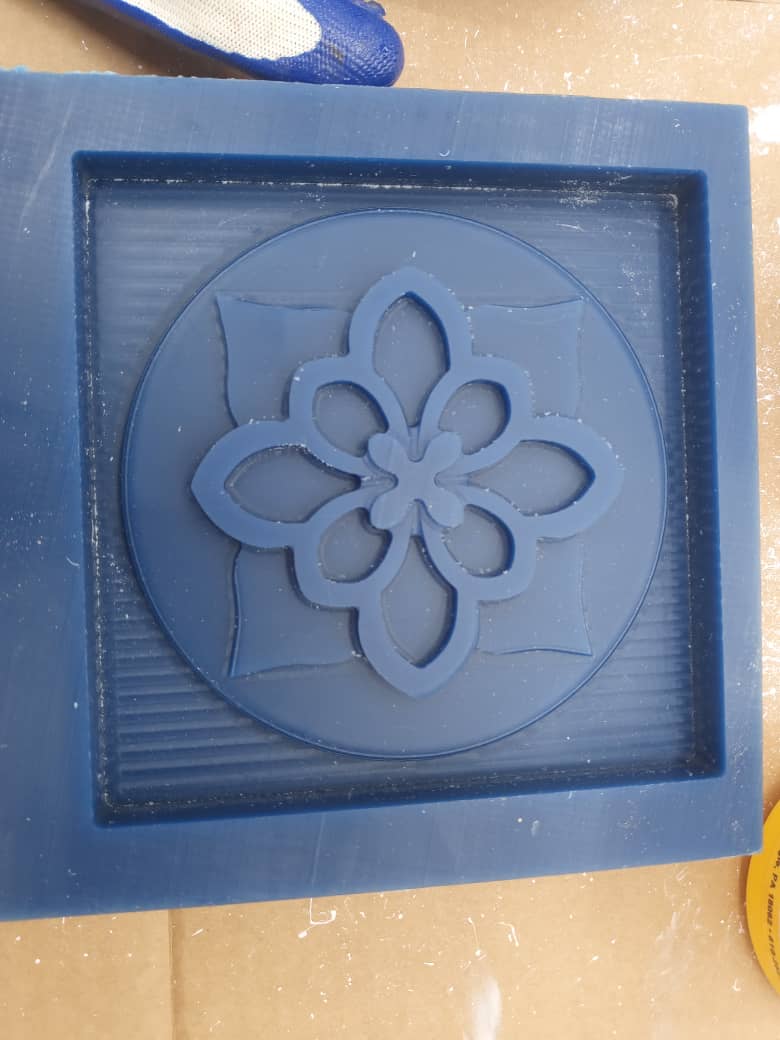
• This is the hero shot of milling and the design after is is done with roughing and finishing.
Creating negative mold.
• To create a negative mold of the design, use silicone molding material solution A and solution B in a container, before that measure equal amount in the container which is 1:1 Ratio. And mix properly.

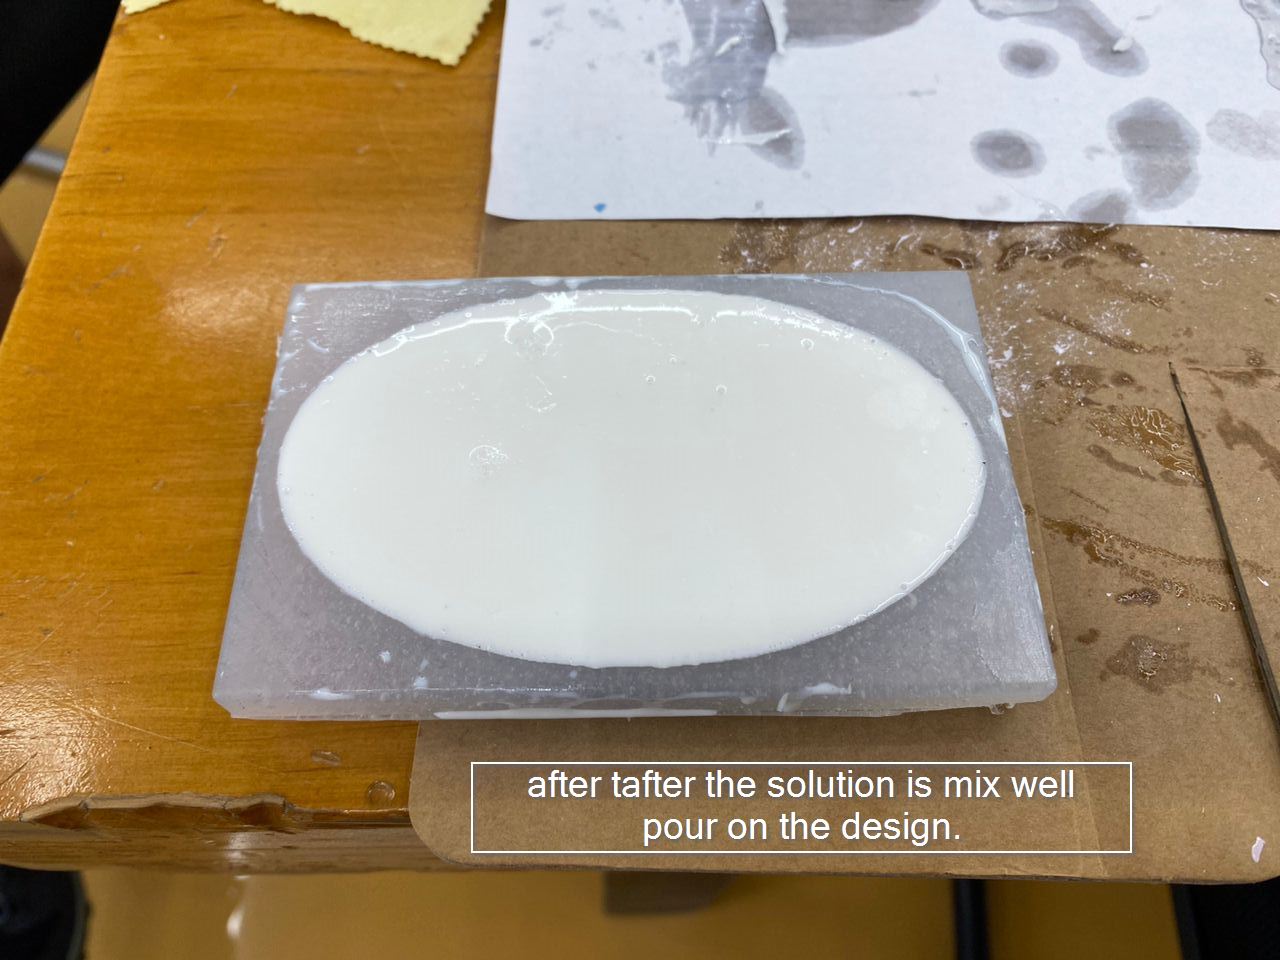
• Below here is an image where the silicon is pour carefully on the design where We should avoid the air bubble to get inside •now to let it dry for few hours, for me I kept it over a night since i wanted it to completely dry it.
 Now for the casting
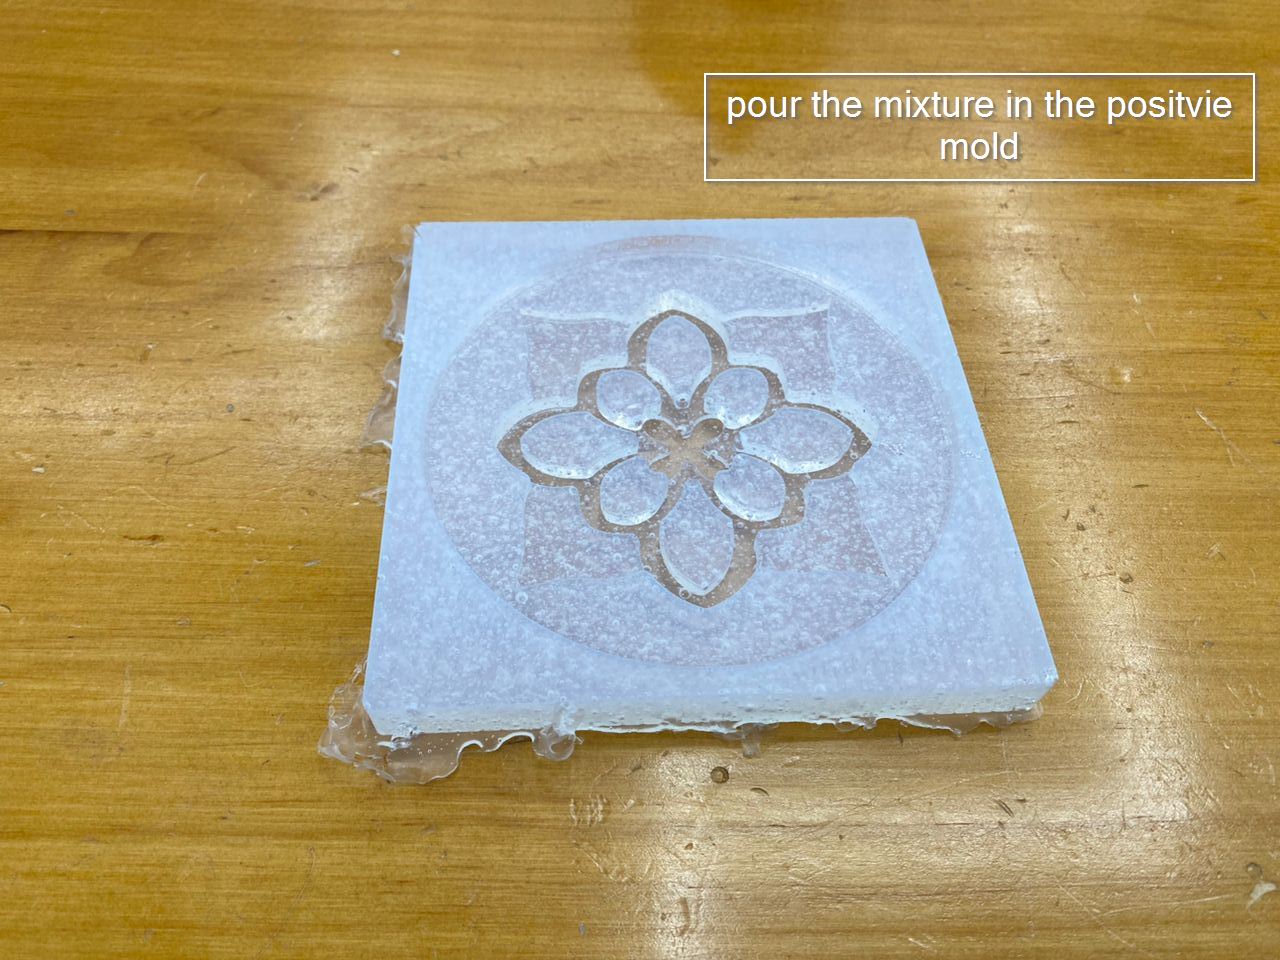
• Below here is the measurement for the solution weighing equal amount of the solution in the cup. and next we have to pour on the negative silicon mold, as shown below and let it dry.
• I kept it for about three to four hours in order to let it dry and as you can see below the mixture is poured and kept in a safe place.
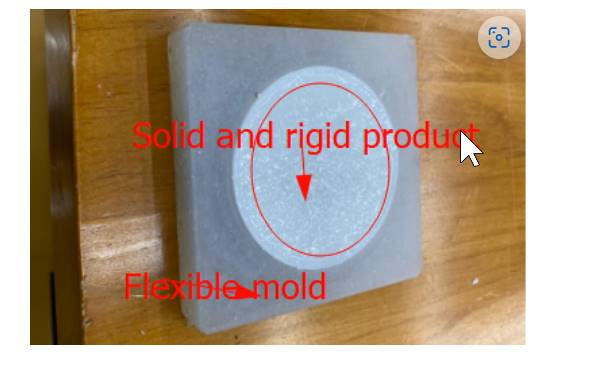
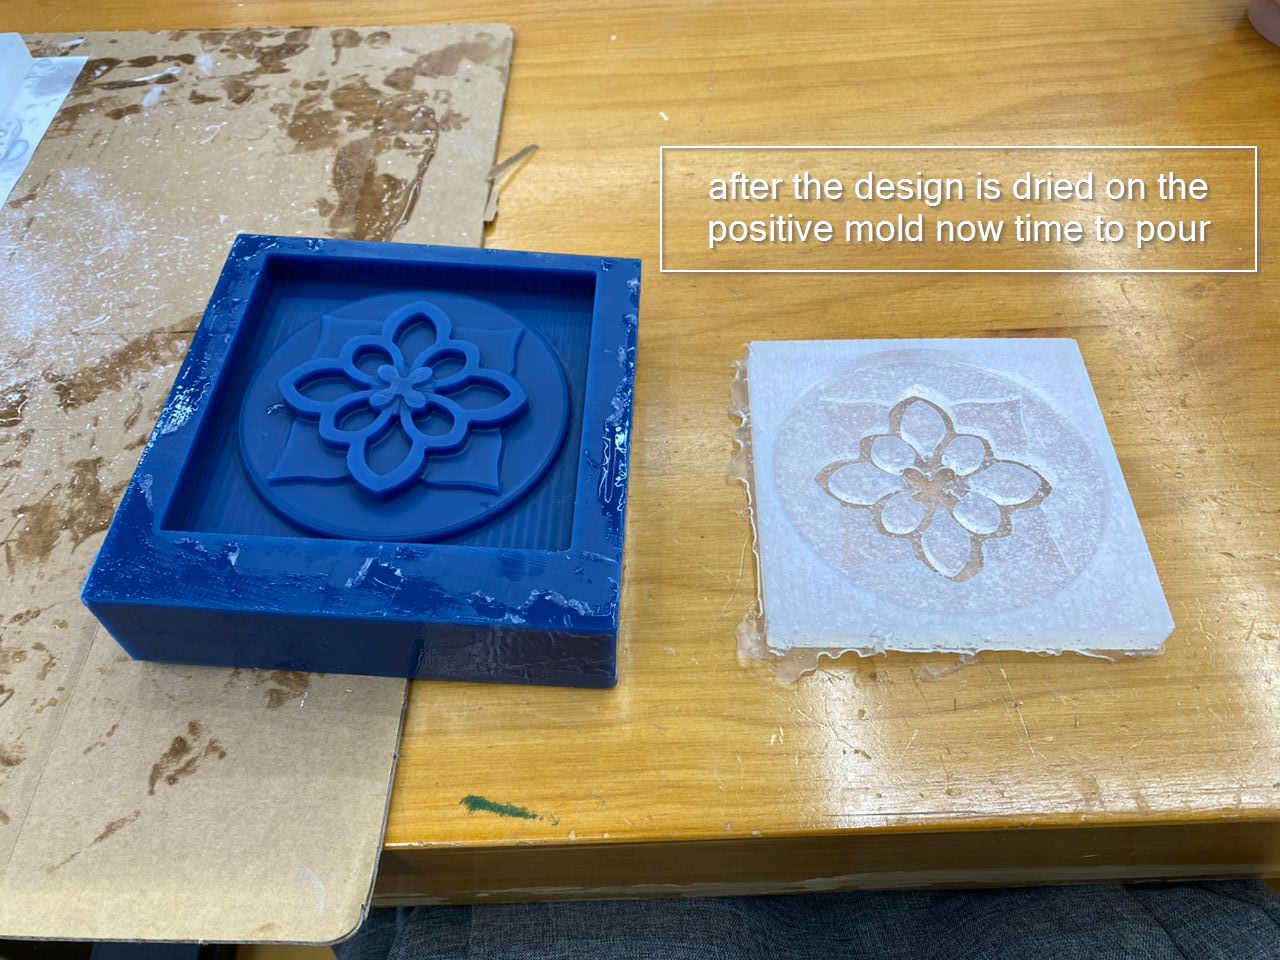
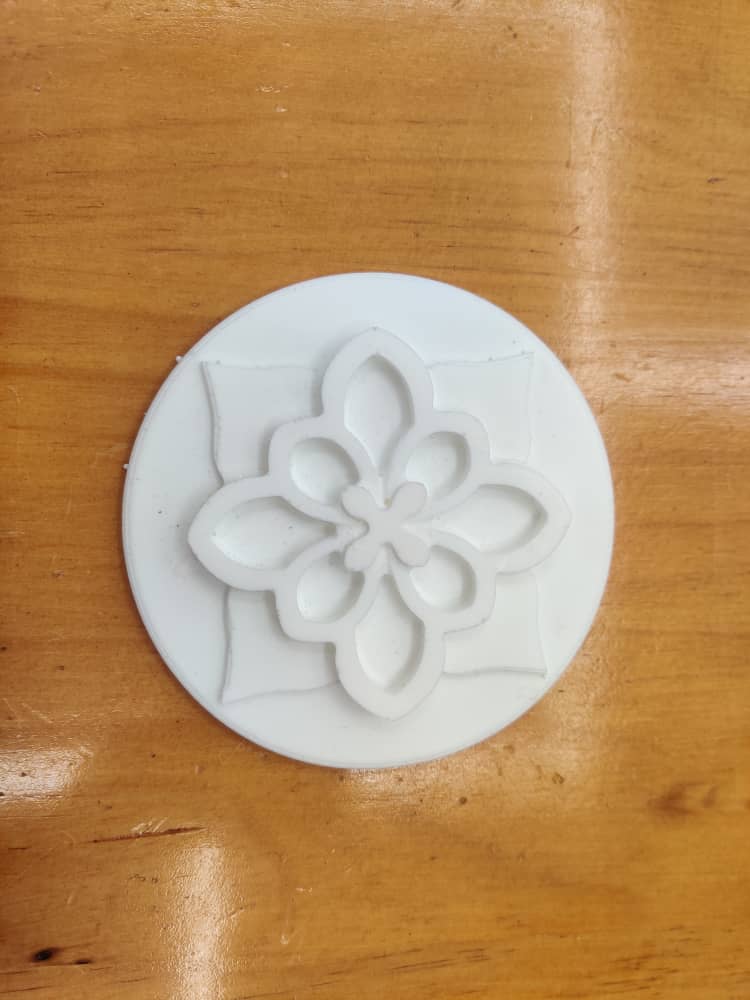
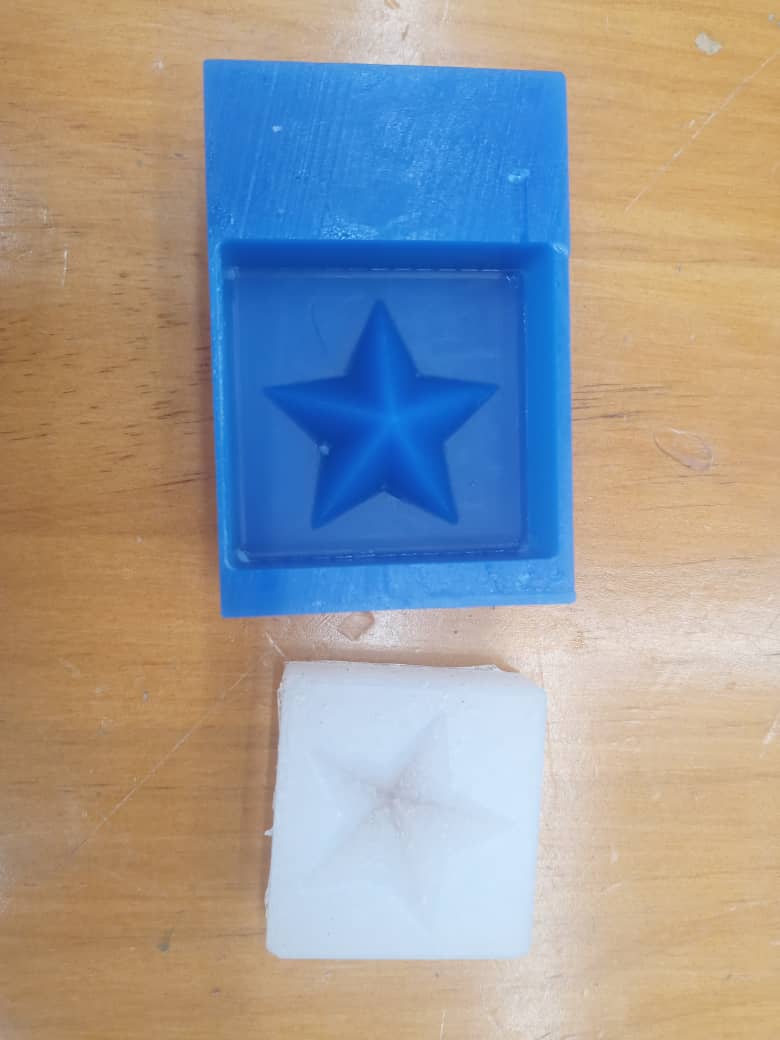
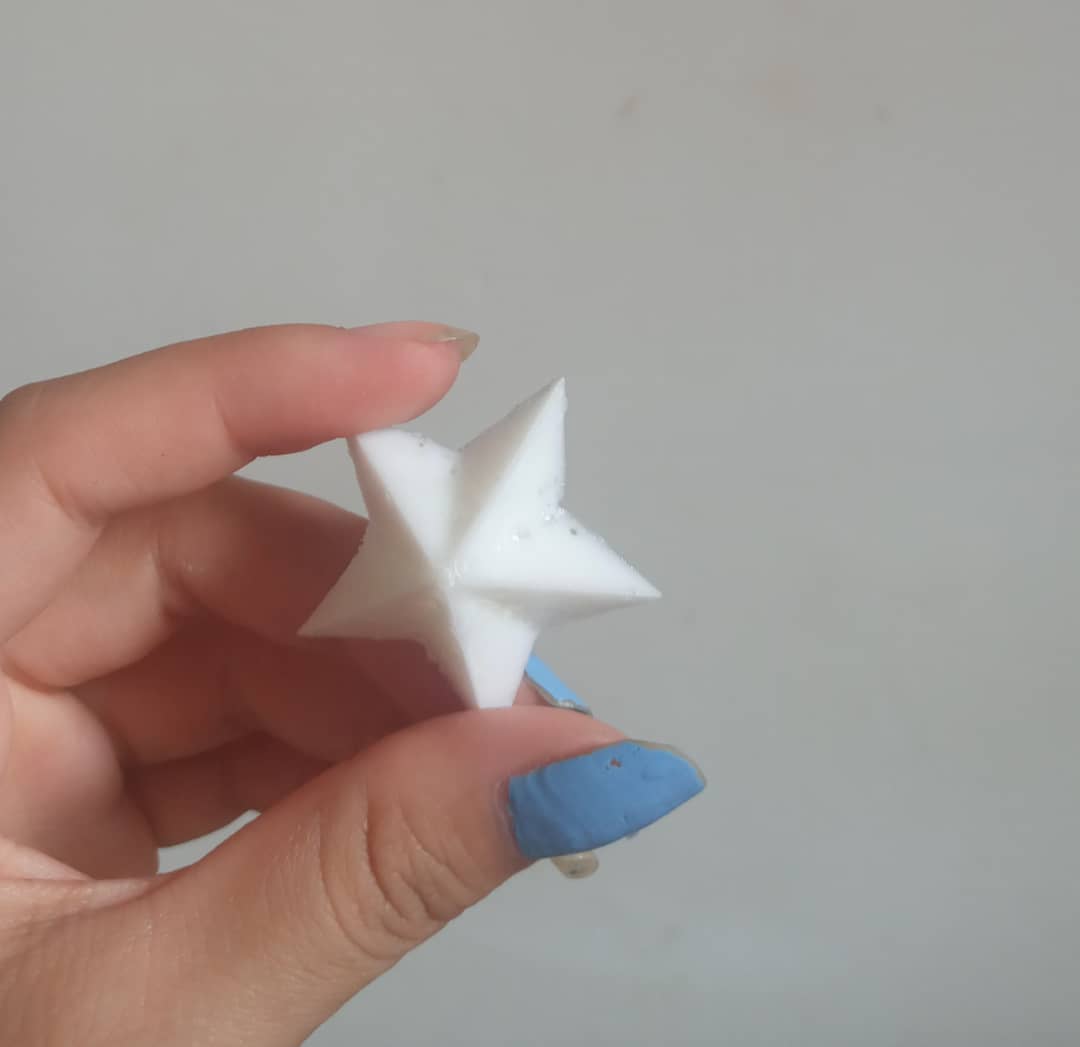
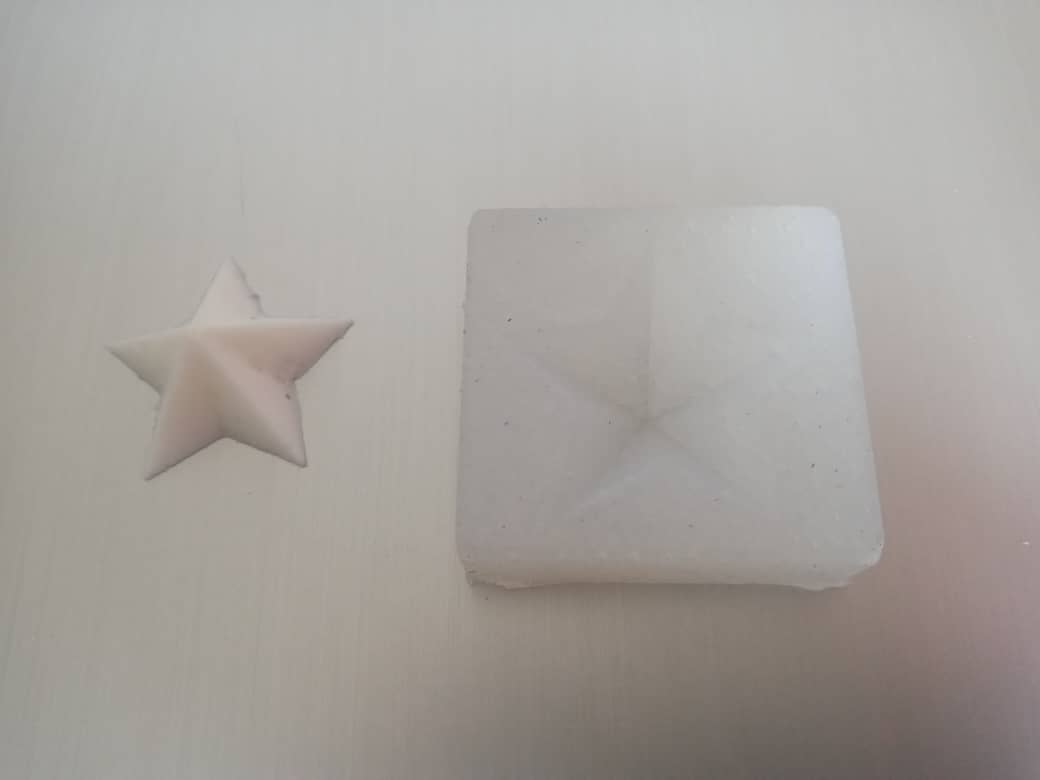
• Below here is an image of final results after is dried up perfectly.
Re- desining.
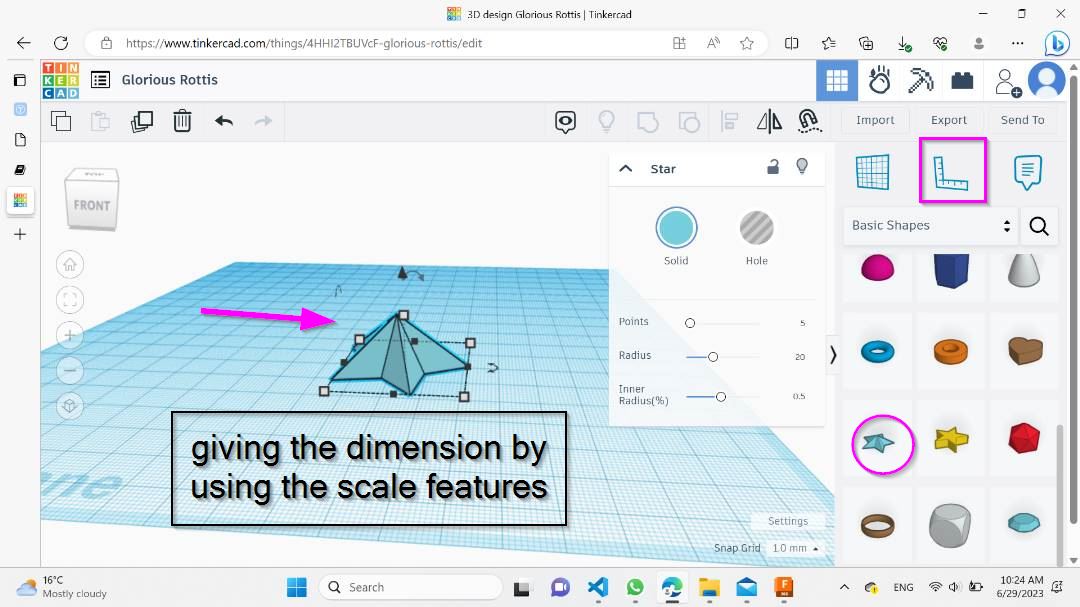
•Out of all six of us me and one of my friend we had to re do the molding casting assignment again since our design was 2.5D in my documentation i forgot to mention where did i added my filet. since my designed was done on fusion and the image was from google. I just extruded and then given filet on the two leaf sides which is not clearly seen. But never mind i have re designed a simple chocolate mold on Tinkercade and the imported the stl file on modela and then did the same settings like in the earlier assignment so i will just go in breif. So firstly i just designed a simple start shape from the tinkercad components and then given the dimension 58 for width and height 34 which was less than the dimension of the wax. After that simply export the design file in your comupter as an stl file which i did and the took the design file in modela to set up for milling.
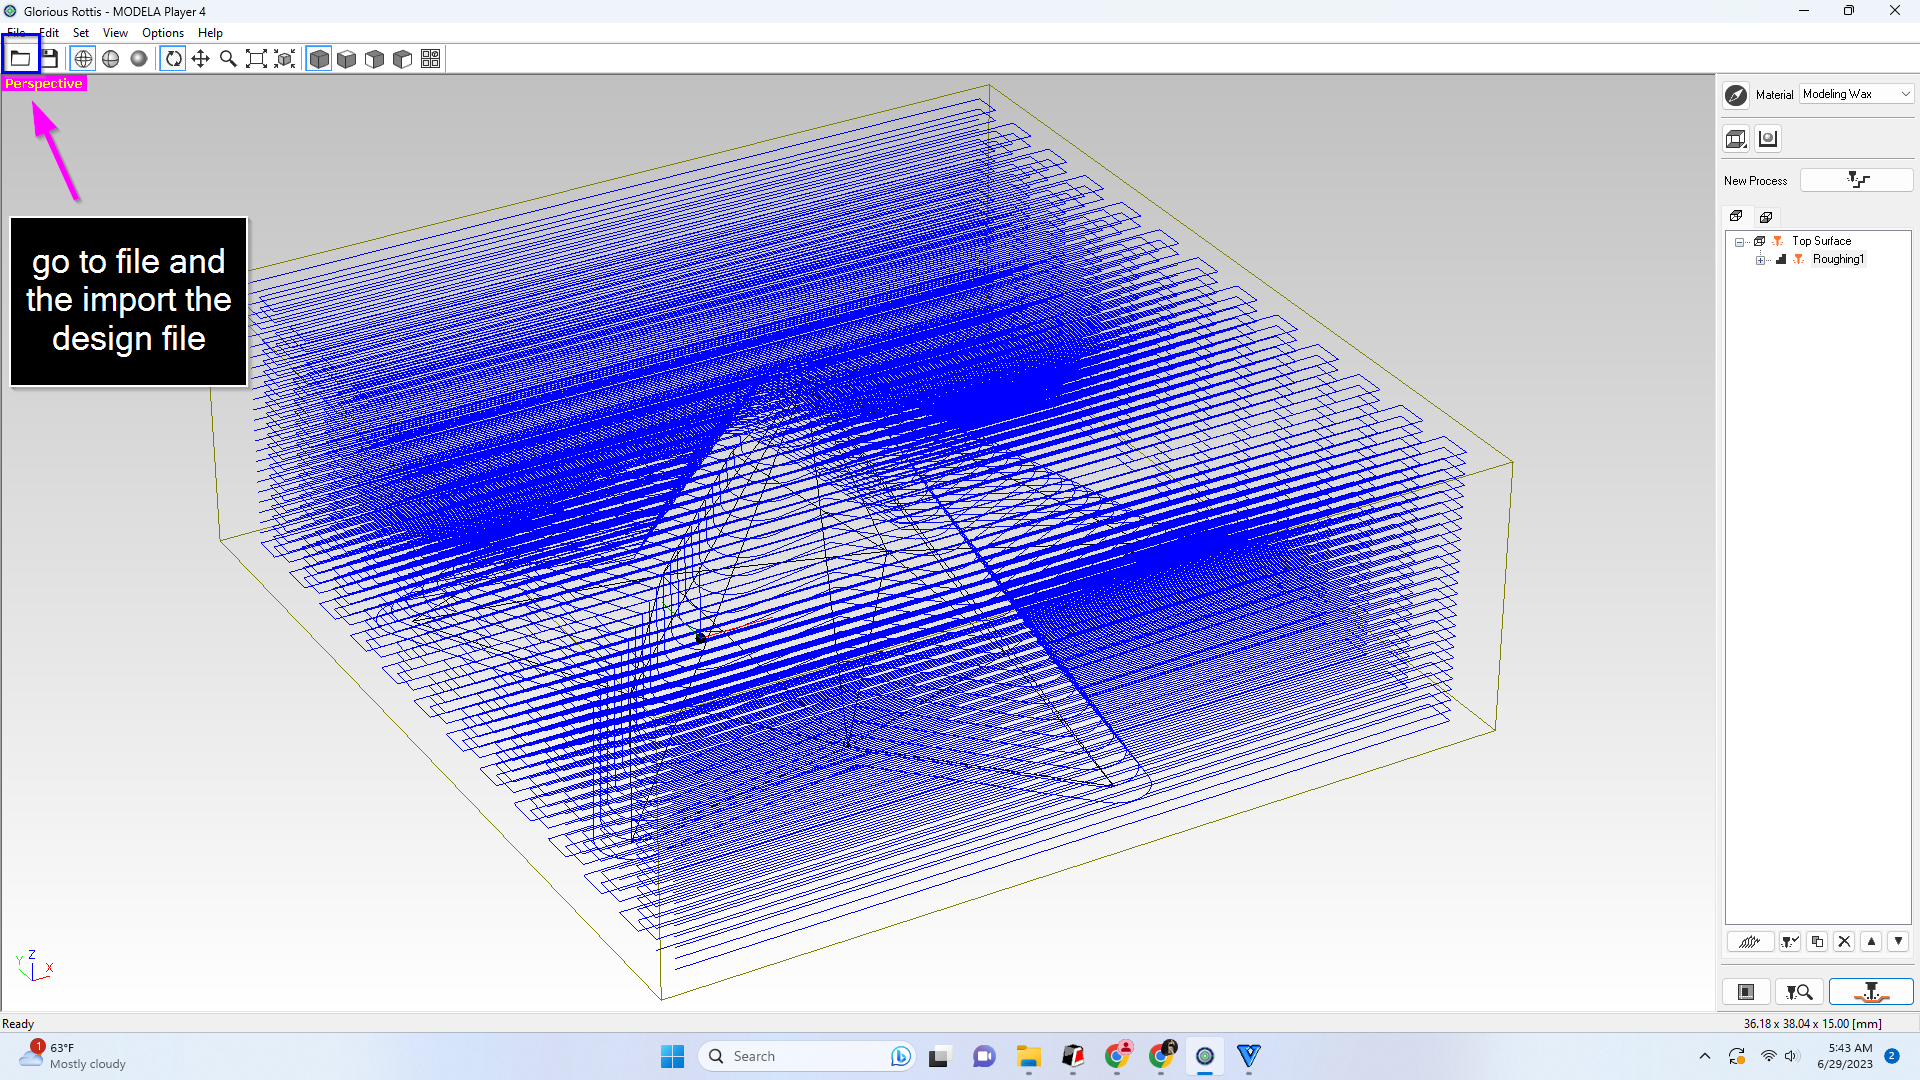
• So the whole process is same just that i had to re-design so in machine you have to import the file in stl and then you will get like this, go to file> import and then go to material
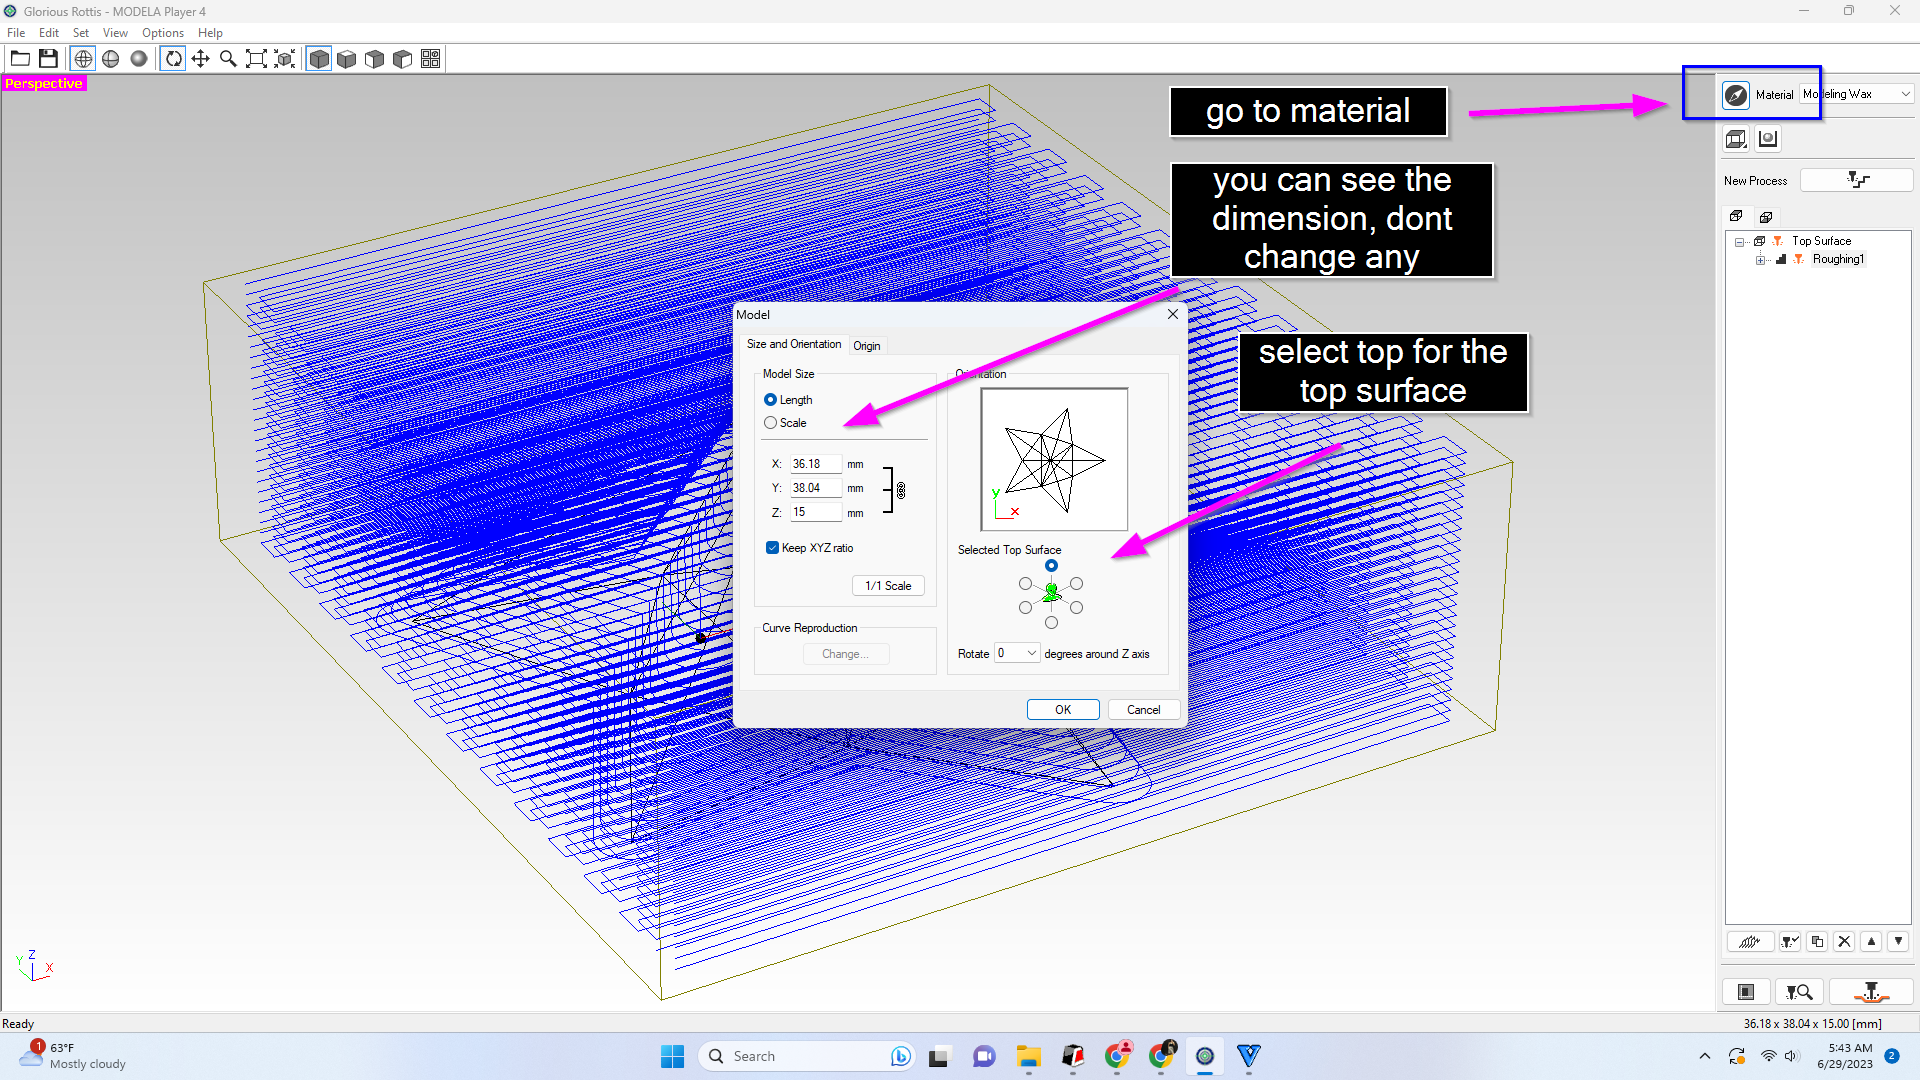
• After that select the origin like what i have did below, keep the dimension all in 5mm
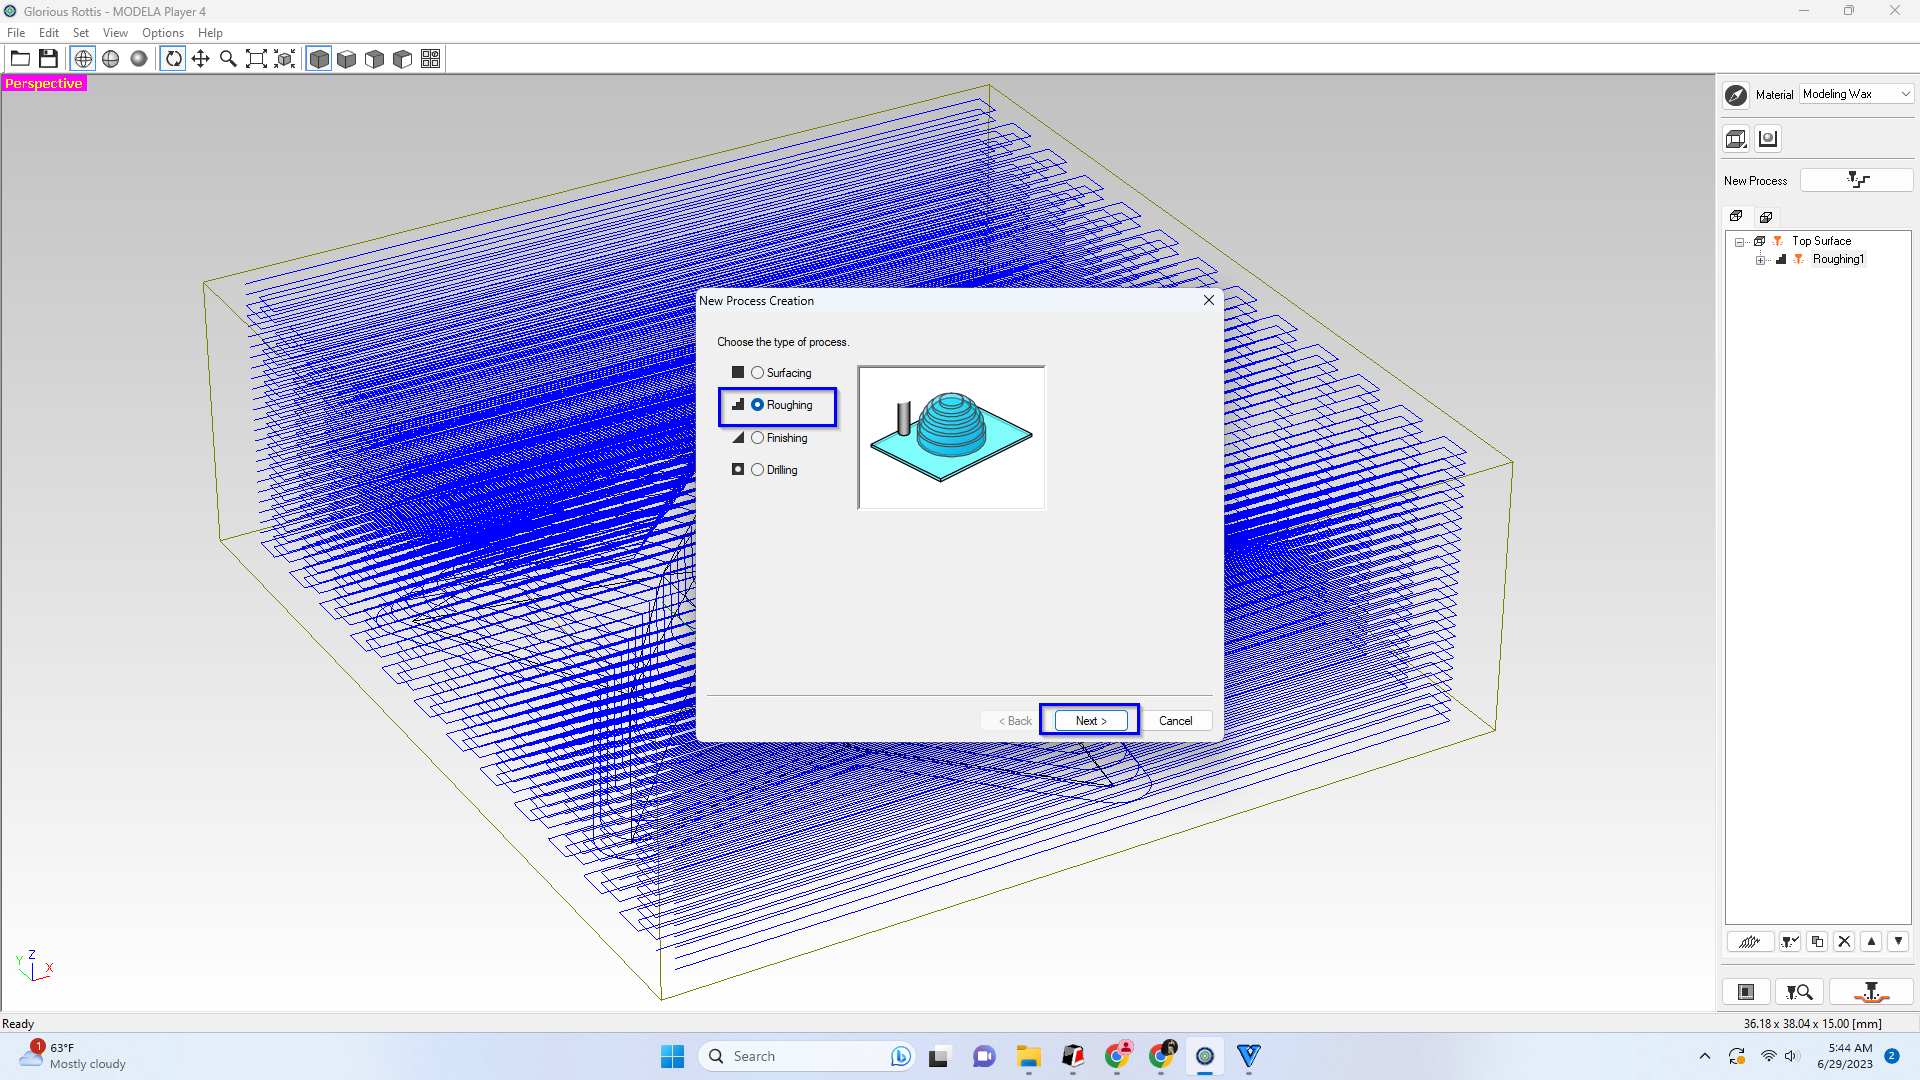
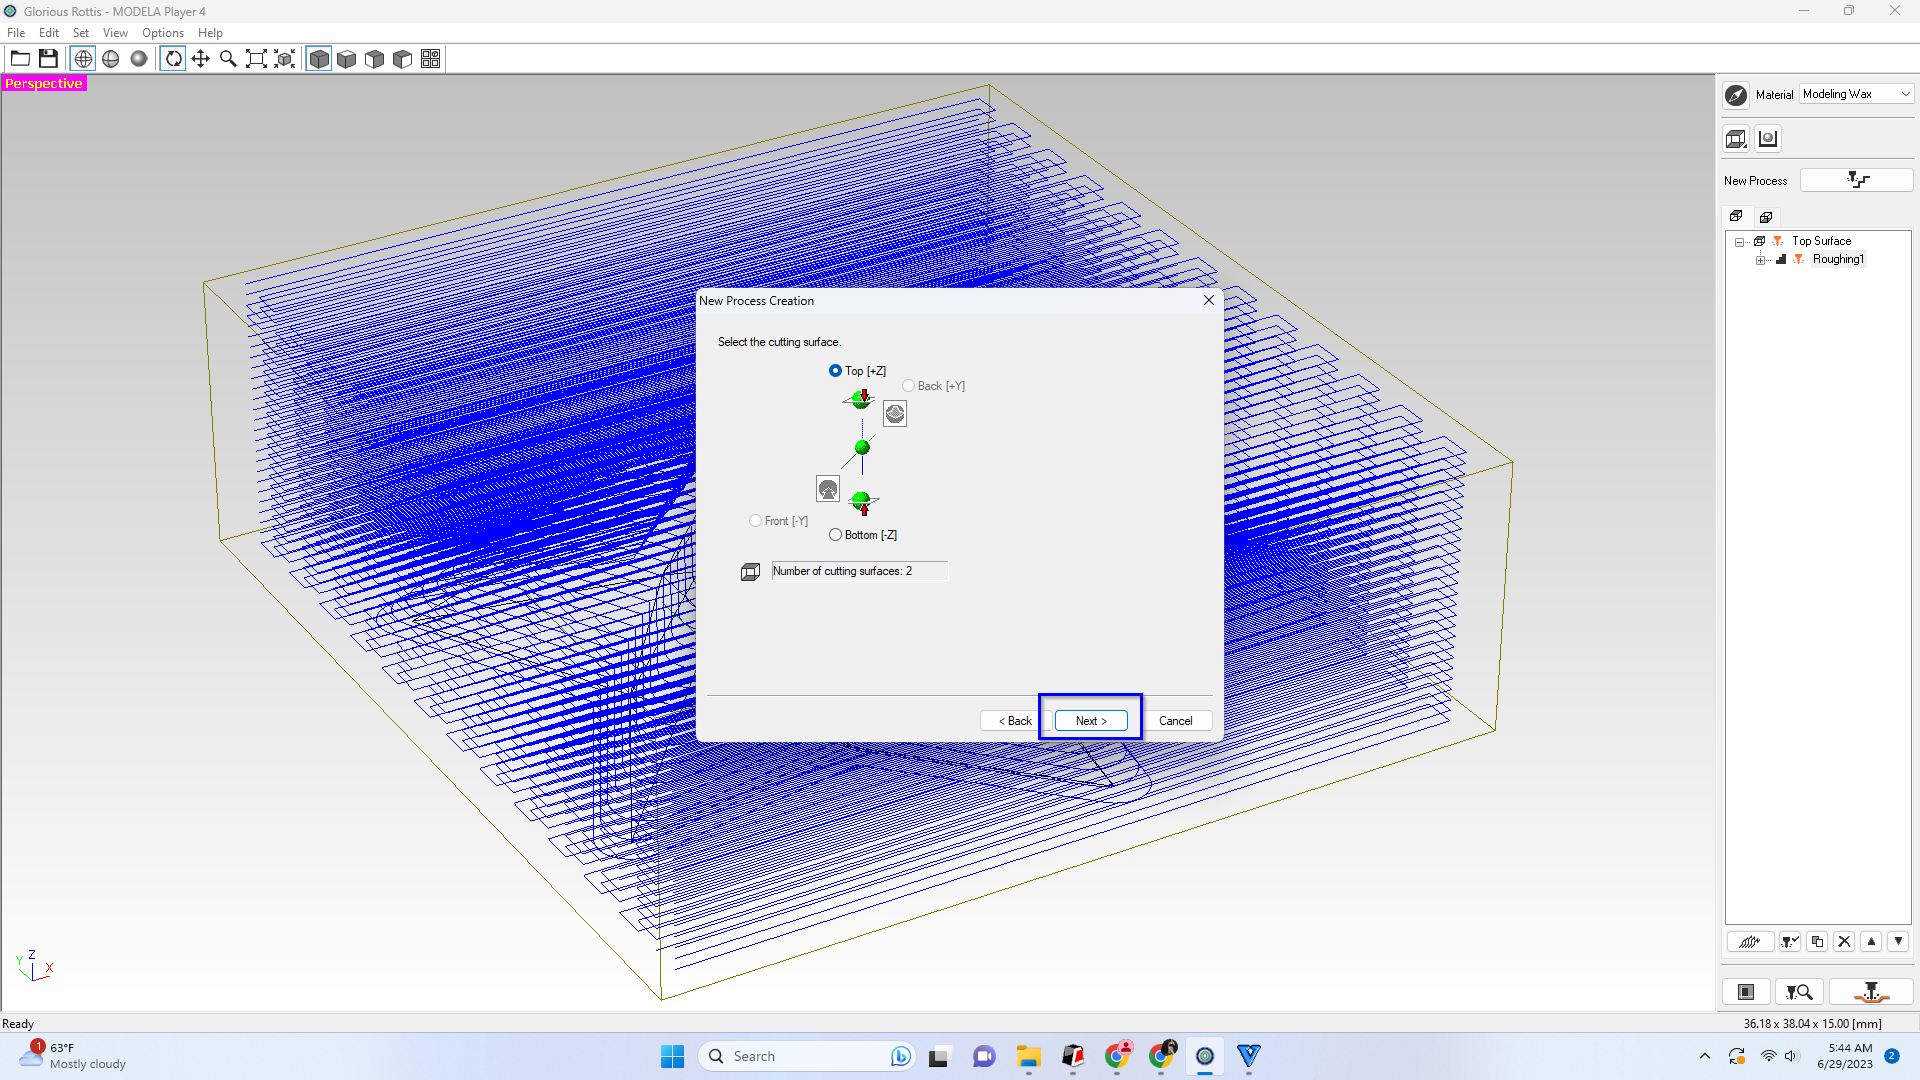
• Then for roughing like shown below
•Keep 3.175 square bit

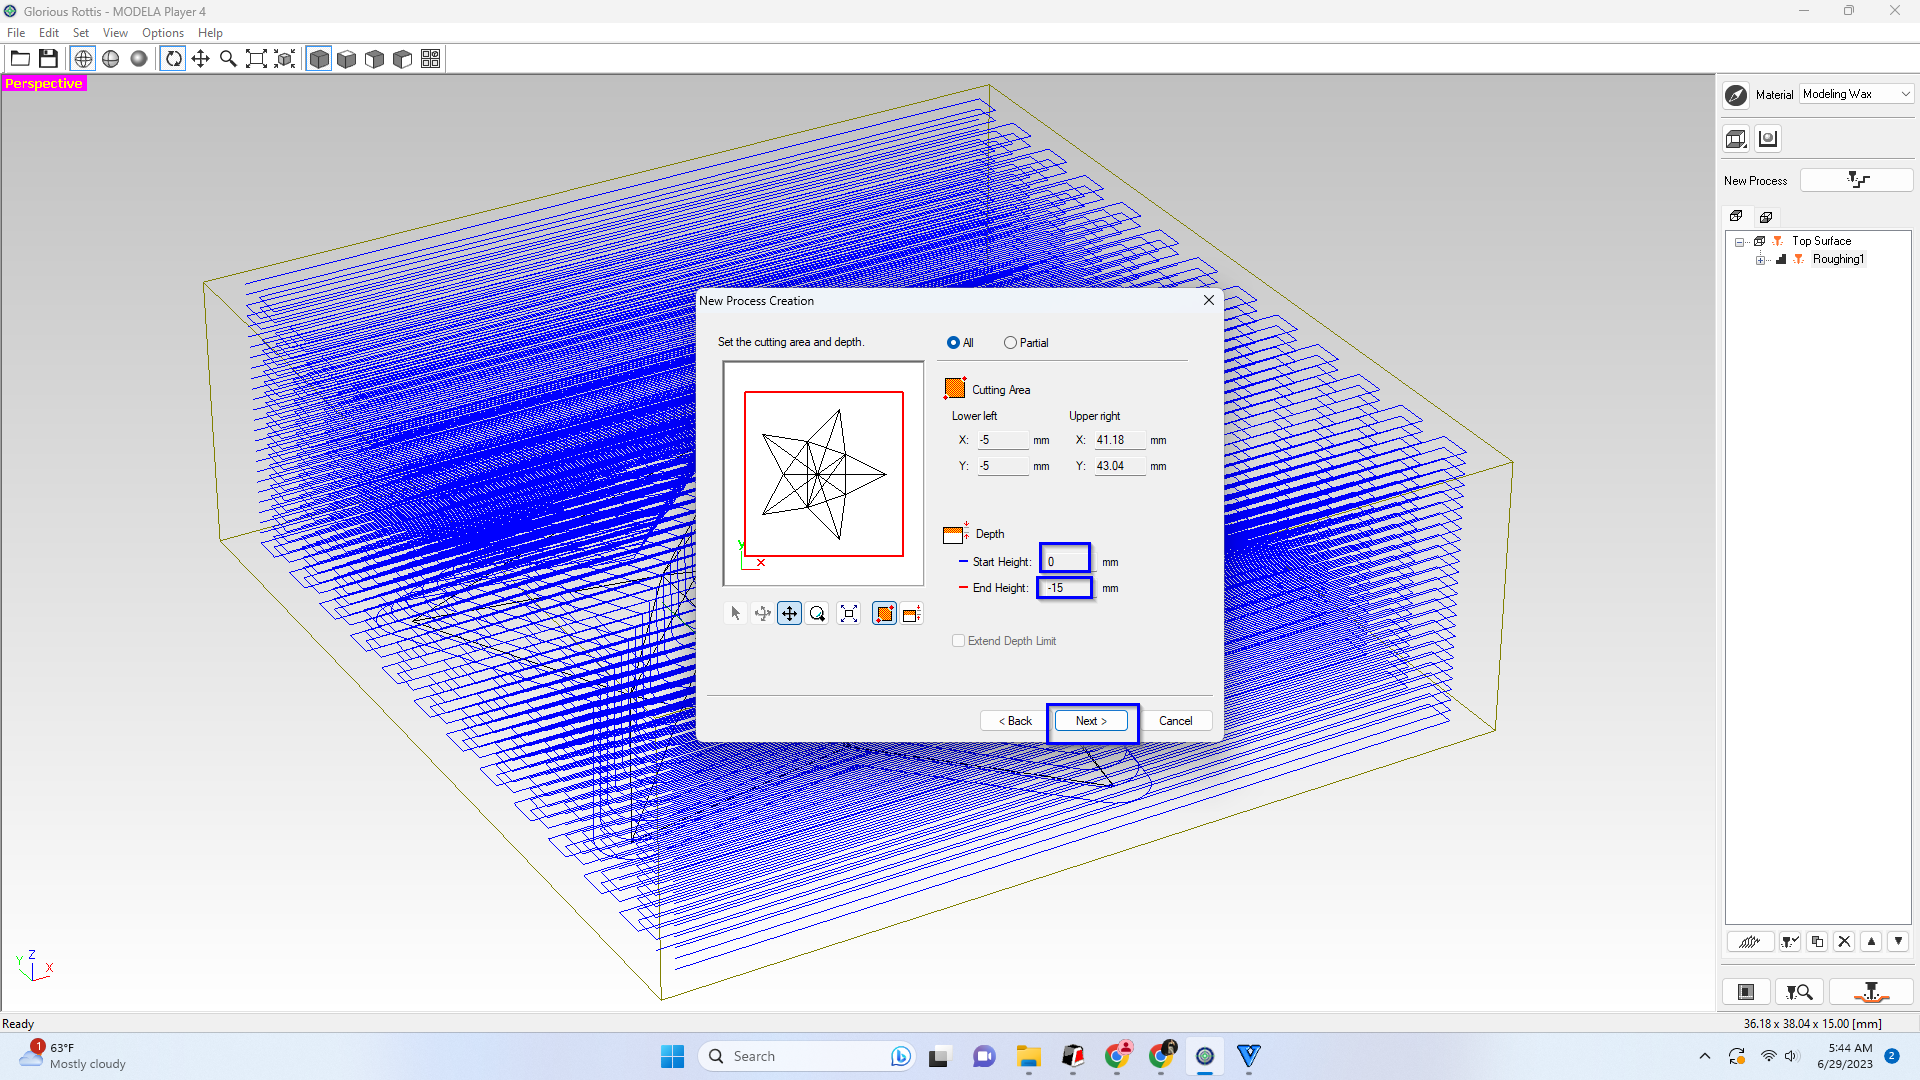
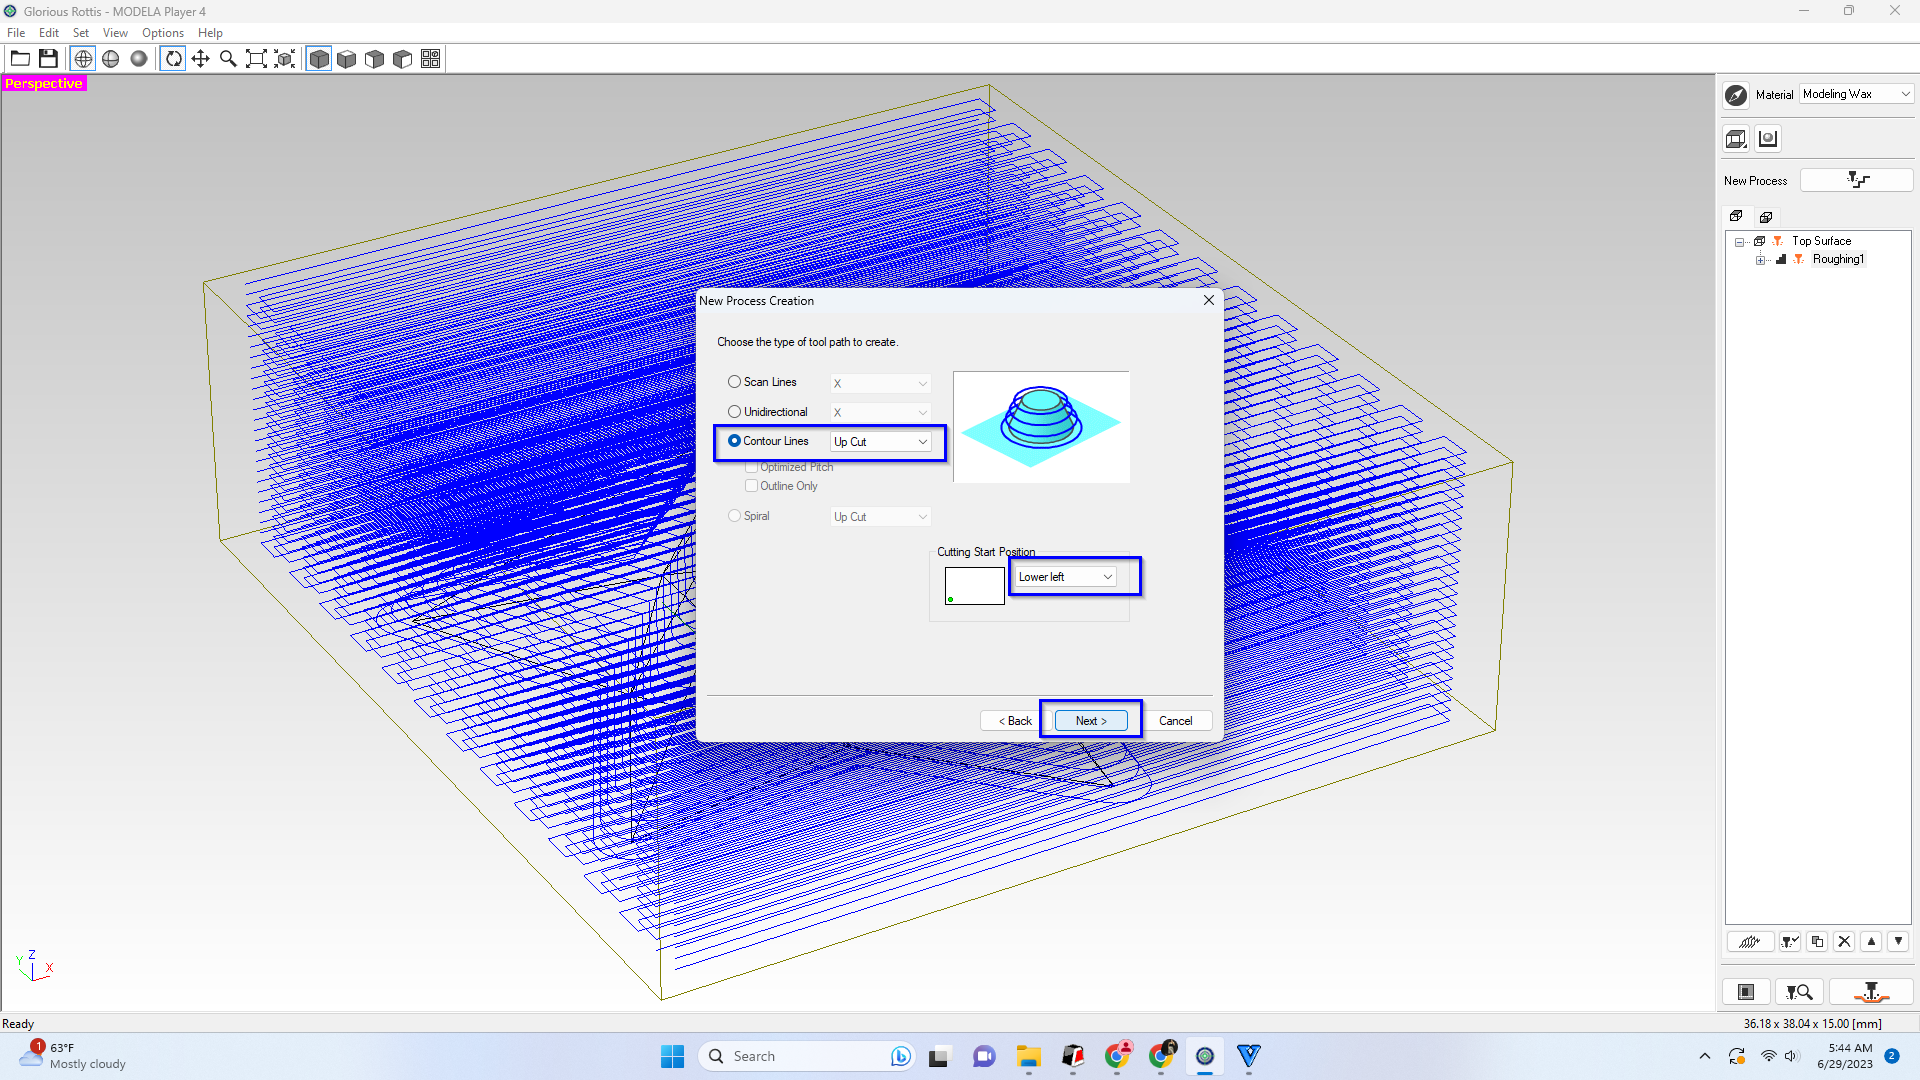
•Select upcut and the lower left and then Next

•Now finally save your roughing like shown below.

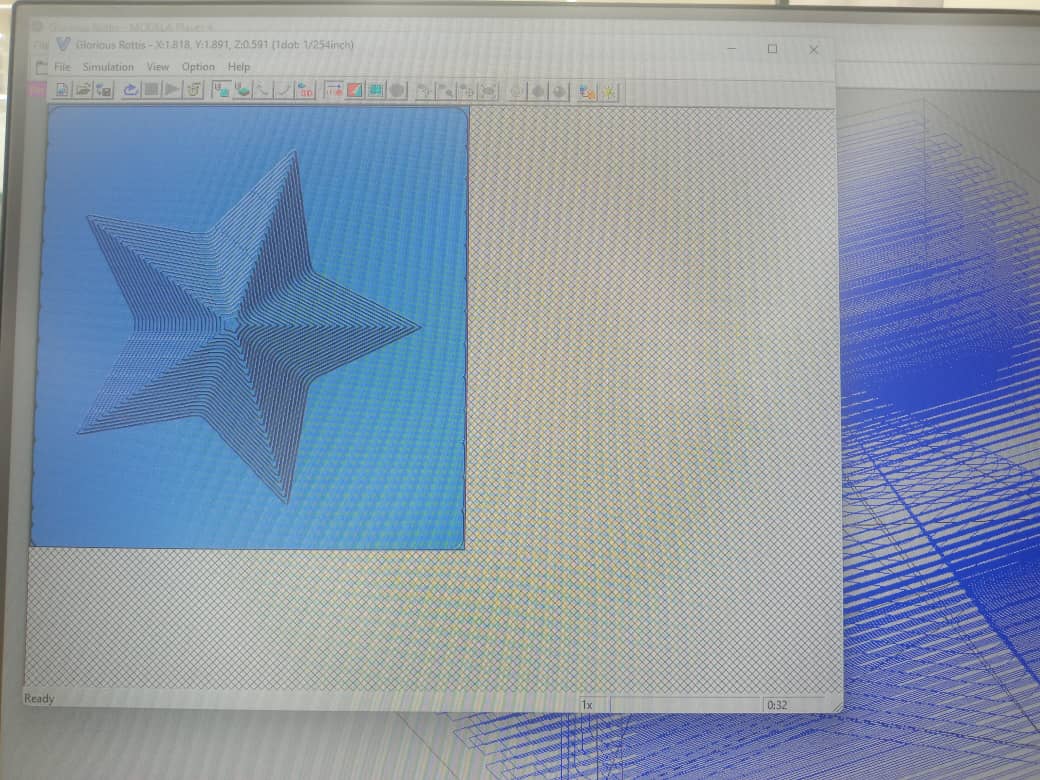
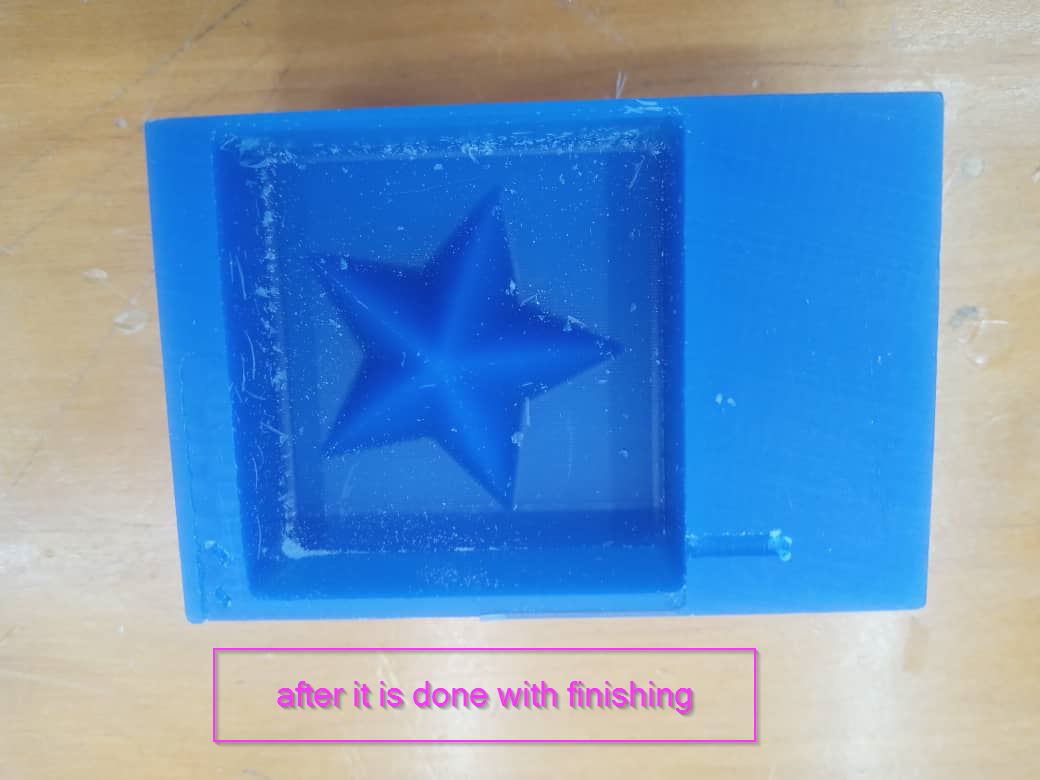
•Here is the picture when it is milling and after it is done with milling.

•For finishing just follow the same steps from the earlier document the steps are all same.Just dont forget to change the end mill, as shown below.

•To create a negative mold of the design, use silicone molding material solution A and solution B in a container, before that measure equal amount in the container which is 1:1 Ratio. And mix properly.
•And then keep it for drying.
•After that for casting repeat the same stpes like in the earlier design, making positive molds so to do that pour the White Liquid Plastic which also had two parts which had to be mixed in 1:1 ratio. After mixing in equal amounts, casted in the negative mold. I let it set for 30 minutes and it was done.
Now for the casting
• Below here is the measurement for the solution weighing equal amount of the solution in the cup. and next we have to pour on the negative silicon mold, as shown below and let it dry.
• I kept it for about three to four hours in order to let it dry and as you can see below the mixture is poured and kept in a safe place. and the final results after the mixture is dried perfectly.
Conclusion
Molding and casting is a fascinating and versatile process that can be used to create a wide variety of objects and shapes. By taking a mold of an object, you can create accurate reproductions of it in a range of materials, including plaster, silicone, and resin. With the right tools and techniques, it's possible to achieve incredibly detailed and intricate results, making molding and casting a popular choice for artists, sculptors, and designers.Things i learned from this week assignment.
Differences between 2.5D and 3D designs
2.5D design refers to a technique of creating the illusion of three-dimensional space using two-dimensional shapes. This involves layering flat shapes on top of one another to create the impression of depth and perspective. While 2.5D designs can look three-dimensional, they are still fundamentally flat and lack the full range of depth and detail that true 3D designs can achieve. 3D design, on the other hand, involves creating objects that have full three-dimensional depth and detail. This can be achieved using a range of software tools and techniques, such as modeling, sculpting, and rendering. 3D designs can be used for a wide variety of purposes, from creating digital models for film and video games to prototyping products for manufacturing.