Susana Passinhas @Fab Academy 2023
05. 3D Scanning and Printing
3D printing has been around since the 70s but was a really closed technology, not opened to the masses and it was really expensive. Over the years 3D printers have been made more accessible with the contribution of open-source contributors.
To 3D print an object we slice the object (in the machine software and we can control how thick we want the slices to be) and the machine will just print slice after slice, using the point coordinates of the object to make a 3D real-world copy of it. Nowadays we can 3D print almost anything, but it might take a while and be very expensive since the materials are very expensive. Also, it's important to notice that typically the z-axis is weak.
Group assignment
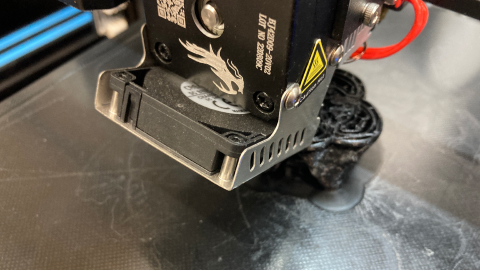
The printer we tested was the Ender 3 Pro. The Ender 3D Pro uses a filament of 1,75mm. The nozzle is 0,4mm. We can operate the machine by using the control button that allows us to select settings in the machine. We can adjust the plate of the machine by moving the wheels below it. To calibrate the plate of the machine we use paper and try to make the nozzle scratch just a little bit the paper. To start the machine we need to set up the axis to 0,0,0 and we can do this by using the menu and selecting "Auto Home". We need to also load the machine with the filament, we should cut the edge of the filament at 45° and push it without hands.
Once we start the machine it can get really hot (that is why it also has 2 fans) so it's important to be careful with this, the material can get really hot. To send files to the machine we need to use an SD card, this SD card collects the file from the software we use on the computer and has information on how to slice it and the dimensions, type of material, temperatures, support, and so on. We have more than one Ender 3 Pro at the lab, the one we have in our room had the motor changed and we need to manually tell the machine that it reached the correct temperature, this is the machine we used for our test. For my personal project, I used the other Enders we have and I didn't have this problem.
To test the 3D printer, we printed a test file so that we know which angles it supports and how precise the machine is. We learned that if the text is smaller than 5mm it becomes unreadable (not enough precision). Also in the curvatures, if the angle is more than 45 degrees it doesn't work so well, overall if the objects have a lot of small detail and are very delicate they will probably not print very well (something that I also learned while printing my object).
→ Group Page here
Designing and printing a 3D object
This week we needed to create a 3D printed object that followed the principle of additive manufacturing, meaning it has zero or minimal waste because it uses only the material needed (opposite to subtractive manufacturing - when you crave out of material) and, it also allows more freedom in terms of complexity of the 3D object. It is important to notice that additive manufacturing (3D printing) even though it has great advantages (zero o minimal waste, material costs reduction, etc) also has downsides, for example, the objects are usually weak on the z-axis.
Parametric designing a 3D object
I add a few ideas for designing 3D objects to print but in the end, I decided to create an object that has a few layers of complexity, which I think would make it really hard to do with subtractive manufacturing. Inspired by sacred geometry I took as a foundation the seed of life pattern and did something inspired by it.
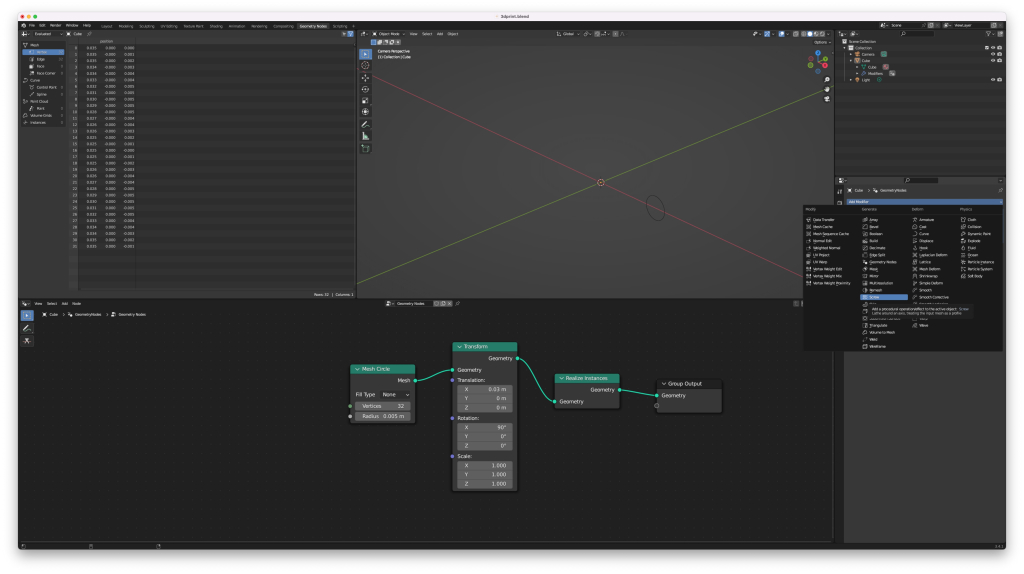
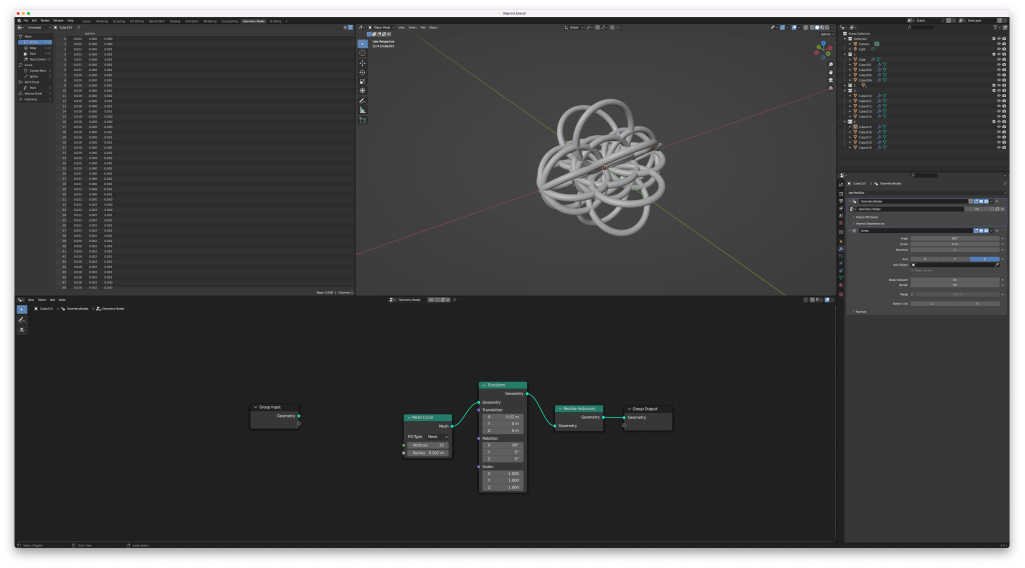
I wanted to play around with geometry nodes again (Blender) so I started by creating a torus shape following thistutorial, which would be the base of my shape and then just duplicated across the axis to do the volumetric pattern I wanted. I also made sure the shape was closed and had thickness (no water can get inside of it) so that the 3D printer can print it. My 3D object is 40mm and the thickness of the structure is 2mm. I saved my file in OBJ so that I could open it and prepare it for the 3D printer in the 3D Printer software.
Preparing the 3D file for the printer
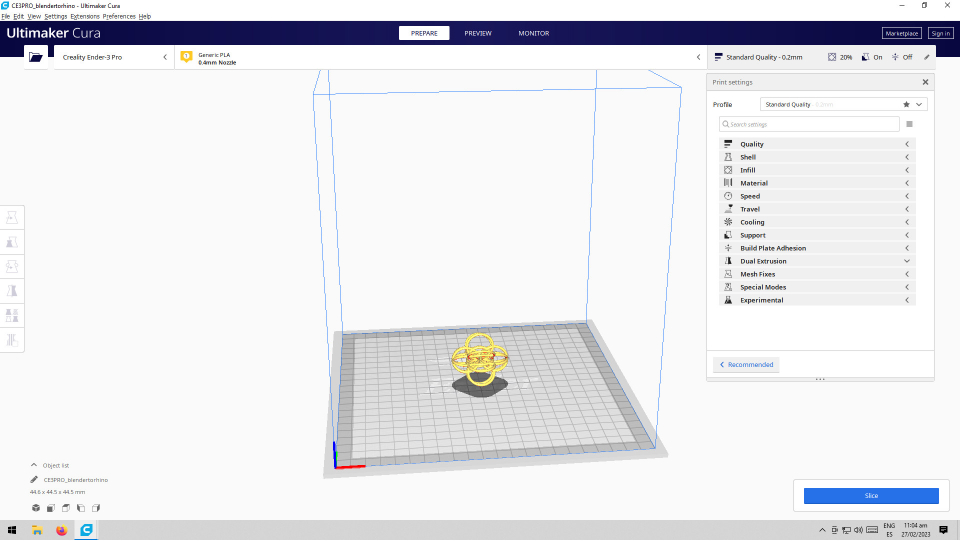
I opened the OBJ file in the Ultimaker Cura software and realized it was empty, I went back to Blender and exported in STL and try it again, it was still empty... then I remembered when I was using the laser cutting machine I add a problem with scale with the file comming from Blender. So I opened the OBJ file in Rhino and updated the scale. Once I opened it in the Ultimaker Cura software it was good!
I then went to the settings and added the following details:
- Quality: standard 0,2mm (the distance/pressure between slices)
- Material:PLA (a type of plastic)
- Temperature: 215°(the temperature that PLA melts the best)
- Plate temperature 60°(the temperature of the bed so that the material holds to it)
- Infill: 20% (the density of the interior net)
- Speed: 50ms (how fast the nozel moves)
- Plate adhesion: skirt (the type of base for my object)
- Support: Tree (the type of support that helps the object not to fall)
|
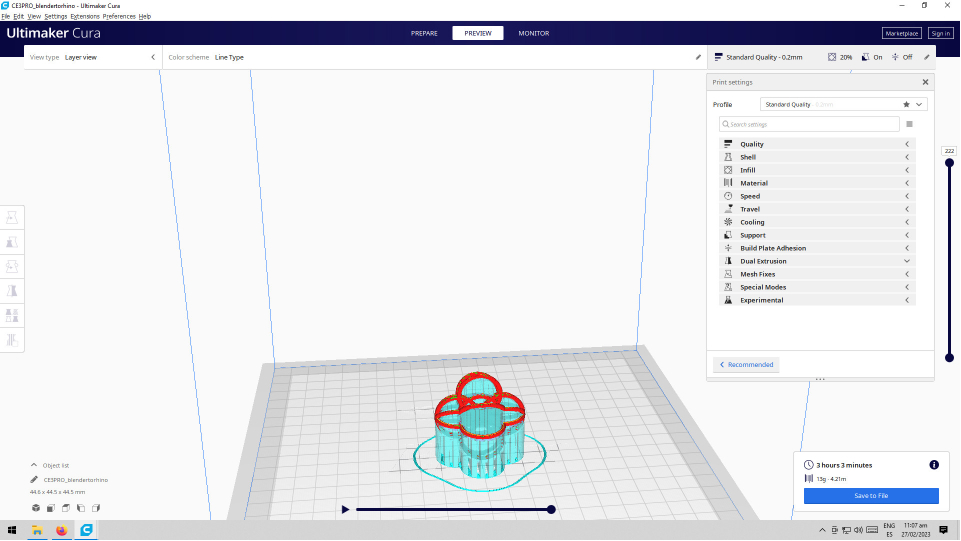
Once all this was set I selected "slice now" and saved the file to the SD card.
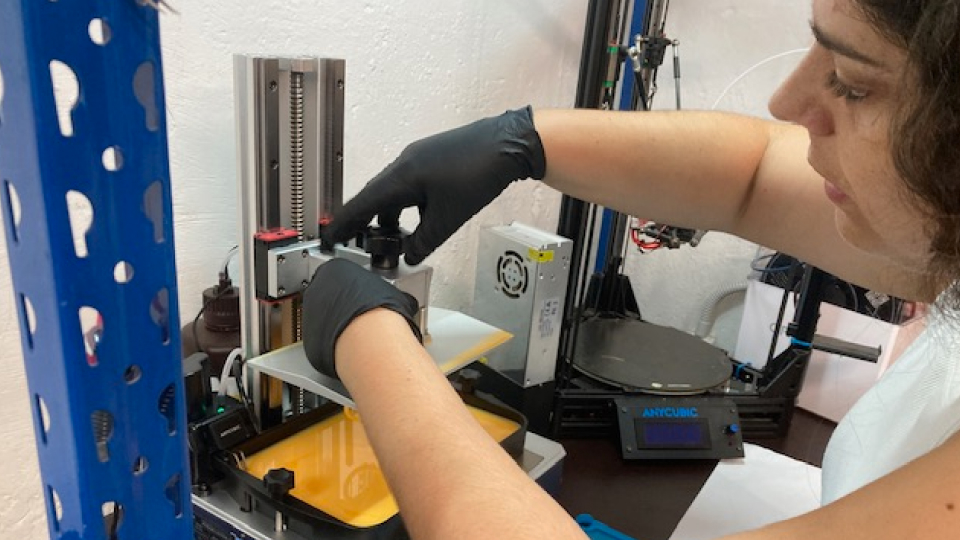
Setting up the 3D printer
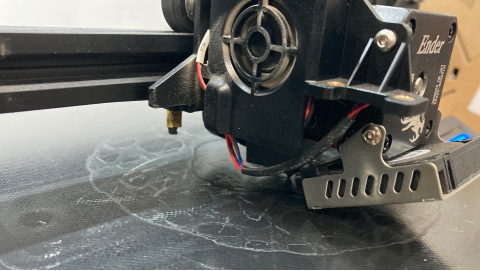
The Ender 3 (3D printer) has a nozzle (the tip that compresses the filament) and the thickness is 0,4mm. We can use in this machine a 1,75mm fillament. For my project, I used the 1,75mm filament. The 3D printer also has fans to cool down the machine, because we can work with really high temperatures. For example, PLA (the material I am using) usually is at a temperature of 215 degrees. It is also important to notice that the plate of the machine is also heated up (60 degrees to work wiTH PLA) so that the material sticks to the plate and doesn't move around.
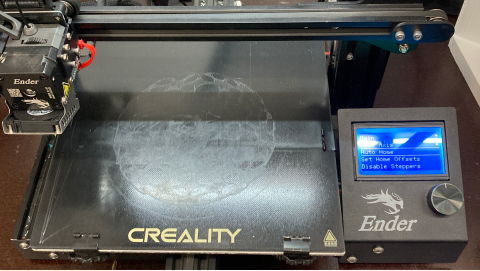
To set up the machine before I started to print I clicked "Auto Home" so that the nozzle moves to the 0,0,0 coordinates. We also need to make sure the plate is flat and this can be done manually by using a paper in between the plate and the nozzle and adjusting it using the wheels below the plate. After the plate is calibrated we should load the filament (simply press it with the hand), the tip should have a cut in 45 degrees so it better enters the nozzle. My printer was already loaded with filament so I didn't need to add it.
To print my file, I simply open the SD card in the machine, by selecting "print from TF" in the menu.
3D printing
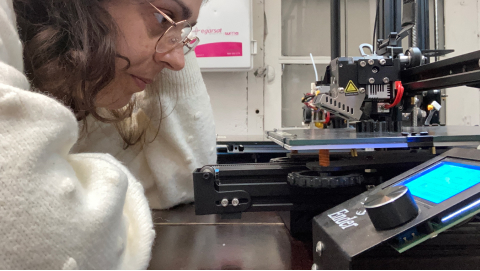
The time estimation for printing this object was around 3h and 30m. I made sure when I started I stayed looking into the machine for at least the first 3 minutes.
My preview showed some red lines and I was a bit concerned, but in our test, we printed angles that were also showing red and they actually printed well.
Supports can be a problem...
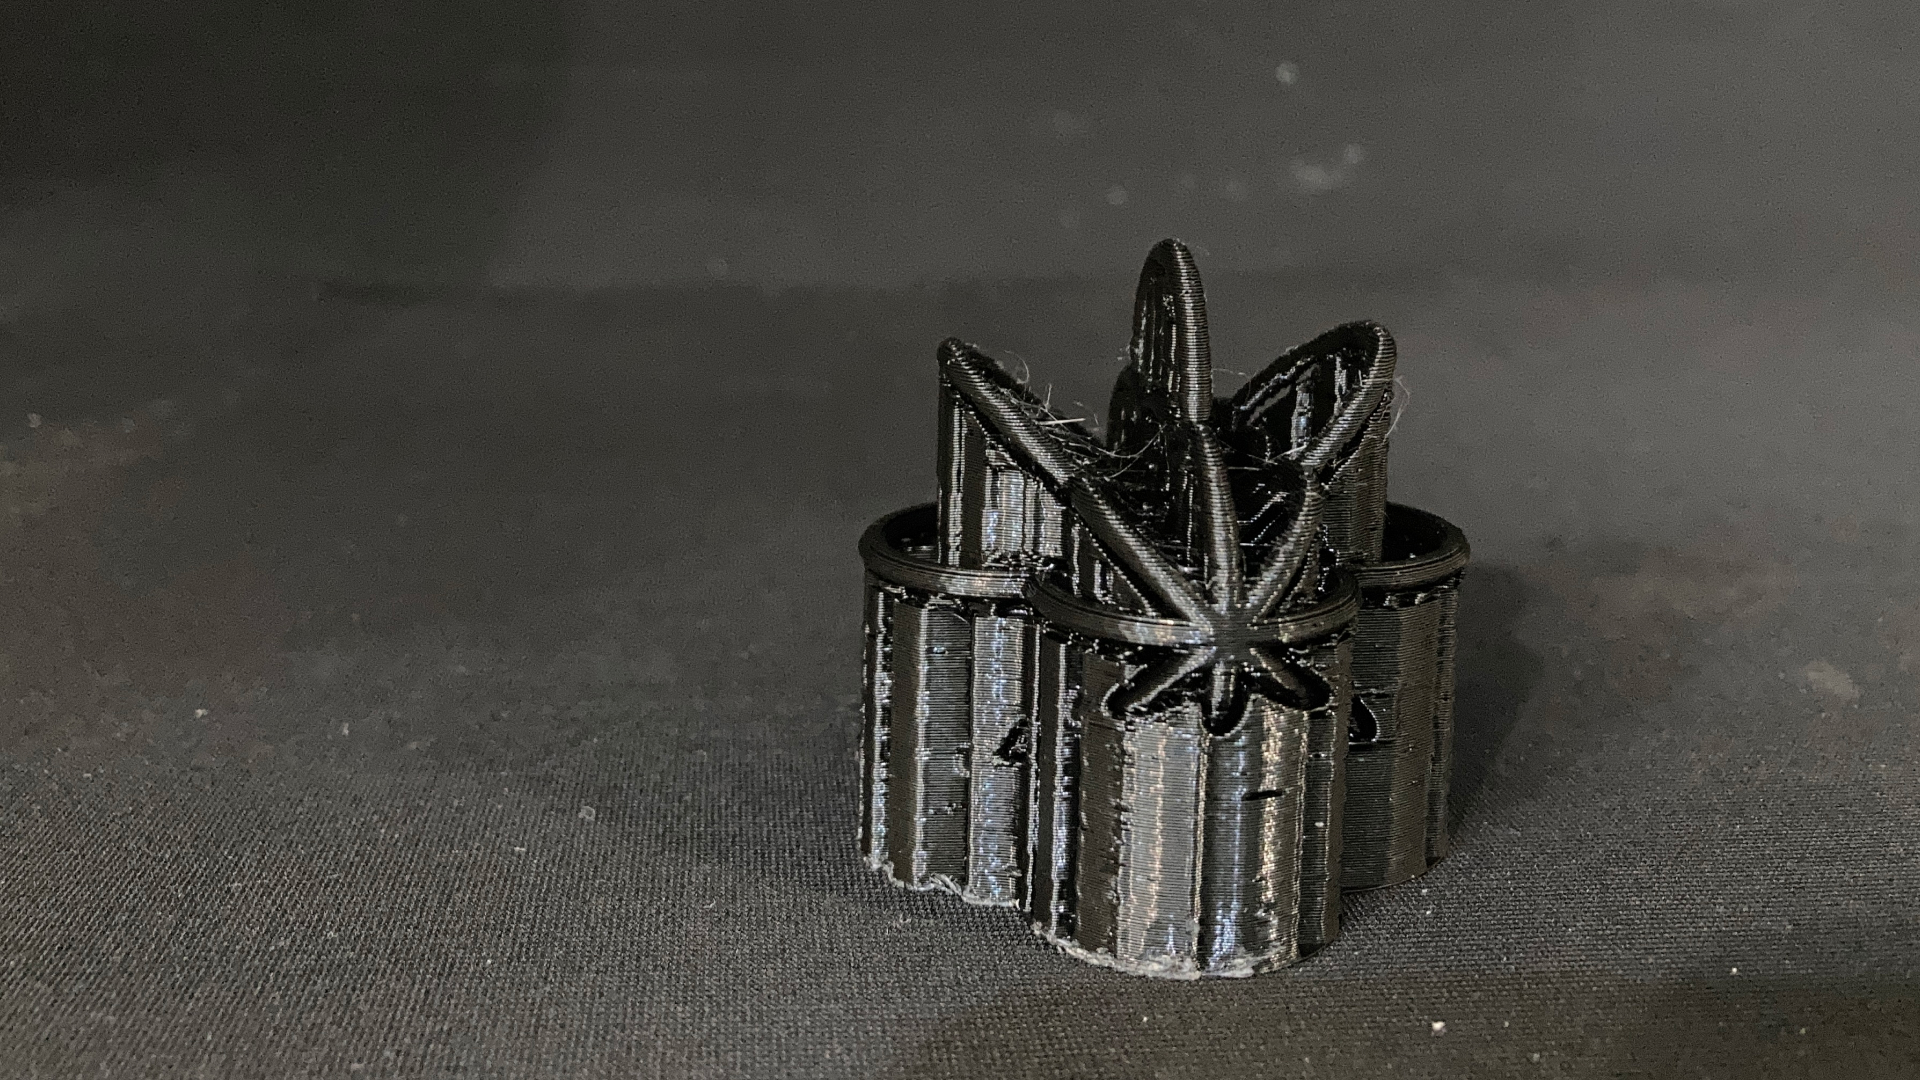
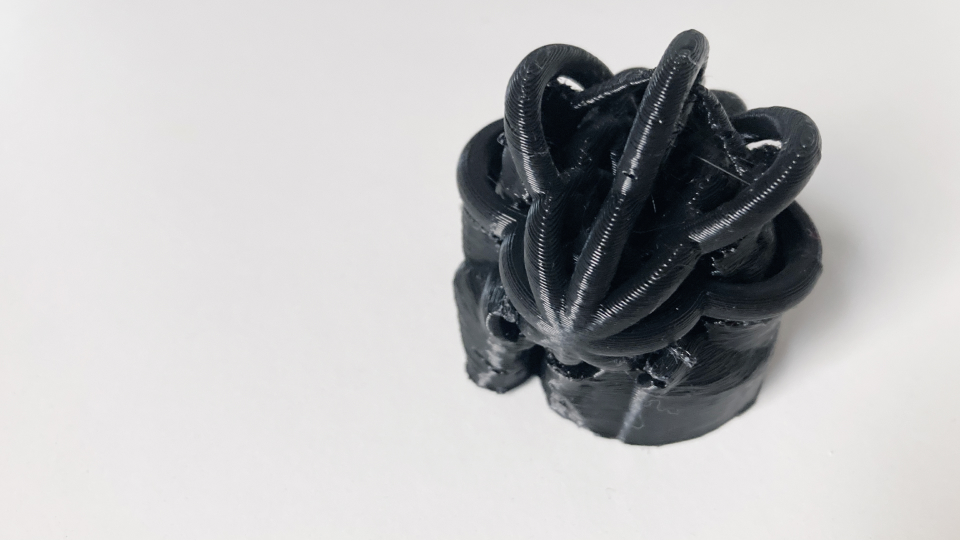
It printed well (no spaghetti), but I realized the support I used is quite strong and because the inner structure is so thin, it was really hard to remove the structure...
3D printing again!
...So I decided to print it again, but this time I increased the 2mm structure tickness to 4mm and used a tree support instead. The result was better but it was still hard to remove it. What I learned this week is that very complex structures or/and thin tickness that requires a lot of supports can be tricky as it becomes quite hard to remove the supports - this for PLA material.
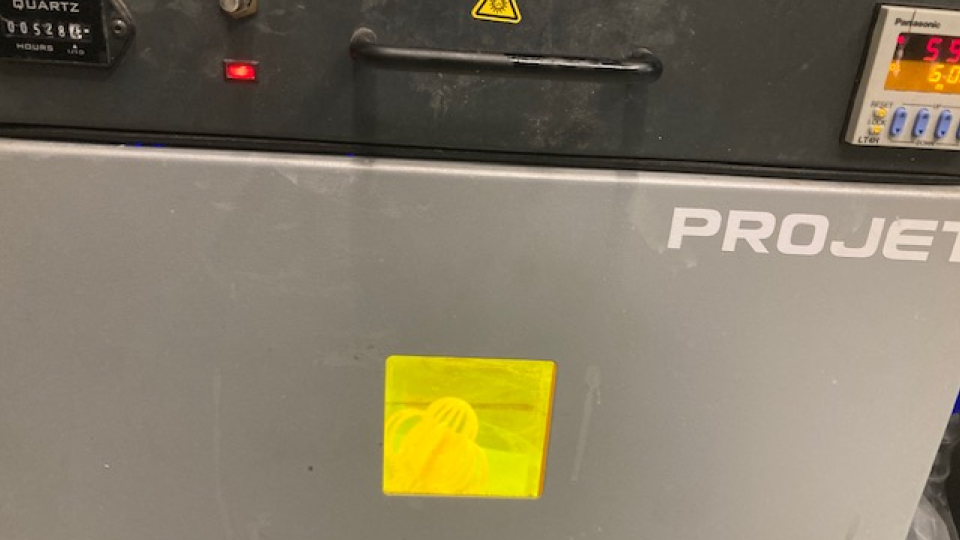
...3D printing in resin
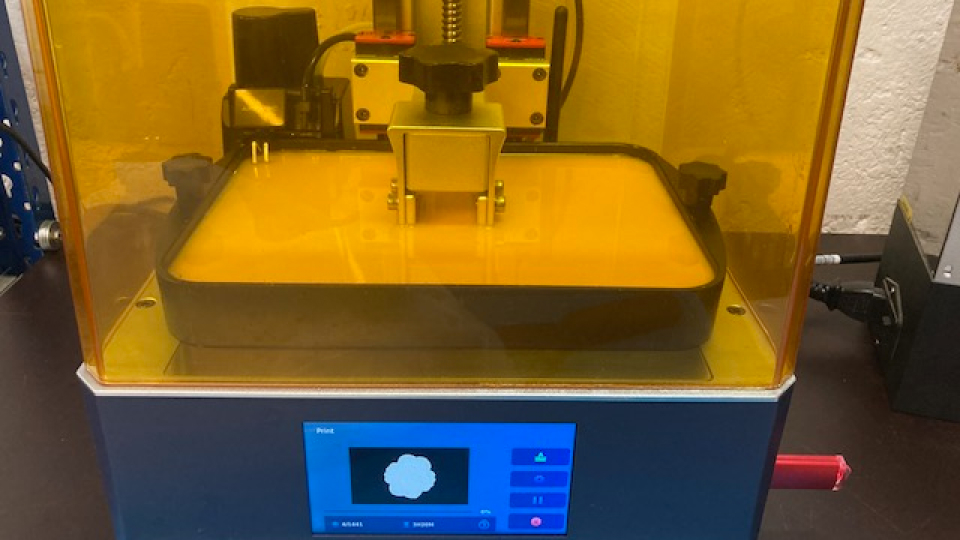
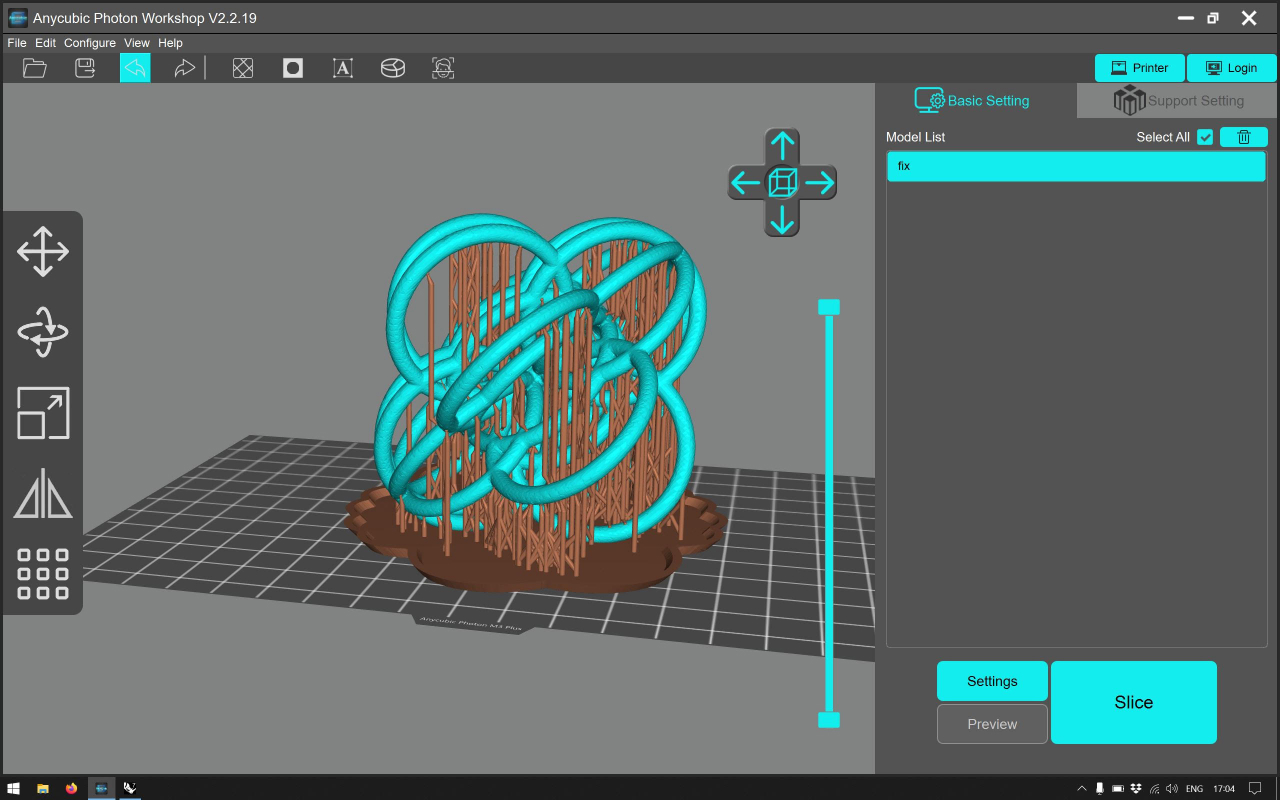
I tried once again to 3D print it but this time with resin. I used the Anycubic Photon UV Resin SLA 3D Printer M3 Plus we have at the lab.
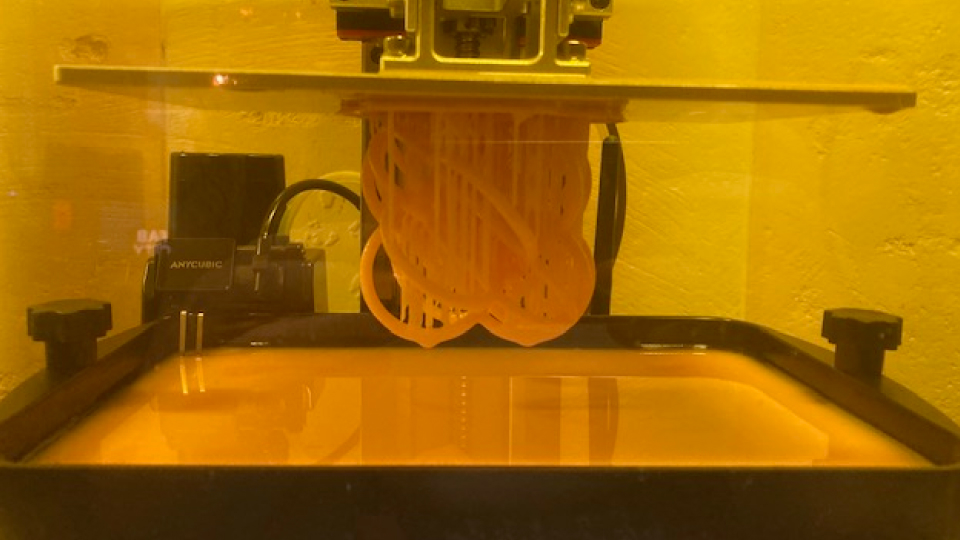
Stereolithography, or SLA 3D printing works by using a low-powered laser to harden a liquid resin that is contained in a reservoir, commonly called a “vat”, to create the desired 3D shape. Essentially, this process converts photosensitive liquid plastic into solid plastic in a layer-by-layer fashion in a process known as photopolymerization.
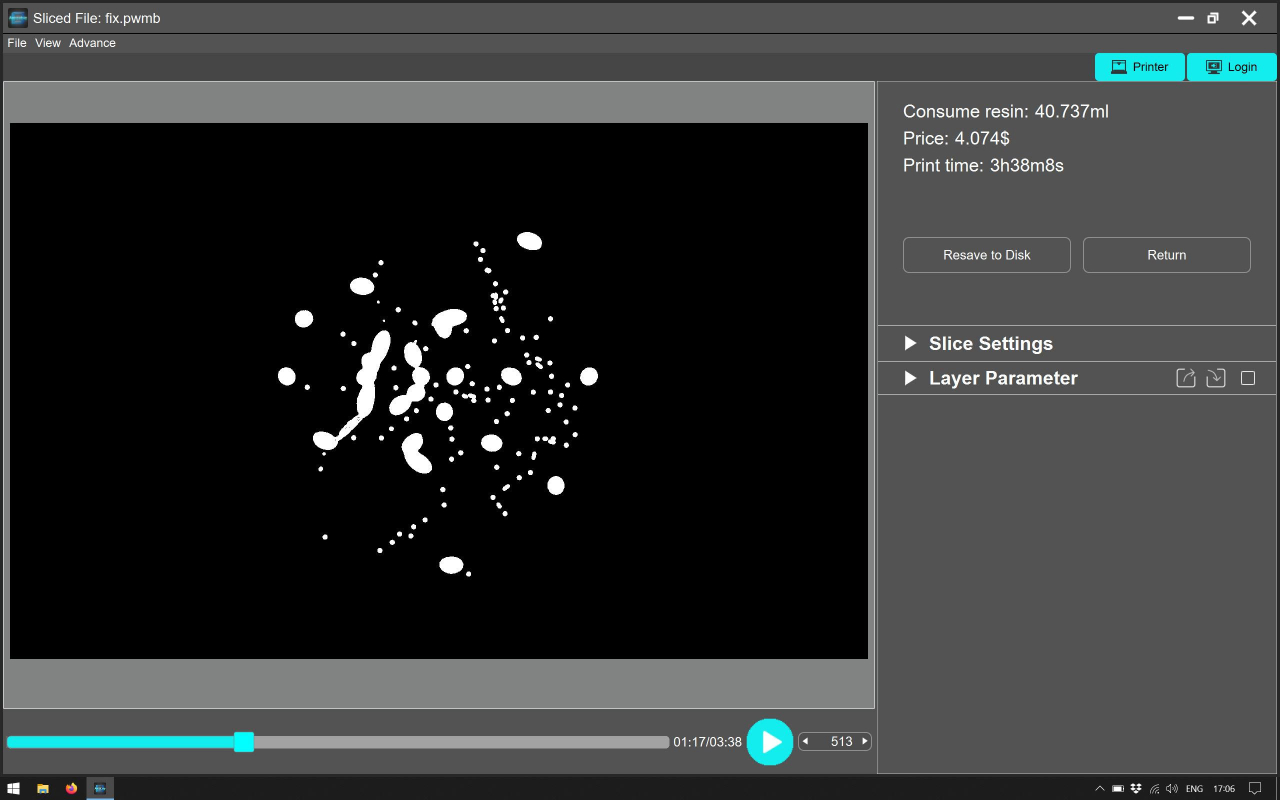
To start I uploaded the original file in the 3D printer software of the machine, the important thing to know is that resin 3D printed objects always need support, the model shouldn't touch the plate, so we need to make sure the orientation of the object respects that. In the software there are 3 types of support: tick, medium and strong, I used the thin one because the object itself is quite thin. It is also possible to visualize the process (in a simplified way we can say is the visualization of the light making the resin hard - the photopolymerization process).
At the SLA 3D Printing machine
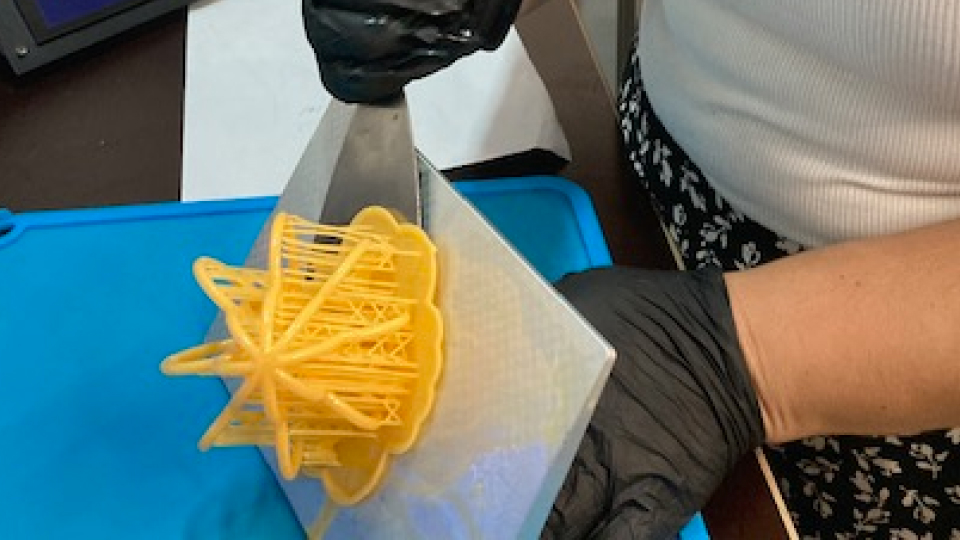
The machine is quite simple. I just opened the file on my USB drive and pressed "start". Then the machine tells us the time it will take, it was about 2:30h. When it was ready I put on protective gloves and removed the object from the plate with a spatula.
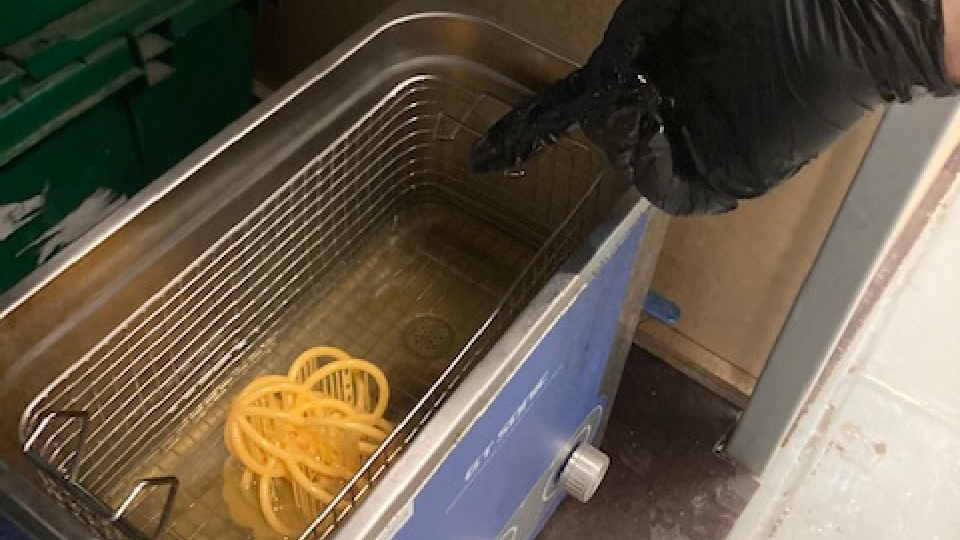
Alchool bath
After the object is printed we put it more or less 15m in each side so that the resin that didn't solidified is removed.
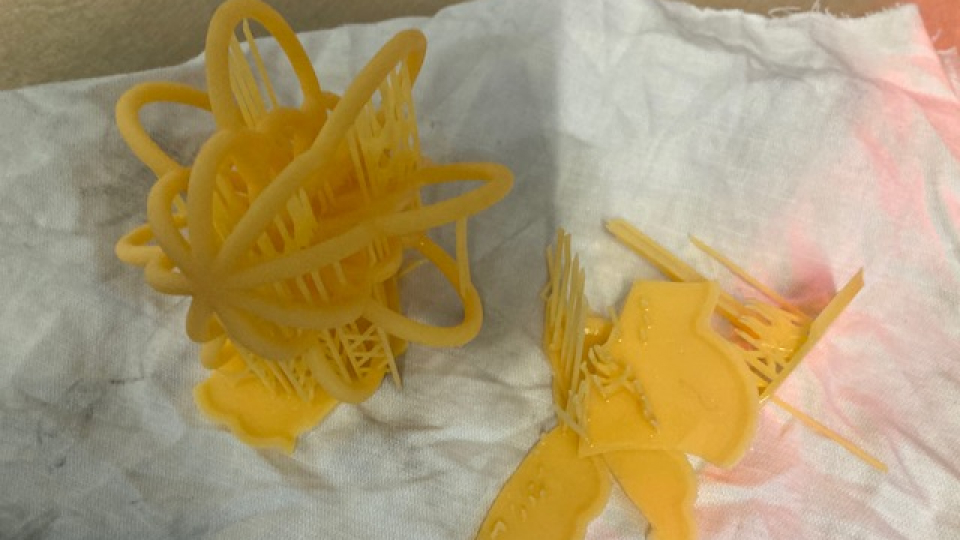
Curing
After that we need to cure the object so that we finish drying the resin. For that we use a ultraviolet chamber for about 30m (or we can also leave it the sun). Before I did this process I removed the supports.
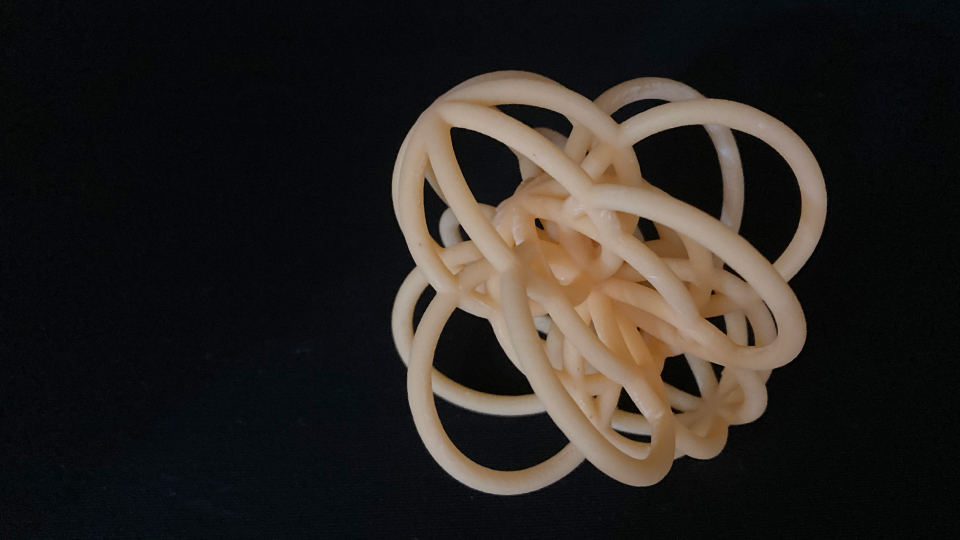
The final result!
→ 3D printing files here
3D scanning an object
3D scanning allows us to represent the real world in 3D. What it does is that it triangulates information about points in space (for example using photos) and then it builds a point cloud in space (mesh) that is the representation of that real-world object or space (anything really). So, for example, we can have thousands of pictures from different perspectives from a specific place, let's say a forest and then the computer does what it does the best - computes, meaning it processes all that information and can map out the points in space, making it a 3D object in the software.
It is important to refer that when using photos for 3D scanning the photos need to have metadata so that the software can have the information it needs to create the scan. Also, pictures should overlap so that we always have at least 1/3 of the previous photo in the new one, so results are accurate and the computer doesn't get confused.
The PLY format is very common and it can be ASCI or binary. All computers can open it.
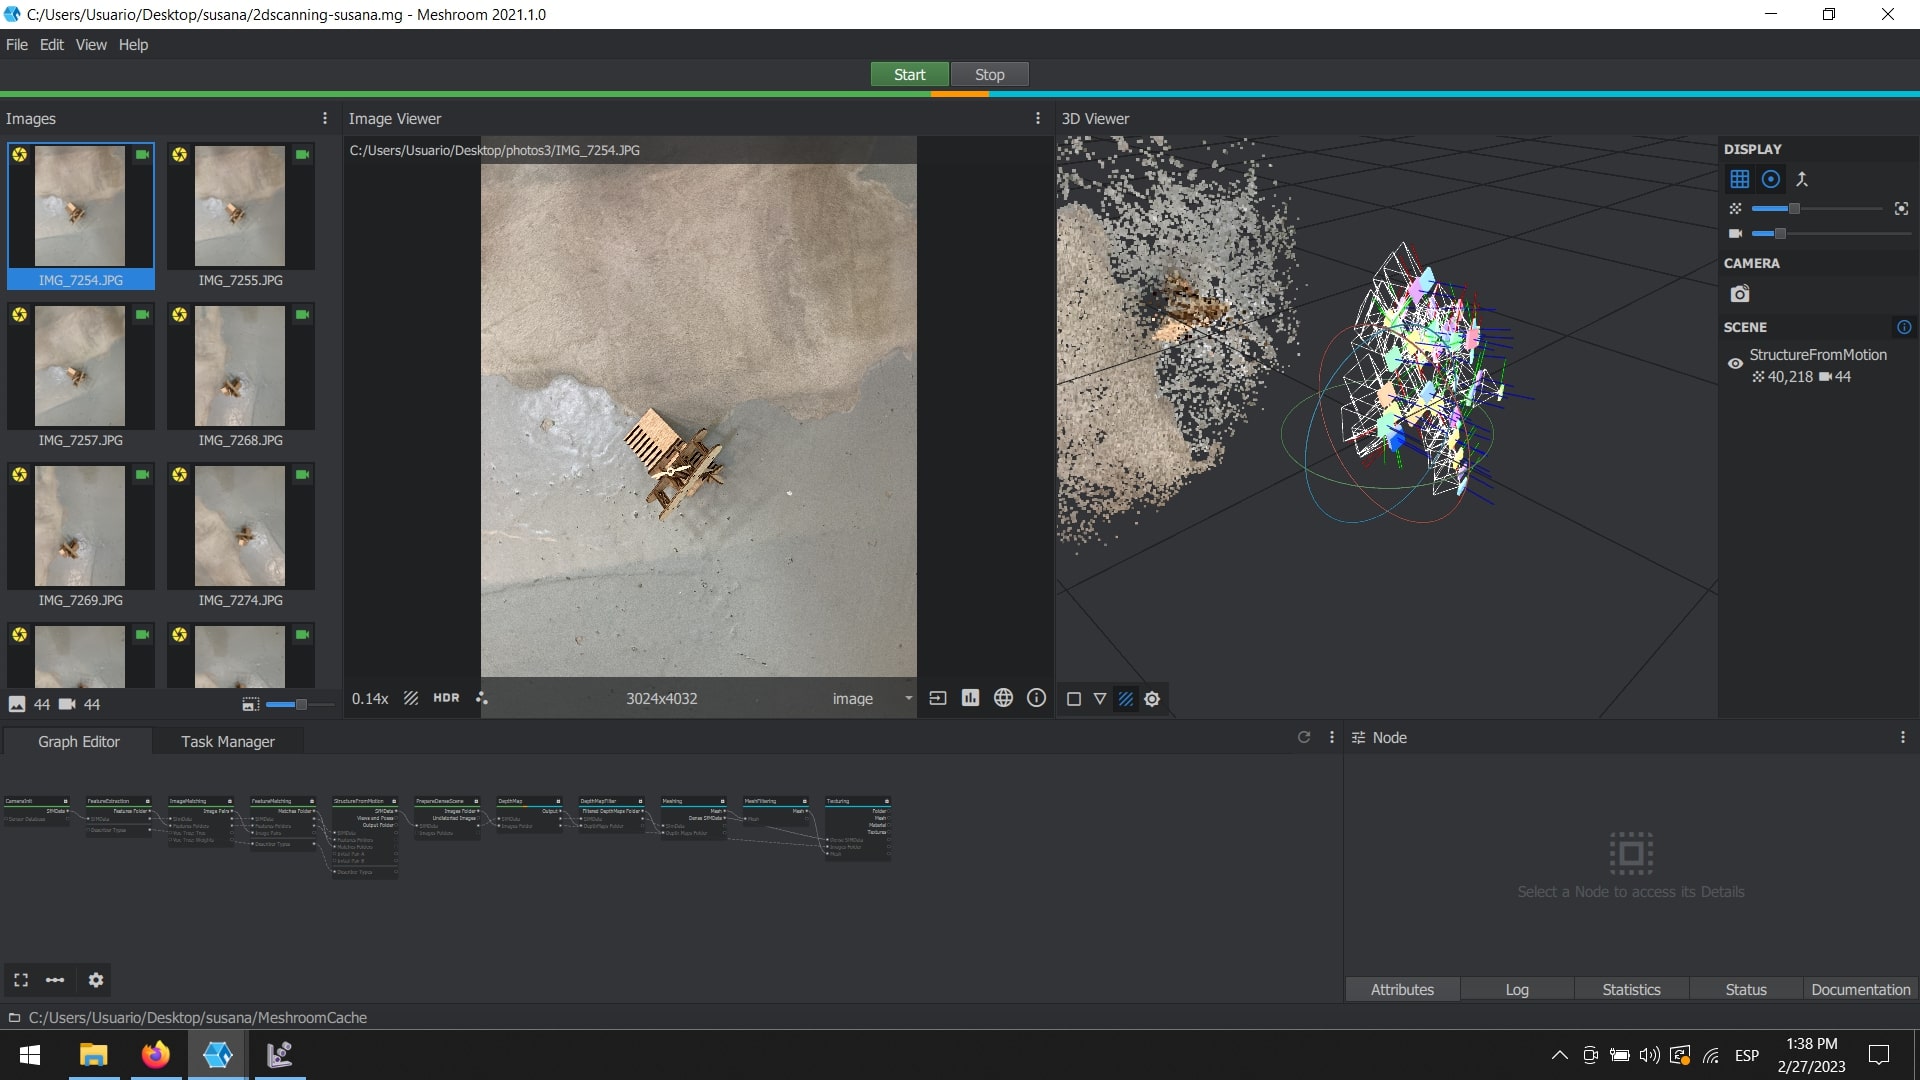
3D scanning using Meshroom
I took a lot of photos from a real-world object and made sure the photos were always overlapping at least 1/3 of the previous images, I took as many photos as possible from different perspectives to have a better point cloud in the software. In Meshroom software I simply dropped the images and started the process by clicking "start". When it was done I realized I needed much more pictures and angles than I had...
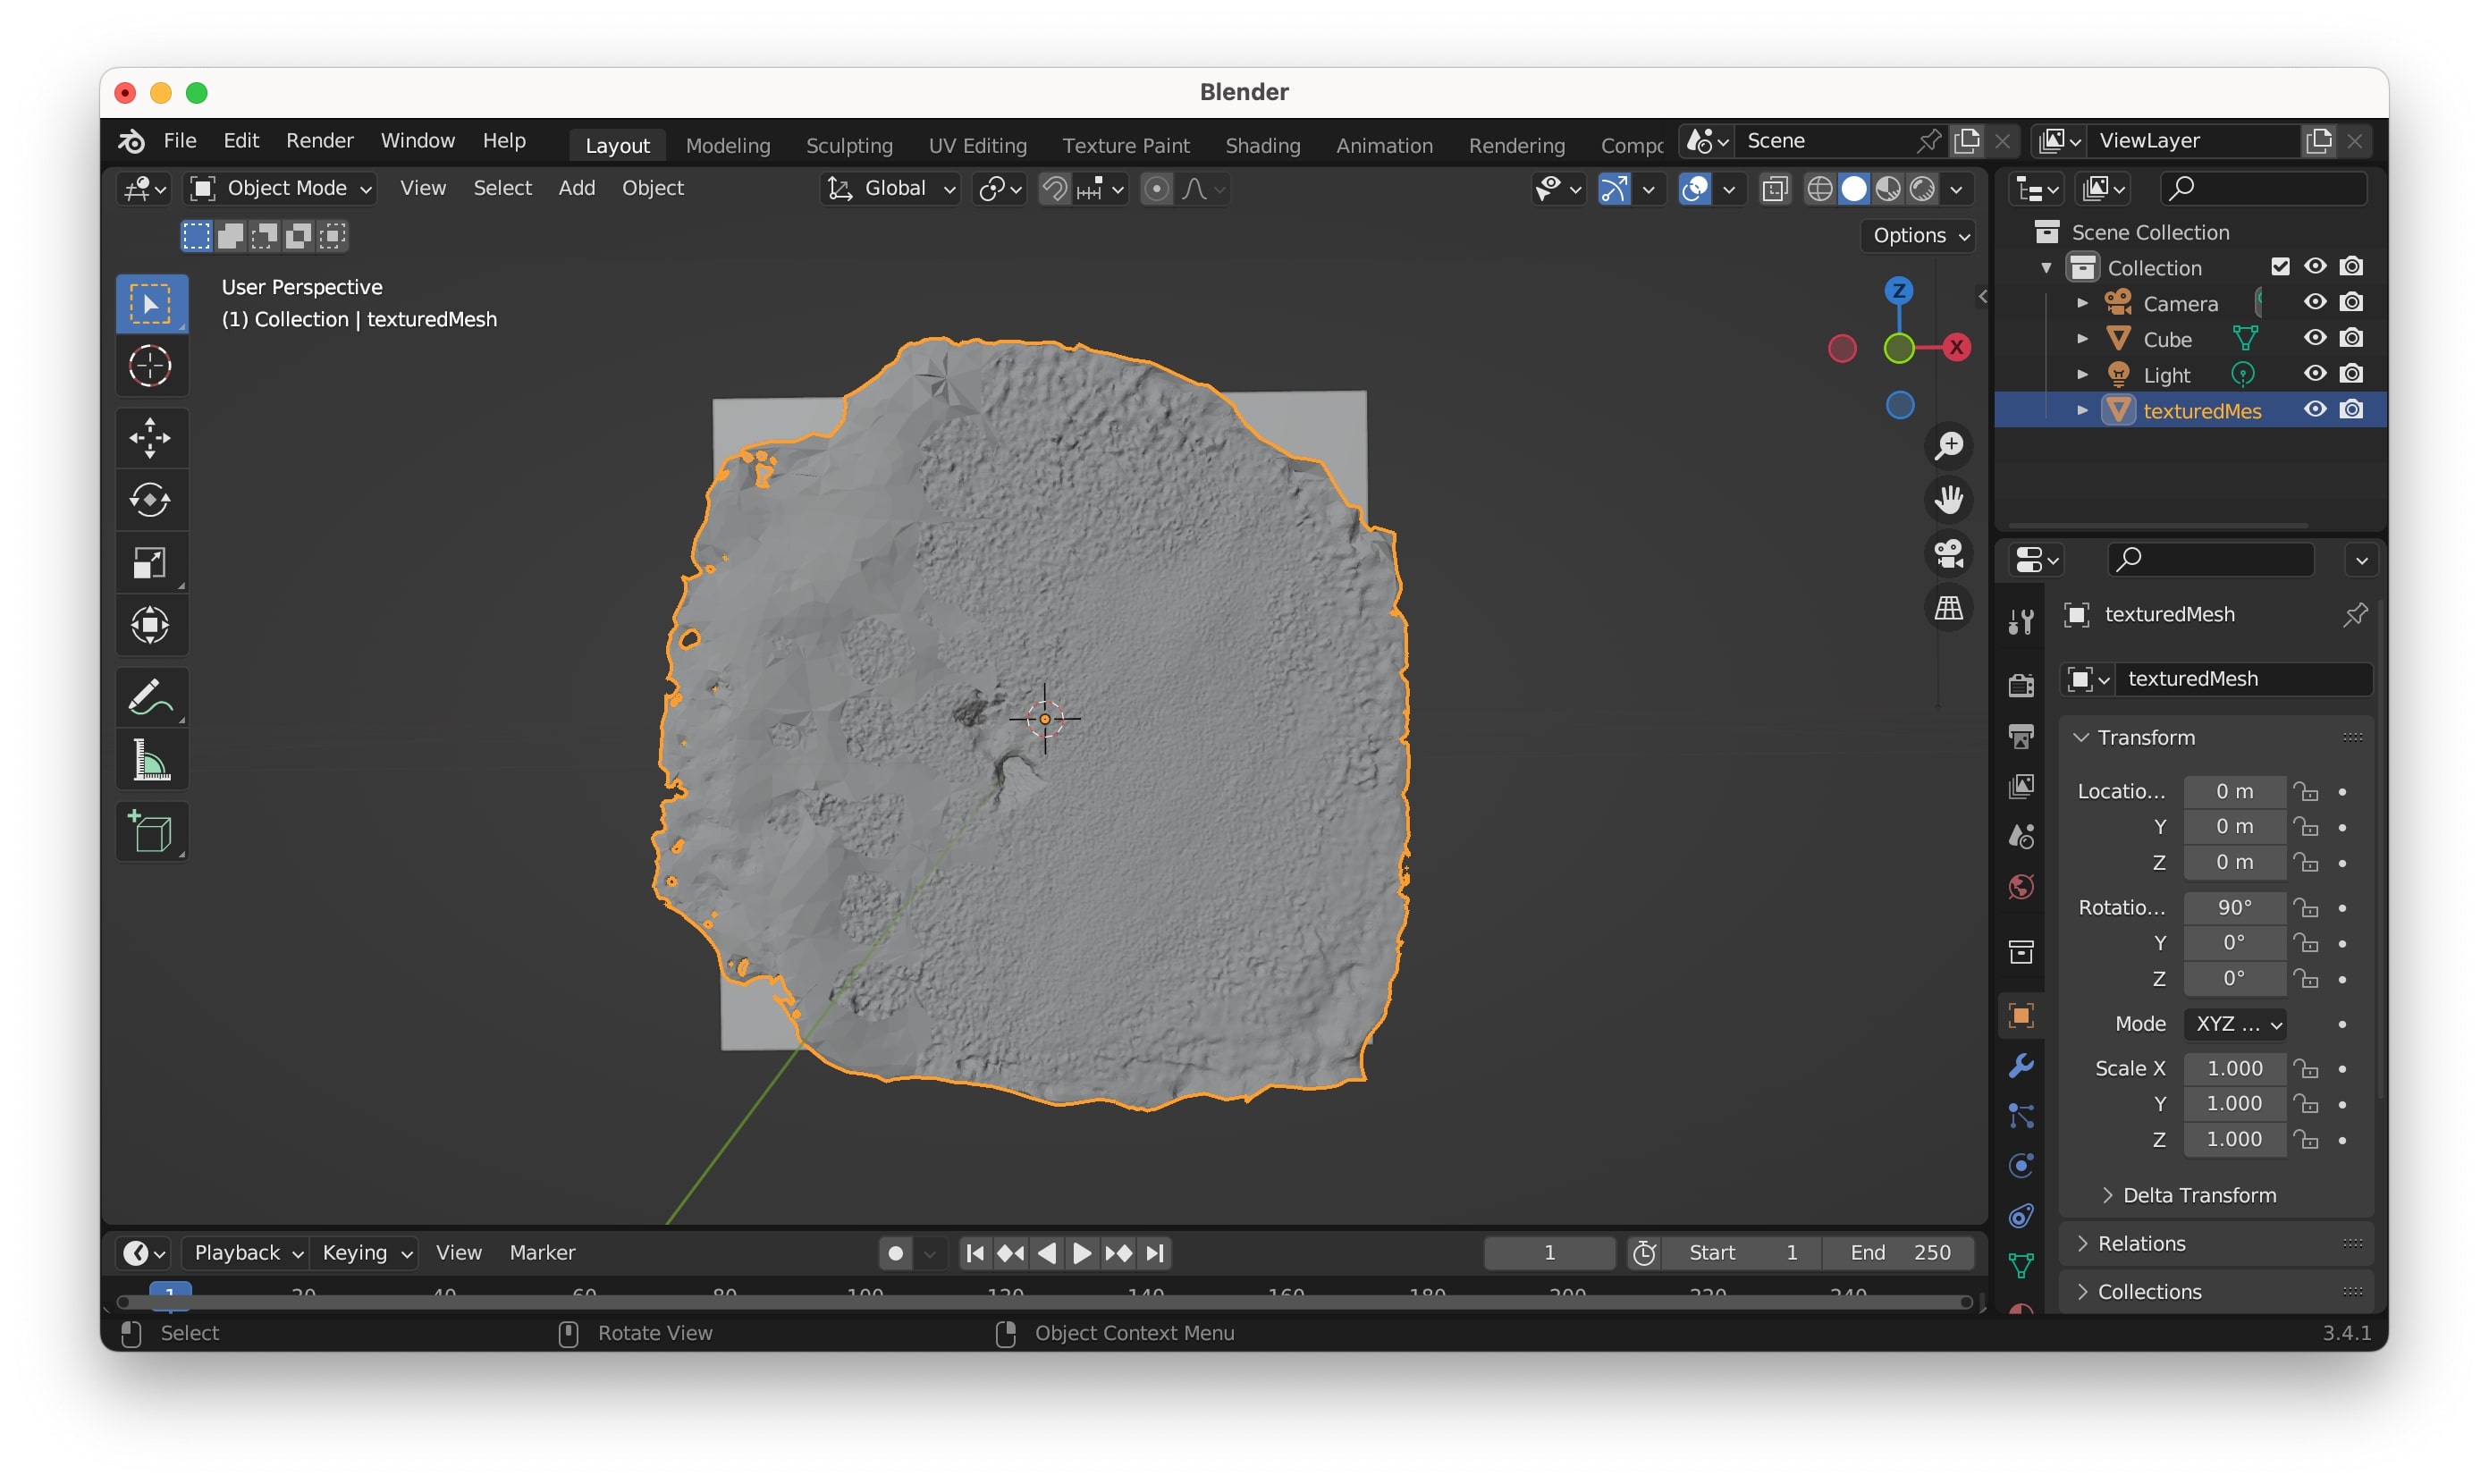
I saved the file and opened it in Blender just to see what mesh it produced and basically, it only scanned the floor. Definitely would like to try this later as well.
3D scanning using the kinect
I had quite a lot of trouble connecting the Kinect, I spend more than 1h connecting and disconnecting it from different computers and using a different Kinect just so later when I got some support and understood the problem was the power socket...
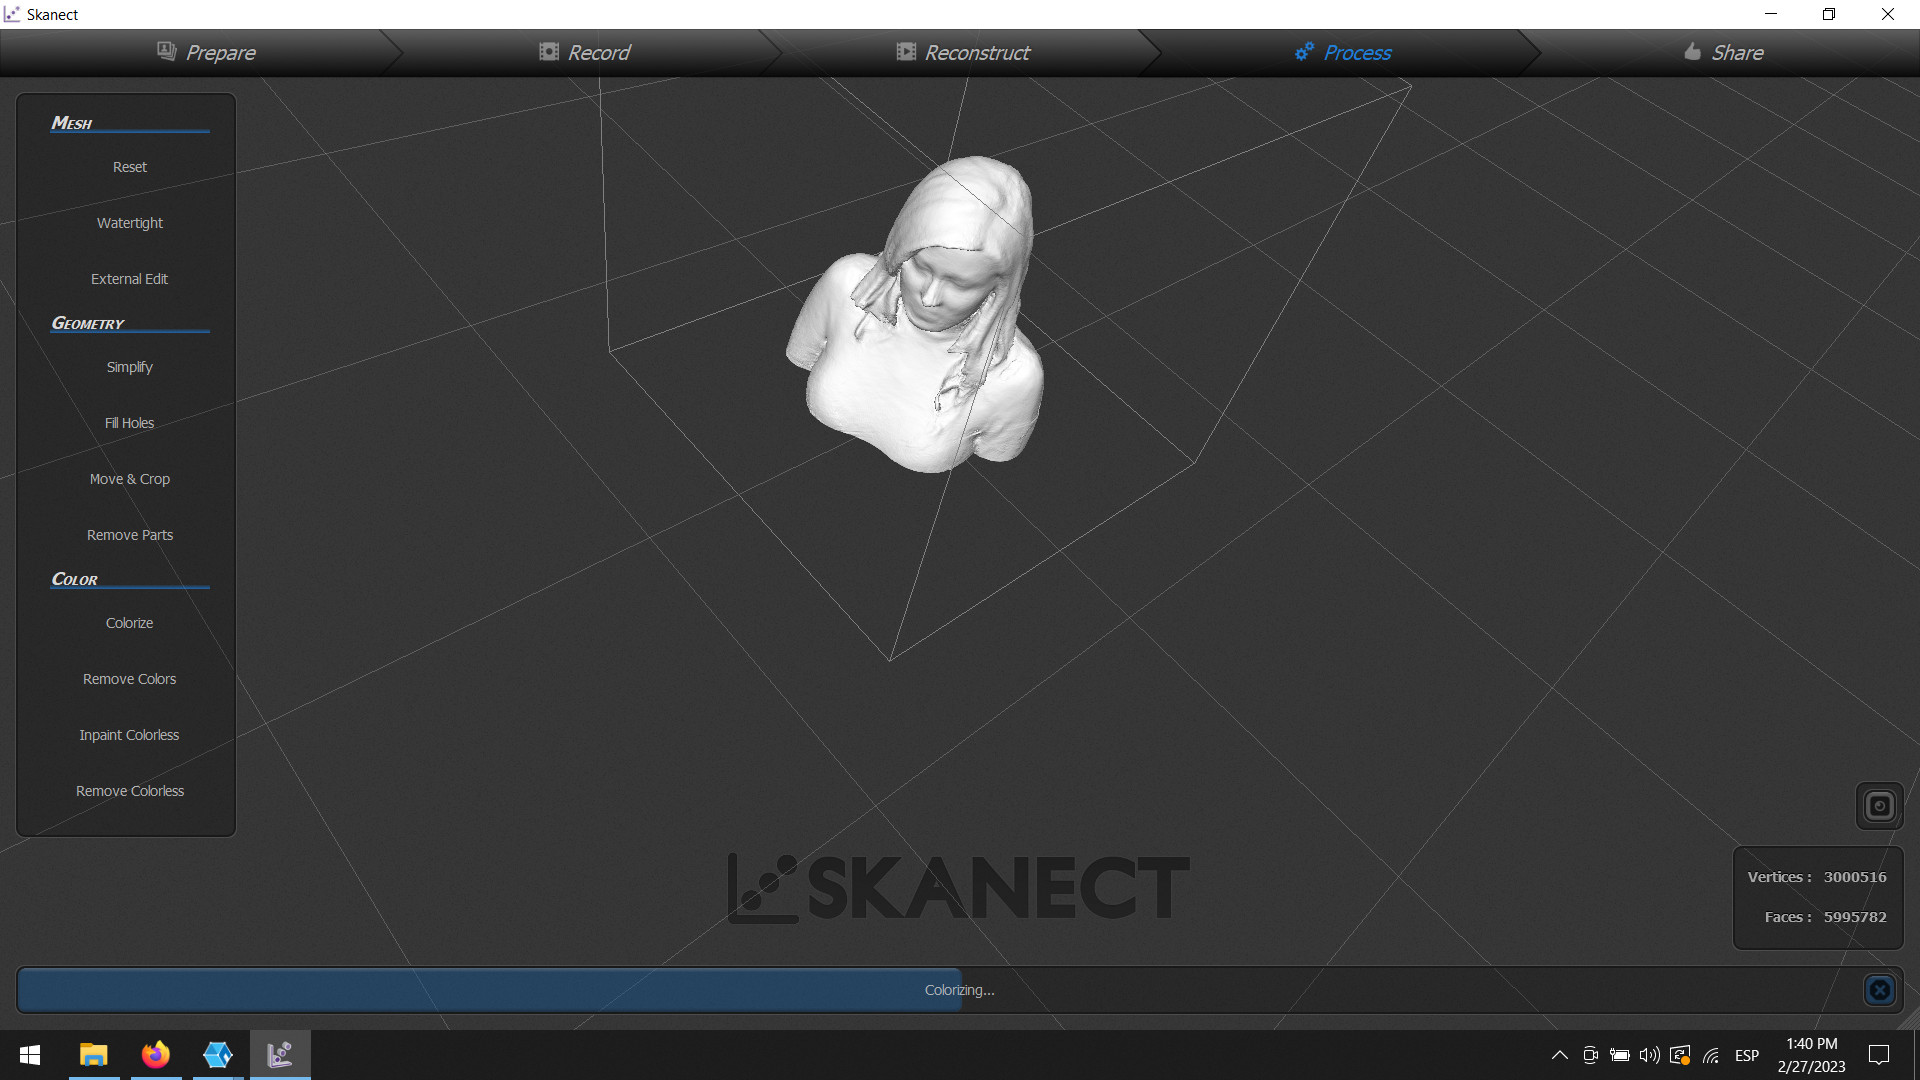
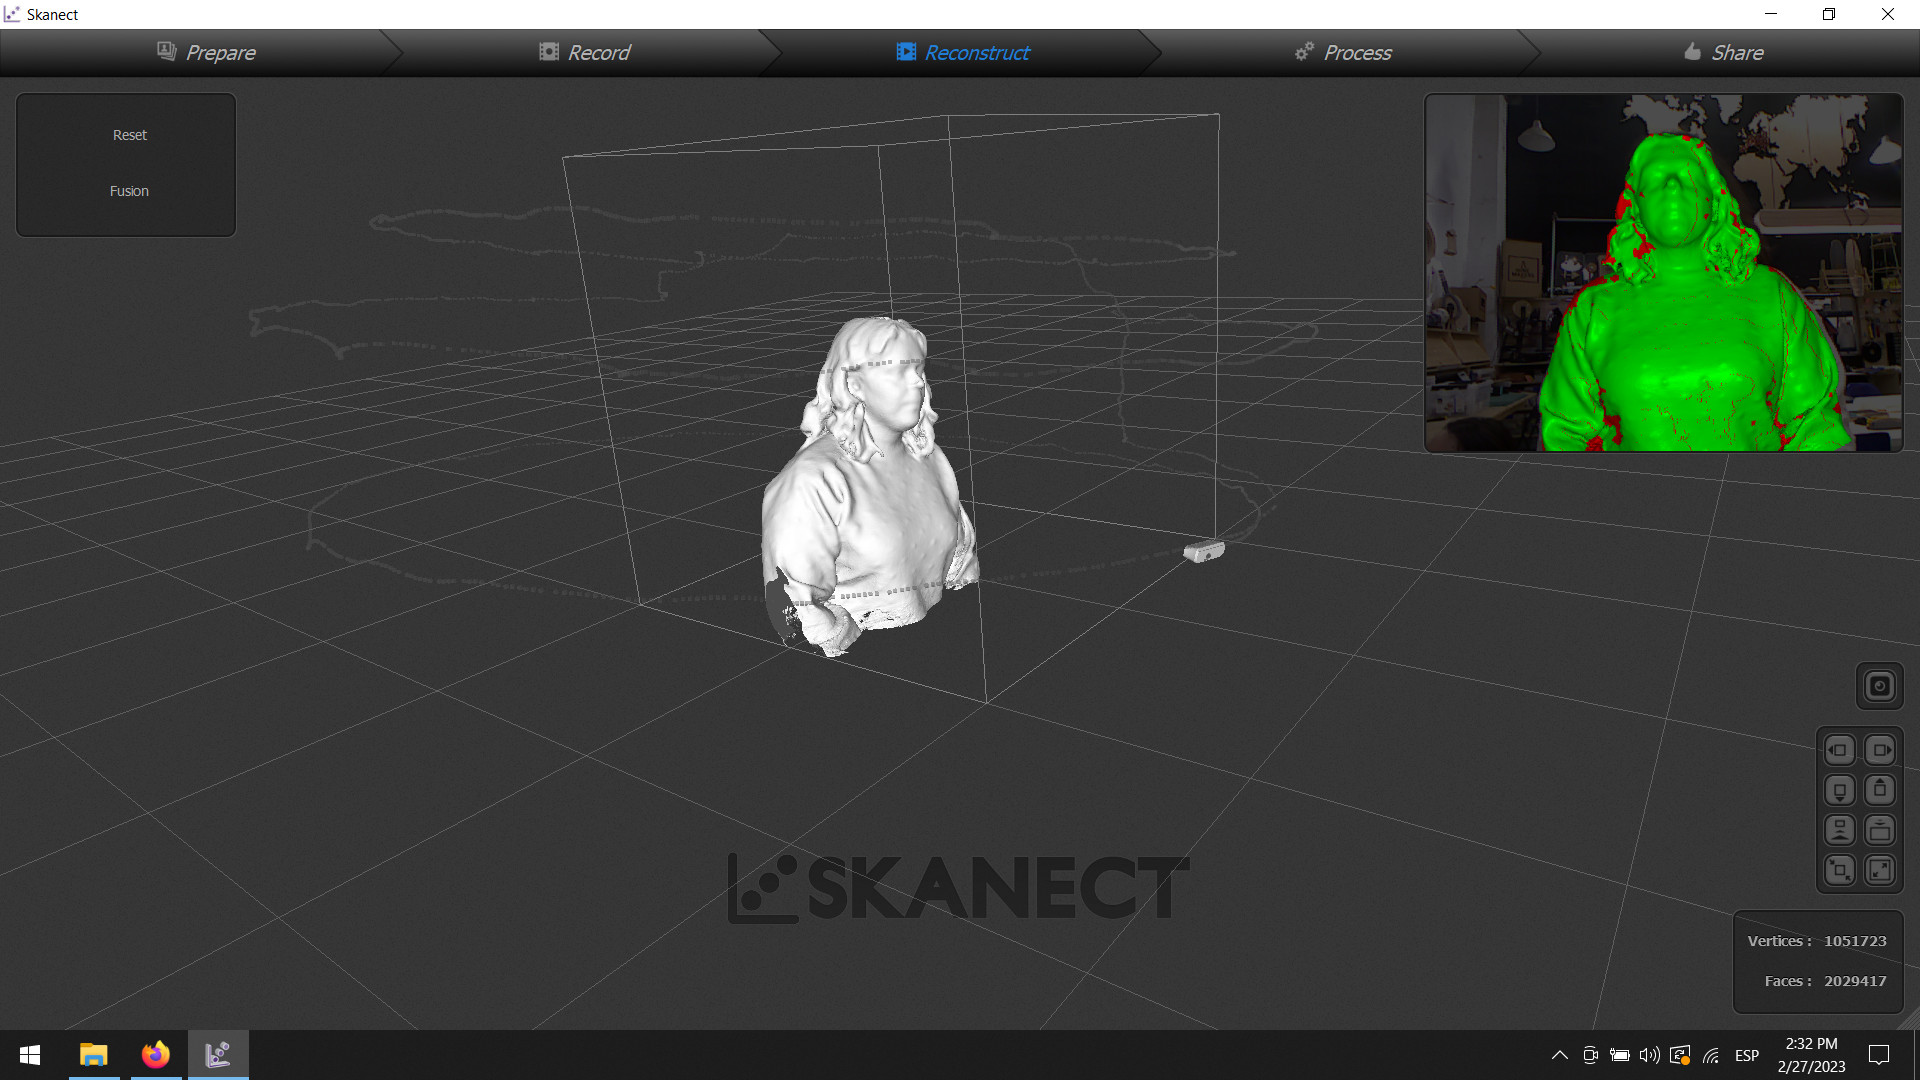
Once it was ok, I was ready to digitalize my colleague. Before I started I created a new file and choose "body" as a scan option and the size of the box I wanted the body to be in. This was set up 7mx7mx7m (so I shouldn't be further away than that from the "body"). I positioned the Kinect within the range and made sure the "body" was green (ok), you can see in the screenshots of my own body scan an example of that.
My colleague was in a chair with wheels and another person was rotating the chair while I held the Kinect. I first hold the Kinect in front, then from a higher point of view, and then from the bottom. This was to cover all the dead points in the scan.
Once the scan was finished it was quite straightforward. I used the settings to move the scanning into the z-axis in such a way that the base would be flat. I also then used the "watertight" feature setting it to medium and the "fill holes" feature. I saved it as an OBJ and realized it was really big the file so I went to Blender and simplified the shape so I could upload it to the repository. You can see an example of this process with my own scan in the screenshots.
→ 3D scanning files here
I continued to explore the 3D printer throughout the course...
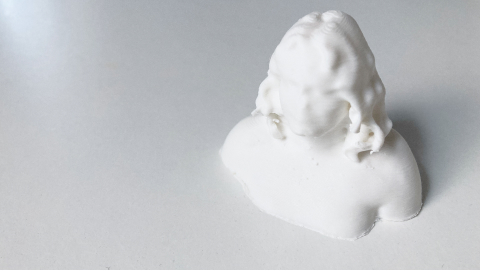
Mini me
I thought this project was really nice so I asked my colleague to do my 3D scan and printed myself (you can see in the above screenshots that process as well). I followed exactly the same steps as mentioned above when scanning with the kinect and printing with the Ender 3 Pro.
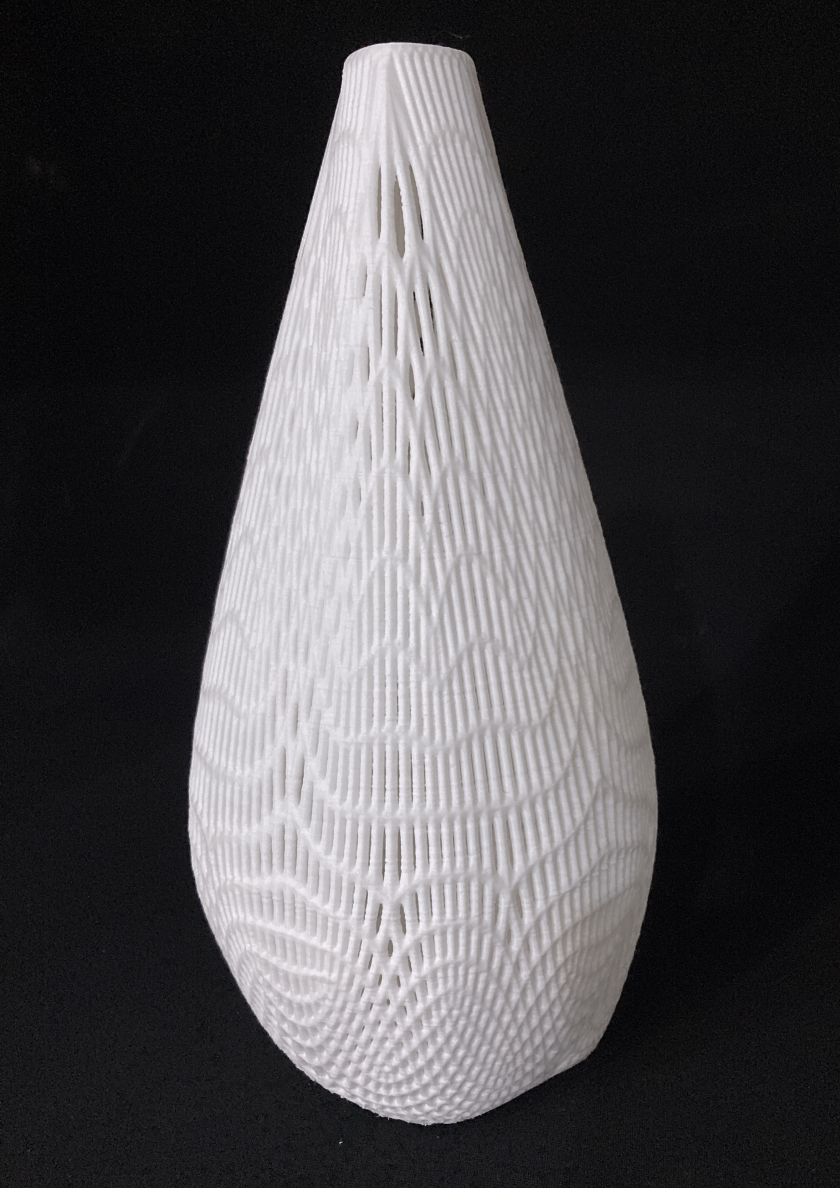
Vase
I wanted to do something more organic, so I search for some tutorials for blender geometry nodes that I could play with. I discover this one and started to change the shapes and parameters to get this vase.
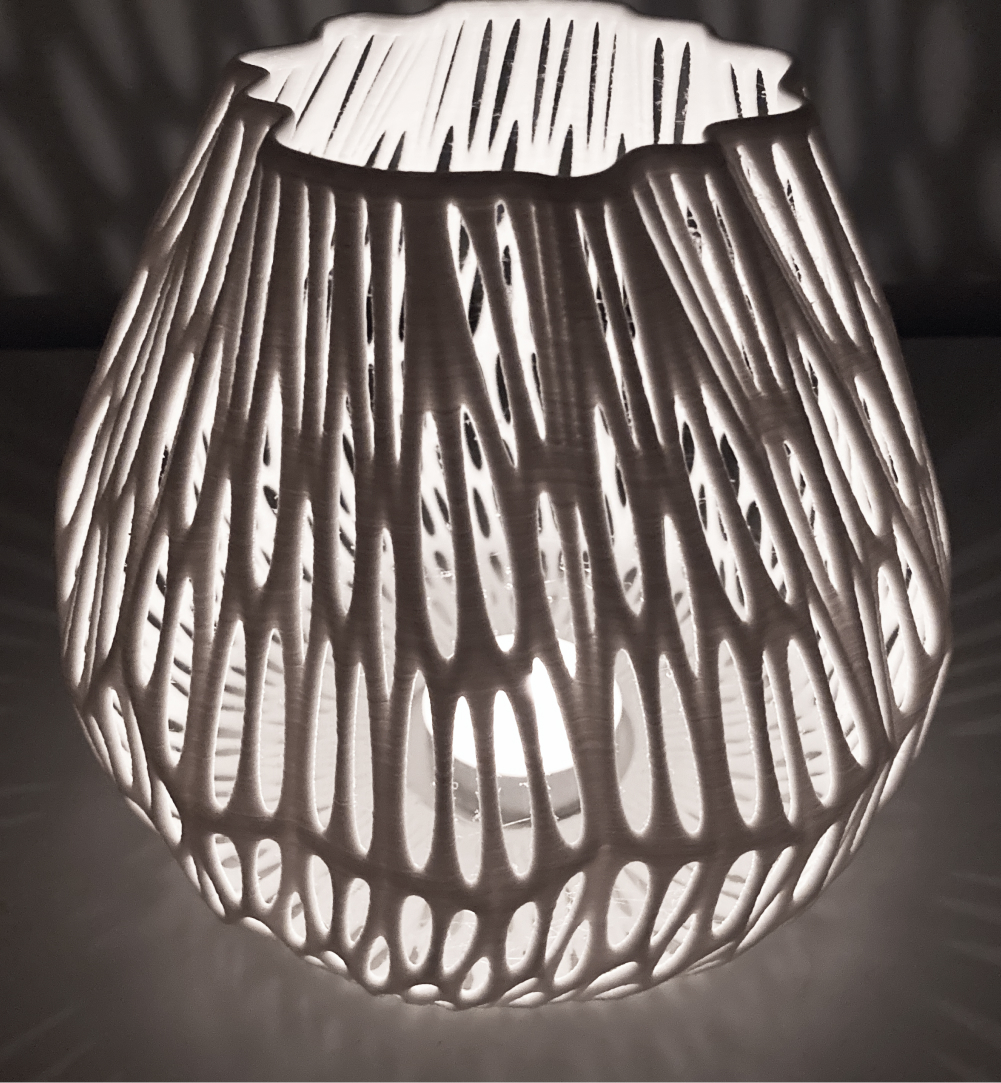
Lamp
Then I continued to explore the same tutorial more and decided to do a lamp, that ended up being a candle lamp.
Reflection
The main thing I learned this week was that working with 3D printing and scanning requires a lot of patience. There is a whole process of preparing files and setting up things right.
Another thing I learned this week is that my object it is a very gentle object and when I printed it with PLA it was really hard to remove the support, but with resin (which is a better material for such sensible structures like mine that require a lot of support) worked fine because the supports were really easy to take off, so it is important always to consider for a specific object what material and process can work better.
Regarding the 3D scanning, I honestly thought it was going to be super smooth, but it wasn't! I realized that using photos to scan a real-world object might take a lot of photos if we want a decent scan! Also the more perspectives we have the better.
I also wanted to test the Kinect and it was really frustrating at first because it wasn't working, but it was actually something super simple - the power socket was damaged! Once it was operating it was super simple and intuitive to do it.
Final project and 3D scanning and printing
At the moment I think that the top part of my project can be done with 3D printing.