Susana Passinhas @Fab Academy 2023
01. Project management
What is Git?
Git is a Version Control System, it allows us to have the history of the version of our files. We can have the files in a single server - centralized or distributed (when the files are distributed by servers). Many contributors can be working at the same time on the same project (Git will tell us if there is a conflict with the files). The idea is that we have the same files on the computer as on the system. We can also create branches (duplicate and change the work without conflicting with the master branch). We work locally on our computer and when we are ready we can upload our changes (push) or if we need to update our local files with the server ones we can pull the files.
GitLab
At Fab Academy we use GitLab. GitLab is an open-source repository, it provides free open repositories (what we use) and private ones too. It is focused on providing features for developers (vs GitHub which is more focused on infrastructure performance).
Setting up a Git repository and adding files
At Fab Academy, we have already been given a developer account and in there e have already our repository of files (our website's basic structure was already there). What we needed to do for this assignment, besides understanding how Git works, was to clone it to our computer and establish the connection so that we can work locally and update the files online whenever we have them updated.
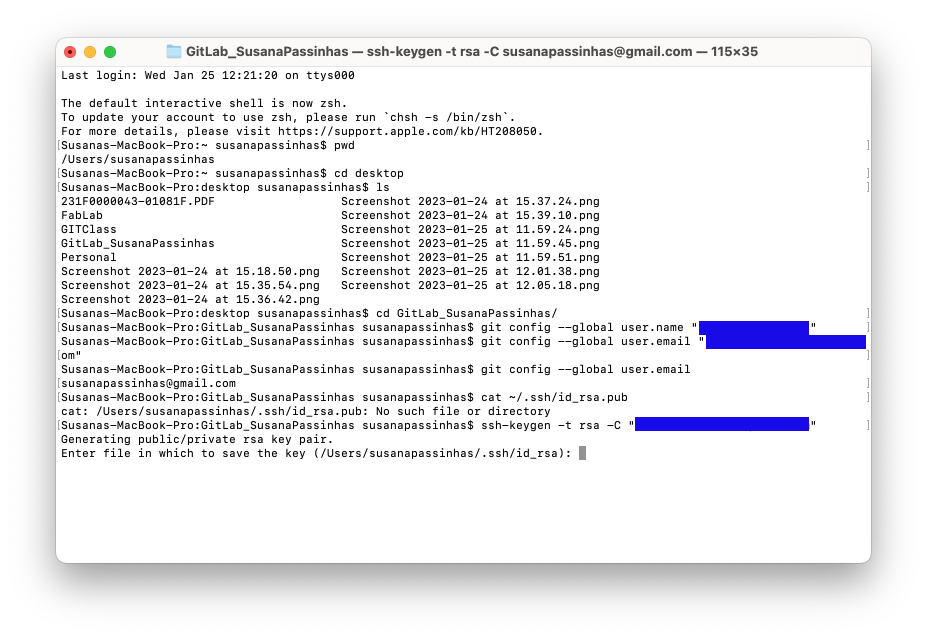
Before I went to GitLab and clone the repository to my computer, I needed to check if I had Git installed so I opened the terminal and I checked it by using the command "git version" (I had already installed it before).
Then I needed to configurate my Git account in my computer and I used the commands "user.name" and "user.email" to do that.
|
|
Once my account was configured on my computer I needed to allow Git to connect to my computer and for that, I needed to generate an SSH Key. I first checked if I had a key already (I didn't) so I generated a new key. Once generated I copy/pasted the key to my Git profile (so that Git knows what computer has permission to communicate with this repository).
|
|
|
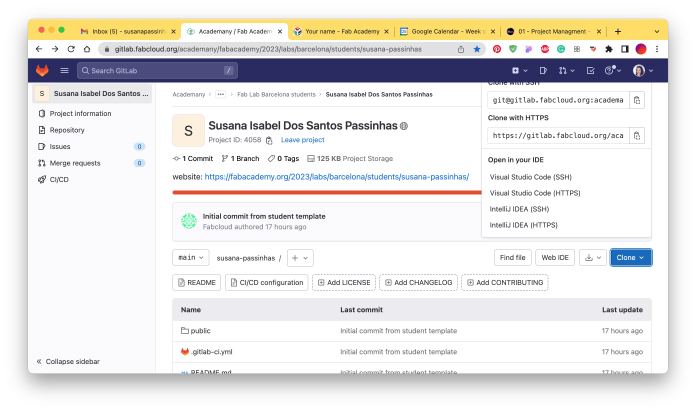
Then I cloned the repository from GitLab to my computer by first copy the SSH key from Gitlab and then going into the terminal in my computer and using the command "git clone" to clone it. I choose to clone it my desktop by using first the command "pwd" to check where it was and then the command "cd" to make sure it was clonned to the desktop.
|
|---|
|
|---|
|
|---|
Once I was all set up locally it was time to work on my personal website. I decided to work with the HMTL given to us and change its style. I used Brackets (an open-source text editor).
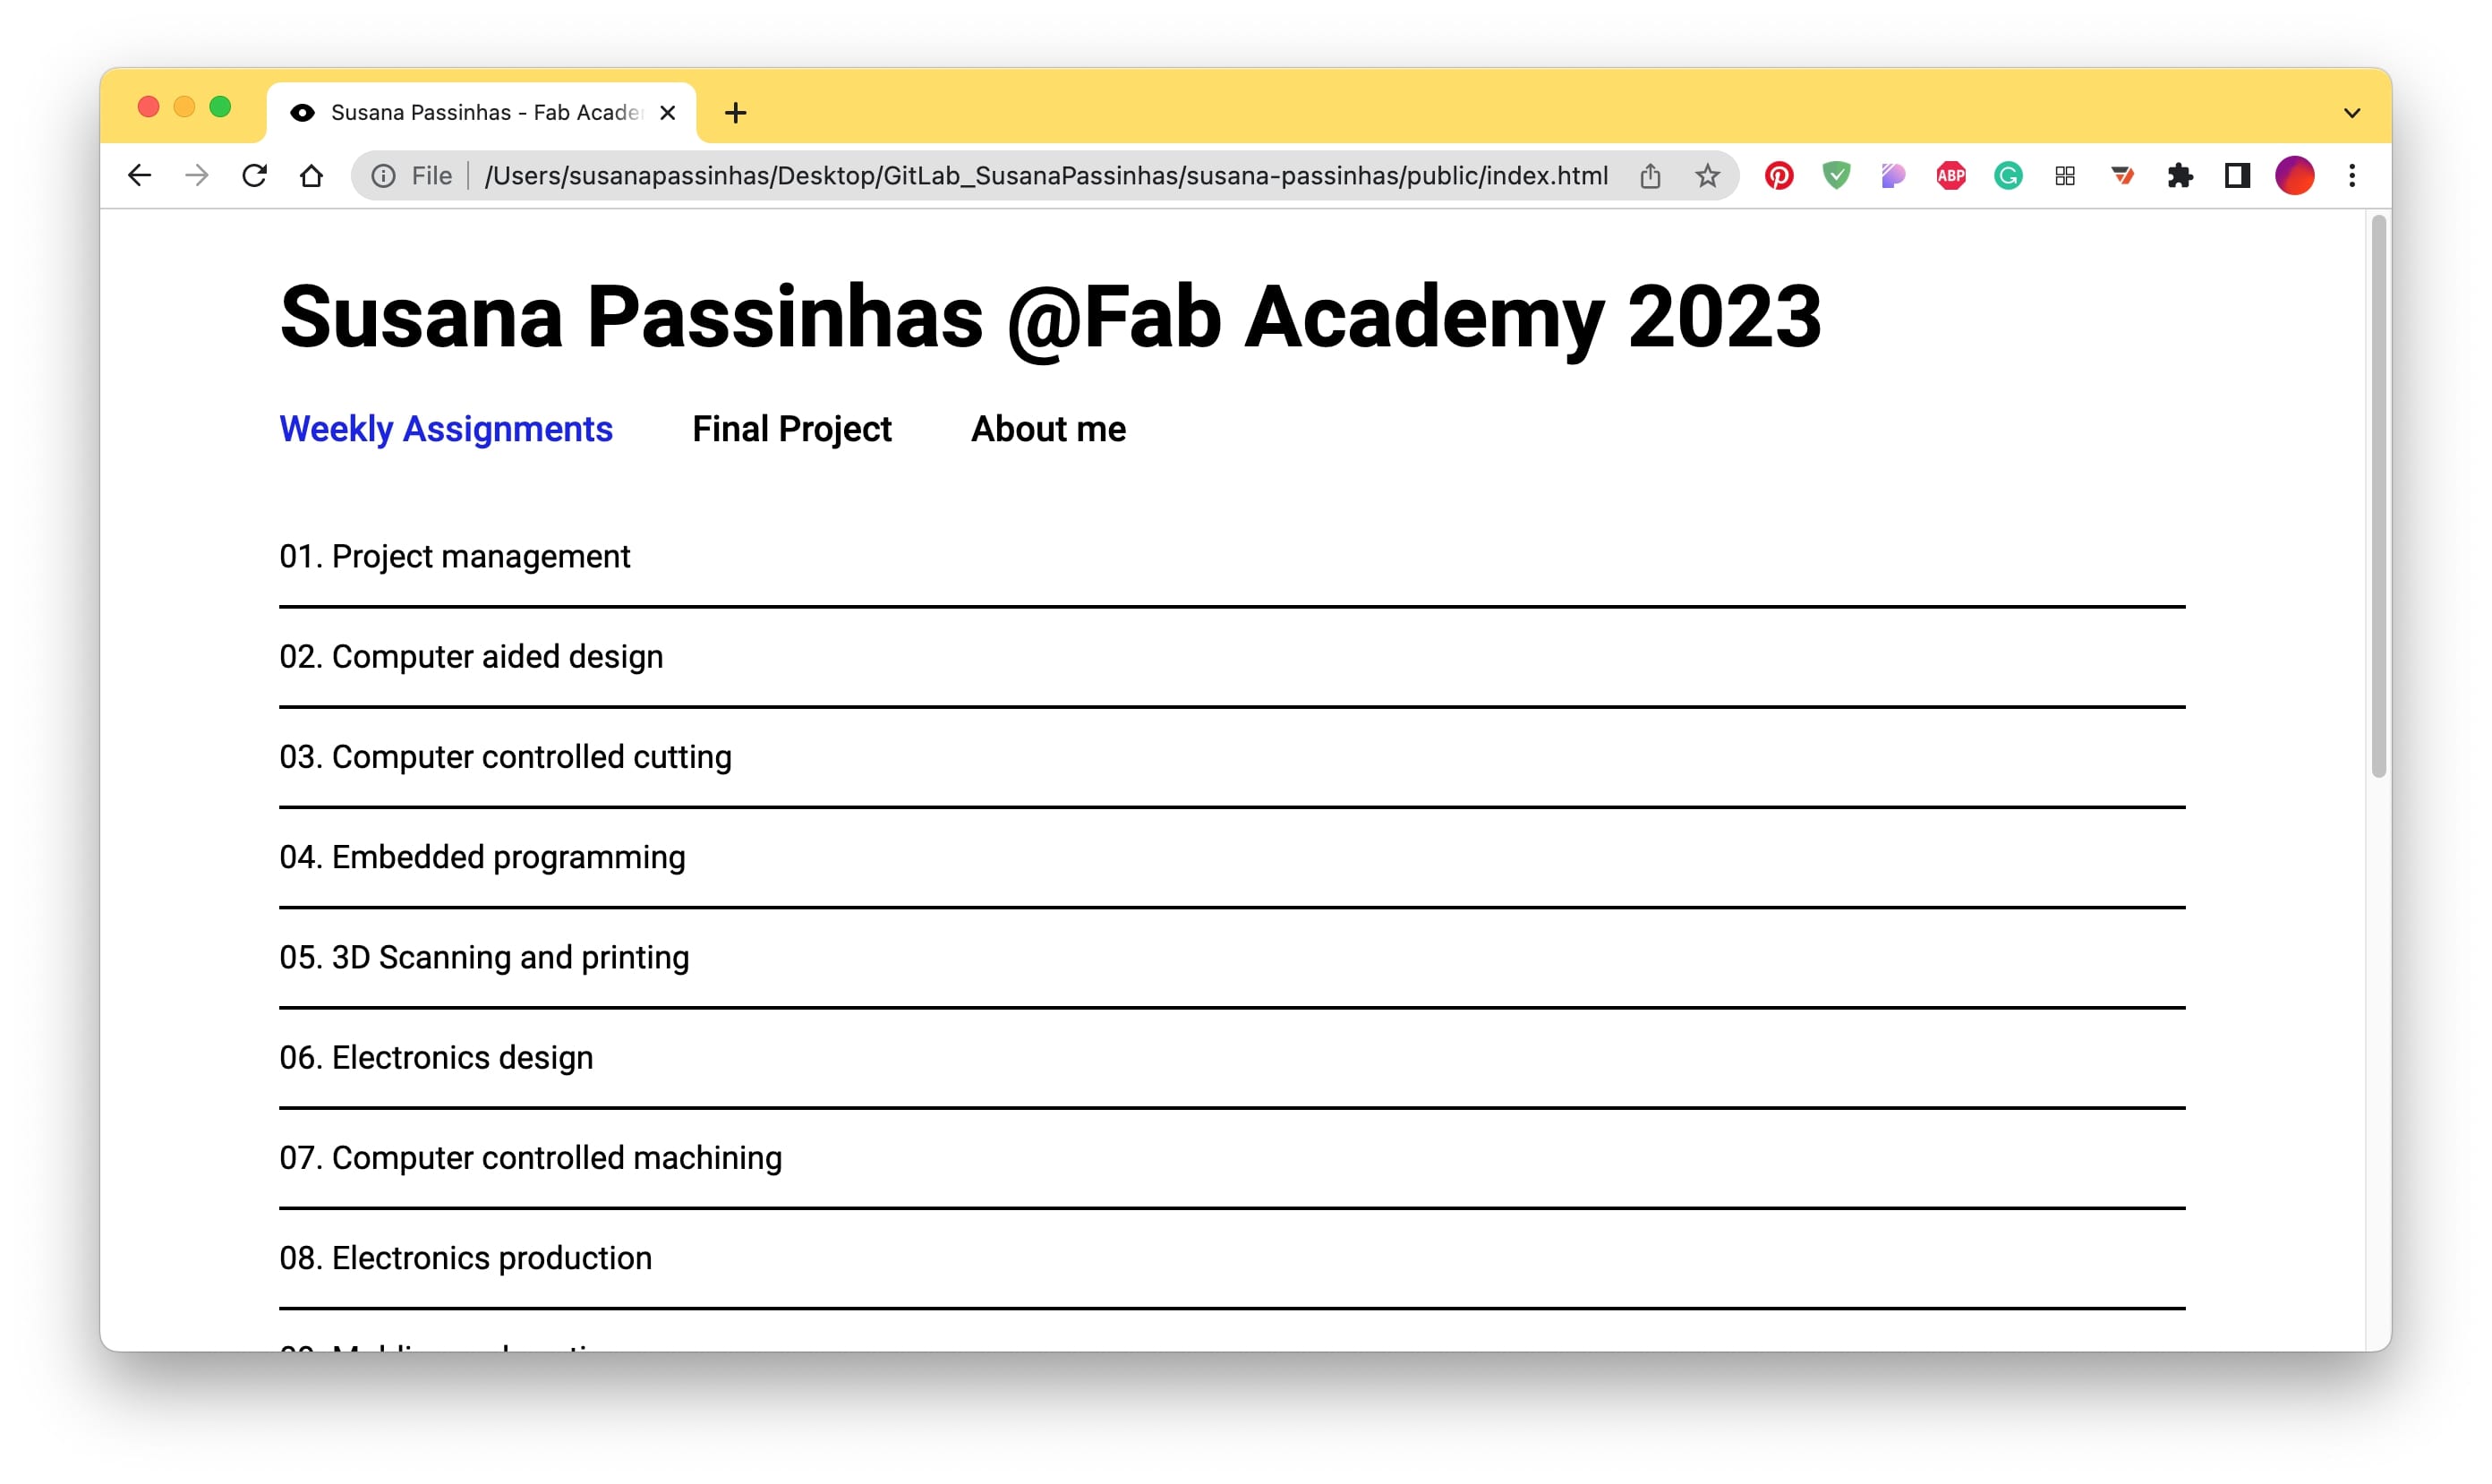
I used the same structure we had in the repository. So I have the index page with a list of our weeks, an about page and a final project page (I also kept the error page). I worked first in the CSS.
I started by changing the font first. I went to google fonts and got the html + css code for the Roboto typeface. Then I went ahead and updated the sizes of the font for the H1, H2, H3, paragraphs and created a new style "legend" (for smaller font sizes). These simple changes already made a lot of difference in the website.
The other only changes I made were to use blue color for links and added "hr" to create divisions and structure into organizing content and added margins that give a spacious look and feel. I also added 2 columns to the interior pages so I can better explain my process by viewing images and descriptions side-by-side.
For internal structure, I created a folder for images, another for exercises, and other for videos, and inside of them I have numbered folders for all the weeks. This is a simple structure and easy for me to remember and update links during the entire academy.
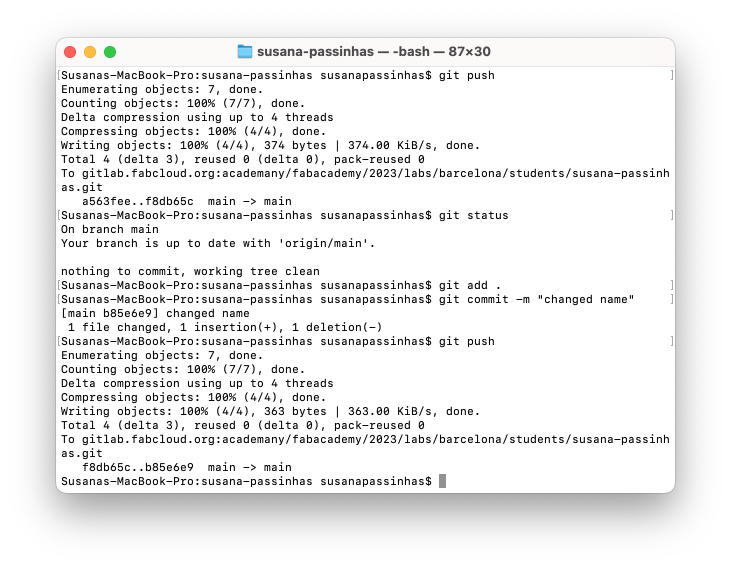
Once I did significant changes I uploaded it to Git, to do that I used the Git command "git status" to check the changes I have done.
Then I used "git add . " to add all the changed files to the Git repository (the "." means I am uploading all the files because the site is small I am doing this on purpose now, to add only one I would do "git add file name"), then I used "git commit -m" to commit those changes with a message explaining what I did and finally I push it to production by using "git push". This means my changes were deployed/online.
|
|
|
|
|
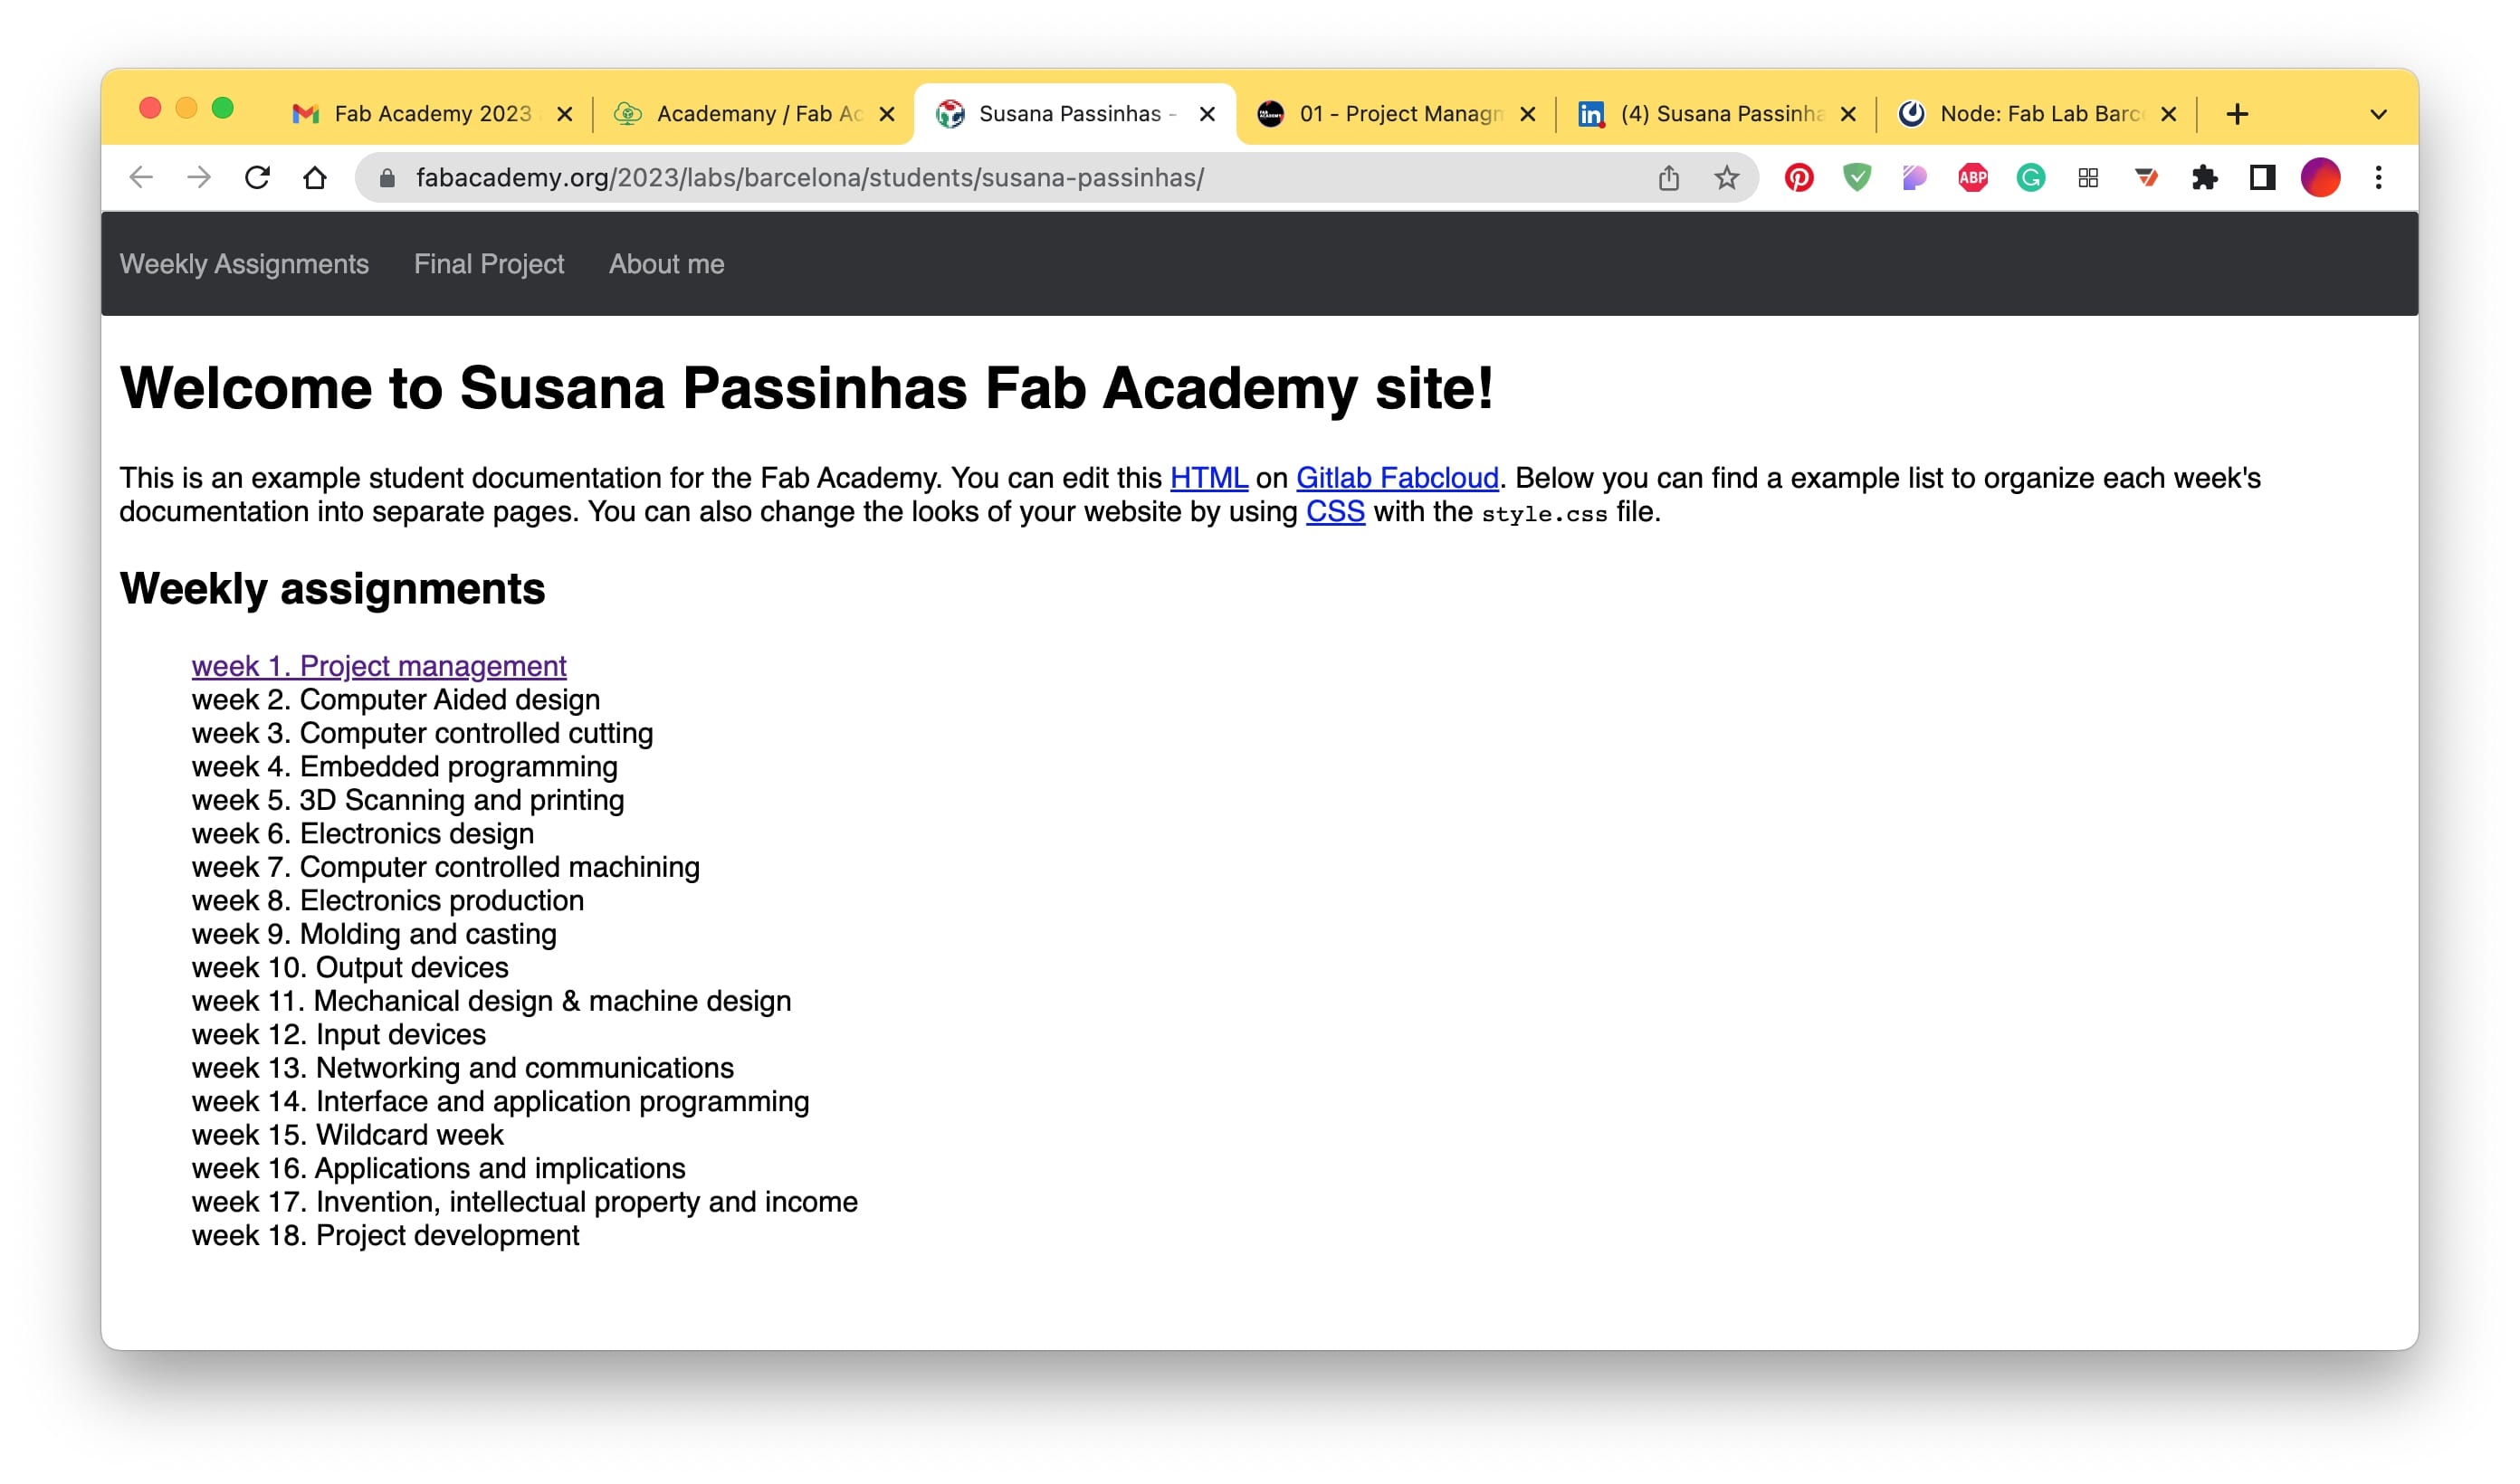
And this is the final result!
Final Project
I am documenting all the iterations I am doing in my final project page.
→ Final project here
Reflection
I have been working with developers for many years and I never quite understood what was Git and what they refer to when talking about branches and commits and so on. I had a vague idea, but now I know clearly what is Git, what is used for, and how to use it.
A little bit of the same feeling for HTML, I have been using it and adapting code from others, but there were a few things I didn't really know (basic structure foundation). I feel that I gained a very clear understanding of the basics and I set up my GIT repository and developed my website in HTML and CSS in 2 days!