16. Wildcard week
This week at FabLab Barcelona we have been taught several additional manufacturing methods to those seen in previous weeks. Thus, our instructors taught us the possibilities of: soft robotics, 3d printing with ceramics, light painting, digital embroidery, screen printing, welding, plastic recycling, lamination with composite materials.
In the following, I will comment only some of the techniques used this week, since not all of them I did the complete cycle. This is, for example, that for the lamination of composite materials I did not design any mold, or in the welding, we simply throw a small welding bead.
Digital embroidery and screen printing
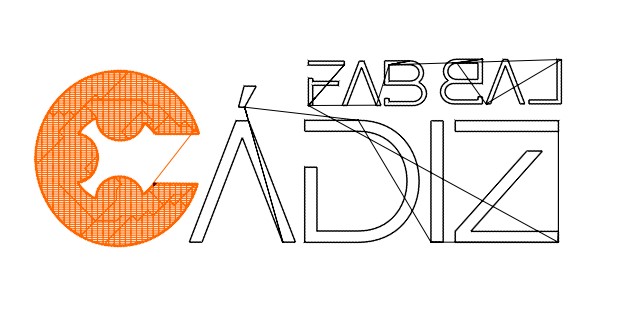
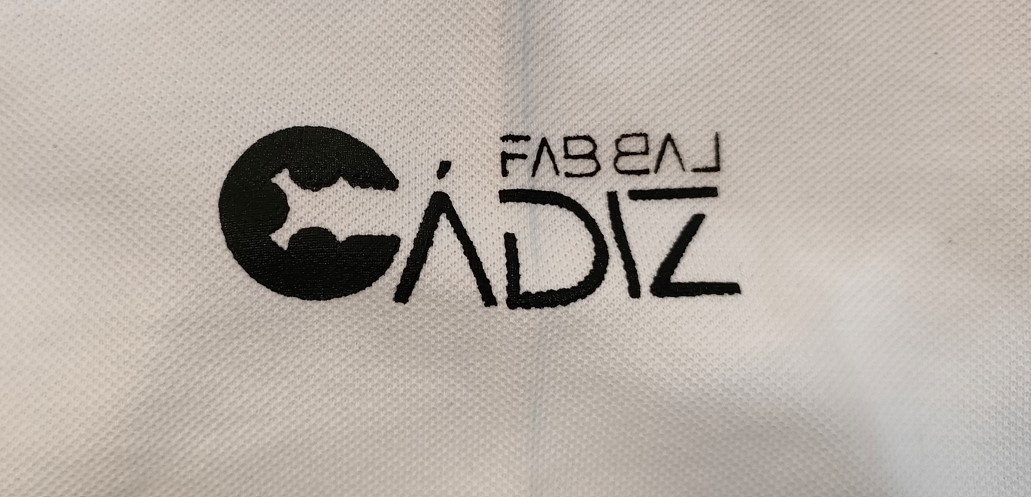
For the digital embroidery I wanted to make a test of the FAbLab logo I've been working on (FabLab Cadiz). It's not our definitive logo, but rather a rough idea of the line we want it to follow, but I wanted to test it and see how it looked.

I used an inkscape extension called Ink/Stitch. In this program we can define as many colours as we want and different embroidery patterns and parameters. We can also simulate what the result will look like.
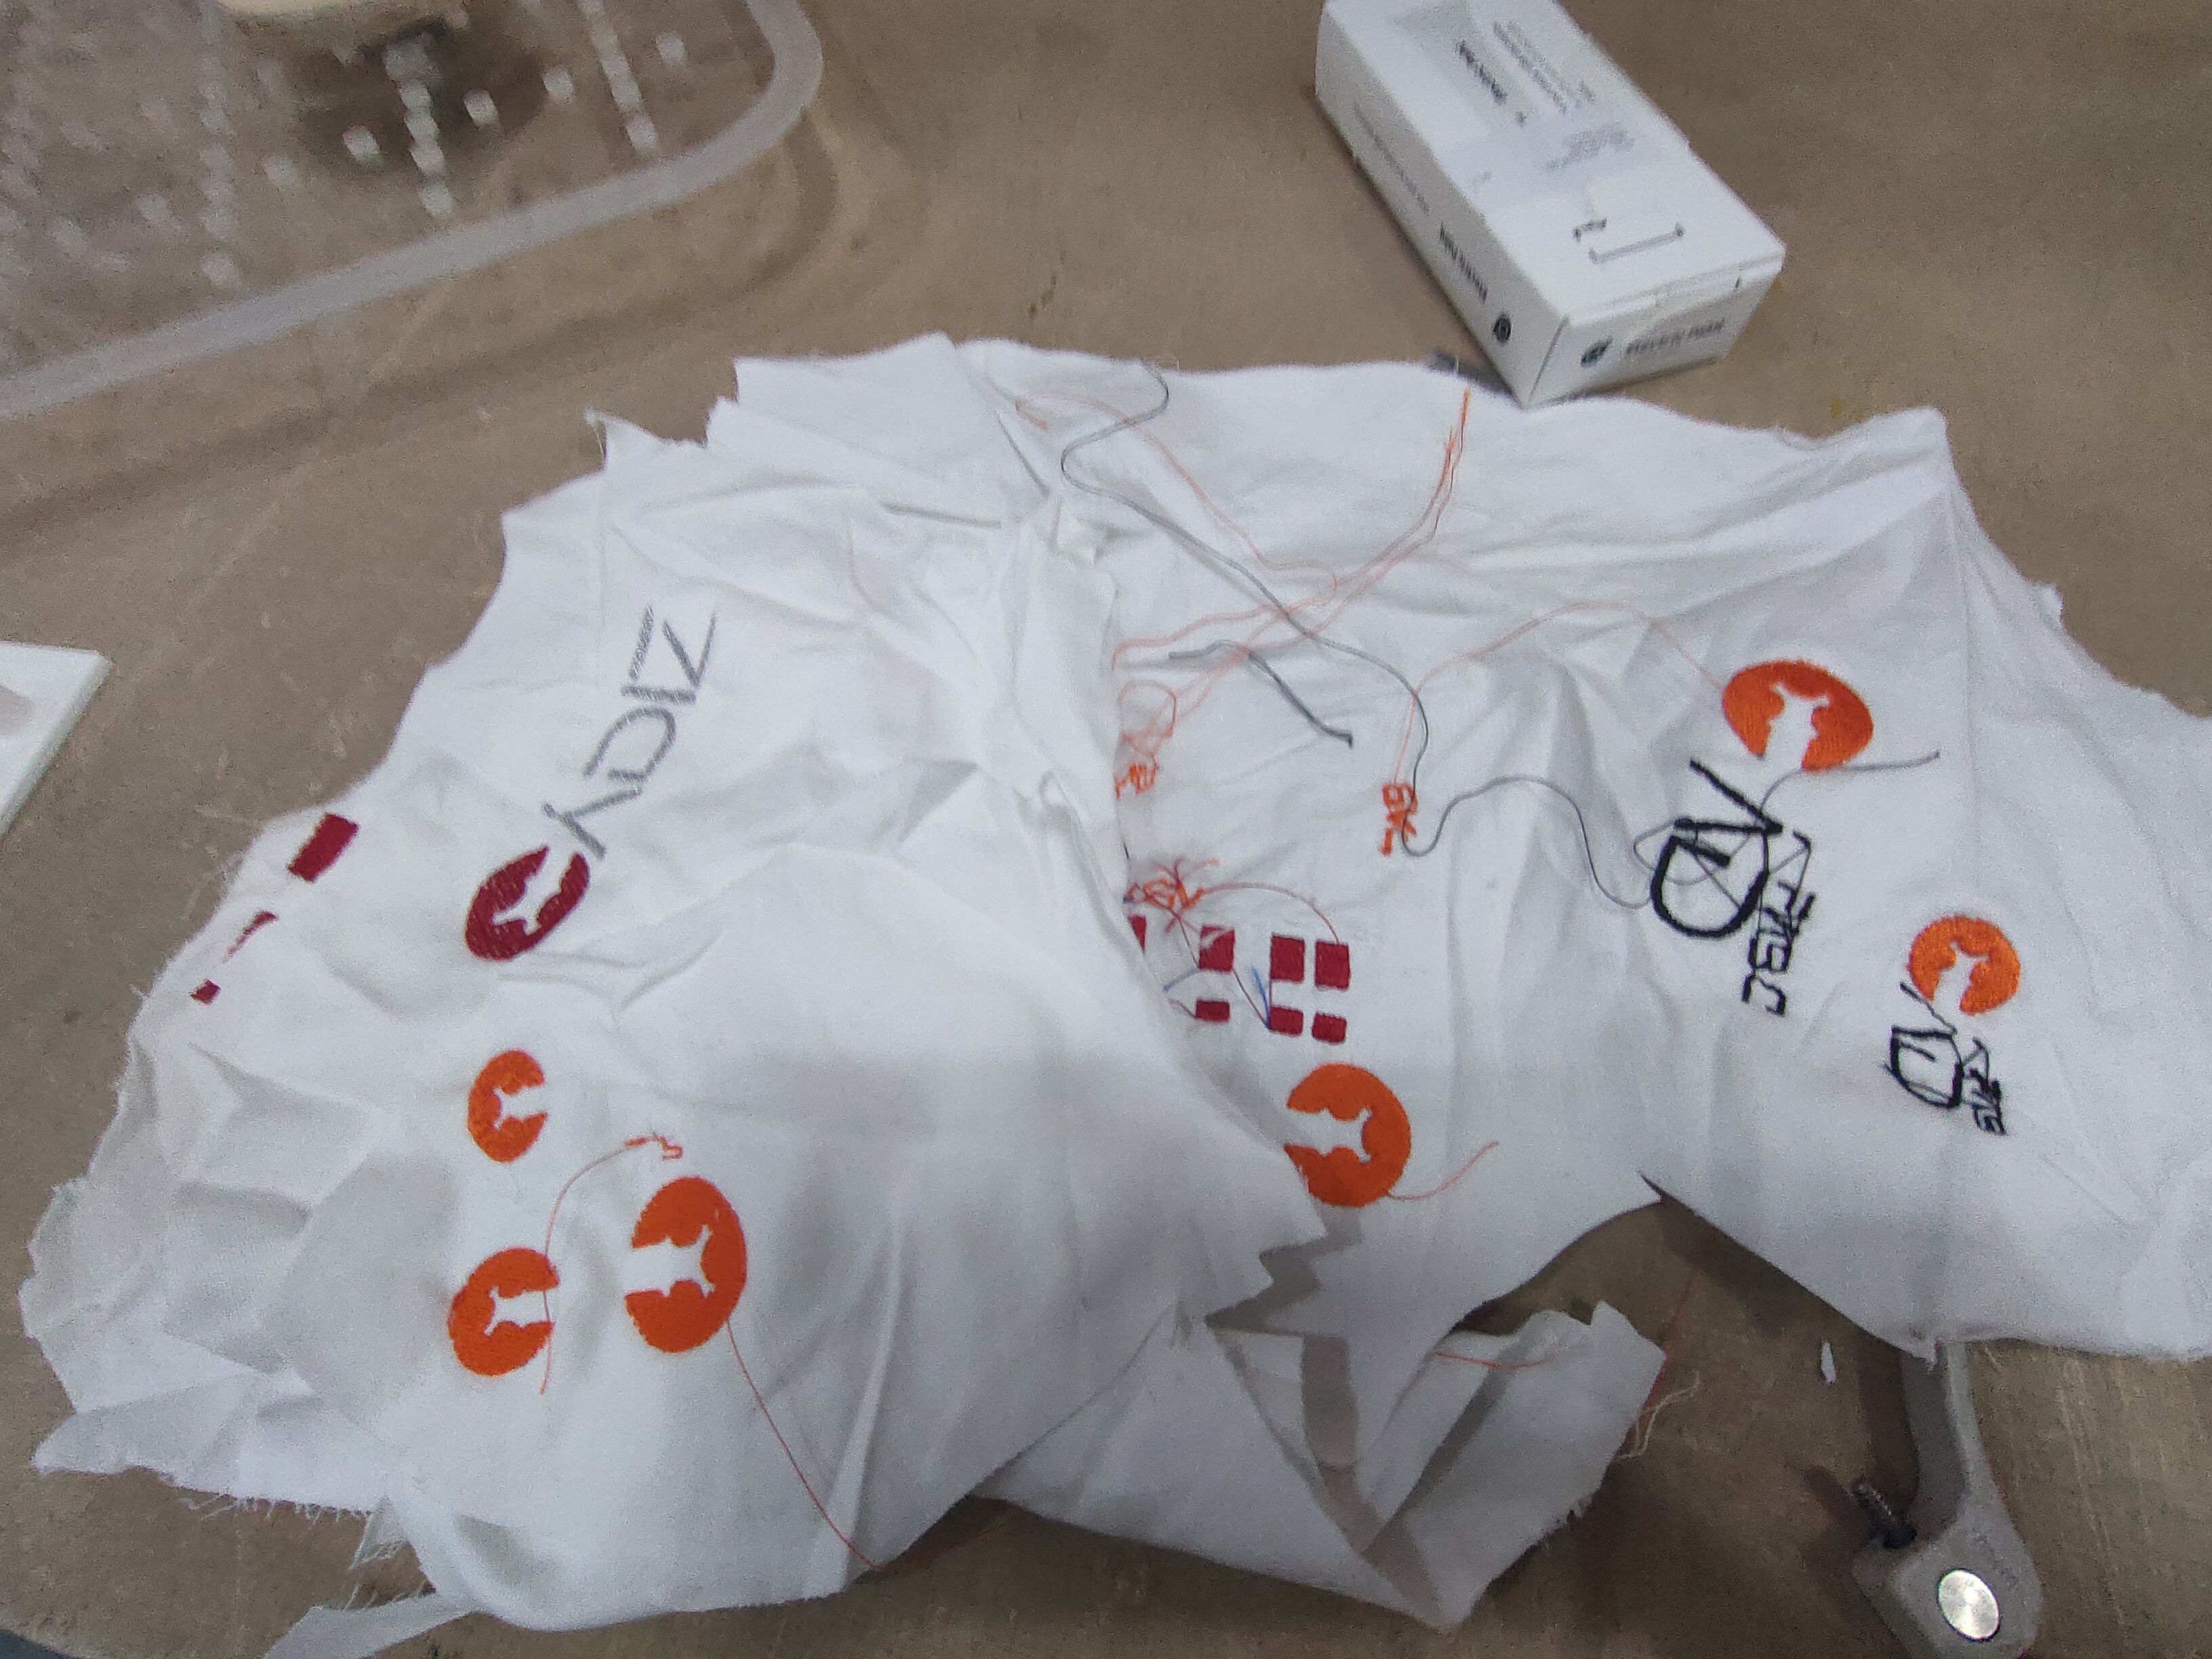
In my case, and after several tests (as you can see in the image) the parameters used are defined in the following table:
| Tests | Final test 1 | Final test 2 |
|---|---|---|
| Fill method | Auto fill | Contour fill |
| Angle of line of stiches | 0 deg | - (round) |
| Maximun fill stitch length | 3 mm | 3 mm |
| Spacing between rows | 0.25 mm | 0.25 mm |
| Stagger rows this many times before repeating | 4 | - |
The machine used is Model MB-4, which is a version that allows the use of up to 4 different threads. However, it is always possible to use more threads by making the appropriate changes without losing the origin of coordinates.
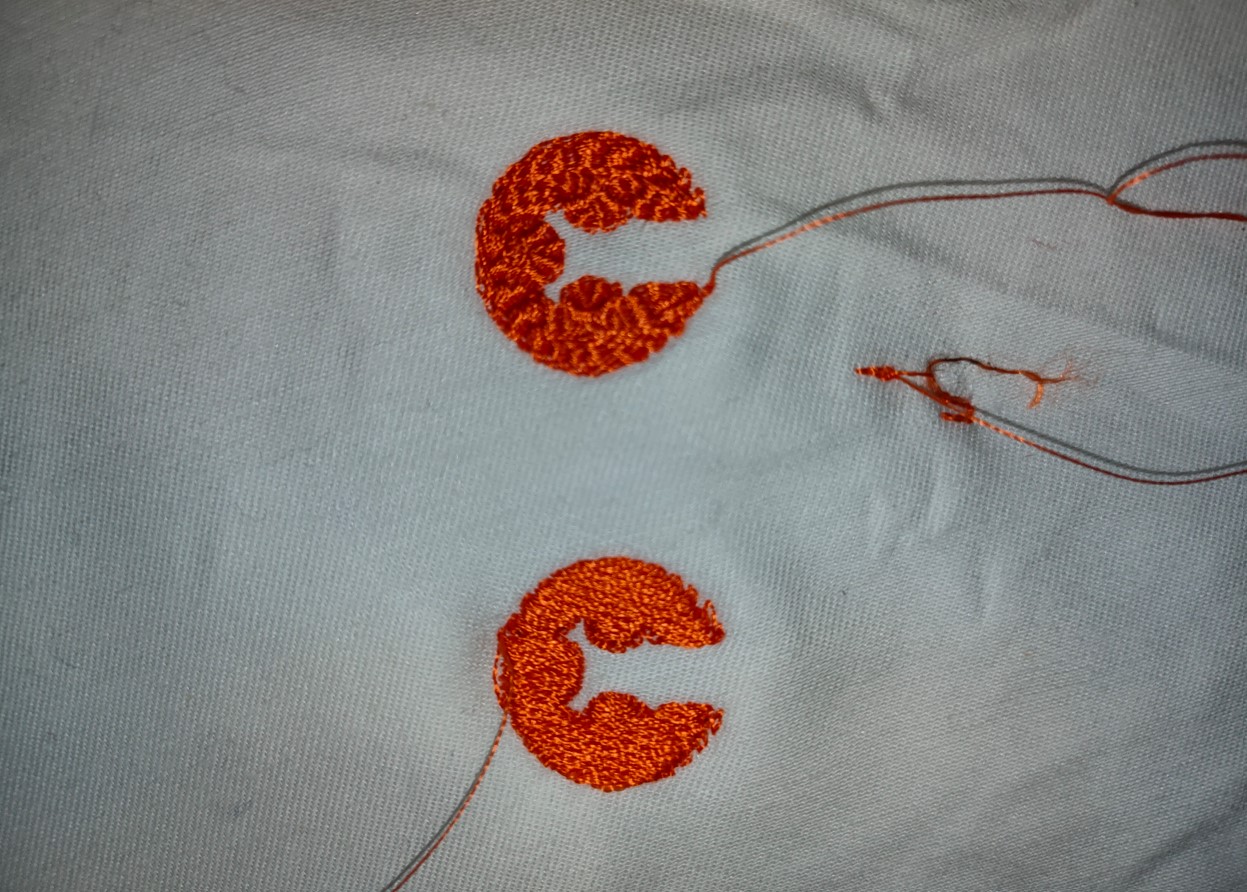
In the case of my logo, only two colours are necessary, although they were not exactly the corporate colours used in the actual logo.
On the other hand, you have to take into account the thread load in the lower head. This will be the thread that remains inside the embroidered garment, reinforcing it. It is also advisable to include a special paper between the garment and this layer.
Once the looper thread is in place, the threads required for the embroidery are threaded.
We load the file, place the head where we want the embroidery and assign a bobbin number of the machine to each colour in the file.
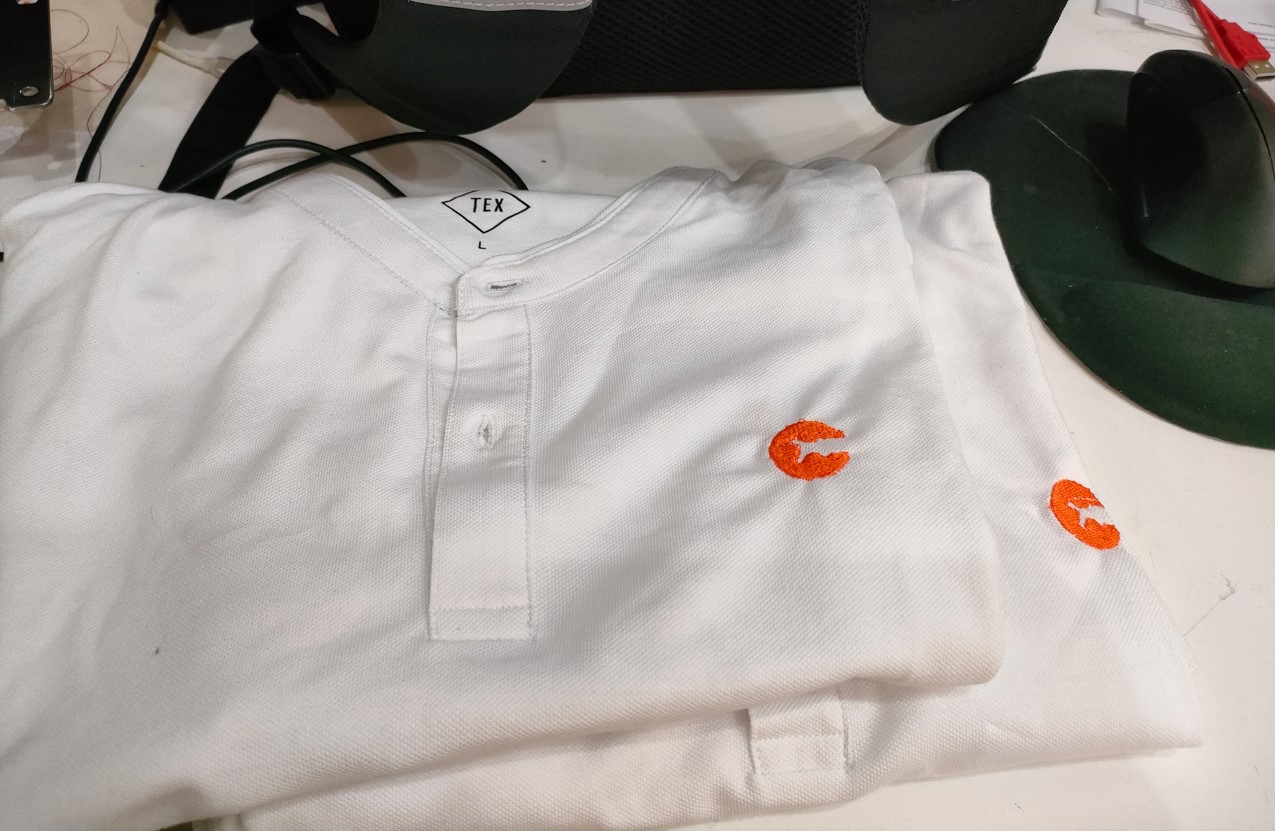
After several tests, it was concluded that some of the letters were too thin (the area covered only one thread), so it looked quite ugly. I didn't want to enlarge the logo, so I decided to leave only the isotype and make the whole logo on the sleeve screen-printed.
For this, I used the plotter and the Silhoutte program as I did in the CNC week. The difference was the material (sticker) and that I had to mirror the logo.
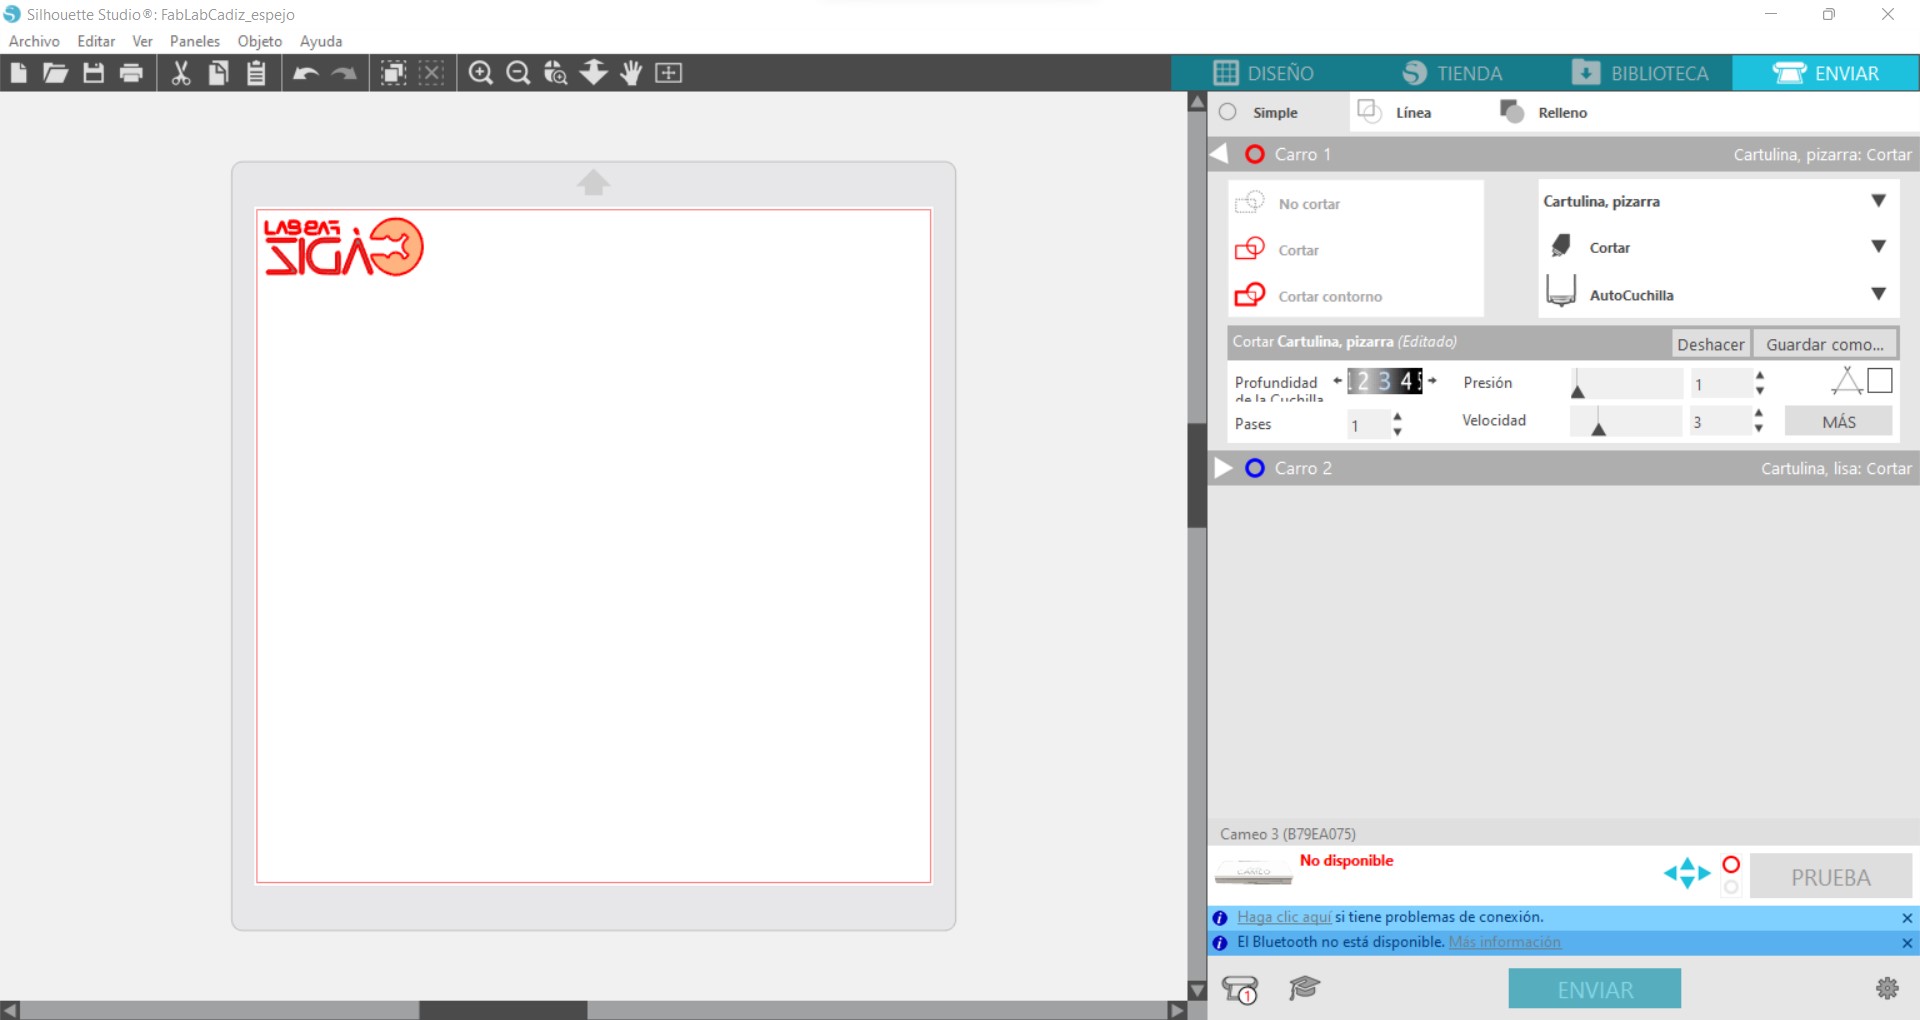
The parameters used for this material are listed in the following table:
| Contour cutting | Autoknife |
|---|---|
| Blade depth | 3 |
| APasses | 1 |
| Pressure | 1 |
| Speed | 3 |
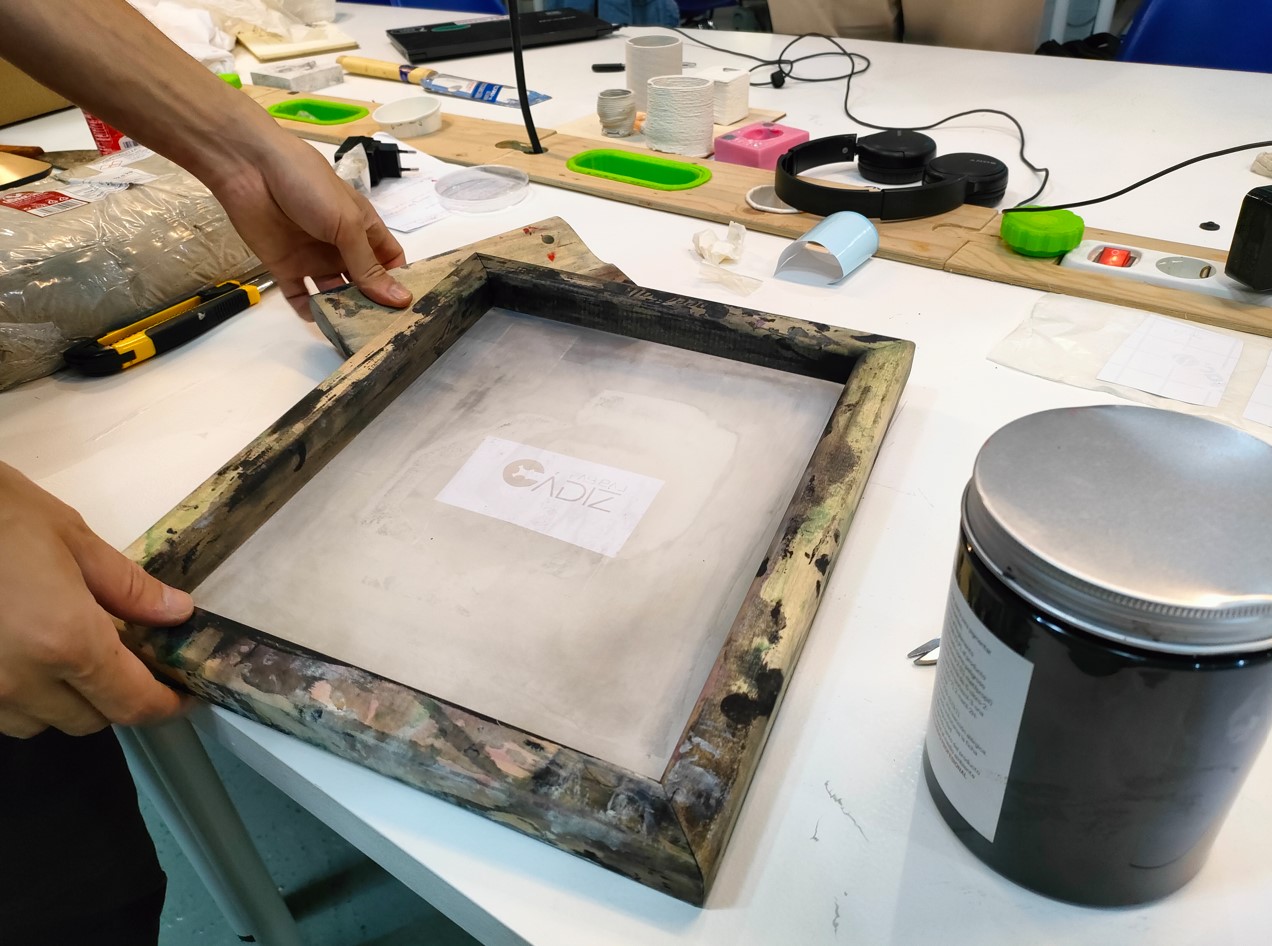
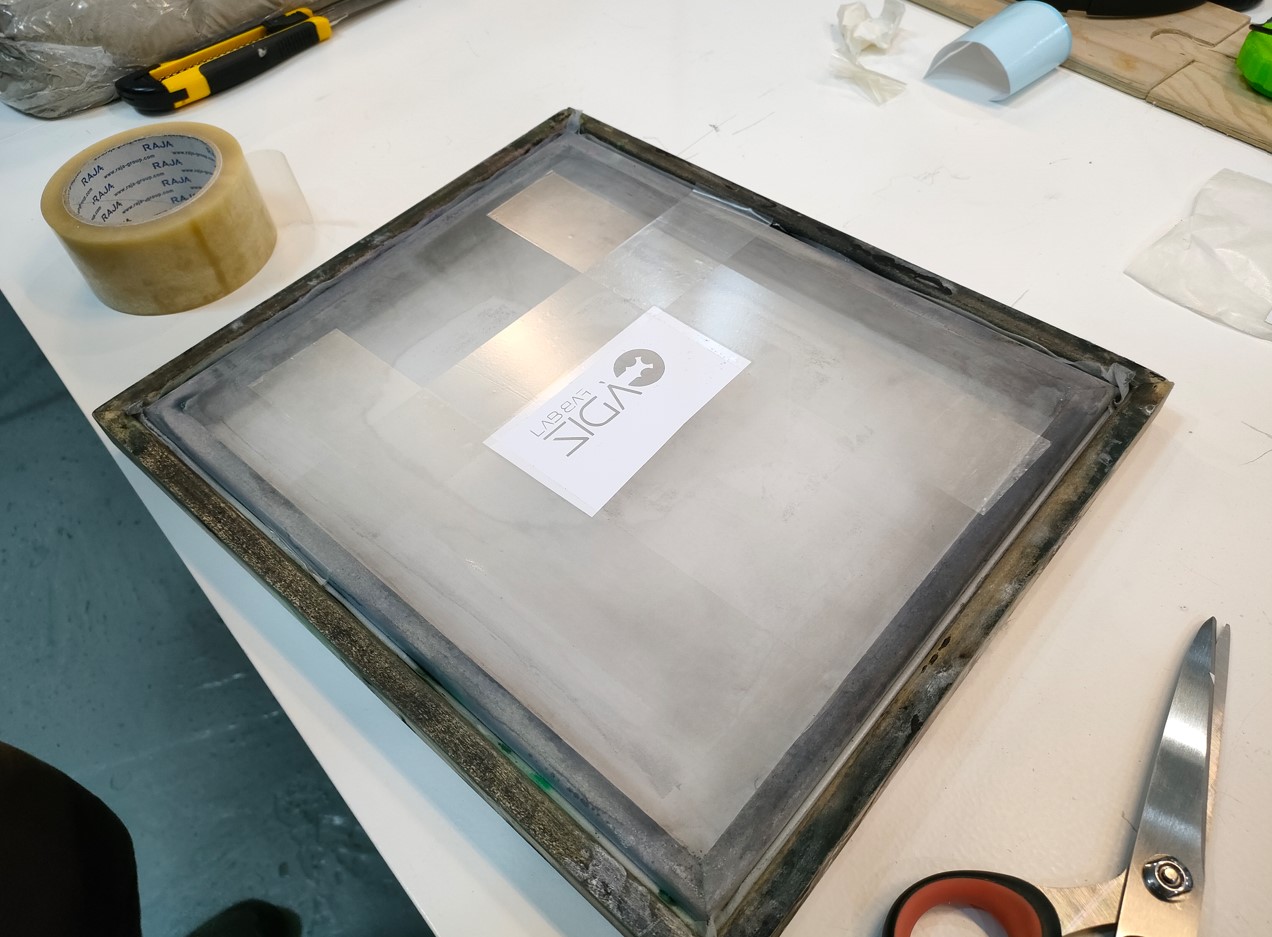
Once the sticker was removed, we stuck it to the outside of our mesh. Afterwards, I had to cover the rest of the mesh with tape to keep the dye out of areas where we didn't want it to go.
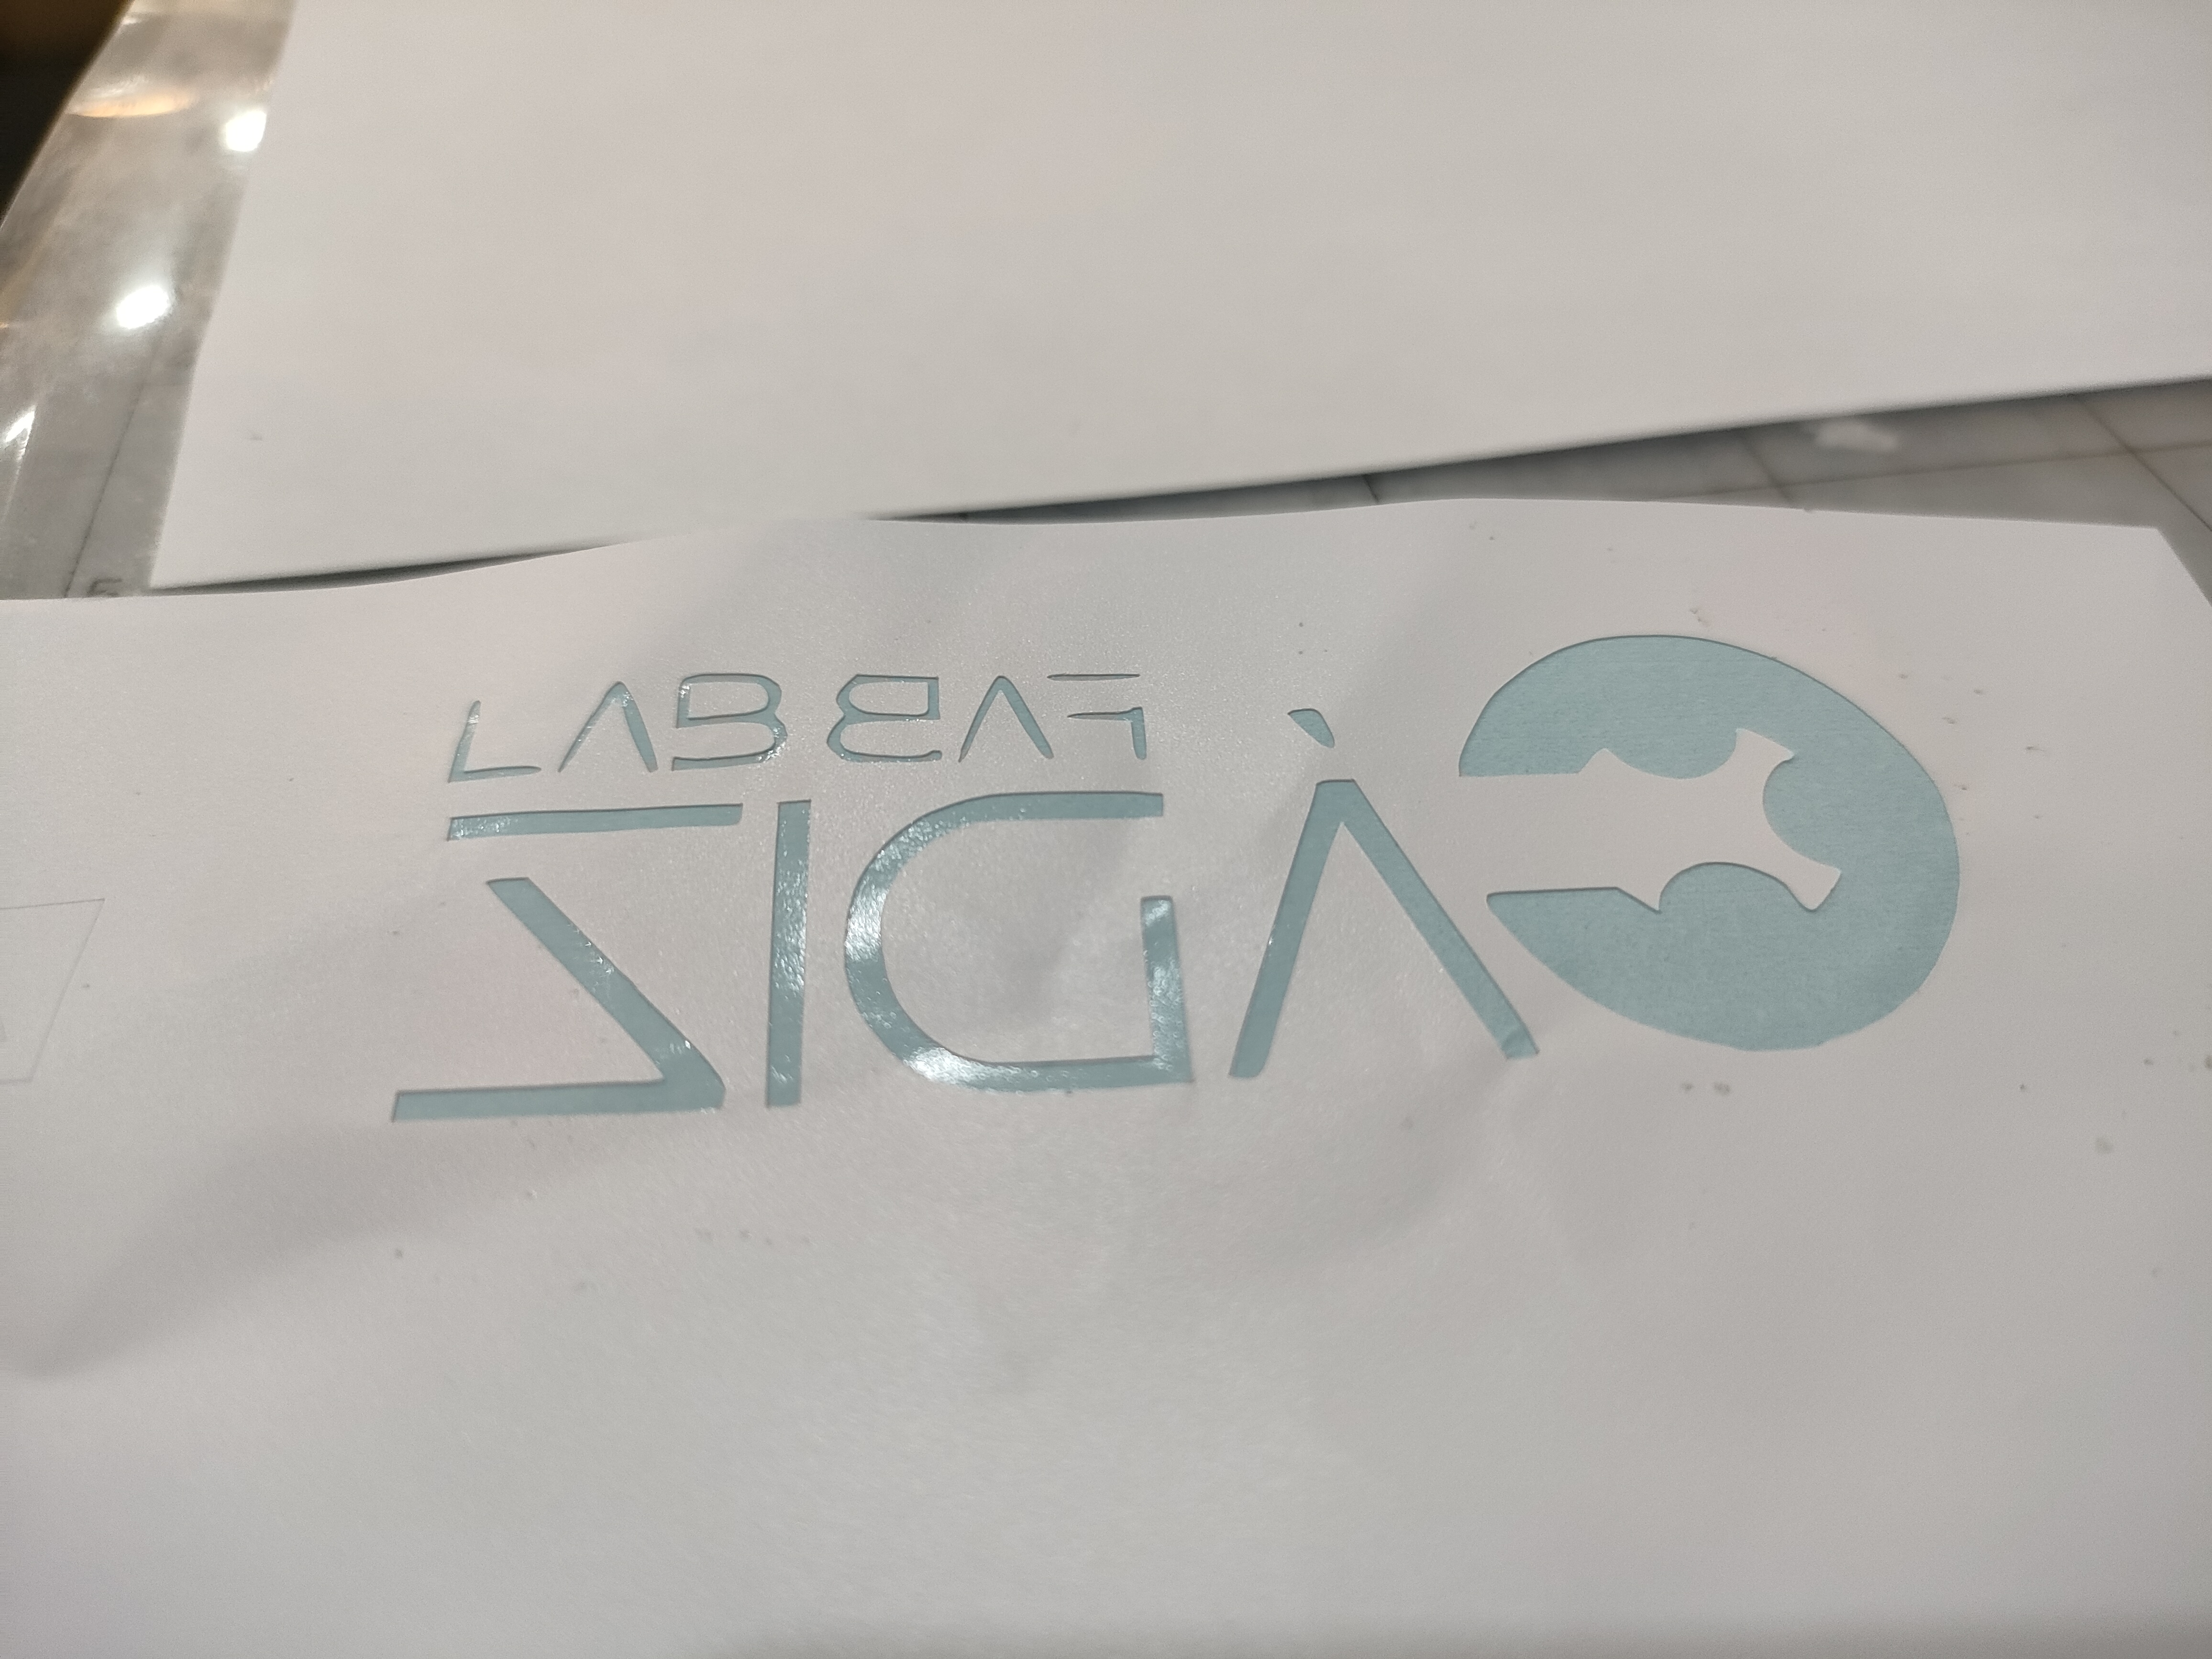
Once this was done, we took some dye with a round-tipped spatula and placed it over the logo, spreading it slightly. Then, we quickly squeeze the mesh over the area of the T-shirt we want and pass the spatula from top to bottom, pressing it against the garment, avoiding movement. It is not recommended to do this action more than twice, to avoid leaking more ink than necessary.
Once finished, remove the mesh and let it dry. In my case, I wanted to use the same mesh and sticker on another T-shirt. When I quickly put the already stained mesh on the next garment, it stained a little bit. In the picture you can see the first and the second t-shirt.

3d printing with ceramics
3D printing with ceramics could not be missing. I made a simple design in Catia (and took some others from thingiverse) to test with this machine.
In reality, it is nothing more than a printer with an ingenious head (EDU´S HEAD LINK) (and an air compressor) that has a worm screw and pushes ceramic mass through a nozzle with a larger diameter than the conventional ones used in 3D printing.
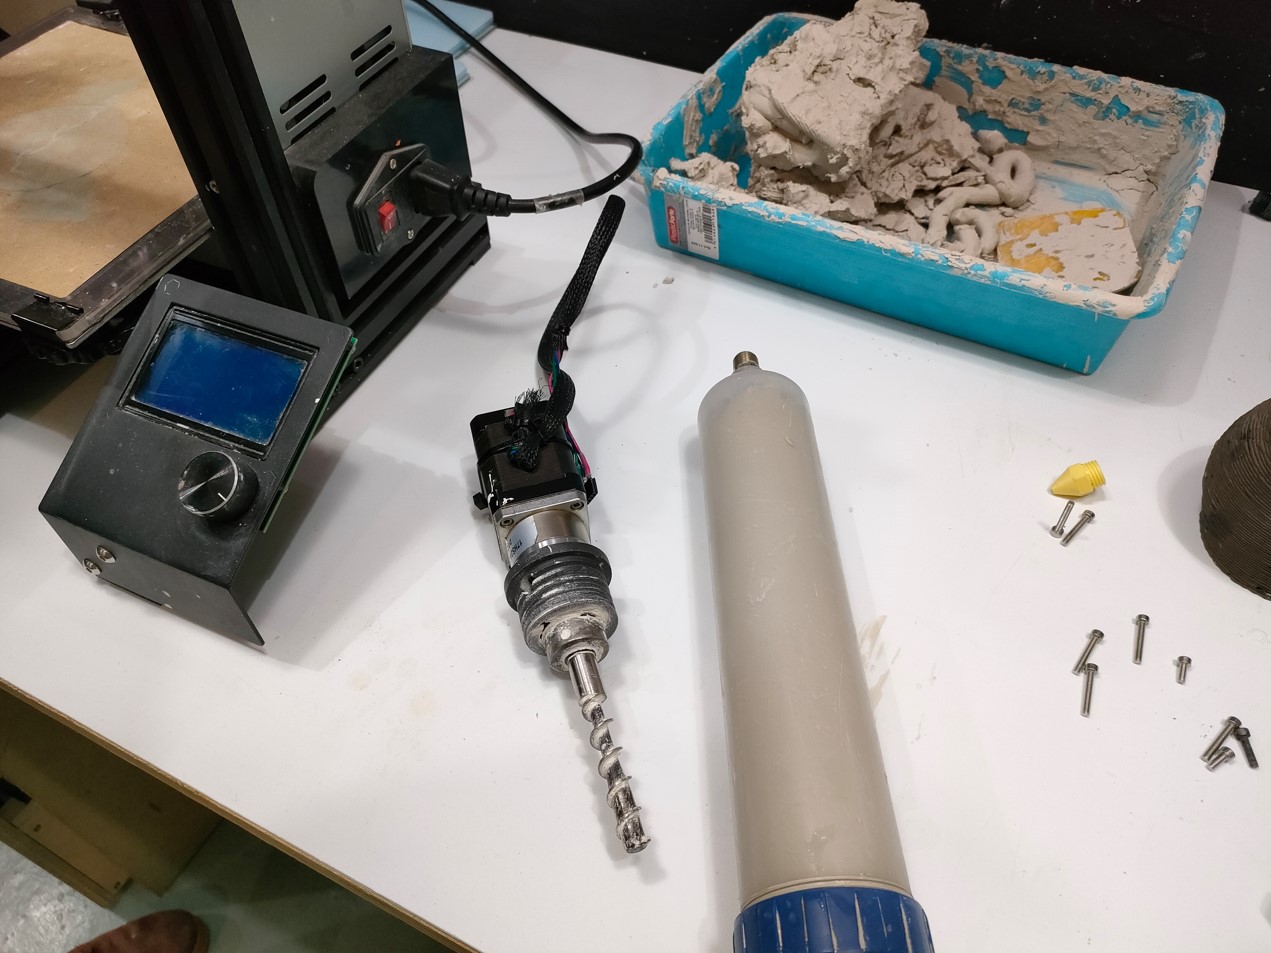
Specifically, the print head is 3 mm in diameter. The lamination of the parts was done with the cura software, where the recommended parameters are implemented using this head with the Pasteprinter profile from fablabBCN in Cura software. Some of the most important parameters used in the 3D printing of these objects are listed in the following table:
| Parameter | Value |
|---|---|
| Layer height | 1.5 mm |
| Wall line count | 1 |
| Top/Bottom thickness | 0.8 mm |
| Infill | 20% grid |
| Speed | 15 mm/s |
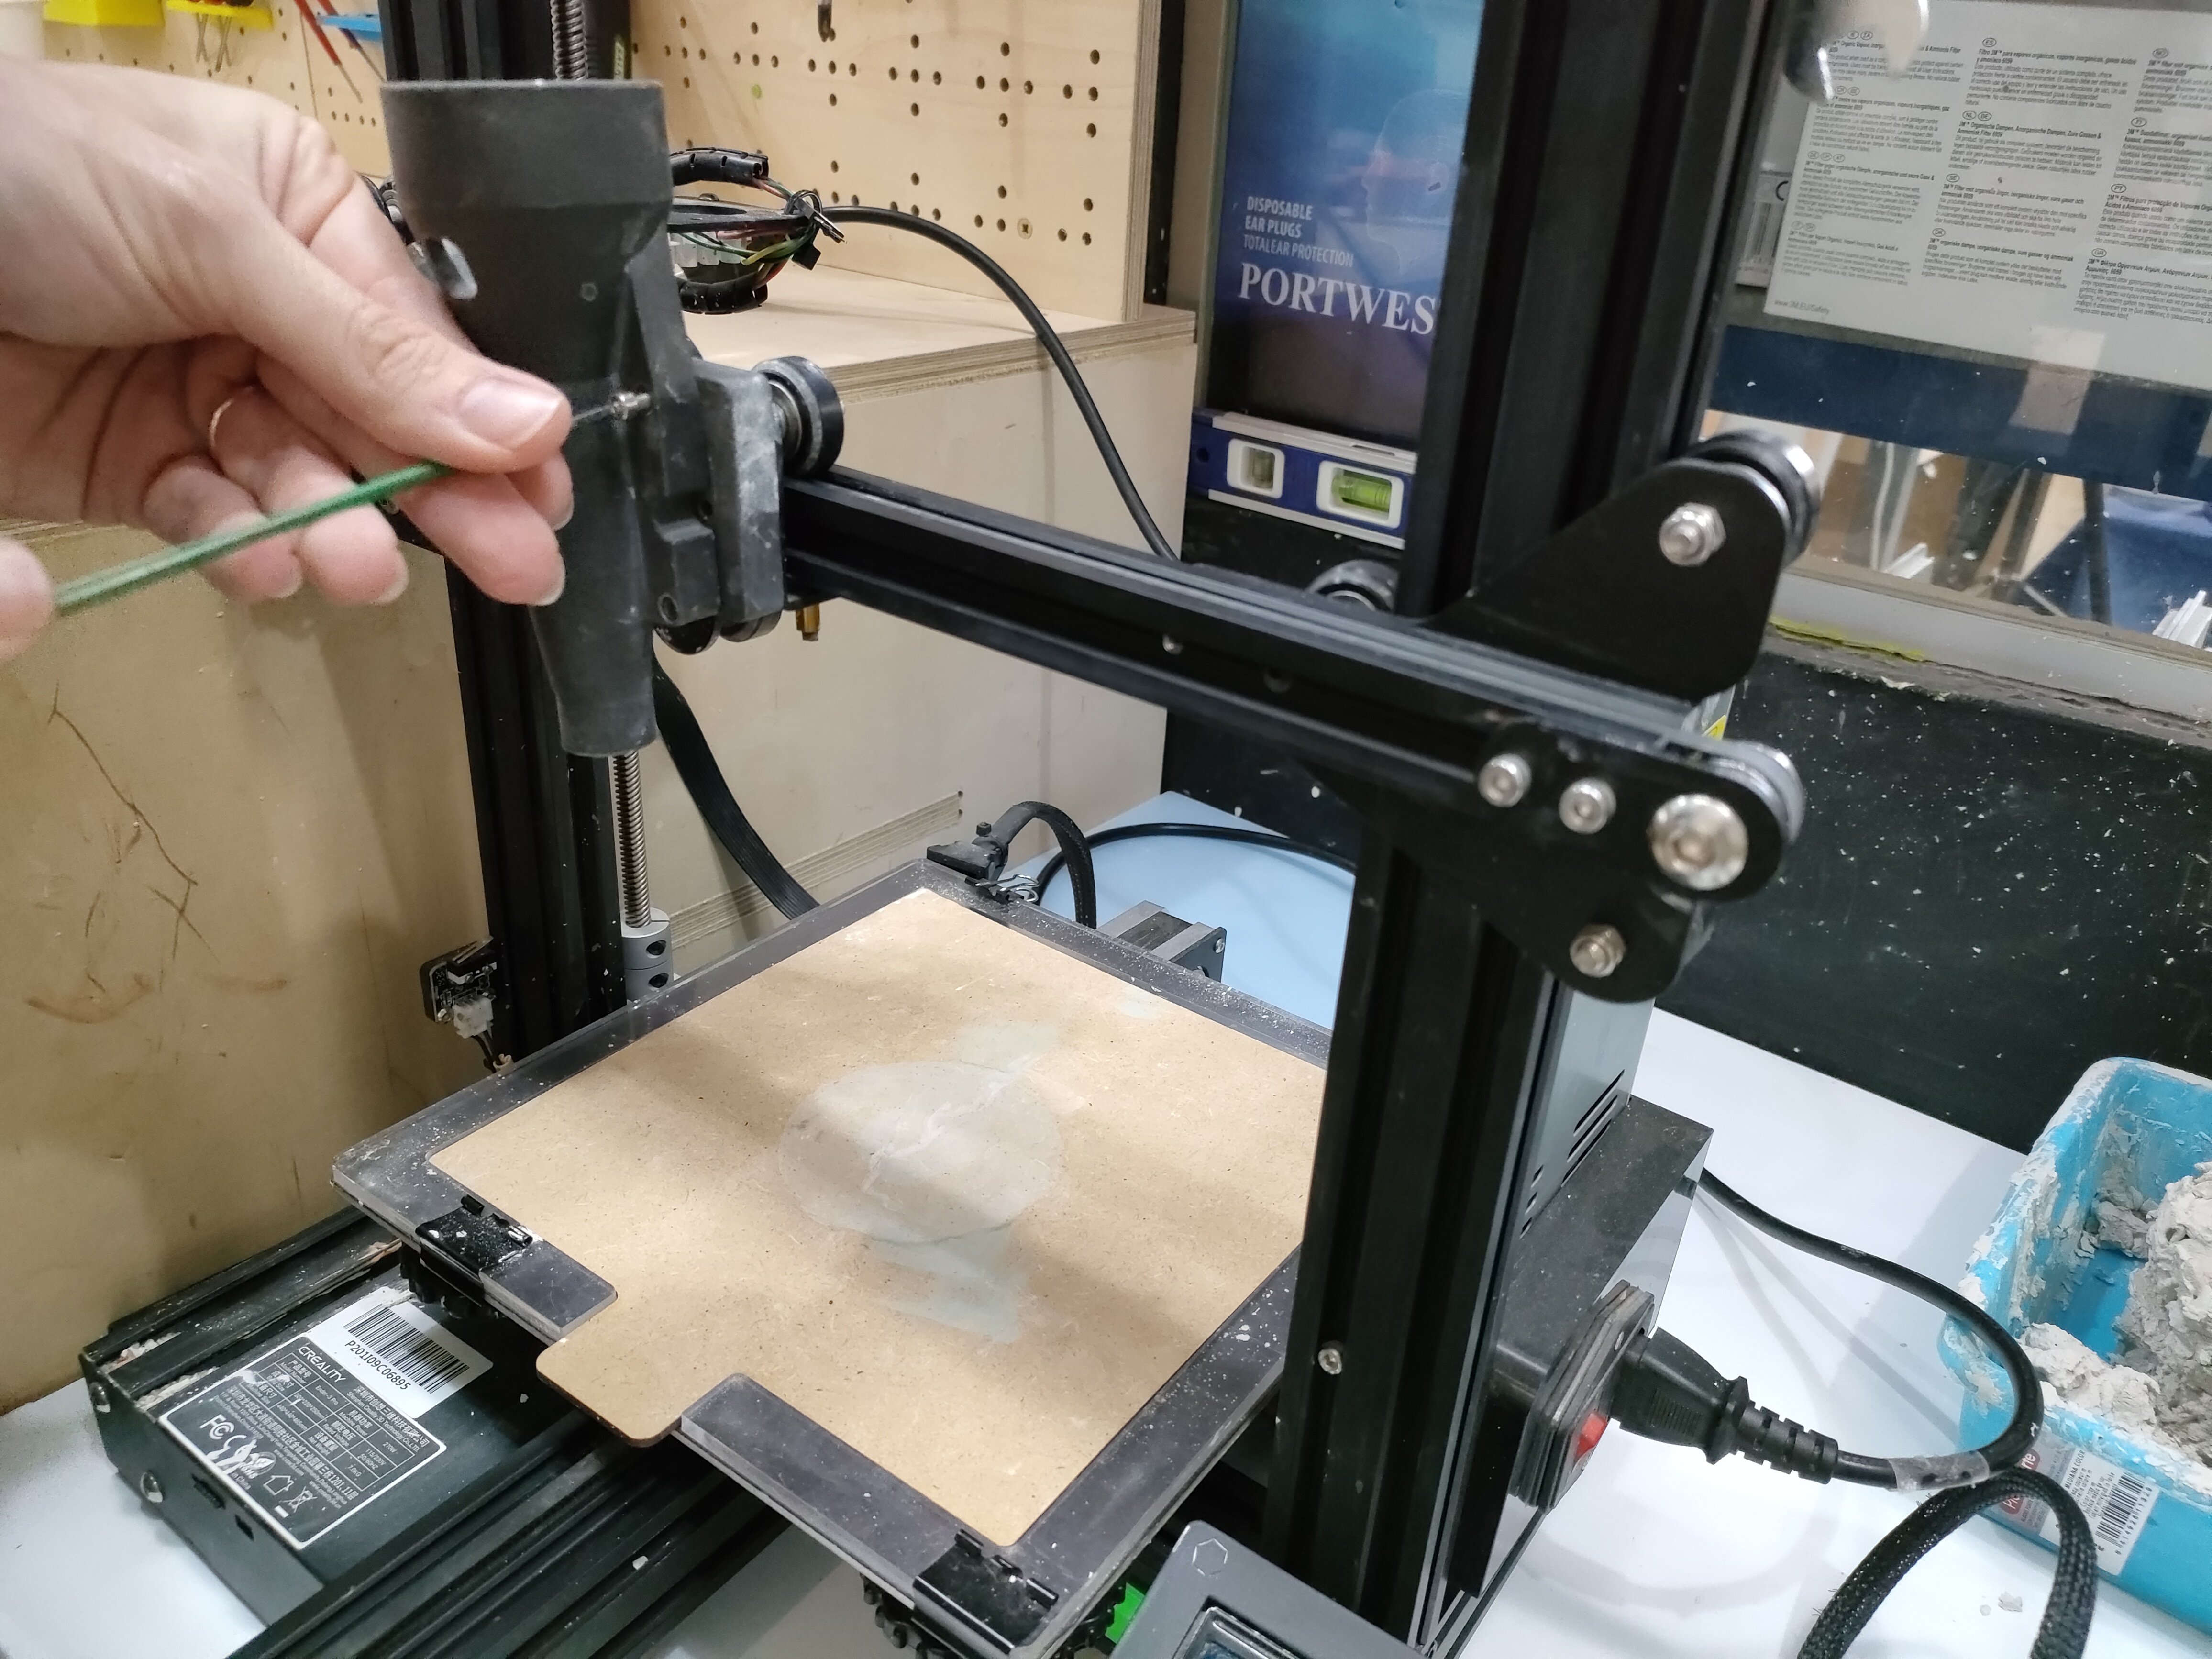
Also, this machine has an interchangeable wooden base (although it could be made of another material that withstands temperature). This is because once the printing is finished, we cannot pick up the wet piece, as we would deform it. Therefore, the complete base is removed.
Once the machine is ready, it is necessary to prepare the mixture. It is a ceramic that consists of a paste that is mixed with 10% water. It is a very manual process until a homogeneous mixture is obtained.
Then, it is necessary to introduce the mixture in the tube avoiding to introduce bubbles. To do this, it is best to "squash" the mixture at the end of the tube and repeat the process until it is full.
Once filled, place the plunger that will push the mixture through the tube, and place it in the machine.
It is recommended that we start a "false" impression to eliminate the vacuum at the tip of the adapter or plastic tube and fill the head. Then, we can start the good part by extruding the paste from the beginning.
I specifically fabricated several pieces. These pieces once printed must be dried to lose all the water or humidity. This process can be carried out at room temperature for a day or it can be replaced by a low temperature oven (60ºC) for about 6-8 hours.
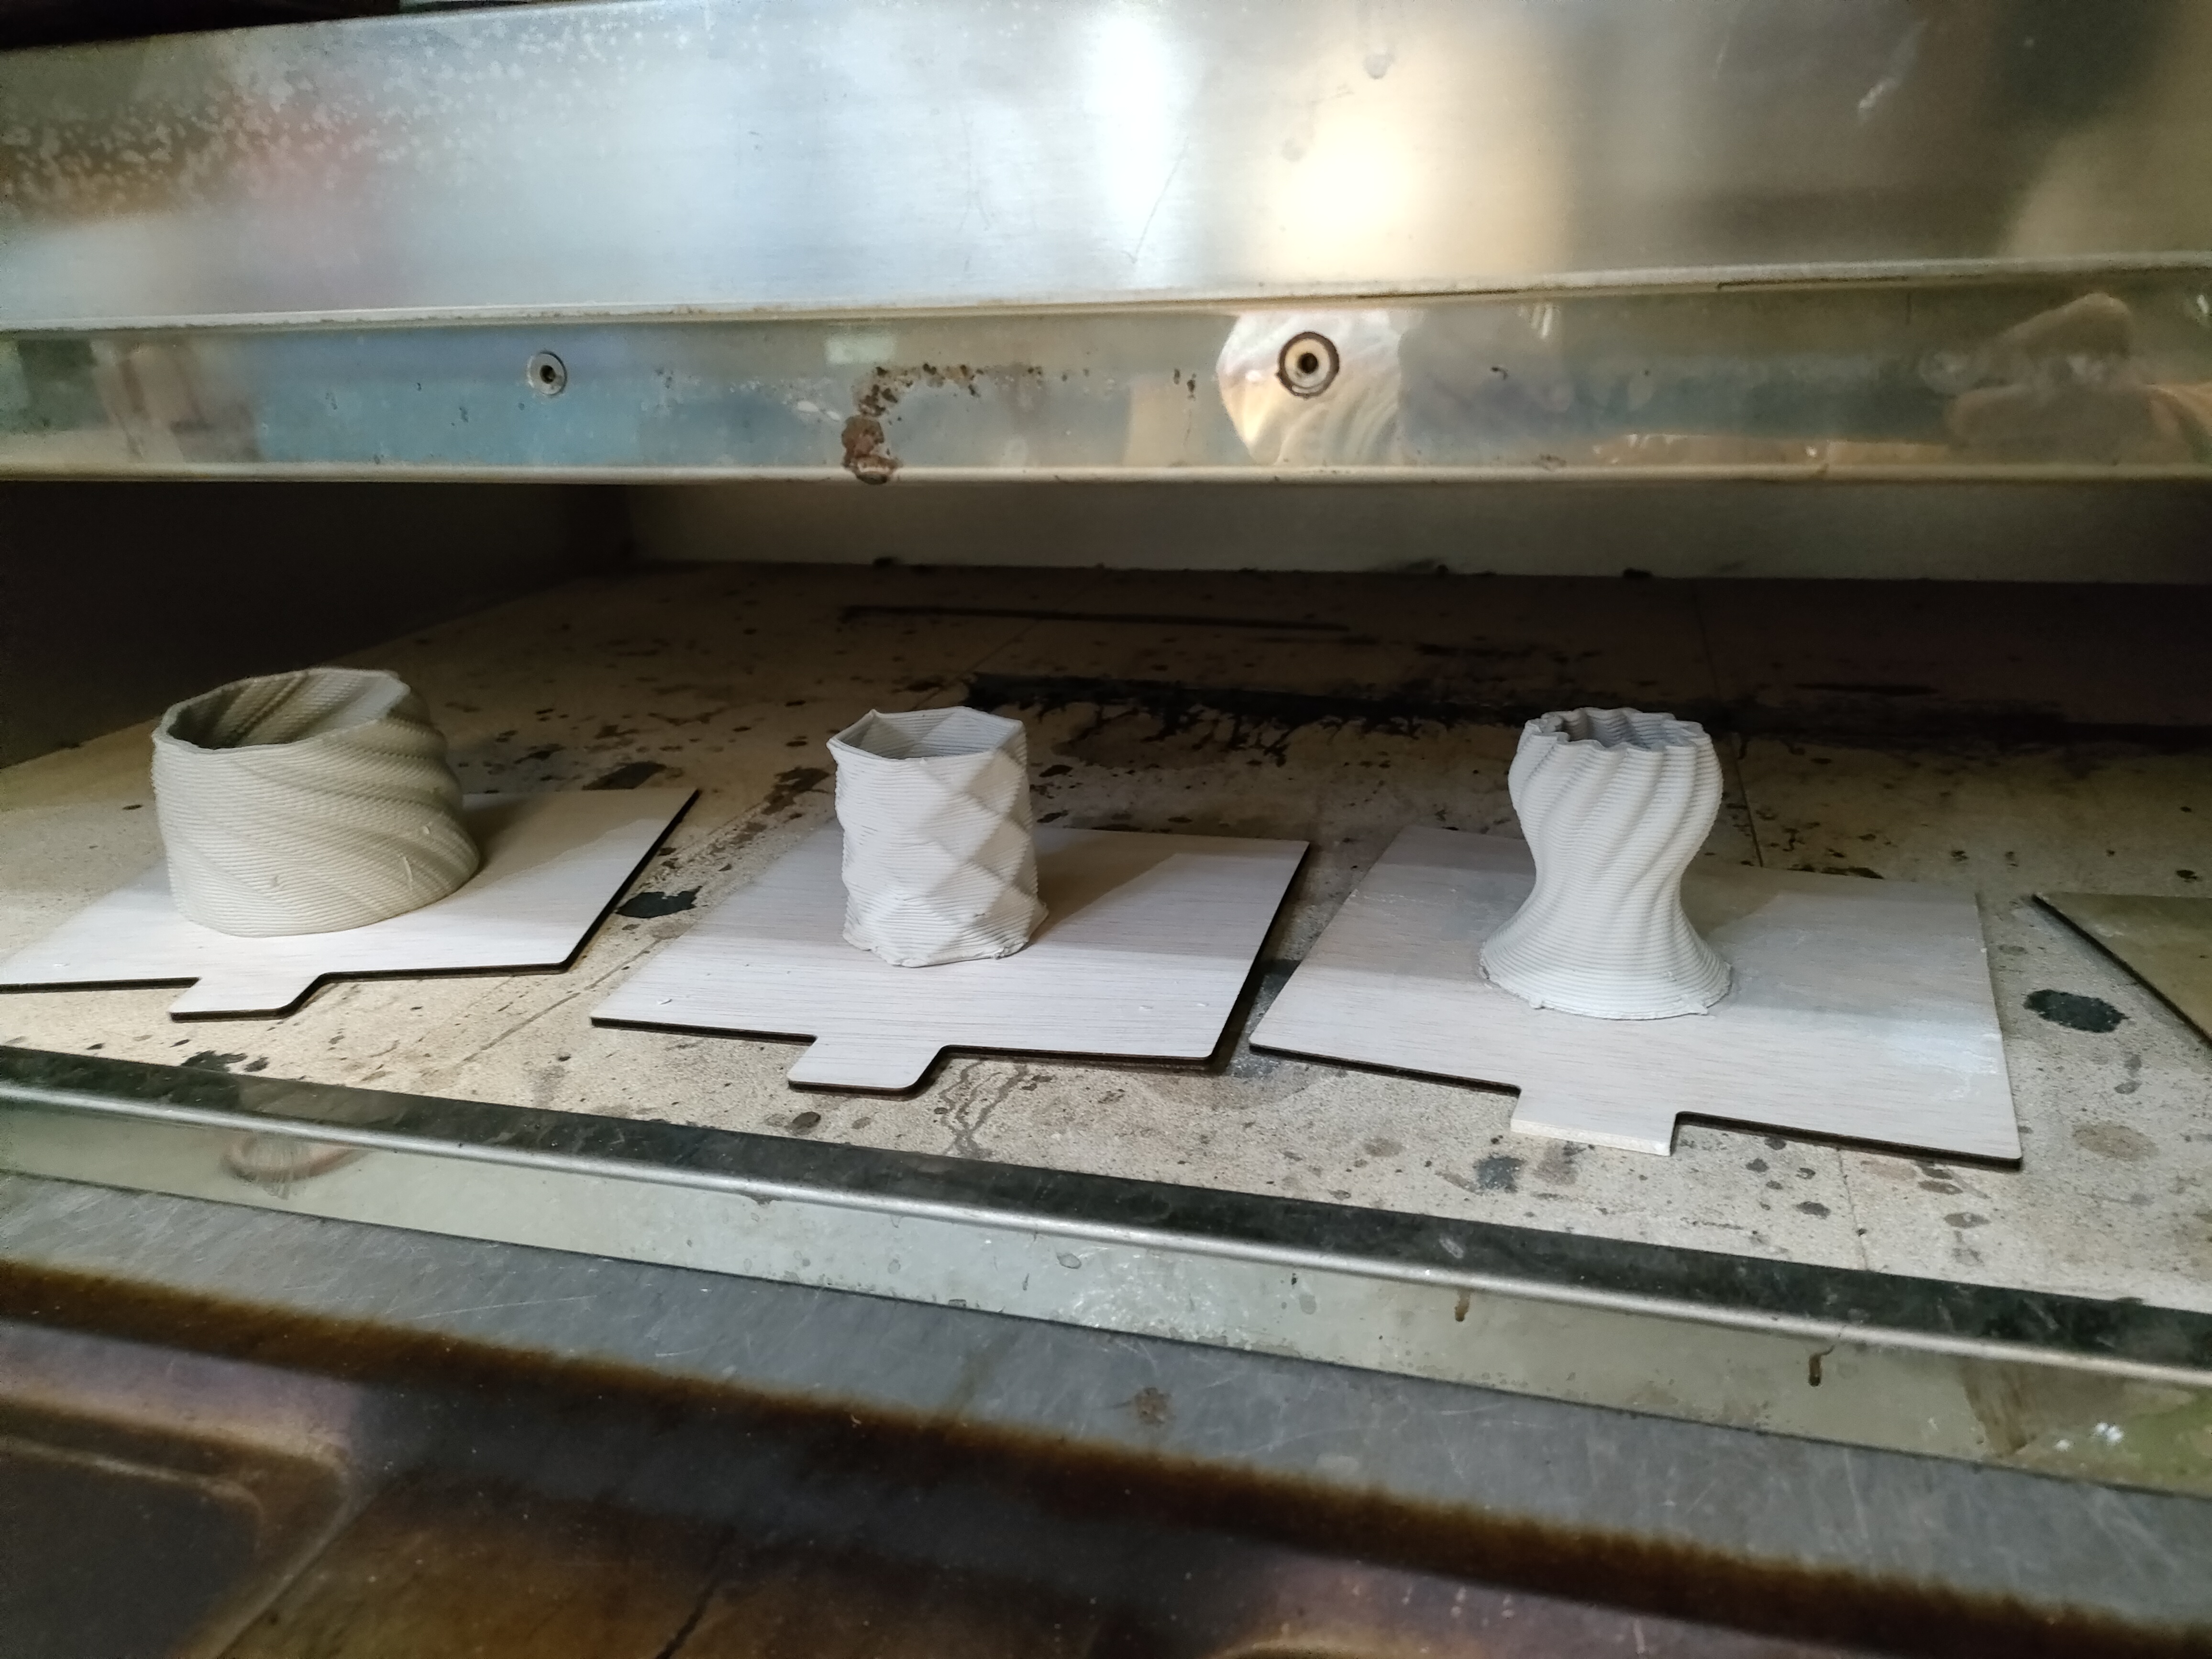
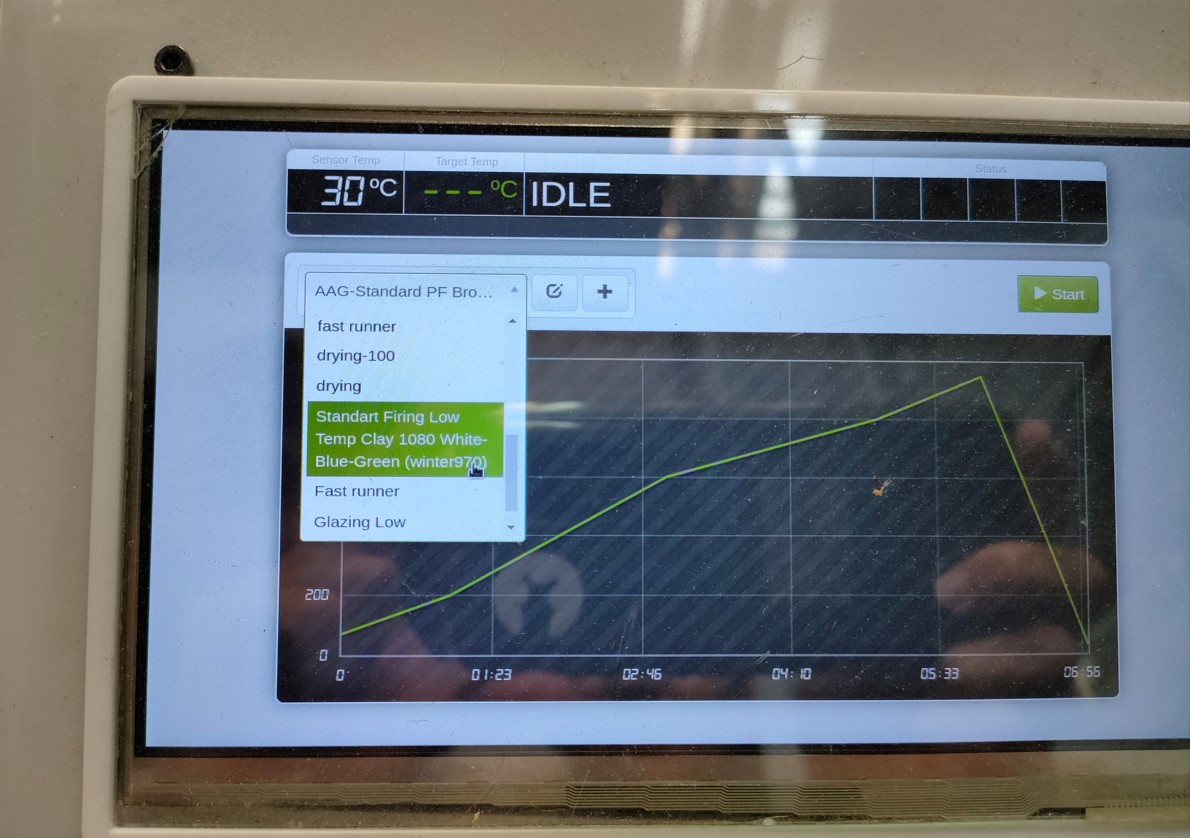
In the image you can see how the color changes radically. Once dried, they must undergo a thermal cycle with a higher and more controlled temperature.
This means raising the temperature at constant speed up to about 1080ºC. After that, cool down gradually (but faster) to room temperature.
It is important to be careful before performing this thermal cycle so as not to break the parts as they are extremely fragile prior to this cycle.

Finally, the piece must be enameled to cover the pores and undergo another thermal cycle. This process could not be done because the kiln broke, I am a remote student, and we do not have another high temperature kiln in our Lab.
Files
The printing base for ceramics.
The silhoutte file.
The cup printed with ceramics.
The faceted part printed with ceramics.
The logo file.
Group assigment
The group assigment can be viewed at Group Assigment page.
Conclusions
For me it has been one of the most fun weeks of the Fab Academy. We have been all the time trying new things and getting to know many possibilities of design and fabrication with different techniques. Also, some "lifelong" techniques, which were always very manual, such as ceramics and embroidery, I have used with great enthusiasm as techniques in the new digital era. Today, the fact that these techniques have evolved gives us a great opportunity for design that we did not have so much in the manual way.
I am sure I will use many of these techniques learned this week in our FabLab.