Objective
Model (raster, vector, 2D, 3D, render, animate, simulate, ...) a possible final project,compress your images and videos and post a description with your design files on your class page.
Introduction
In week 2 we were given an introduction about CAD and different type of 2D and 3D design
2D design and 3D design
2D Design
Types of images
- Raster
- Vector
Raster
Raster is something thats used for working on pixels.
Raster or bitmap images are a majority of the digital images you generally encounter. They are the default output of everything from digital cameras to most graphics editing software like Paint or Paintbrush. They are made up of pixels
, which is to say a grid of colored rectangular dots.
The advantage of raster graphics is that at high resolutions (lots of pixels in a small area) you can have very fine control over color and shape; raster images can contain millions of colors and look very realistic.
Examples
- GIMP
- Pixlr
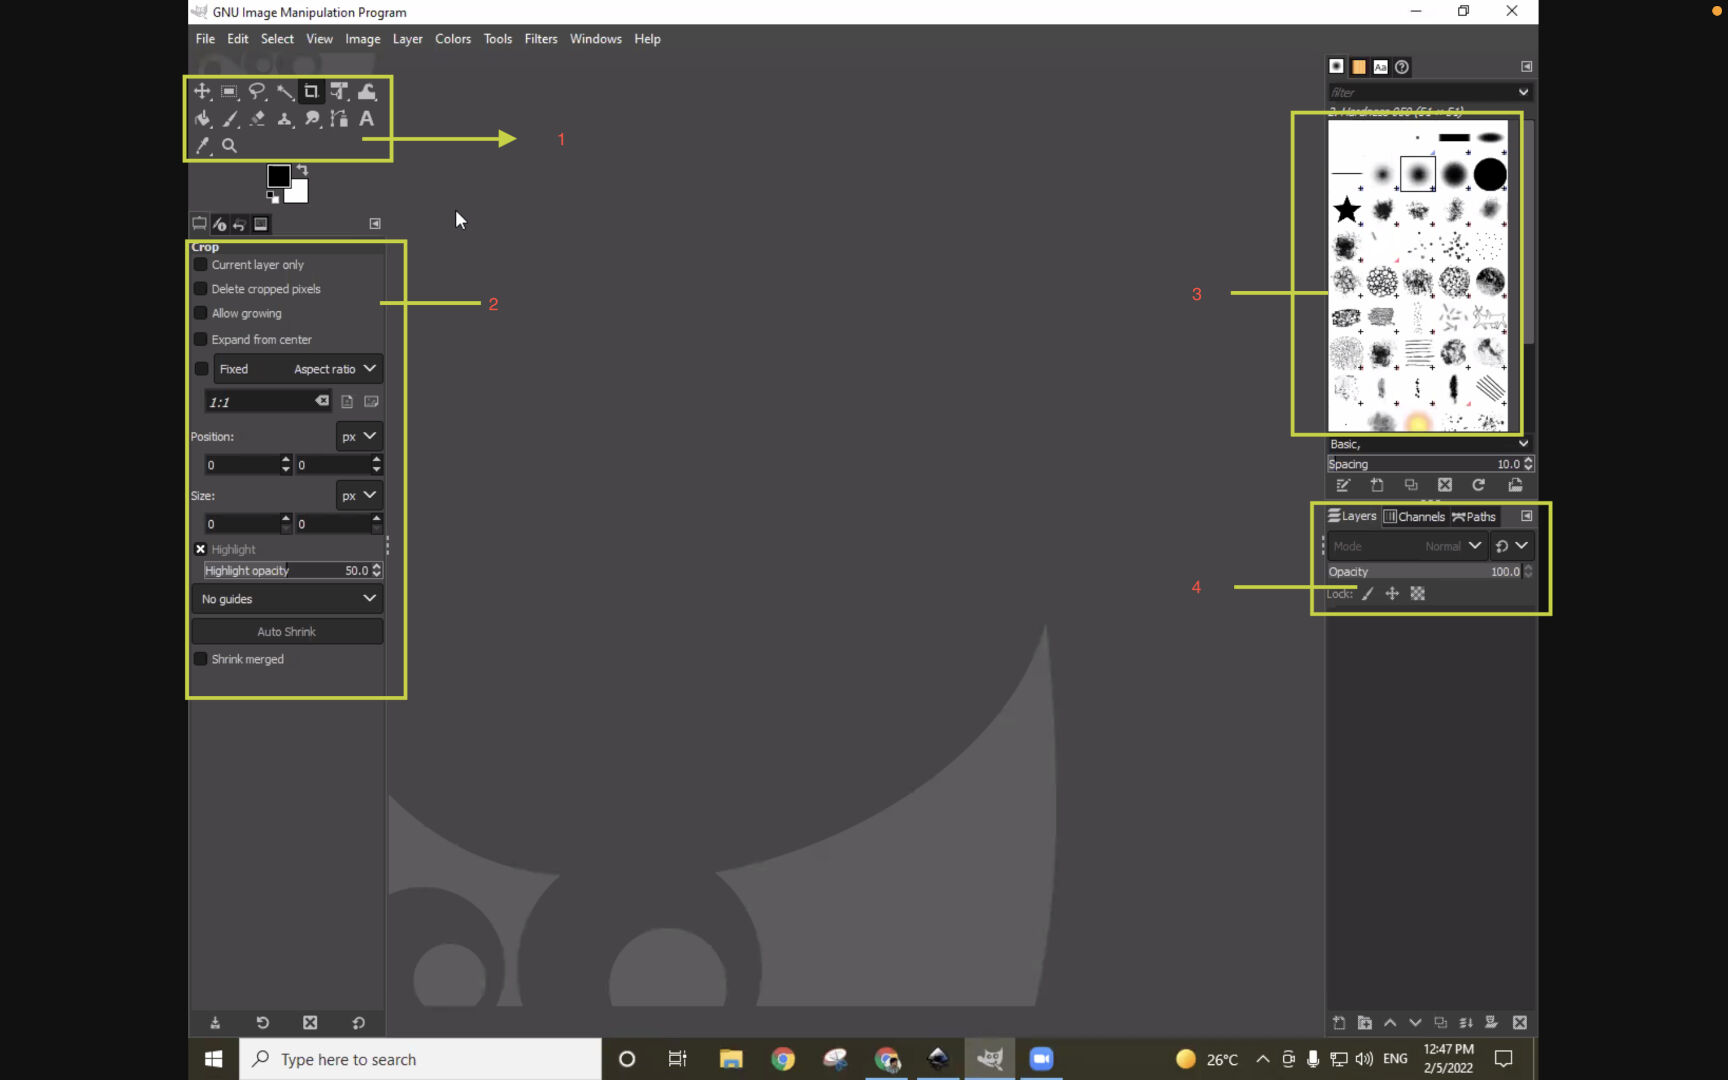
GIMP and BIMP
GIMP
GIMP is a cross platform image editor that works creating raster images
-
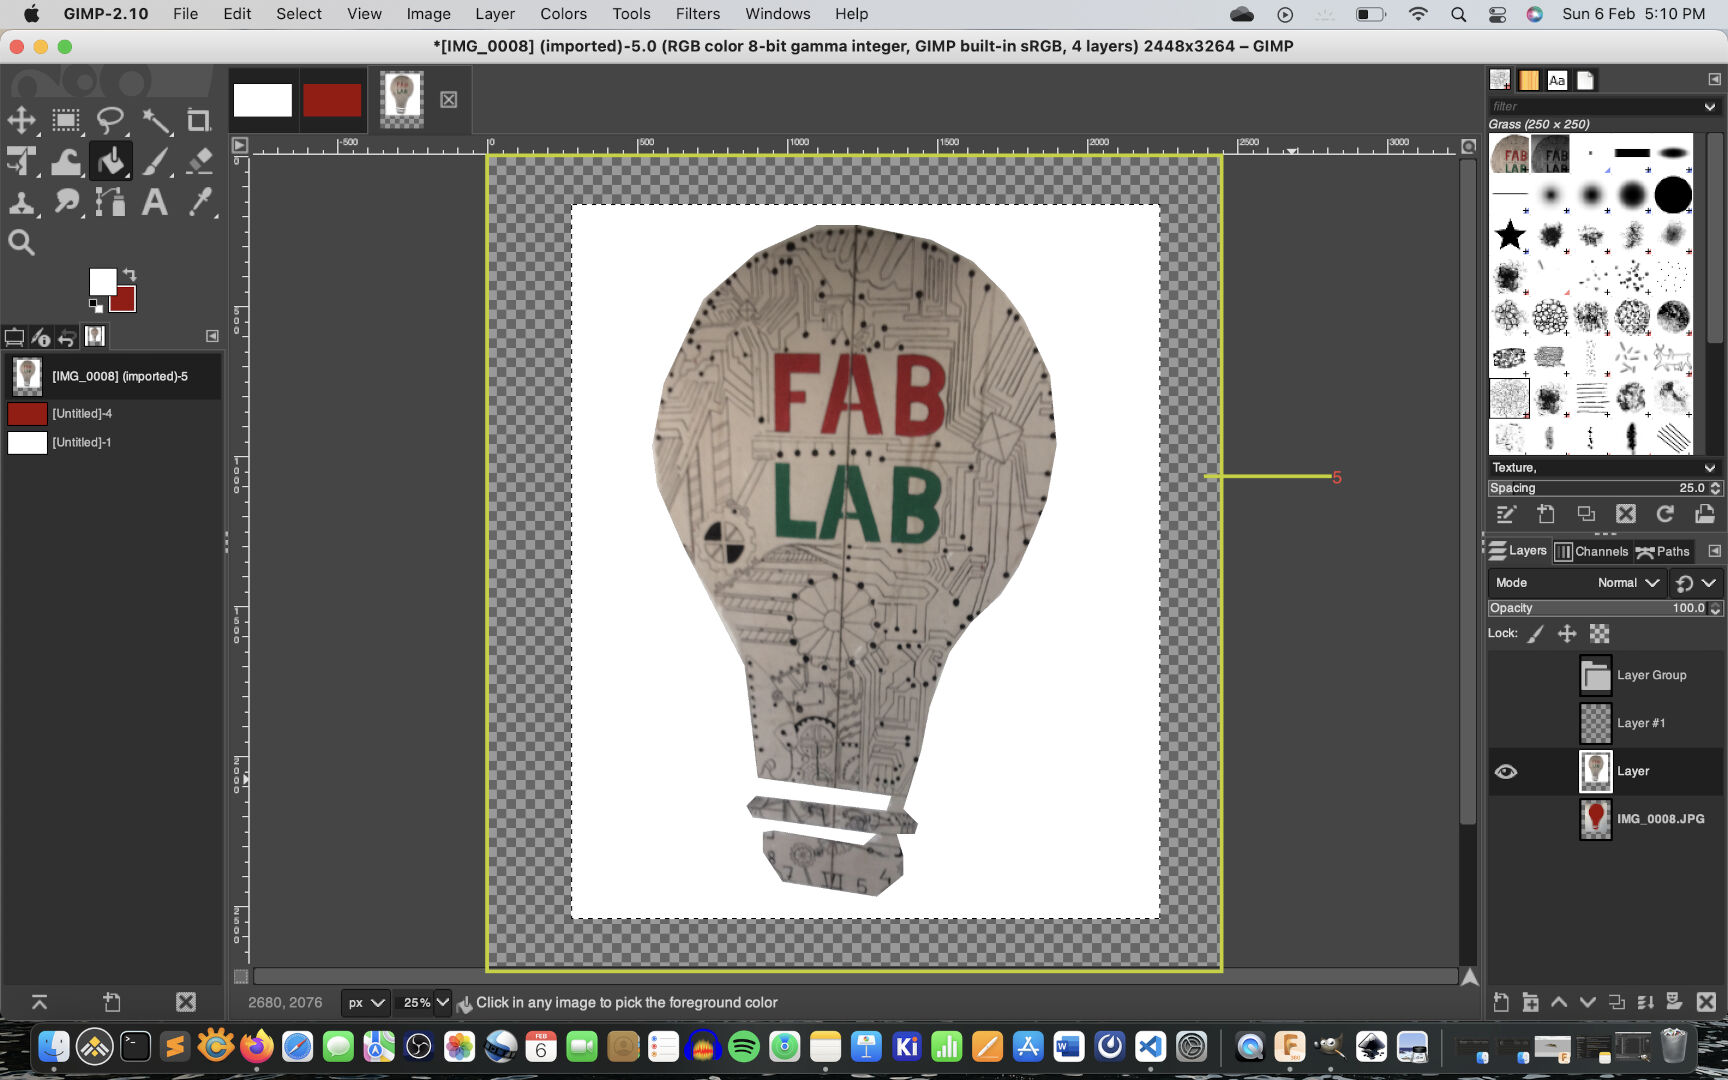
1.ToolBox
2.Tool Options Pane
3.Layers Pane
4.Brush Pane
5.Canvas
Key
Tools
There are three types of tools
-
Selection Tools
Paint Tools
Transform Tools
Others
Selection tools
These tools are used to select a specific area in an image and used to work
Eg:- Lasso Tools, Rectangular selection tool
Paint Tools
These tools are used to fill colors or paint a specific section or selection in an image.Eg:- Adding a mesh or a transparent layer.
Transform Tools
These tools are used to transform a layer or a selection like scaling a selection up or down.
Other Tools
These tools are used to perform other tasks like zoom in or pan or adding a text on the image etc.Eg:- Zoom In,Zoom out
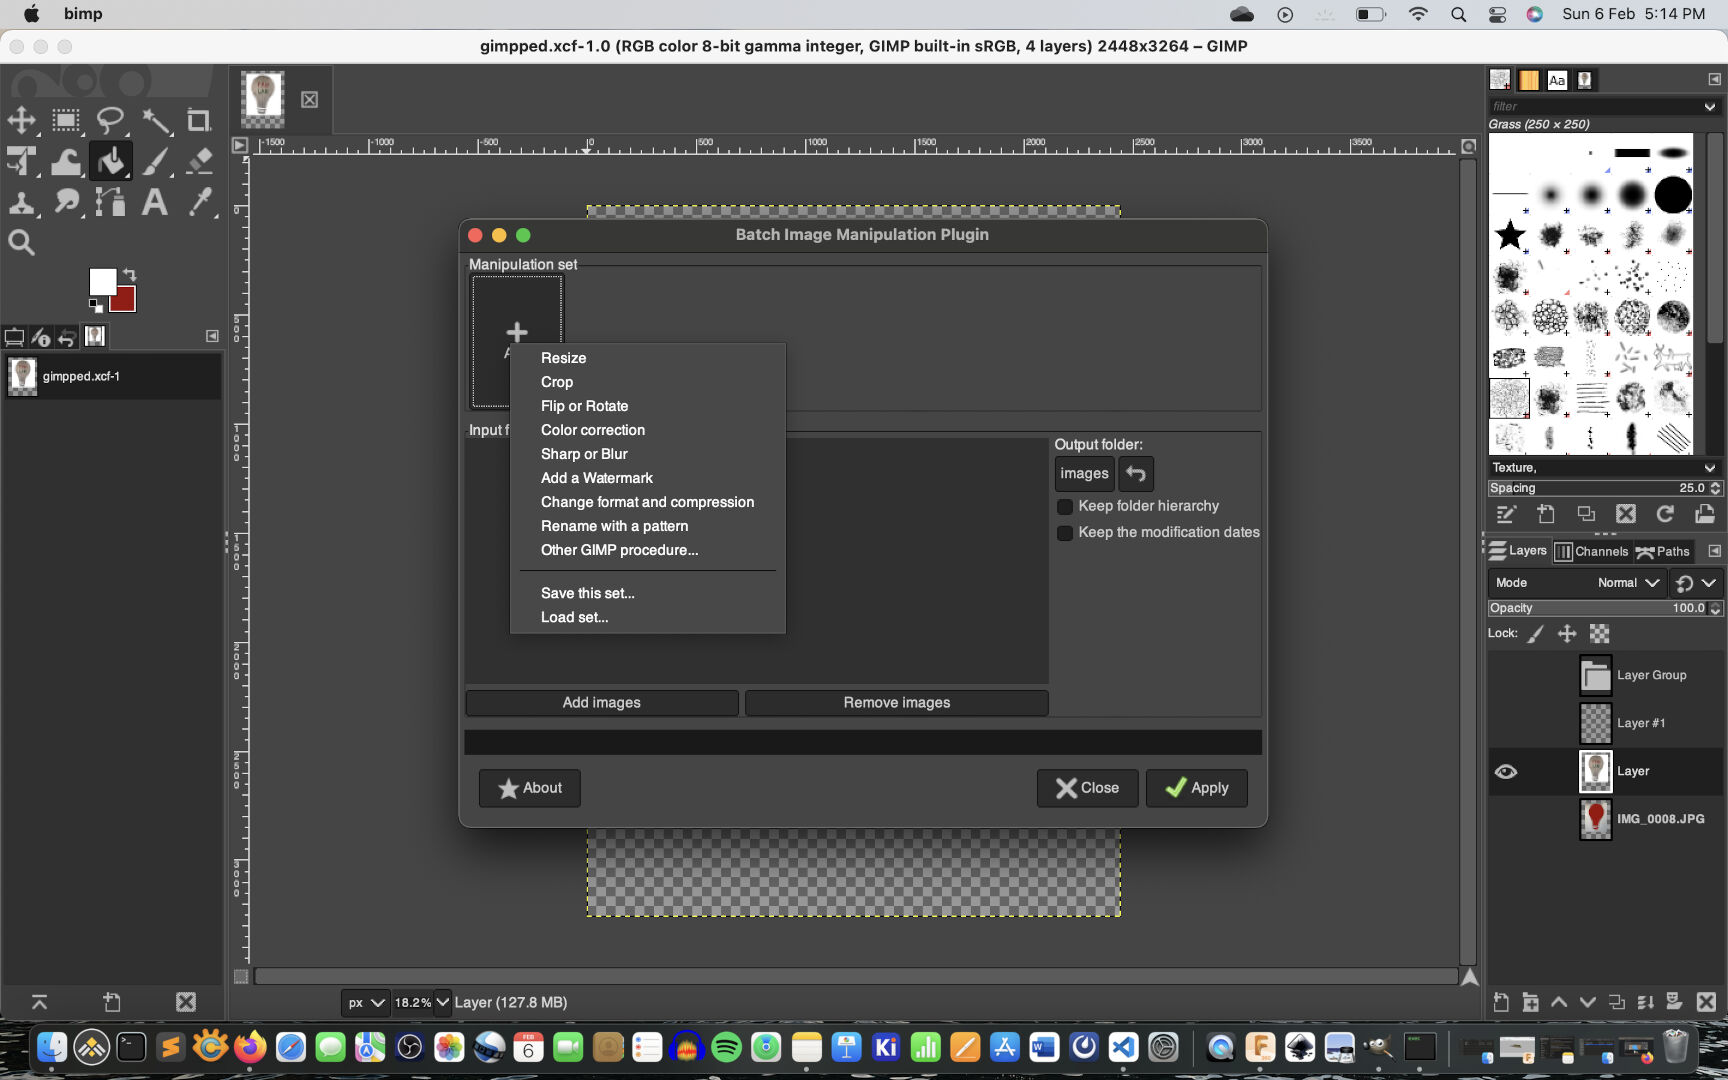
BIMP
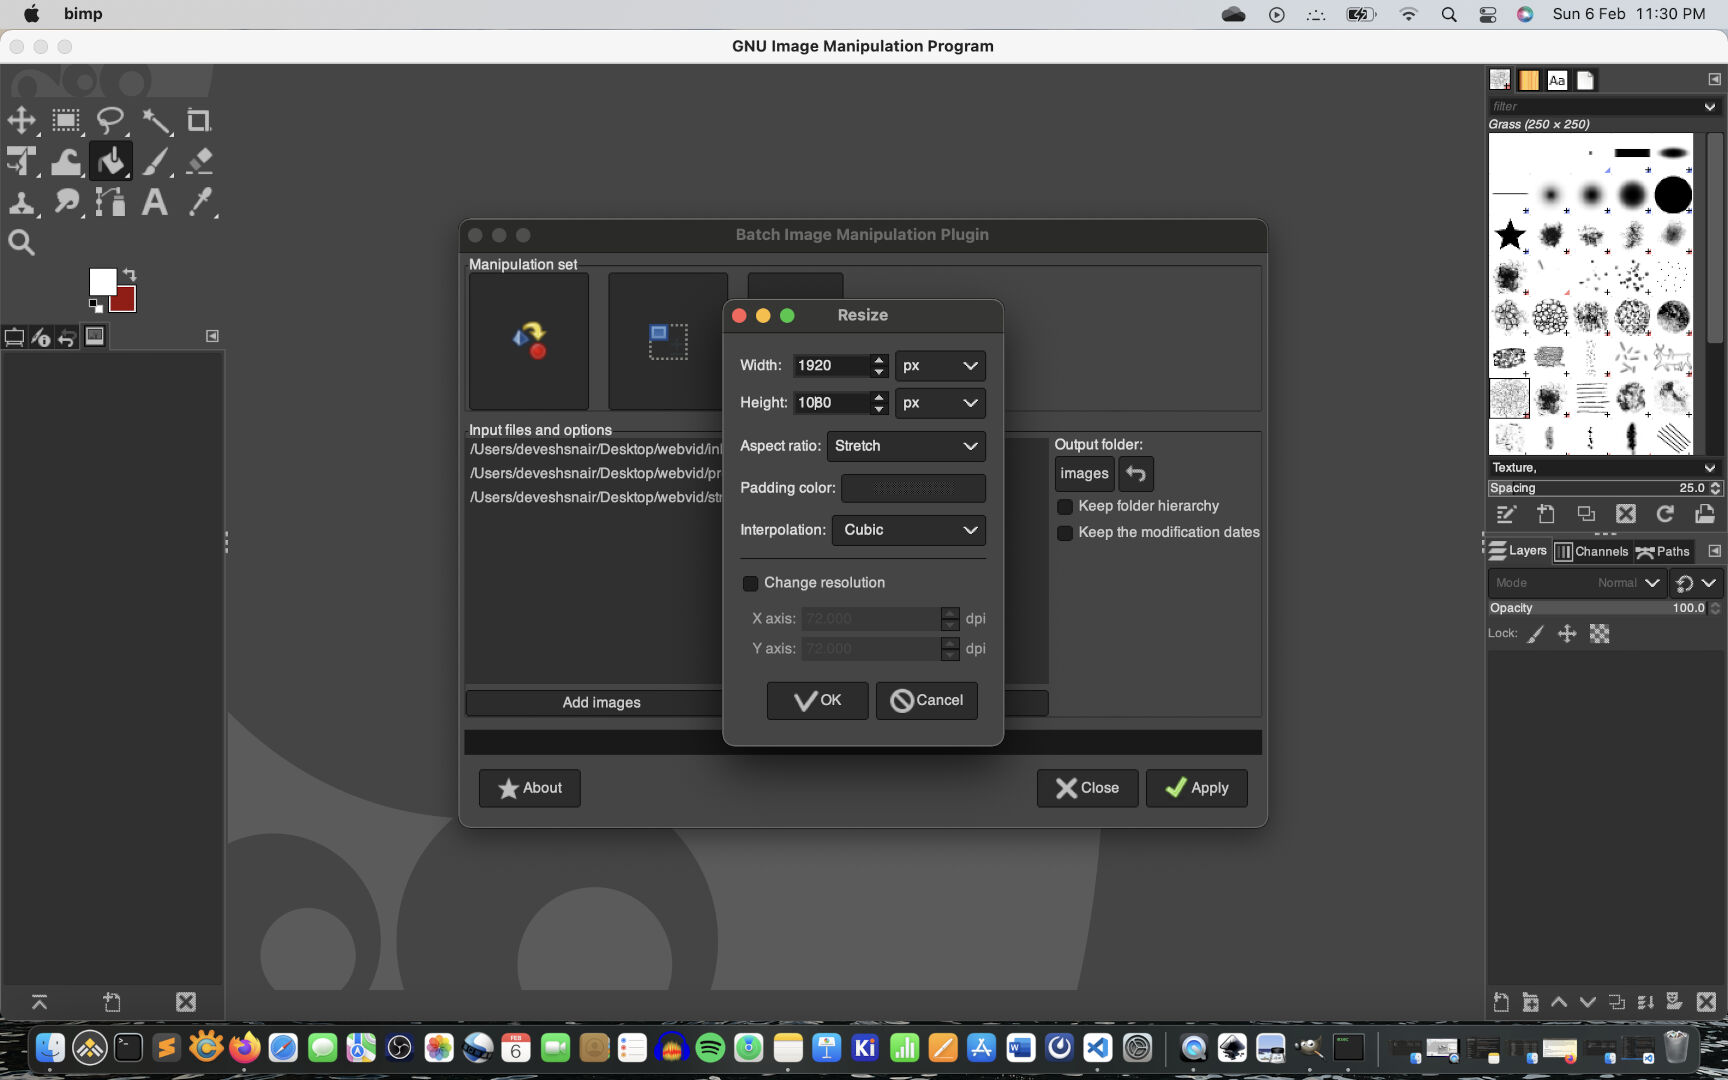
BIMP (Batch Image Manipulation) is an extension of GIMP used to compress,resize and do other operations after editing or making changes to an image. I mainly use this tool to compress images of MBs in sze to few hundred KBs. Even after compression the images looks almost simiar in quality to the naked eye. Remember it is a raster image therefore compressions take a hit on quality if compressed more than whats needed.
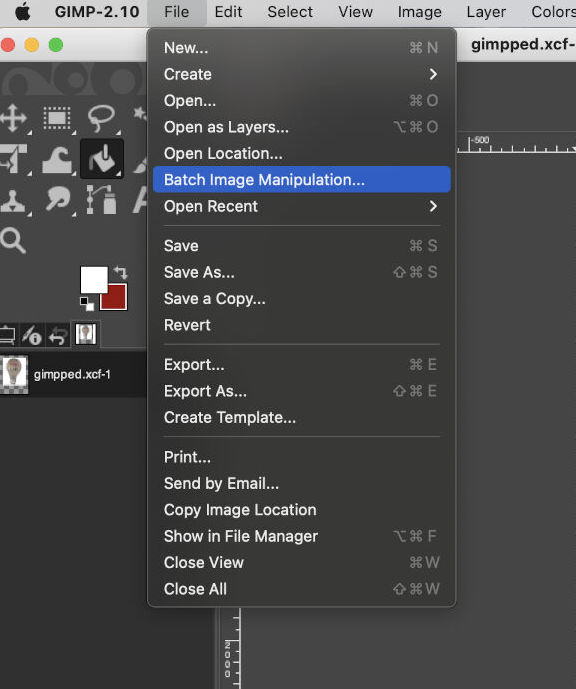
Here are the setps to using BIMP
- Go to File → Batch Image Manipulation


Vector
Vector is used for working with lines or curves or a point or strokes
Vector images are created with vector graphics software (like Inkscape). Instead of being made of dots, vector images are made of mathematically-defined lines and curves. Those lines can also be joined together to form larger objects, each of which can be given its own style (colors, patterns, etc.).
All of the elements of the vector image are defined by mathematical formulae and not by a grid of dots as in a raster image, sharpness is maintained regardless of how much the image is enlarged. However large or small you make it, the curves are simply recalculated and redrawn, without losing quality.
Examples
- Inkscape
- Illustartor
A walkthrough of Inkscape
So I tried out Inkscape for the first time and experienced the power that the software offered.
Can't belive that open-source software could be so robust. Though it takes sometime in the begining to work on the softare but its Awesome!
There is an extension for each and every tool that you might think of....
It is easy to work on but not the easiest thing.
To learn inkscape in the begining I had to refer its documentations. Trust me if you are a beginner do check it out here. Another link is to the gallery thats usefull for its extensions developed by the Inkscape community.
Interface
Shown below are the different panes and interfaces of inkscape
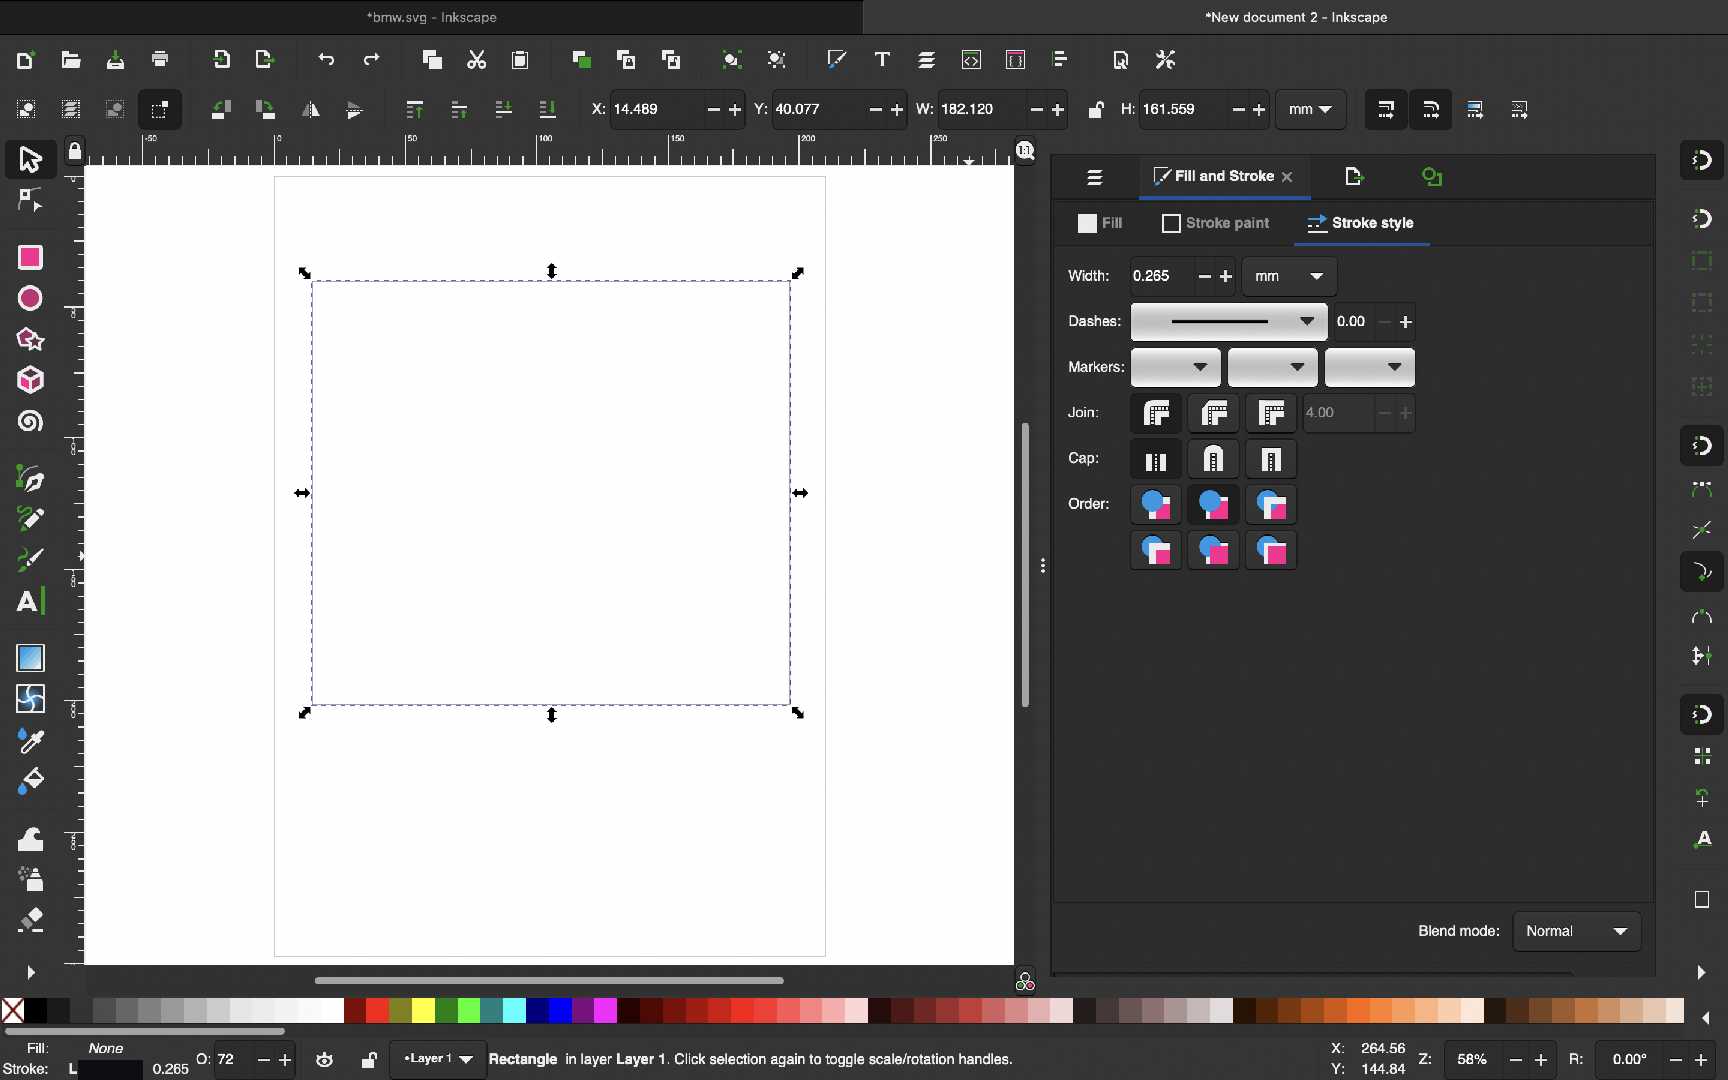 First I chose a layer in the layers tab and setup the canvas after which I used the rectangle tool to create a rectangle of my choice.
This is important as it is the outline of the sticker that I wanna create during the vinyl cutting assignment.
Use the fill command to adjust the fill and strokes of the rectangle as needed and choose the type of line,thickness etc.
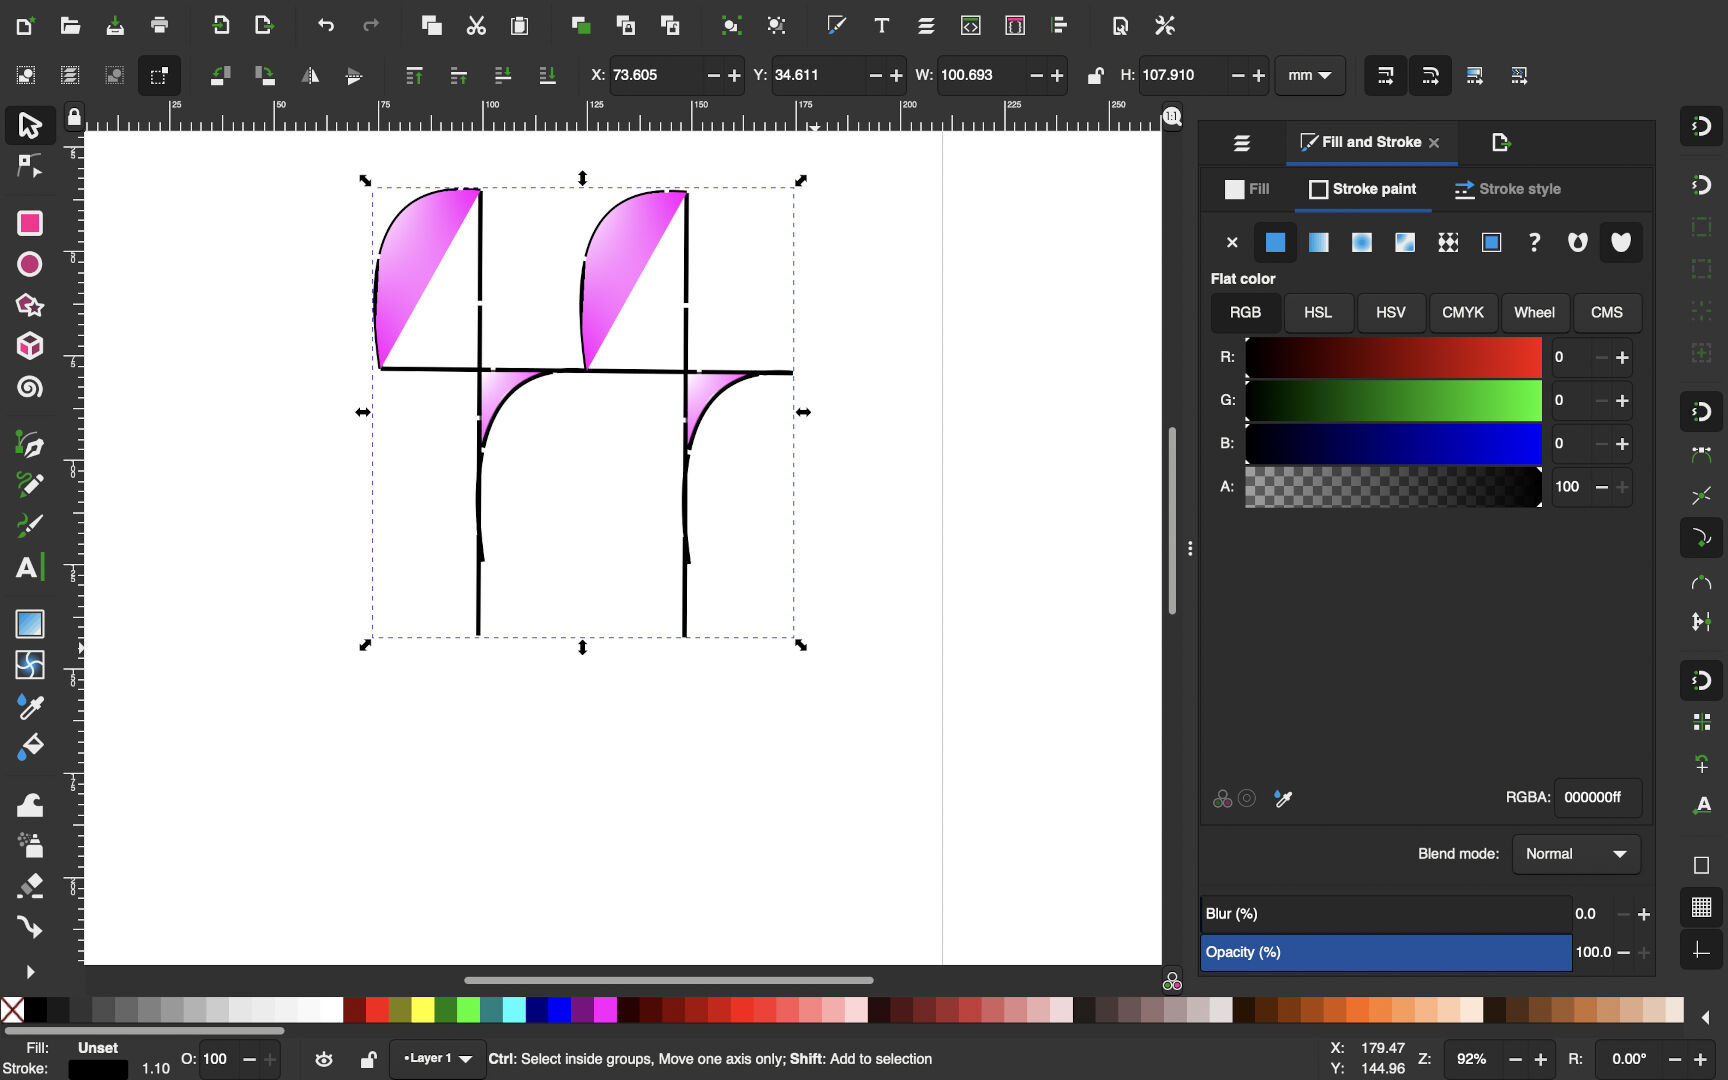
 Click the ellipse tool and then draw an ellipse for an ellipse to the desired dimensions and use the fill and strokes tab to adjust the borders.
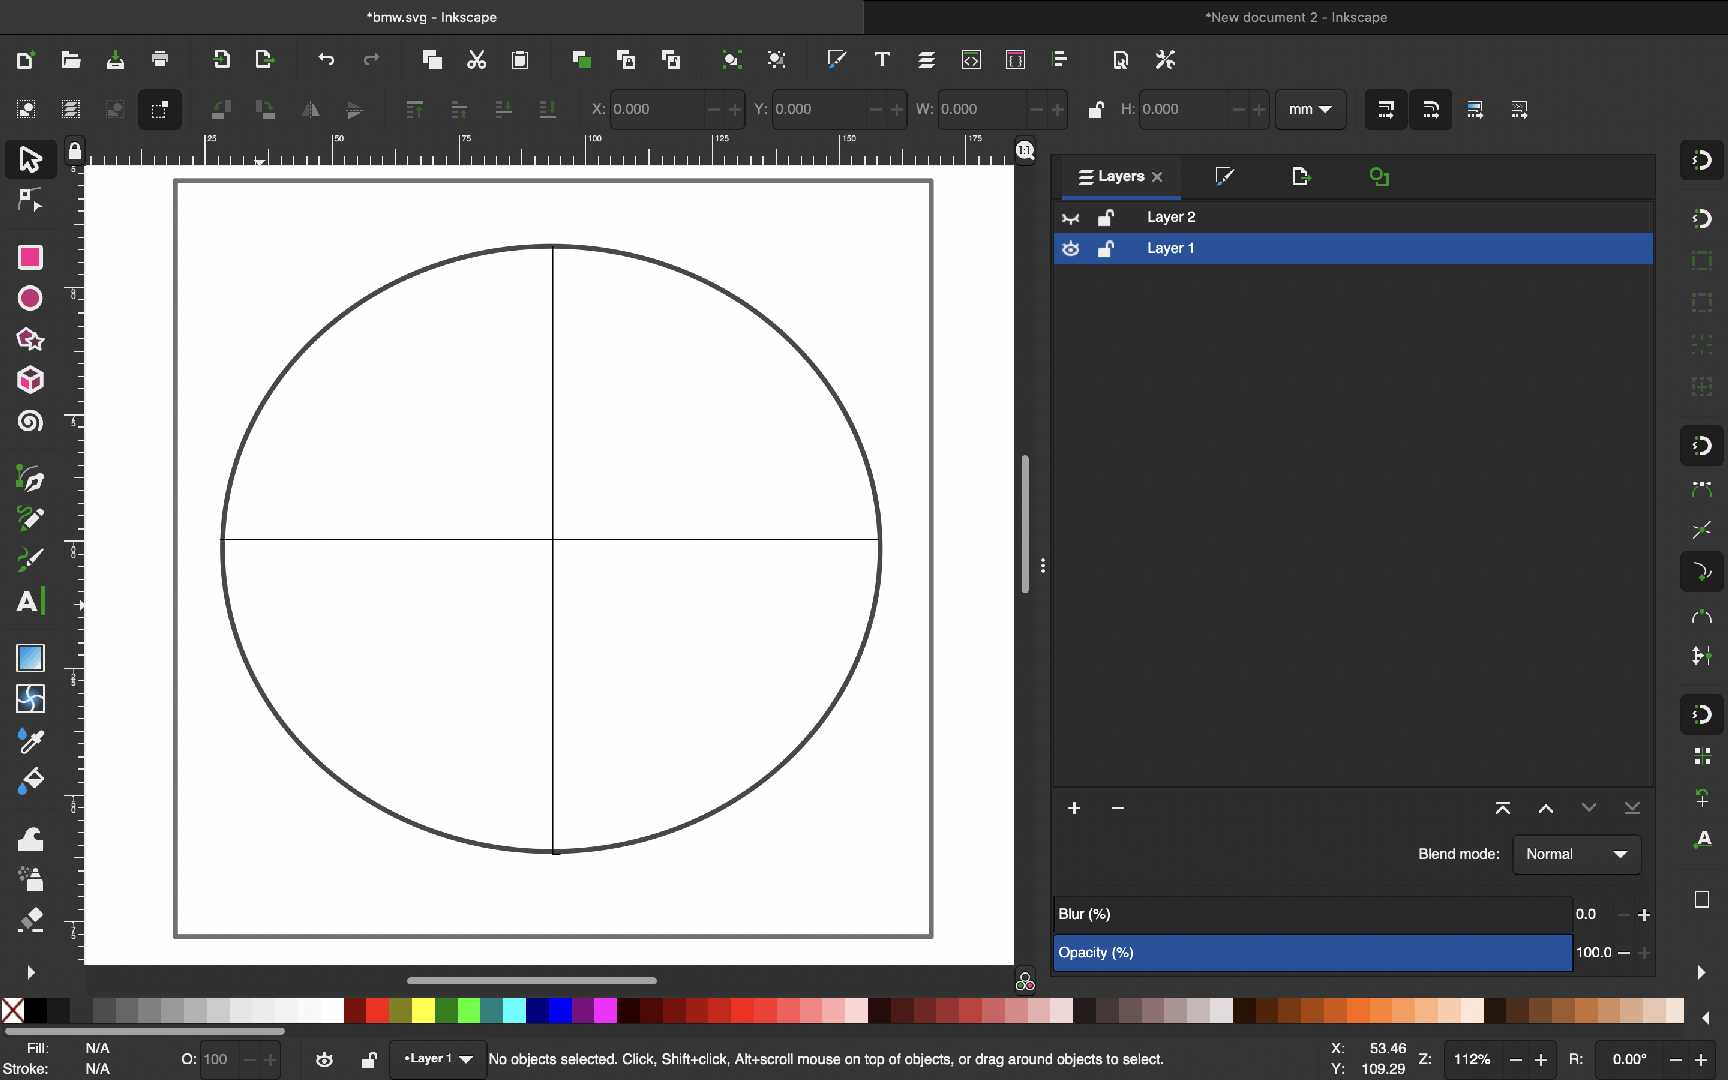
After this add another layer in the layers tab and press the lock button on layer 1.
Now Layer 2 will be active.
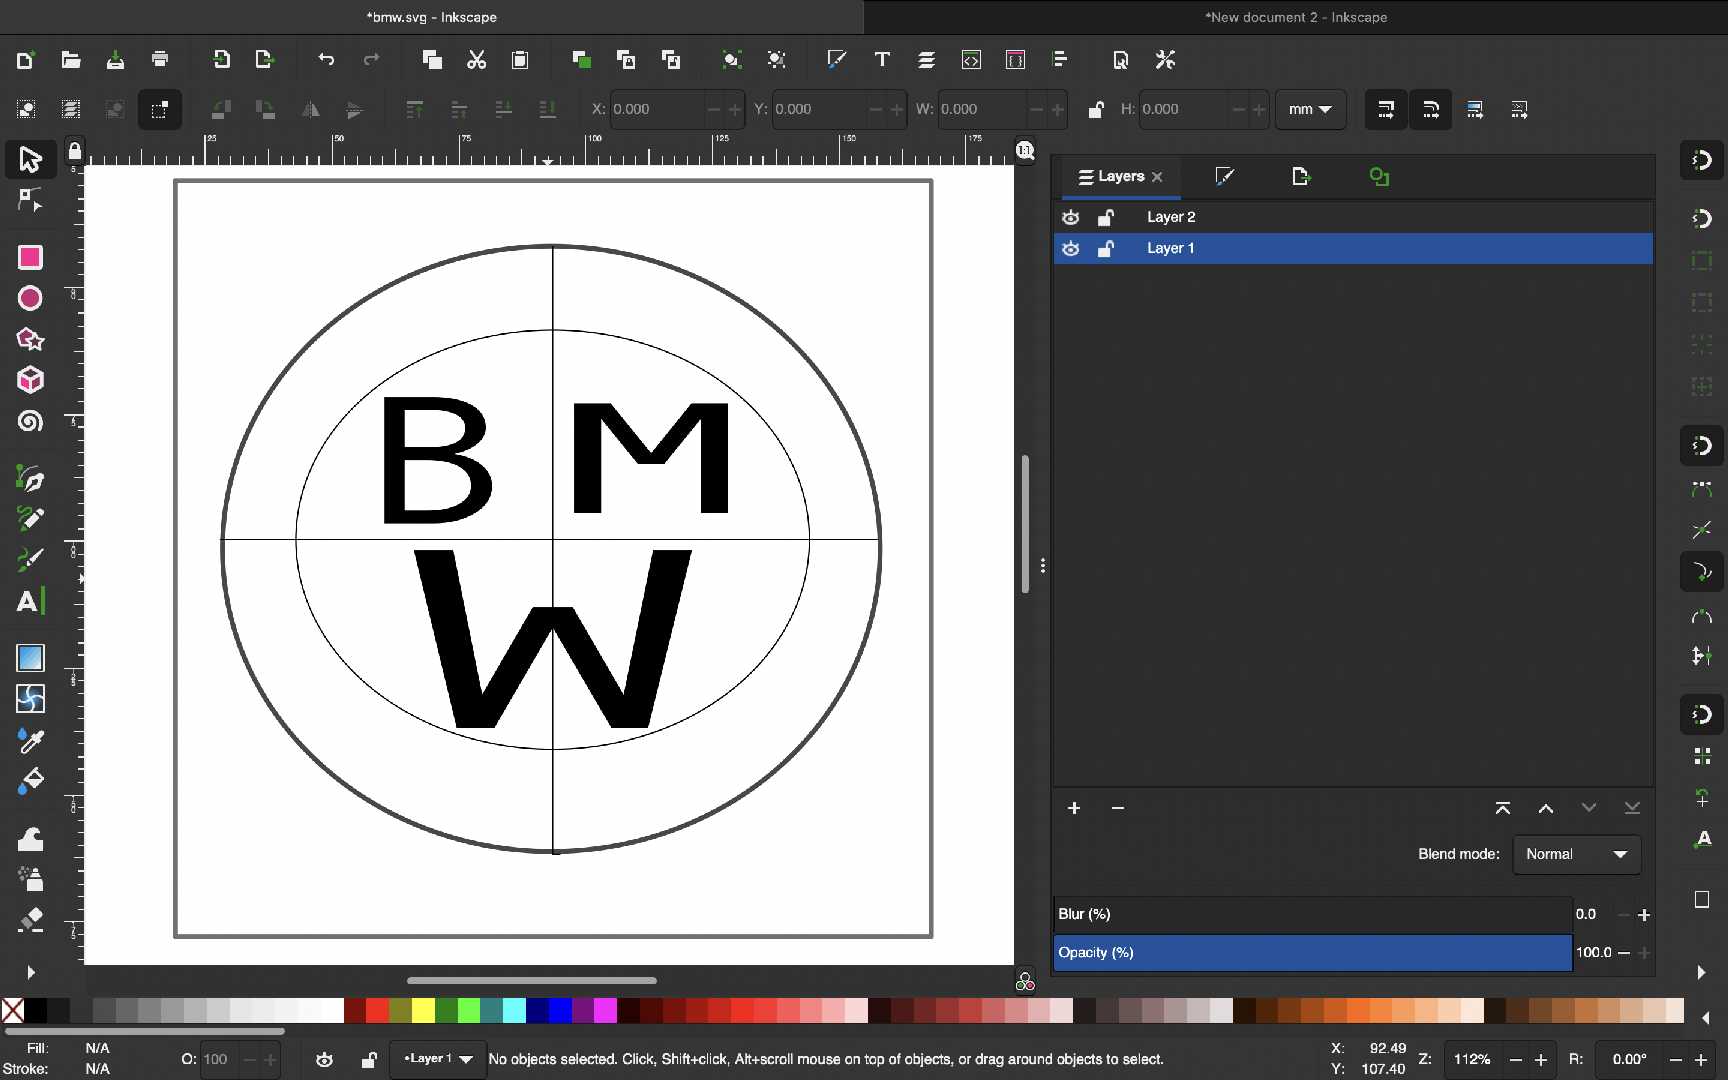 Now click the text tool to create a text by choose the font-style and weight and font-size.
This will personalize the logo that I wanted to make and lock layer 2.
Give some finishing touches if needed.
Unlock all the layers in the layers tab and export the images as PNG by going to File → Export as PNG Image.
Our BMW logo is ready.
3D Design
Any sketch that shows a more than two dimensions like a cuboid
Examples
- Fusion 360
- Tinkercad
Fusion 360
Fusion 360 is a CAD/CAM design software developed by autodesk mainly focused towards hobbists,takers and inventors
It is a cloud based software that can perform simulations and renders.
From a beginners perspective the software is user friendly and we can design a model is an hour.
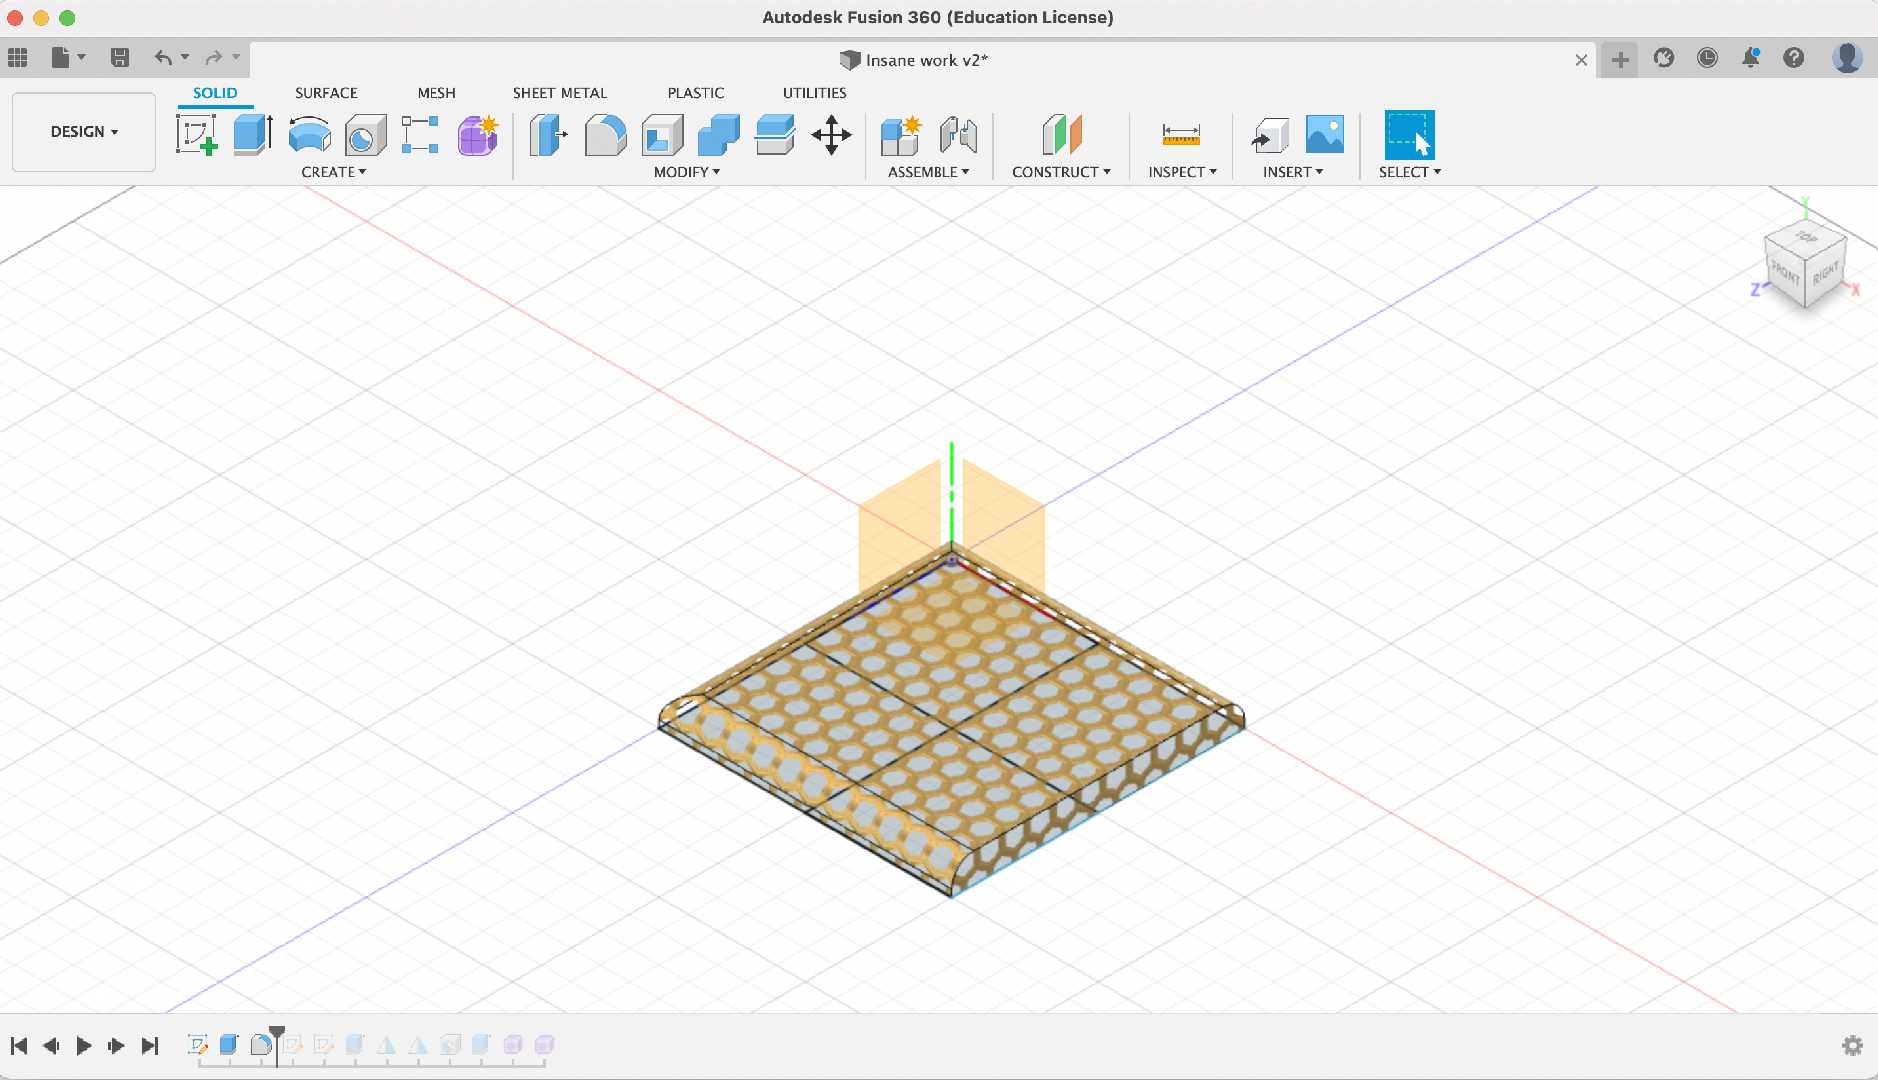
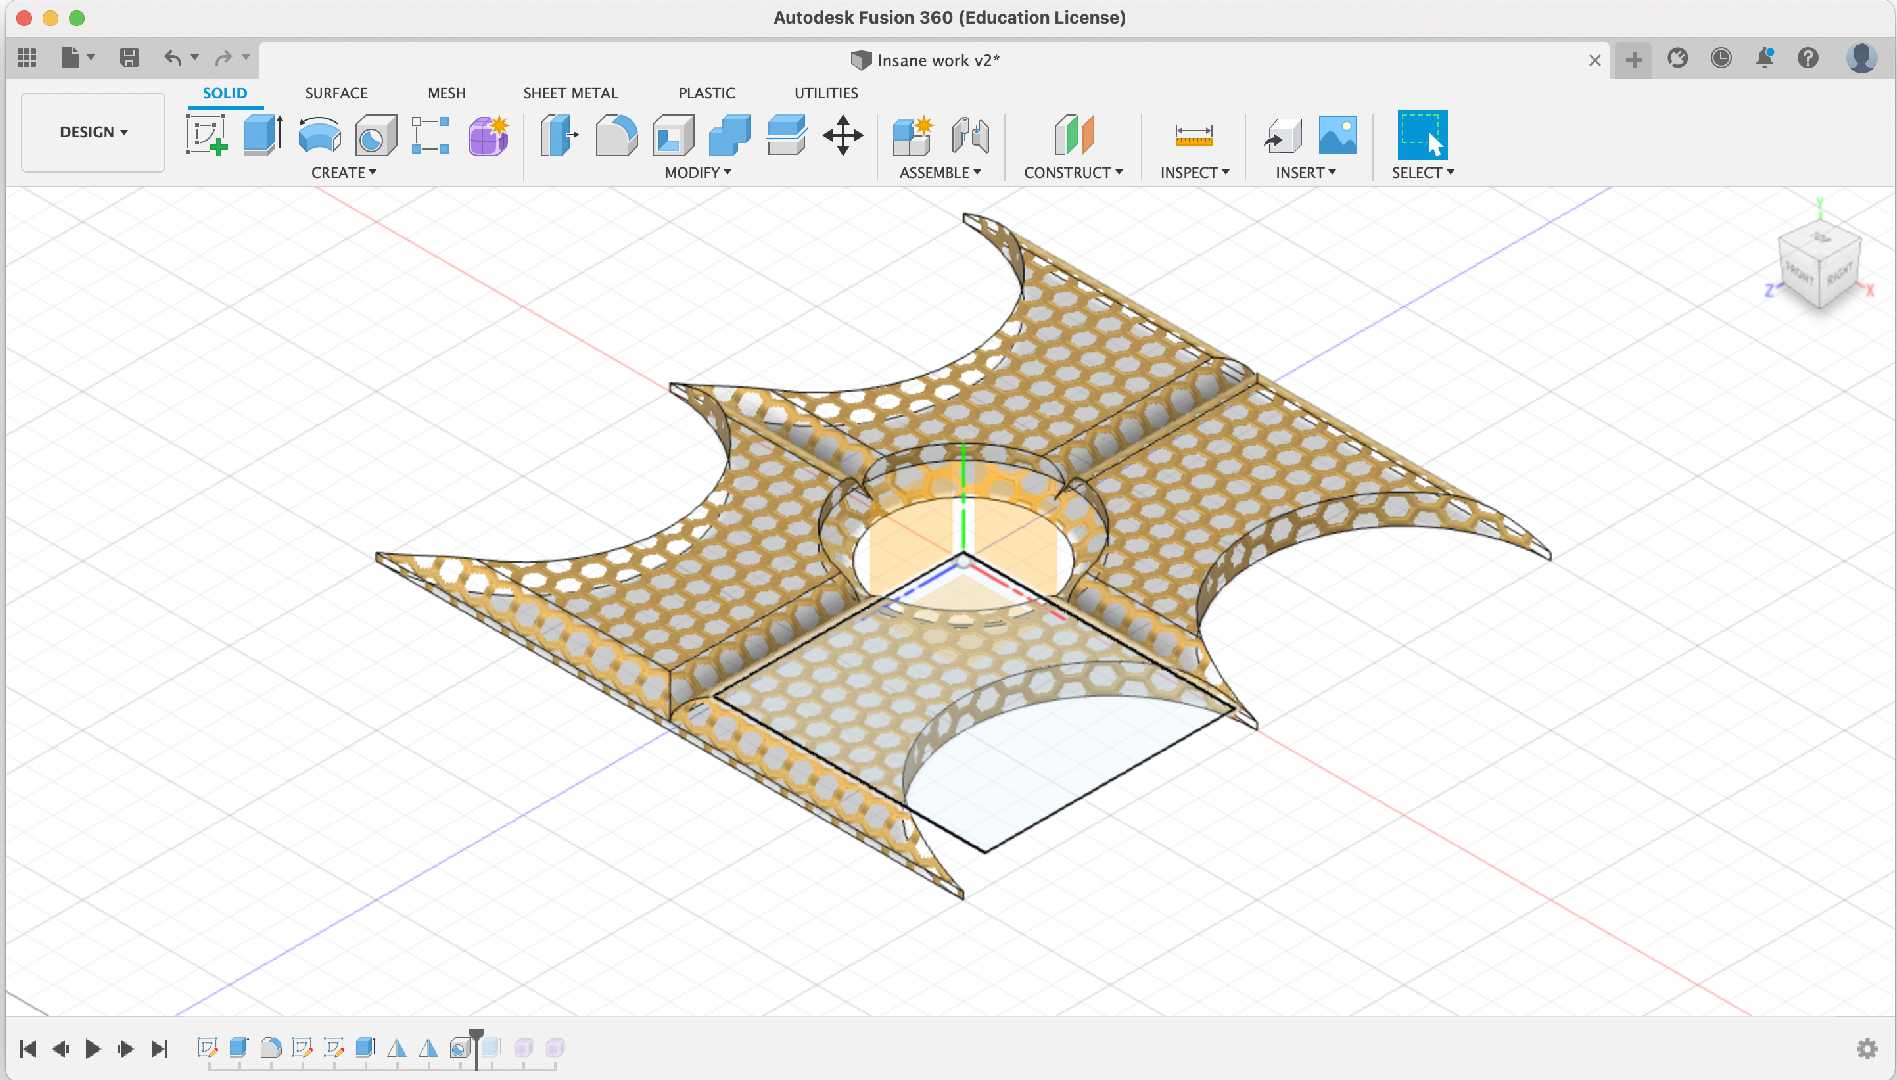
Shown below is interface of Fusion 360.
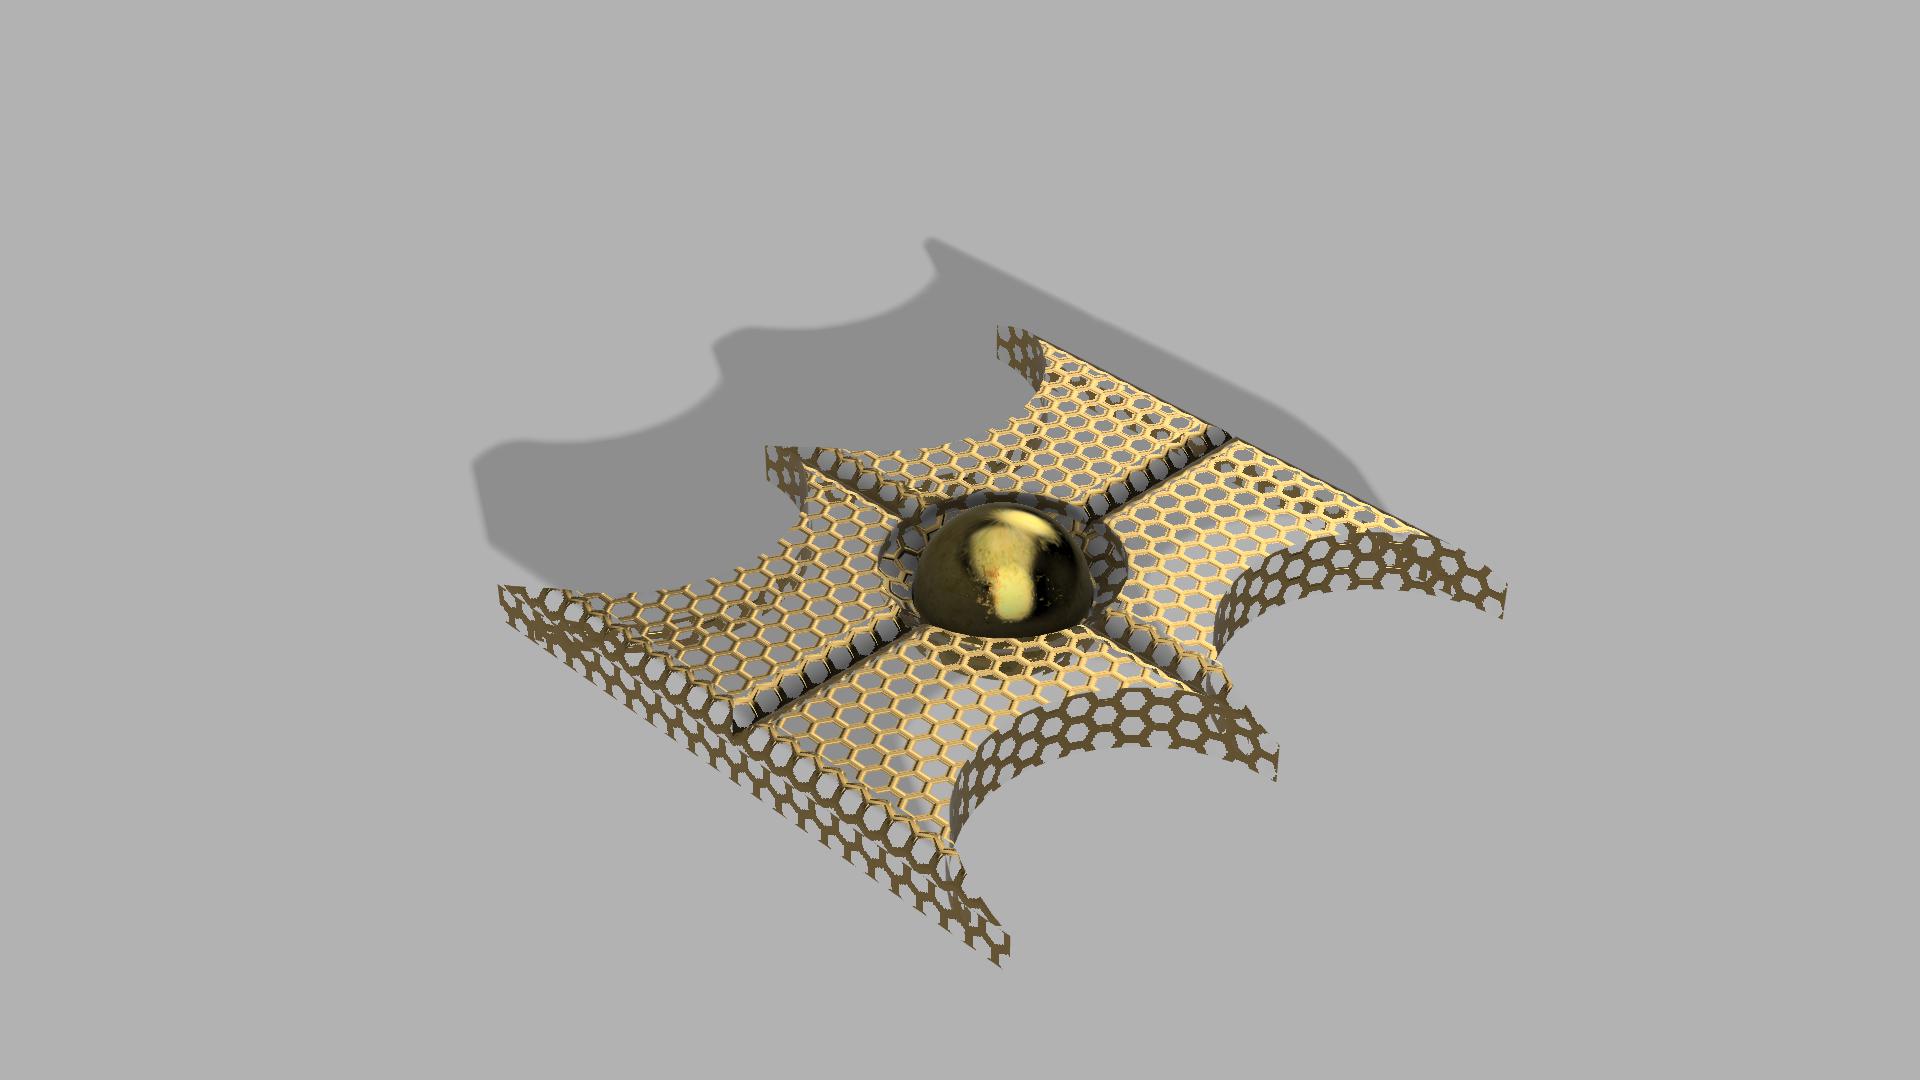
I tried to create a covering for the project and it ended up to be like a batmobile.
How did I build a model in under an hour using Fusion 360.
1. First open Fusion 360
2. The select "Design" in the left handside of the toolbar
3. Construct a 2D design
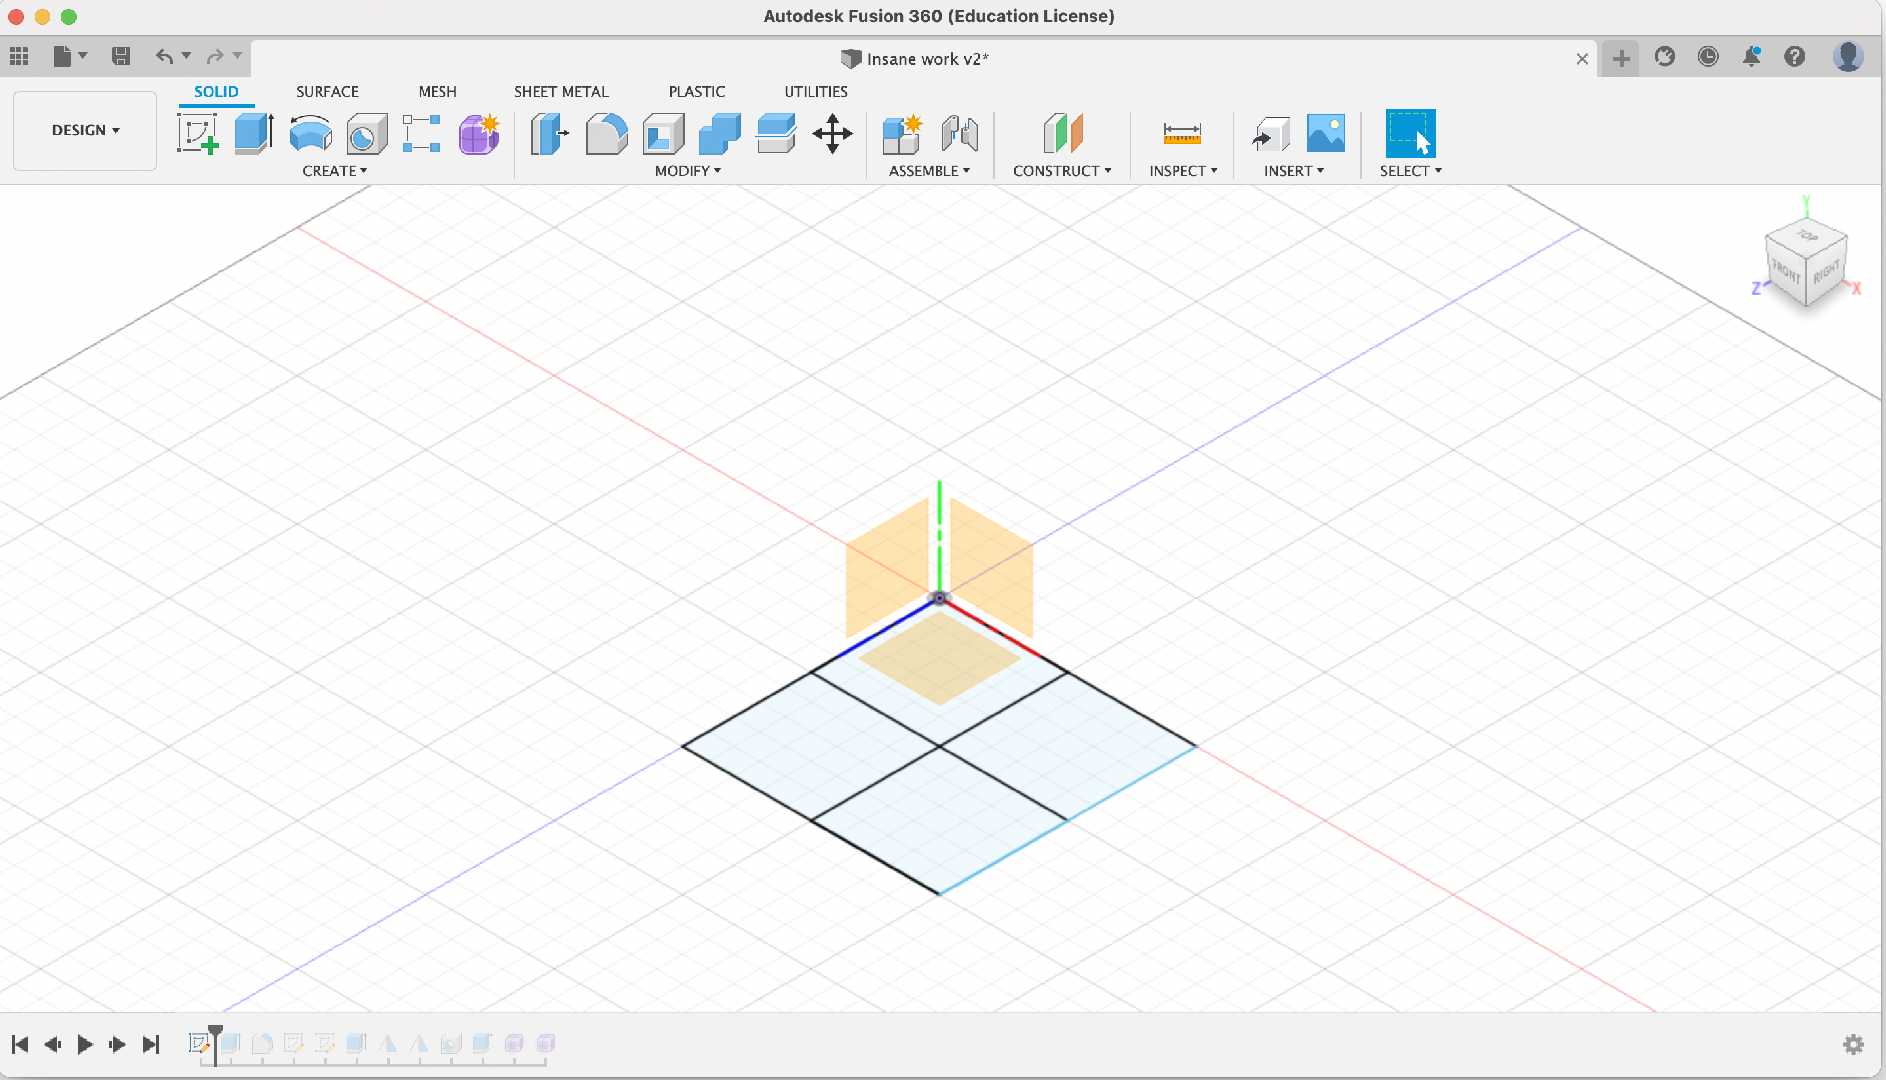
Create a small sketch as shown in the as shown in the picture
4. Then use the "Extrude" command
Extrude the sketch to a certain measurement to obtain a solid adjust accordingly
5. Then use the "Champfer" command
Champfering the required edges gives a good look for the solid
6. Sketch a Circle
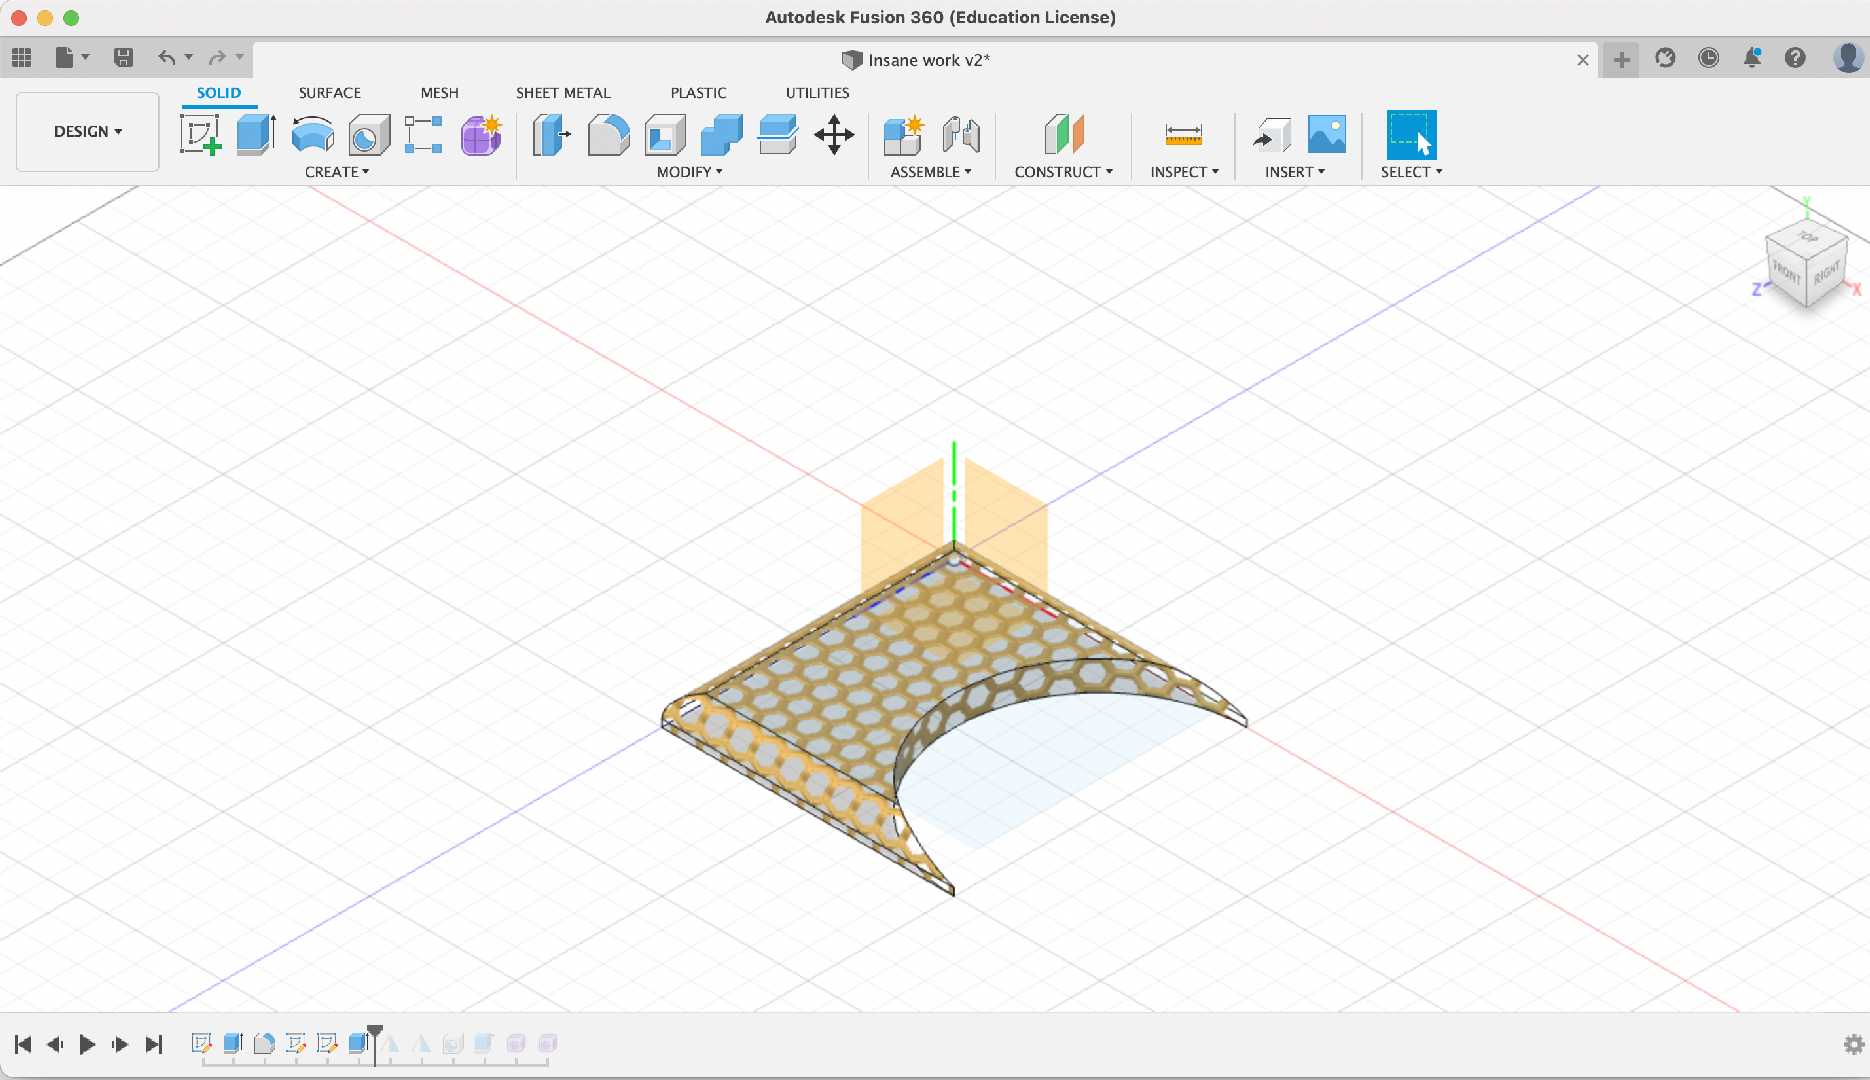
Sketch a circle and extrude to get a cut
7. Then use the "Mirror" command
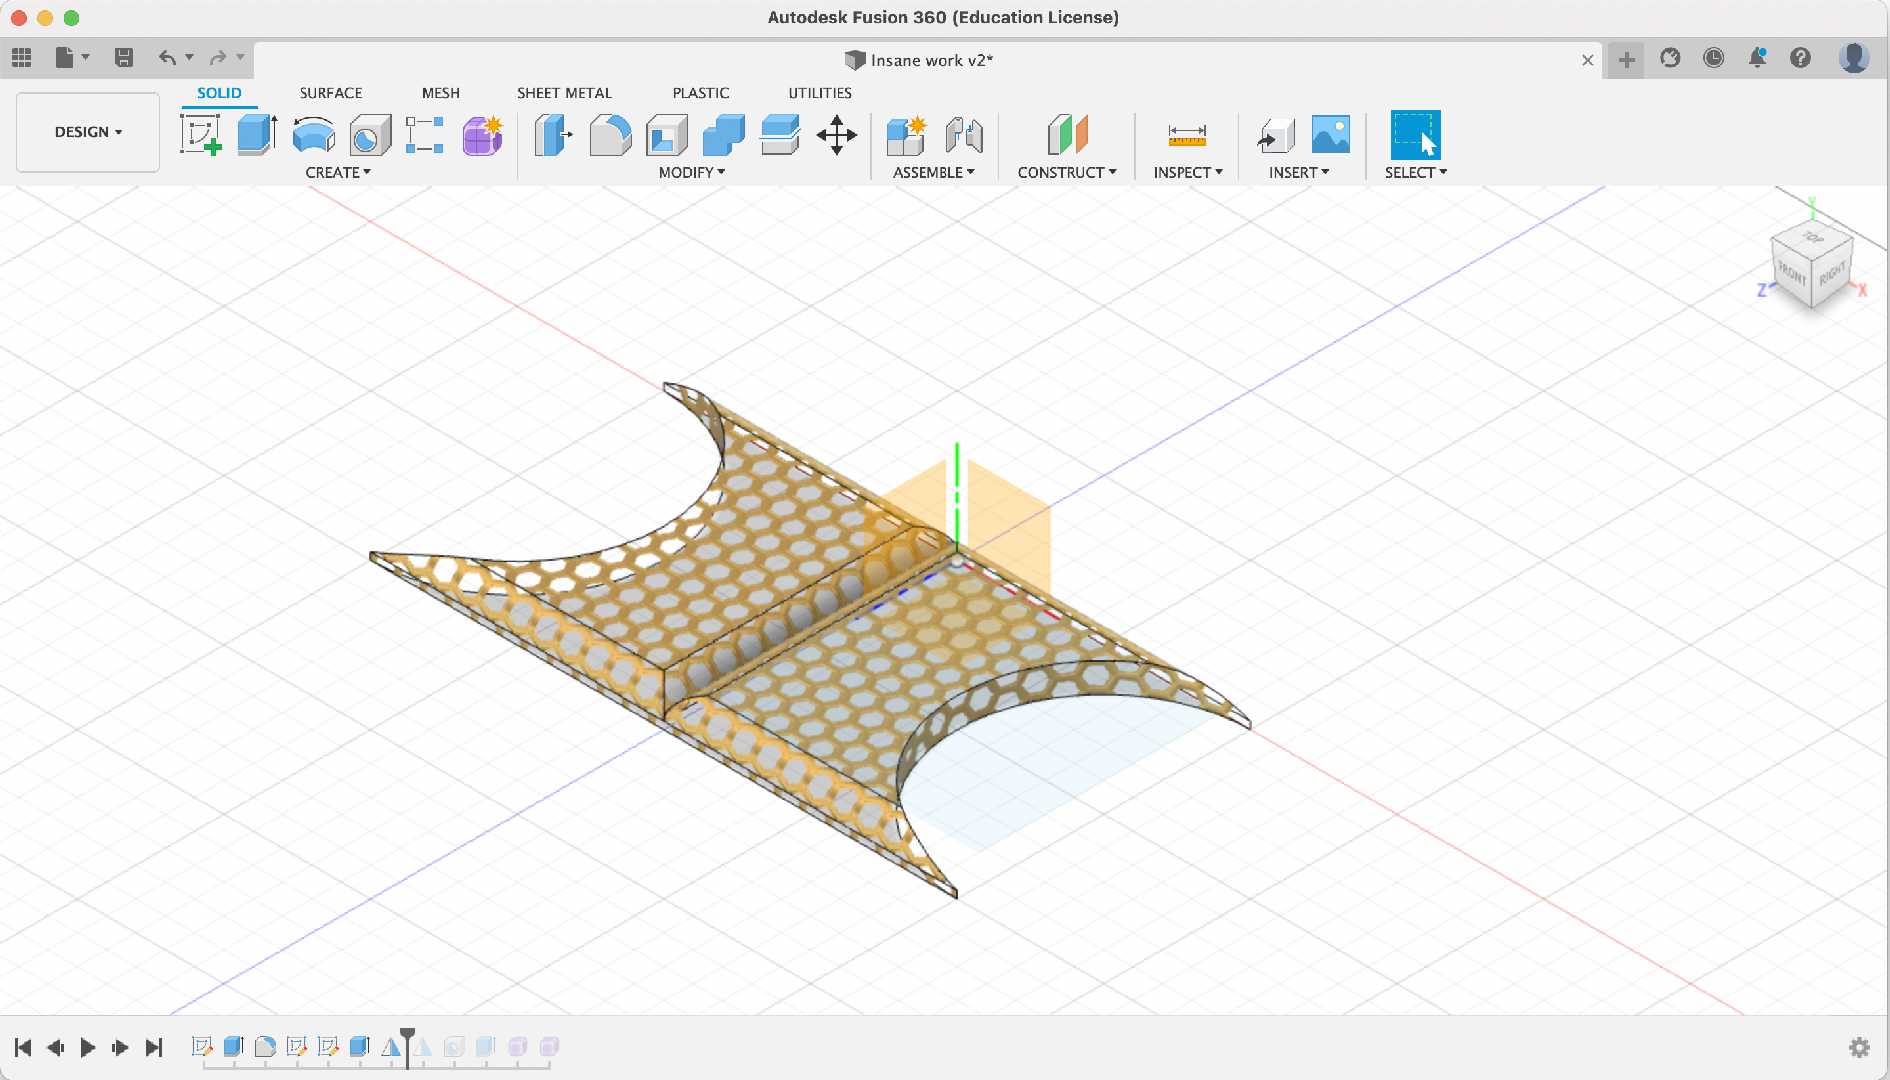
Use the mirror command to duplicate the solid on another axis as shown in the images
8. Use the "Group" command
Use the group command to group objects
9. Repeat Step 7 and 8
Repeat the mirroring and grouping process
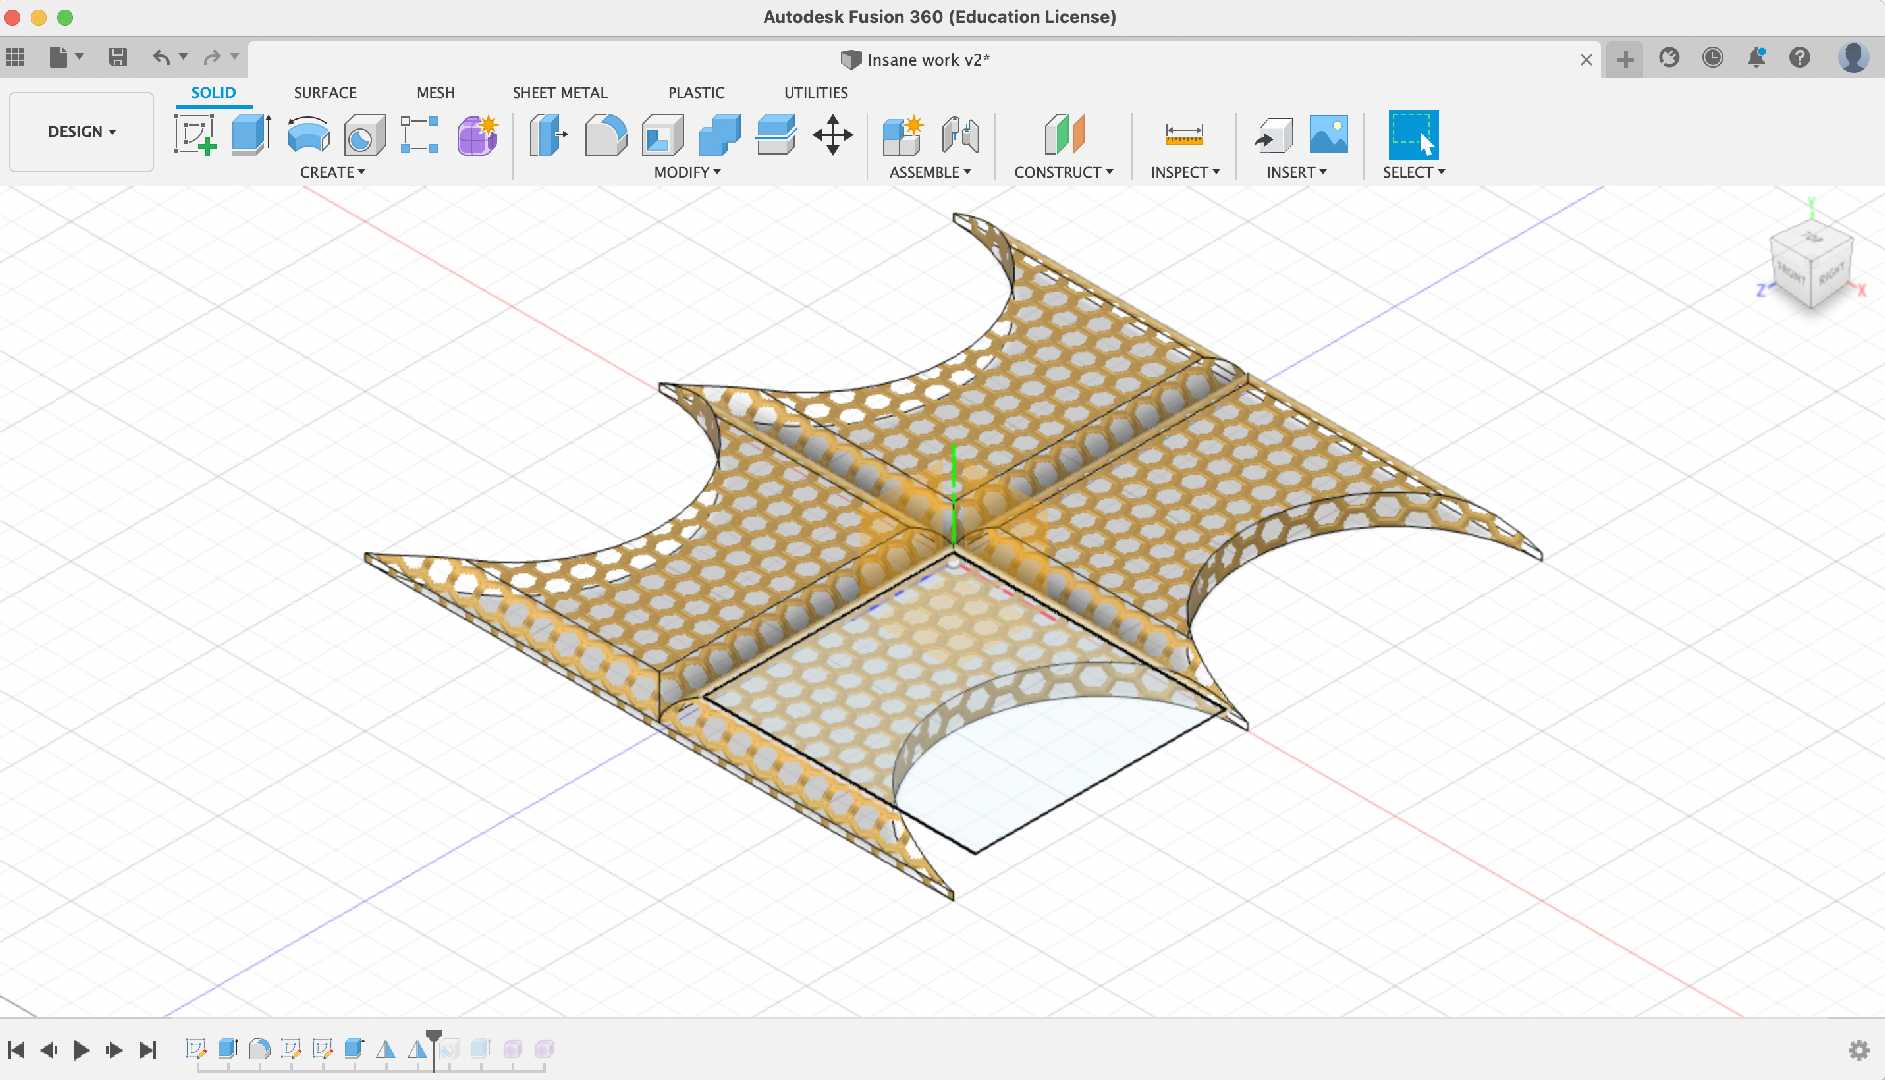
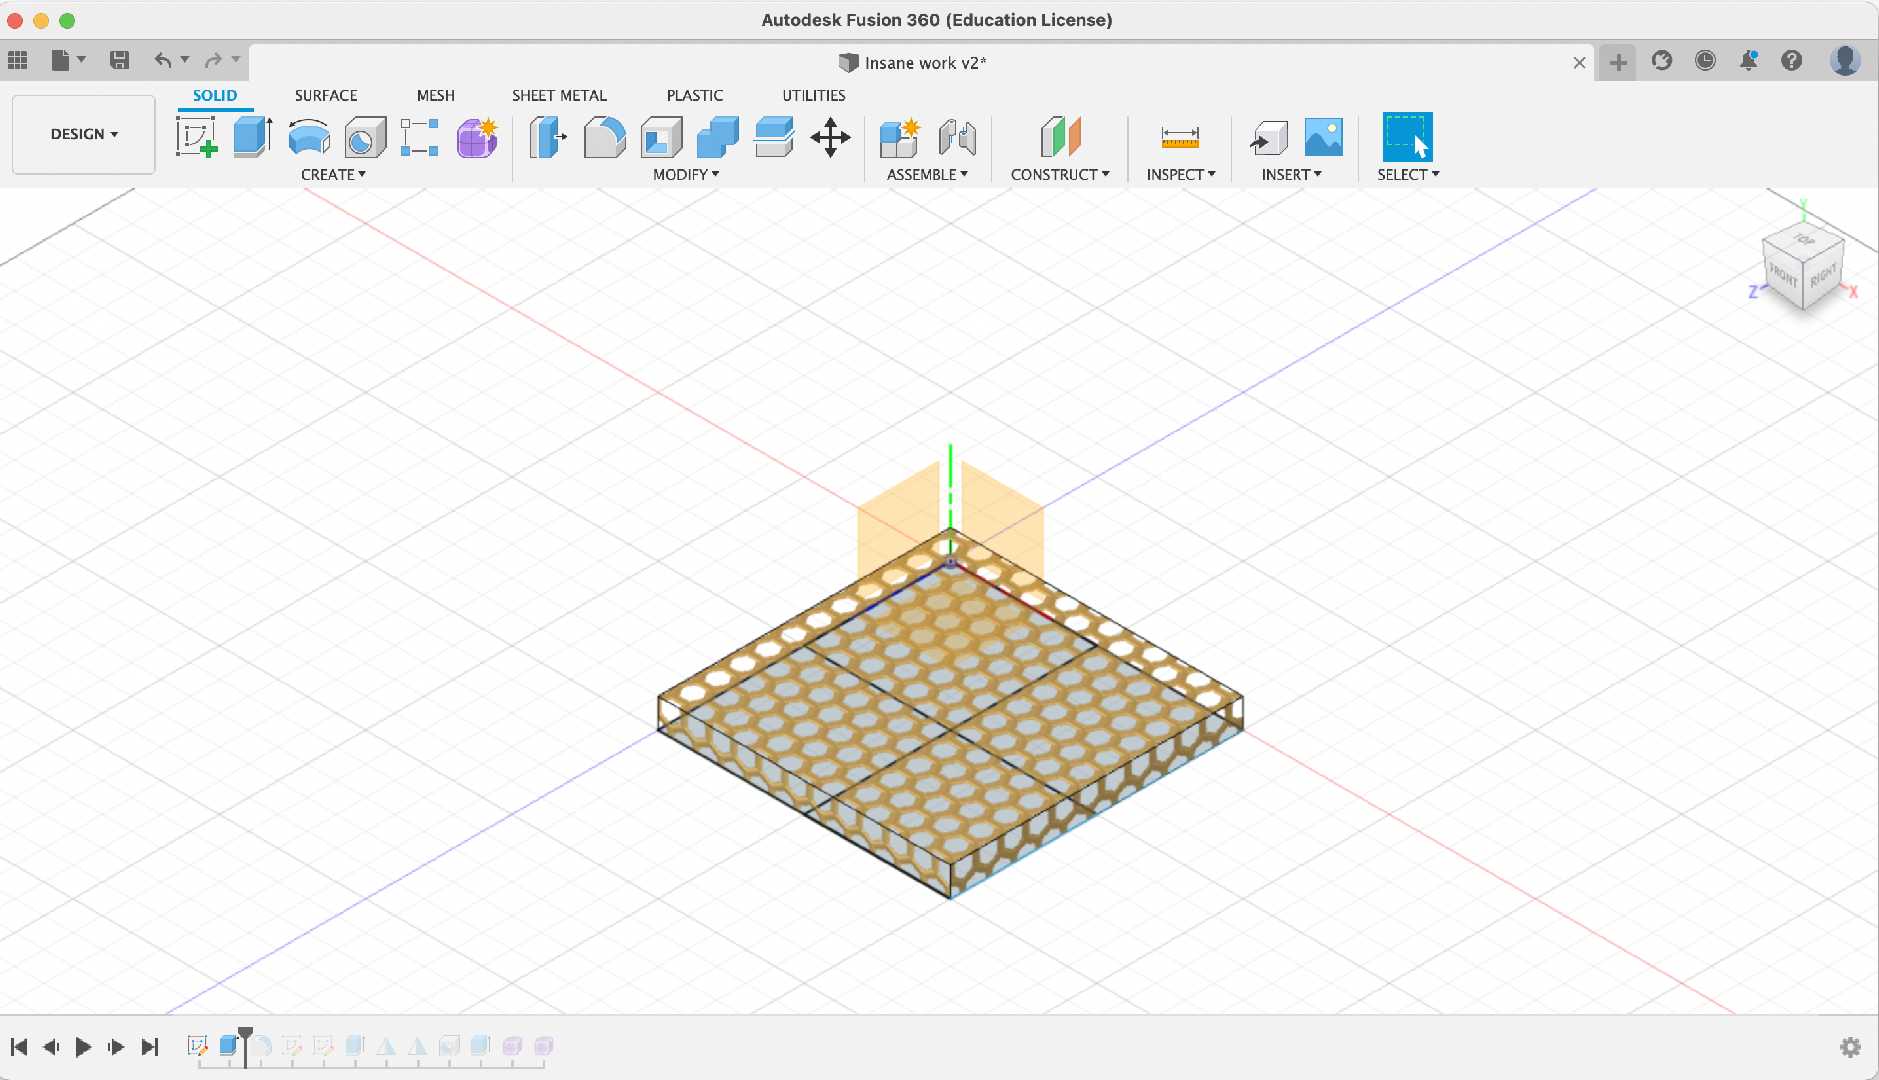
10. Use the "Hole" command
Use the hole command the create a hole in the centre of the object
11. Insert a sphere
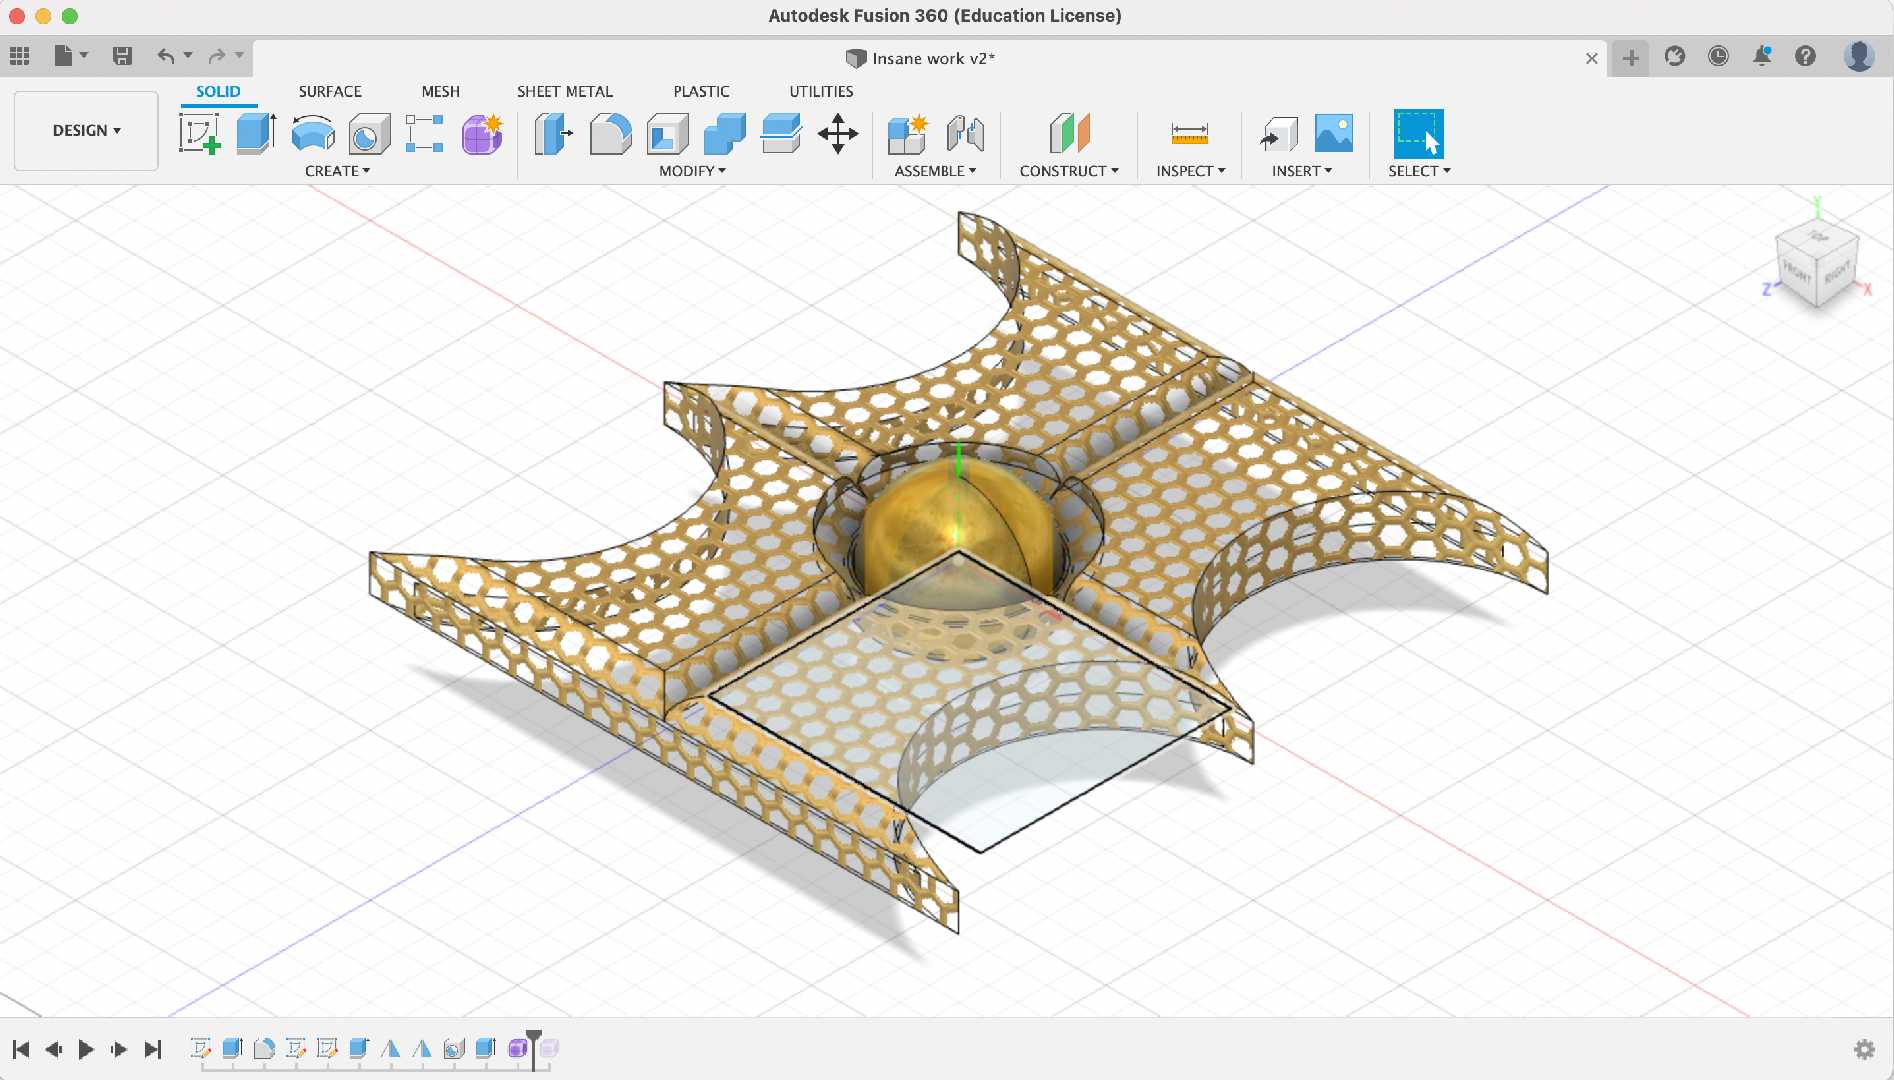
Use the mesh tool to create a sphere or use the sphere tool to do it then create a sphere.
Click here to download my fileI have linked a video below.
An update on a possible final project
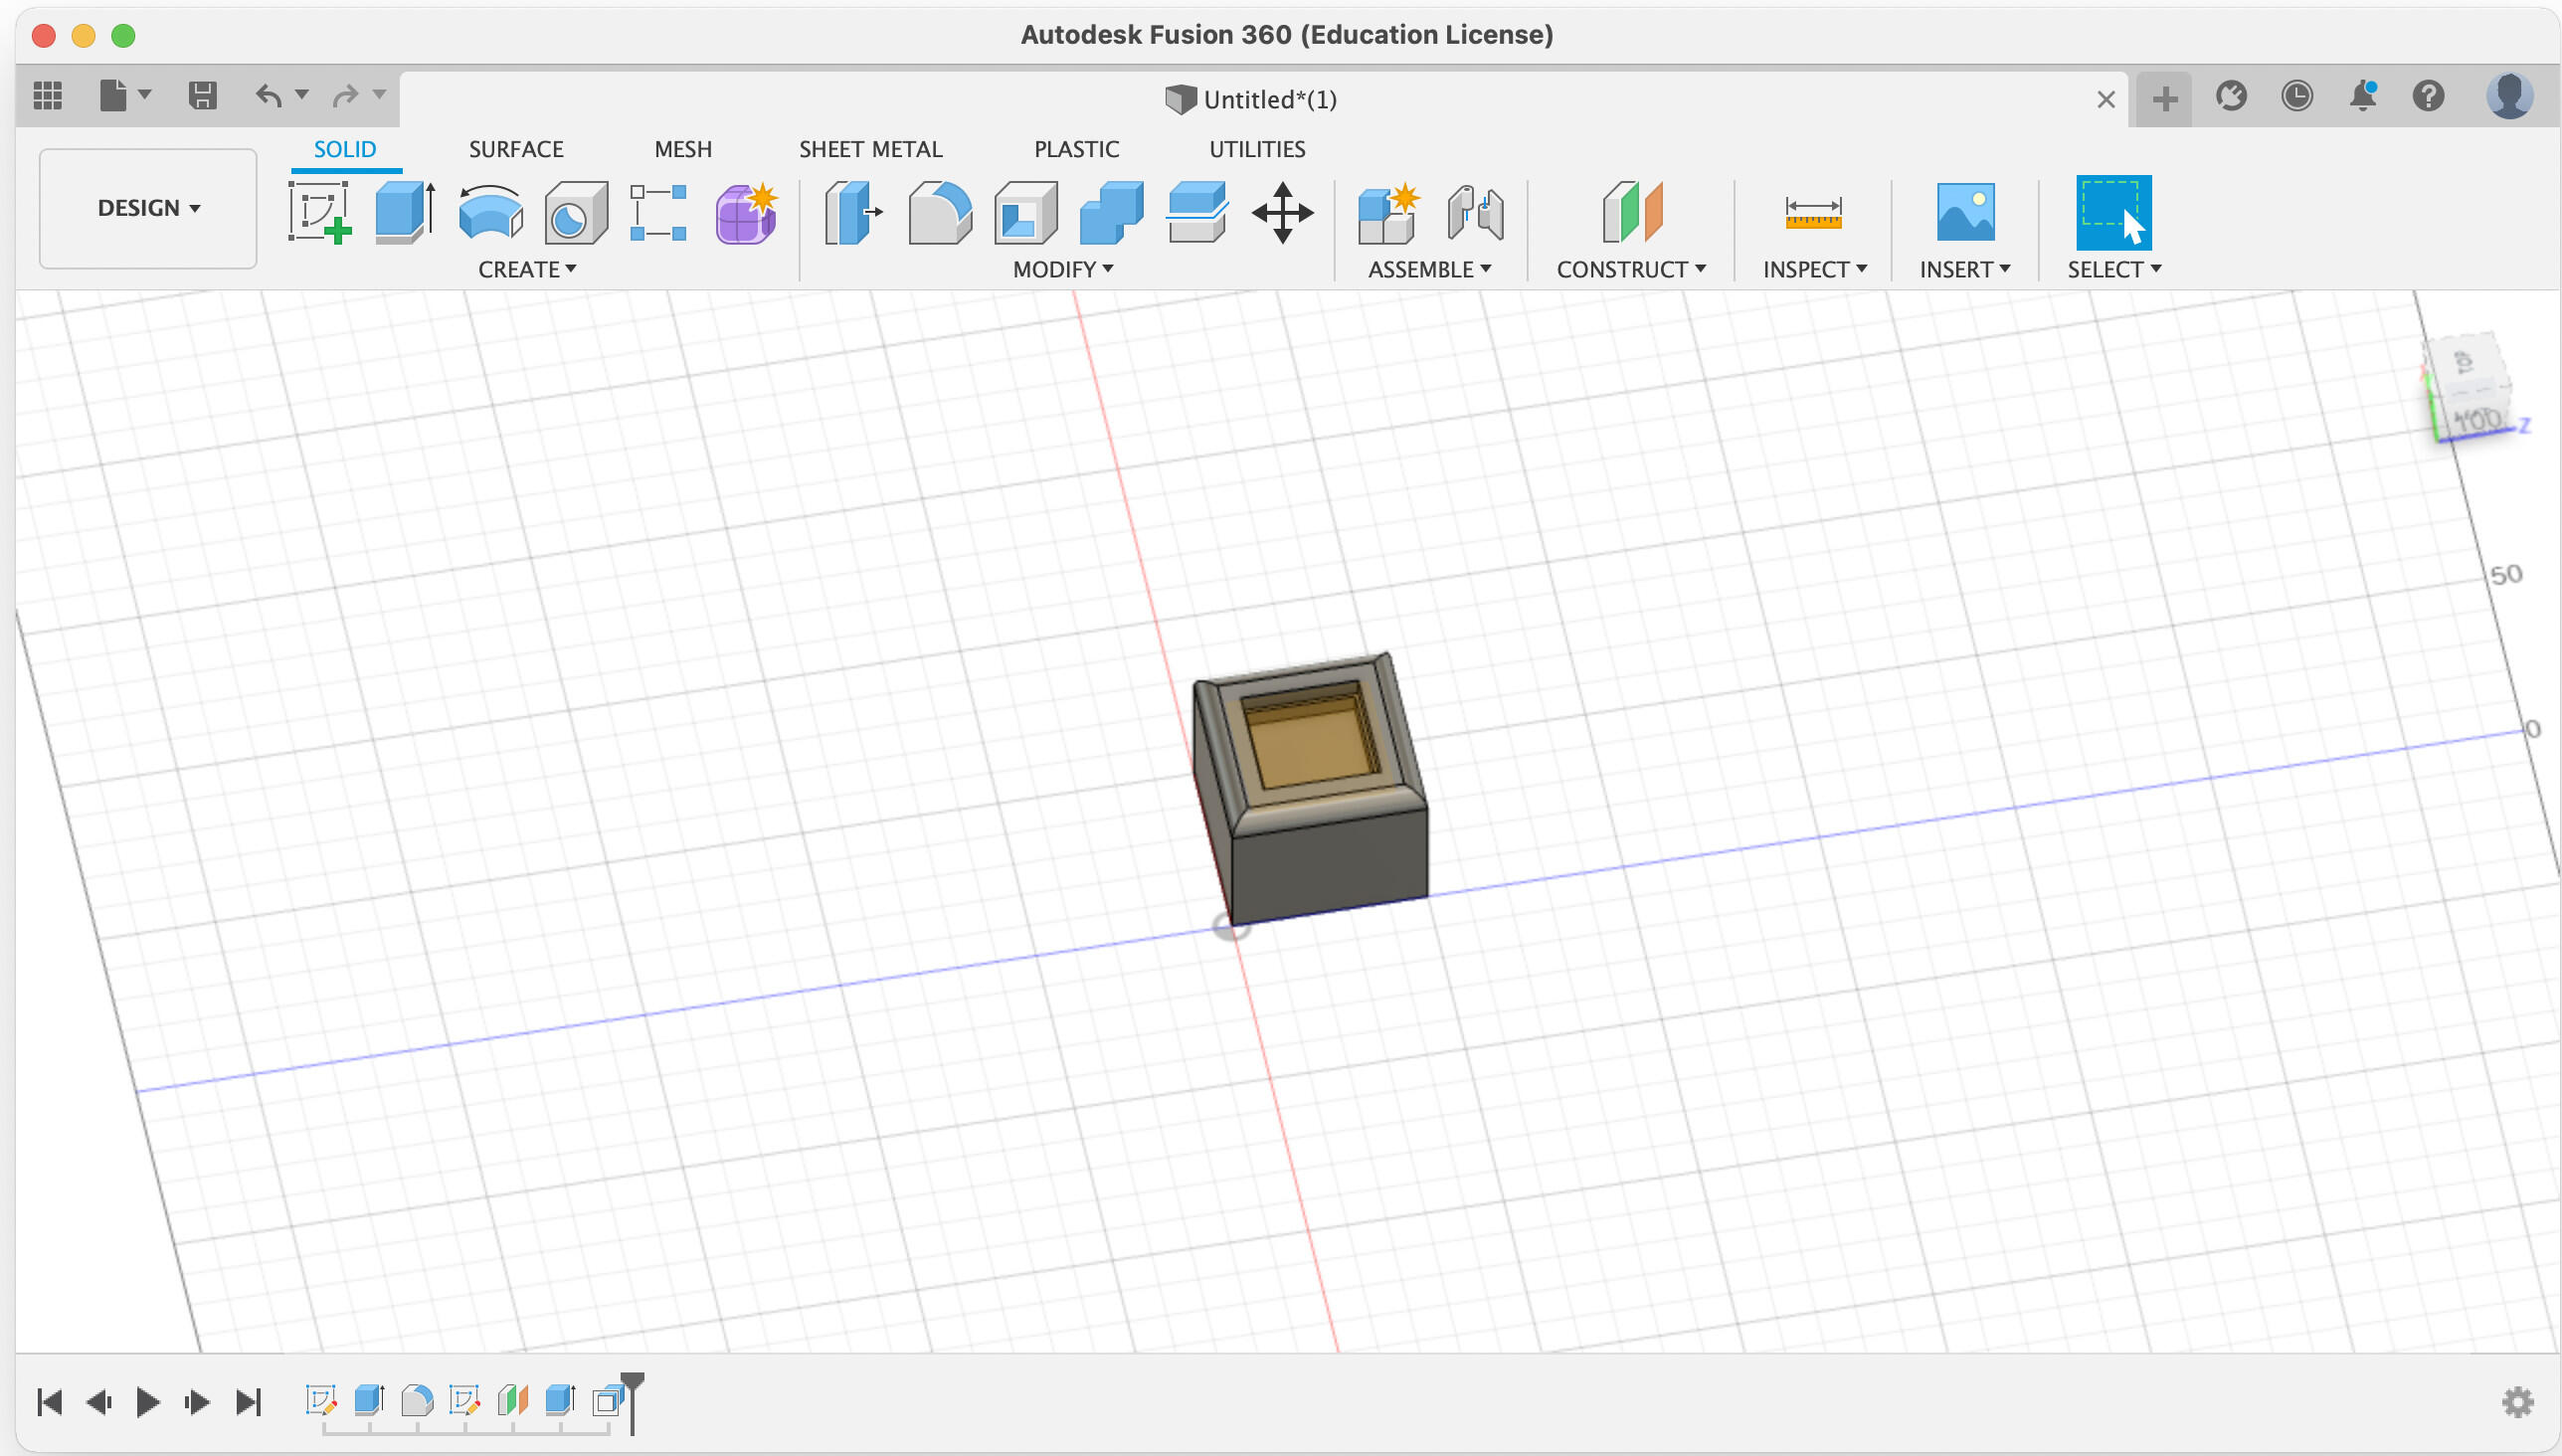
Casing
For the final project I designed the casing that was necessary for keeping the PCB, electronic components and to do the wiring in a prpoer fashion.
It is just a box that had a cut out for an oled and provisions for wiring eventually it turned out to be something like this:-
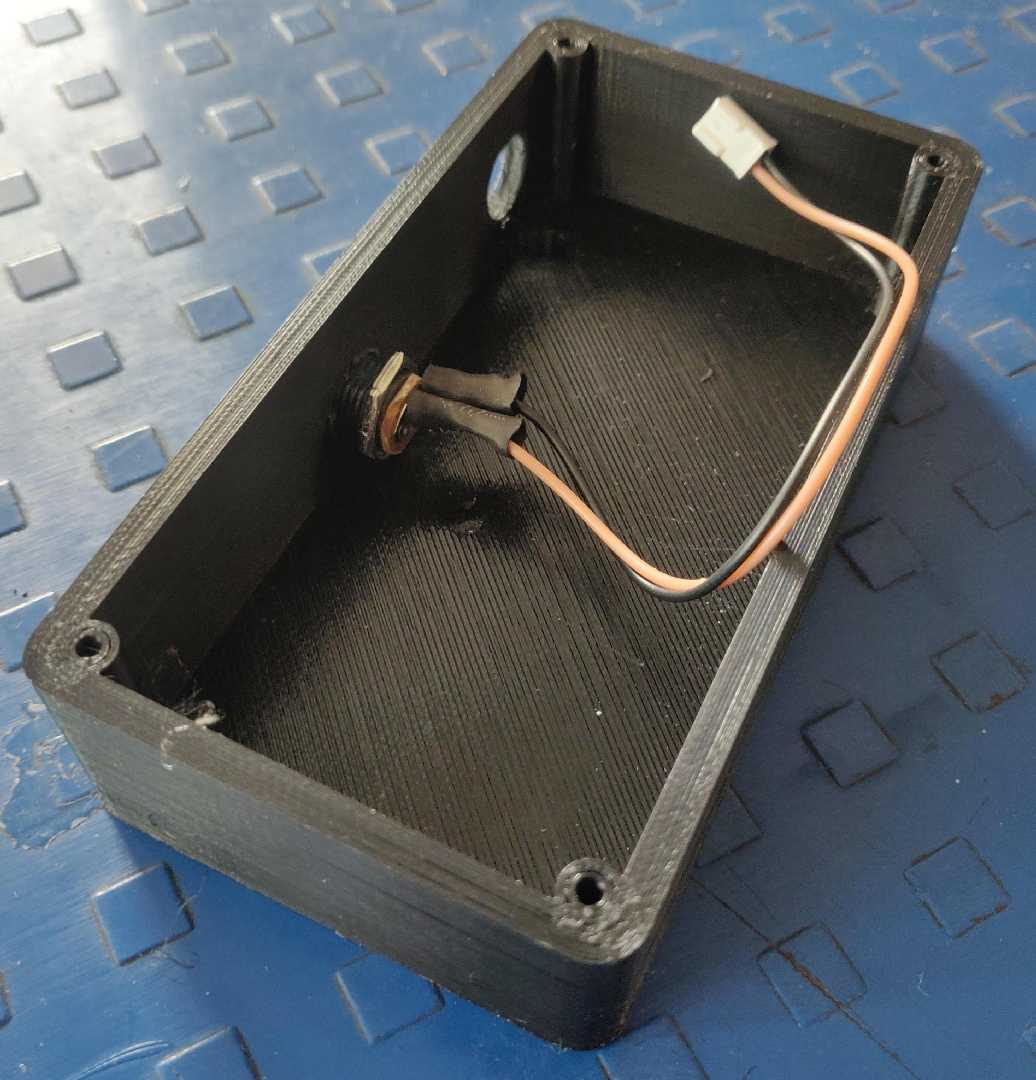
Here is a look of the casing in Fusion 360.
Video Compression
FFMPEG
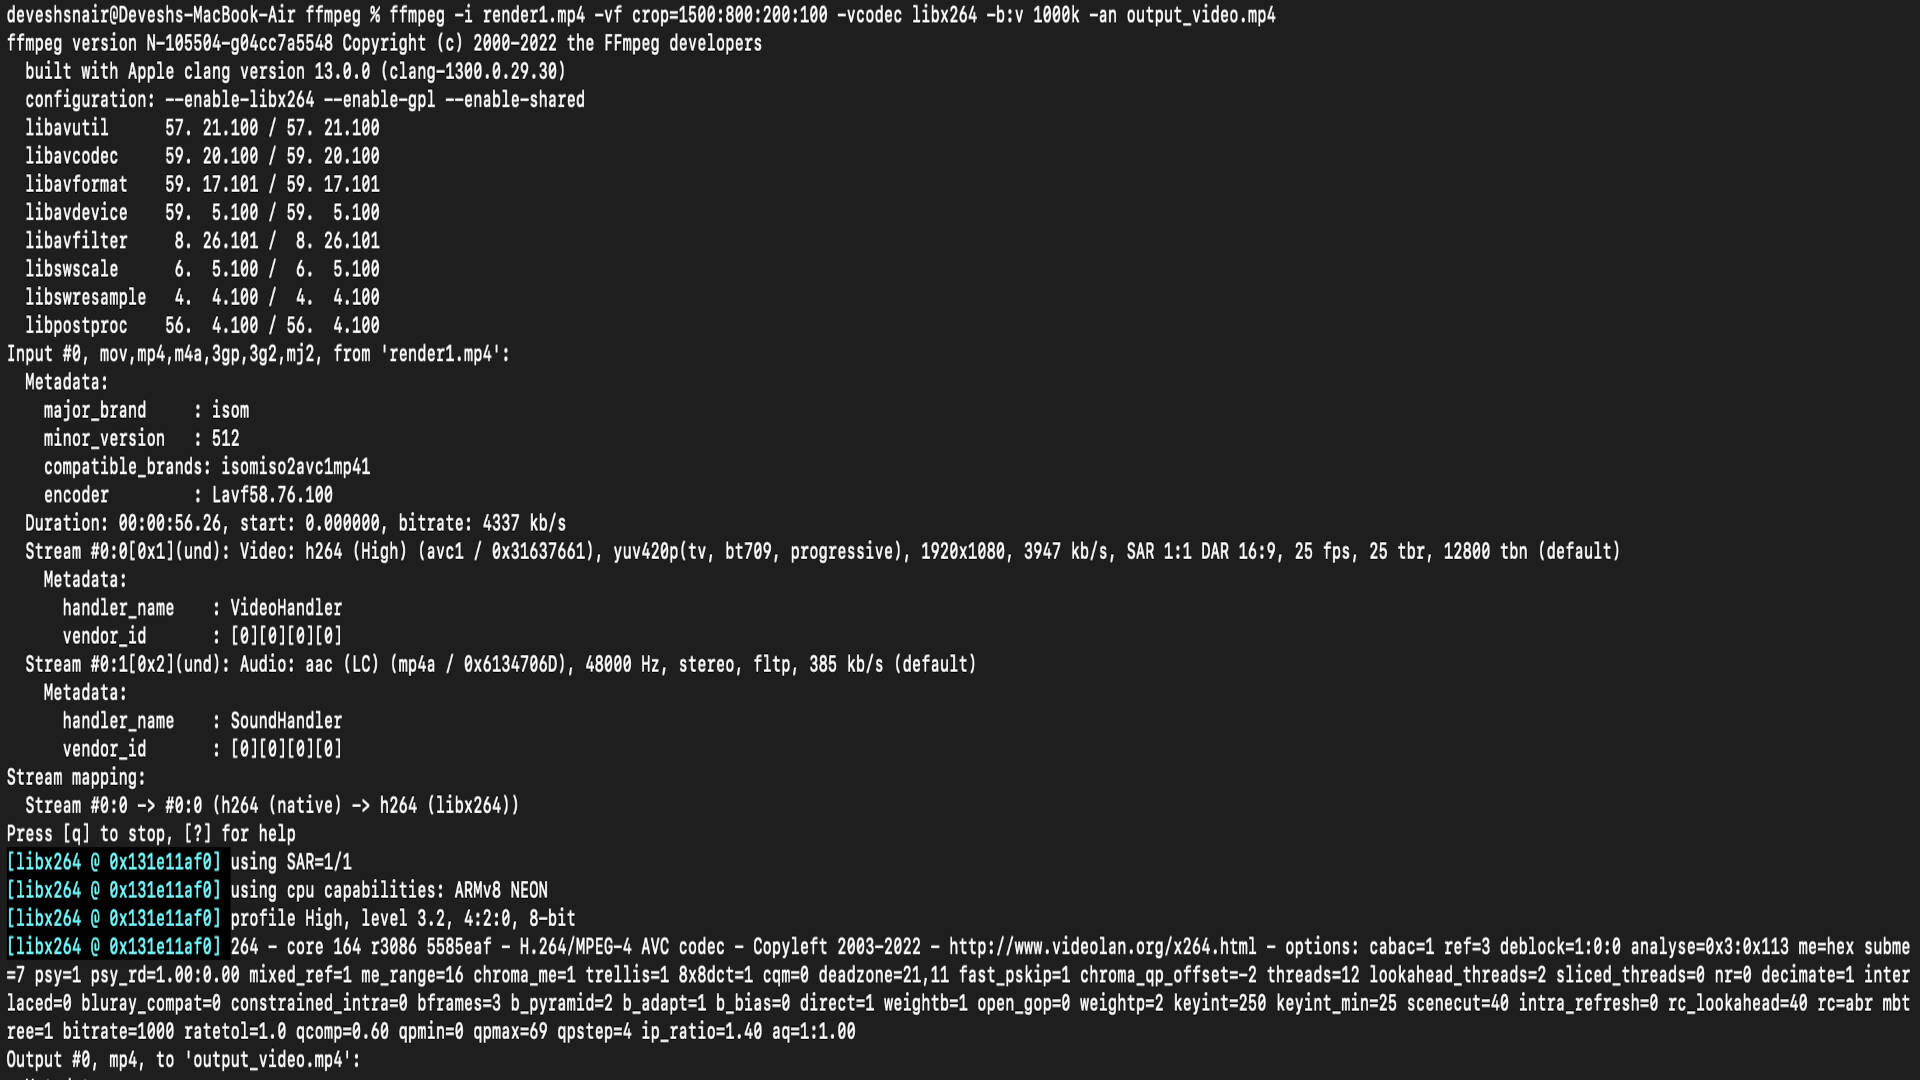
ffmepeg is cli based video compression software. Though it doesn’t have a GUI but is a powerful tool to work with. I had a 30MB file which I compressed to 8MB.
It’s just awesome.
I used the command below that compresses the video to a constant bitrate.
ffmpeg -i render1.mp4 -vcodec libx264 -b:v 1000k -vf scale=-2:1080 -acodec mp2 -b:a 256k -ar 48000 -ac 2 fusion_new.mp4
How did I do it?
Following are the steps that I followed
Goto FFMPEG.org → Download
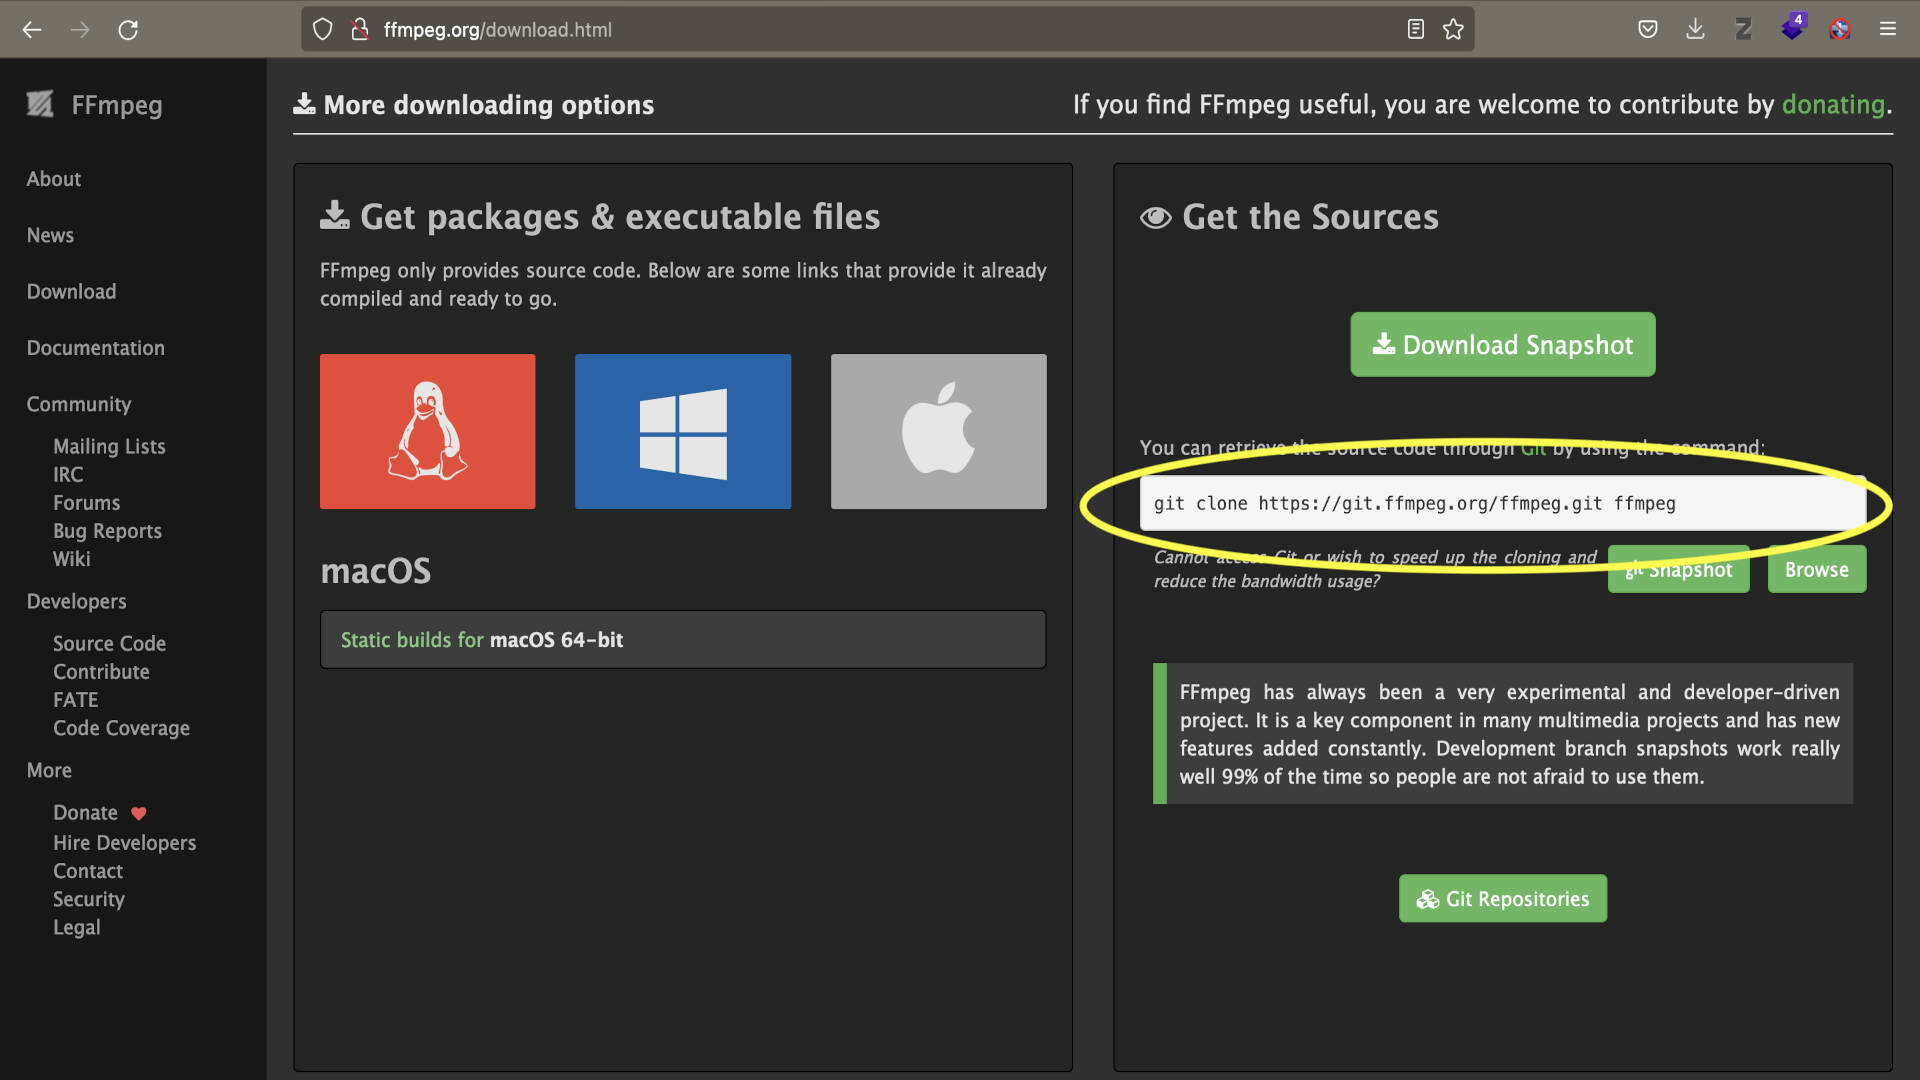
copy the git command
Paste in the terminal

Ffmpeg files must have been downloaded
cd ffmpeg
./configure
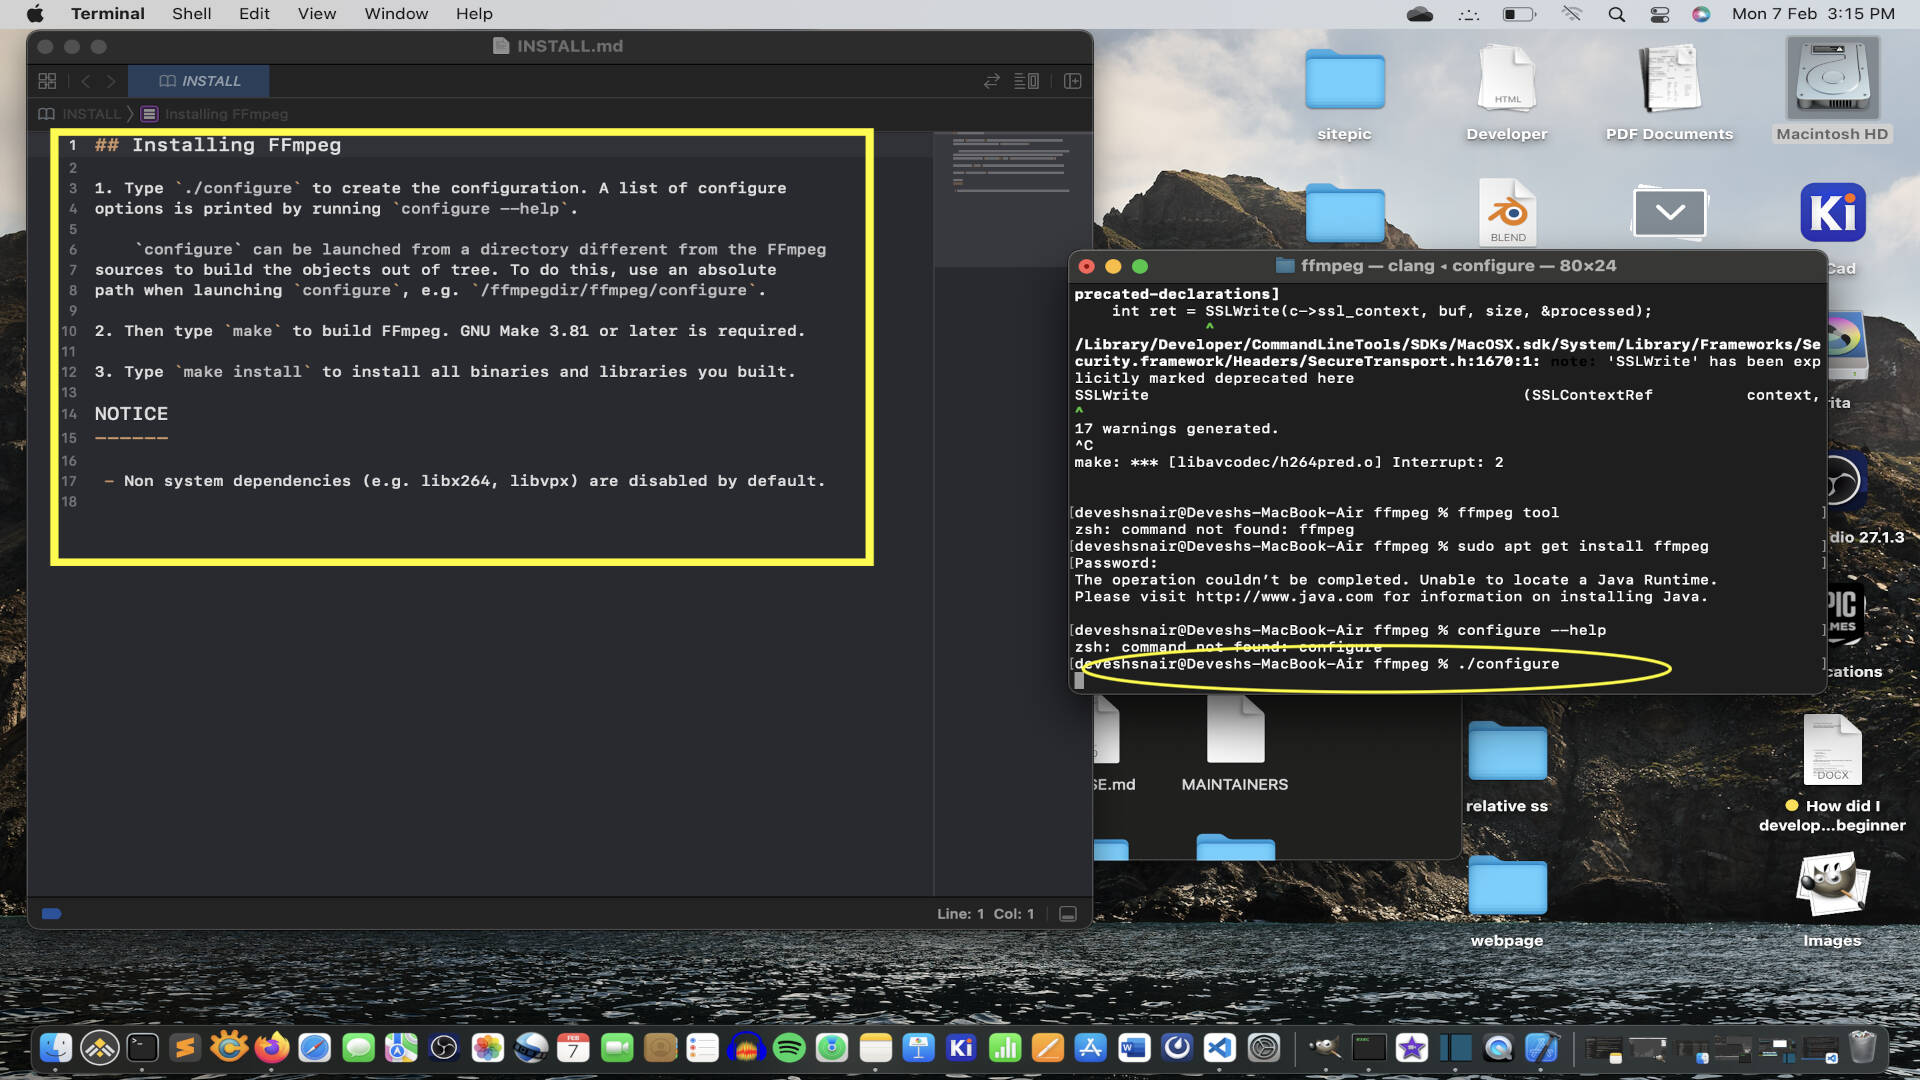
make
make install
Ffmpeg must be install in the directory that you are in.
(Note:- By default libx264 is diabled)
Original Design files
Here are the design files that I created during this assignment click below if you would like to download them.
Casing fusion file.
BMW sticker
Casing STL file
Cap dxf
Batmobile

Fabspace by Devesh S Nair is licensed under a Creative Commons Attribution-NonCommercial 4.0 International License.